Martha Stewart Halloween: 14 Last Minute Decor Ideas Adults Can Make This Weekend
Martha Stewart Halloween decor has a look everyone recognizes: black and white, a little spooky, always elegant and never cheap looking. Halloween is only days away, and you do not need a magazine budget or a team of stylists to get that look at home. Martha Stewart built a business on home and hospitality, and her polished, handmade style is easy to borrow. The ideas below are inspired by her style, not copied from her pages, and each one uses paper, paint, thrift finds and things already in your cupboards. Most take an evening or less. Pick two or three for the mantel and the porch, put on a spooky movie and make this weekend count..
Martha Stewart Halloween Mantel in Black and Silver
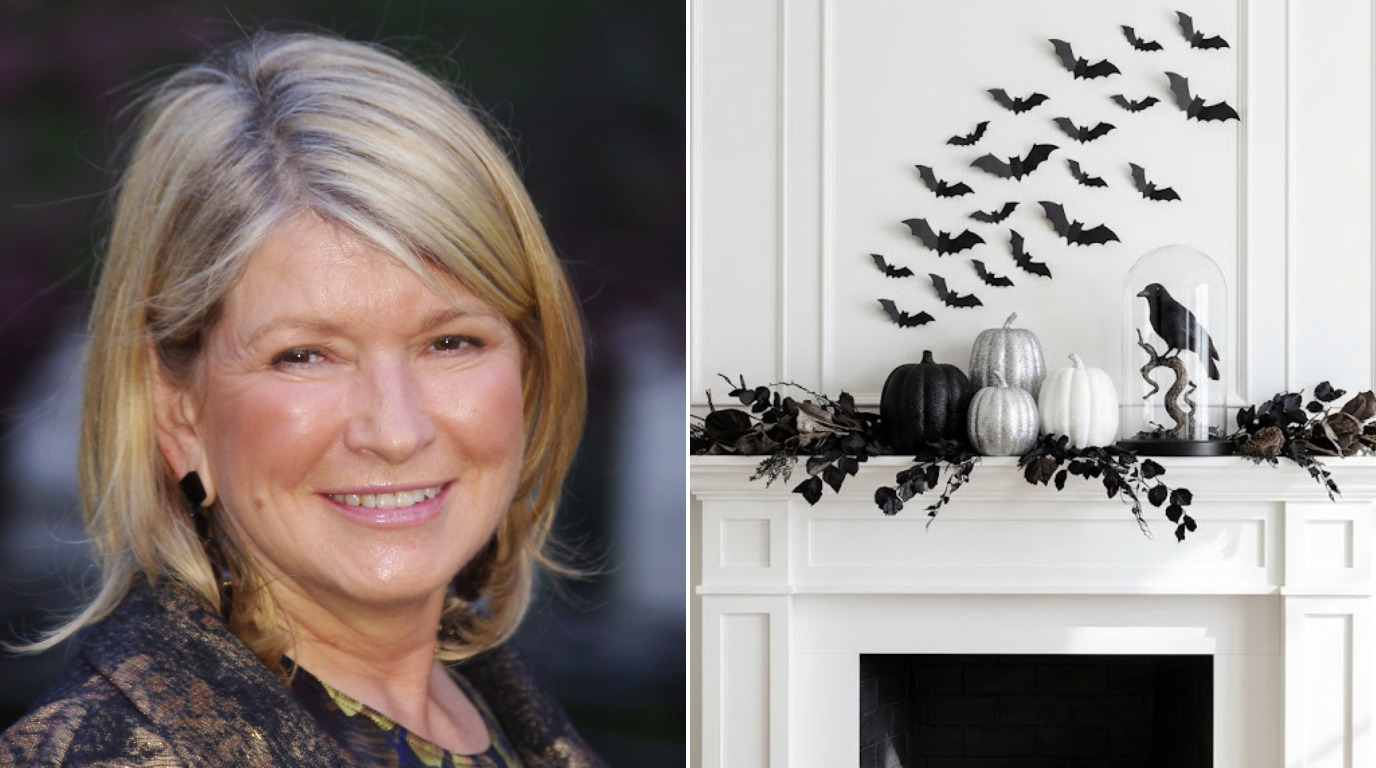
Start with the mantel, because that is where every guest looks first. A white shelf, three glittered pumpkins in black, silver and white, a bell jar with a faux crow and a swarm of paper bats overhead give you a polished look in about an hour. Martha Stewart, who founded a company built on home and hospitality, has long shown that a tight color palette is the secret to decor that looks expensive. Stick to black, white and silver and it all ties together..
You will need: Three craft pumpkins, black and white spray paint, silver glitter, spray adhesive, a glass cloche, a faux crow, black cardstock and removable putty.
How to make it: 1. Paint one pumpkin black and one white, then mist the third with adhesive and roll it in silver glitter. 2. Group them on the mantel with the crow under the cloche at one end. 3. Cut bats from cardstock and stick them up the wall in a loose arc.
Paper Bat Swarm on a White Wall
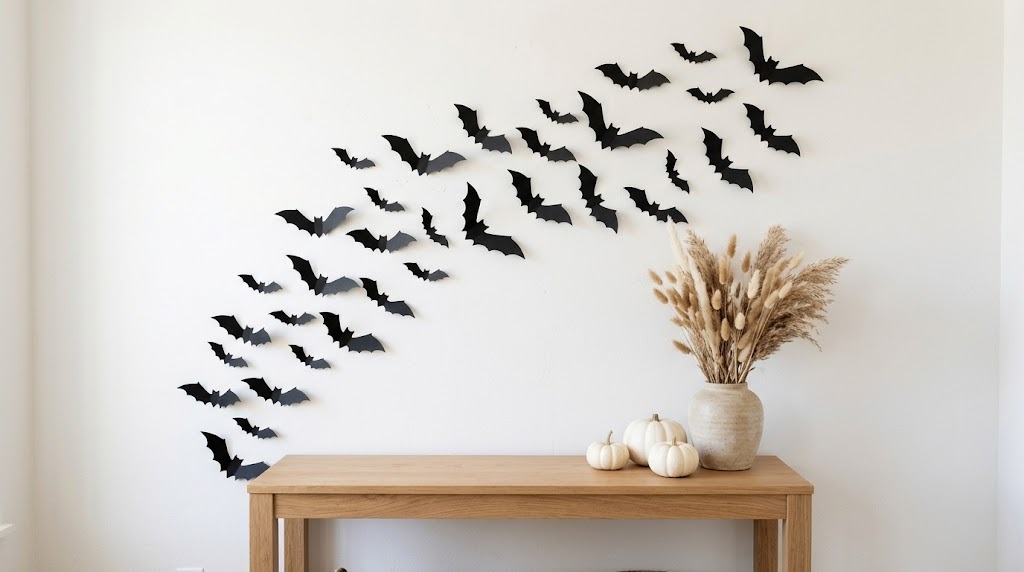
This is the easiest big impact project on the list and it costs about two dollars. A wall of bats is the fastest way to get a Martha Stewart Halloween look on a budget. Trace a bat template onto black cardstock in three sizes, cut out a stack while you watch television, then fold the wings slightly so they cast little shadows. Arrange them so they seem to burst out from behind a mirror or a lamp and sweep across the wall. Removable putty keeps your paint safe. How many bats will you need to fill your wall? Start with forty and add more as you go.
You will need: Black cardstock, a printed bat template in small, medium and large, a pencil, scissors and removable wall putty.
How to make it: 1. Trace and cut about forty bats in mixed sizes. 2. Fold each one gently down the center so the wings lift. 3. Stick them on the wall in a curved swarm, with the big bats at the start and the tiny ones trailing off.
Martha Stewart Halloween Window Silhouettes
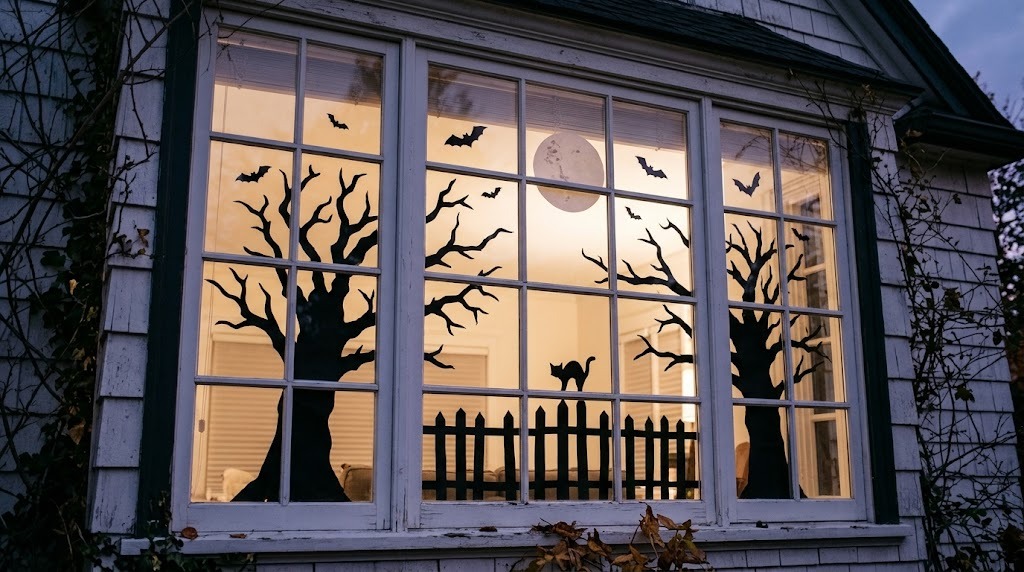
A window full of black paper silhouettes looks magical from the street once the lights come on inside. Bare spooky trees, a fence with a black cat, flying bats and a full moon turn every pane into a little scene. This Martha Stewart Halloween inspired idea works on any window and comes down in seconds with no damage. Tape the shapes to the inside of the glass and hang a sheer white curtain behind them so the glow spreads evenly. What story will your windows tell the trick or treaters?
You will need: Black cardstock or poster board, printed silhouette templates, a craft knife (adult use), a cutting mat and removable clear tape.
How to make it: 1. Print tree, bat, cat and moon shapes sized to your window panes. 2. Trace and cut them from black card on a cutting mat, with adults handling the knife. 3. Tape them to the inside of the glass and switch on a lamp behind them at dusk.
Speckled Black Pumpkins
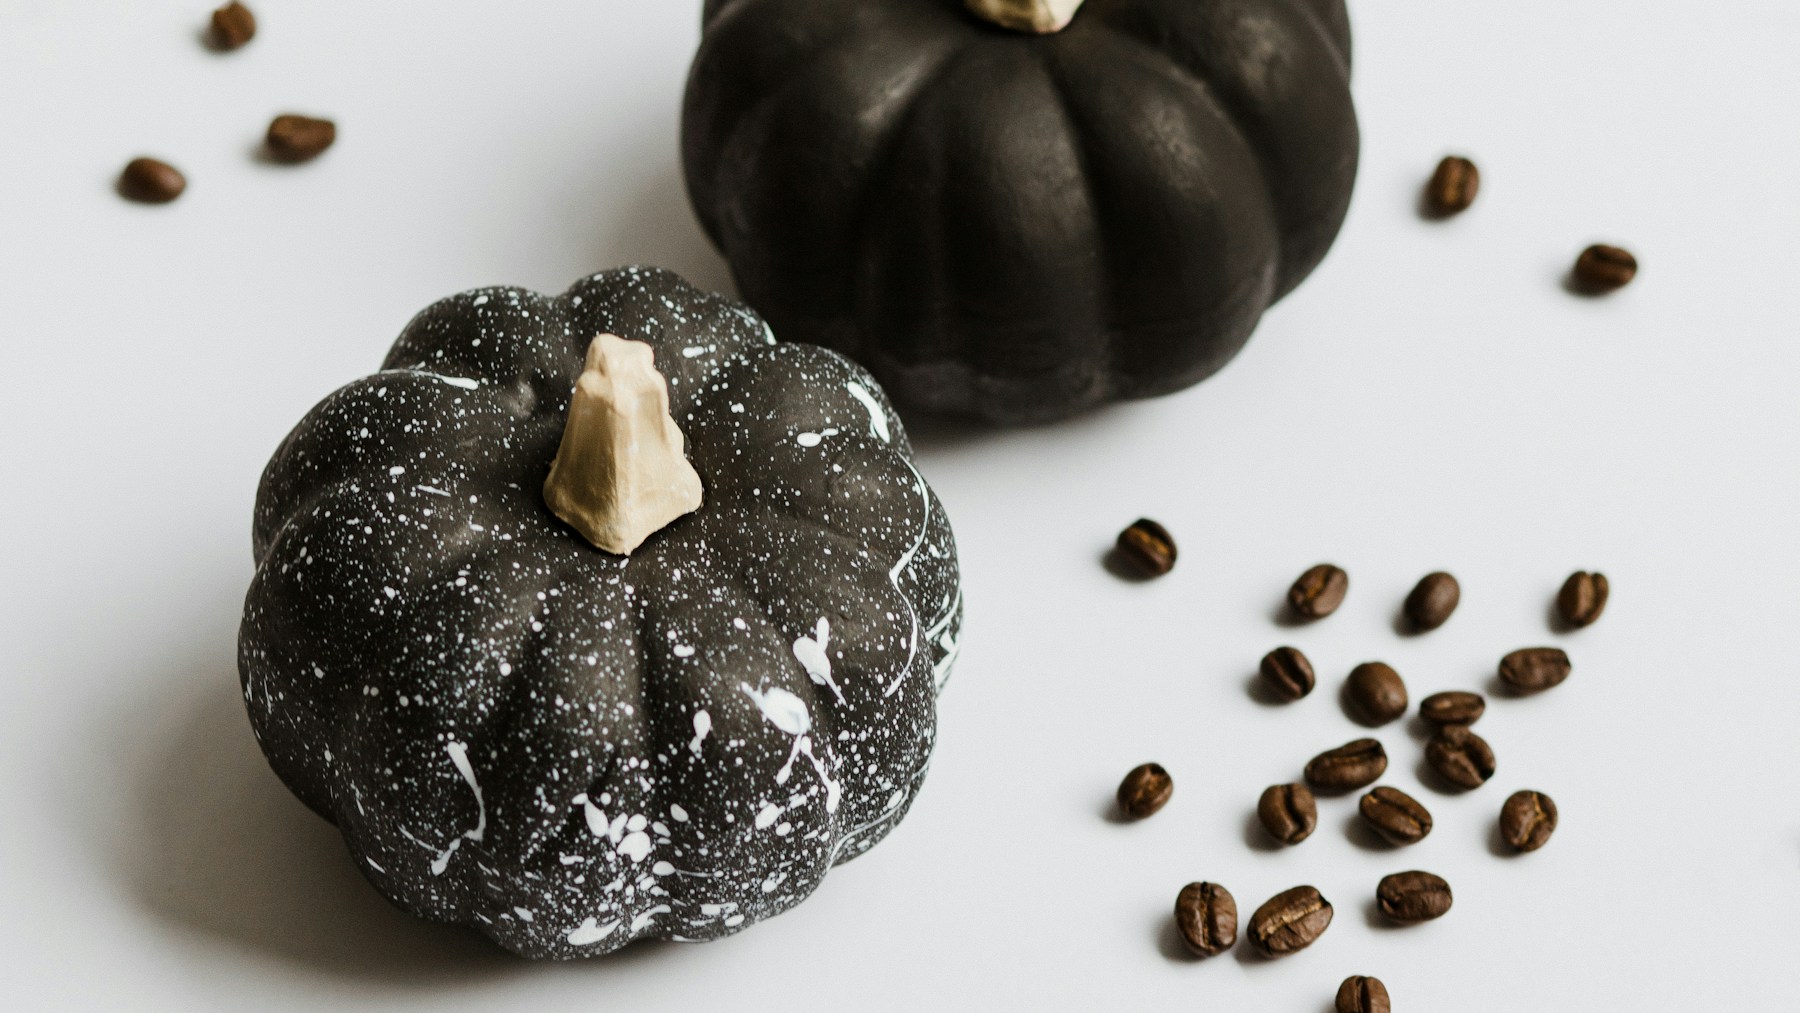
Matte black pumpkins with a fine spray of white speckles look like expensive stoneware, and they take ten minutes. Paint craft pumpkins black, let them dry, then flick white paint off an old toothbrush for a starry, granite look. Paint the stems a creamy white or leave them natural. Line a few along a windowsill or pile them in a wooden bowl on the coffee table. Speckled pumpkins are a quick way to borrow the Martha Stewart Halloween look of black and white decor. How many will you make?
You will need: Small craft or real pumpkins, matte black acrylic or chalk paint, white acrylic paint, an old toothbrush, a foam brush and a drop cloth.
How to make it: 1. Paint the pumpkins black with two coats and let them dry. 2. Dip a toothbrush in thinned white paint and run your thumb across the bristles to speckle the surface. 3. Paint the stems cream or gold and let everything dry overnight.
Martha Stewart Halloween Pumpkins With Gold Stems
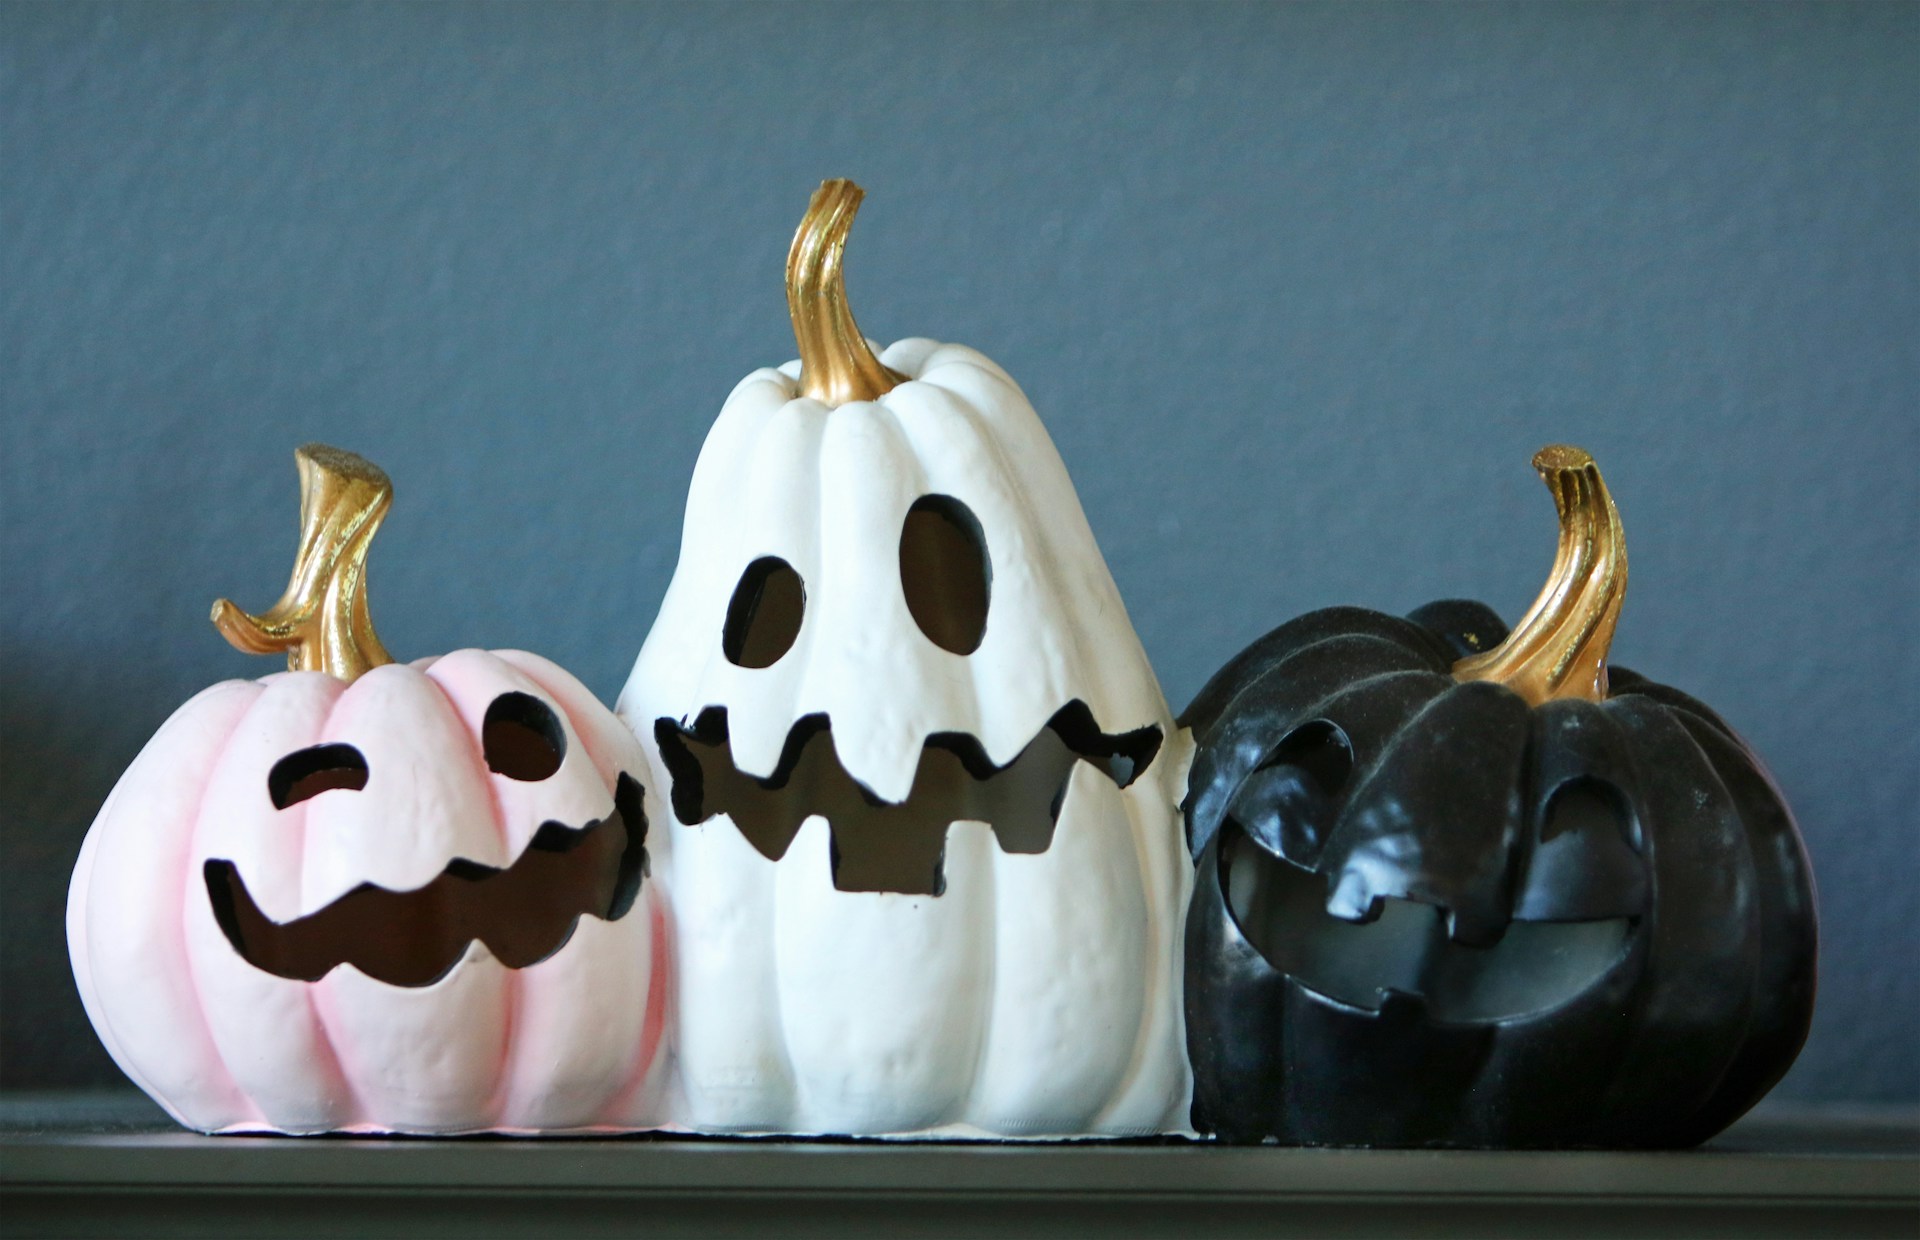
This trio proves that jack o lanterns can be chic. Foam craft pumpkins in blush pink, white and black get simple carved faces and gold leaf stems, and suddenly they look like boutique decor. Foam is easy to cut with a serrated knife and never rots, so you can keep them for years. Line them up on a mantel or a console in a tight row, smallest to biggest. This is the kind of Martha Stewart Halloween inspired detail that makes guests ask where you bought them. Which three colors would you pick?
You will need: Three foam craft pumpkins, chalk paint in pink, white and black, gold leaf paint, a printed face template, a serrated craft knife (adult use) and a marker.
How to make it: 1. Paint each pumpkin a different color and paint the stems gold. 2. Trace a simple face on the front with a marker. 3. Cut out the face slowly with the serrated knife, with an adult handling the blade, and wipe away any foam dust.
Glowing Ghost Trio
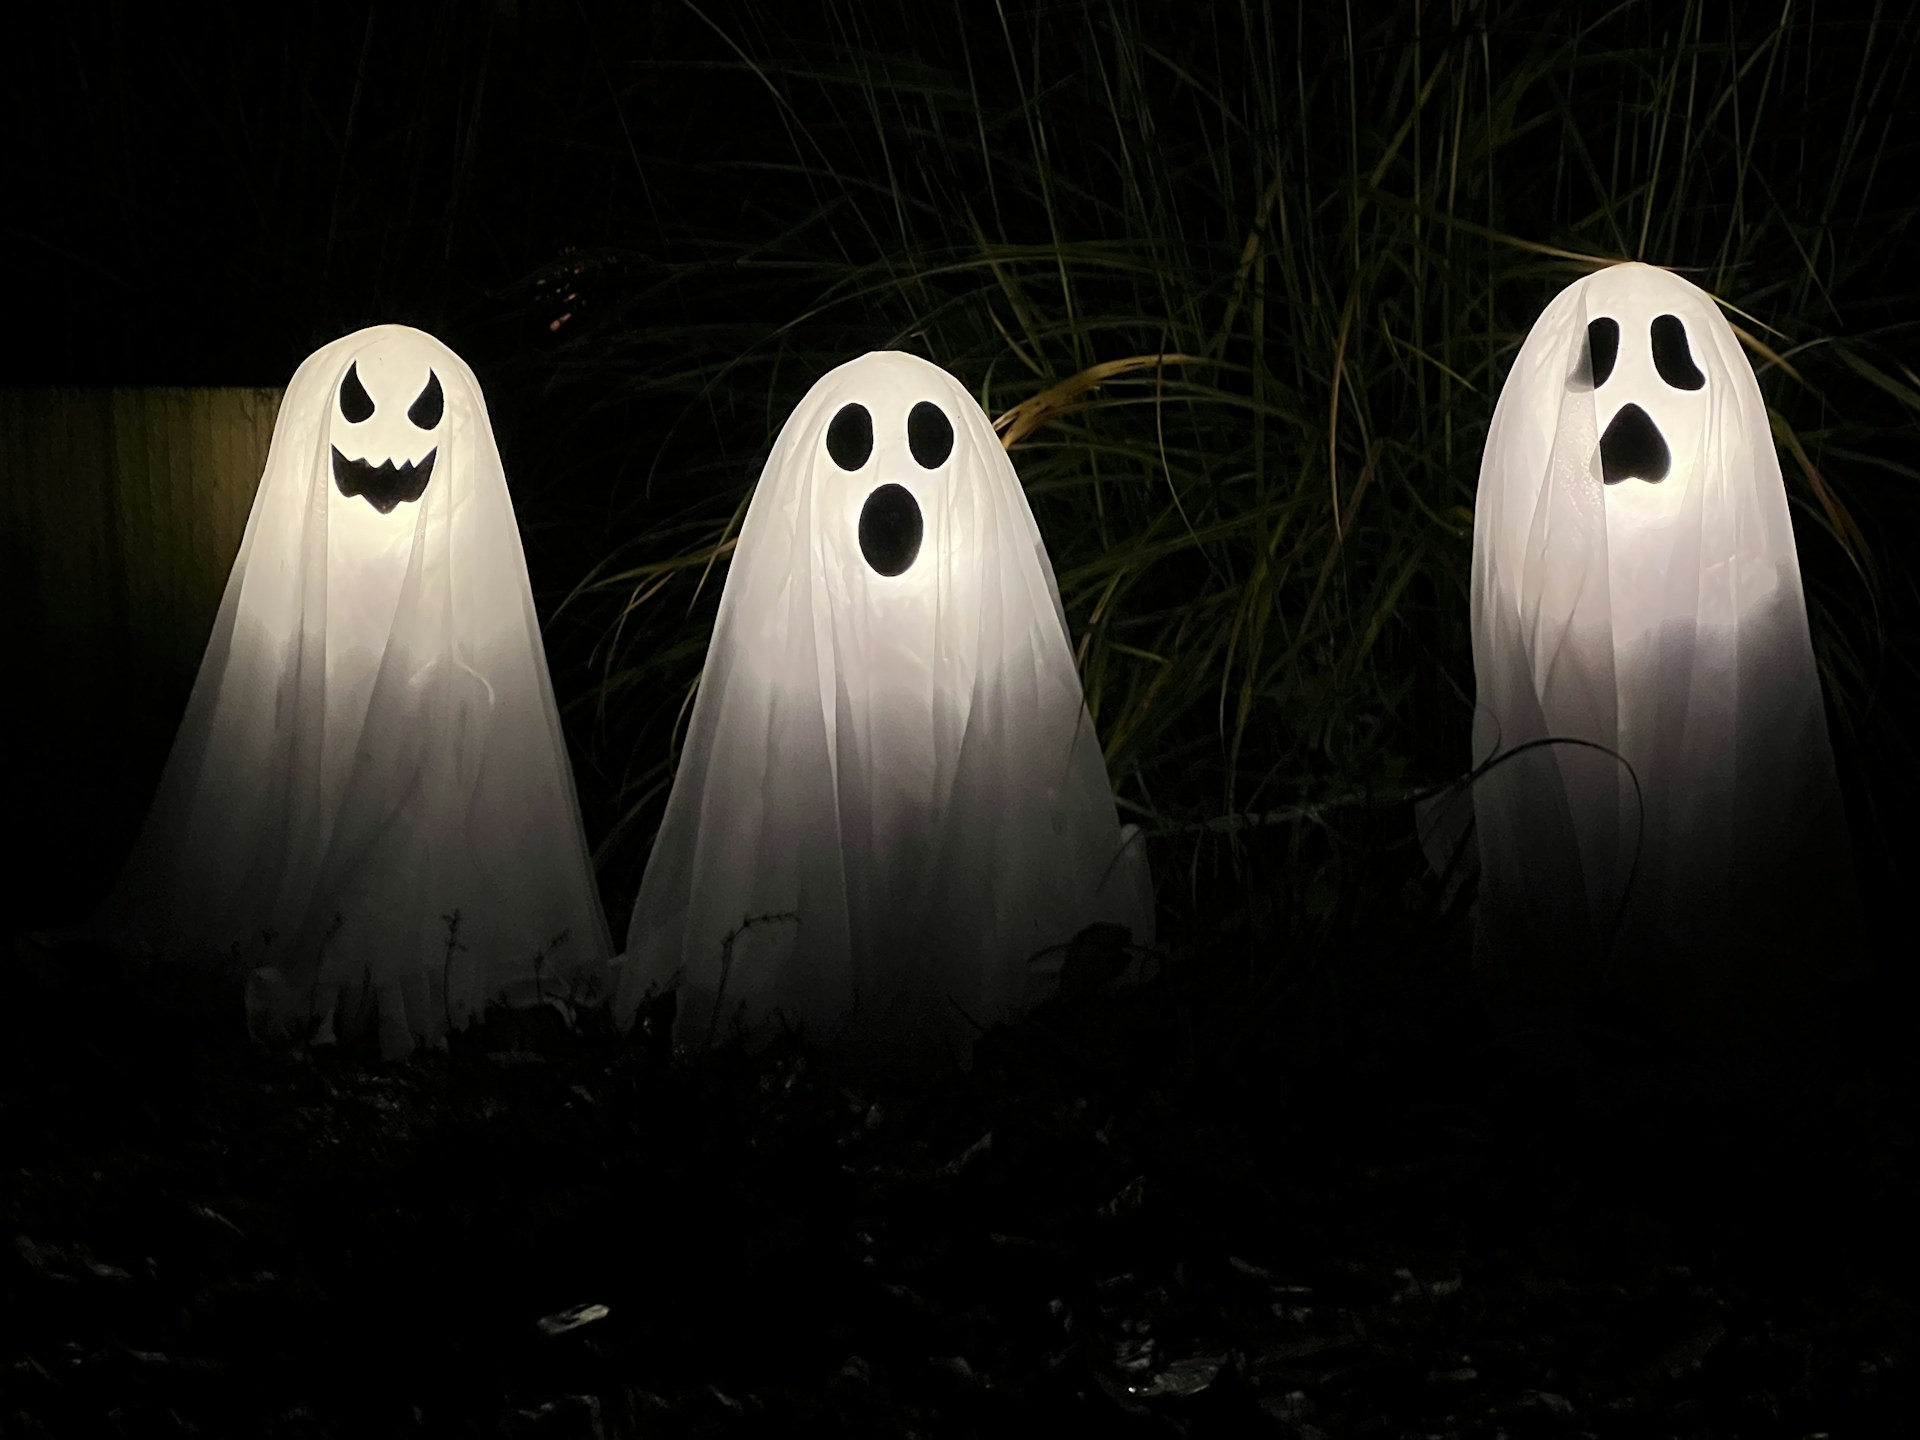
These friendly ghosts glow softly in the garden after dark, and the secret is a battery light tucked inside. Shape each ghost from fabric stiffened over a bottle and balloon, cut simple faces, then slip a battery LED puck light underneath. They look spooky and magical at the same time, and there are no flames anywhere near little trick or treaters. Group three of different heights along the front path or in a flower bed, then add a few more ideas from our last minute Halloween porch list. How will your ghosts greet visitors this year?
You will need: White cheesecloth or thin white fabric, liquid fabric stiffener, balloons, empty bottles of different heights, plastic wrap, black felt and battery LED puck lights.
How to make it: 1. Cover a balloon on a bottle with plastic wrap and drape fabric soaked in stiffener over it. 2. Let it dry overnight, pop the balloon and lift the ghost off. 3. Glue on black felt faces and slide a battery light under each ghost at night.
Martha Stewart Halloween Hanging Ghost in a Webbed Tree
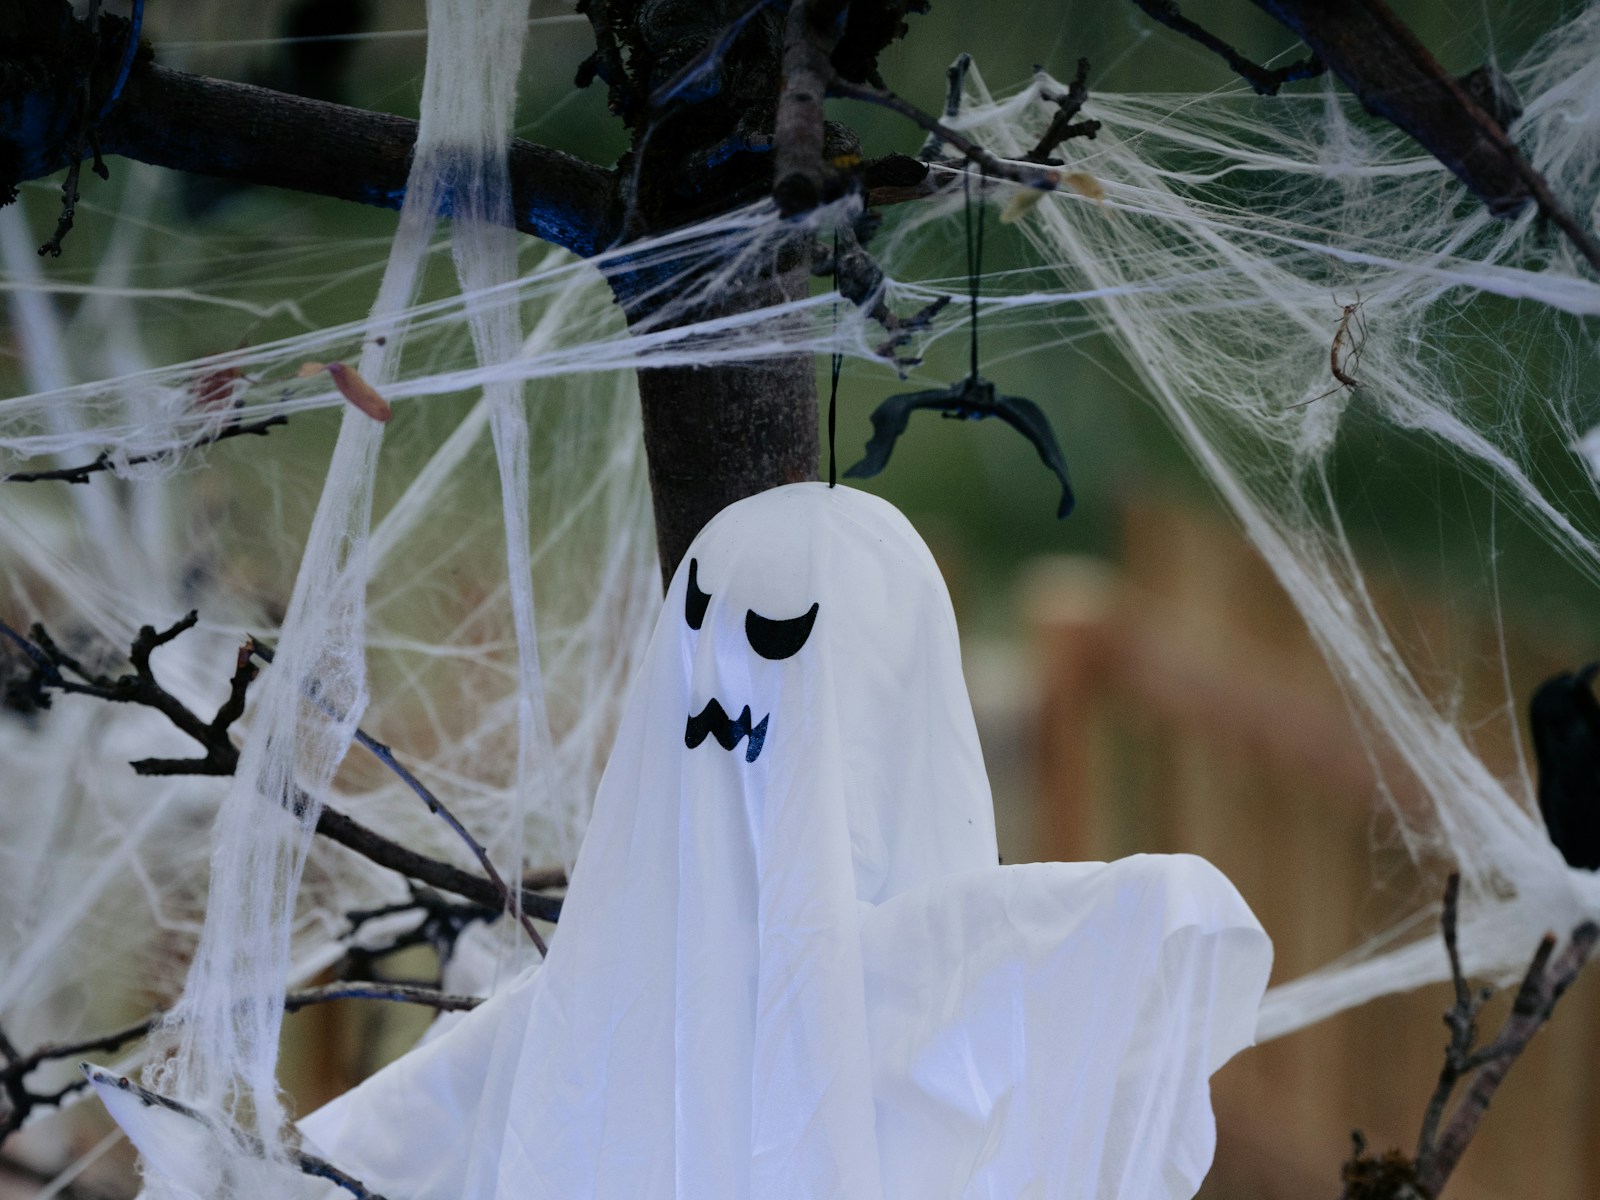
A single white ghost floating in a tree full of webbing turns any front yard into a scene. Stretch cotton spider web over low branches, pulling it thin so it looks real, then hang a fabric ghost in the middle with fishing line. It moves in the breeze and catches the porch light at night. Add a few orange pumpkins at the base of the tree to finish the look. It is a simple way to bring a Martha Stewart Halloween feel outdoors. Do you have a small tree near your front door?
You will need: Stretchy cotton spider web, a white fabric ghost (store bought or made from cheesecloth), fishing line, a small foam ball for the head and black felt for the face.
How to make it: 1. Pull small pieces of web very thin and drape them over the branches. 2. Make a ghost by covering a foam ball with white fabric and gluing on felt eyes and a mouth. 3. Hang it from a sturdy branch with fishing line so it can sway.
Skulls Under a Glass Cloche
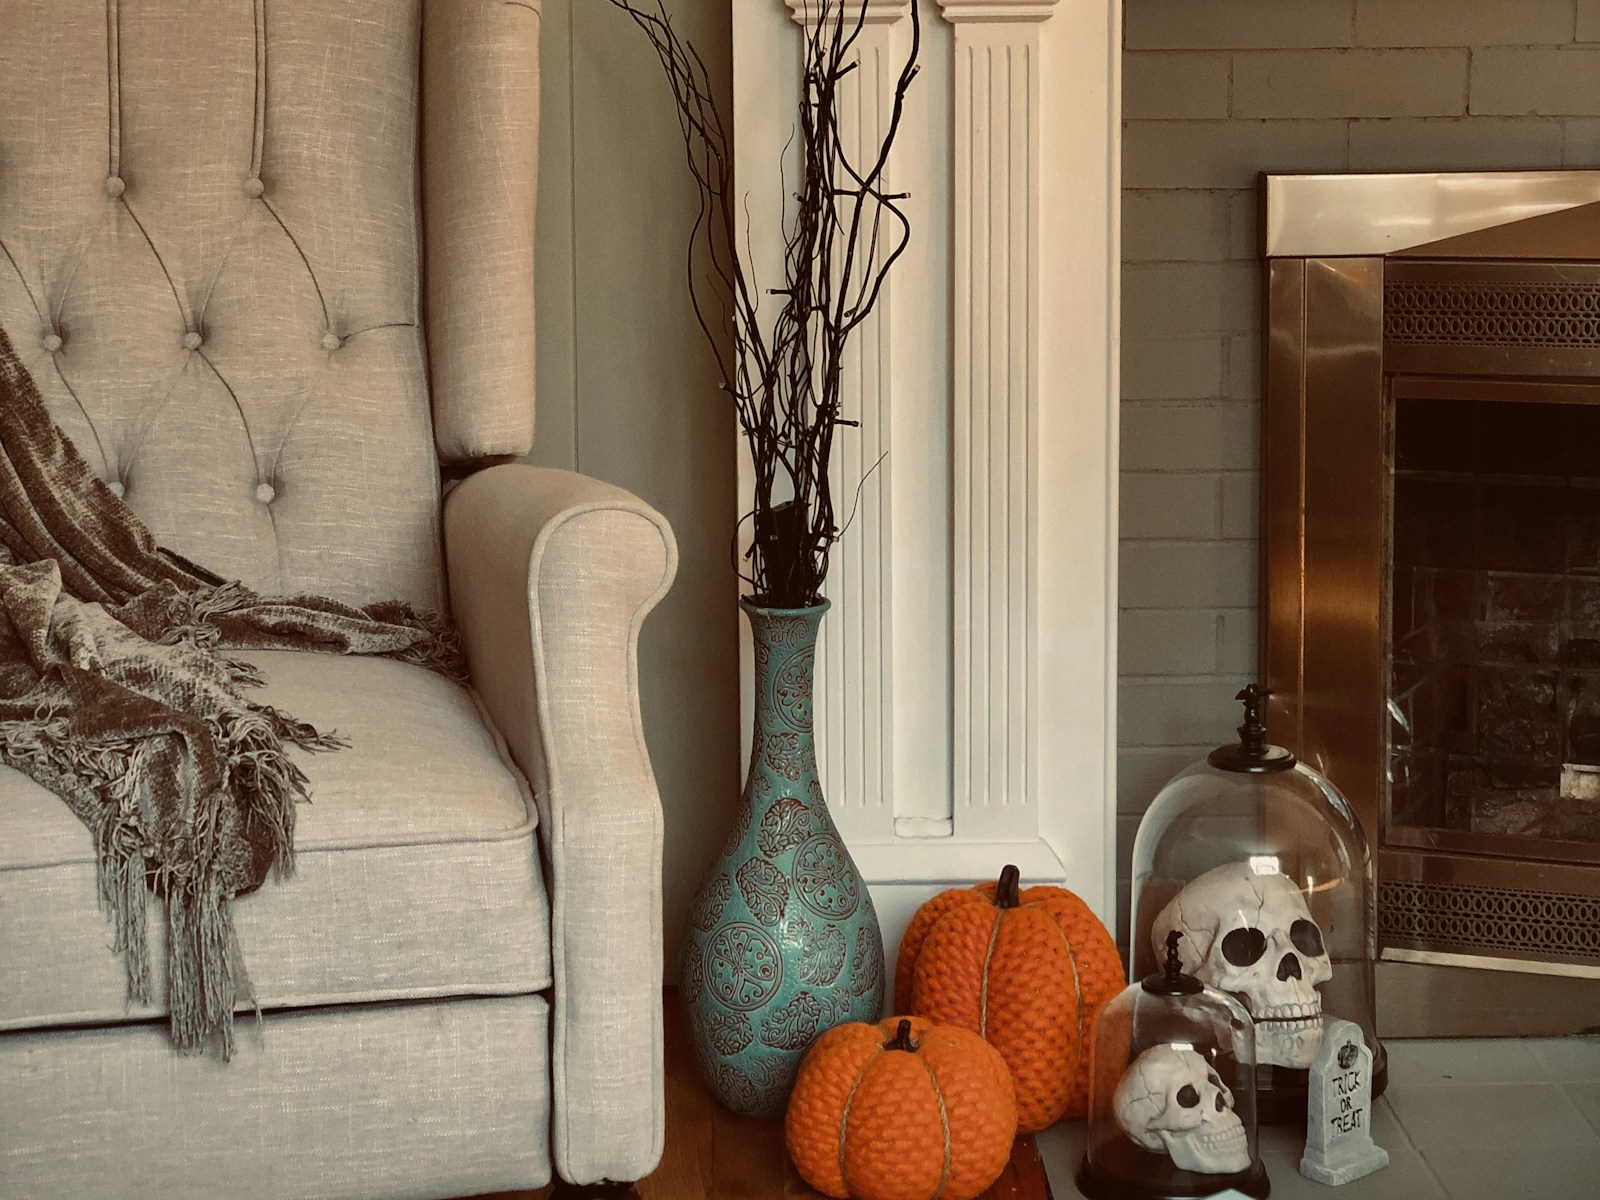
A glass cloche makes anything look like a museum piece, even a plastic skull from the party store. Tuck one or two under the glass on the hearth, add a vase of black painted branches and a pair of bright pumpkins, and the whole corner feels curated. It is the cabinet of curiosities look that has become a Halloween favorite. Keep the fireplace dark and let the display do the talking. What curiosity will you put under glass?
You will need: A glass cloche or a large upside down vase, one or two faux skulls, a tall vase, a few branches, black spray paint and two or three pumpkins.
How to make it: 1. Spray the branches matte black outdoors and let them dry. 2. Set the skulls on a small plate or wood slice and lower the cloche over them. 3. Group the cloche, the branch vase and the pumpkins on the hearth or a side table.
Martha Stewart Halloween Apothecary Shelf
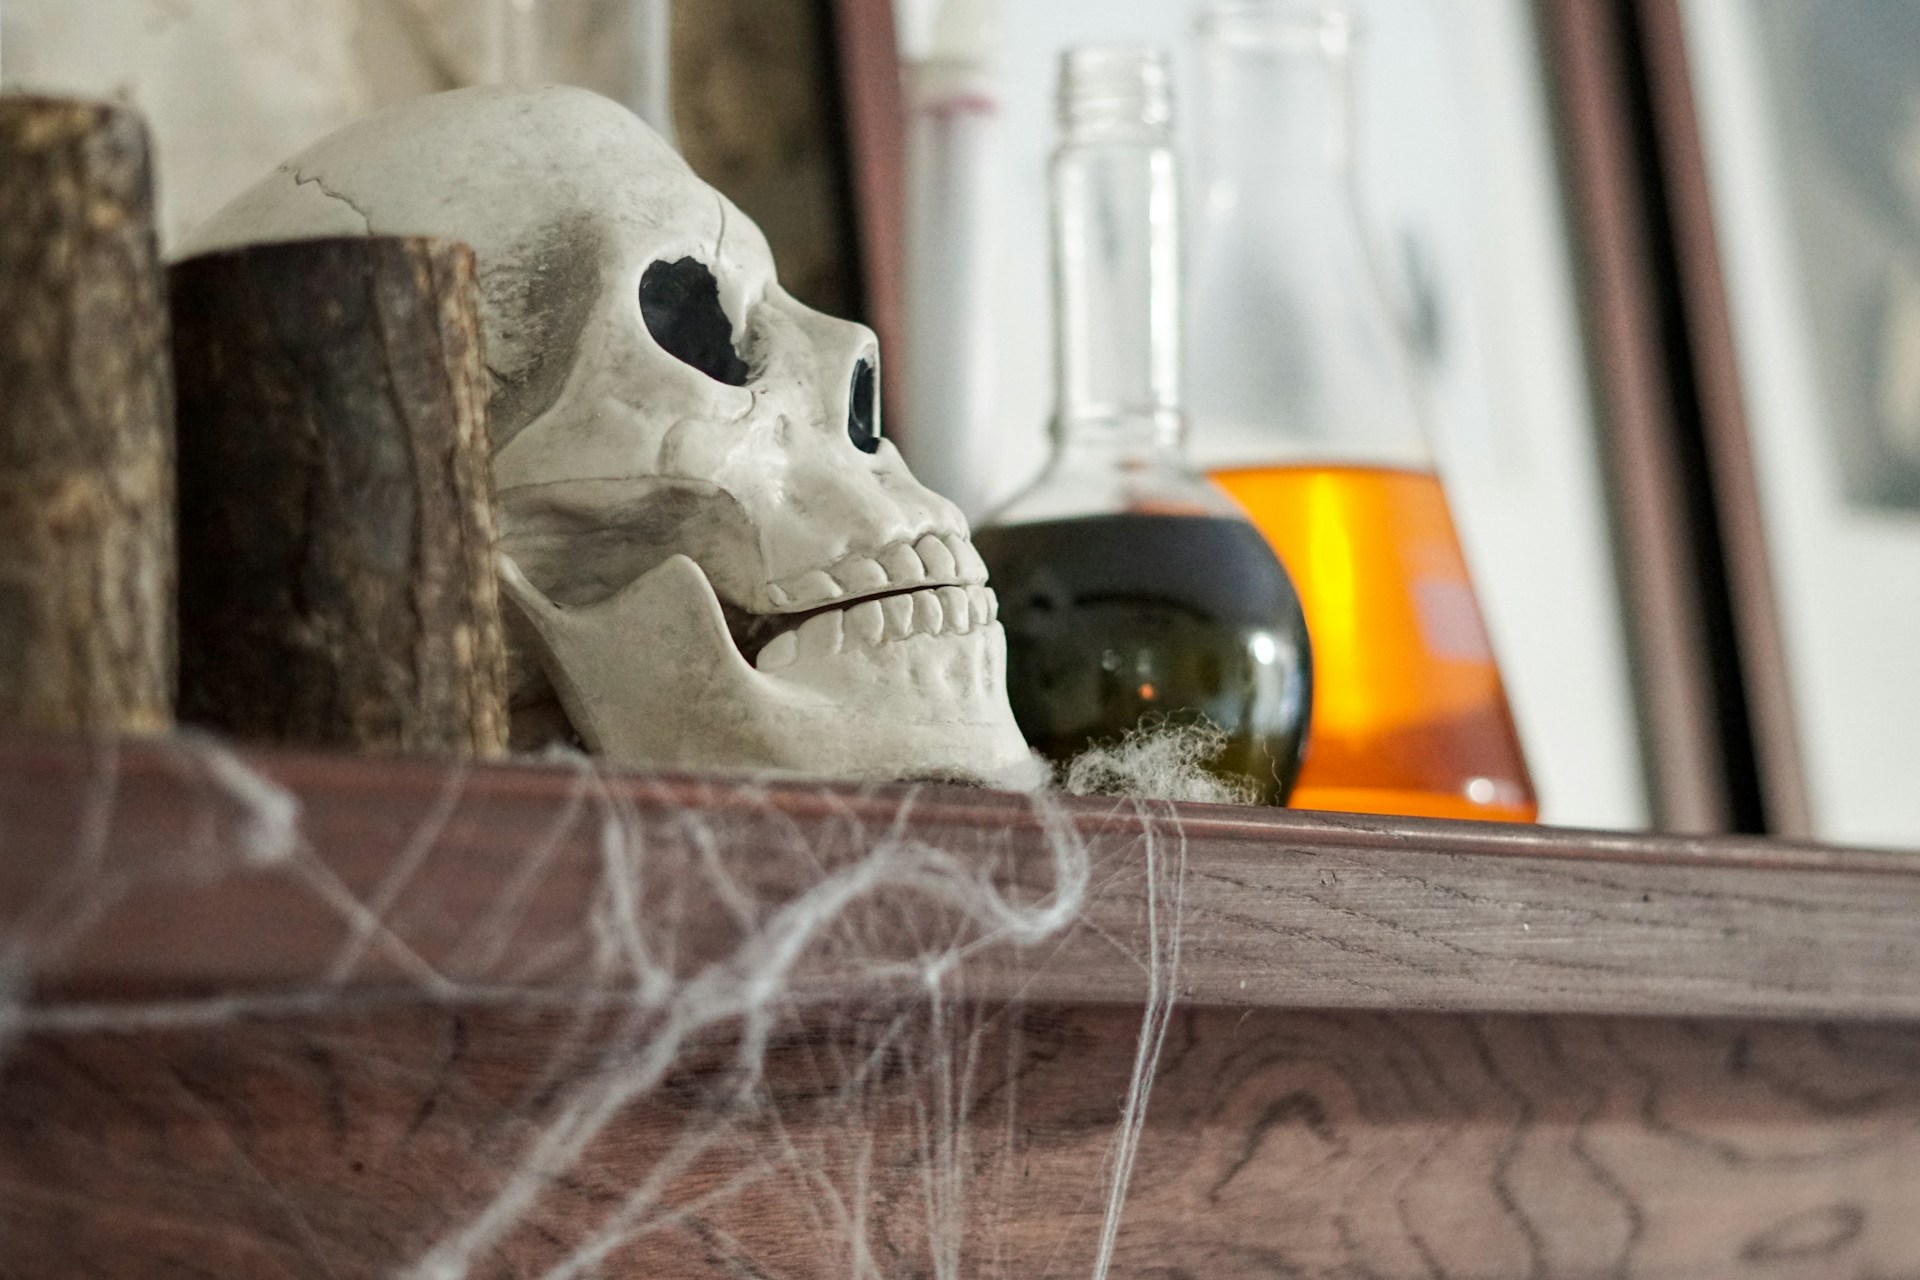
Collect old glass bottles from the recycling bin and the thrift store, fill a few with colored water, and you have a mad scientist shelf in minutes. A faux skull, a little stretchy web and a couple of wood slices finish the look. Tea stained labels with spooky potion names add a fun touch for older kids. This Martha Stewart Halloween style shelf looks great in a bathroom, a bookcase or a dark corner of the kitchen. Which potions will your shelf hold?
You will need: Assorted glass bottles and jars, water with a drop of food coloring, a faux skull, stretchy spider web, wood slices or candlesticks for height and tea stained paper labels.
How to make it: 1. Fill some bottles with colored water and leave others empty for contrast. 2. Arrange them at different heights with the skull in front. 3. Stretch a little web across the corner and tie on handwritten labels.
Felt Pumpkin Garland
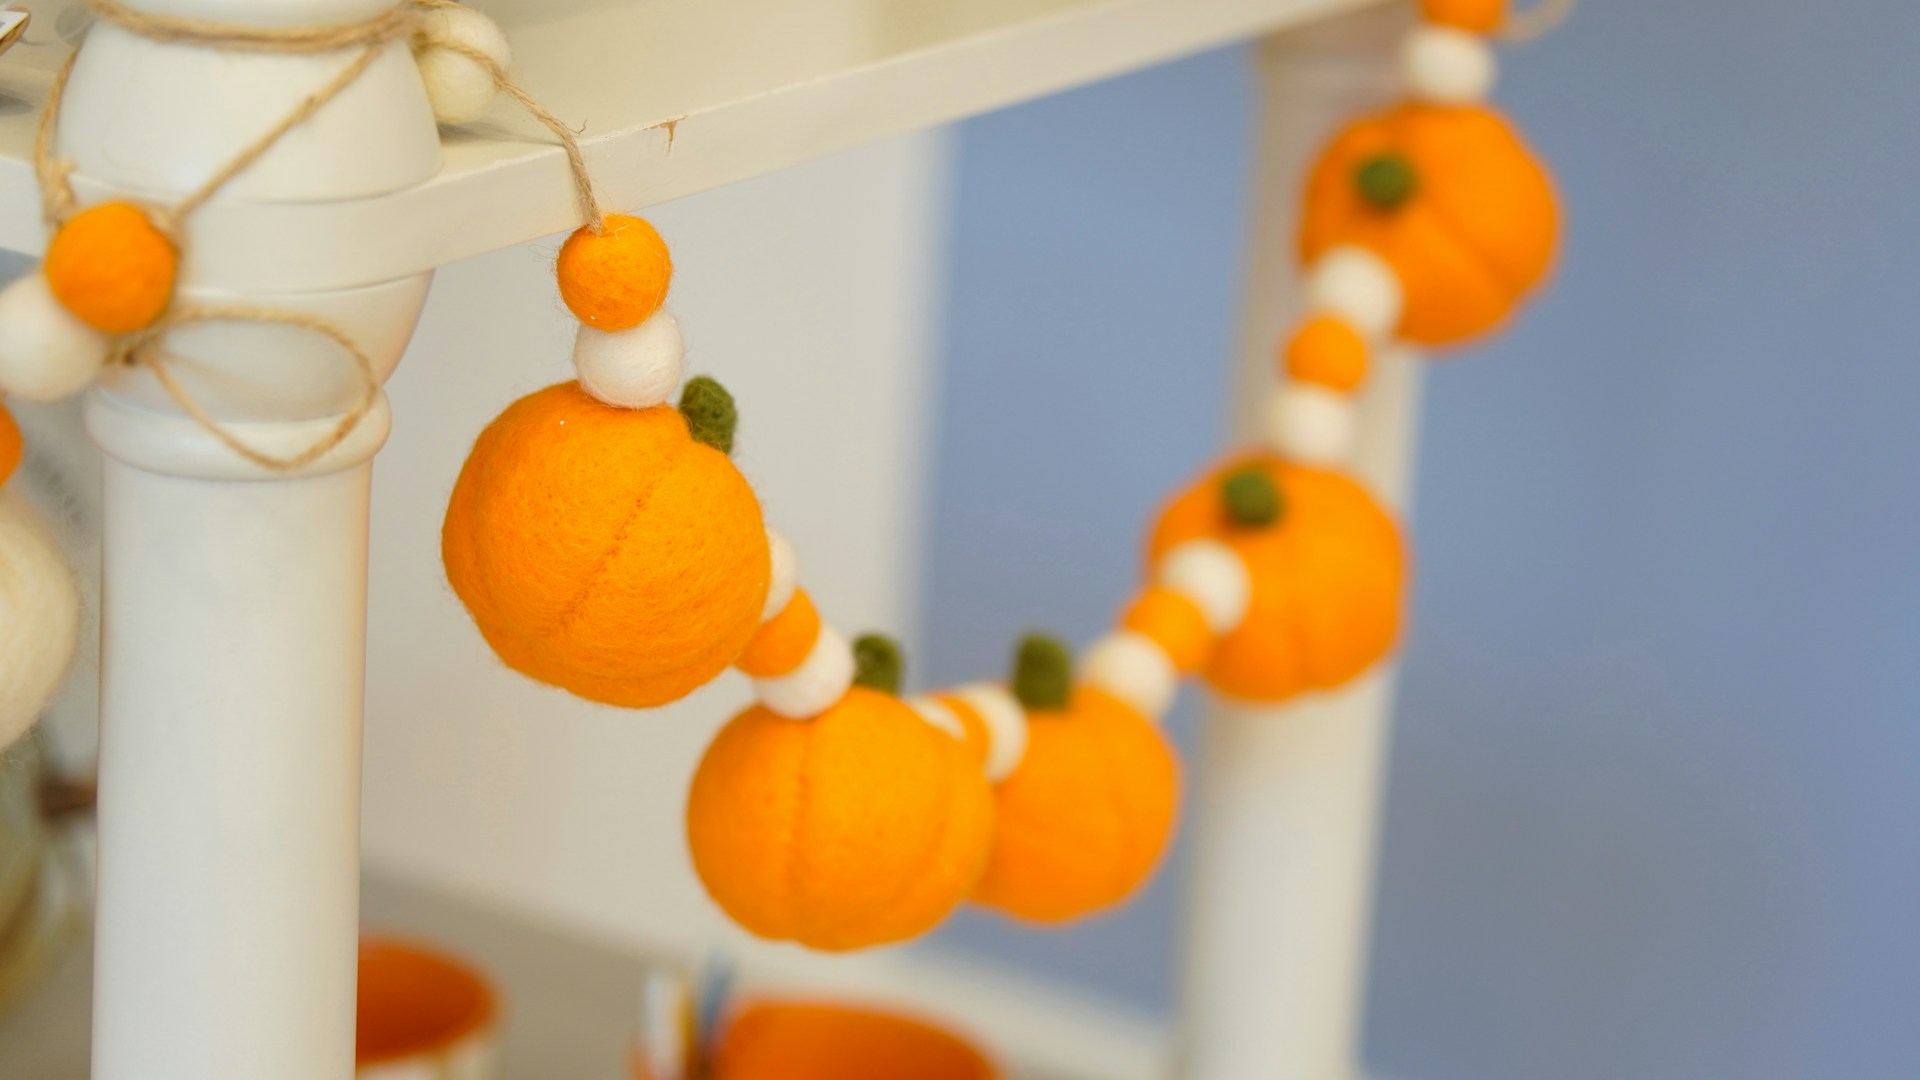
Felt balls look like tiny pumpkins once you add a green yarn stem, and strung with wooden beads they make the sweetest garland. It is soft, cheerful and safe around kids and pets. Drape it along a stair railing, a mantel or a mirror, and leave it up until Thanksgiving. You can buy ready made felt balls or wet felt your own from wool roving. This is a relaxing evening project for a craft night with friends. How long will your garland be?
You will need: Orange felt balls, white or natural wooden beads, green yarn or felt, a large needle, strong thread or baker’s twine and a little craft glue.
How to make it: 1. Glue a tiny twist of green yarn on top of each felt ball for a stem. 2. Thread a needle with twine and string felt balls and beads in a pattern. 3. Knot both ends with loops and hang it on a railing or mantel.
Painted Black Cat Pumpkins
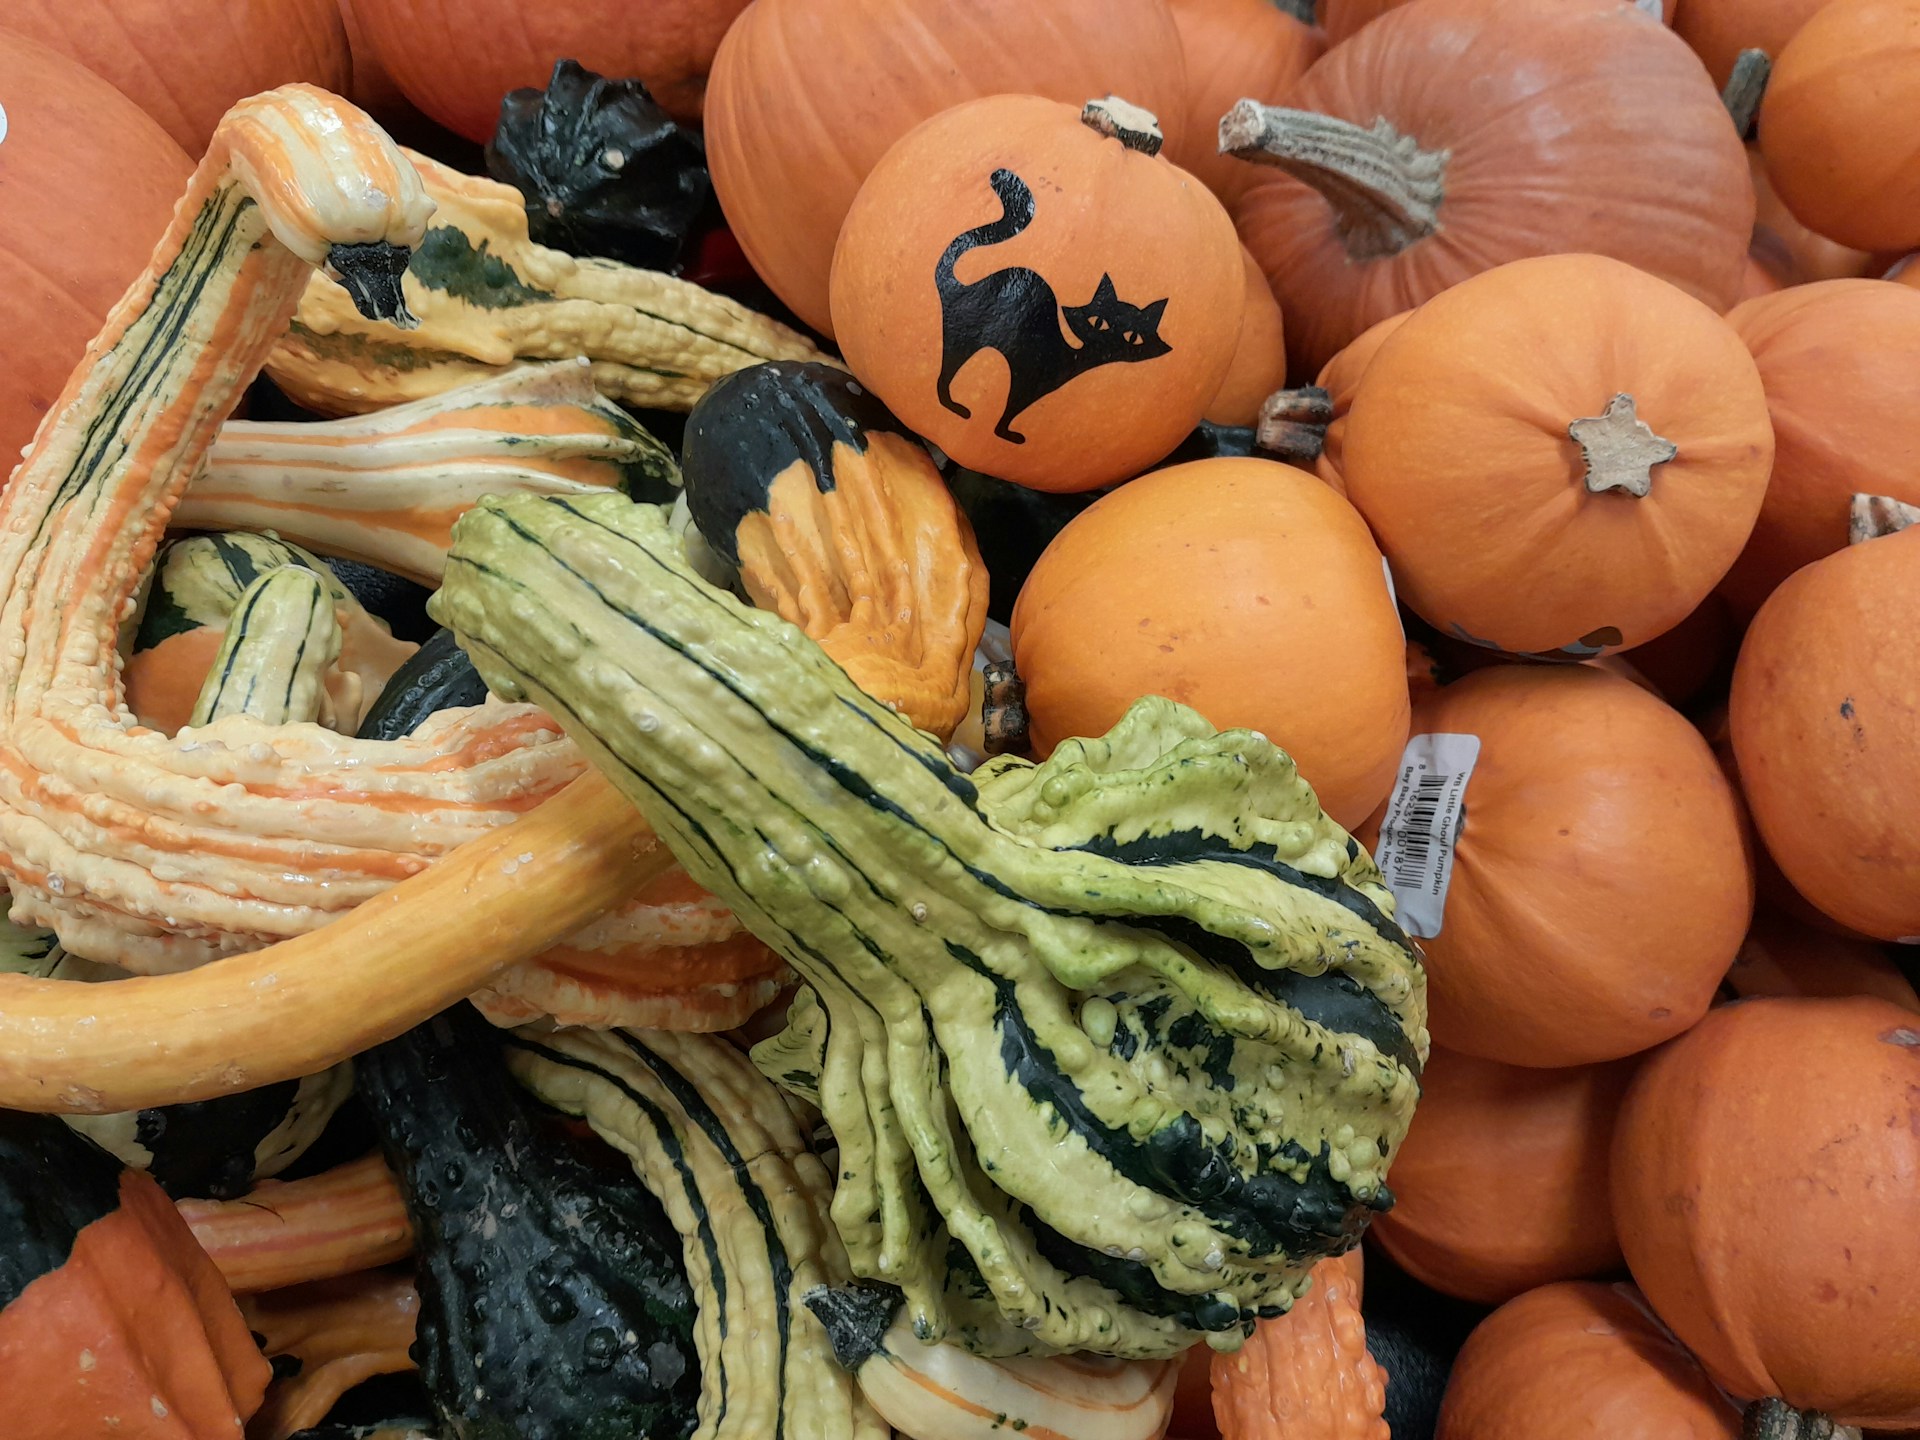
No carving, no mess and no knives: a simple black cat painted on a pumpkin is classic and charming. Sketch the cat in pencil, fill it in with black acrylic paint and add a curly tail and pointy ears. Set it in a pile of real pumpkins and gourds on the porch so it looks like a surprise among the harvest. Kids can paint their own while grown ups do the fancy ones. Will your cat be arching, sitting or sneaking along?
You will need: Pumpkins with smooth skin, a pencil, black acrylic paint, small and medium paint brushes, a printed cat silhouette and a clear spray sealer for outdoor pumpkins.
How to make it: 1. Wipe the pumpkin clean and lightly trace a cat outline in pencil. 2. Fill in the shape with two coats of black paint. 3. Let it dry, seal it if it lives outdoors and pile it with other pumpkins and gourds.
Vintage Postcard Garland
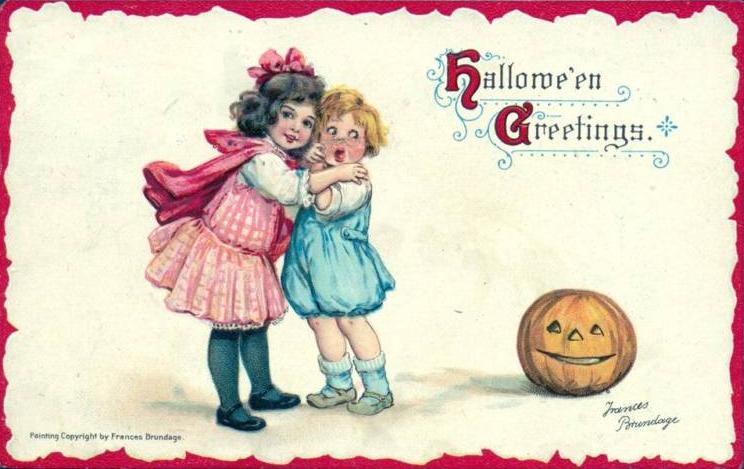
Halloween postcards from the early 1900s are full of grinning jack o lanterns, black cats and sweet children, and many are now in the public domain. Print a dozen on heavy matte paper, punch two holes in each and string them on black velvet ribbon for a garland with real old fashioned charm. Hang it across a doorway, a mirror or the front of a bookshelf. It also makes a wonderful conversation starter at a party. Which vintage cards will you pick for yours?
You will need: Printed public domain vintage Halloween postcards, heavy matte cardstock, a hole punch, black velvet ribbon and small clothespins or tape.
How to make it: 1. Print the postcards on matte cardstock and trim them. 2. Punch two small holes along the top of each card. 3. Thread them onto the ribbon with a little space between each and hang it with tape or small hooks.
Framed Vintage Black Cat Art
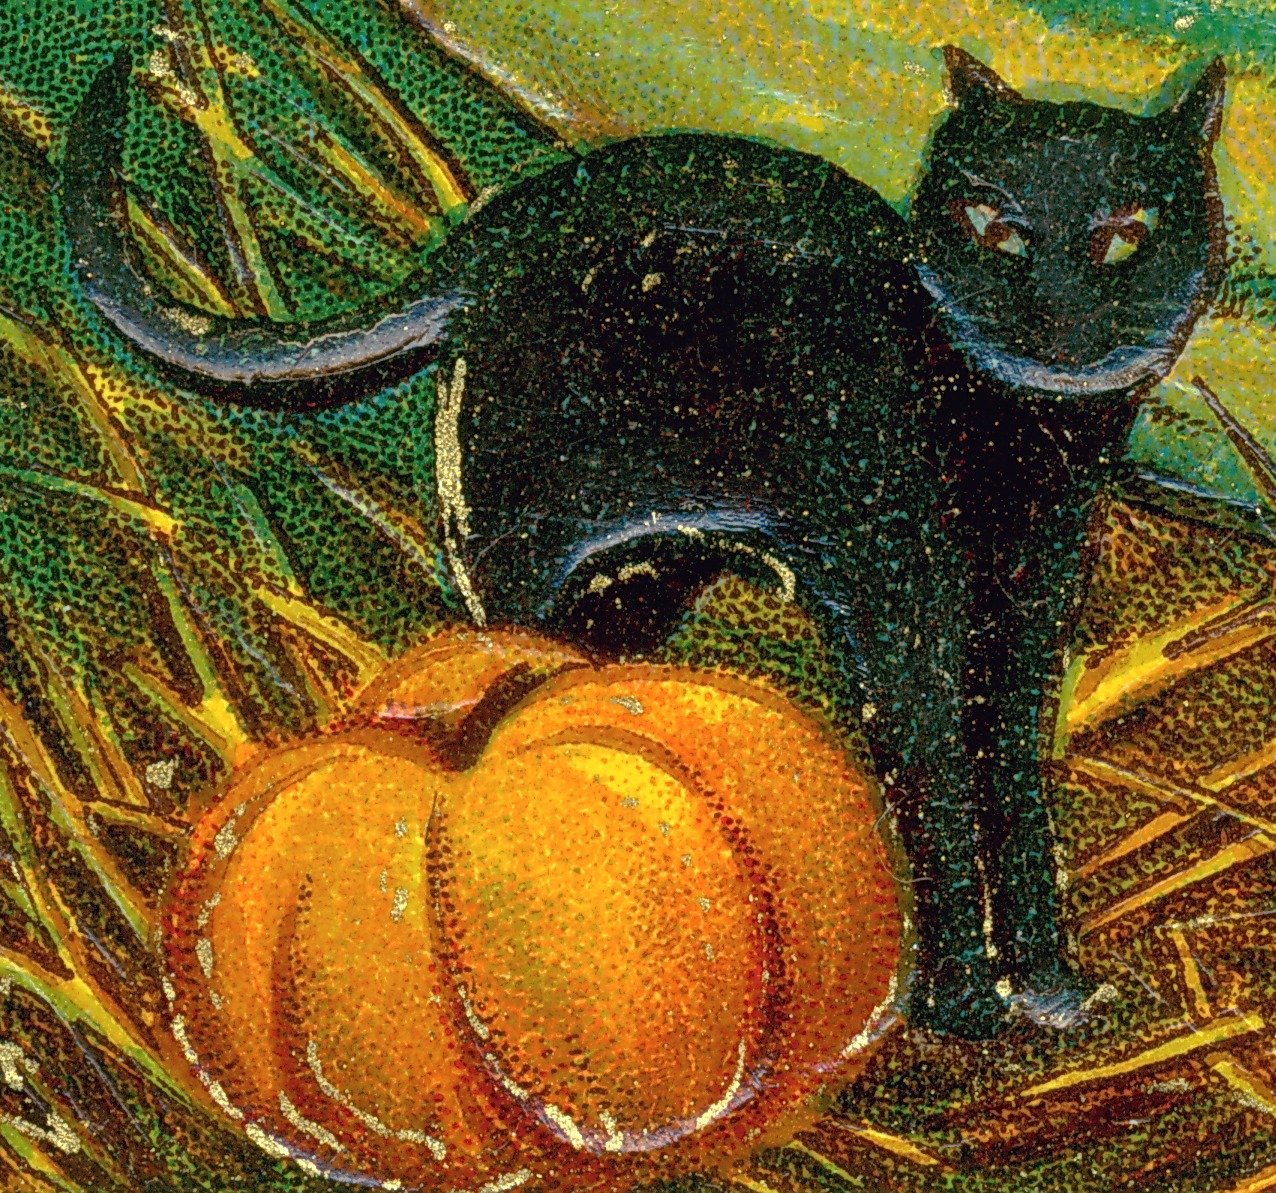
Zoom in on an old postcard and you often find a tiny masterpiece. Framed vintage art adds an old world feel to any Martha Stewart Halloween display. This arched black cat on a pumpkin looks wonderful enlarged and framed in a thrifted gold frame. Lean a few framed pieces on the mantel or hang a small gallery wall in the entry. Swap the prints back to your family photos on November first. It is a quick way to add color without buying any new decor at all. Do you have an old frame or two hiding in a closet?
You will need: A public domain vintage Halloween image, a home printer or print shop, thrifted frames, gold or black spray paint and a soft cloth.
How to make it: 1. Crop the vintage image to your favorite detail and print it on matte photo paper. 2. Freshen the frames with a coat of gold or black spray paint. 3. Frame the prints and group them on a mantel, shelf or entry wall.
Martha Stewart Halloween Pumpkin Vignette on a Black Tray
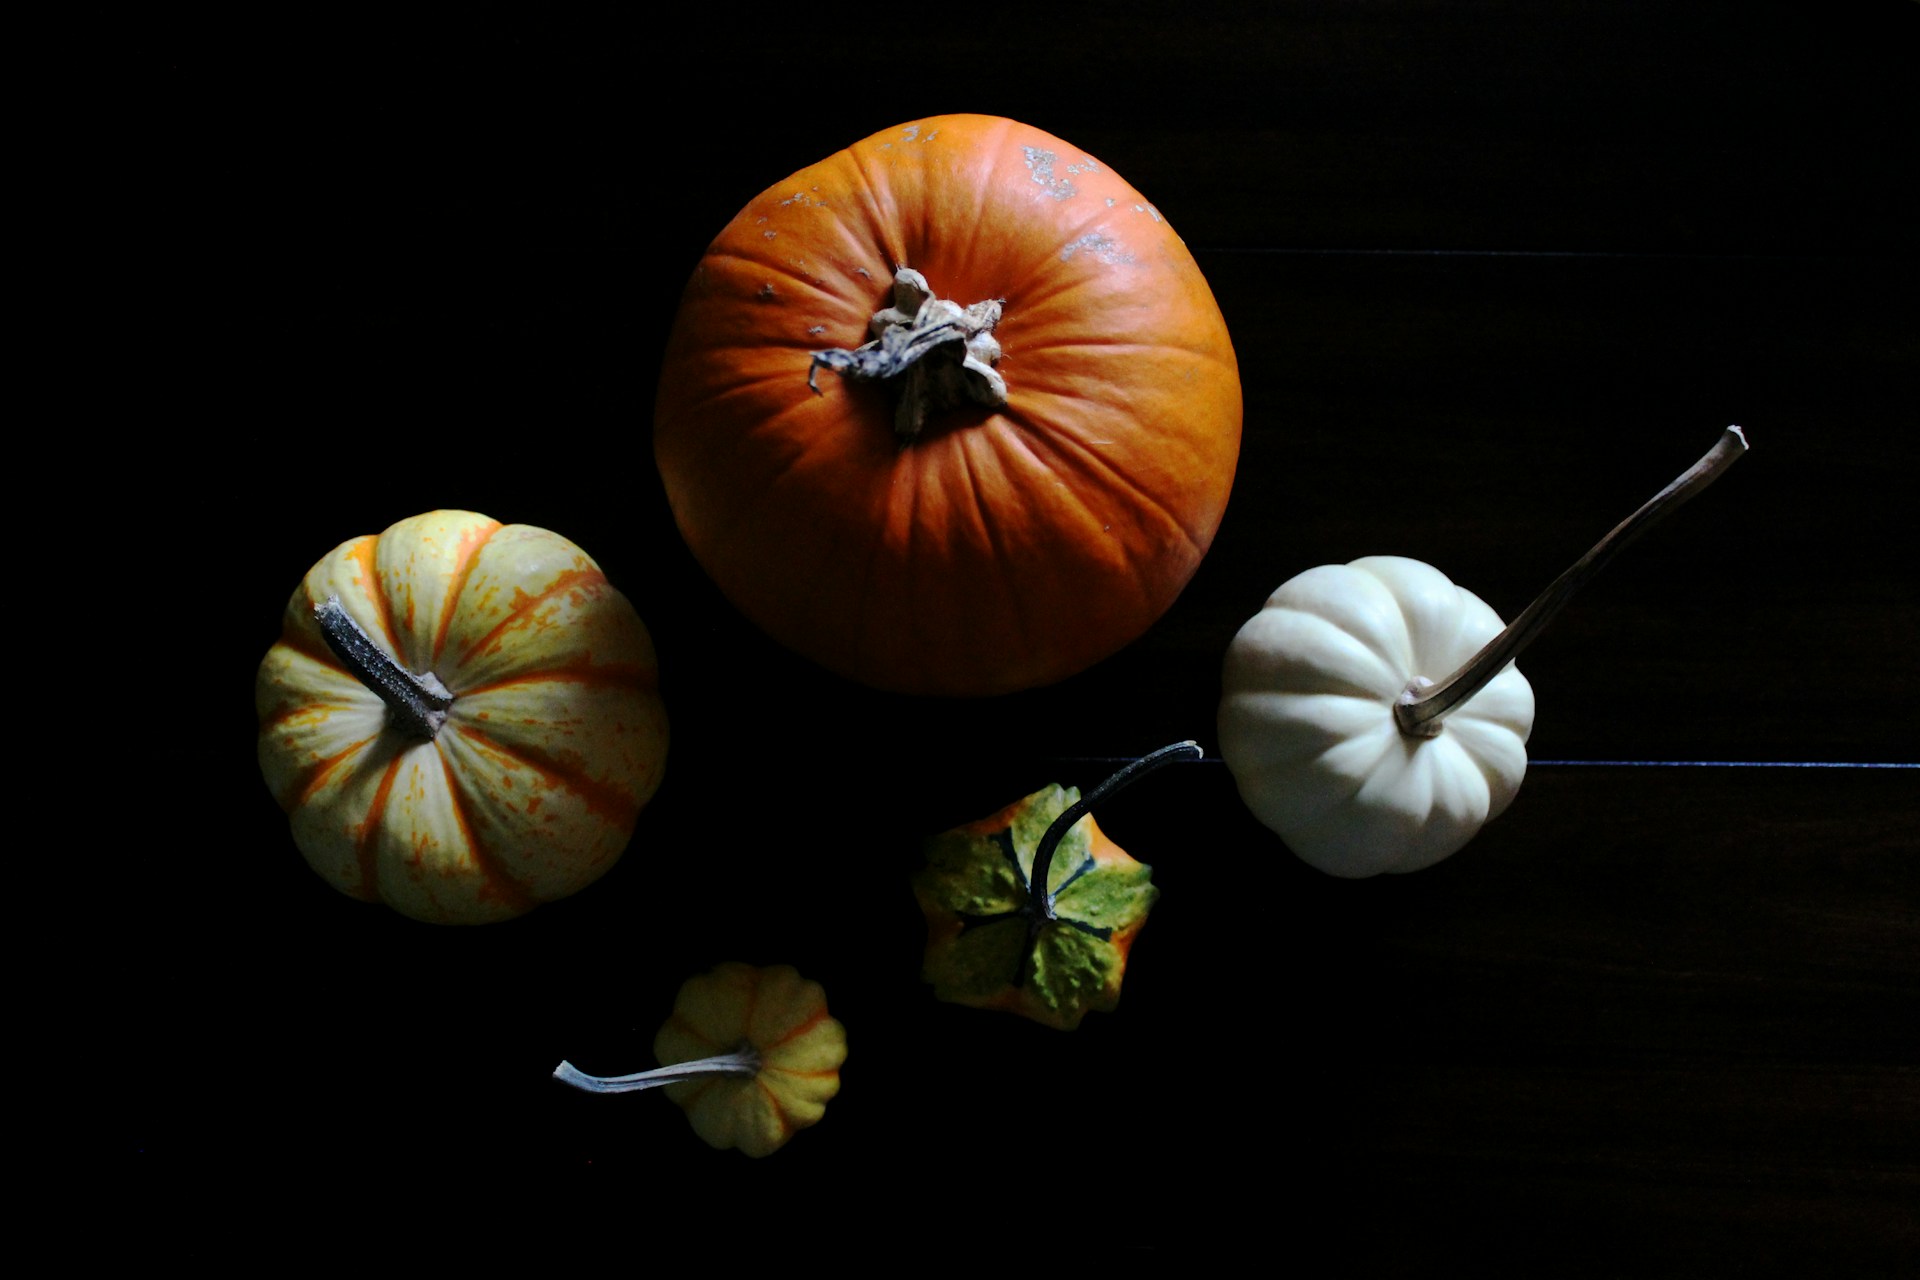
Sometimes the simplest Martha Stewart Halloween look is the best one: a mix of heirloom pumpkins in different shapes and colors grouped on a black surface. White ghost pumpkins, striped minis and one classic orange pumpkin look like a still life painting. Use a black tray, a slate board or a painted piece of plywood as the base. No carving means they stay fresh well into November, so you can keep them out for Thanksgiving too. Which shapes and colors will you mix?
You will need: Five to seven small heirloom pumpkins and gourds, a black tray or painted board, and a few dried leaves or sprigs of greenery.
How to make it: 1. Paint a board matte black or pick a dark tray. 2. Place the biggest pumpkin off center, then add smaller ones around it in odd numbers. 3. Tuck in a few leaves and keep the stems facing different directions for a natural look.