Plastic Bottle Upcycles: 13 Clever Ideas So Good Nobody Will Guess What They Were
Plastic bottle upcycles are one of the happiest surprises in crafting, because nobody ever guesses where the finished piece started. Every home has a few empty bottles in the recycling bin, and with a pair of scissors, some paint and a free afternoon, they can become planters, lamp shades, wall art and toys. One plastic bottle chandelier recently picked up hundreds of thousands of likes online, and it is easy to see why people love the reveal. These ideas cost almost nothing, keep a little plastic out of the trash and are fun to make with kids. An adult should always handle the cutting, and we skipped anything that needs heat or melting. Rinse a few bottles, pull off the labels and let’s get creative..
Plastic Bottle Upcycles for a Sunny Windowsill
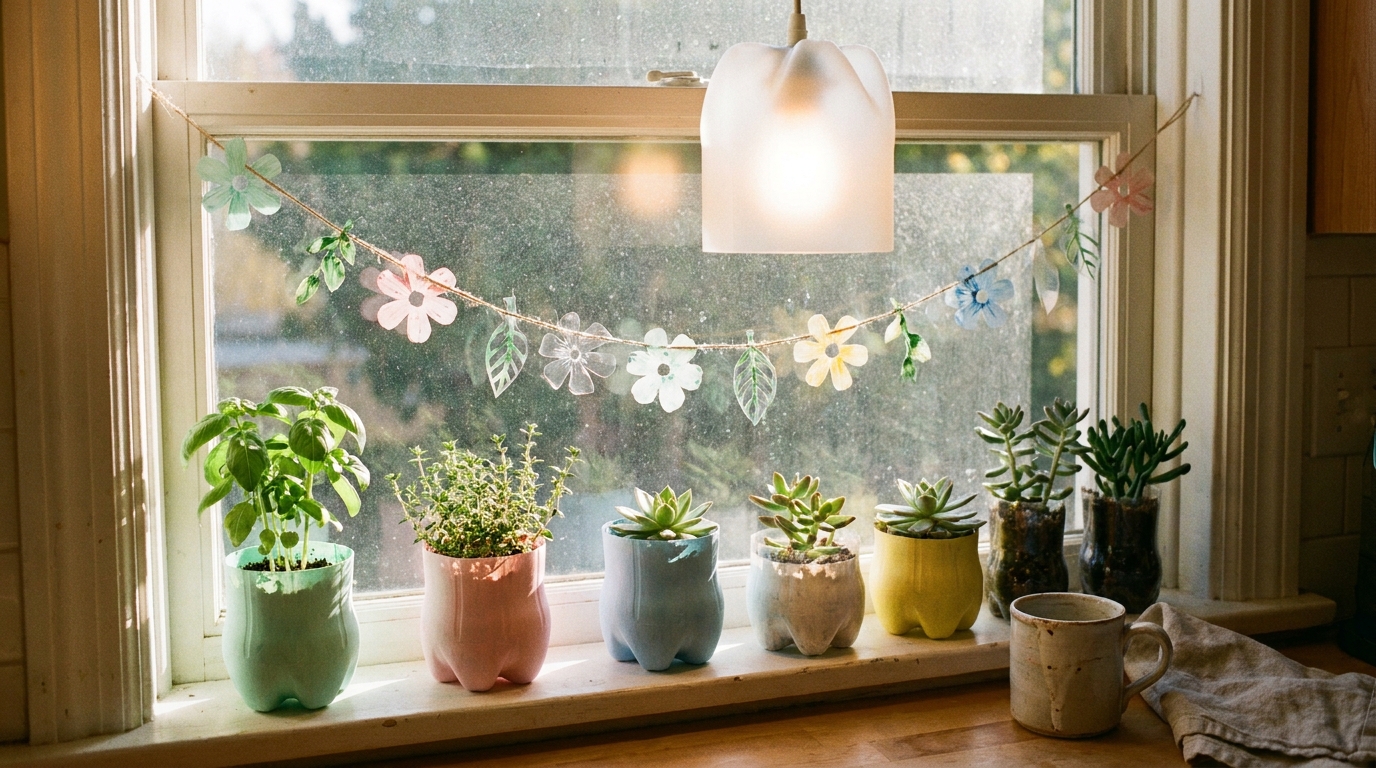
Start with the spot that gets the most light. Bottle bottoms painted in soft pastels make sweet little planters for herbs and succulents, and a garland of flowers cut from more bottle bottoms turns the window into a picture. Add a frosted bottle lamp shade above and suddenly the whole corner looks like a boutique display. This is the project that makes guests ask where you bought it. The best part is that everything here came out of the recycling bin. Which window in your home needs a little color..
You will need: Clean plastic bottles, scissors or a craft knife (adult only), acrylic or chalk paint, a brush, a hole punch, twine, potting mix and small plants.
How to make it: 1. An adult cuts the bottoms off the bottles at the height you want. 2. Paint the outsides in soft colors and let them dry, then punch a drainage hole. 3. Add soil and plants, and string cut flower shapes on twine for the garland.
Frosted Bottle Pendant Lamp Shade
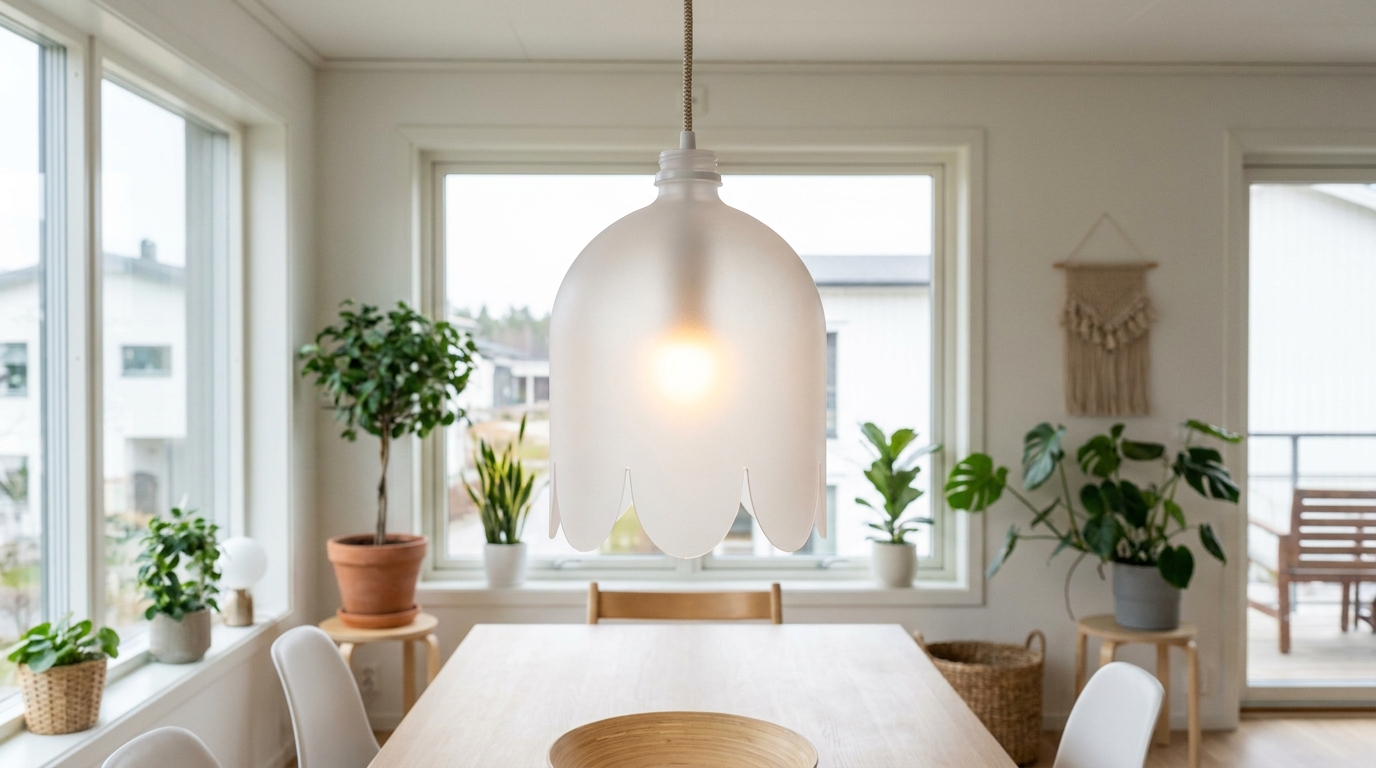
A big clear bottle can become a surprisingly elegant pendant shade. Cut it into a bell shape, scallop the edge into petals and sand the surface until it looks like frosted glass. Hang it from a plug in pendant cord with a cool running LED bulb, which keeps it safe for plastic. This idea is similar to the bottle chandelier that drew 491K likes on Instagram, and you can build a whole cluster of them. Would you hang one or a group of three?
You will need: A large clear plastic bottle, sharp scissors (adult only), fine sandpaper, a plug in pendant cord kit, a low heat LED bulb.
How to make it: 1. An adult cuts off the base and trims the edge into petal scallops. 2. Sand the whole surface for a frosted look and rinse off the dust. 3. Fit the bottle neck over the cord socket and use only an LED bulb.
Self Watering Herb Planter, the Most Useful of All Plastic Bottle Upcycles
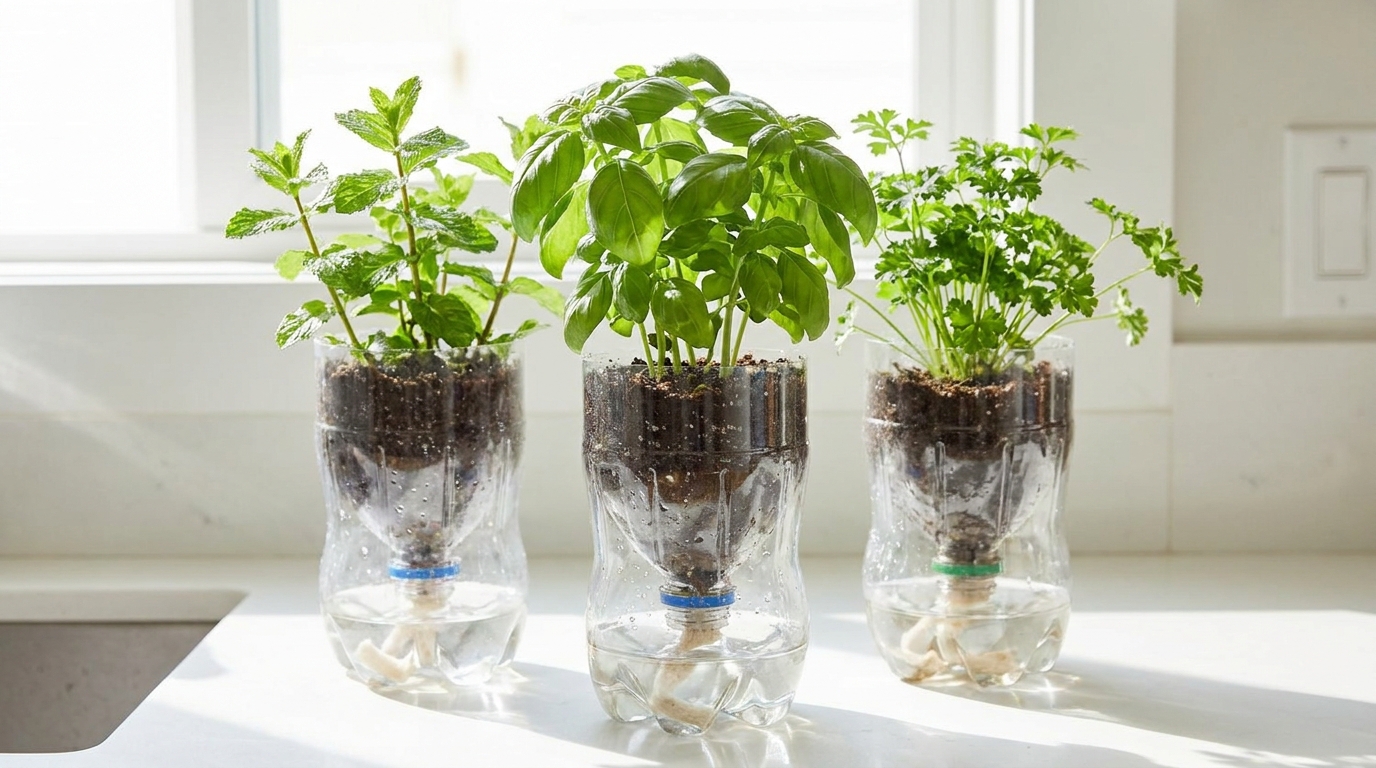
If you always forget to water your herbs, this one is for you. Cut a bottle in half, flip the top into the bottom and run a cotton string from the soil down into a little water. The plant drinks only what it needs, so basil and mint stay happy for days. Line up three on the kitchen counter and you have a mini herb garden for pennies. Kids love checking the water level every morning. Which herb would you plant first?
You will need: A plastic bottle, scissors (adult only), a cotton string or strip of old T shirt, potting mix, herb seedlings, water.
How to make it: 1. An adult cuts the bottle in half. 2. Thread the wick through the cap with a small hole and turn the top half upside down into the bottom. 3. Fill the top with soil and a seedling and pour water into the base.
Plastic Bottle Upcycles That Bloom: Flower Wall Art
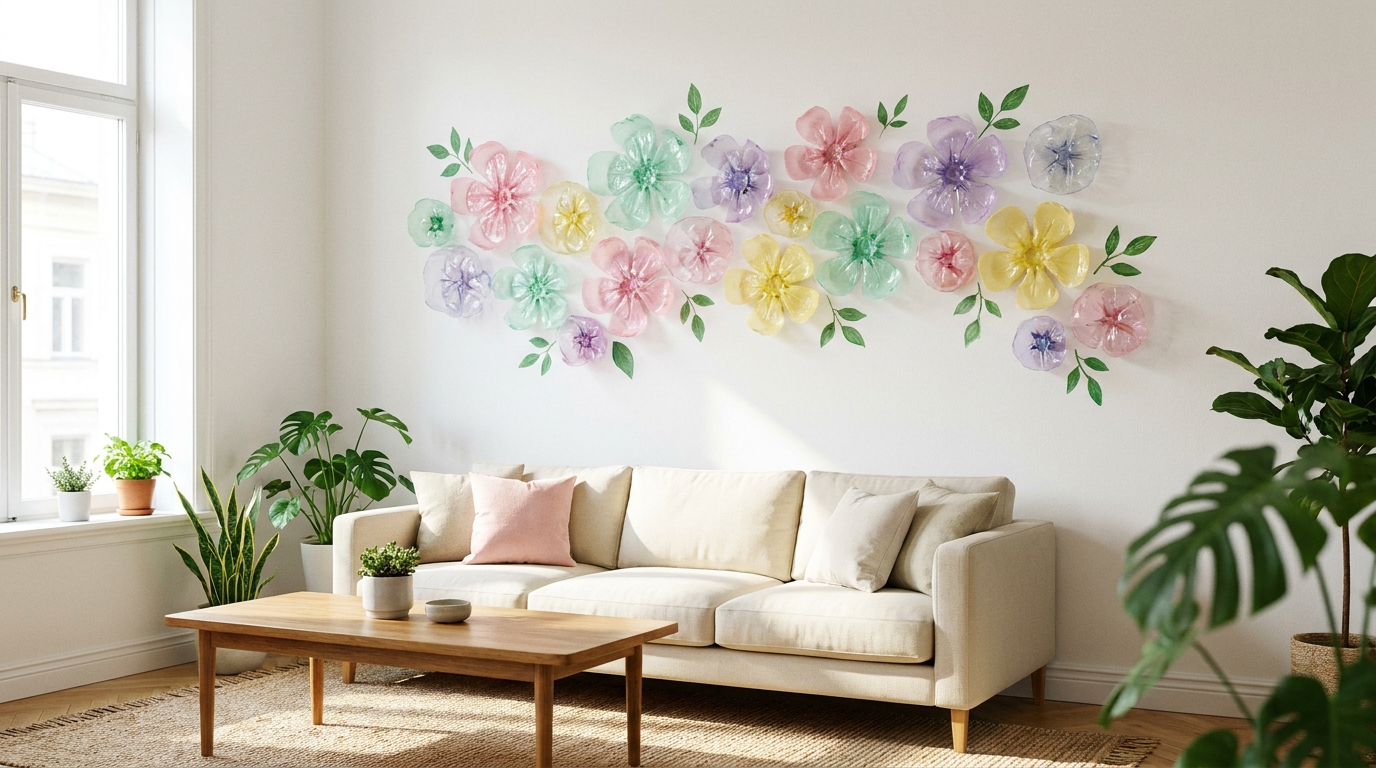
The bottoms of plastic bottles already look like flowers, which makes them perfect for wall art. Cut them off, trim the edges into petals and paint them in pinks, mints, lilacs and soft yellows. Arrange them in a flowing cluster over a sofa or bed, adding a few painted paper leaves between them. From across the room it looks like an expensive art piece. Up close, it is a happy little secret. What colors would match your living room?
You will need: Ten to twenty bottle bottoms, scissors (adult only), acrylic paint, brushes, poster putty or small adhesive dots, green cardstock for leaves.
How to make it: 1. An adult cuts off the bottoms and trims petal shapes. 2. Paint both sides and let them dry. 3. Arrange on the floor first, then stick them to the wall with putty.
Hanging Vertical Garden on a Wall
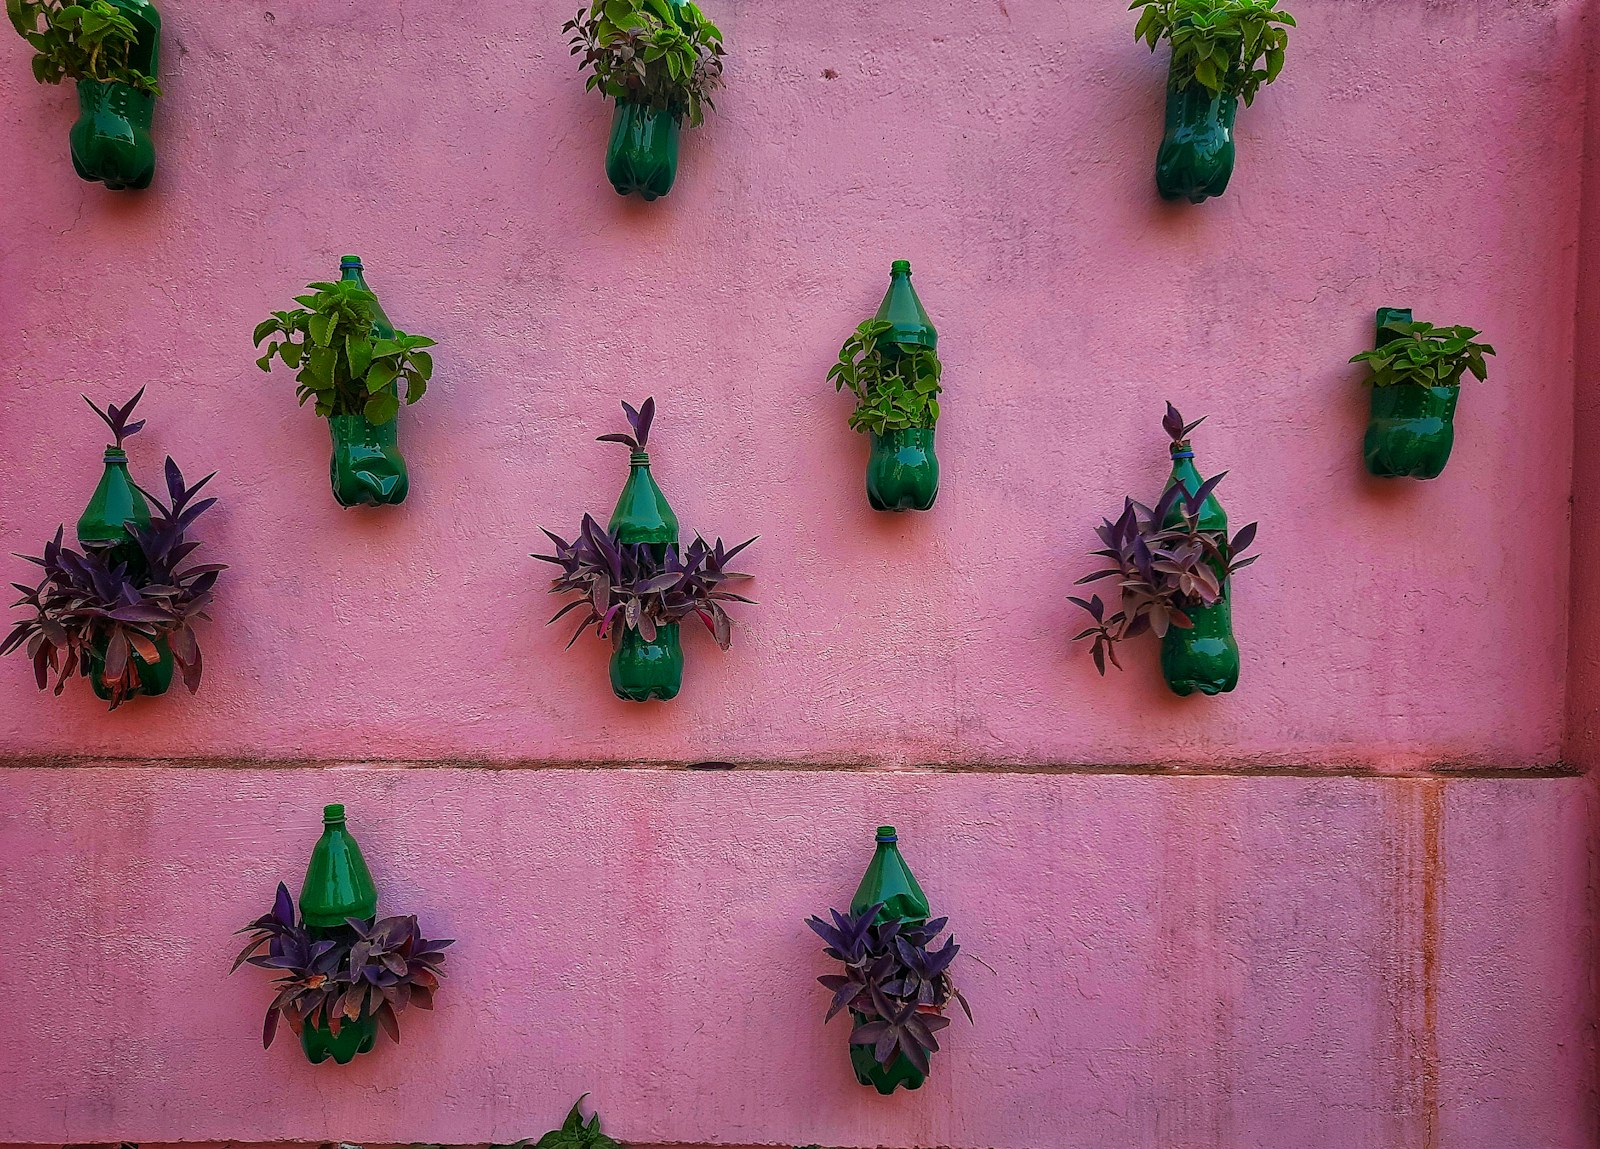
Short on space? Some of the smartest plastic bottle upcycles turn a bare wall or fence into a garden. Bottles cut open along one side become long planters that hang in neat rows, and they can hold flowers, herbs or trailing greens. Painting them the same color makes the whole wall look planned and modern. This idea is especially great for balconies and small yards. Water collects in the bottom, so add a few small holes for drainage. Where would you hang your bottle garden?
You will need: Plastic bottles, scissors (adult only), outdoor paint, strong cord or wire, screws or hooks, potting mix, small plants.
How to make it: 1. An adult cuts a window in the side of each bottle and pokes drainage holes. 2. Paint the bottles and thread cord through holes at both ends. 3. Hang them in rows on hooks, then fill with soil and plants.
Bottle Bird Feeder for Winter Visitors
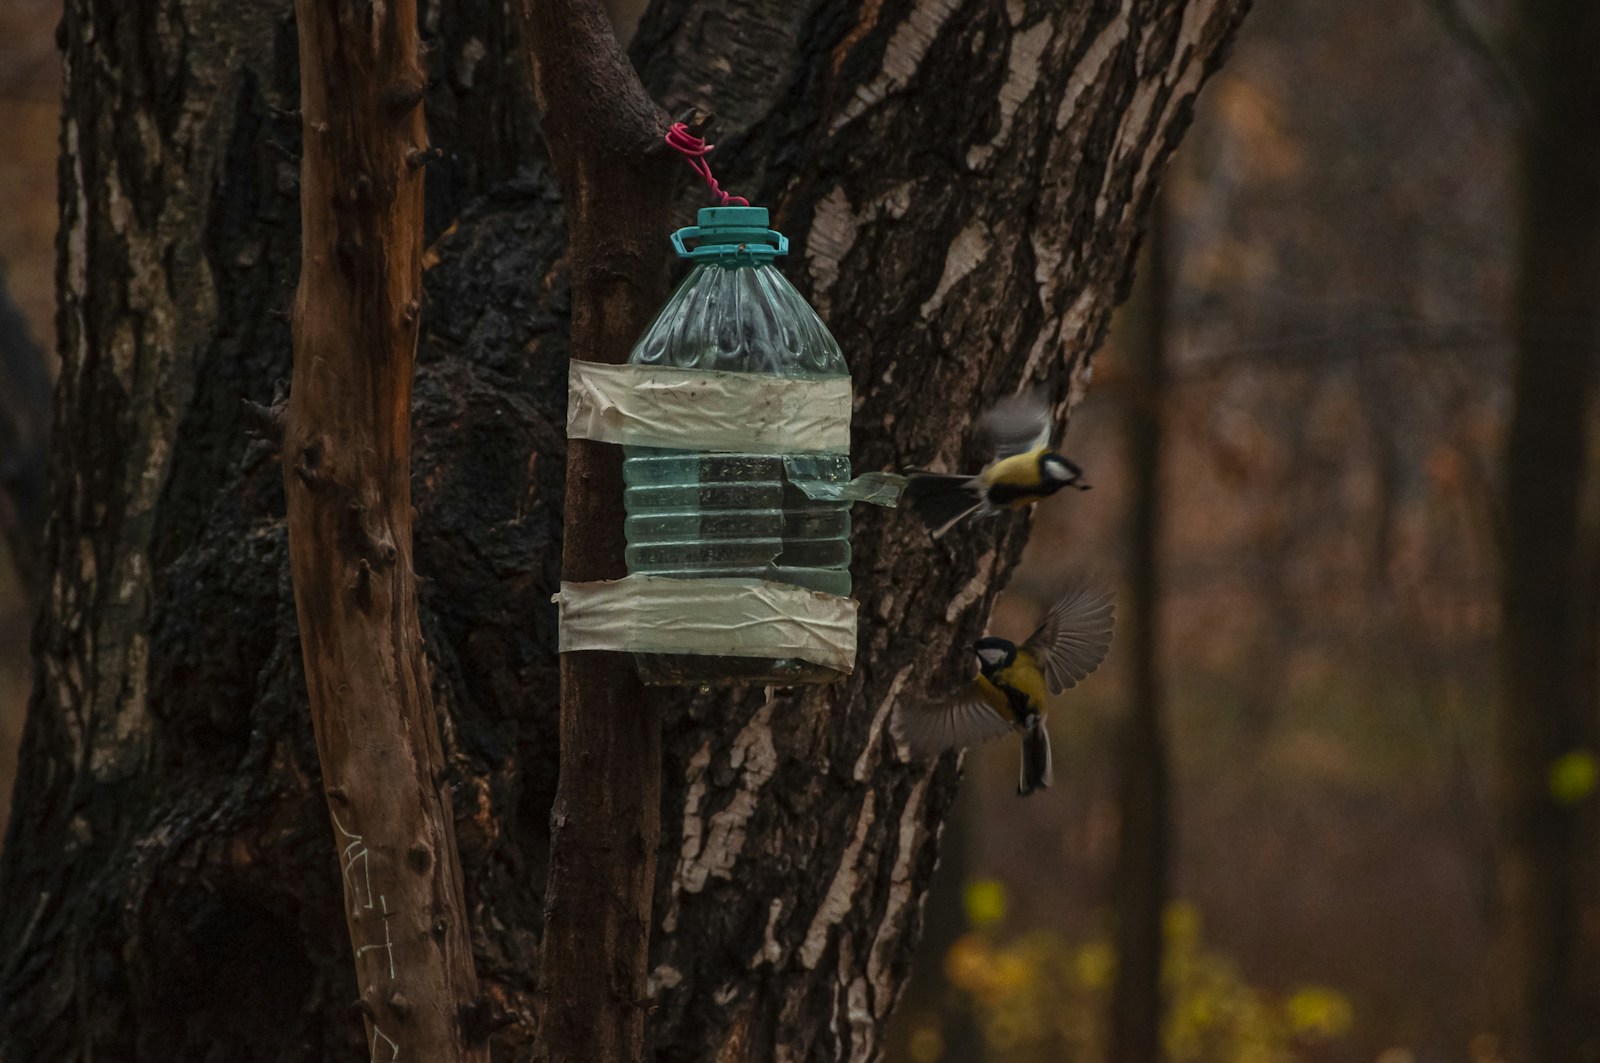
Birds do not care what their feeder used to be. A plastic bottle with a couple of perches and small feeding holes makes a cozy stop for chickadees and sparrows, especially when winter arrives. Tie it to a tree branch where you can see it from the kitchen window. Kids love keeping a tally of every bird that visits. If you like this one, our cardboard box crafts are another great way to reuse what you have. How many birds do you think will visit?
You will need: A clean plastic bottle with cap, two wooden spoons or dowels, scissors (adult only), twine, birdseed.
How to make it: 1. An adult cuts small holes opposite each other and slides a spoon through for a perch. 2. Make a tiny feeding hole above each perch. 3. Fill with seed, cap it and hang it from a branch with twine.
Bottle Buddies With Painted Faces
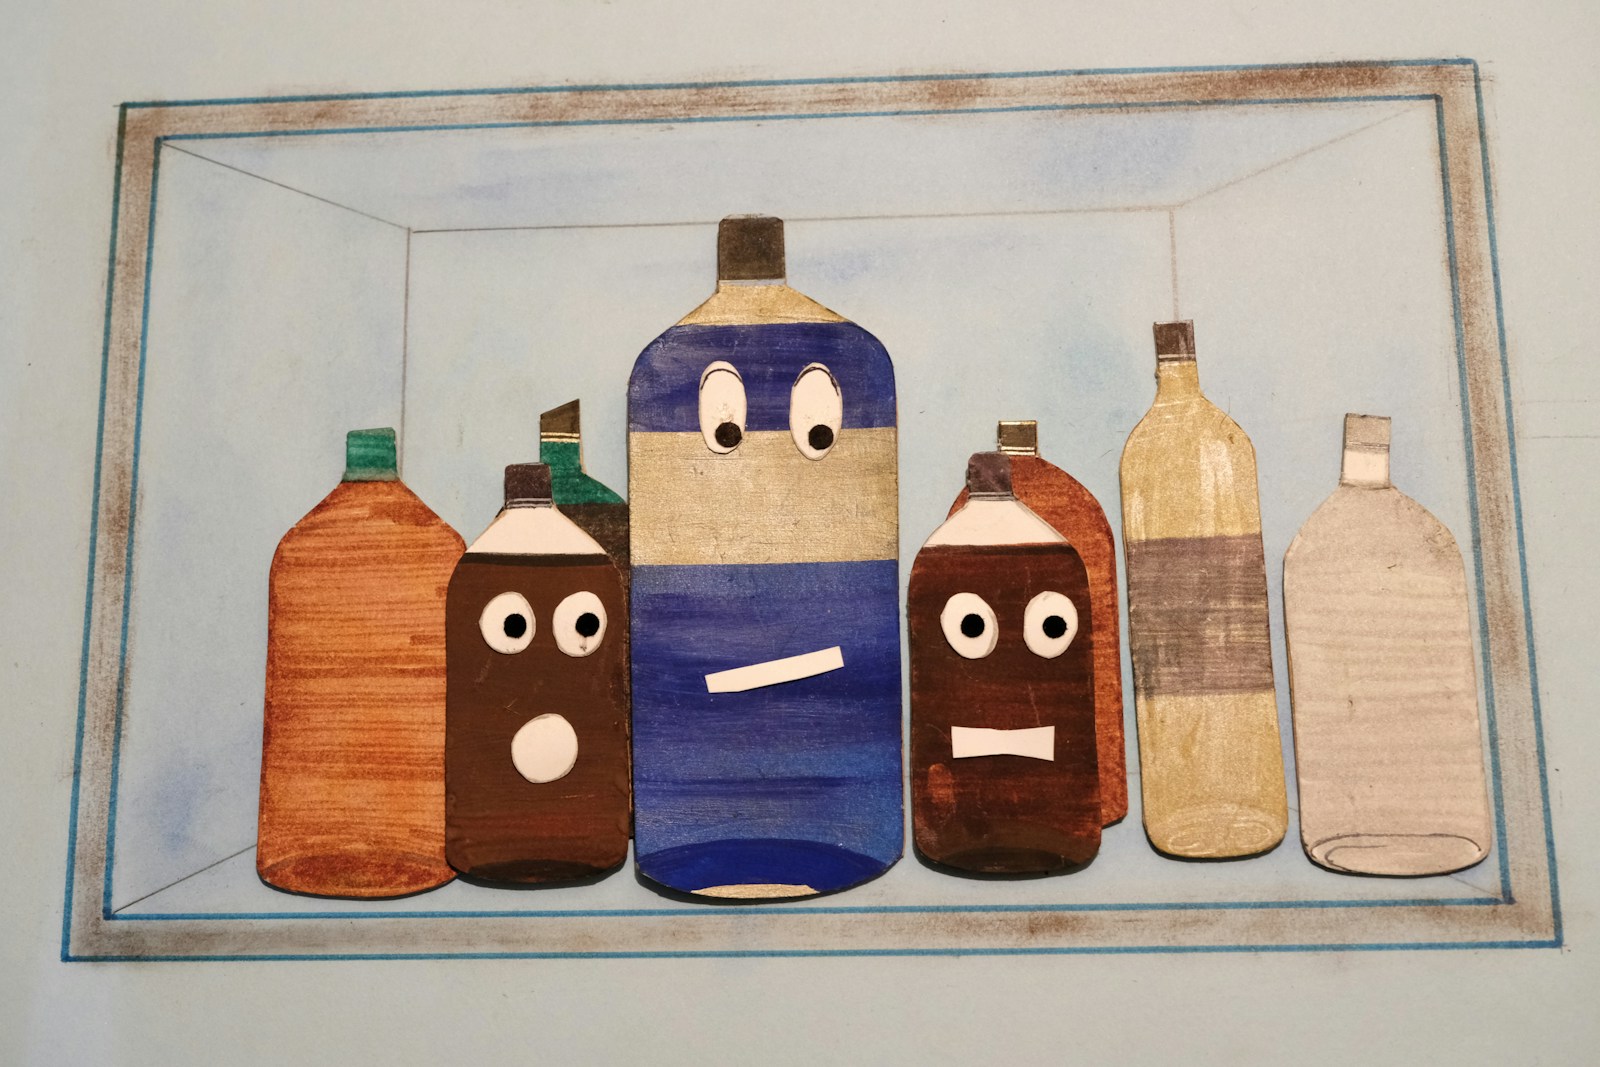
Plastic bottle upcycles can be silly too. Give bottles a personality and they become instant toys, piggy banks or storage jars. Paint them in warm wood tones or bright colors, then add big eyes and silly grins. Cut a coin slot in one and it becomes a piggy bank, or keep the caps on to store buttons and beads. Every family member can make their own character, which makes this a perfect rainy day project. Which face would you give yours?
You will need: Plastic bottles in different sizes, acrylic paint, brushes, a black paint pen, scissors or a craft knife (adult only) for a coin slot.
How to make it: 1. Paint each bottle a base color and let it dry. 2. Add eyes, mouths and details with a paint pen. 3. An adult cuts a coin slot if you want a piggy bank.
Zipper Pouch From Two Bottle Bottoms
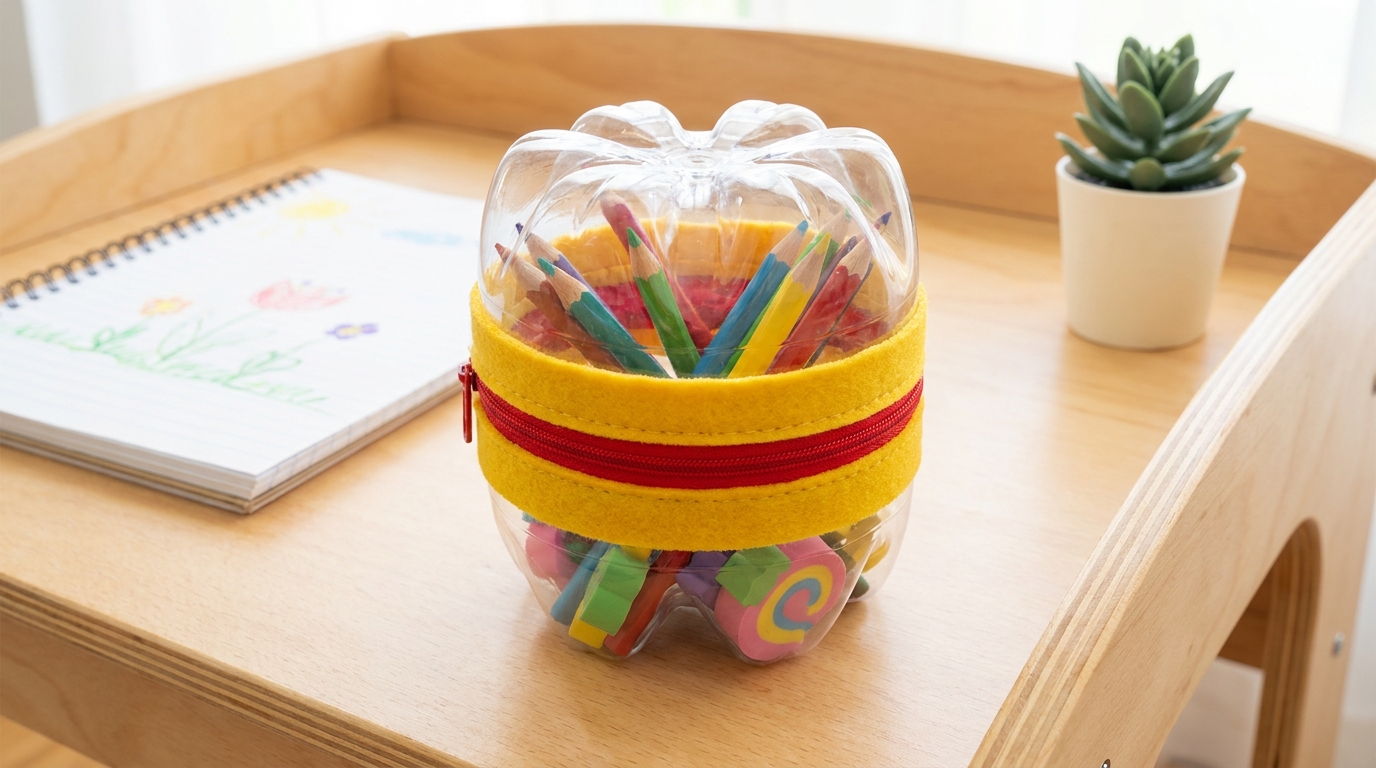
This clever trick went viral for a reason. Two bottle bottoms joined with a zipper make a sturdy round pouch for coins, pencils, earbuds or hair ties. The zipper is glued or stitched to a strip of felt, which then wraps around the cut edges so nothing is sharp. It makes a cute little gift for kids heading back to school or a stocking stuffer. Plastic bottle upcycles do not get much more useful than this. What would you keep inside yours?
You will need: Two matching bottle bottoms, a 20 cm zipper, a felt strip, fabric glue or a needle and thread, scissors (adult only).
How to make it: 1. An adult cuts two bottle bottoms the same height. 2. Glue or sew the zipper to a felt strip. 3. Glue the felt around the rim of each bottom so the zipper joins them, and let it dry.
Desk Organizer From Bottle Bases
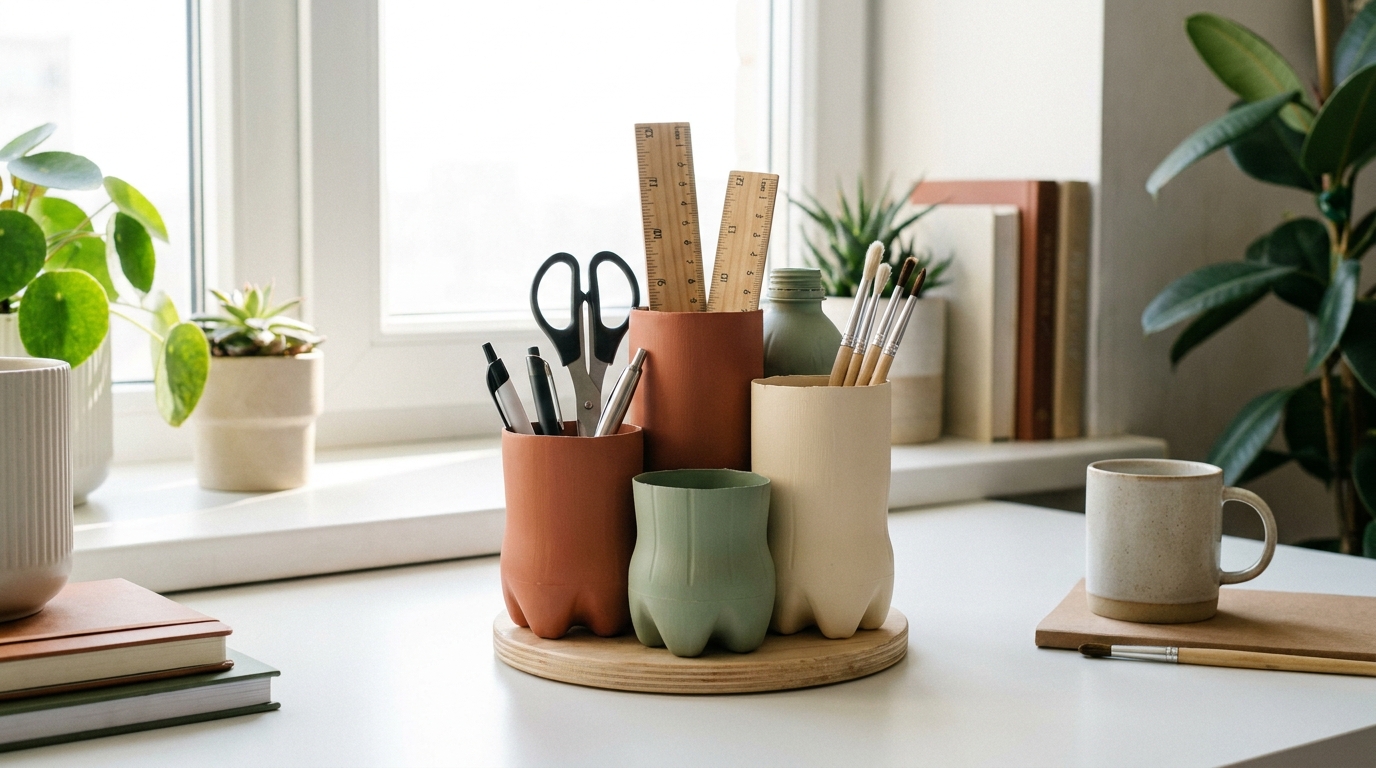
Messy desk? Cut bottle bottoms to different heights, paint them in earthy colors and glue them onto a round wooden base. Pens, scissors, rulers and brushes each get their own spot, and it looks like something from a design shop. Matte terracotta, sage and cream look especially modern together. It is one of those plastic bottle upcycles you will use every single day. Would you match it to your office or go bold?
You will need: Four or five bottles, scissors (adult only), matte paint, a brush, a wooden circle base, strong craft glue.
How to make it: 1. An adult cuts the bottles to three or four different heights. 2. Paint them and let them dry. 3. Glue them in a cluster onto the wooden base and fill them up.
Plastic Bottle Upcycles in Rainbow Bottle Cap Art
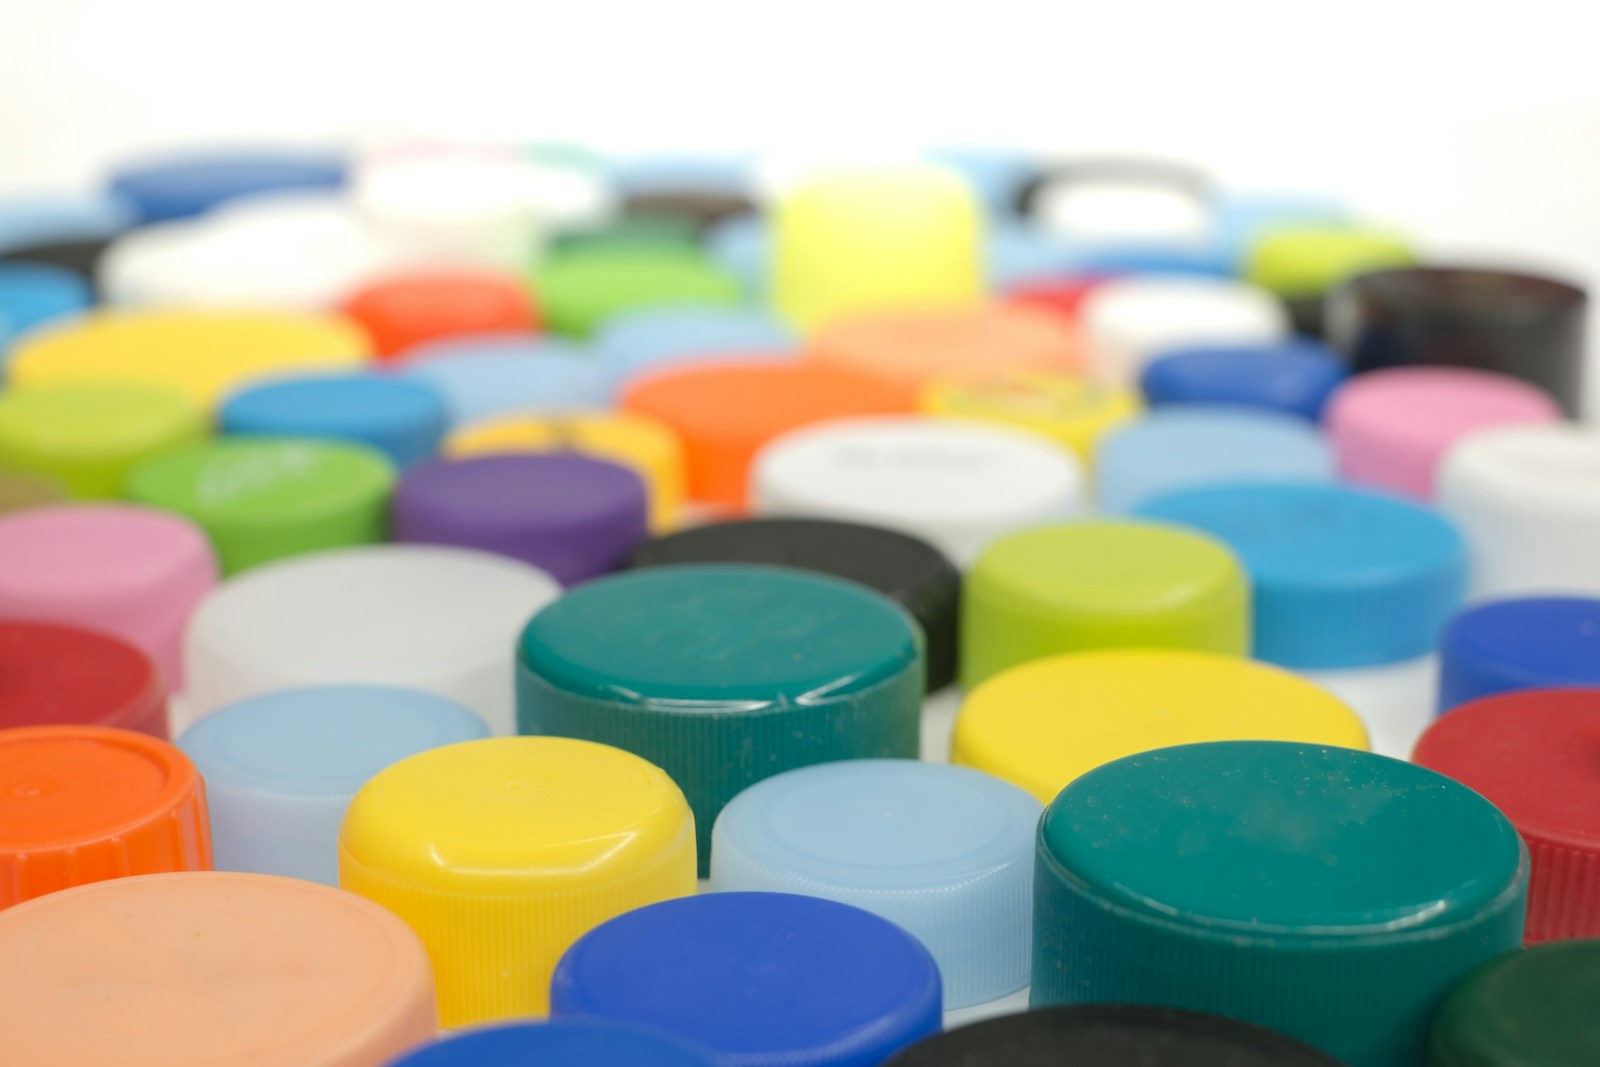
Do not throw away the caps. Bottle caps come in so many colors that you can sort them into a rainbow and create mosaics, coasters or a cheerful garden path border. Glue them onto a board for wall art or press them into a strip of outdoor concrete along a flower bed. Kids love the sorting part almost as much as the gluing. Start a jar in the kitchen and you will be amazed how fast it fills. What picture would you make with yours?
You will need: Lots of washed bottle caps, a plywood board or concrete stepping stone mix, strong outdoor glue, a pencil.
How to make it: 1. Wash the caps and sort them by color. 2. Sketch a simple design like a rainbow or flower on the board. 3. Glue the caps in place, working one color at a time.
Painted Bottle Bud Vases
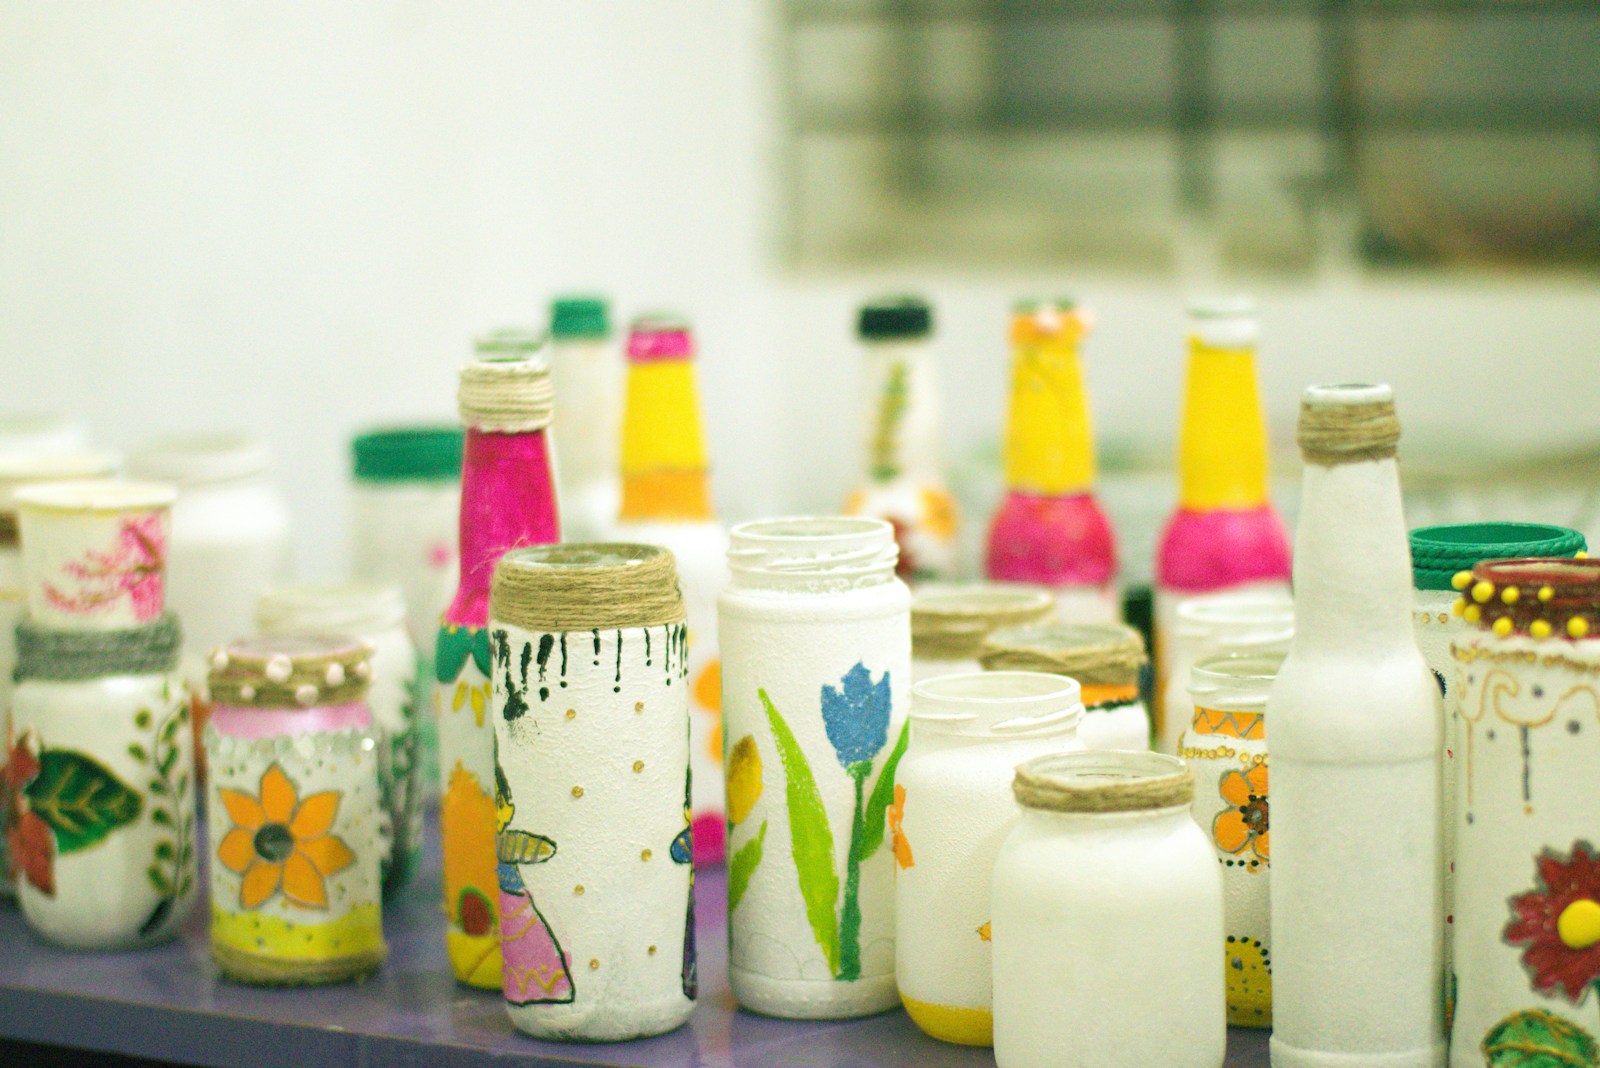
Small bottles make adorable bud vases once they are painted. Try white with little hand painted flowers, bright solid colors, or a mix of patterns lined up on a shelf. A single stem or a sprig of greenery is all each one needs. Group three or five together on a table for an easy centerpiece. They also make sweet gifts for teachers and neighbors. Plastic bottle upcycles like this are proof that small can be beautiful. Which pattern would you paint?
You will need: Small plastic bottles, primer spray, acrylic paint, fine brushes, twine or ribbon, a few stems of flowers.
How to make it: 1. Remove labels and prime the bottles outdoors. 2. Paint a base coat, then add flowers, dots or stripes. 3. Tie a bit of twine around the neck and add a stem.
Plastic Bottle Christmas Tree

Some towns build giant Christmas trees from recycled bottles, and the result glows beautifully in the square. Among holiday plastic bottle upcycles, this one is the showstopper, and you can make a tabletop version at home by stacking green bottles in rings on a cone frame. Wrap battery fairy lights inside instead of any candle, and it will sparkle every evening of the season. It is a great family project for the weekend after Thanksgiving. Will you go traditional green or clear and frosty?
You will need: Green or clear plastic bottles, a cardboard or wire cone frame, strong glue or zip ties, battery LED fairy lights, a star topper.
How to make it: 1. Build a cone frame from cardboard or wire. 2. Attach bottles in rings from the bottom up, necks pointing in. 3. Tuck battery fairy lights inside and add a star on top.
Plastic Bottle Upcycles for Play: Kids Bowling Pin Set
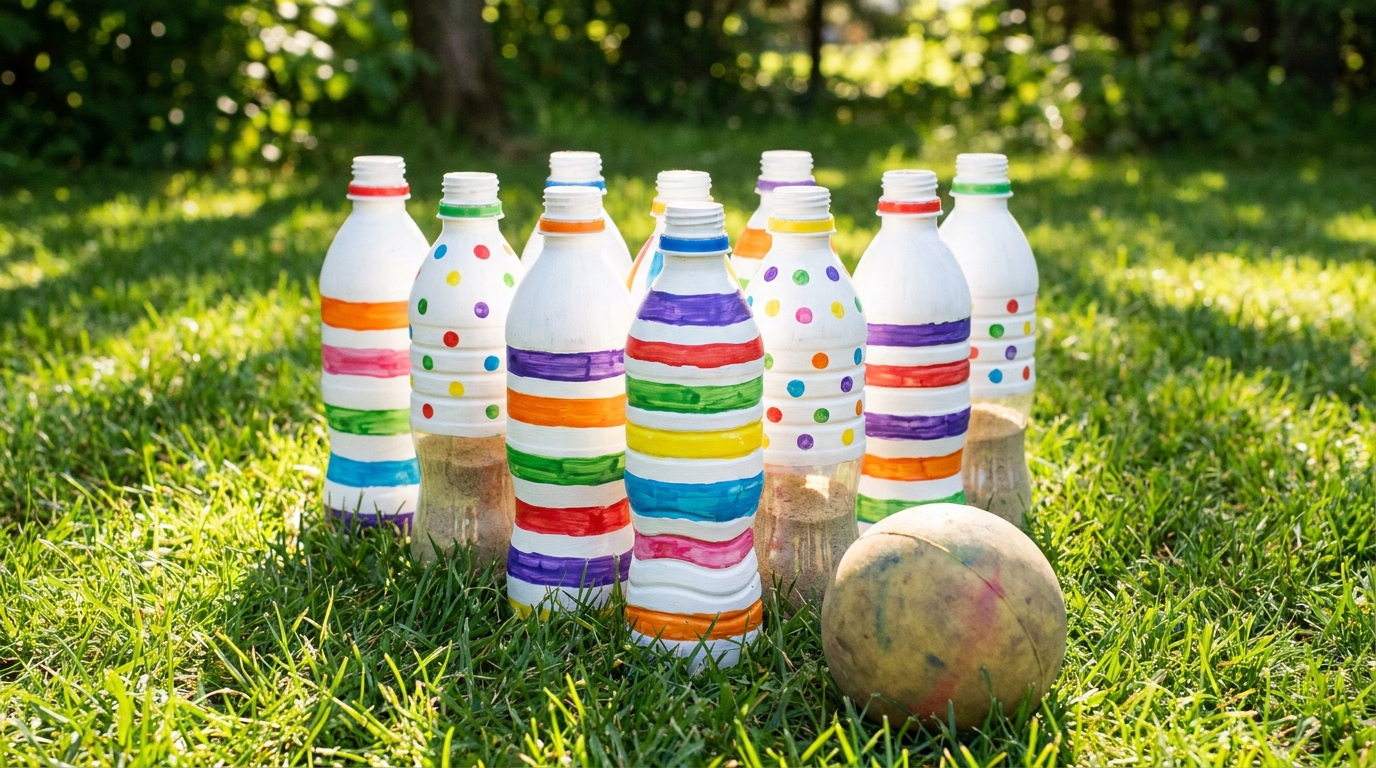
End with something to play. Ten bottles painted with stripes and polka dots become a bright bowling set, and a little sand in the bottom of each keeps them standing. Set them up on the lawn or down a hallway on rainy days. Any soft ball works for knocking them down. Kids can paint numbers on each pin and keep score, which sneaks in some math too. It is a gift that costs nothing and gets used all year. Who would win in your house?
You will need: Ten plastic bottles with caps, white primer, acrylic paints, brushes, a little sand, a soft ball.
How to make it: 1. Prime the bottles and paint stripes and dots. 2. Pour a little sand into each bottle and screw the caps on tight. 3. Set them up in a triangle and start bowling.