Queen Elizabeth Christmas: 16 Sandringham Style Decor Ideas That Look Royal for Pennies
A Queen Elizabeth Christmas was cozy, traditional and surprisingly simple. The late Queen spent many holidays at Sandringham, her country estate in Norfolk, where the royal Christmas broadcast began with King George V in 1932 and where she made her first televised Christmas message in 1957. The decorating style there leaned on fresh greenery, tartan, gold accents and handmade touches rather than flashy displays. The good news is that this look is easy and cheap to copy at home. Below you will find simple projects inspired by a Queen Elizabeth Christmas at a country house, from a crown topped wreath to salt dough ornaments, plaid throws and brown paper gifts. Most use supplies you already have or can find at a dollar store..
Queen Elizabeth Christmas Wreath With a Gold Paper Crown
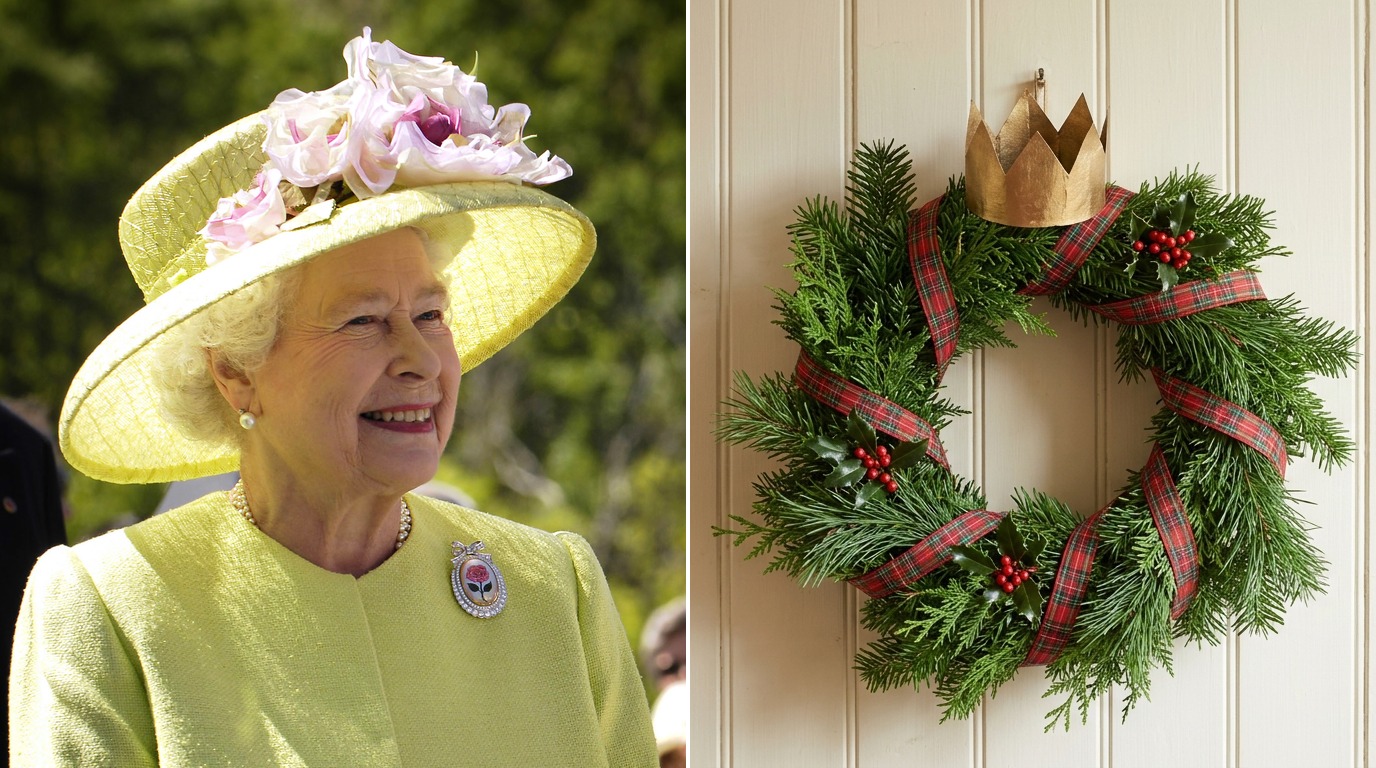
For decades, the late Queen spent the holidays at Sandringham House, her private country home in Norfolk, England. The look there was never flashy. Think fresh greenery, tartan, polished wood and a touch of gold. This wreath sums up that Queen Elizabeth Christmas feeling in one easy project. A plain evergreen ring gets wrapped in tartan ribbon, dotted with red berries and topped with a little paper crown. If you love making your own holiday wreaths, this one comes together in under an hour and costs very little..
You will need: a 16 inch evergreen wreath form or bundle of cut greenery, 3 yards of red tartan ribbon, faux red berry picks, a sheet of gold cardstock, floral wire, hot glue.
How to make it: 1. Wrap the tartan ribbon loosely around the wreath, tucking the ends to the back with floral wire. 2. Push berry picks into three or four spots so the red reads from across the room. 3. Cut a simple five point crown from gold cardstock, roll it into a short tube and glue the seam. 4. Wire the crown to the top of the wreath and hang it on a plain wall or door.
Embroidered Felt Stars on a Tartan Throw

Country houses in Britain are famous for their cozy wool throws, and tartan is the pattern most people picture first. Bring that same warmth home by draping a plaid throw over a chair or sofa, then tying a few hand stitched felt stars to it or to the tree nearby. White felt with red snowflake stitching looks crisp against the dark plaid. These are relaxing to make in front of the television, and they build on simple felt Christmas crafts anyone can learn in one evening.
You will need: white craft felt, red embroidery floss, an embroidery needle, a star template, polyester stuffing, thin ribbon or twine, sharp scissors.
How to make it: 1. Trace two stars per ornament on the felt and cut them out. 2. Stitch a simple snowflake on the front star with straight stitches and red floss. 3. Place the stars together and blanket stitch around the edge, leaving a small gap. 4. Add a pinch of stuffing, close the gap and sew on a ribbon loop for hanging.
Queen Elizabeth Christmas Crown Tree Topper
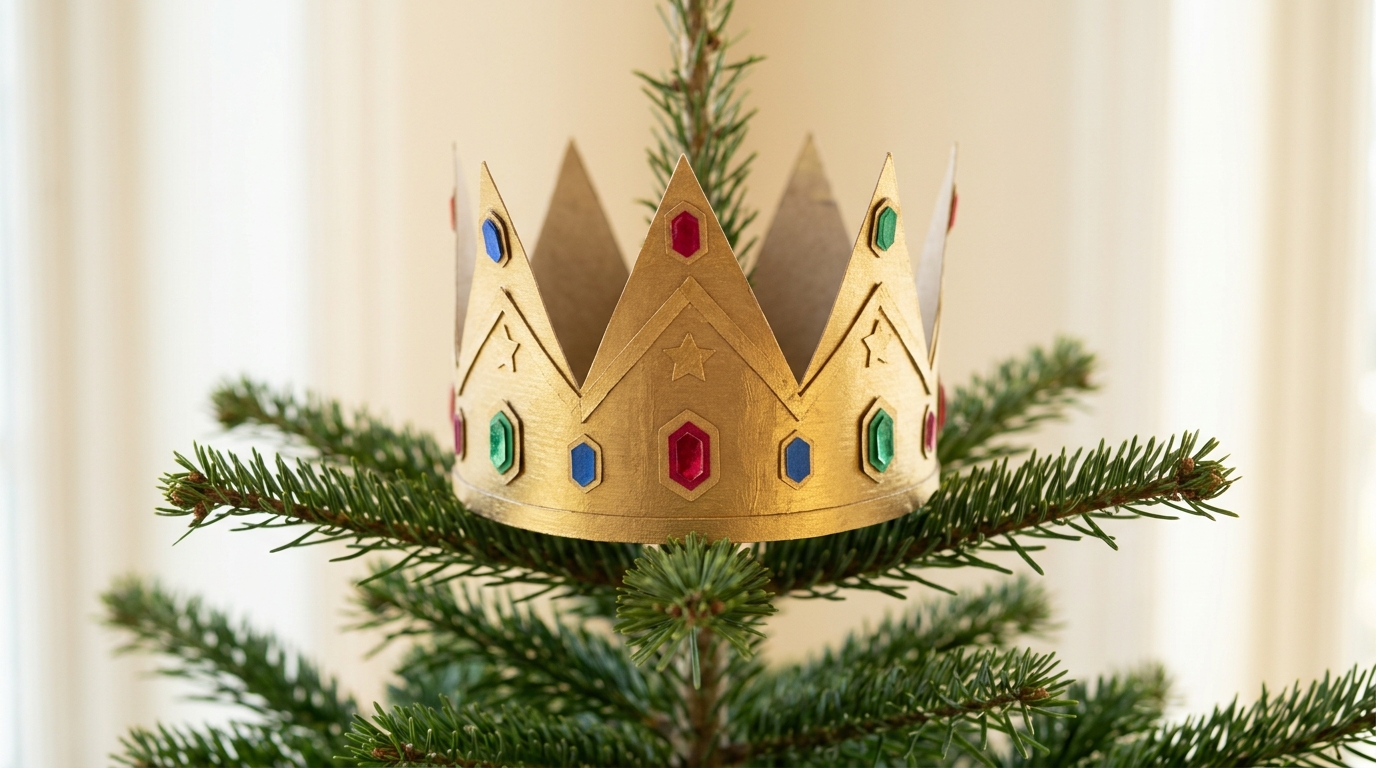
A crown on top of the tree is a playful nod to royal style, and it is far cheaper than a fancy store topper. Gold cardstock gives you a bright shine, and a few colored paper jewels make it look like the real thing from across the room. For a Queen Elizabeth Christmas tree, keep the rest of the decorations simple so the crown stays the star. Browse more tree topper ideas if you want a second option for a smaller tree.
You will need: gold glitter cardstock, red, green and blue paper or flat gems, a pencil, scissors, tacky glue, a clear plastic cup or cone for support.
How to make it: 1. Draw a crown band about 4 inches tall with five pointed peaks and cut it out. 2. Glue paper or flat gems along the band. 3. Roll the band into a circle and glue the seam, holding it with clips until dry. 4. Glue a plastic cone inside so it slides securely over the top branch.
Fresh Holly Sprigs From the Garden

Holly is one of the most traditional British Christmas greens, and country houses have long brought it indoors by the armful. You do not need a florist. A few clipped sprigs from the yard or a garden center look beautiful in a silver bowl, a pitcher or a simple jar. Mix holly with cedar or pine for a fuller look. Keep the berries away from pets and small children, since they are not for eating. Find more easy vase fillers to fill every room.
You will need: fresh or faux holly sprigs, a few evergreen clippings, garden pruners, a silver bowl, pitcher or glass jar, floral foam or a small frog, water.
How to make it: 1. Cut holly stems at an angle, about 8 to 12 inches long. 2. Strip any leaves that would sit under the water line. 3. Set floral foam or a frog in the bowl and add water. 4. Push in evergreens first, then tuck holly sprigs around the edge so the berries show.
Queen Elizabeth Christmas Ornaments in Royal Blue and Gold
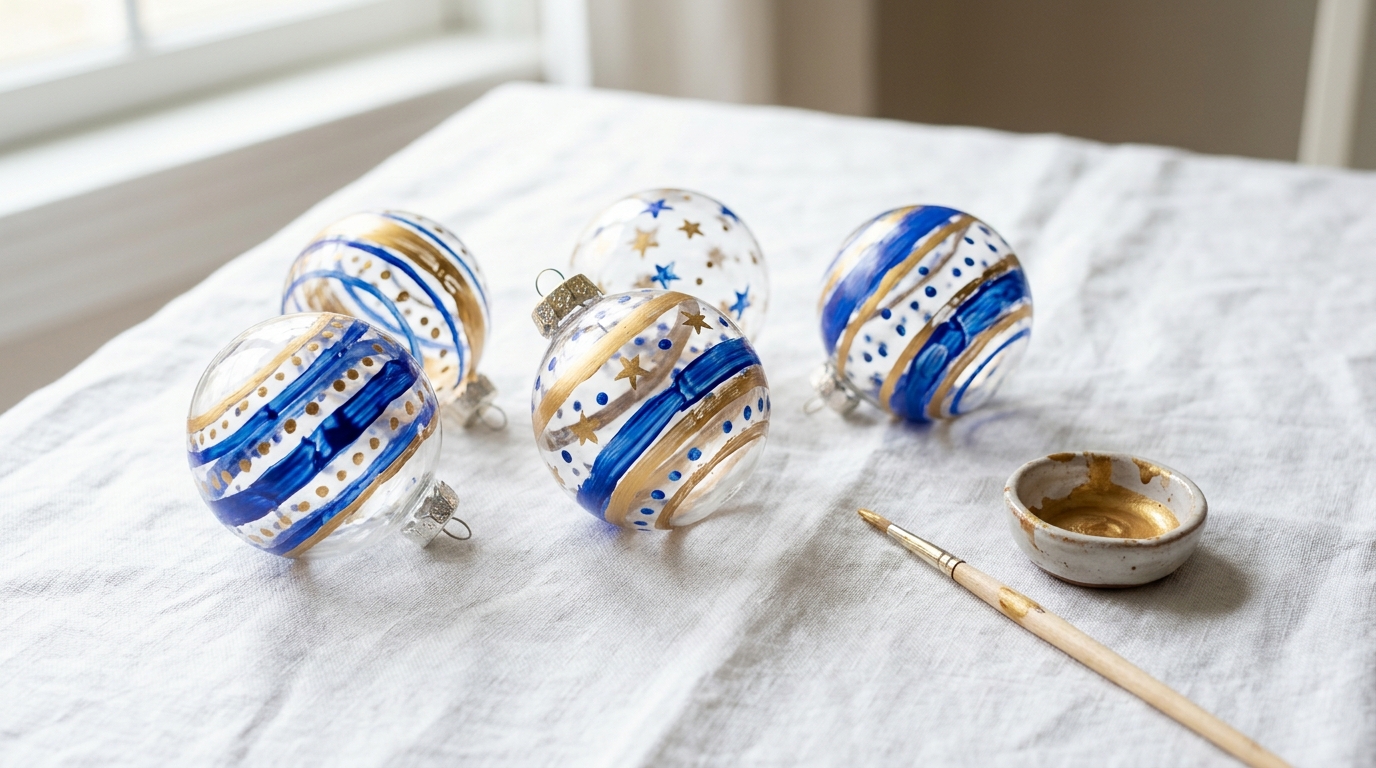
Royal blue and gold is a classic pairing, and it looks rich against a green tree. Clear glass or plastic ornaments are the perfect base because they cost very little and take paint well. Stripes, dots and tiny stars are simple enough for beginners. A set of these makes a lovely Queen Elizabeth Christmas gift for a friend who loves anything royal. If you enjoy this, try more hand painted ornament ideas for the rest of the tree.
You will need: clear glass or shatterproof ornaments, royal blue and metallic gold acrylic paint, a fine detail brush, a dotting tool or toothpick, rubbing alcohol, an egg carton for drying.
How to make it: 1. Wipe each ornament with rubbing alcohol so the paint sticks. 2. Paint wide blue stripes around the middle and let them dry. 3. Add thin gold lines beside each stripe and a row of gold dots. 4. Finish with tiny stars, then rest each ornament in an egg carton until fully dry.
A Basket of Pine Cones by the Hearth
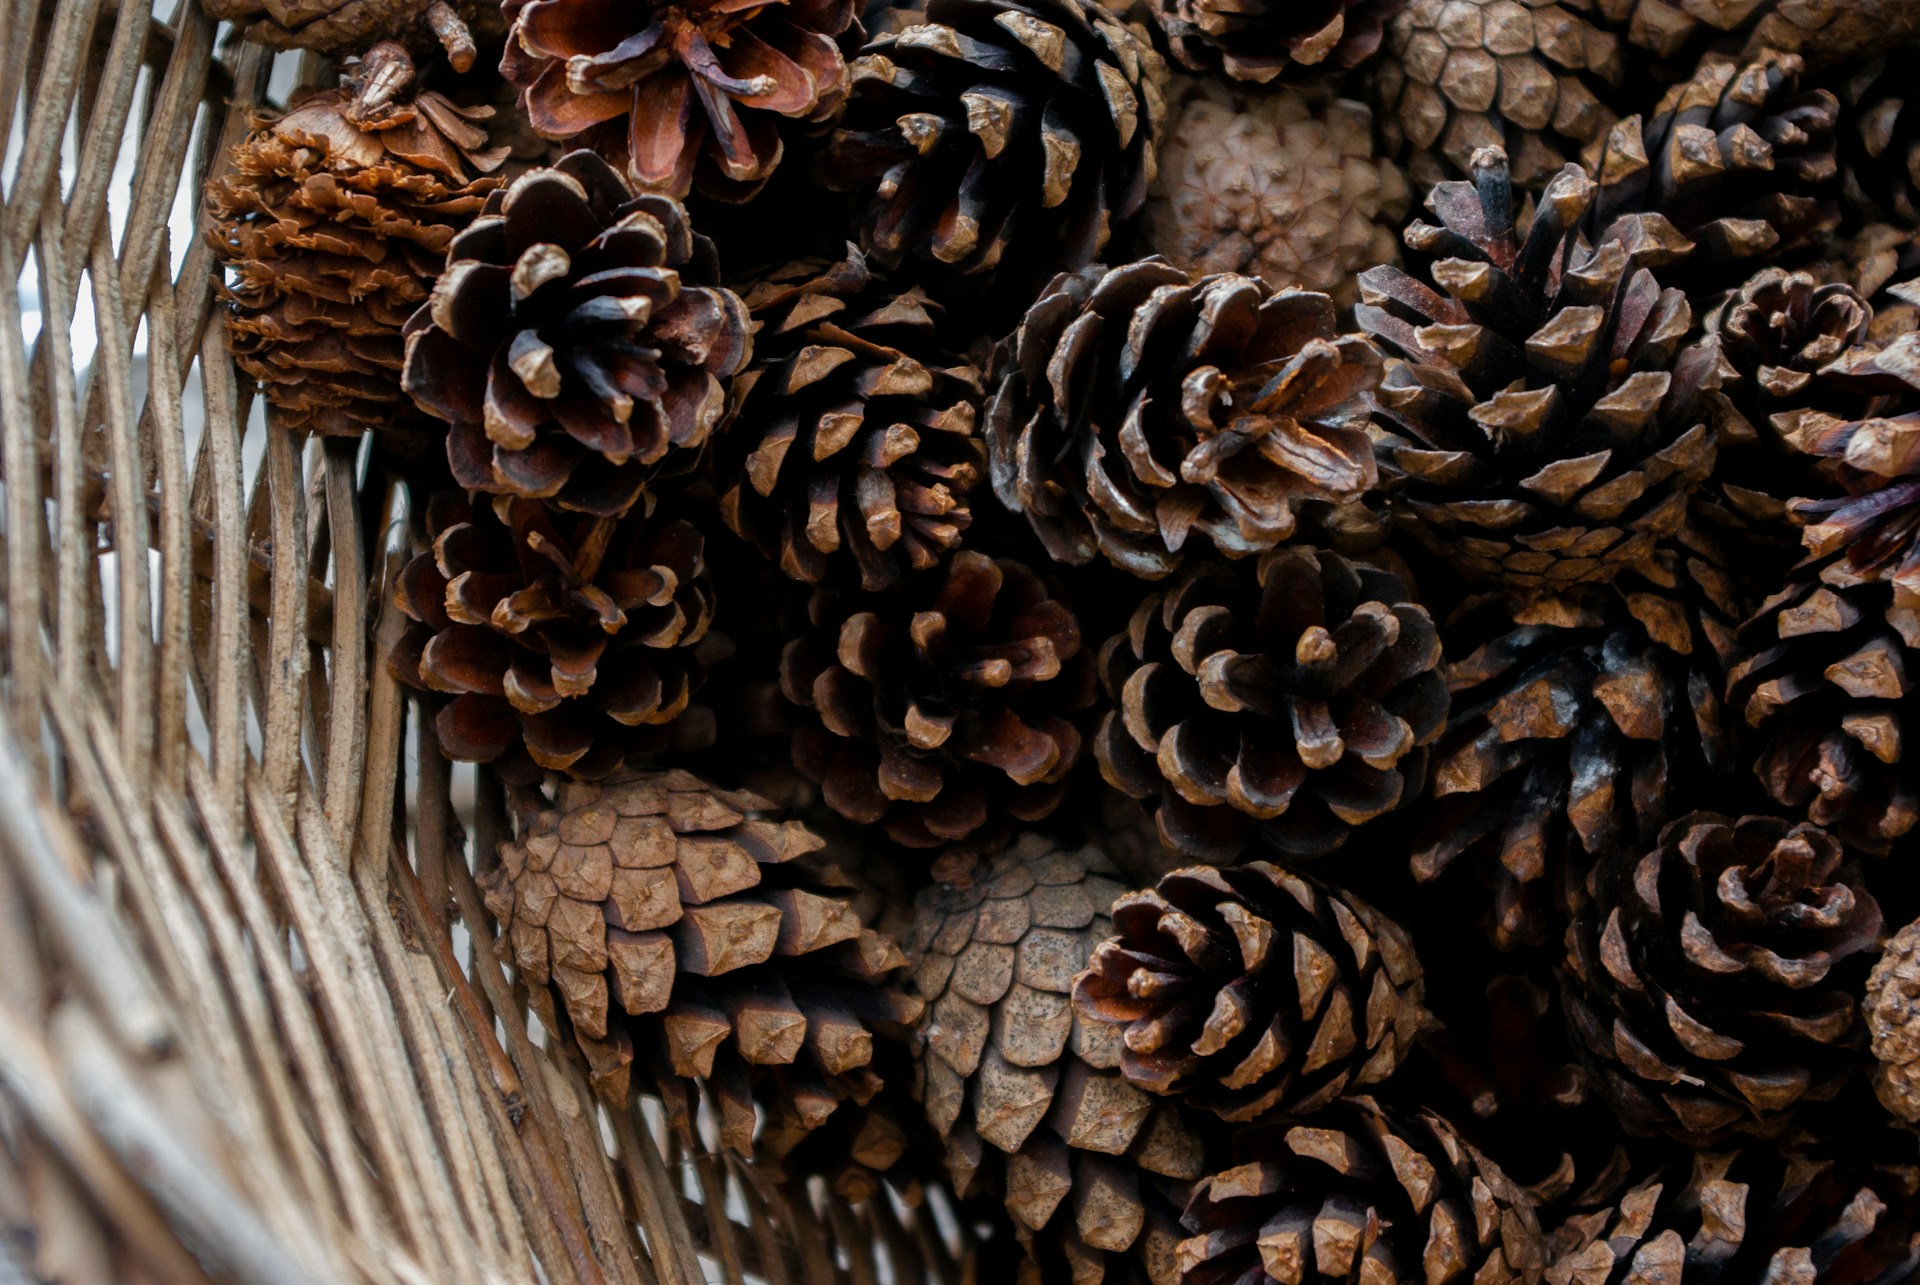
Big country estates are surrounded by woodland, and pine cones gathered on a winter walk are about as free as decorating gets. A deep woven basket filled to the top looks warm beside a fireplace, a staircase or the front door. Bake the cones at a low heat first to dry them and send any bugs packing. For more ways to use them, try these pine cone Christmas crafts with the extras.
You will need: a large woven basket, pine cones of mixed sizes, a baking sheet lined with foil, an oven, a few evergreen sprigs, optional cinnamon oil.
How to make it: 1. Rinse the pine cones and let them drip dry. 2. Bake on a foil lined sheet at 200 degrees for about 30 to 45 minutes, checking often. 3. Let them cool fully. 4. Fill the basket with the largest cones on the bottom and tuck evergreen sprigs on top.
Queen Elizabeth Christmas Crackers for the Table
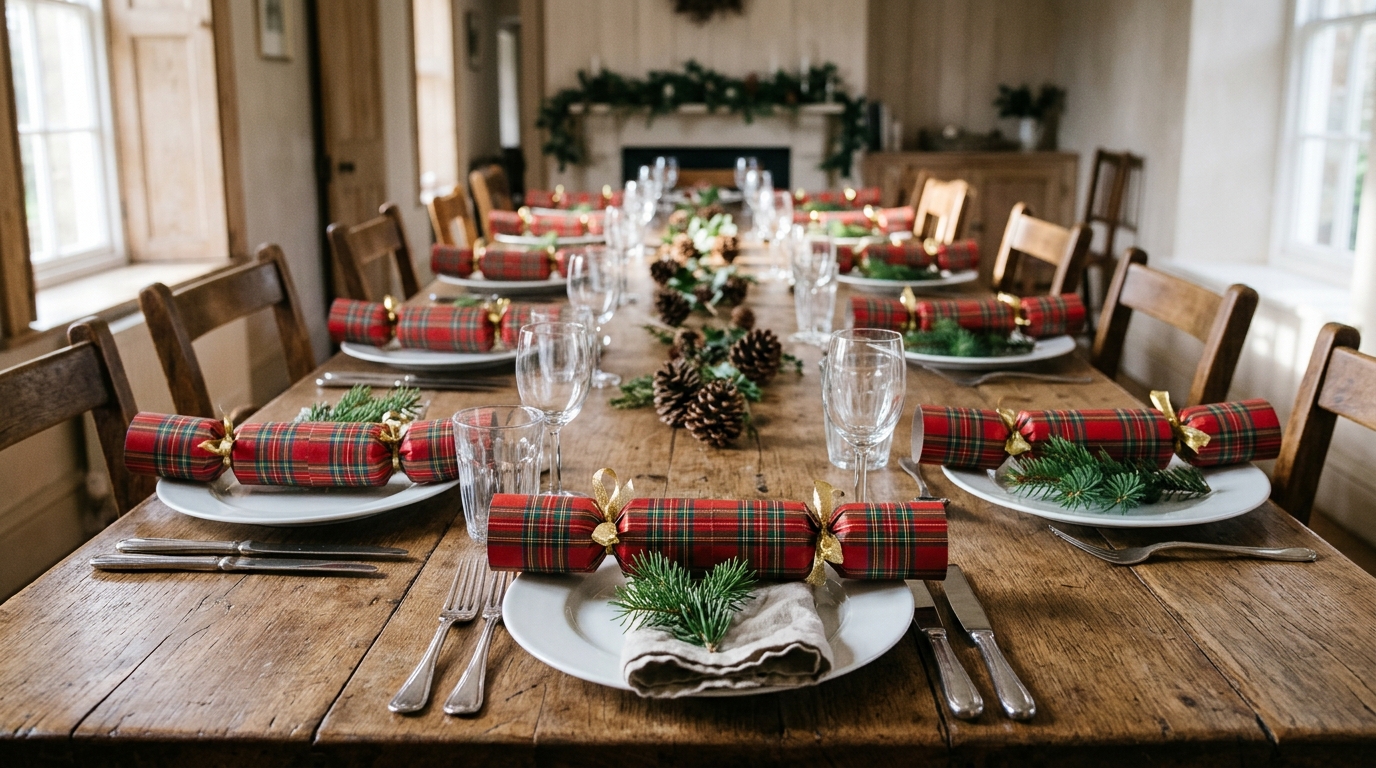
No British holiday table is complete without crackers, the paper tubes that pop open with a small gift and a paper hat inside. Making your own lets you choose the treats and the paper. Tartan wrapping with gold ribbon fits the country house mood perfectly. A table set this way brings a little Queen Elizabeth Christmas charm to an American dinner. Step by step help is in our homemade cracker guide too.
You will need: empty paper towel tubes cut in thirds, tartan wrapping paper, gold ribbon, cracker snaps (optional), tissue paper hats, small treats or trinkets, tape.
How to make it: 1. Place a snap, a folded tissue hat and a small treat inside each tube section. 2. Roll the tube in a sheet of tartan paper about twice its length and tape the seam. 3. Gently twist the paper at each end. 4. Tie both ends with gold ribbon and set one at every place.
Brown Paper Gifts With a Sprig of Fir

Simple brown paper is the secret behind gifts that look elegant without costing much. Add natural twine, a small sprig of fir and a little wooden star, and every present looks like it came from a country shop. A roll of kraft paper wraps dozens of gifts for a few dollars. You will find more money saving ideas in these gift wrapping tricks before the big day.
You will need: a roll of brown kraft paper, natural or red and white twine, small fir or cedar sprigs, wooden star ornaments or tags, clear tape, scissors.
How to make it: 1. Wrap each box neatly in kraft paper and tape the seams on the bottom. 2. Wrap twine around the box twice in both directions. 3. Tie a knot on top and slip a fir sprig under the twine. 4. Hang a small wooden star or tag from the knot.
Riding Boot Planters by the Front Step
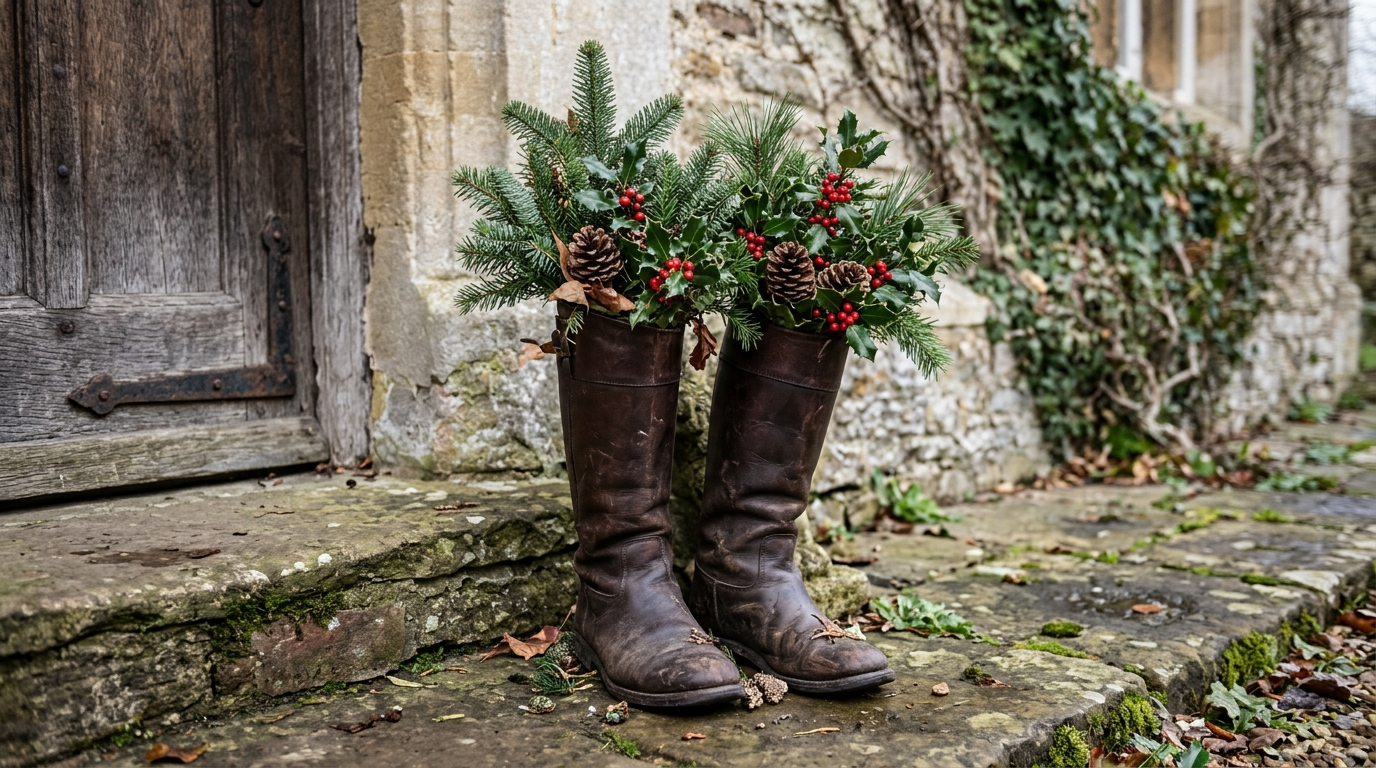
Old riding boots are part of country life in Norfolk, and a worn pair makes a charming planter beside the door. Look for used boots at thrift shops or yard sales. Fill them with evergreen branches, holly and pine cones and they will look good all winter. It is a fun conversation starter that pairs nicely with other porch planter ideas you may already have outside.
You will need: a pair of old leather or rubber boots, small plastic bags or jars, floral foam, evergreen branches, holly sprigs, pine cones, a few small stones.
How to make it: 1. Drop a few stones into each boot so it stands firm in the wind. 2. Slip a bag or jar with damp floral foam into each shaft. 3. Push tall evergreen branches into the foam first. 4. Fill gaps with holly and wire a few pine cones near the top.
Dried Orange Slices for Country Garlands
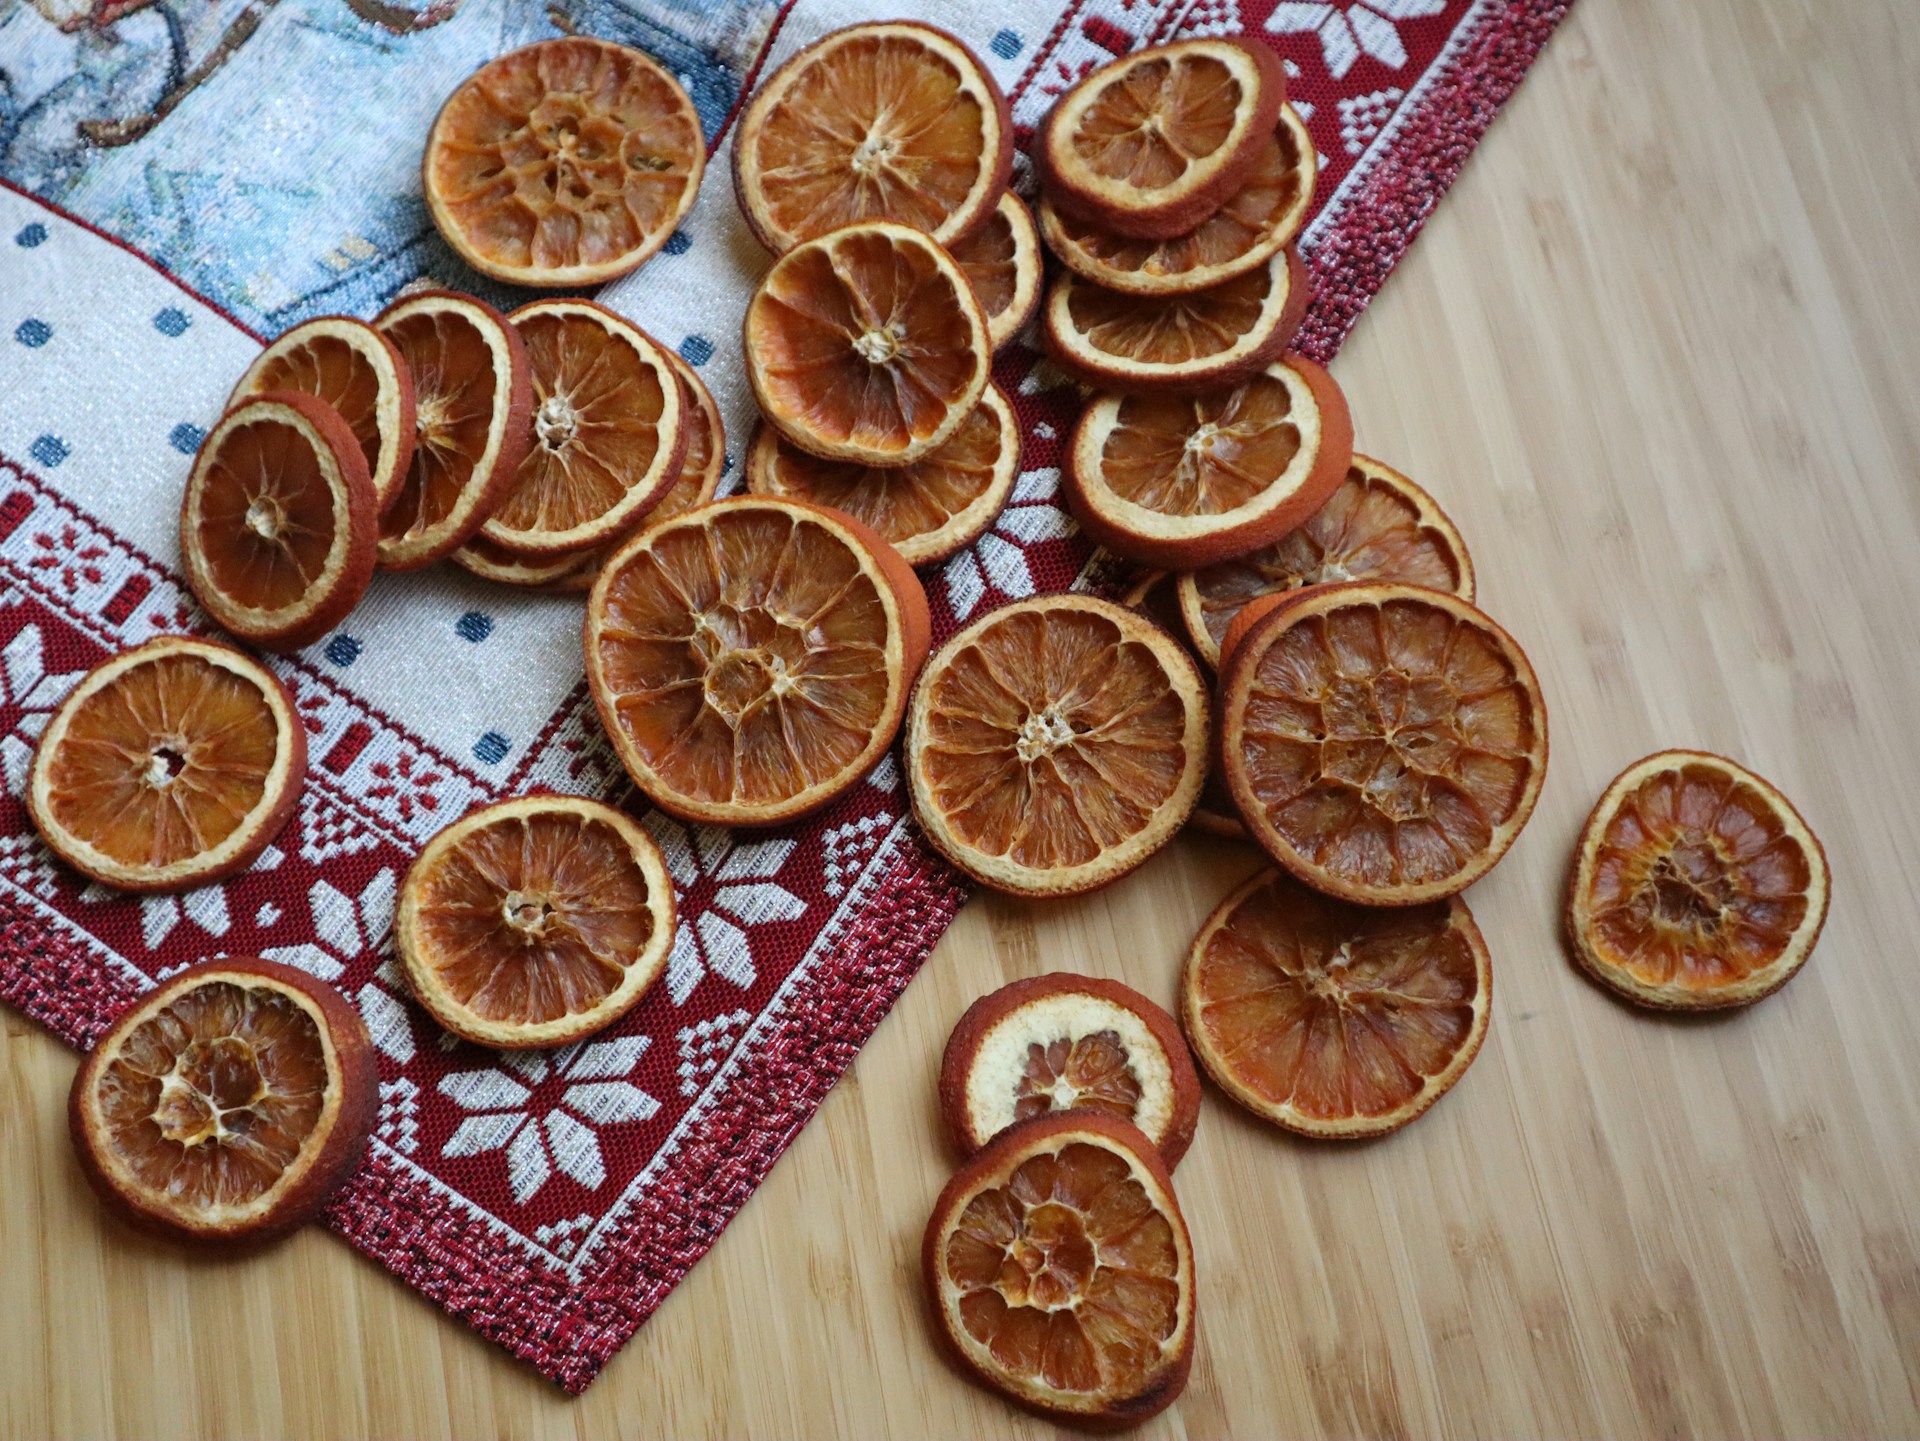
Dried orange slices have hung on European trees for generations, and they look beautiful in a traditional country house setting. They glow when light shines through, they smell lovely, and they cost pennies to make. String them into a garland, tie them on the tree or add them to wreaths and gifts. Our full guide to drying orange slices has extra tips for crisp, bright results.
You will need: 4 to 6 oranges, a sharp knife, paper towels, a baking sheet with a cooling rack, an oven, kitchen twine, a large needle.
How to make it: 1. Slice the oranges about 1/4 inch thick and blot them well with paper towels. 2. Lay the slices on a rack set over a baking sheet. 3. Bake at 200 degrees for 3 to 4 hours, turning every hour, until dry. 4. Cool, then thread them onto twine with a large needle.
Wax Sealed Queen Elizabeth Christmas Cards
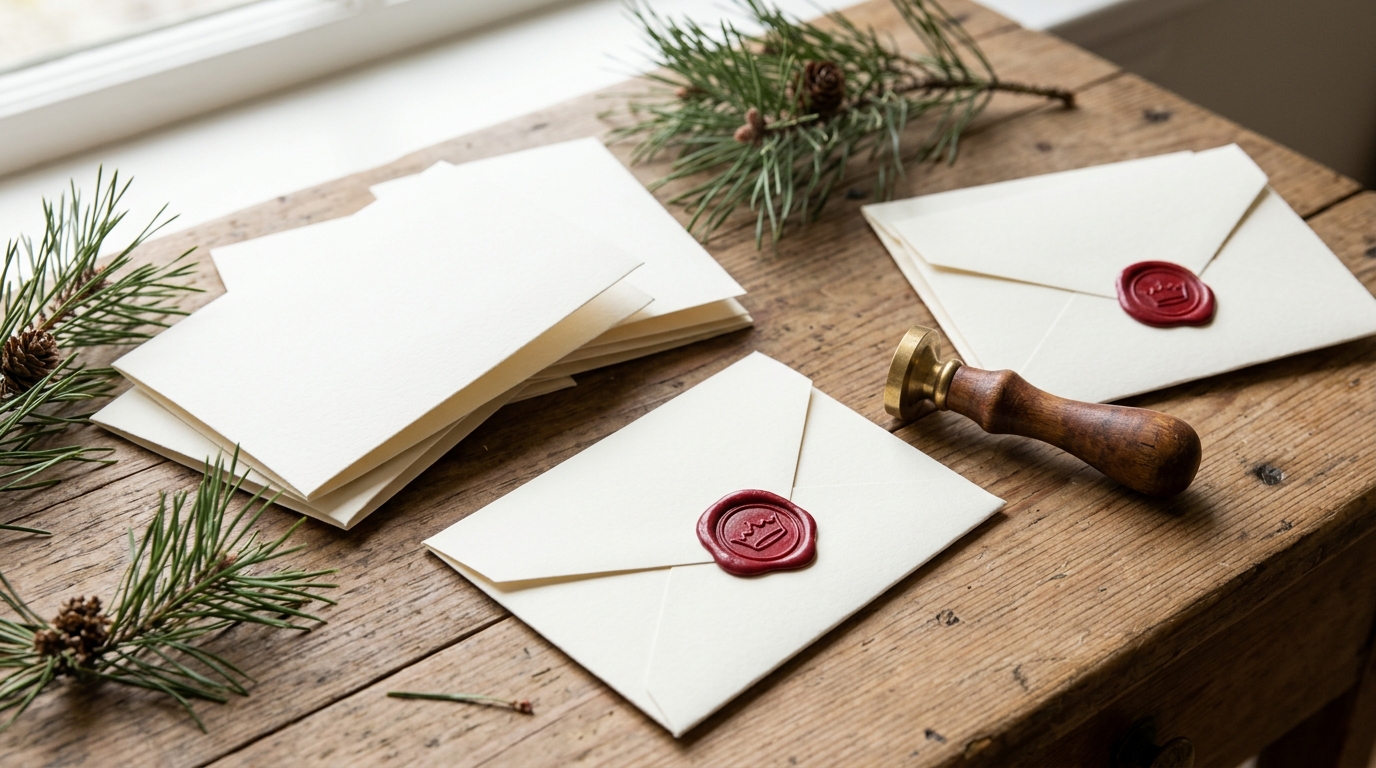
Handwritten Christmas cards are a cherished British tradition, and a wax seal makes any envelope feel special. Self adhesive wax seals or glue gun wax sticks give you the look with no open flame at all. A simple crown stamp keeps the royal theme going. Queen Elizabeth Christmas style cards like these are lovely for family and close friends. For history and more ideas, see how the first printed Christmas cards took off.
You will need: cream cardstock and envelopes, red sealing wax sticks for a glue gun or ready made self adhesive wax seals, a crown wax stamp, a glue gun, pine sprigs for photos.
How to make it: 1. Fold the cardstock into cards and write your notes inside. 2. Seal each envelope. 3. Press a small pool of glue gun wax onto the flap, or peel and stick a ready made seal. 4. Press the crown stamp into the warm wax and lift it straight up after 10 seconds.
A Tray of Iced Gingerbread for Guests
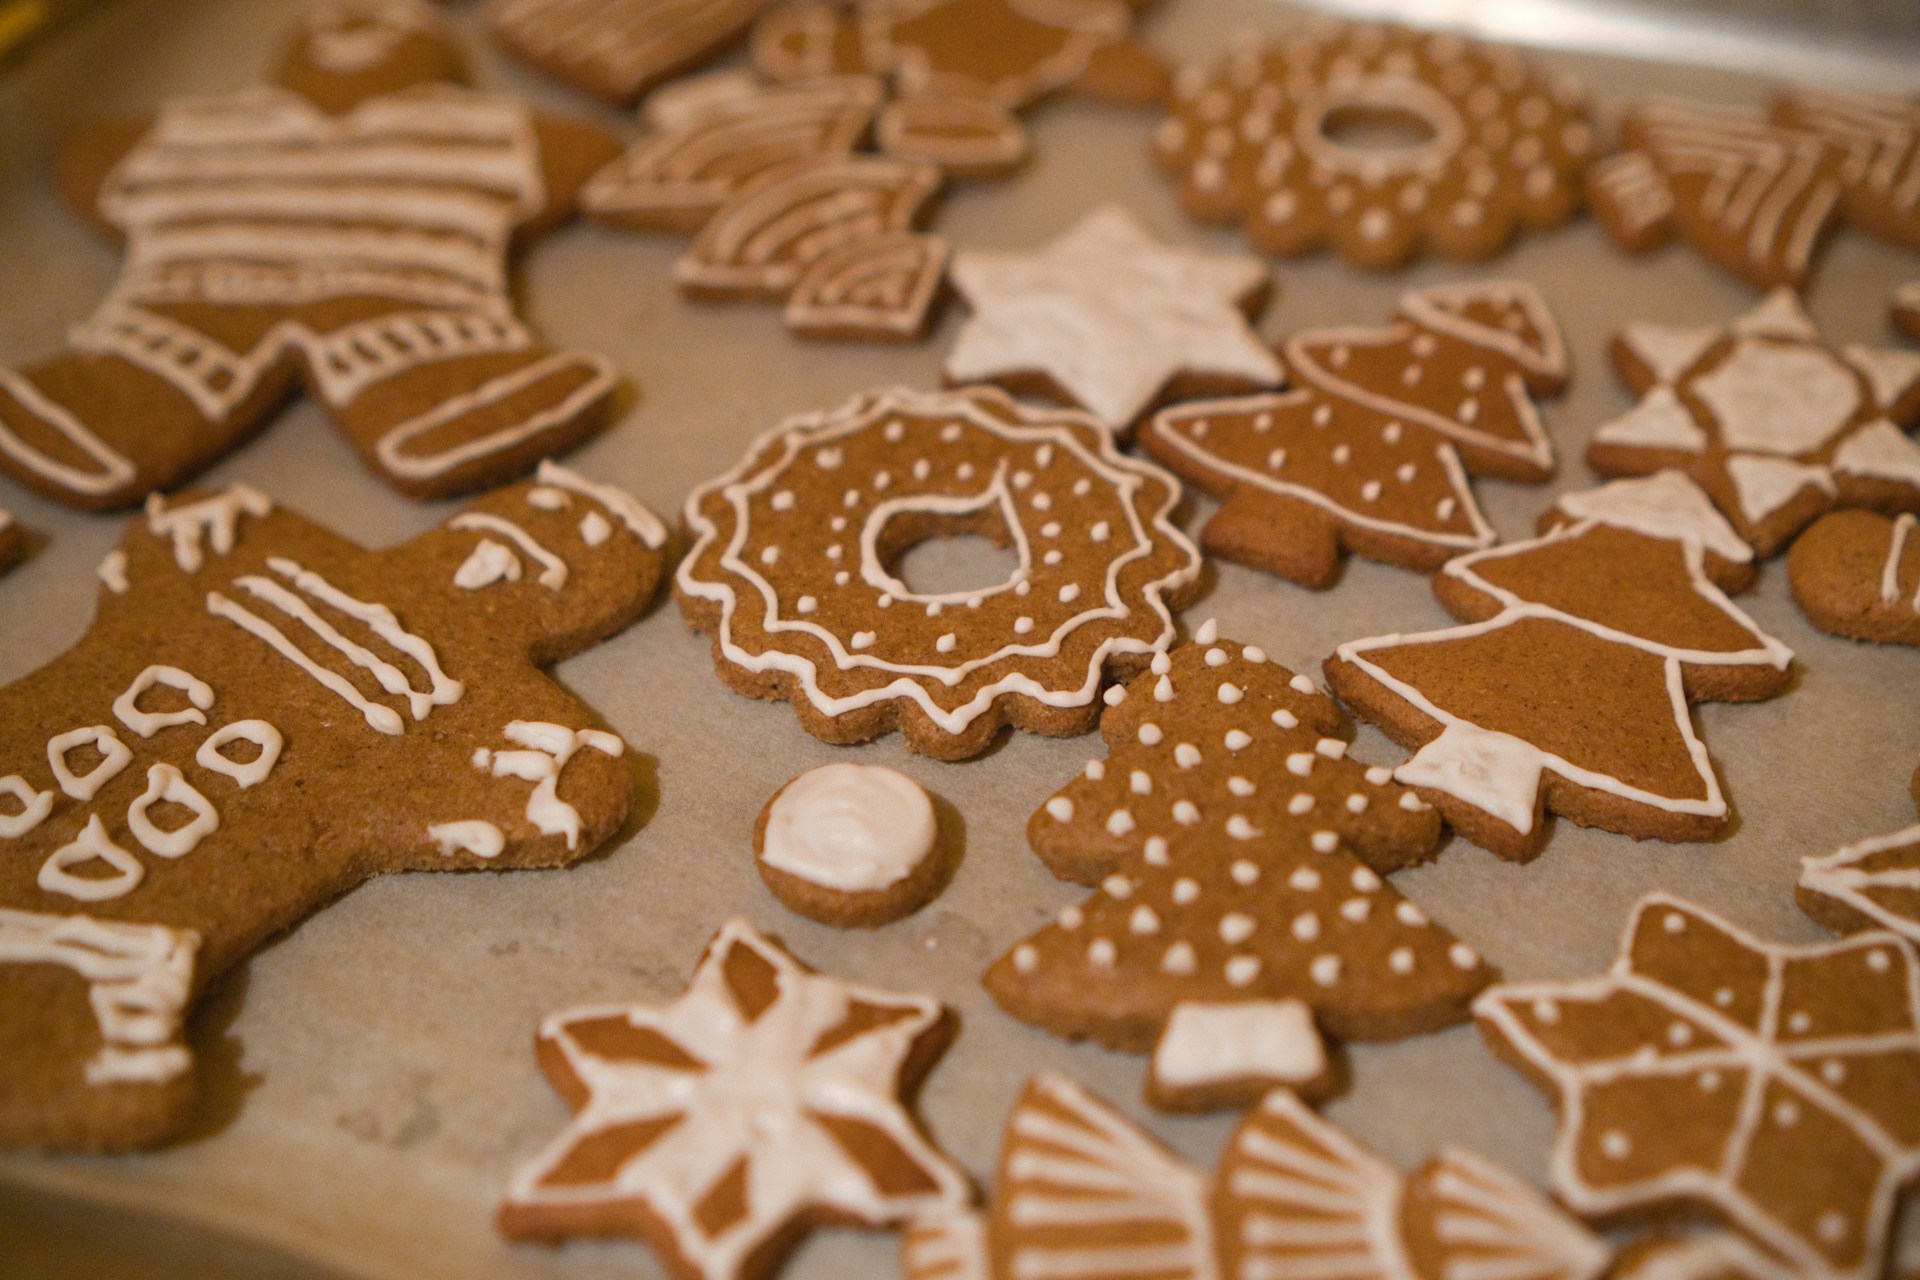
Gingerbread has been part of English Christmas baking for centuries, and a tray of iced cookies makes a pretty welcome for guests. Stars, trees and little houses look charming with simple white piping. Set the tray on a side table or wrap a few in cellophane as small gifts. If you love the look, these gingerbread decor ideas bring the same cozy feeling to every room.
You will need: your favorite gingerbread cookie dough, star, tree and house cookie cutters, a rolling pin, baking sheets, royal icing, a piping bag with a small round tip, a serving tray.
How to make it: 1. Roll the dough 1/4 inch thick and cut out your shapes. 2. Bake as your recipe directs and cool completely. 3. Pipe thin white lines, dots and zigzags along the edges. 4. Let the icing set for a few hours before stacking on the tray.
Red and Gold Paper Chain for a Long Hallway
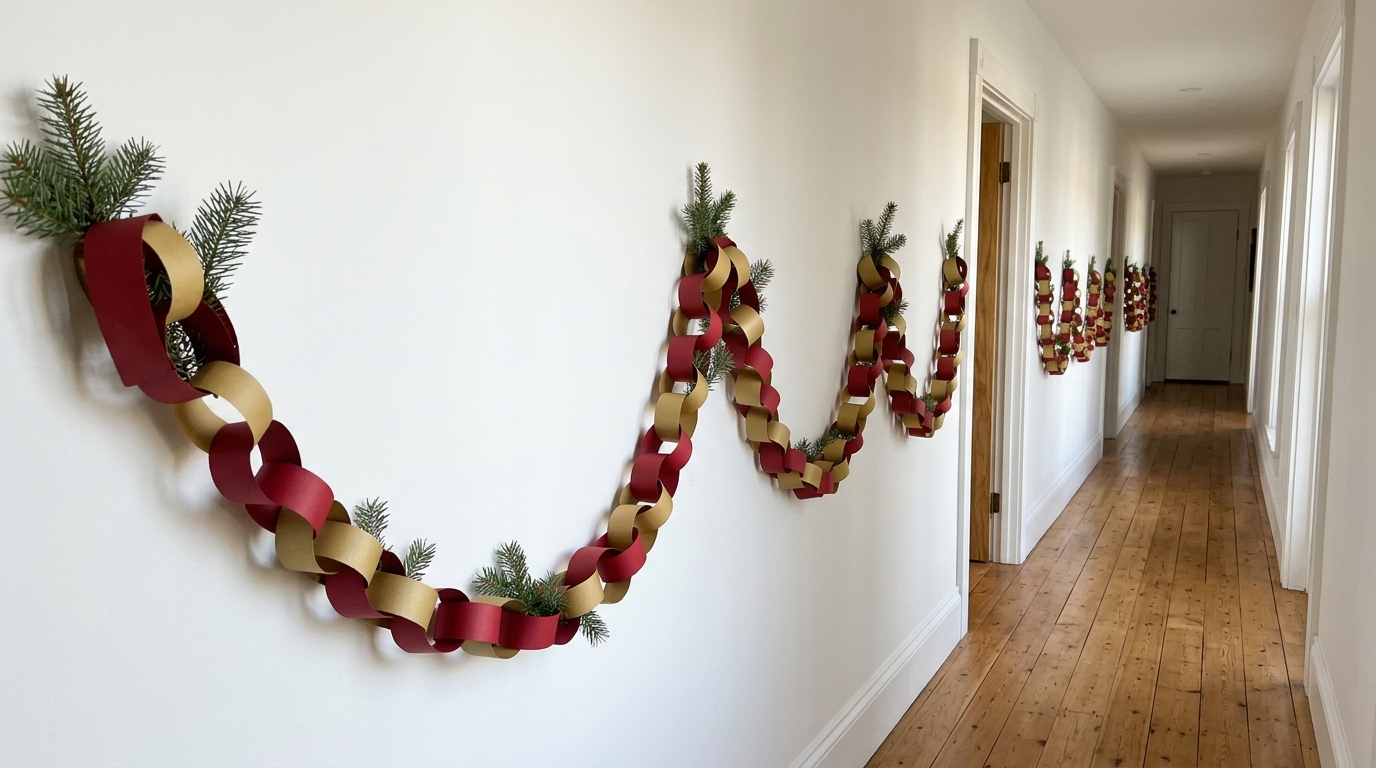
Big country houses have long halls, and a paper chain is the cheapest way to fill that space with color. Red and gold strips feel more grown up than the bright rainbow chains we made as kids. Tuck small evergreen sprigs into the loops for a fresh touch. One afternoon and a stack of paper gives you many feet of garland. For more styles, see this collection of homemade garland ideas for any room.
You will need: red and metallic gold cardstock, a paper trimmer or ruler and scissors, a glue stick or stapler, small evergreen sprigs, removable wall hooks.
How to make it: 1. Cut cardstock into strips about 1 inch by 8 inches. 2. Loop a red strip into a ring and glue the ends. 3. Thread a gold strip through it, close the ring and keep alternating colors. 4. Hang the chain in swags along the hallway and tuck in evergreen sprigs.
Classic Wreath With Big Red Bows on the Door
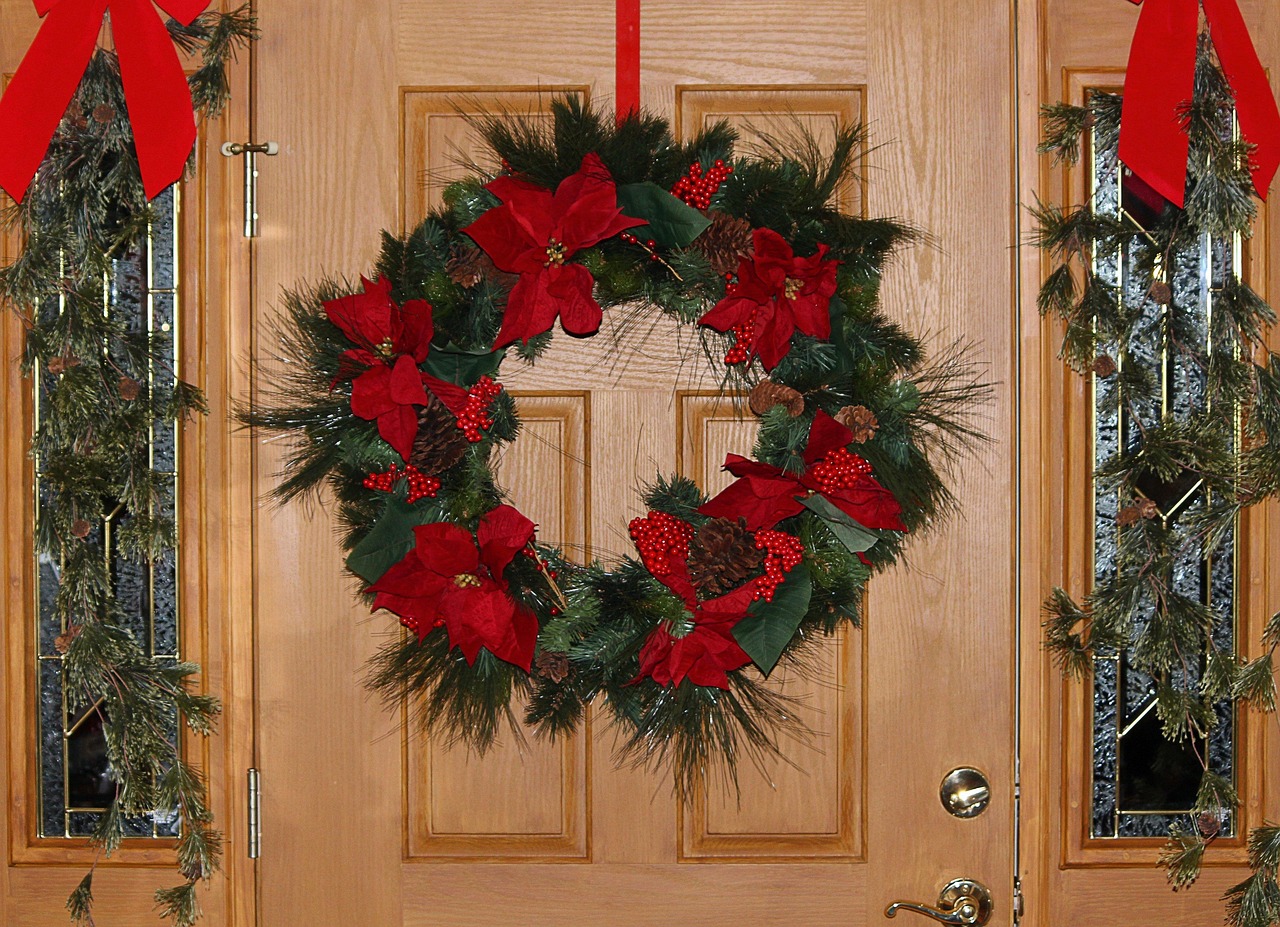
A green wreath with a generous red bow is the most classic Christmas look there is, and it never goes out of style. Real or faux greenery works, and you can add red silk flowers or berries for extra color. Hang matching swags on the side windows if you have them. Learn to tie a full, fluffy bow with our Christmas bow tips and you will never buy a premade bow again.
You will need: an evergreen wreath, 4 to 5 yards of wide red velvet or satin ribbon, red berry or flower picks, floral wire, a sturdy over the door hook.
How to make it: 1. Make a large bow with four loops on each side and long tails, and cinch the middle with floral wire. 2. Wire the bow to the bottom or top of the wreath. 3. Add berry or flower picks around the ring. 4. Hang the wreath at eye level on the door.
Queen Elizabeth Christmas Salt Dough Crowns
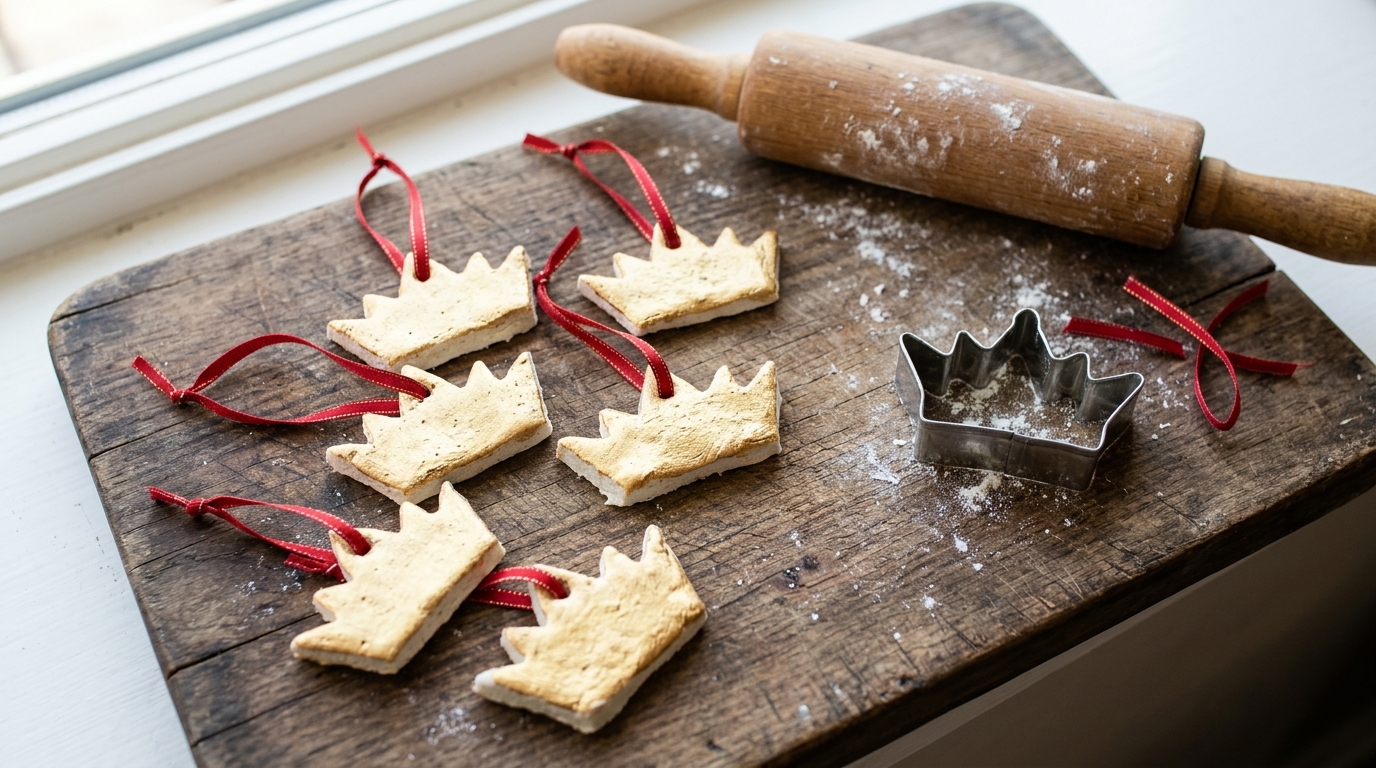
Salt dough is one of the cheapest crafts around, made from flour, salt and water you already have. Cut it with a crown shaped cookie cutter and you get sweet keepsake ornaments for a Queen Elizabeth Christmas tree. Leave them natural or brush them with gold paint, then add red ribbon loops. Kids and grandparents can make these together. You will find more clay ornament ideas to try with the leftover dough.
You will need: 2 cups flour, 1 cup salt, 3/4 cup water, a crown cookie cutter, a rolling pin, a straw, a baking sheet, gold acrylic paint (optional), thin red ribbon.
How to make it: 1. Mix the flour, salt and water into a smooth dough. 2. Roll it 1/4 inch thick and cut out crowns. 3. Poke a ribbon opening at the top with a straw. 4. Bake at 250 degrees for about 2 hours until hard, cool, paint if you like and thread with ribbon.
A Red Front Door and Wreaths for a Snowy Country Look
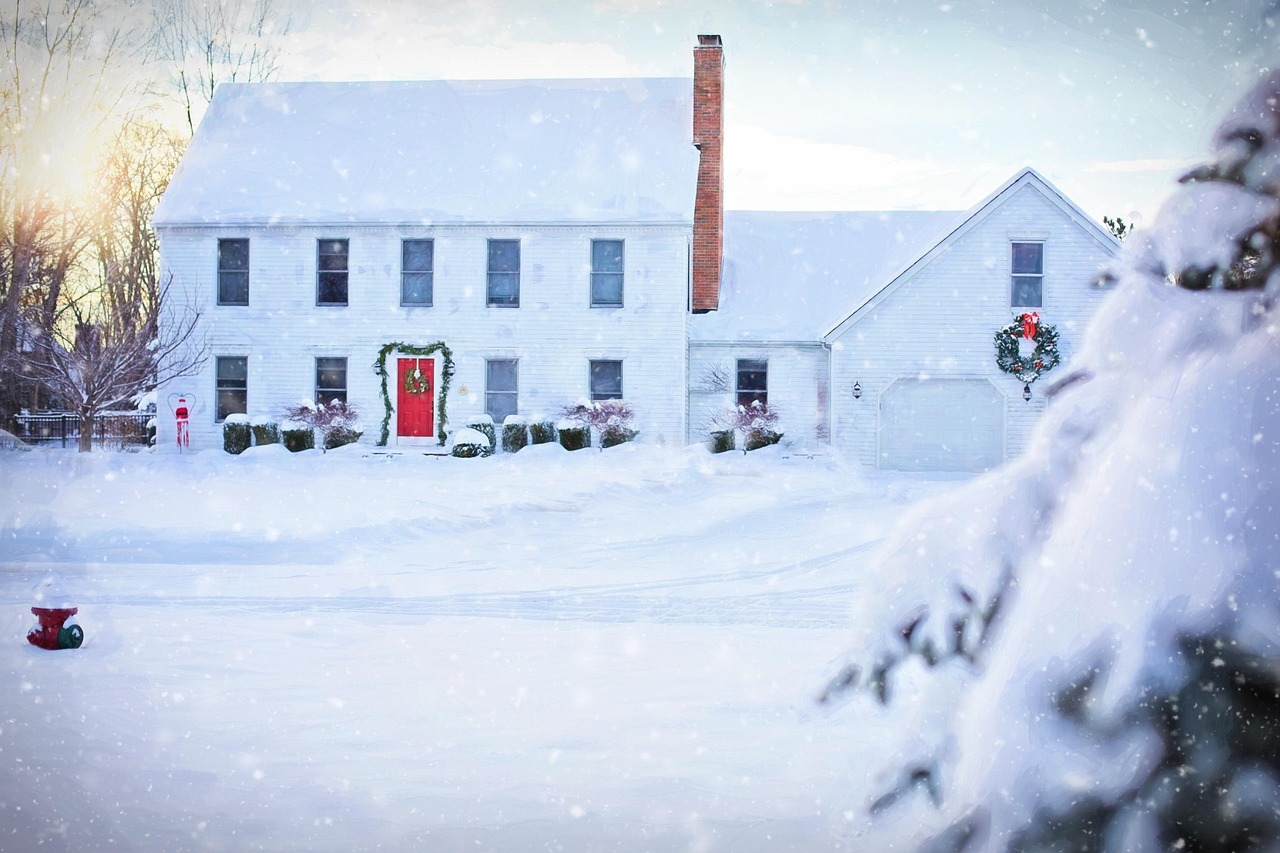
Finish the outside of your home the way a country house greets visitors in winter. A red front door, matching wreaths in every front window and a little greenery by the steps make a home look welcoming from the street. If you cannot paint the door, a red wreath bow or red planters give a similar effect. For even more outdoor inspiration, see these front porch ideas before the first snow arrives.
You will need: small evergreen wreaths for each window, red ribbon, over the window hooks or suction cups, exterior paint in a classic red (optional), evergreen swags.
How to make it: 1. Hang one small wreath in each front window at the same height. 2. Tie matching red bows on every wreath. 3. Hang a larger wreath on the front door. 4. Add evergreen swags or planters on both sides of the steps for balance.