Ree Drummond Christmas: 15 Cozy Ranch Style Ideas You Can Make for a Few Dollars
A Ree Drummond Christmas feels like walking into a warm ranch kitchen where the coffee is on, the cookies are cooling and every corner has something handmade and cheerful. Ree Drummond is the blogger, cookbook author and Food Network host who has shared her family life on a ranch in rural Oklahoma for years, and millions of fans love the homey, colorful style that goes with it. The best part is that this look was never about money. It is red bandanas, enamelware, plaid blankets, old boots and a little pine from the yard. Below are 15 easy projects inspired by that ranch house warmth, and most of them cost only a few dollars. Pour yourself something hot and pick the one you will make first..
Ree Drummond Christmas Kitchen Corner
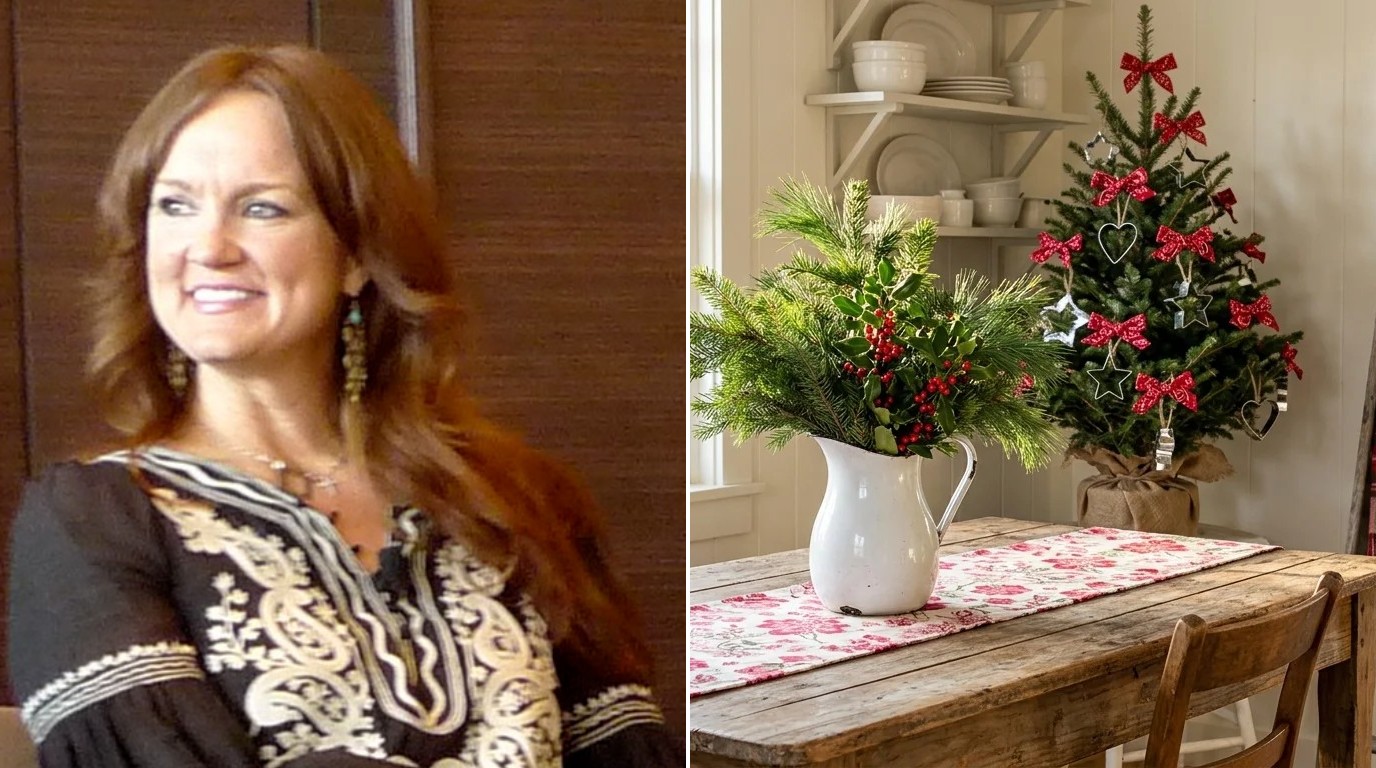
The heart of a Ree Drummond Christmas look is the kitchen, because that is where the family gathers. You do not need a new kitchen to get the feeling. Pick one small corner, like the end of a table or a spot by the window, and give it three things: a bright fabric runner, a pitcher of fresh greenery and a little tree with homemade ornaments. Add a plaid throw nearby and suddenly the whole room says welcome home. Fans of her style know that Ree Drummond built a whole brand around this kind of warm, busy family kitchen. Which corner of your kitchen is begging for a little holiday cheer..
You will need: A small tabletop tree, a pitcher or jar, fresh pine clippings, a fabric remnant, red ribbon and a plaid throw.
How to make it: 1. Clear one corner and wipe it down. 2. Lay the fabric runner, set the pitcher of greenery on it and place the tree behind. 3. Hang a few ornaments and drape the throw nearby so the corner feels lived in.
Floral Fabric Table Runner From Remnants
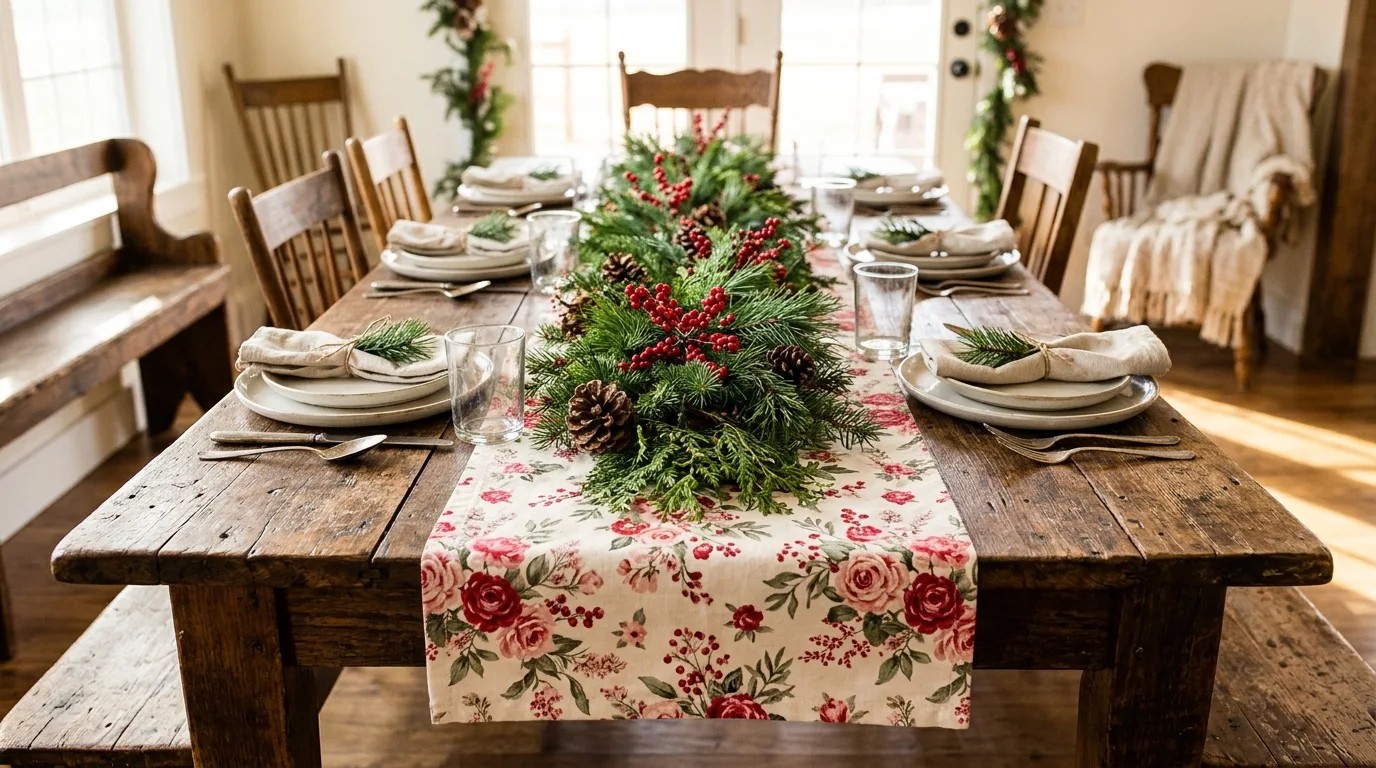
Bright florals in red and pink are a signature of that cheerful ranch look, and a table runner is the easiest way to bring them in. Fabric store remnant bins are full of pretty cotton prints for a few dollars, and a long narrow piece is all you need. If you can sew a straight line you can make this in twenty minutes, and if you cannot, iron on hem tape works just as well. Lay a little pine and a few berries down the middle and your everyday table is ready for company. Do you have a favorite print hiding in your fabric stash?
You will need: About two yards of cotton print fabric, iron on hem tape or a sewing machine, an iron, scissors and fresh greenery.
How to make it: 1. Cut the fabric 16 inches wide and as long as your table plus 12 inches. 2. Fold each edge under twice and press. 3. Stitch or fuse the hems, press again and style with pine and berries.
Enamelware Pitcher of Evergreens
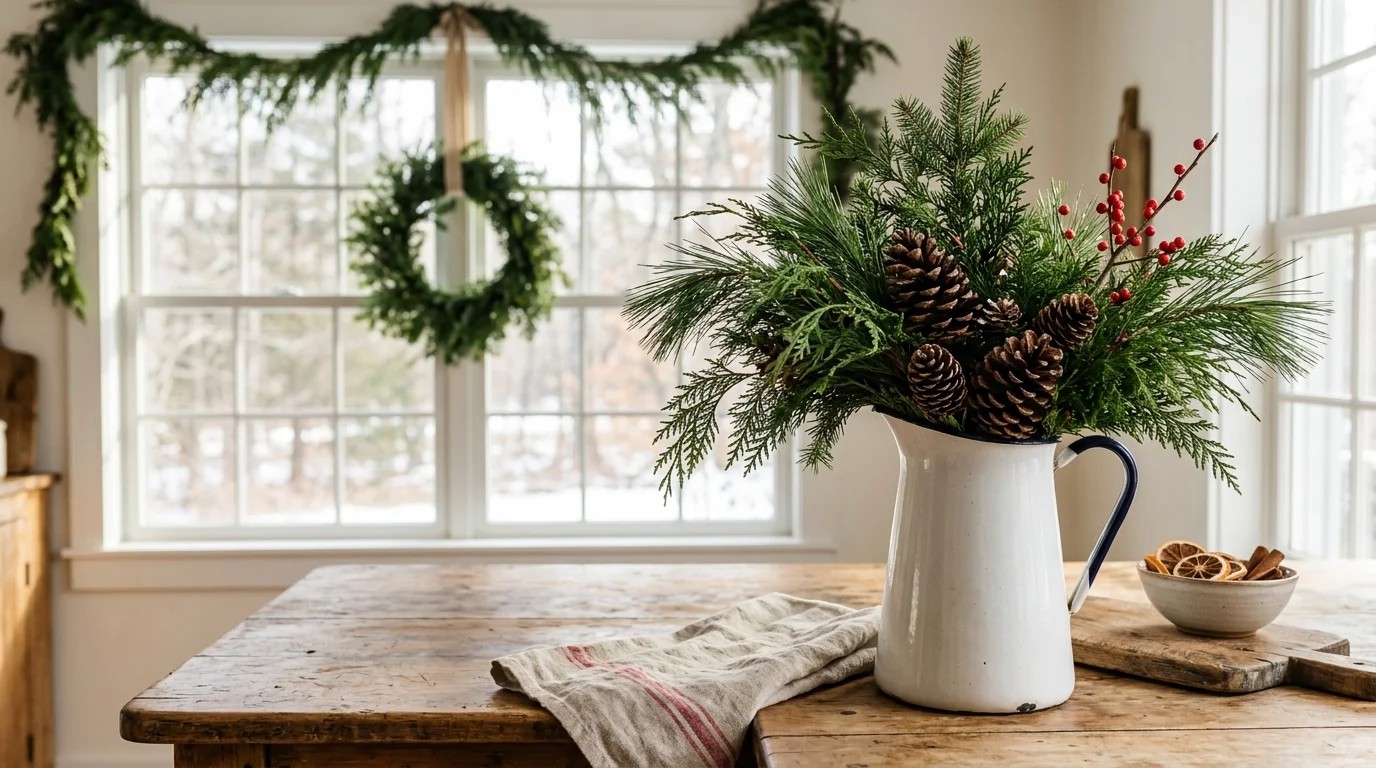
An old enamel pitcher full of greenery might be the simplest decoration in this whole list, and it is one of the prettiest. Look for a white enamelware pitcher at a thrift store or flea market; chips and dings only add charm. Fill it with cuttings from your yard, the bottom branches trimmed off your tree, or a free bundle of trimmings from the tree lot. Mix cedar, pine and a couple of berry stems for texture. Change the water every few days and it will stay fresh for weeks. Where would a pitcher like this look best in your home?
You will need: An enamel pitcher or any large jug, pine, cedar and fir clippings, a few pine cones, berry stems and garden clippers.
How to make it: 1. Fill the pitcher two thirds with water. 2. Add the longest branches first to make a loose fan shape. 3. Tuck shorter pieces, pine cones and berry stems in the front until it looks full.
Ree Drummond Christmas Cowboy Boot Vase
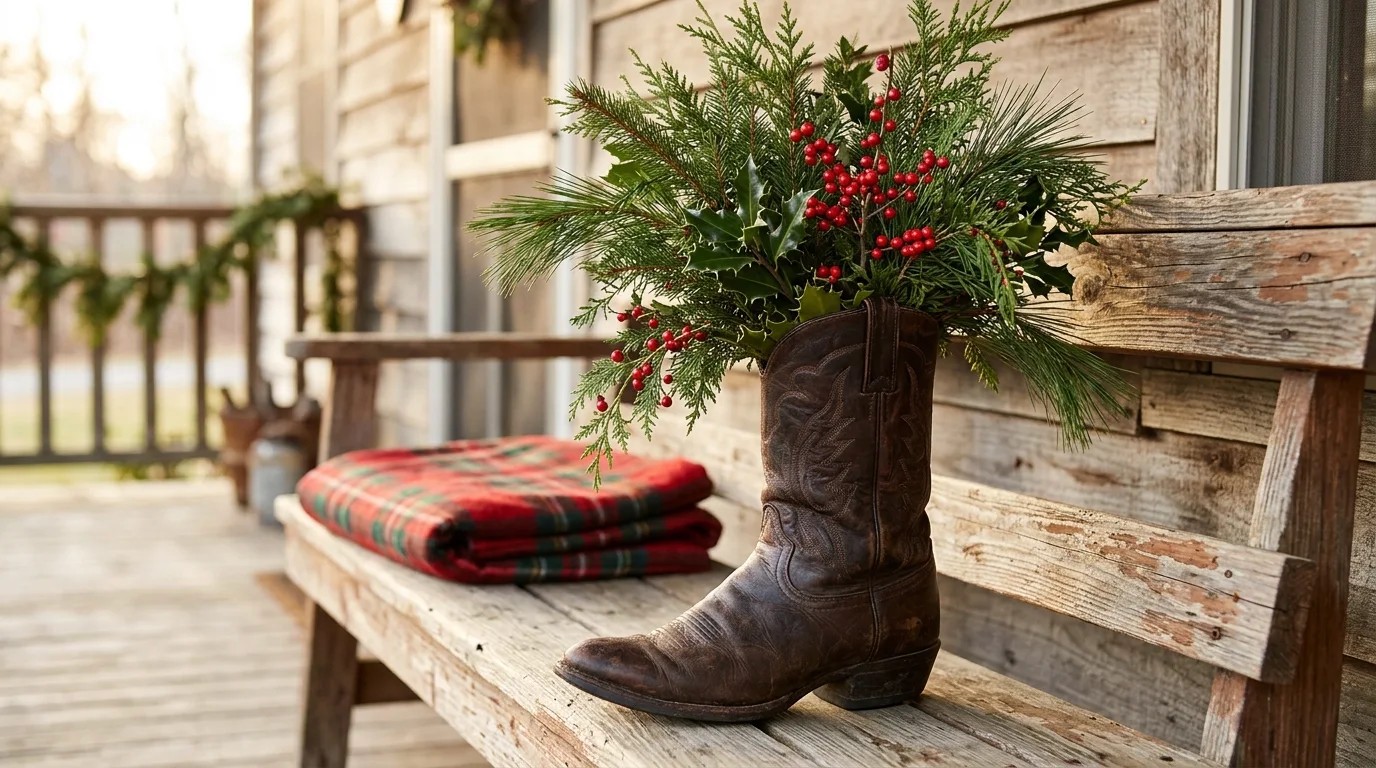
Nothing says ranch life at Christmas quite like a worn cowboy boot turned into a vase, and it is a fun nod to the Ree Drummond Christmas spirit. A single boot from a thrift store or the back of a closet is perfect, the more scuffed the better. Slip a tall plastic cup or a jar inside to hold water, then fill it with holly, pine and berries. Set it on a porch bench, by the front door or on the hearth. Guests always smile when they spot it. Is there an old pair of boots in your house waiting for a second life?
You will need: An old leather boot, a tall plastic cup or narrow jar, holly, pine branches, berry stems and a little floral foam if you like.
How to make it: 1. Clean the boot and stuff the toe with newspaper so it stands up. 2. Slide the cup or jar into the shaft and fill it with water. 3. Arrange the greenery tallest in the back and let some holly spill over the sides.
Galvanized Bucket Tree Collar
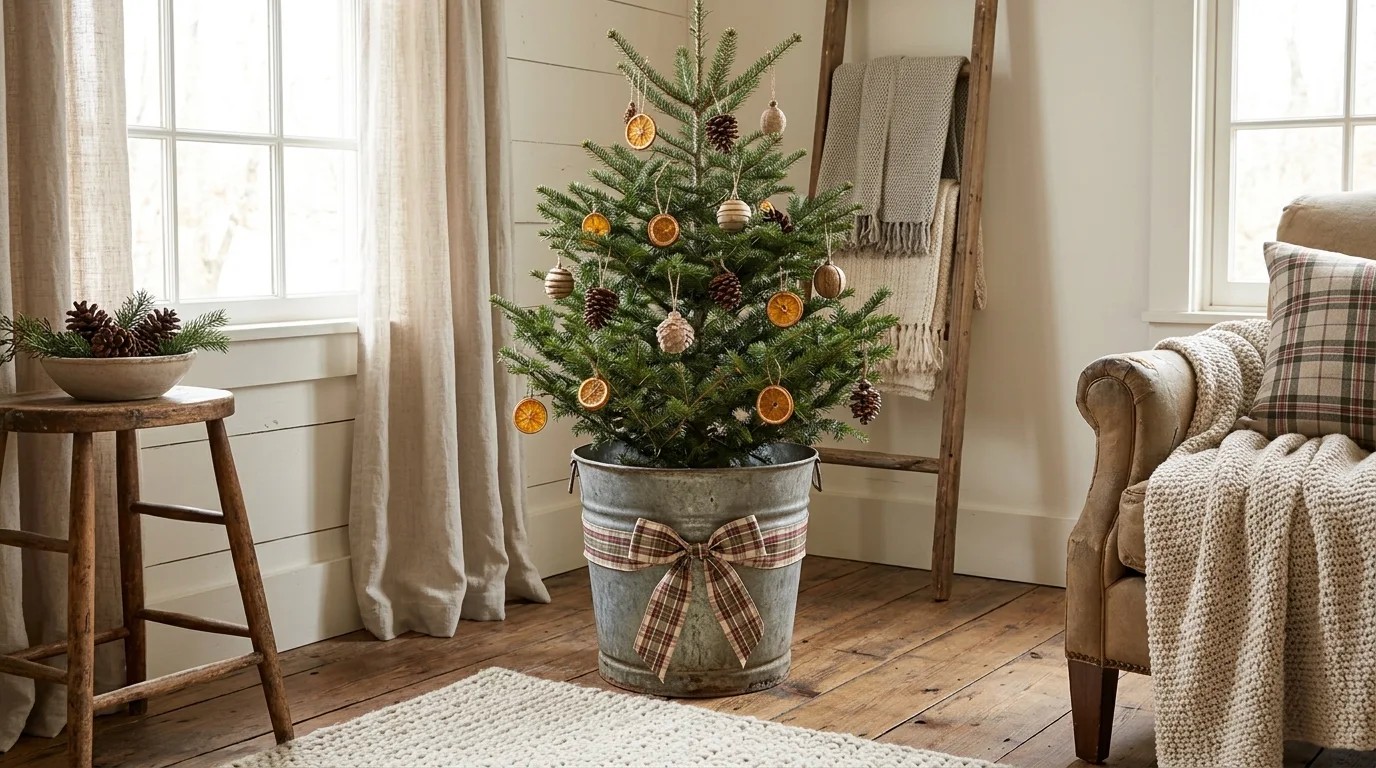
A plastic tree stand is nobody’s favorite thing to look at, and a galvanized bucket hides it in seconds. Farm and garden stores sell metal buckets and tubs for very little, and they fit right in with a country look. Set the stand inside the bucket, or for a small tree fill the bucket with rocks and sand to hold the trunk steady. A wide plaid ribbon tied around the middle finishes it like a present. This also works for real trees, just leave room to add water. Would a big bucket or a small one suit your tree better?
You will need: A galvanized bucket or tub, your tree stand or rocks and sand, wide plaid ribbon and a hot glue gun (adult help).
How to make it: 1. Place the stand inside the bucket, or fill the bucket halfway with rocks and sand. 2. Set the tree in and check it is straight and steady. 3. Wrap ribbon around the bucket and tie a big bow at the front.
Rope and Burlap Wreath
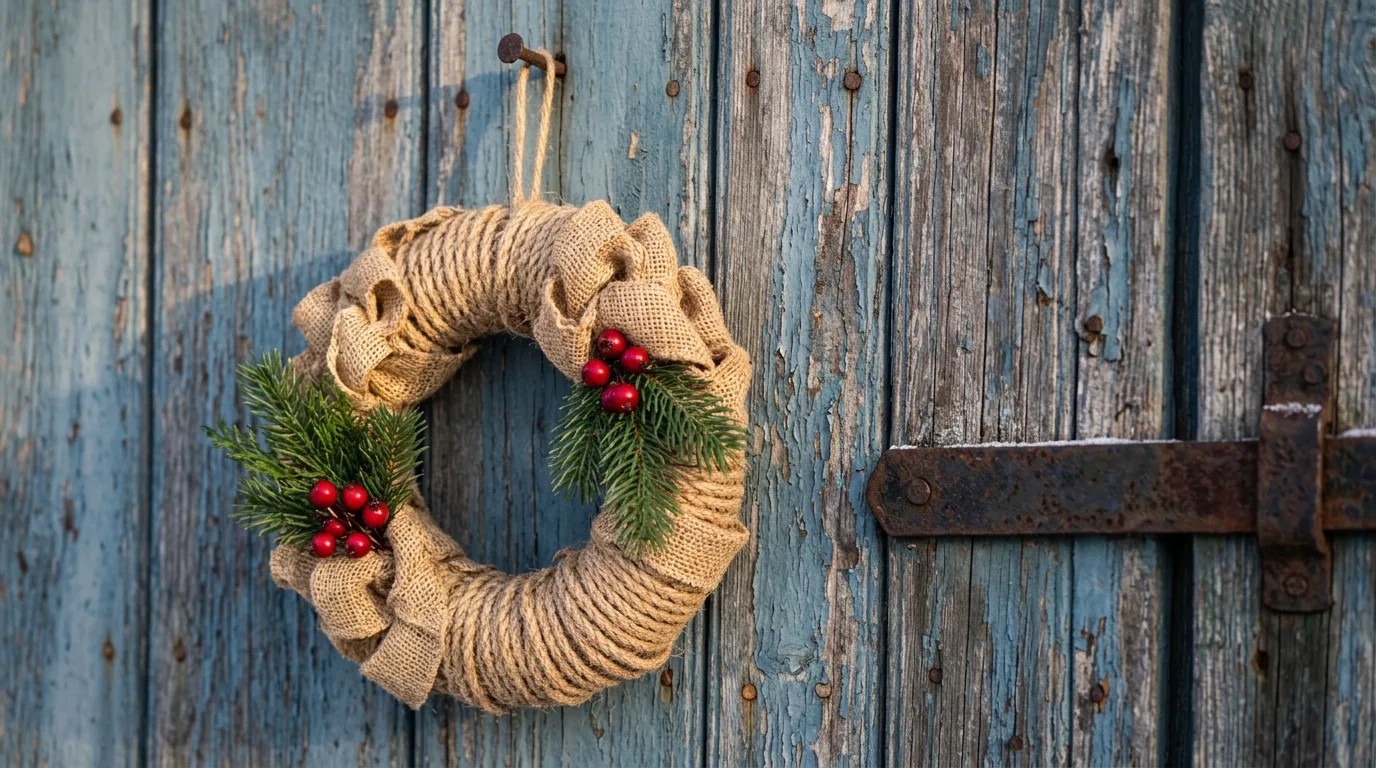
Rope and burlap are cheap, sturdy and full of country character, and together they make a wreath that lasts for years. Start with a foam or straw wreath form, wrap half of it tightly in jute rope and pull loops of burlap ribbon around the other half. A couple of pine sprigs and a cluster of faux berries add color without making it fussy. It looks wonderful on a barn style door, a mudroom wall or the front of a cabinet. Because nothing on it is fresh, you can store it flat and bring it out every year. What color door will yours hang on?
You will need: A 14 inch wreath form, a roll of jute rope, burlap ribbon, faux pine sprigs, faux red berries and a glue gun (adult help).
How to make it: 1. Glue the rope end to the form and wrap tightly around half of it. 2. Pin or glue burlap loops around the other half. 3. Tuck pine and berries into the two joins and add a rope hanger at the top.
Red Bandana Ribbon Bows
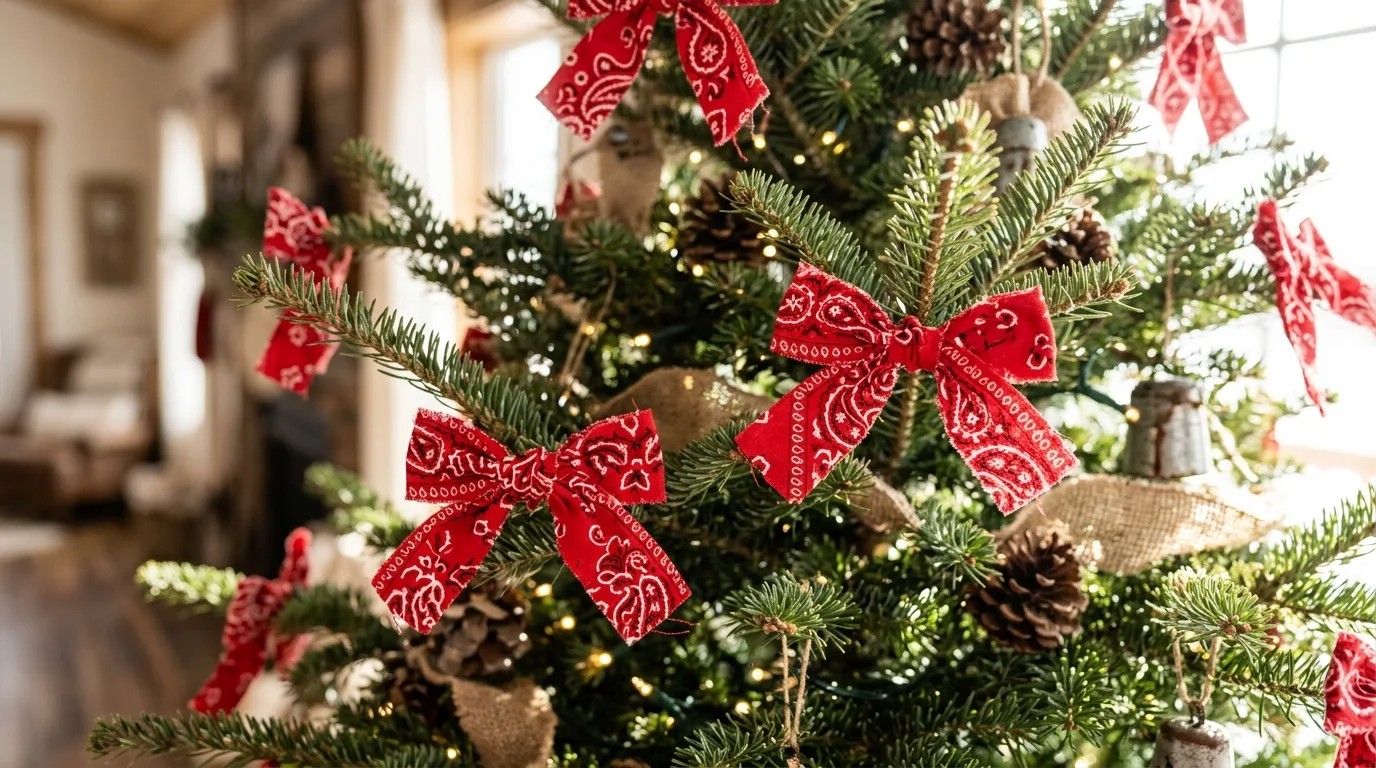
Red bandanas cost about a dollar each and they turn into the cutest tree bows you have ever seen. That classic white paisley pattern instantly says ranch, and it looks cheerful against green branches. Cut each bandana into strips about two inches wide, leave the edges raw for a relaxed look, and tie simple bows. One bandana makes four or five bows, so a pack of six covers a whole tree. You can also tie them on gifts, napkins and the backs of kitchen chairs. Will you go all red, or mix in a few blue ones too?
You will need: Six red paisley bandanas, sharp fabric scissors, a ruler and thin wire or twist ties for attaching.
How to make it: 1. Cut each bandana into strips about two inches wide. 2. Tie each strip into a bow and trim the tails at an angle. 3. Twist a short piece of wire on the back and fasten the bows all over the tree.
Ree Drummond Christmas Barn Wood Star
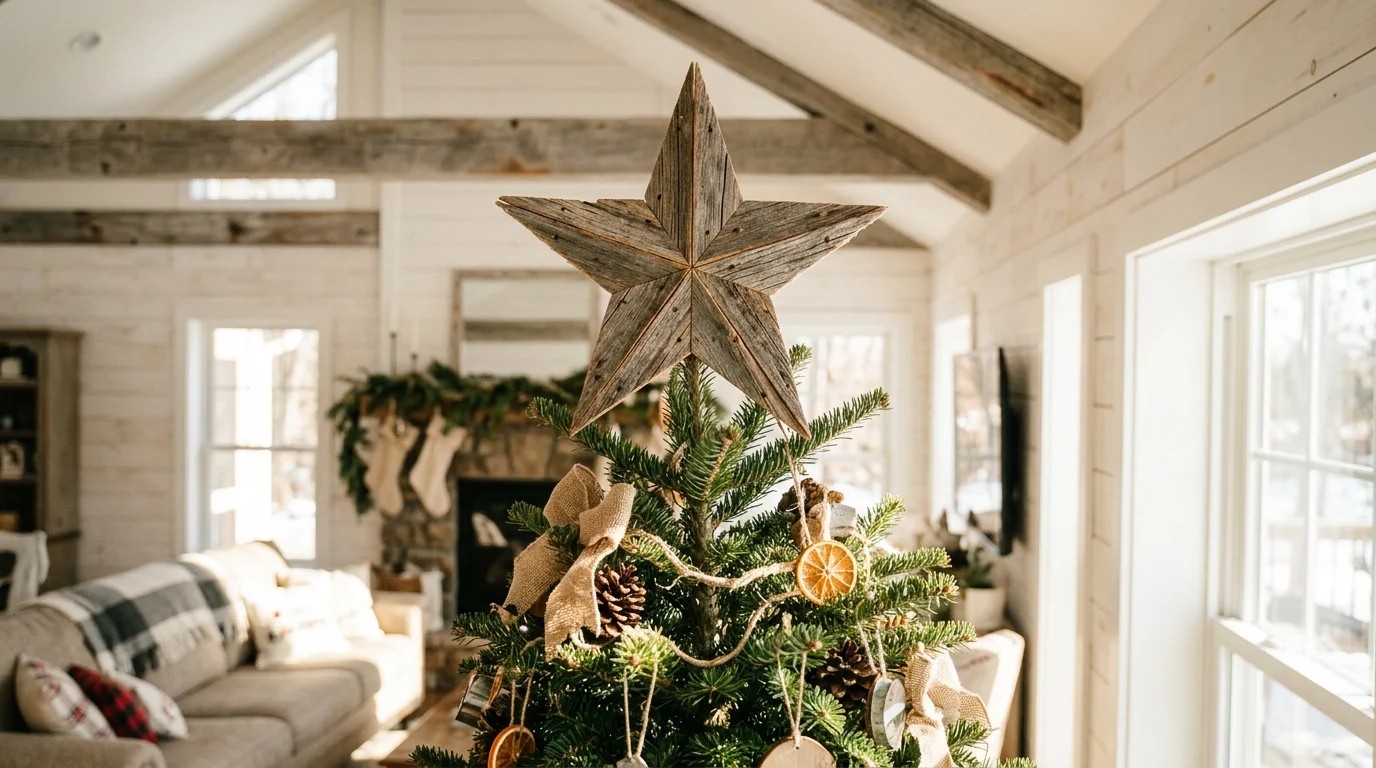
A big weathered wood star on top of the tree is one of those touches that makes a Ree Drummond Christmas look feel truly country. Old fence pickets, pallet boards or a scrap pile at a lumber yard give you that silvery gray wood for free or close to it. Five short boards cut at the same angle and glued together make a star that looks like it came from a barn sale. Keep it light so the top of the tree does not bend. A simple wire loop on the back holds it in place. Do you have an old board saved for a project like this?
You will need: Five thin weathered boards about 12 inches long, a miter saw or hand saw (adult help), wood glue, small nails and floral wire.
How to make it: 1. Cut the five boards with matching angled ends so they meet in a star shape. 2. Glue and nail the joints and let them dry flat. 3. Attach a loop of floral wire to the back and slide it over the top branch.
Salt Dough Cookie Cutter Ornaments

Cookie cutters belong in every country kitchen, and they can make ornaments as well as cookies. Salt dough is just flour, salt and water, so a whole batch costs pennies. Roll it out, cut stars, hearts, trees and little gingerbread people, then poke a hole near the top for the ribbon. Bake them low and slow until they are hard, and paint them or leave them a plain cream color for a farmhouse look. Kids and grandparents can work on these together at the kitchen table. Remember, these are for the tree, not for eating! Which shapes are in your cutter drawer?
You will need: Two cups flour, one cup salt, about three quarters cup water, cookie cutters, a straw, baking sheet and ribbon.
How to make it: 1. Mix the flour, salt and water into a smooth dough and roll it a quarter inch thick. 2. Cut shapes and poke a ribbon hole with a straw. 3. Bake at 250 degrees for two to three hours until hard, cool, then thread ribbon.
Vintage Cake Stand Winter Scene
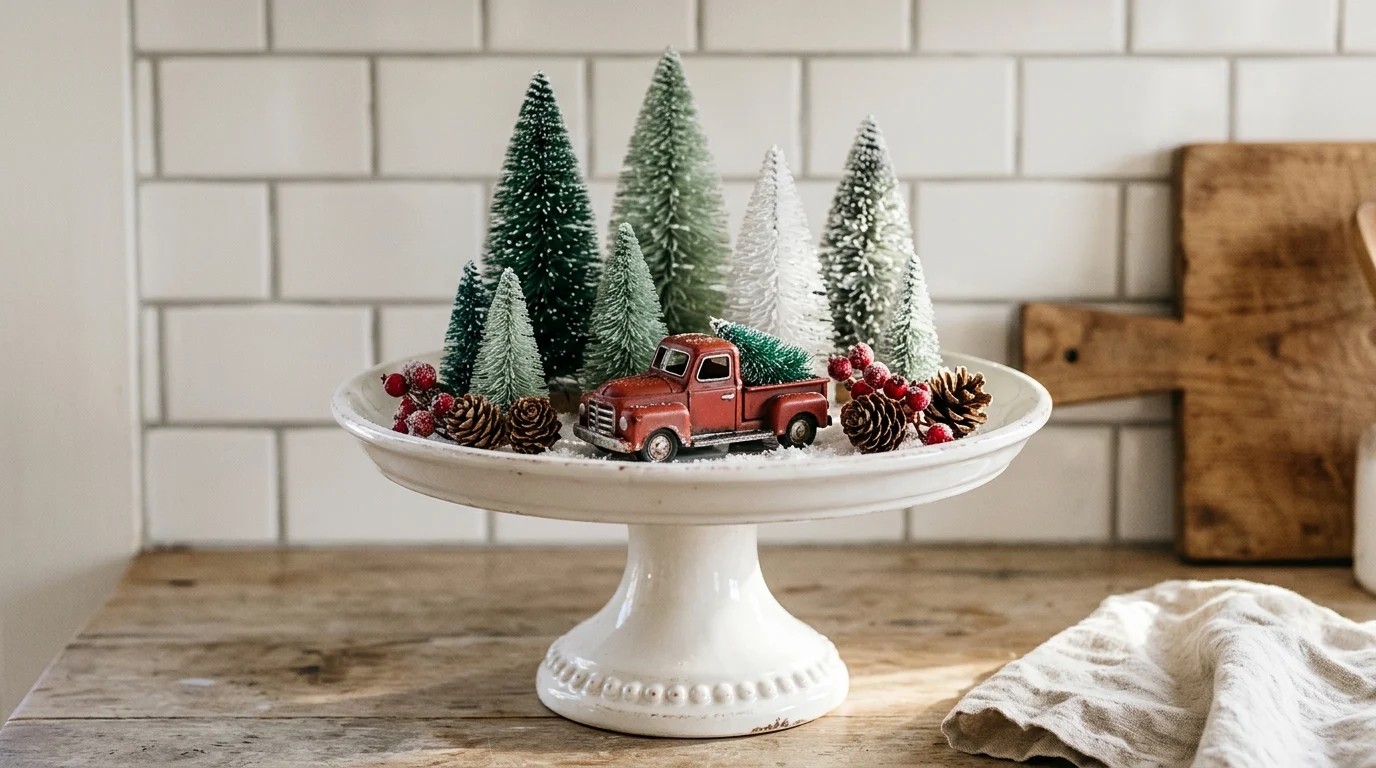
A cake stand is not just for cake. Raise up a tiny winter scene on one and it becomes the star of the counter. Thrift stores almost always have a white or glass stand for a few dollars. Fill the top with a sprinkle of fake snow, a cluster of bottle brush trees in different heights, a few pine cones and berries, and one little vintage style toy truck. It is like a snow globe you can rearrange every day. If you love the look, our bottle brush tree ideas show even more ways to use those tiny trees. What little treasure would you put in the middle?
You will need: A cake stand, five to seven small bottle brush trees, faux snow, mini pine cones, faux berries and a small toy truck or house.
How to make it: 1. Spread a thin layer of faux snow on the cake stand. 2. Place the tallest trees at the back and the shortest in front. 3. Set the truck in the middle and tuck pine cones and berries around it.
Plaid Blanket Ladder Display
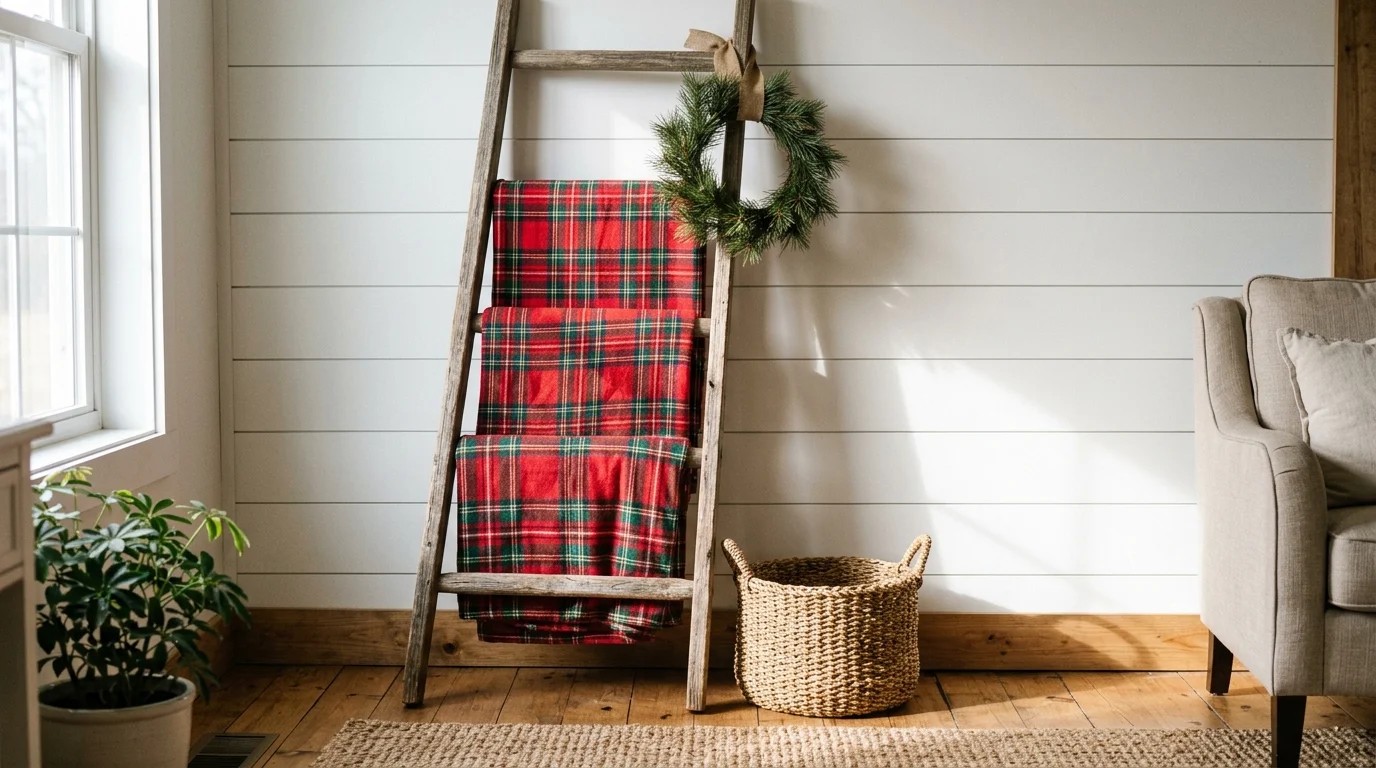
Plaid is the unofficial fabric of a ranch house Christmas, and a blanket ladder shows it off while keeping throws handy for movie night. You can buy a ladder or make one from two long boards and a few dowels or branches. Drape folded flannel blankets over the rungs in different reds and greens, then hang a small wreath from the top. It fills an empty corner and adds warmth right away. When guests come over, everyone grabs a blanket and gets cozy. Is there a blank wall in your living room that could use one?
You will need: Two 5 foot boards, four or five dowels or straight branches, wood screws, a drill (adult help), sandpaper and plaid throws.
How to make it: 1. Lay the two boards side by side about 18 inches apart. 2. Screw the rungs across every 12 inches and sand any rough spots. 3. Lean it against the wall, drape the blankets and hang a small wreath on top.
Ree Drummond Christmas Feed Sack Stockings
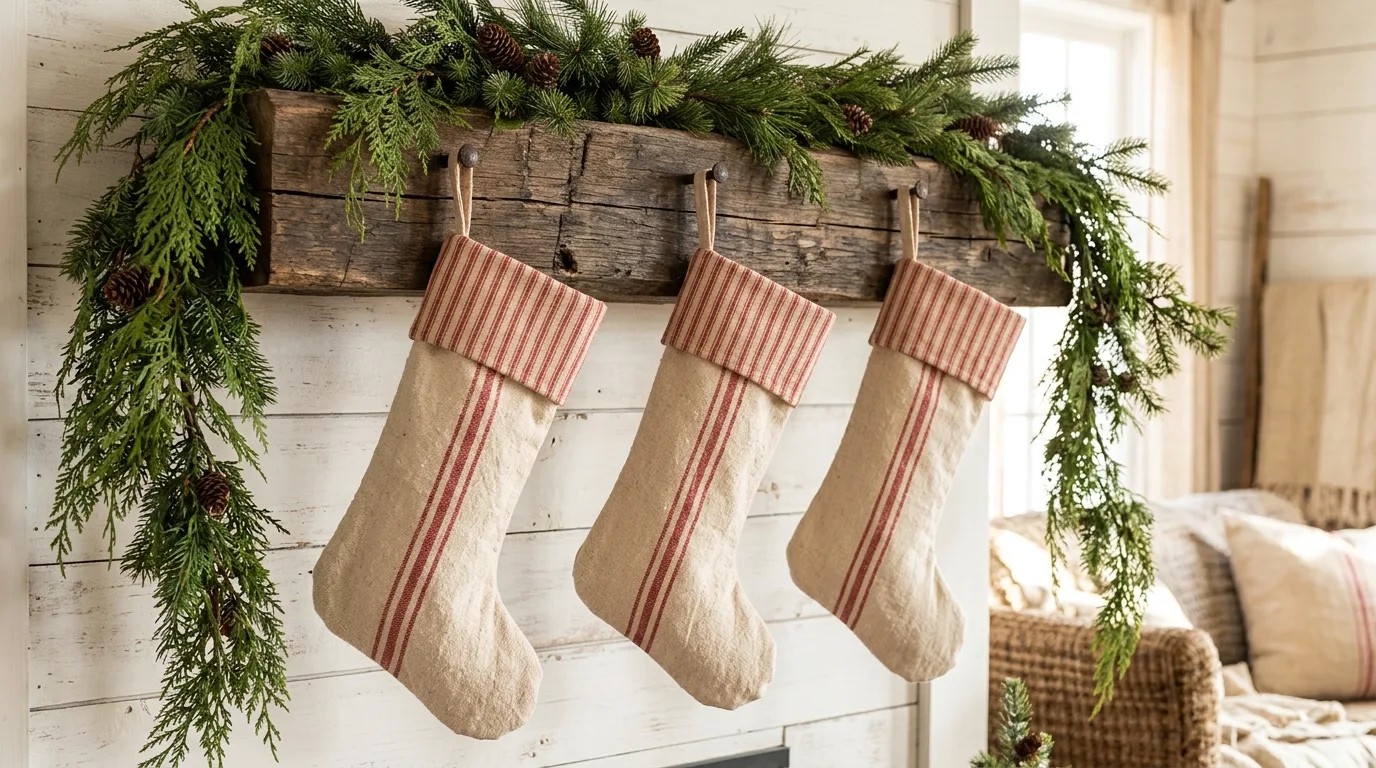
Old feed and flour sacks were once used for aprons, quilts and dresses on farms, and their faded stripes are a perfect match for a Ree Drummond Christmas mantel. Real vintage sacks can be pricey, so look for striped grain sack style cotton or a cream drop cloth and add your own red stripes with fabric paint and tape. Cut two stocking shapes, stitch them together and add a ticking stripe cuff. Hang them on simple hooks under a garland and they look like they came from grandma’s farmhouse. How many stockings will your family need this year?
You will need: Cream canvas or a drop cloth, red fabric paint, painter’s tape, red ticking fabric for cuffs, a sewing machine and twine.
How to make it: 1. Tape straight lines down the fabric and paint red stripes, then let dry. 2. Cut two stocking shapes per stocking and sew them together inside out. 3. Turn right side out, sew on a folded ticking cuff and add a twine loop.
Hand Painted Cutting Board
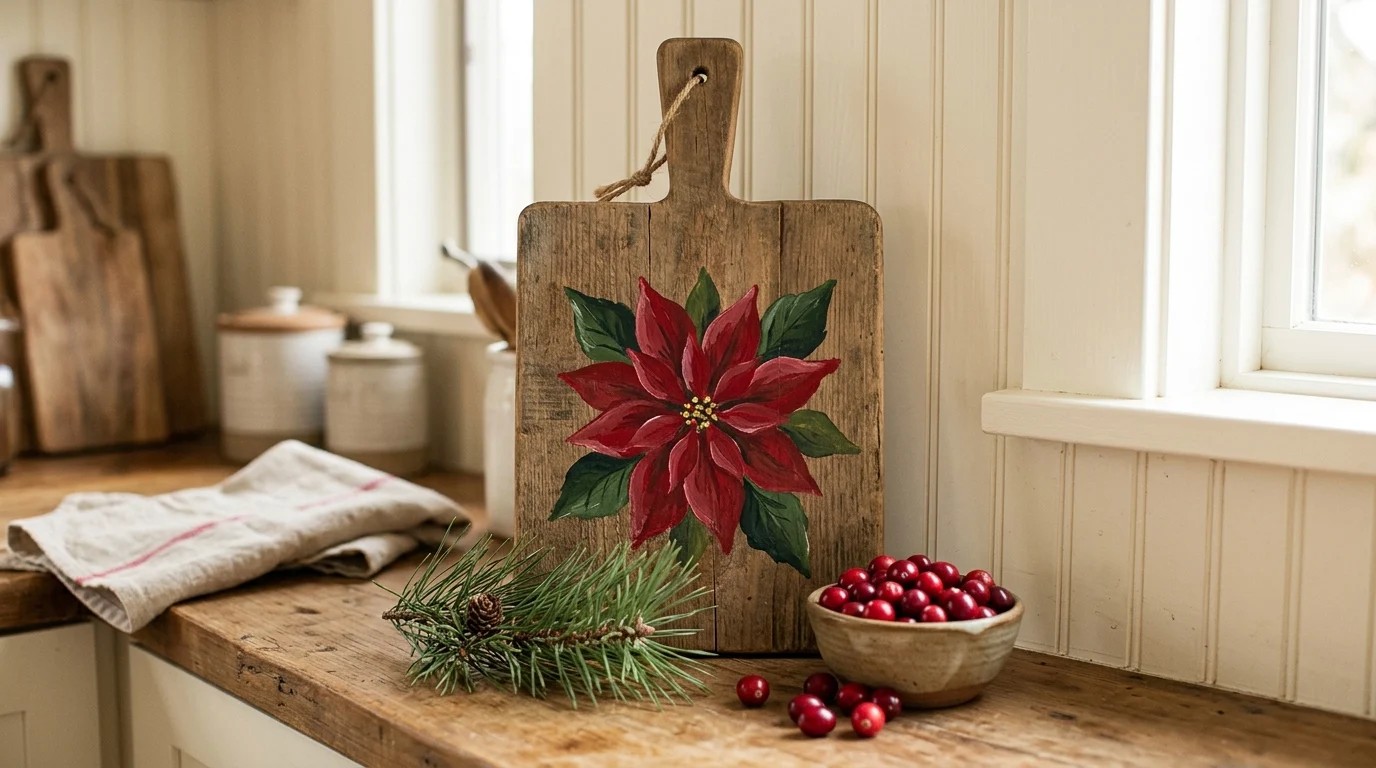
An old cutting board makes a lovely canvas for a holiday painting. Thrift stores are full of worn wooden boards, and the scratches and stains only make them look more charming. Sketch a simple poinsettia with a pencil, fill it in with red and green craft paint, and add a dab of yellow in the middle. Seal it with clear acrylic, prop it behind the stove or on an open shelf, and it becomes decor for the whole season. Keep it for display only, not for chopping. Would you paint a poinsettia, a sprig of holly or a little tree?
You will need: A wooden cutting board, a pencil, red, green and yellow acrylic craft paint, small brushes and clear acrylic sealer.
How to make it: 1. Sand the board lightly and wipe off the dust. 2. Sketch the flower and fill in the petals and leaves with paint. 3. Add the yellow center, let dry overnight and spray with sealer.
Horseshoe Shaped Pine Wreath

A horseshoe is a classic symbol of good luck on a farm, so why not make your wreath in that shape? Bend a wire coat hanger or a length of heavy wire into a tall U, then wrap little bundles of pine around it with floral wire. Add a few pine cones and berries and finish with a big red plaid bow where the opening is. It looks great on a barn wall, a garage door or the side of a shed. It is a little different from the usual round wreath, and people always ask about it. Where could you hang a little good luck this year?
You will need: Heavy gauge wire or a wire hanger, fresh pine bundles, green floral wire, small pine cones, faux berries and wide plaid ribbon.
How to make it: 1. Bend the wire into a U shape about 16 inches tall and make a hanging loop at the top. 2. Wrap small pine bundles along the wire, overlapping each one. 3. Wire on the pine cones and berries and tie the bow at the bottom.
Ree Drummond Christmas Cocoa Tray
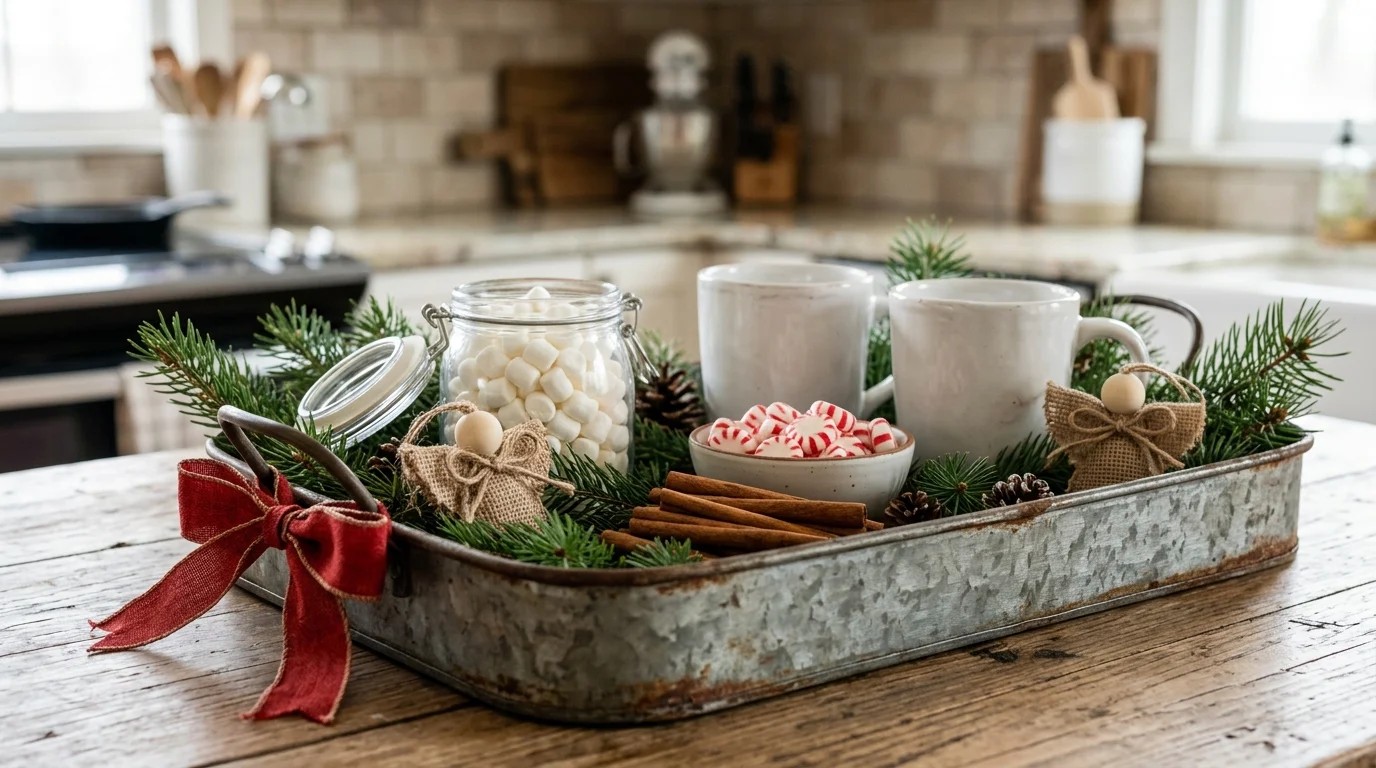
Every Ree Drummond Christmas kitchen needs a spot for something warm and sweet, and a cocoa tray is the easiest way to set one up. Grab an old tin tray or a wooden board, add a stack of mugs, a jar of marshmallows, a bowl of peppermints and a few sprigs of pine, and tie a big red bow on the corner. Set it out after sledding, caroling or a long day of wrapping gifts and let everyone help themselves. For more fun setups, see our cozy hot cocoa bar ideas. What will you add to your tray first?
You will need: A wooden board or tin tray, mugs, a jar of marshmallows, peppermints, a few cinnamon sticks, pine sprigs and red ribbon.
How to make it: 1. Set the board in a spot that is easy to reach. 2. Arrange the mugs at the back and the jars and bowls in front. 3. Tuck pine around the edges, tie on a red bow and keep a thermos of cocoa nearby.