12 Cardboard Miniatures So Detailed They Look Like the Real Thing
Cardboard miniatures are proof that the best things really do come in small packages. With a few scraps from a shipping box, some glue and a lot of patience, people are building tiny wardrobes with doors that open, little kitchens with bottle cap stoves and mini shops so real you want to walk inside. Short videos of these builds have racked up tens of millions of views, and searches for miniatures made from trash have jumped more than 400 percent on Pinterest. There is something so calming about working small. Time slows down, your phone goes quiet and a plain brown box slowly turns into a world of its own. Whether you build with your kids or on your own after a long day, these tiny projects are about to become your favorite new hobby..
Cardboard Miniatures Start With a Tiny Wardrobe
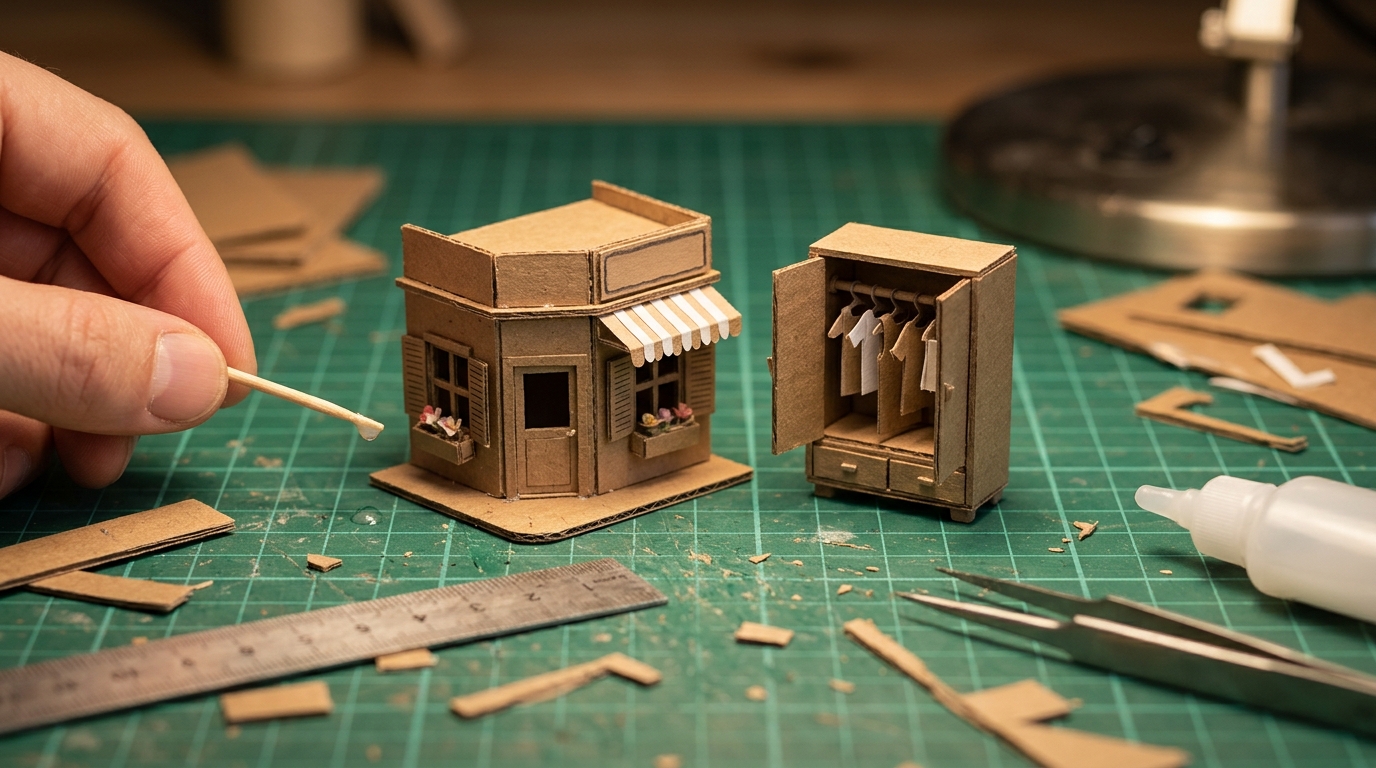
This little wardrobe is the build that started a craze. A short video of a mini cardboard wardrobe with doors that really open has been watched more than 80 million times. You cut a small box frame, add two hinged doors with tape on the inside, then fill it with a tiny rail and paper clothes on wire hangers. It is one of those cardboard miniatures that makes everyone gasp when they open it. Adults should handle the craft knife. Once you see those tiny doors swing, you will be hooked..
You will need: Thin cardboard from cereal boxes, thick cardboard for the frame, a craft knife (adult use), a metal ruler, glue, a toothpick, thin wire, paper scraps.
How to make it: 1. Cut a back, two sides, a top, a bottom and two doors. 2. Glue the frame together and let it dry. 3. Attach the doors with a strip of paper tape on the inside as hinges. 4. Glue a toothpick inside as a rail and hang paper clothes on wire hangers.
Build a Tiny Food Truck Shop
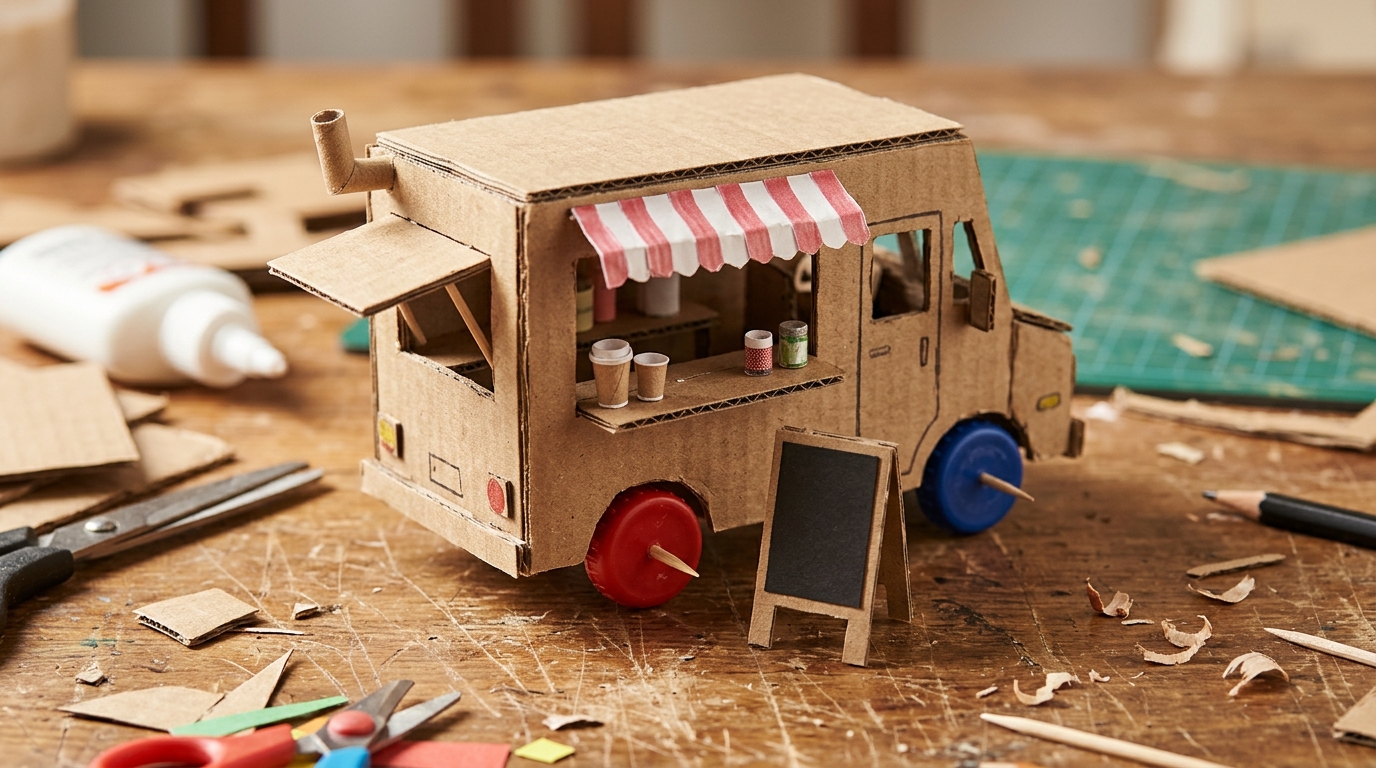
A tiny truck shop is pure joy to build and even more fun to play with. One of the most watched cardboard mini truck shop videos has close to 90 million views. Start with a small box for the body, cut a serving window that folds up into an awning and add bottle cap wheels. Inside, a little counter, paper cups and a blank menu board bring it to life. Kids can turn it into an ice cream truck, a taco stand or a flower cart. What would your truck sell?
You will need: A small sturdy box, cardboard scraps, four bottle caps, a craft knife (adult use), glue, paint, paper and markers.
How to make it: 1. Tape the box closed and have an adult cut a window on one side. 2. Fold the window flap up and prop it with toothpicks as an awning. 3. Glue on bottle cap wheels and a cardboard cab. 4. Build a tiny counter inside and decorate.
Make a Miniature Kitchen in a Shoebox
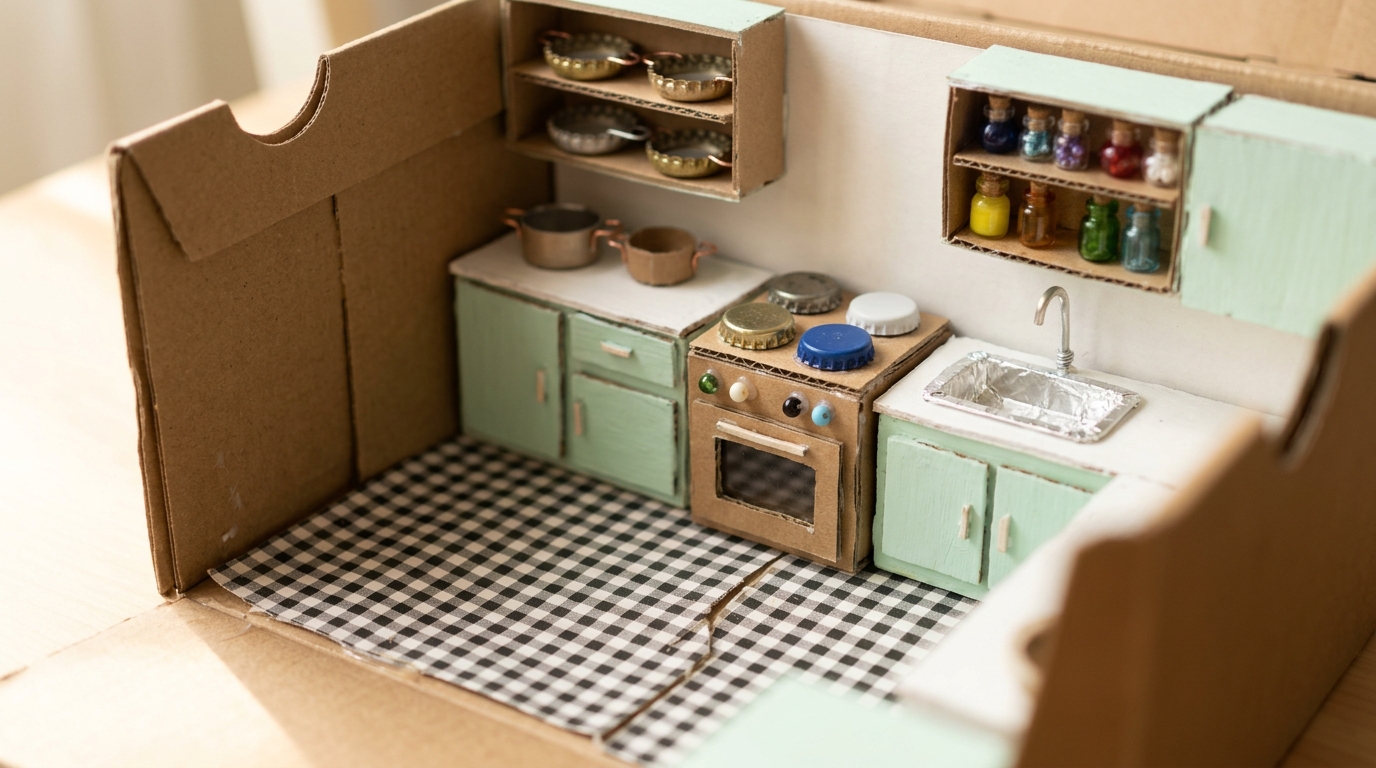
A miniature kitchen might be the coziest of all cardboard miniatures. A shoebox becomes the room, and small cardboard boxes turn into cabinets, a stove and a sink. Bottle caps make perfect burners and tiny pots, and beads become jars on open shelves. Paint everything in soft colors and add a checkered paper floor. Every time you look, you will want to add one more tiny detail. Which room of your house would you shrink first?
You will need: A shoebox, small cardboard pieces, bottle caps, beads, paint, patterned paper, glue, a craft knife (adult use).
How to make it: 1. Turn the shoebox on its side and glue paper on the floor and walls. 2. Build box cabinets and a stove from cardboard. 3. Glue on bottle cap burners and a small foil sink. 4. Add shelves with bead jars and tiny pots.
Craft a Mini Cafe Storefront
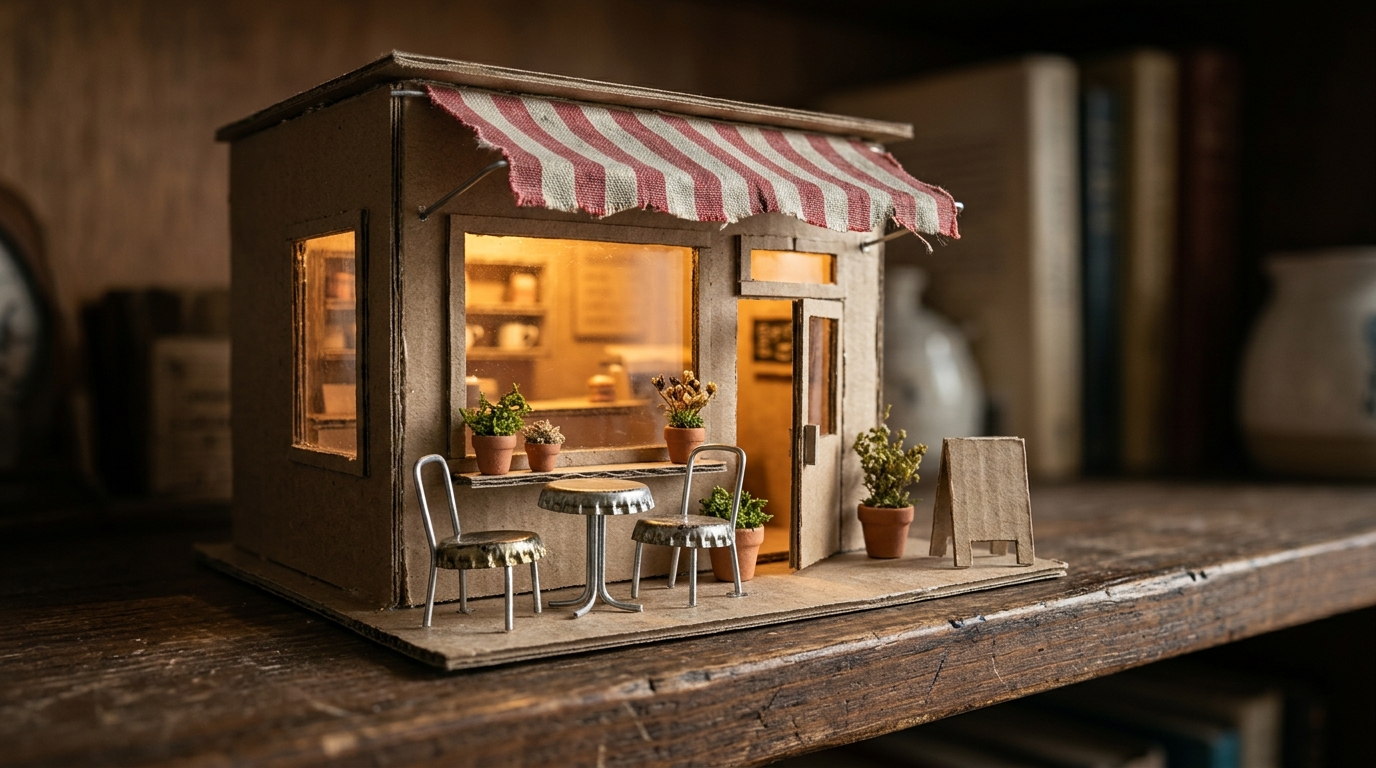
A tiny cafe with a striped awning and little chairs outside feels like a trip to Paris on your shelf. Cut a front wall with a big window, back it with clear plastic from old packaging and glue on a paper or fabric awning. Bistro chairs come together from thin wire and bottle caps. Keep signs blank or make up a sweet name of your own. Among all the cardboard miniatures here, this one makes the best shelf display. What would you name your cafe?
You will need: Cardboard, clear plastic from packaging, striped paper or fabric, thin craft wire, bottle caps, paint, glue, a craft knife (adult use).
How to make it: 1. Cut the front wall and have an adult cut the window and door. 2. Glue clear plastic behind the window. 3. Add a folded paper awning and paint the front. 4. Make wire chairs and a bottle cap table for outside.
Cardboard Miniatures for a Dollhouse
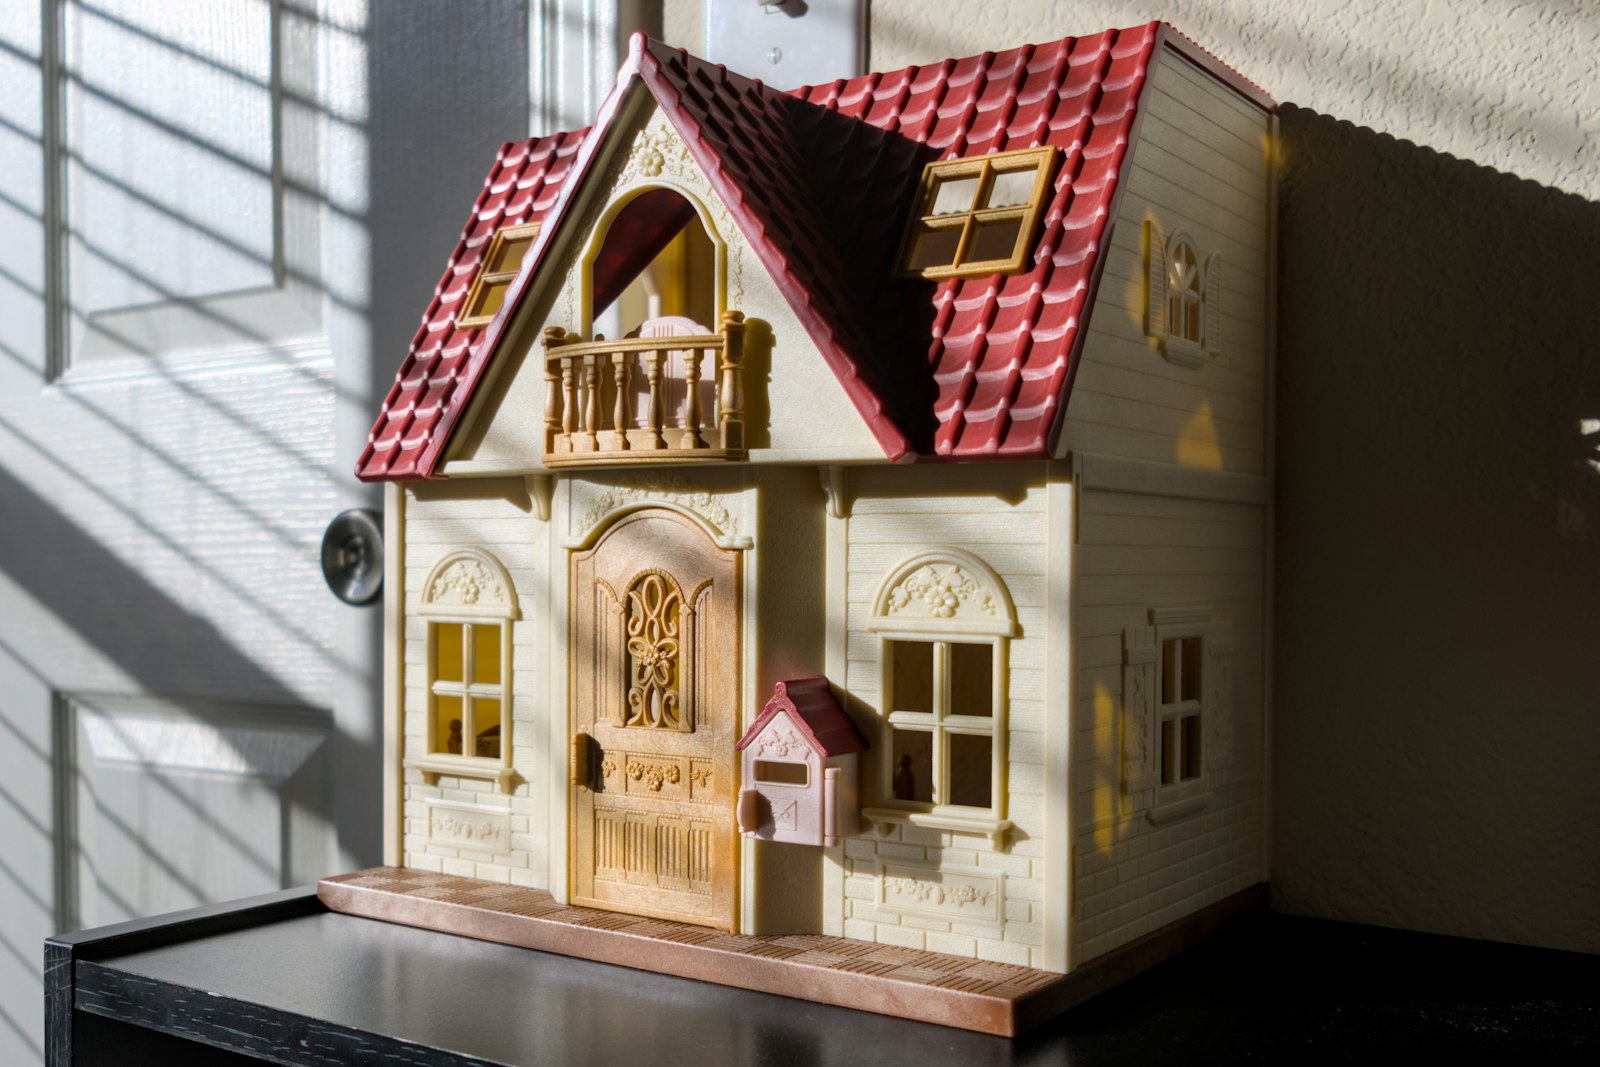
A cardboard dollhouse can be every bit as charming as a store bought one, and you get to design every room. Stack and glue a few boxes for floors, cut doors and windows and add a peaked roof from a folded panel. Then fill it with all the furniture from this list. Kids love having a say in the colors and wallpaper. These cardboard miniatures grow with your child, since you can add a room whenever you like. How many floors would your dream dollhouse have?
You will need: Three or four boxes of similar size, cardboard for the roof, a craft knife (adult use), glue, paint, patterned paper scraps.
How to make it: 1. Glue the boxes together as rooms and floors. 2. Have an adult cut doors and windows. 3. Fold a large panel into a roof and glue it on top. 4. Paint the outside and wallpaper the rooms.
Set a Tiny Table With Mini Dishes
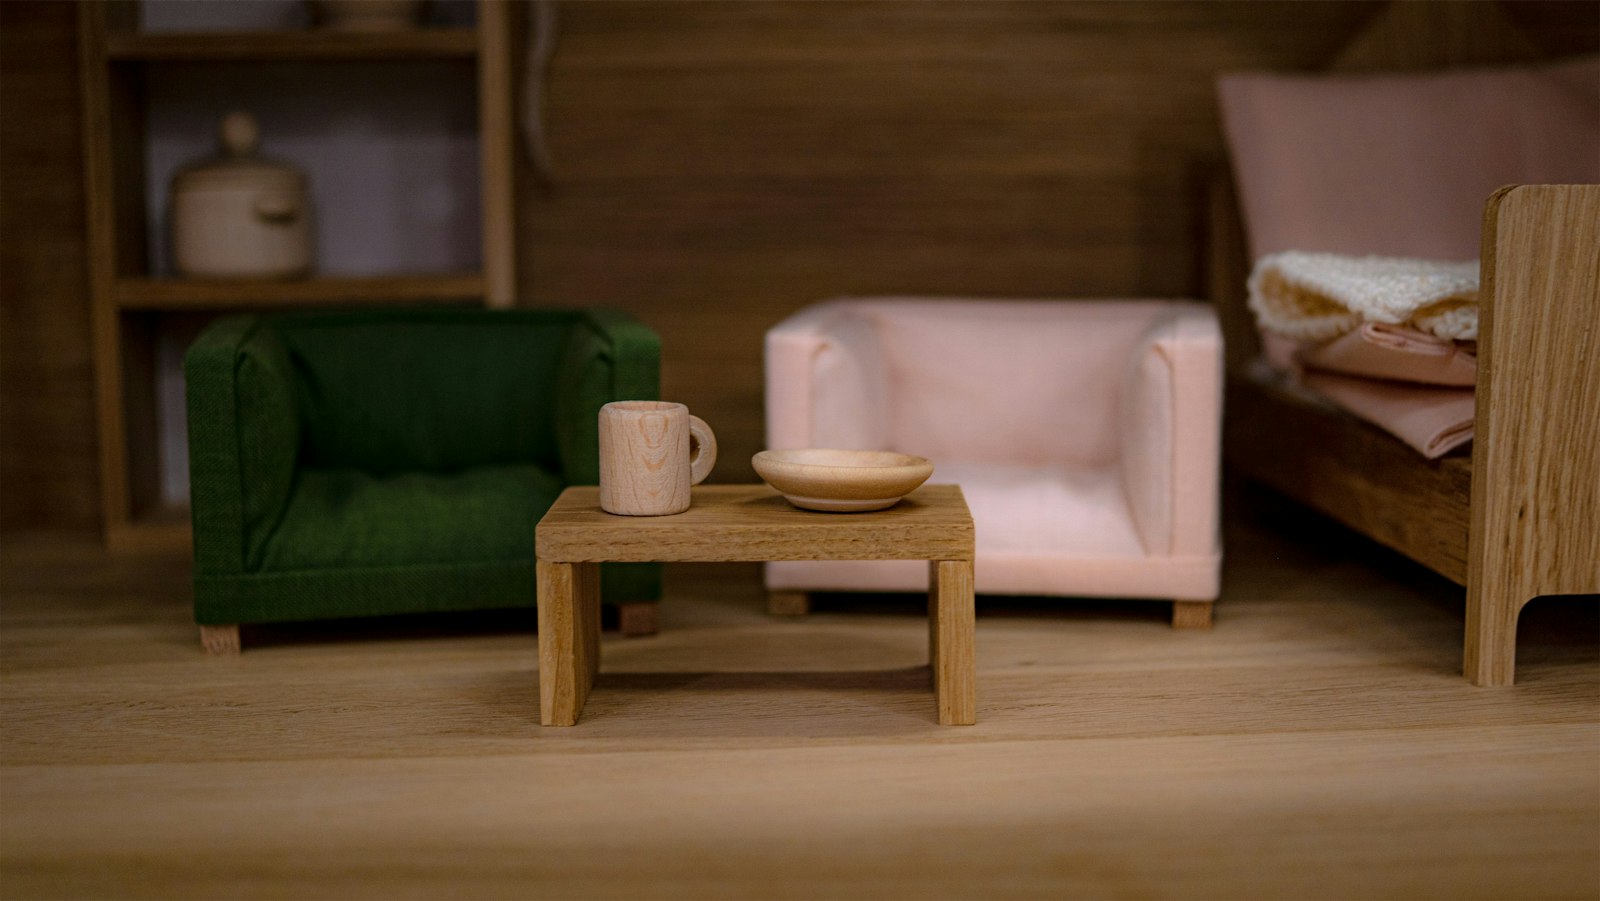
A tiny table set for breakfast is one of the sweetest details you can add. Make the table from a cardboard square and four toothpick legs, then add chairs from folded card. Bottle caps, beads and bits of clay make plates, mugs and bowls. It is fiddly in the best way, and tweezers really help. Pop it in your dollhouse kitchen or give it its own little scene on a shelf. If you love making tiny food, try these realistic clay crafts too. What would be on your tiny menu?
You will need: Cardboard, toothpicks, glue, bottle caps, beads, air dry clay, paint, tweezers.
How to make it: 1. Cut a small square tabletop and glue on four toothpick legs. 2. Fold card into tiny chairs. 3. Shape mini dishes from clay or use bottle caps and beads. 4. Paint and set the table.
Sew a Miniature Bed With a Patchwork Quilt
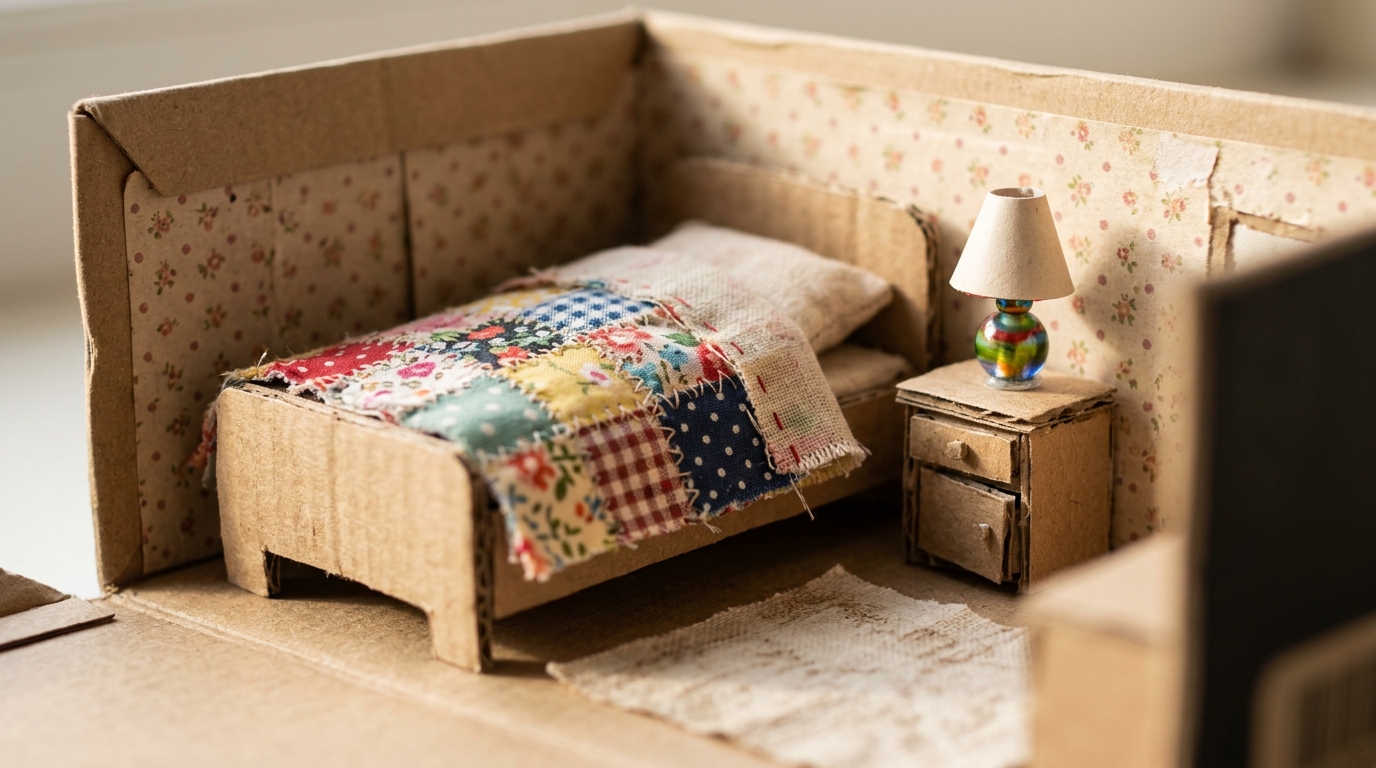
Nothing makes a mini bedroom feel cozy like a tiny bed with a handmade quilt. Build the frame from layered cardboard, glue on a foam mattress and stitch a little patchwork quilt from fabric scraps. A matching nightstand with a bead lamp finishes the look. These cardboard miniatures are great for using up the tiniest fabric pieces in your scrap bag. Kids love tucking a small toy into bed every night. Whose bed would you copy in miniature?
You will need: Thick cardboard, craft foam, fabric scraps, needle and thread, glue, beads, paint.
How to make it: 1. Cut and layer cardboard for the bed frame and headboard. 2. Glue a foam piece on top as a mattress. 3. Sew small fabric squares into a mini quilt. 4. Add a tiny pillow and a nightstand with a bead lamp.
Build a Miniature Fireplace
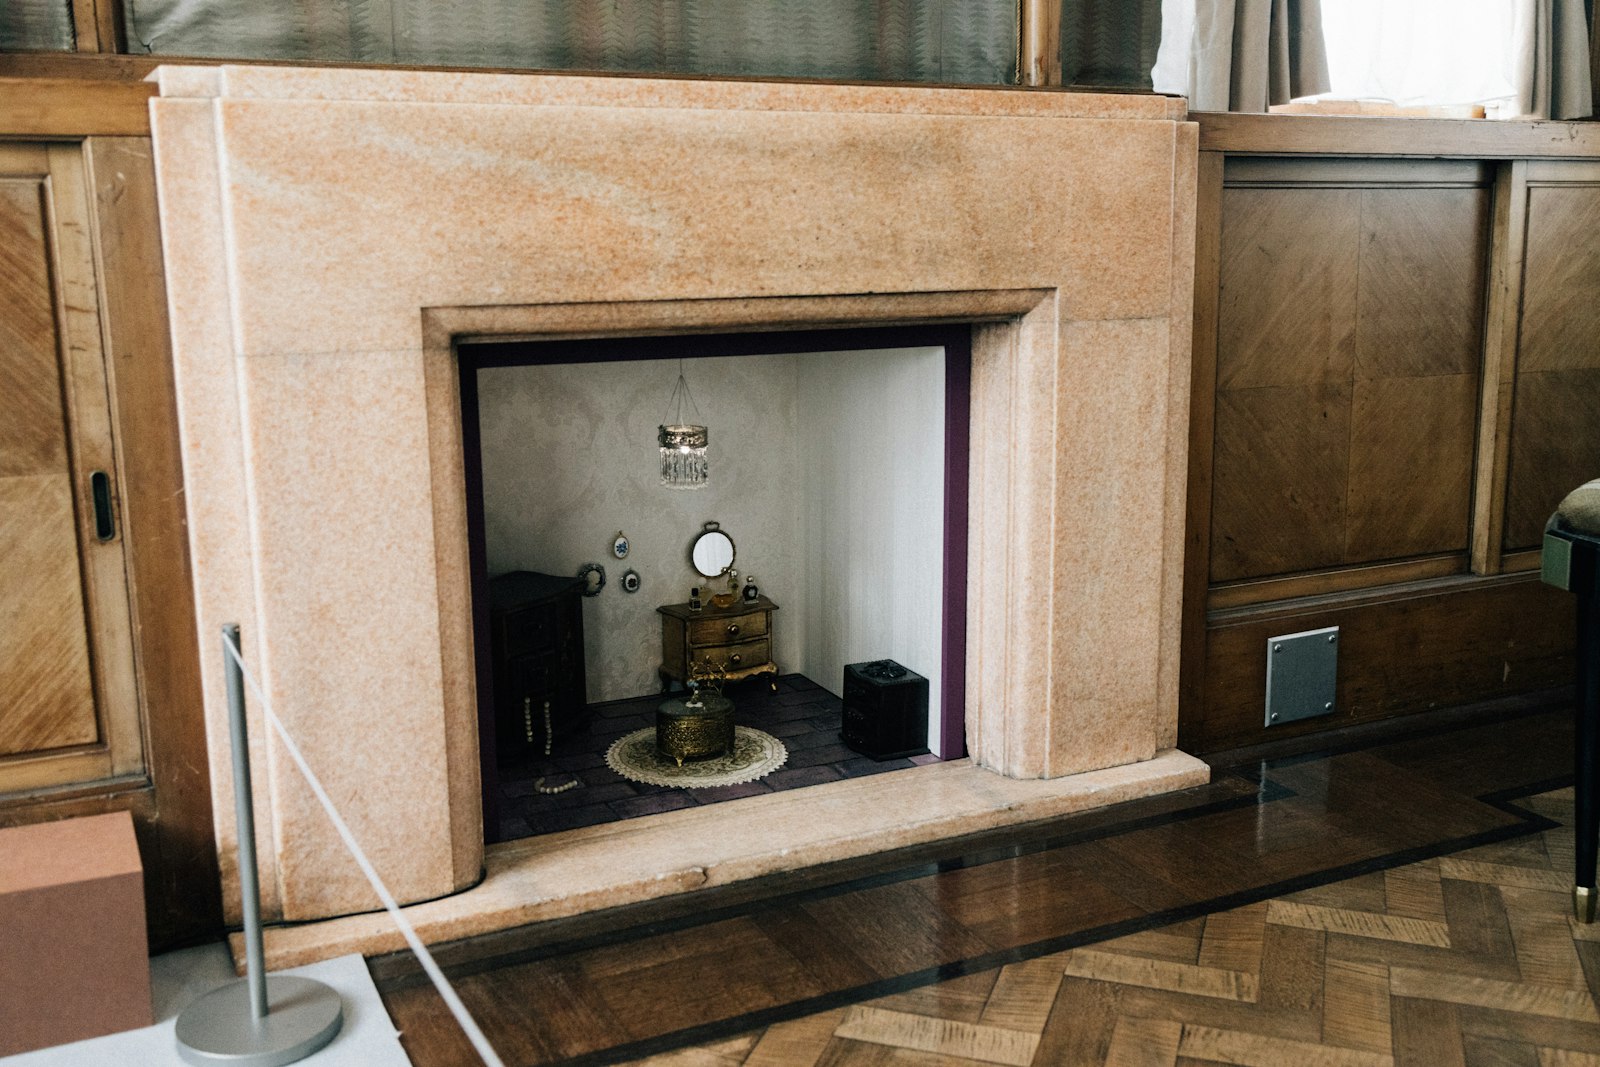
A miniature fireplace instantly makes a tiny room feel like home. Cut a mantel shape from layered cardboard, paint it to look like stone or white wood and add a small arch for the firebox. A few twigs and a scrap of orange paper make a pretend fire, and a tiny garland on the mantel adds holiday charm. Some makers even set a whole tiny room inside a real fireplace for a surprise display. It is one of the most magical cardboard miniatures to photograph. Would you add stockings to your mantel?
You will need: Thick cardboard, a craft knife (adult use), paint, small twigs, orange and yellow paper, glue.
How to make it: 1. Cut the fireplace front and mantel from layered cardboard. 2. Have an adult cut the arch opening. 3. Paint it and glue it to a box back. 4. Add twig logs and paper flames inside.
Make a Tiny Garden Greenhouse
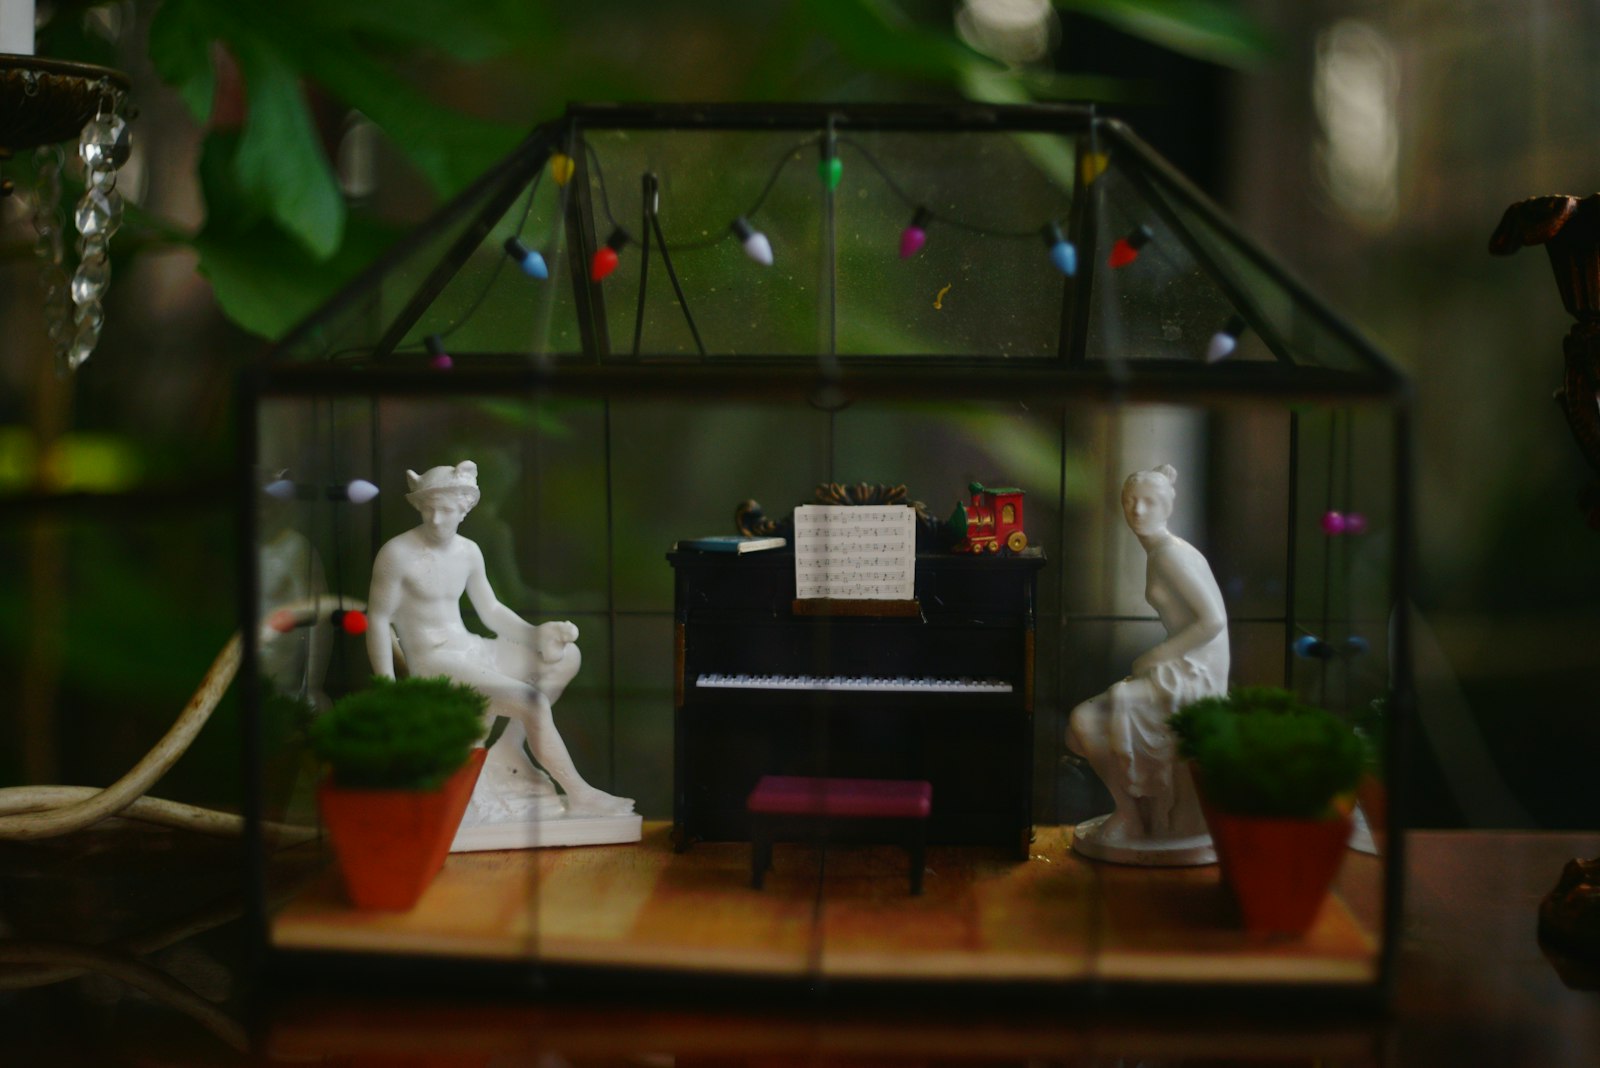
A little greenhouse with clear walls and tiny plants is a dreamy project for garden lovers. Build the frame from thin cardboard strips, fill the walls with clear plastic from old packaging and add a peaked roof. Inside, place mini pots made from bottle caps with moss or paper leaves. Some makers even tuck in tiny furniture for a secret garden room. It looks beautiful on a sunny windowsill. What would you grow in your tiny greenhouse?
You will need: Thin cardboard strips, clear plastic packaging, glue, bottle caps, moss or green paper, white paint.
How to make it: 1. Cut cardboard strips and glue them into a box frame with a peaked roof. 2. Paint the frame white. 3. Glue clear plastic panels into each wall. 4. Fill it with bottle cap pots and paper plants.
Craft a Tiny Upright Piano
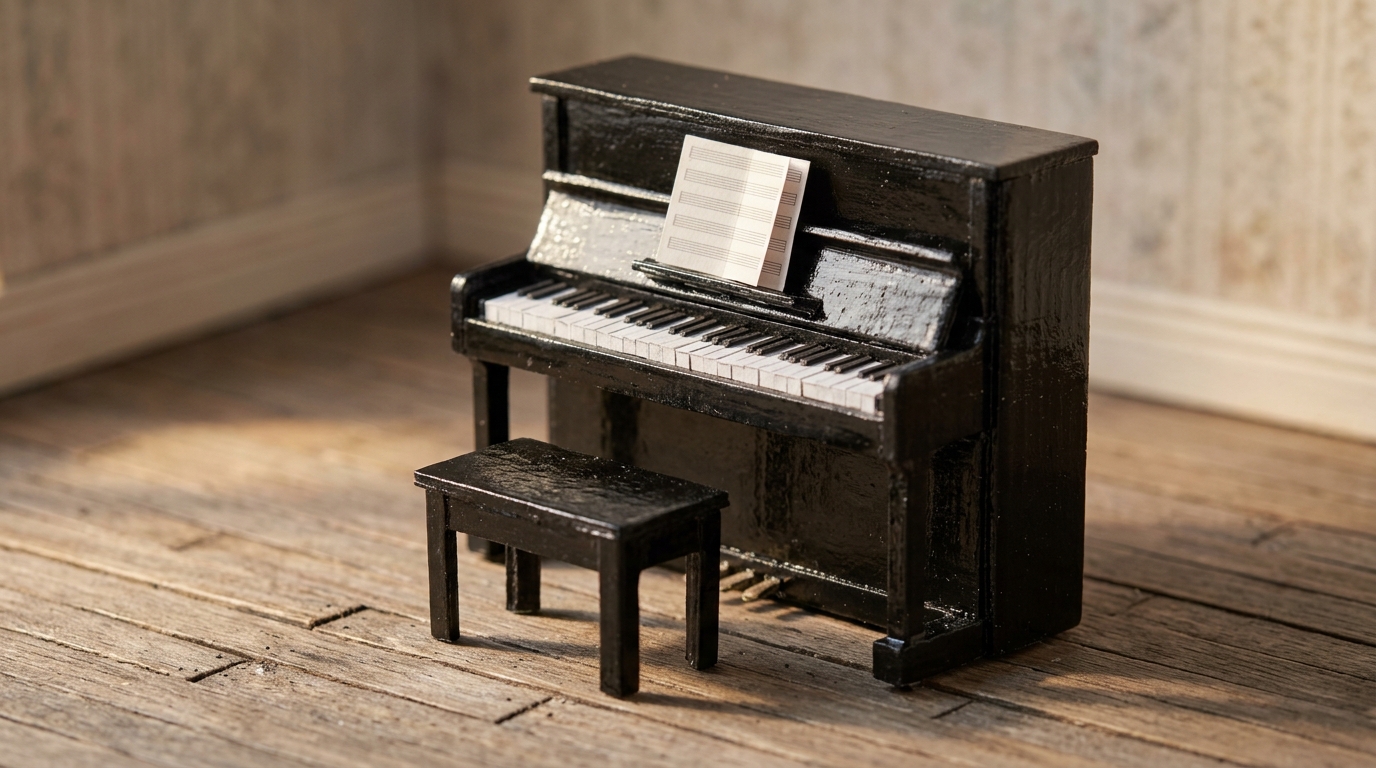
A tiny piano always steals the show in a miniature room. Build a small box shape with a slanted front, paint it glossy black and glue on keys made from thin white and black paper strips. A little bench and a blank sheet of mini music finish the scene. Music lovers often give these as gifts to teachers or young players after a recital. It is a small project with a big wow. Who in your family would love a tiny piano?
You will need: Thin cardboard, black and white paint or paper, a ruler, a craft knife (adult use), glue, toothpicks.
How to make it: 1. Cut the piano body pieces and glue them into a box with a slanted front. 2. Paint it black and let it dry. 3. Glue on a row of white paper keys, then thin black strips on top. 4. Make a small bench from cardboard and toothpicks.
Cardboard Miniatures for Big Imaginations: A Castle
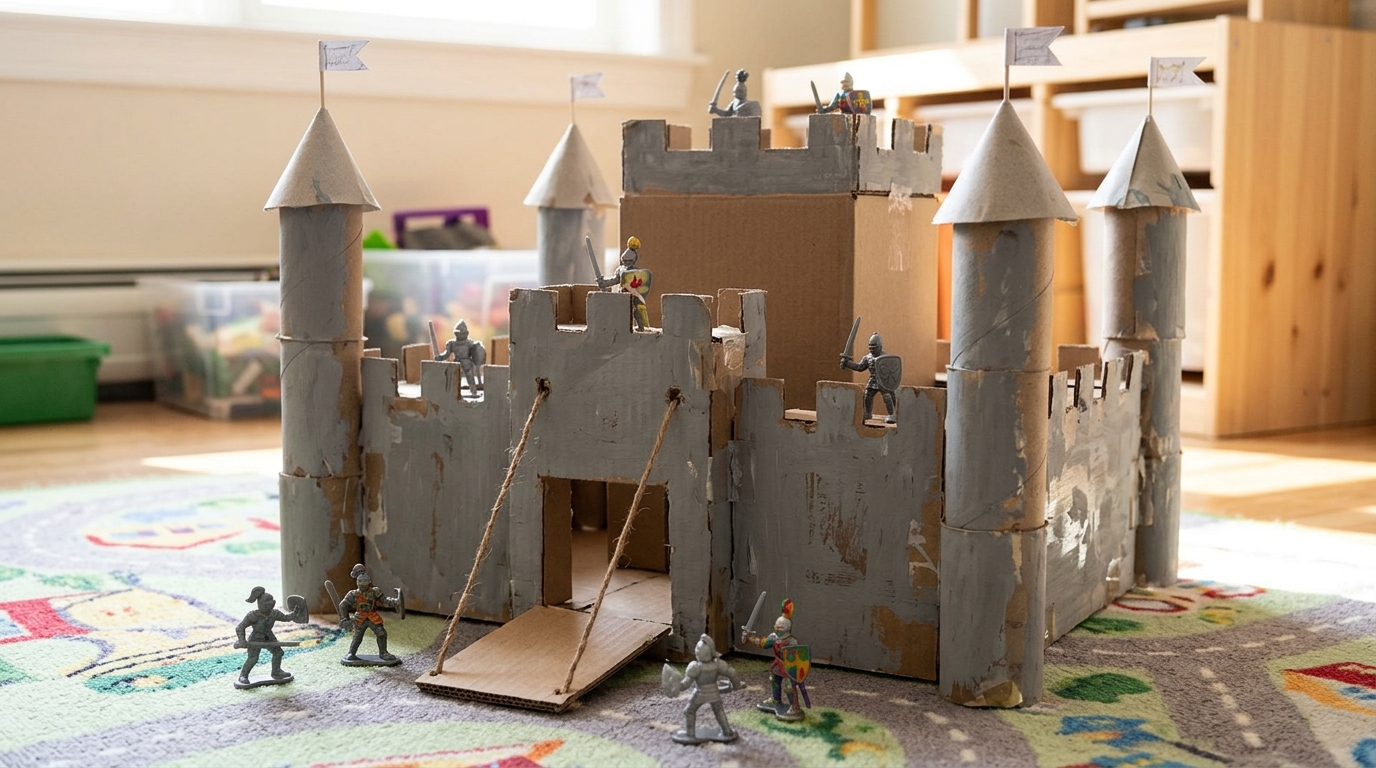
Paper towel tubes make perfect castle towers, and a shipping box becomes the walls. Cut crenellations along the top, add a drawbridge that lifts on a string and top each tower with a paper flag. Paint it stone grey and let the kids add knights, dragons and princesses. Castles are one of the cardboard miniatures kids remember forever because they get to play inside the story. How many towers will your castle have?
You will need: A shipping box, four paper towel tubes, string, a craft knife (adult use), glue, grey paint, paper and toothpicks for flags.
How to make it: 1. Cut the box into four walls and glue a tube at each corner. 2. Cut square notches along the tops. 3. Have an adult cut a door and add a drawbridge on string. 4. Paint and add flags.
Cardboard Miniatures You Can Display: A Model House
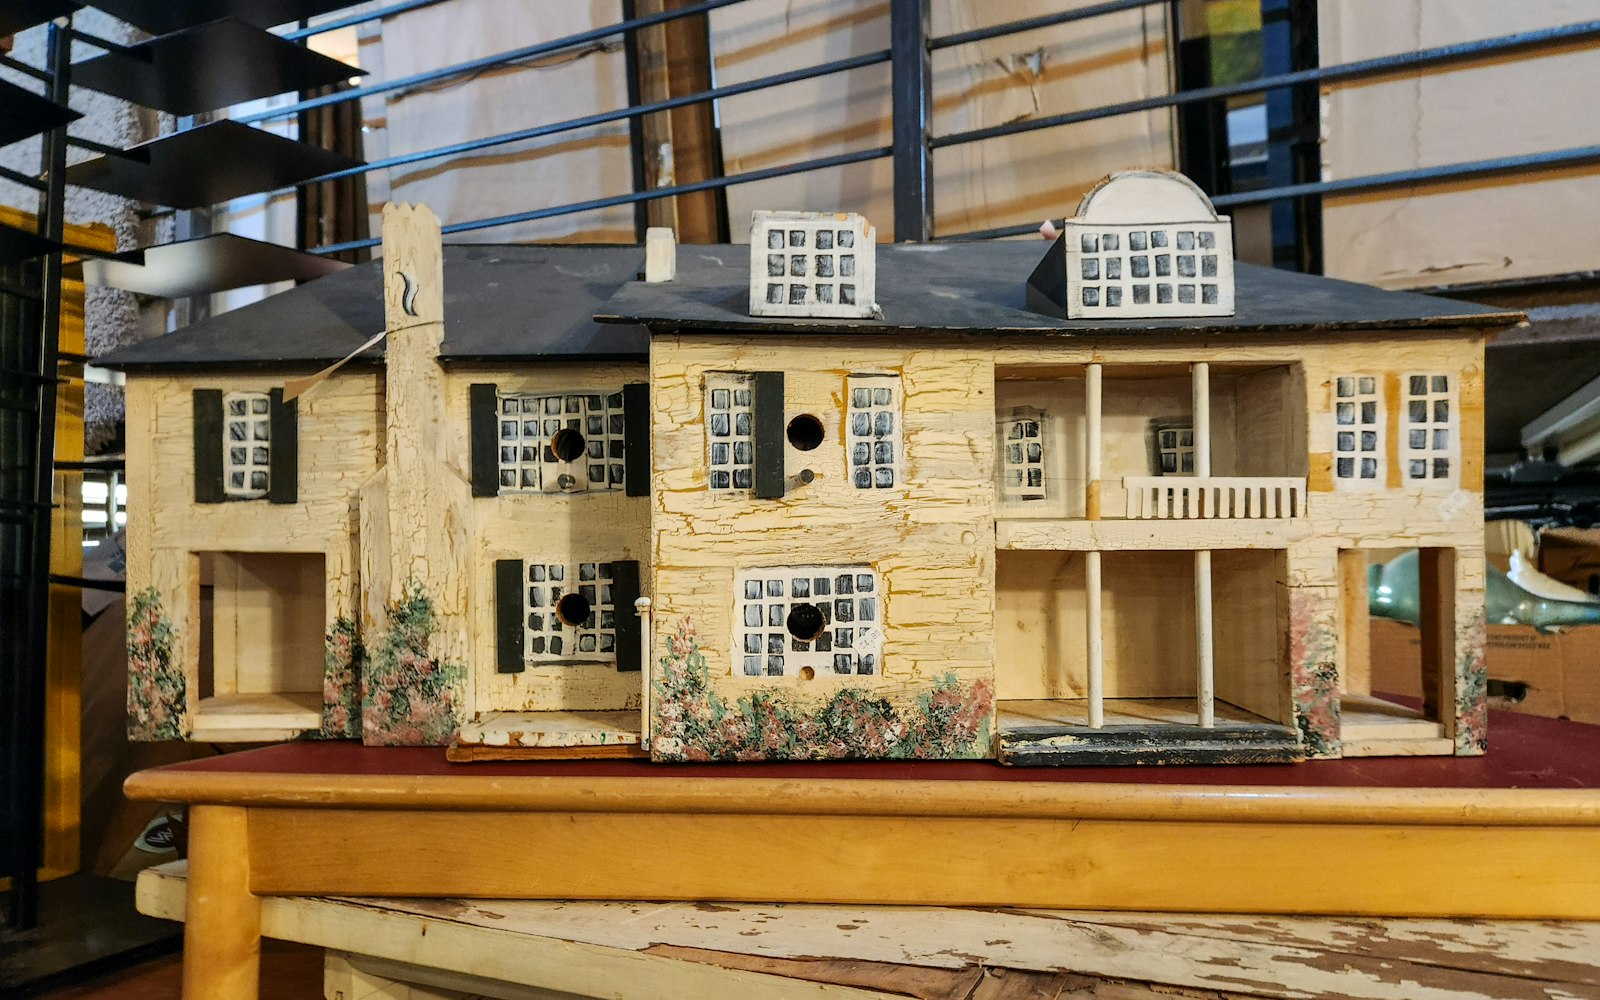
For a final project, try building a small model of your own house or a dream home. Measure your real house, scale it down and cut walls, windows and a roof from cardboard. It does not need to be perfect to be meaningful. Model houses make wonderful keepsakes for families who are moving, or a sweet gift for grandparents. It is one of the most heartfelt cardboard miniatures you can make. Whose home would you build in miniature?
You will need: Cardboard, a ruler, a pencil, a craft knife (adult use), glue, paint, photos of the house for reference.
How to make it: 1. Sketch the front, sides and roof to scale on paper. 2. Trace the pieces onto cardboard and have an adult cut them out. 3. Glue the walls together and add the roof. 4. Paint windows, doors and trim to match.