Christmas Crafts for Adults: 14 Projects That Feel Like a Cozy Night In
Christmas crafts for adults are having a big moment, and it is easy to see why. After a long day, there is something so calming about sitting down with a mug of cocoa, some ribbon and a little clay, and making something beautiful with your own hands. These projects are not glitter and glue sticks. They are pretty, grown up pieces you will be proud to hang on the tree, wrap as gifts or keep for years. Many are perfect for a craft night with friends, and most cost only a few dollars. We kept them simple enough for beginners, but lovely enough that guests will ask where you bought them. Put on your favorite holiday playlist and let us get started..
Christmas Crafts for Adults Start With a Craft Night
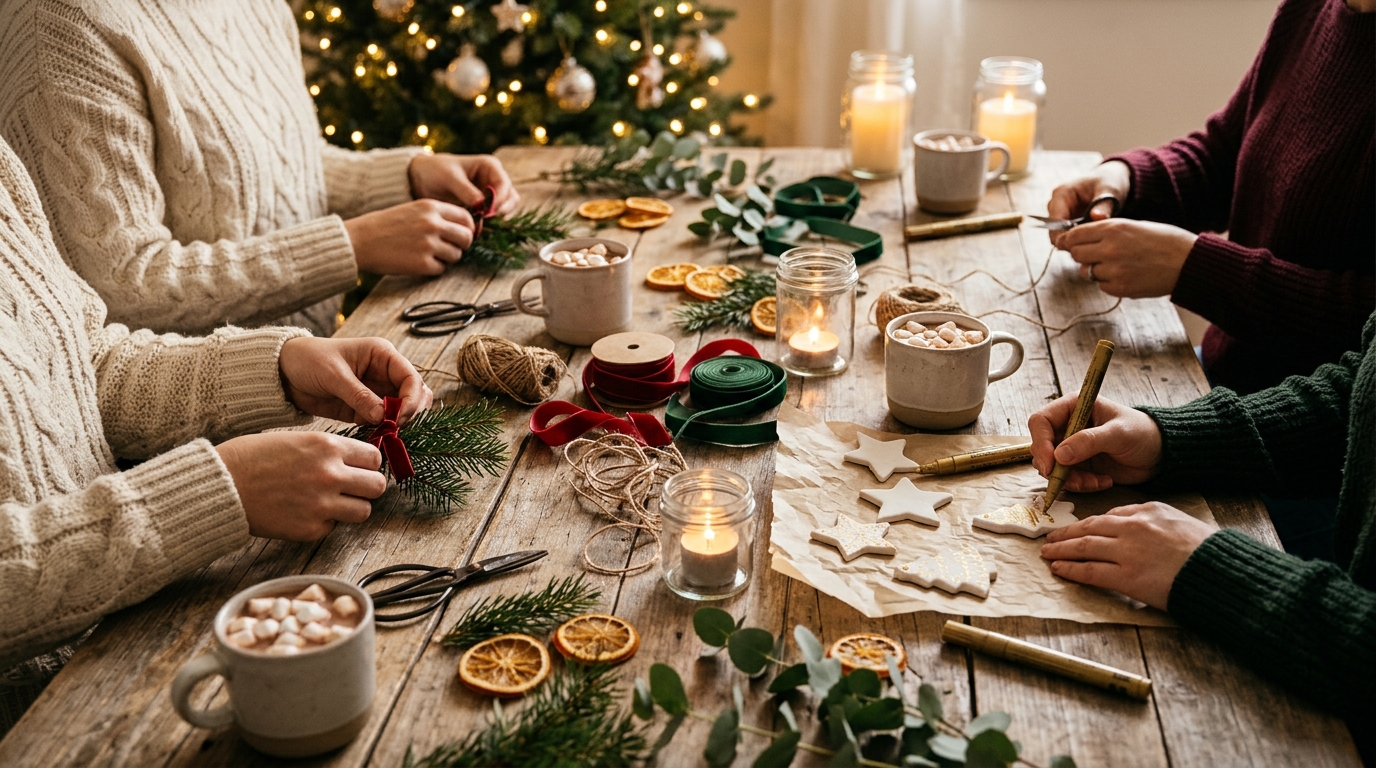
The best way to enjoy these projects is together. Invite a few friends, clear the dining table and set out supplies in small bowls: ribbon, clay, paint pens, dried oranges and greenery. Add warm drinks, a few snacks and soft music, and the evening plans itself. Everyone goes home with handmade ornaments and gifts, and you get a new tradition. Use battery LED candles for that glow so there is no open flame near paper and ribbon. Who would you invite to yours..
You will need: A big table, a cloth or kraft paper cover, small bowls for supplies, scissors, ribbon, paint pens, warm drinks and good friends.
How to make it: 1. Pick three or four projects from this list. 2. Buy supplies in bulk and divide them into kits. 3. Set up stations around the table. 4. Let everyone make one of each and swap favorites.
Hand Lettered Glass Ornaments
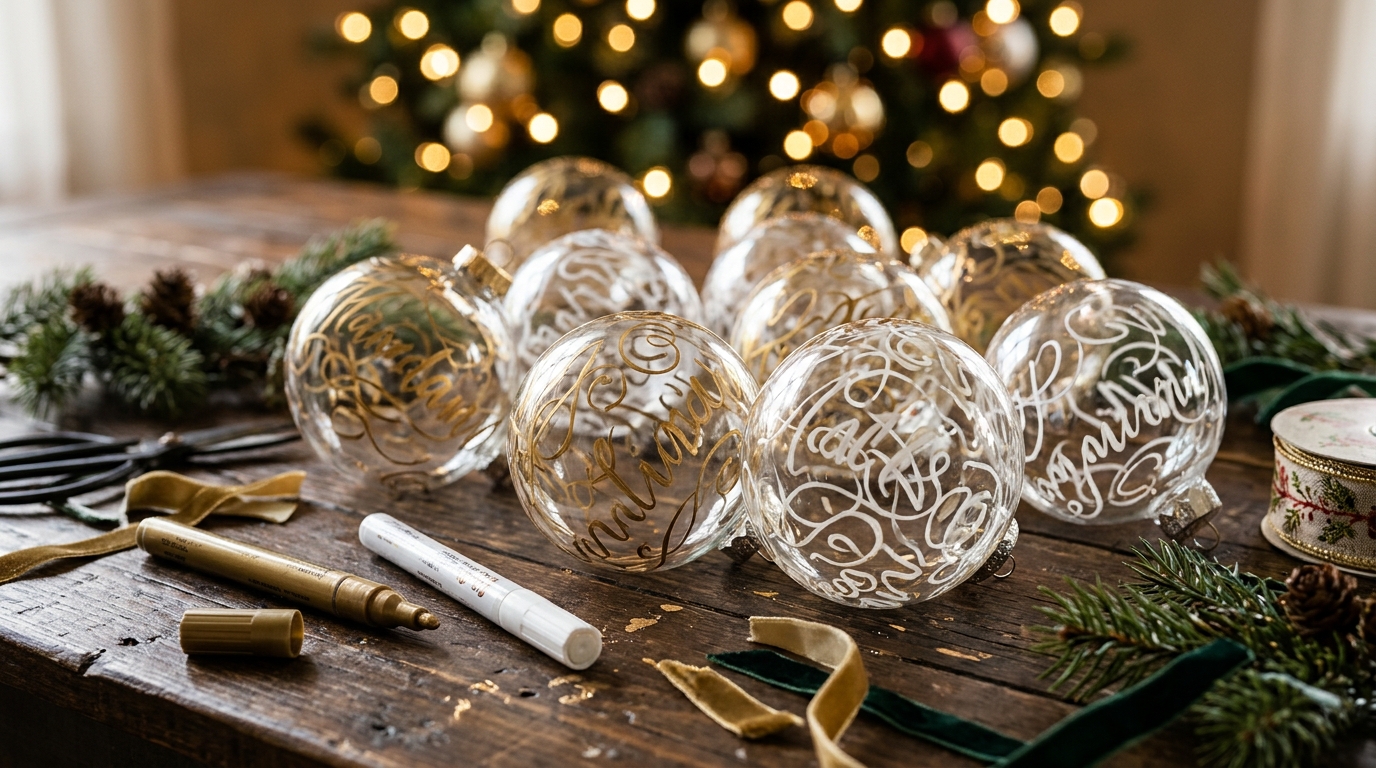
Among simple Christmas crafts for adults, this one is a favorite: a plain glass ball and a paint pen become a keepsake in minutes. Write a name, a year or a favorite word in your best handwriting, then add a few swirls or dots. If you are nervous, practice on paper first or wrap a printed word inside the ornament and trace it. These make wonderful personal gifts for teachers, neighbors and new babies. Let the paint dry fully before hanging. Whose name would you write first?
You will need: Clear glass or plastic ball ornaments, white and gold oil based paint pens, rubbing alcohol, a cloth and ribbon.
How to make it: 1. Wipe the ornament with rubbing alcohol. 2. Practice your lettering on paper. 3. Write slowly on the ornament, turning it as you go. 4. Let dry overnight and add a ribbon loop.
Velvet Ribbon Bows for the Tree

Big velvet bows are everywhere this year, and they are surprisingly easy to tie. Clip them all over the tree instead of ornaments, or add them to wreaths, chairs and gift boxes. Deep red, emerald green and soft cream all look rich and timeless. Tie them with wire on the back so you can shape the loops just right. One spool of ribbon makes a dozen bows, so this is a budget friendly way to make the tree look high end. Which color fits your style?
You will need: Wide velvet ribbon, sharp fabric scissors, thin floral wire and wire cutters.
How to make it: 1. Make two loops with the ribbon, leaving long tails. 2. Pinch the center and wrap with wire. 3. Wrap a small piece of ribbon over the wire to hide it. 4. Cut the tails at an angle and fluff the loops.
Lace Pressed Clay Star Ornaments
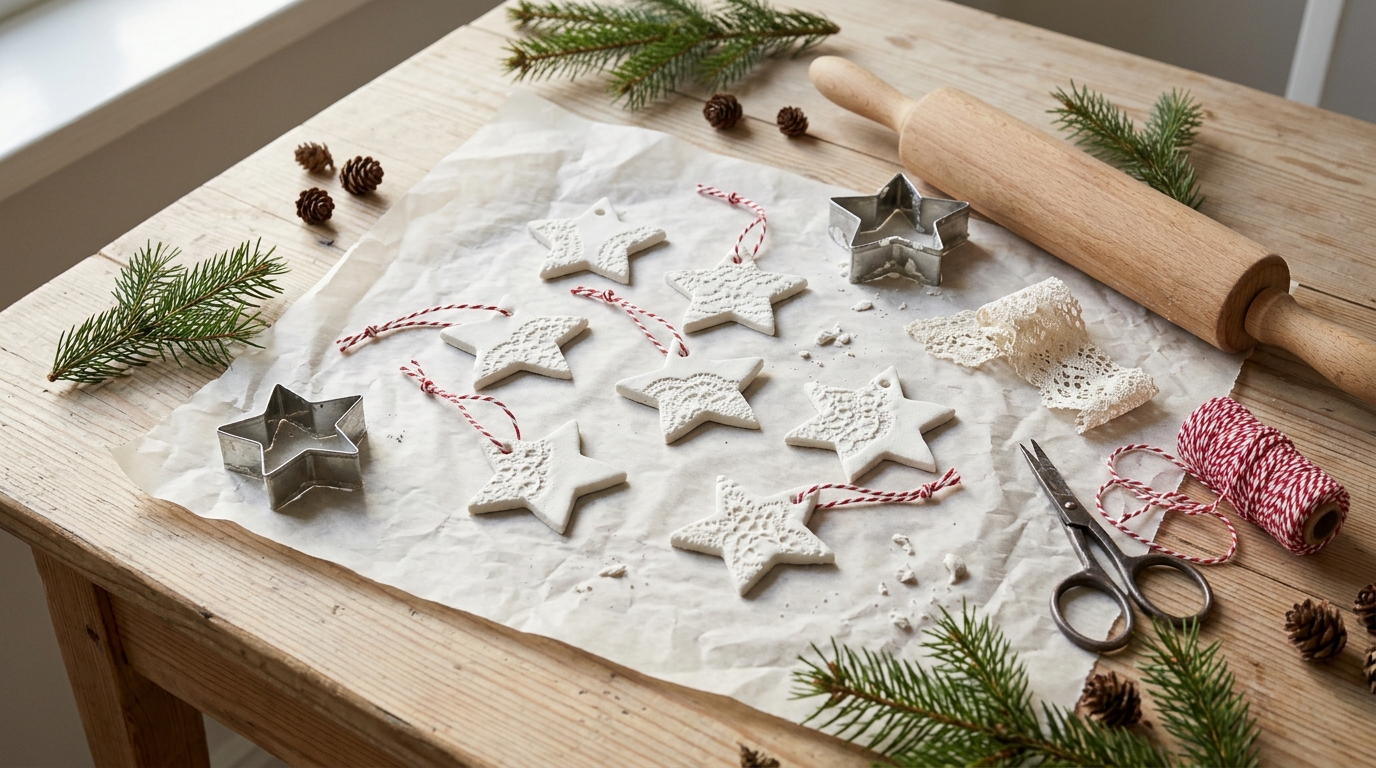
These look like delicate porcelain, but they are made with simple air dry clay. Roll the clay out, press a piece of lace or a doily into the surface, then cut stars with a cookie cutter. Poke a hole for the twine and let them dry for a day or two. Leave them white for a Scandinavian look or brush the pattern with a little gold. They are light, unbreakable and beautiful on a natural wood tree. How many will you make?
You will need: White air dry clay, a rolling pin, a piece of lace or doily, a star cookie cutter, a straw, fine sandpaper and twine.
How to make it: 1. Roll the clay a quarter inch thick. 2. Press the lace in firmly and lift it off. 3. Cut stars and poke a hole with a straw. 4. Dry for 48 hours, sand the edges and add twine.
Sparkling Beaded Snowflakes
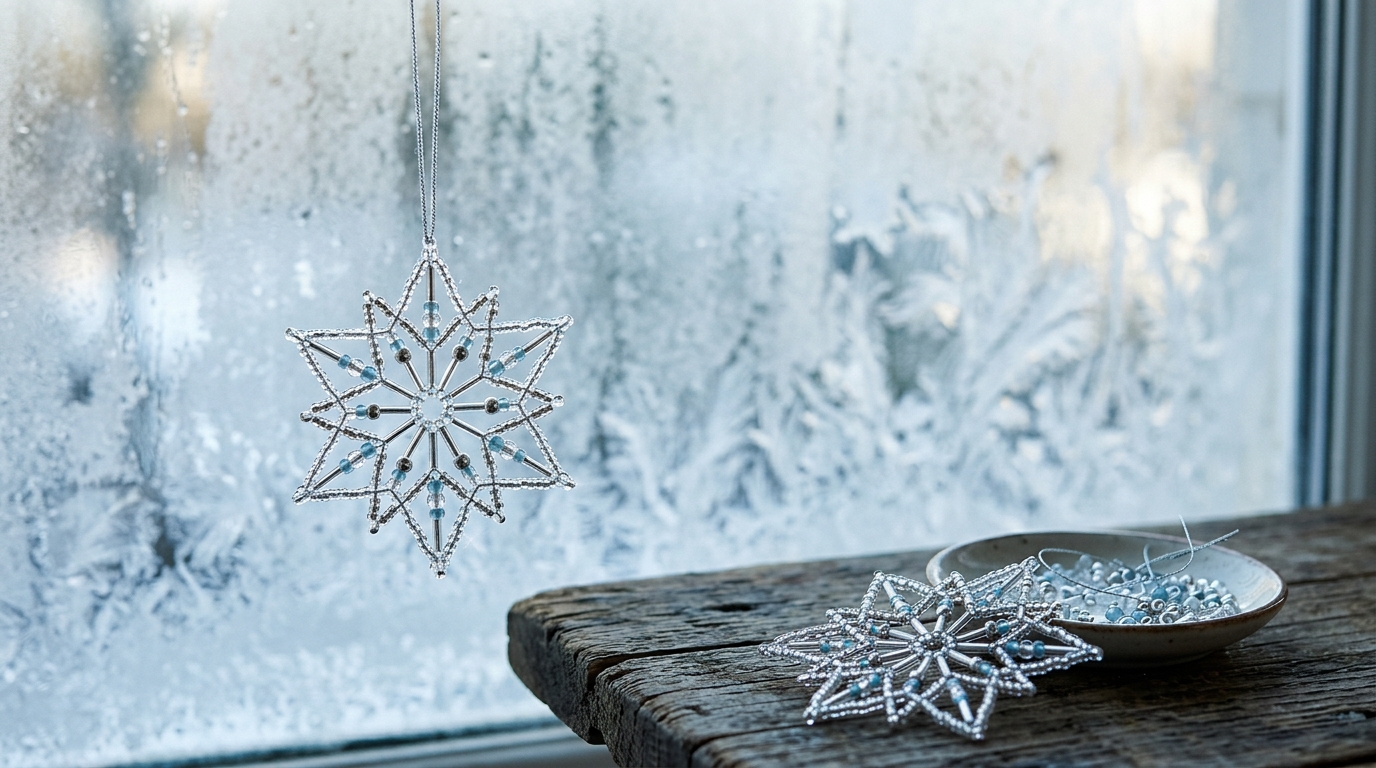
Beaded snowflakes are relaxing to make, like knitting for your hands without the needles. Thread small glass beads onto pre cut wire snowflake forms or twist your own from craft wire. Clear, silver and pale blue beads catch the light beautifully on a tree or in a window. Make a few in an evening while you watch a holiday movie. They also make lovely gift toppers. Have you ever tried beading before?
You will need: Wire snowflake forms or craft wire, small glass or acrylic beads, round nose pliers, wire cutters and thin silver thread.
How to make it: 1. Twist three wires together at the center to make six arms. 2. Thread beads onto each arm. 3. Bend the tips with pliers to hold the beads. 4. Add a thread loop to hang.
Ceramic Look Paper Mache Trees
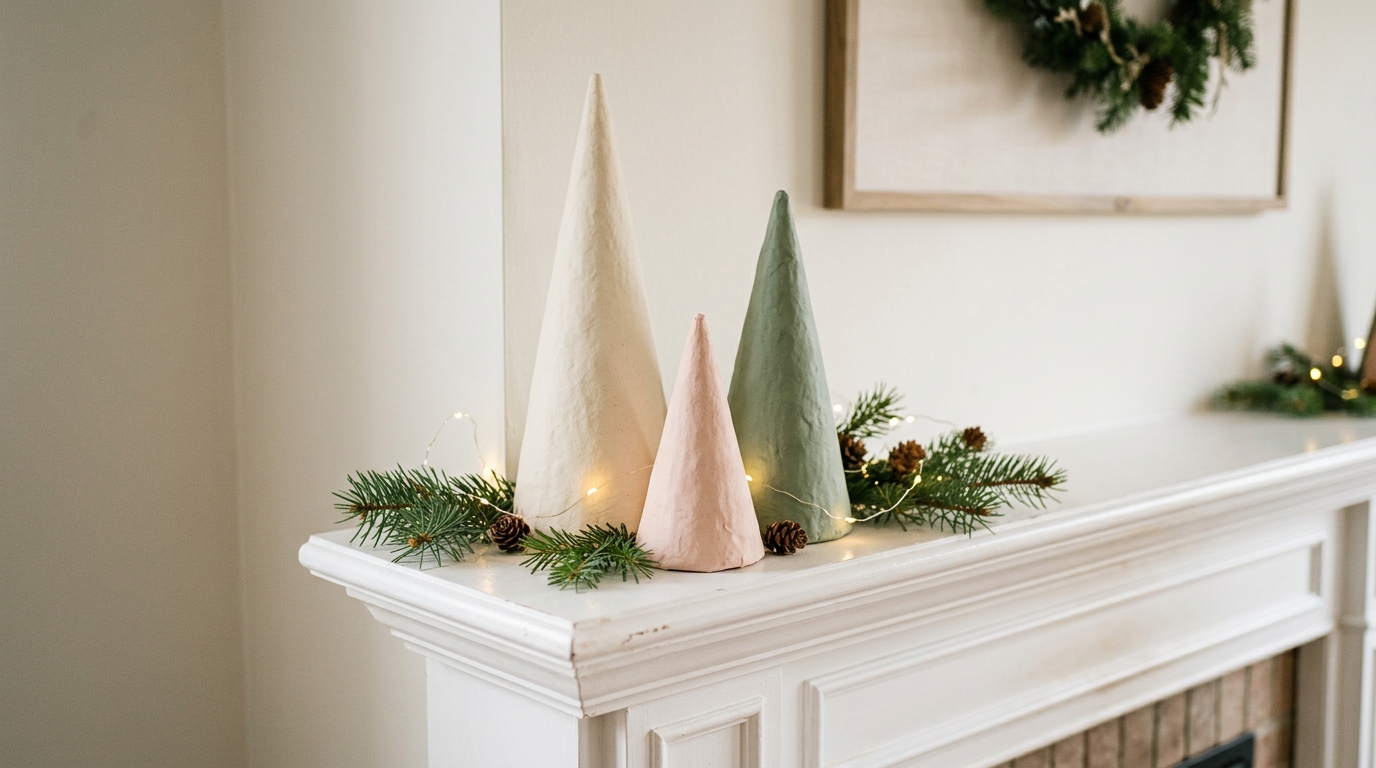
Ceramic trees are a hot trend, but the real ones can be pricey. Paper mache cones from the craft store make a clever stand in. Mix a little baking soda into acrylic paint to make it thick and textured, then dab it on. Once dry, the cones look like handmade pottery. Group three heights together on a mantel or shelf for an instant designer look. This is one of those Christmas crafts for adults that fools everyone. Which color would you choose?
You will need: Paper mache cones in three sizes, matte acrylic paint, baking soda, a sponge brush and a small bowl.
How to make it: 1. Mix two parts paint with one part baking soda. 2. Dab it on each cone with a sponge brush. 3. Let dry and add a second coat. 4. Style the trees in a group.
Gold Leaf Christmas Crafts for Adults
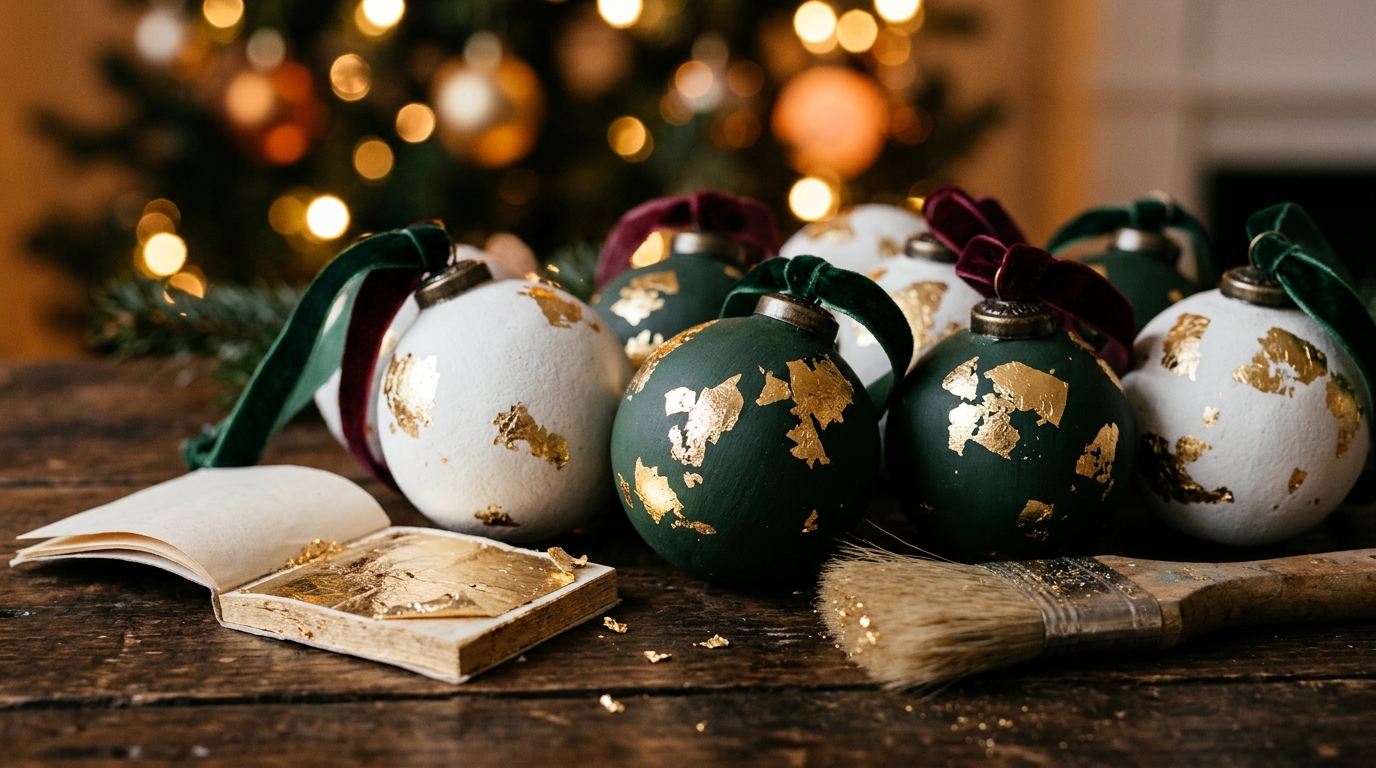
Gold leaf gives any plain ornament an instant luxury upgrade. Brush a thin layer of adhesive size onto a matte ornament, wait until it turns tacky, then press on the thin gold sheets. Brush away the extra flakes with a soft brush. The uneven, broken pattern is part of the charm. Work over a tray to catch the flakes, and close the windows, because gold leaf flies everywhere. It is one of the most satisfying Christmas crafts for adults. Would you go all gold or just a touch?
You will need: Matte ornaments, imitation gold leaf sheets, gilding size or glue, a soft brush, a small paintbrush and a tray.
How to make it: 1. Brush size onto part of the ornament. 2. Wait until it turns clear and tacky. 3. Press gold leaf on gently. 4. Brush away the extra and seal with clear spray if you like.
Christmas Crafts for Adults With a Needle: Cross Stitch
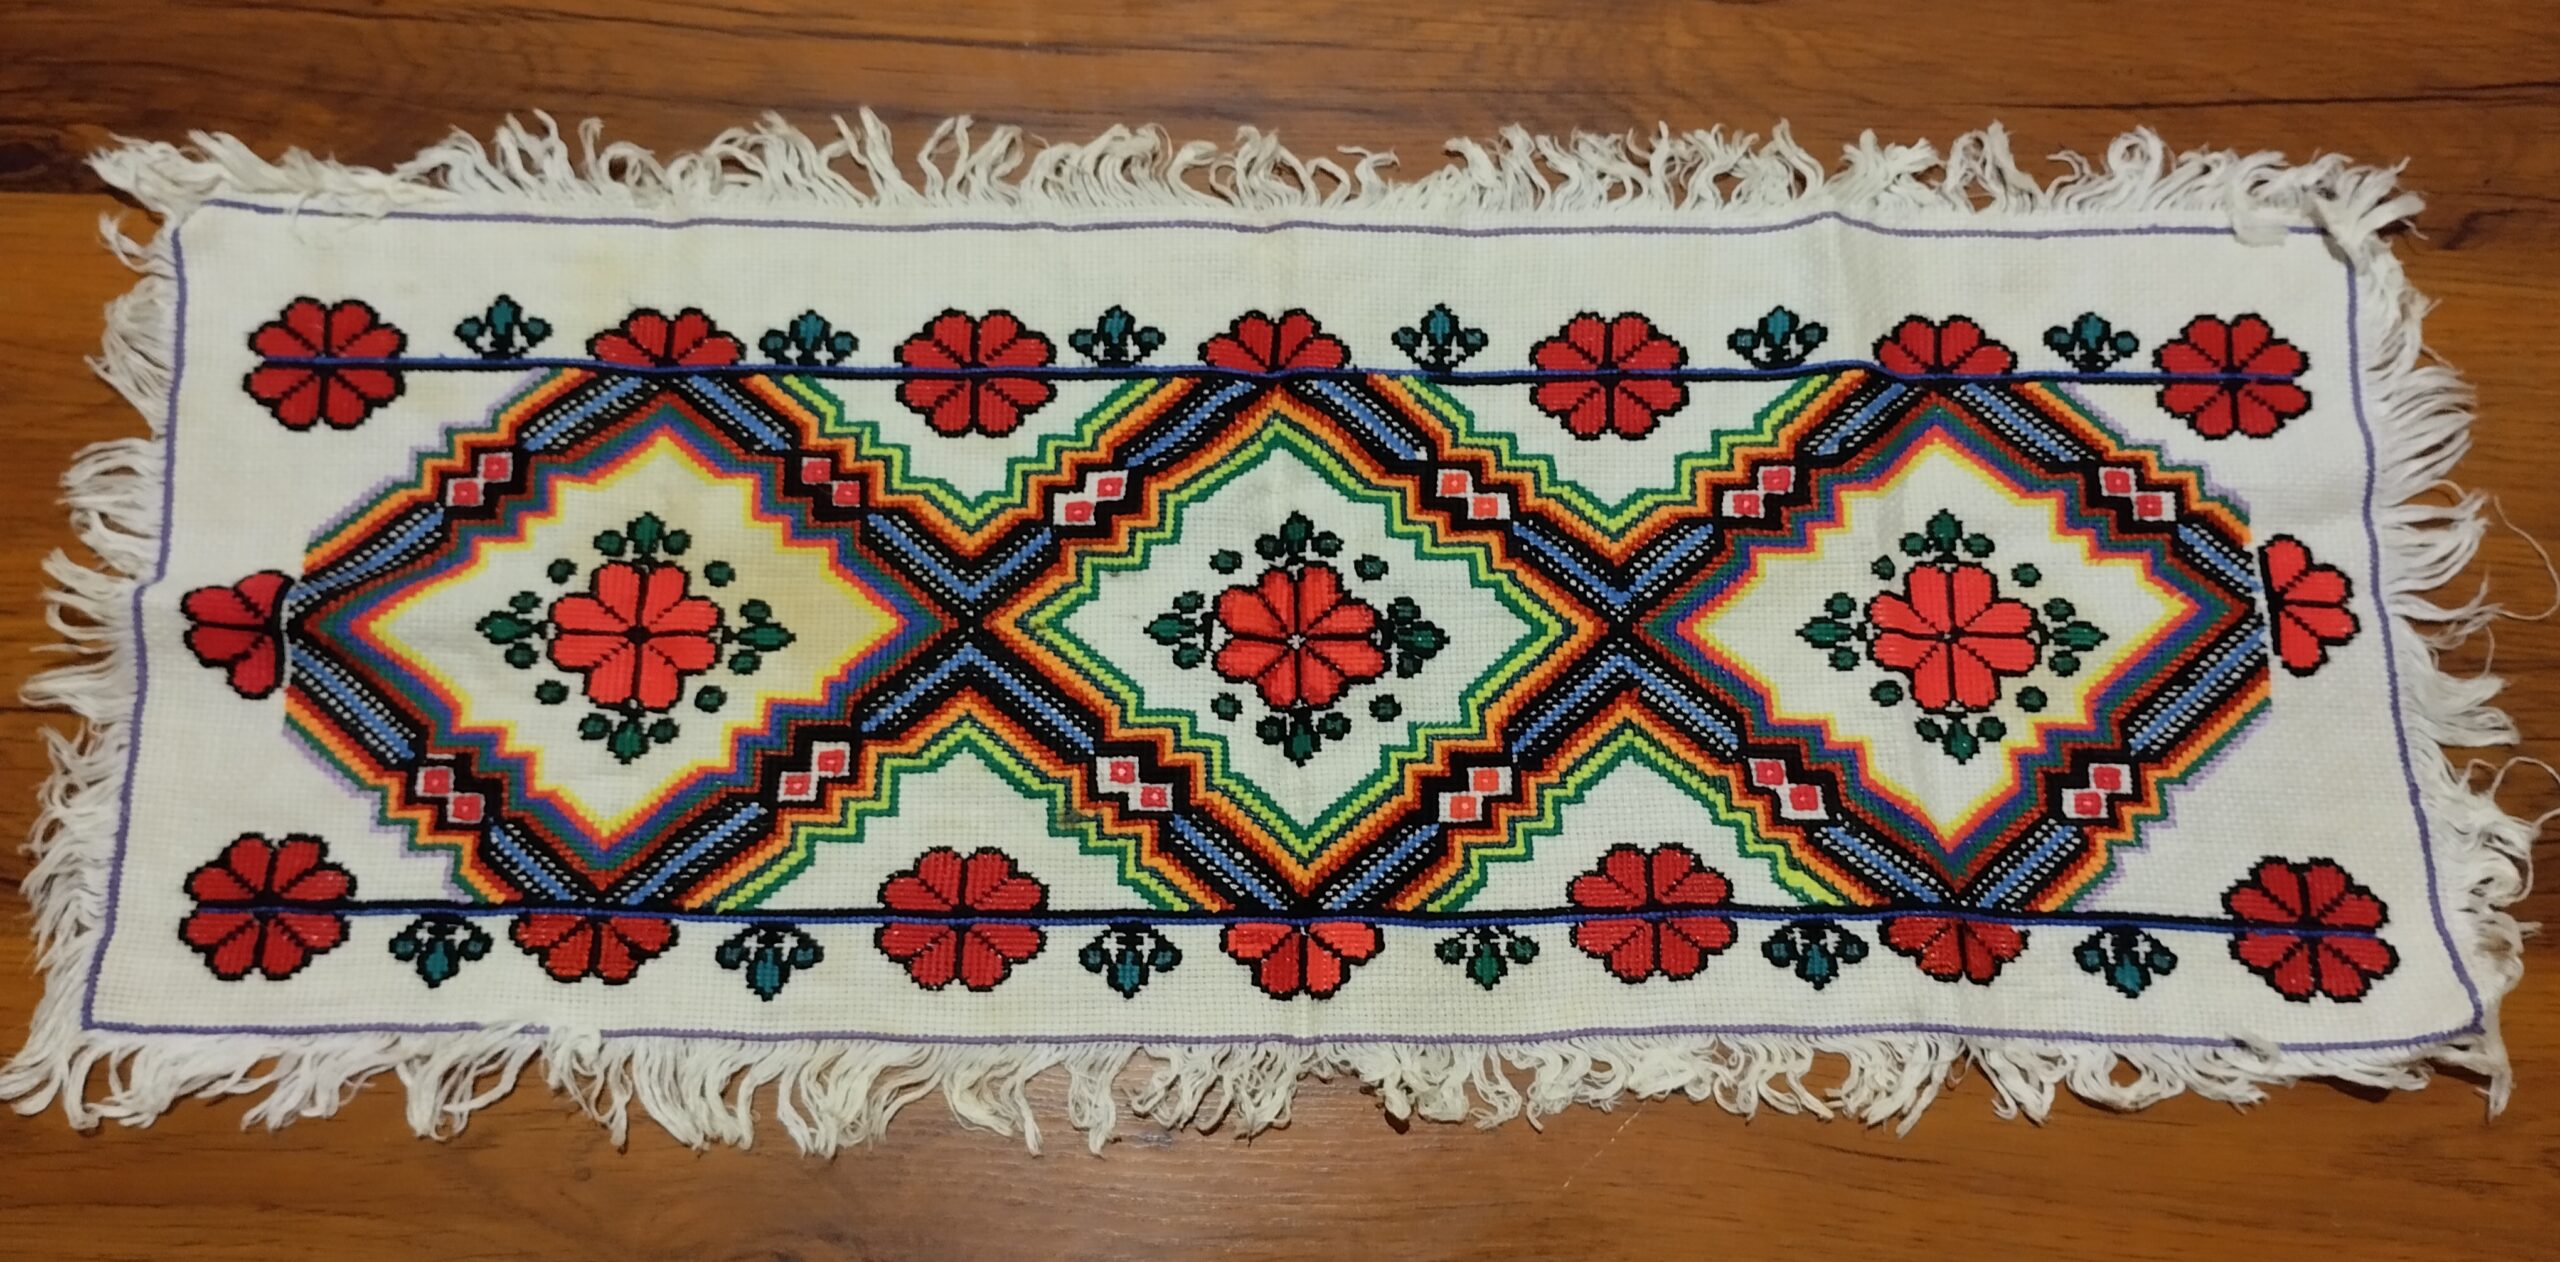
Cross stitch is back, and small holiday designs are the perfect way to start. A simple tree, star or snowflake pattern takes just an evening. Stitch it on a small piece of fabric, then mount it in a mini hoop or back it with felt to make an ornament. Beginner kits come with everything you need, and the steady rhythm is wonderfully calming. Many people say it helps them unplug from their phones. What little design would you stitch?
You will need: Aida cloth, embroidery floss in red, green and white, a tapestry needle, a small hoop or felt, scissors and a simple pattern.
How to make it: 1. Put the fabric in a hoop. 2. Follow the pattern, making small X stitches. 3. Remove the hoop and trim the fabric. 4. Mount it in a mini hoop or glue felt on the back.
Book Page Stars for a Vintage Look
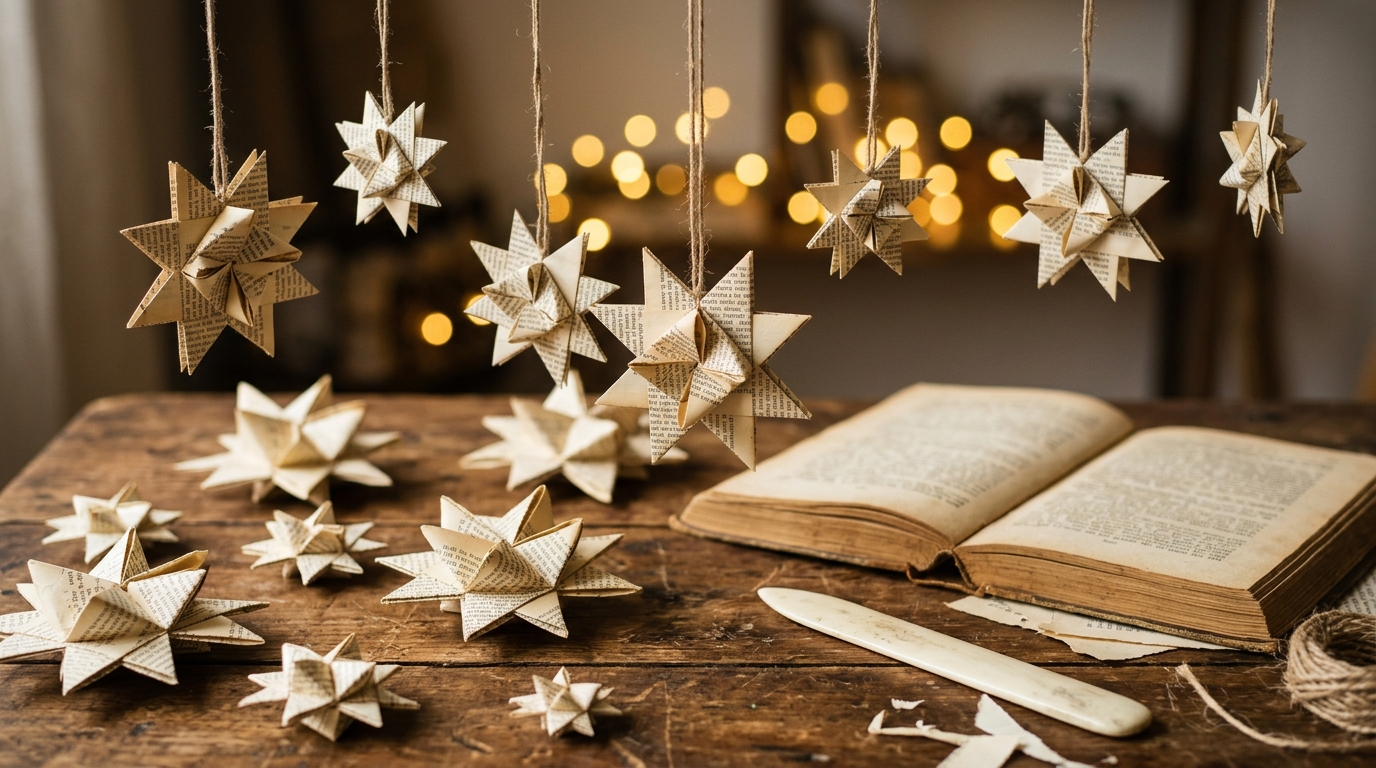
Old books that are falling apart can find a lovely second life as paper stars. Fold the pages into three dimensional stars or simple paper ornaments, then string them into a garland. The creamy pages and tiny printed text look soft and vintage on a tree or above a window. Library sales and thrift stores sell damaged books for pennies. It is a quiet project that feels a little like origami therapy. Which old book would you use?
You will need: Pages from an old book, a ruler, a bone folder or butter knife, glue stick, scissors and twine.
How to make it: 1. Cut pages into strips or squares. 2. Fold them into stars following a simple pattern. 3. Glue the ends closed. 4. String them on twine as a garland.
Rustic Twig Stars, Easy Christmas Crafts for Adults
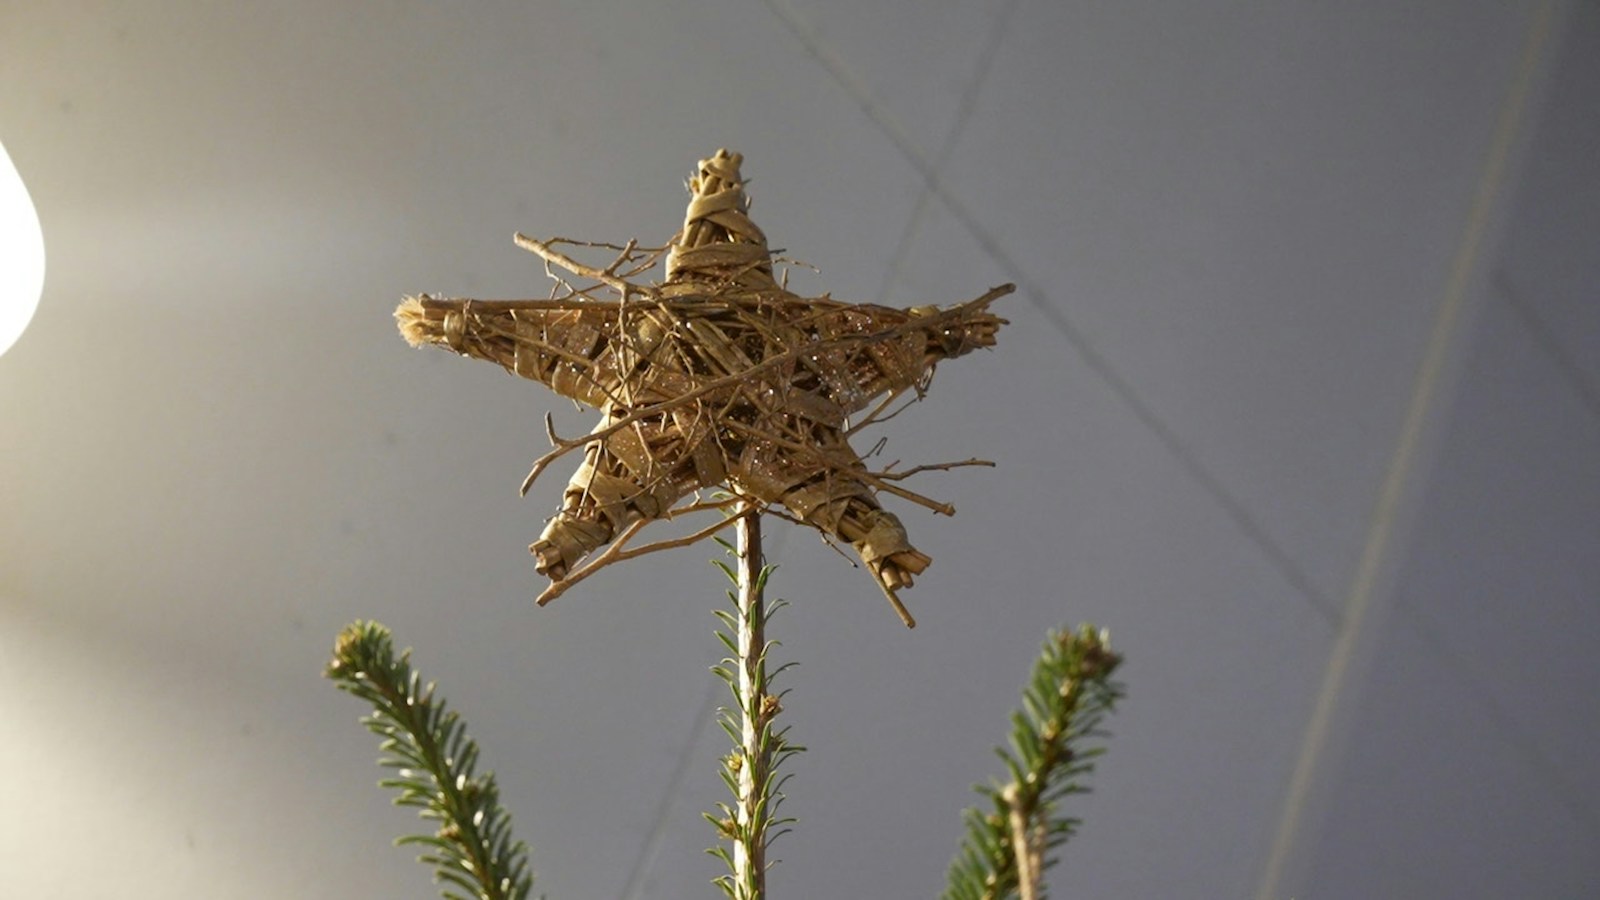
A walk in the park gives you the supplies for this one. Gather five straight twigs of the same length, lay them in a star shape and tie the corners with twine. Hang one on the front door, the tree or a window, or make a cluster in different sizes. Add a few fairy lights or a sprig of greenery for extra charm. It is a favorite with anyone who loves a natural, cabin style Christmas. Where would you hang yours?
You will need: Five straight twigs per star, garden pruners (adult use), jute twine, a hot glue gun (careful with the heat) and optional greenery.
How to make it: 1. Cut five twigs to the same length. 2. Lay them in a star shape. 3. Tie and glue each crossing point. 4. Add a twine loop and decorate.
Painted Glass Holders With LED Lights
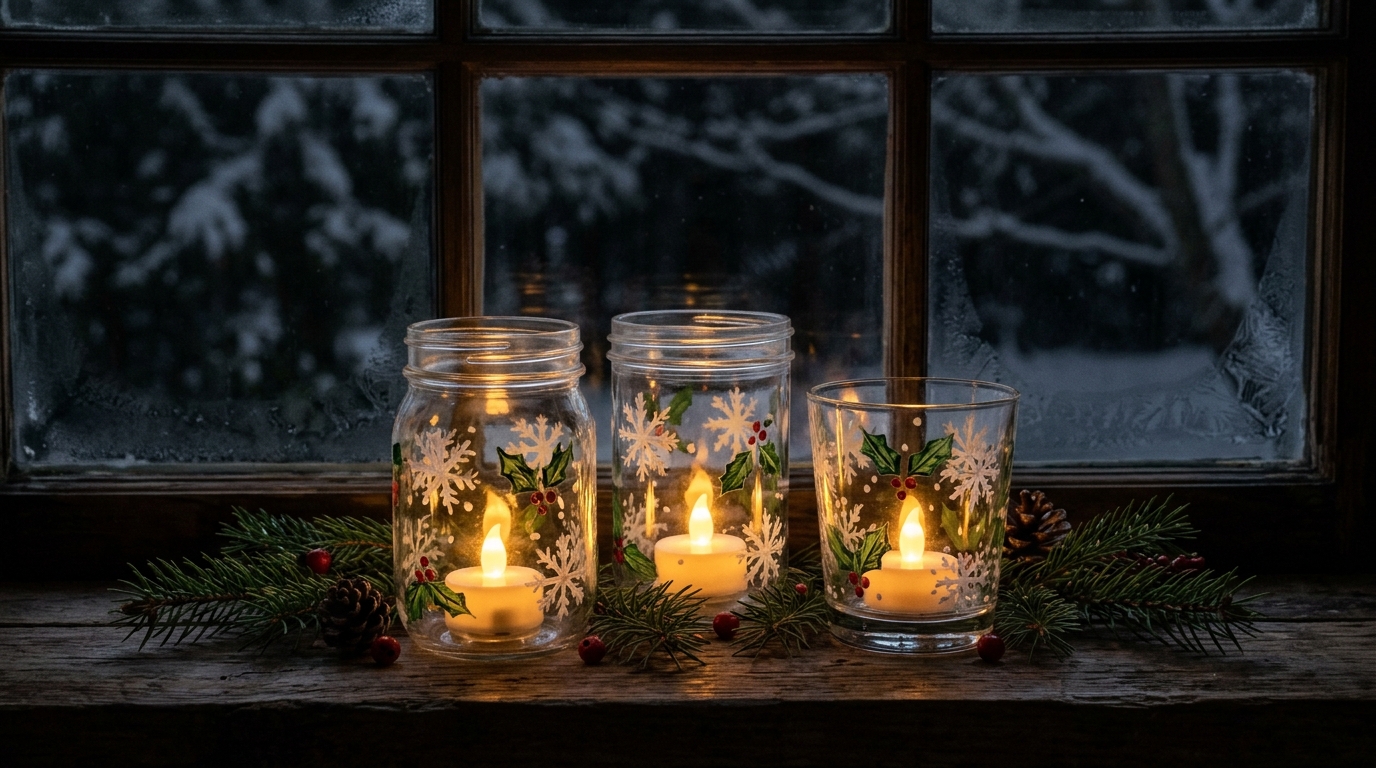
Thrift store glasses and empty jars turn into glowing holiday lanterns with a little glass paint. Paint snowflakes, holly leaves or simple dots, then bake them if your paint says so. Fill them with battery LED tea lights for a safe, flickering glow that you can leave on all evening. Line them up on a windowsill, a mantel or down the middle of the dinner table. They look magical at night. What would you paint on yours?
You will need: Clean glass jars or tumblers, glass paint or paint pens, small brushes, rubbing alcohol and battery LED tea lights.
How to make it: 1. Clean the glass with rubbing alcohol. 2. Paint your design and let it dry. 3. Cure the paint as the label says. 4. Drop in an LED tea light and switch it on.
Watercolor Gift Tags
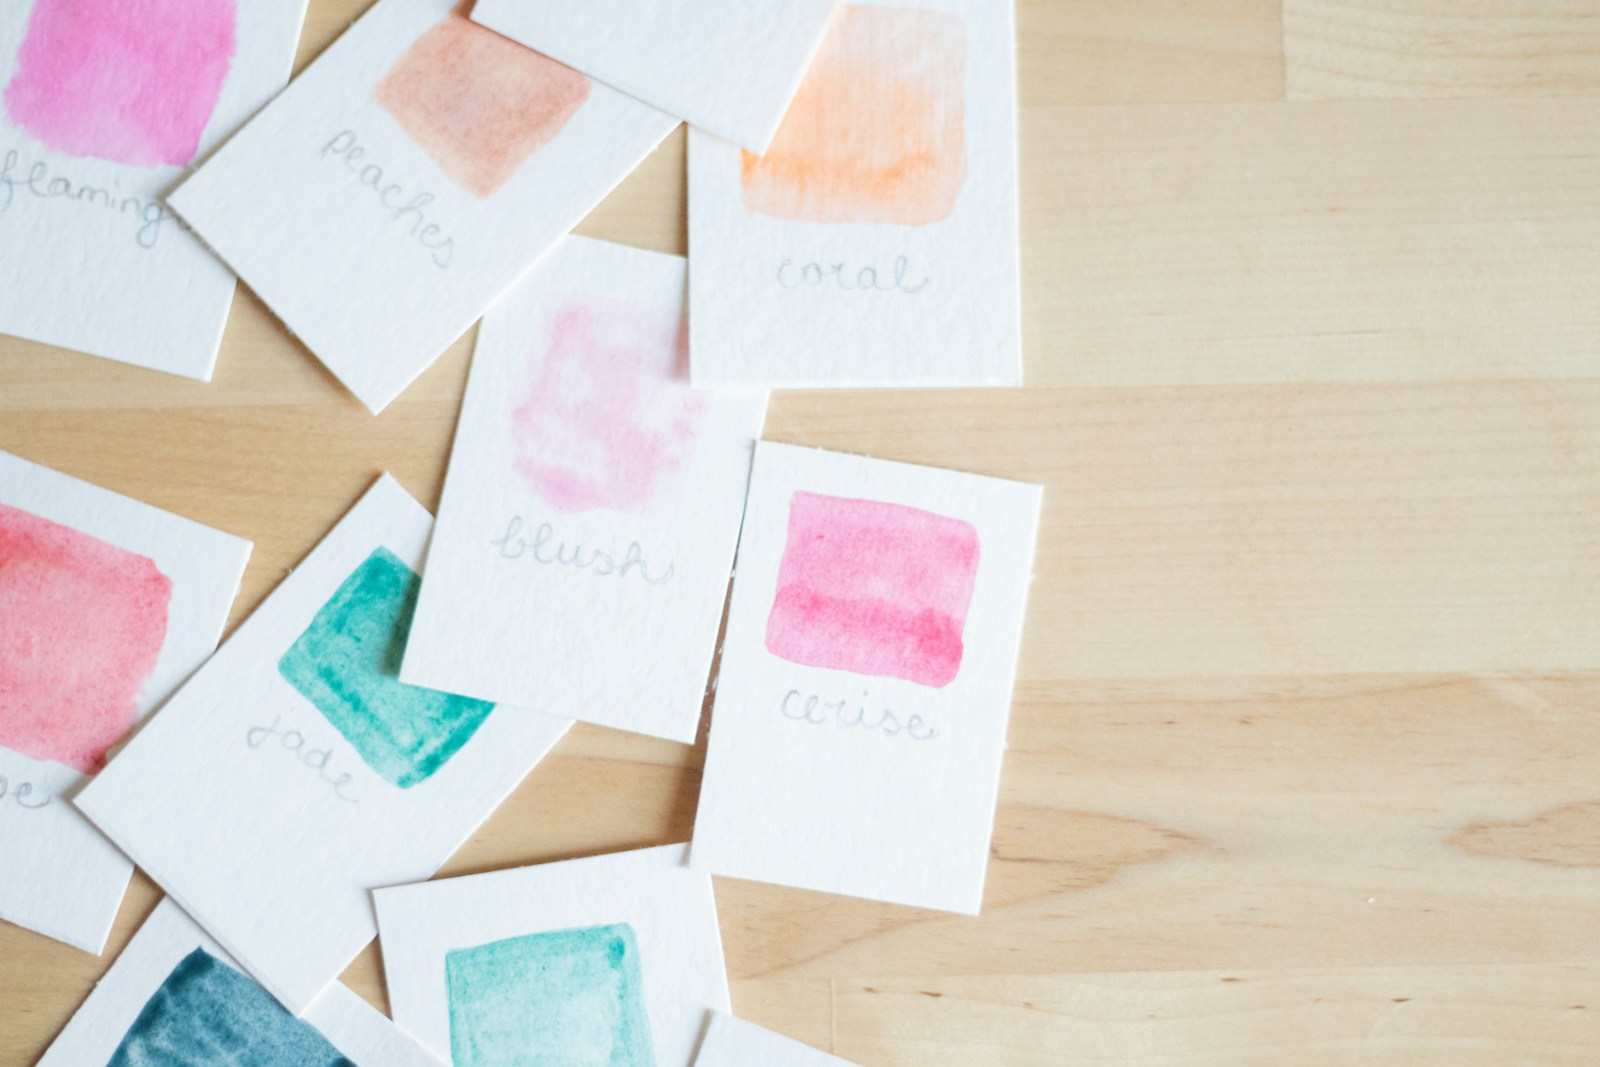
Handmade gift tags make even a simple present feel special. Paint loose watercolor washes on heavy paper, let them dry, then cut them into tags and add names in ink. You do not need to be an artist. Simple dots, stripes and little trees look charming. A big sheet makes dozens of tags, so you will have enough for the whole season. Pair them with brown kraft paper and twine for a soft, natural wrap. What colors will your tags be?
You will need: Watercolor paper, a small watercolor set, a round brush, a cup of water, scissors, a hole punch and twine.
How to make it: 1. Paint loose shapes and washes across the paper. 2. Let it dry fully. 3. Cut it into tag shapes and punch a hole. 4. Write names and add twine.
Christmas Crafts for Adults to Gift: Stamped Tea Towels
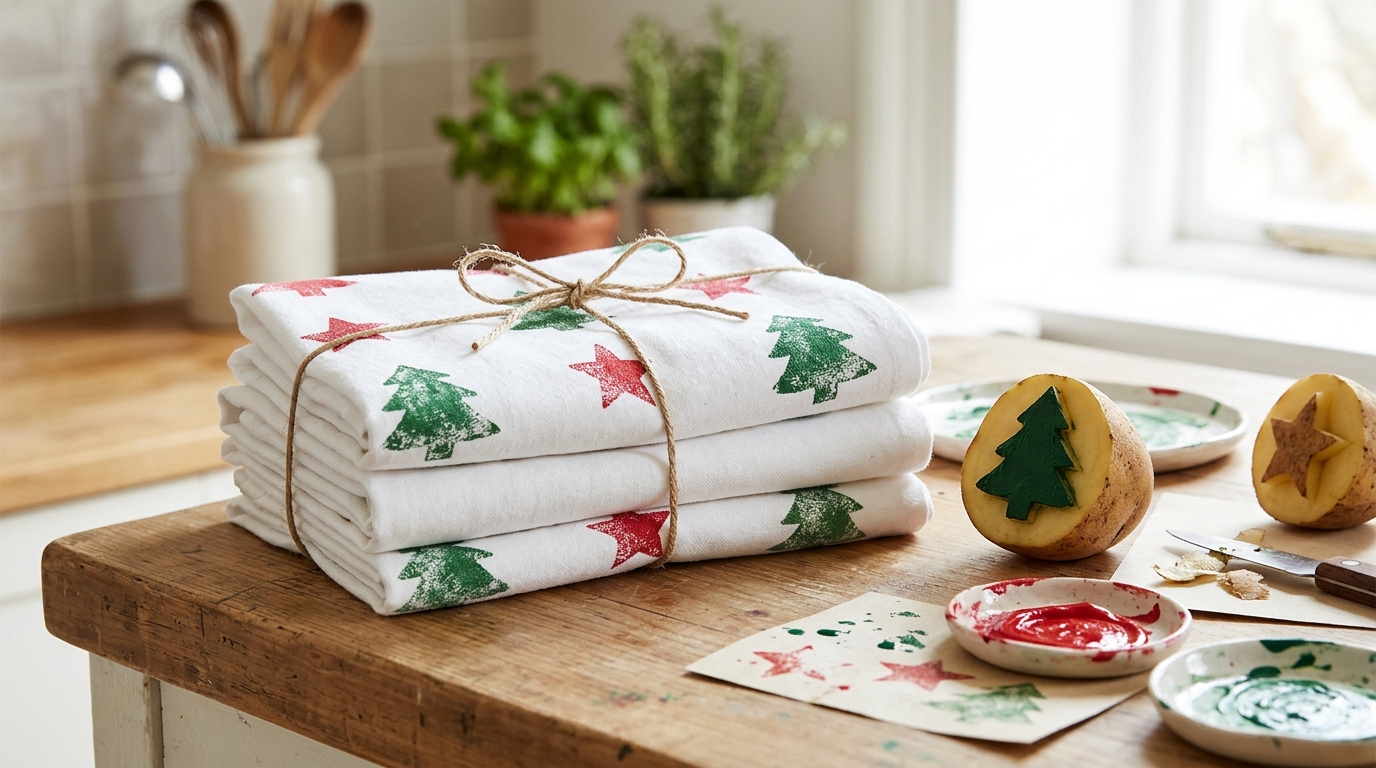
This is a fun one for a craft night, and it makes a perfect hostess gift. Cut a potato in half, carve a simple tree or star shape, dip it in fabric paint and stamp it across plain cotton tea towels. The slightly uneven prints give a charming, handmade feel. Heat set the paint with an iron so the towels can be washed. Tie a stack with ribbon and add a wooden spoon. For more holiday gift ideas, see our viral Christmas DIYs.
You will need: Plain cotton tea towels, potatoes, a small knife (careful), fabric paint, a paper plate, cardboard and an iron.
How to make it: 1. Cut a potato and carve a simple shape. 2. Dab fabric paint on the stamp. 3. Press firmly onto the towel over cardboard. 4. Let dry and heat set with an iron.
Mini Embroidery Hoop Ornaments
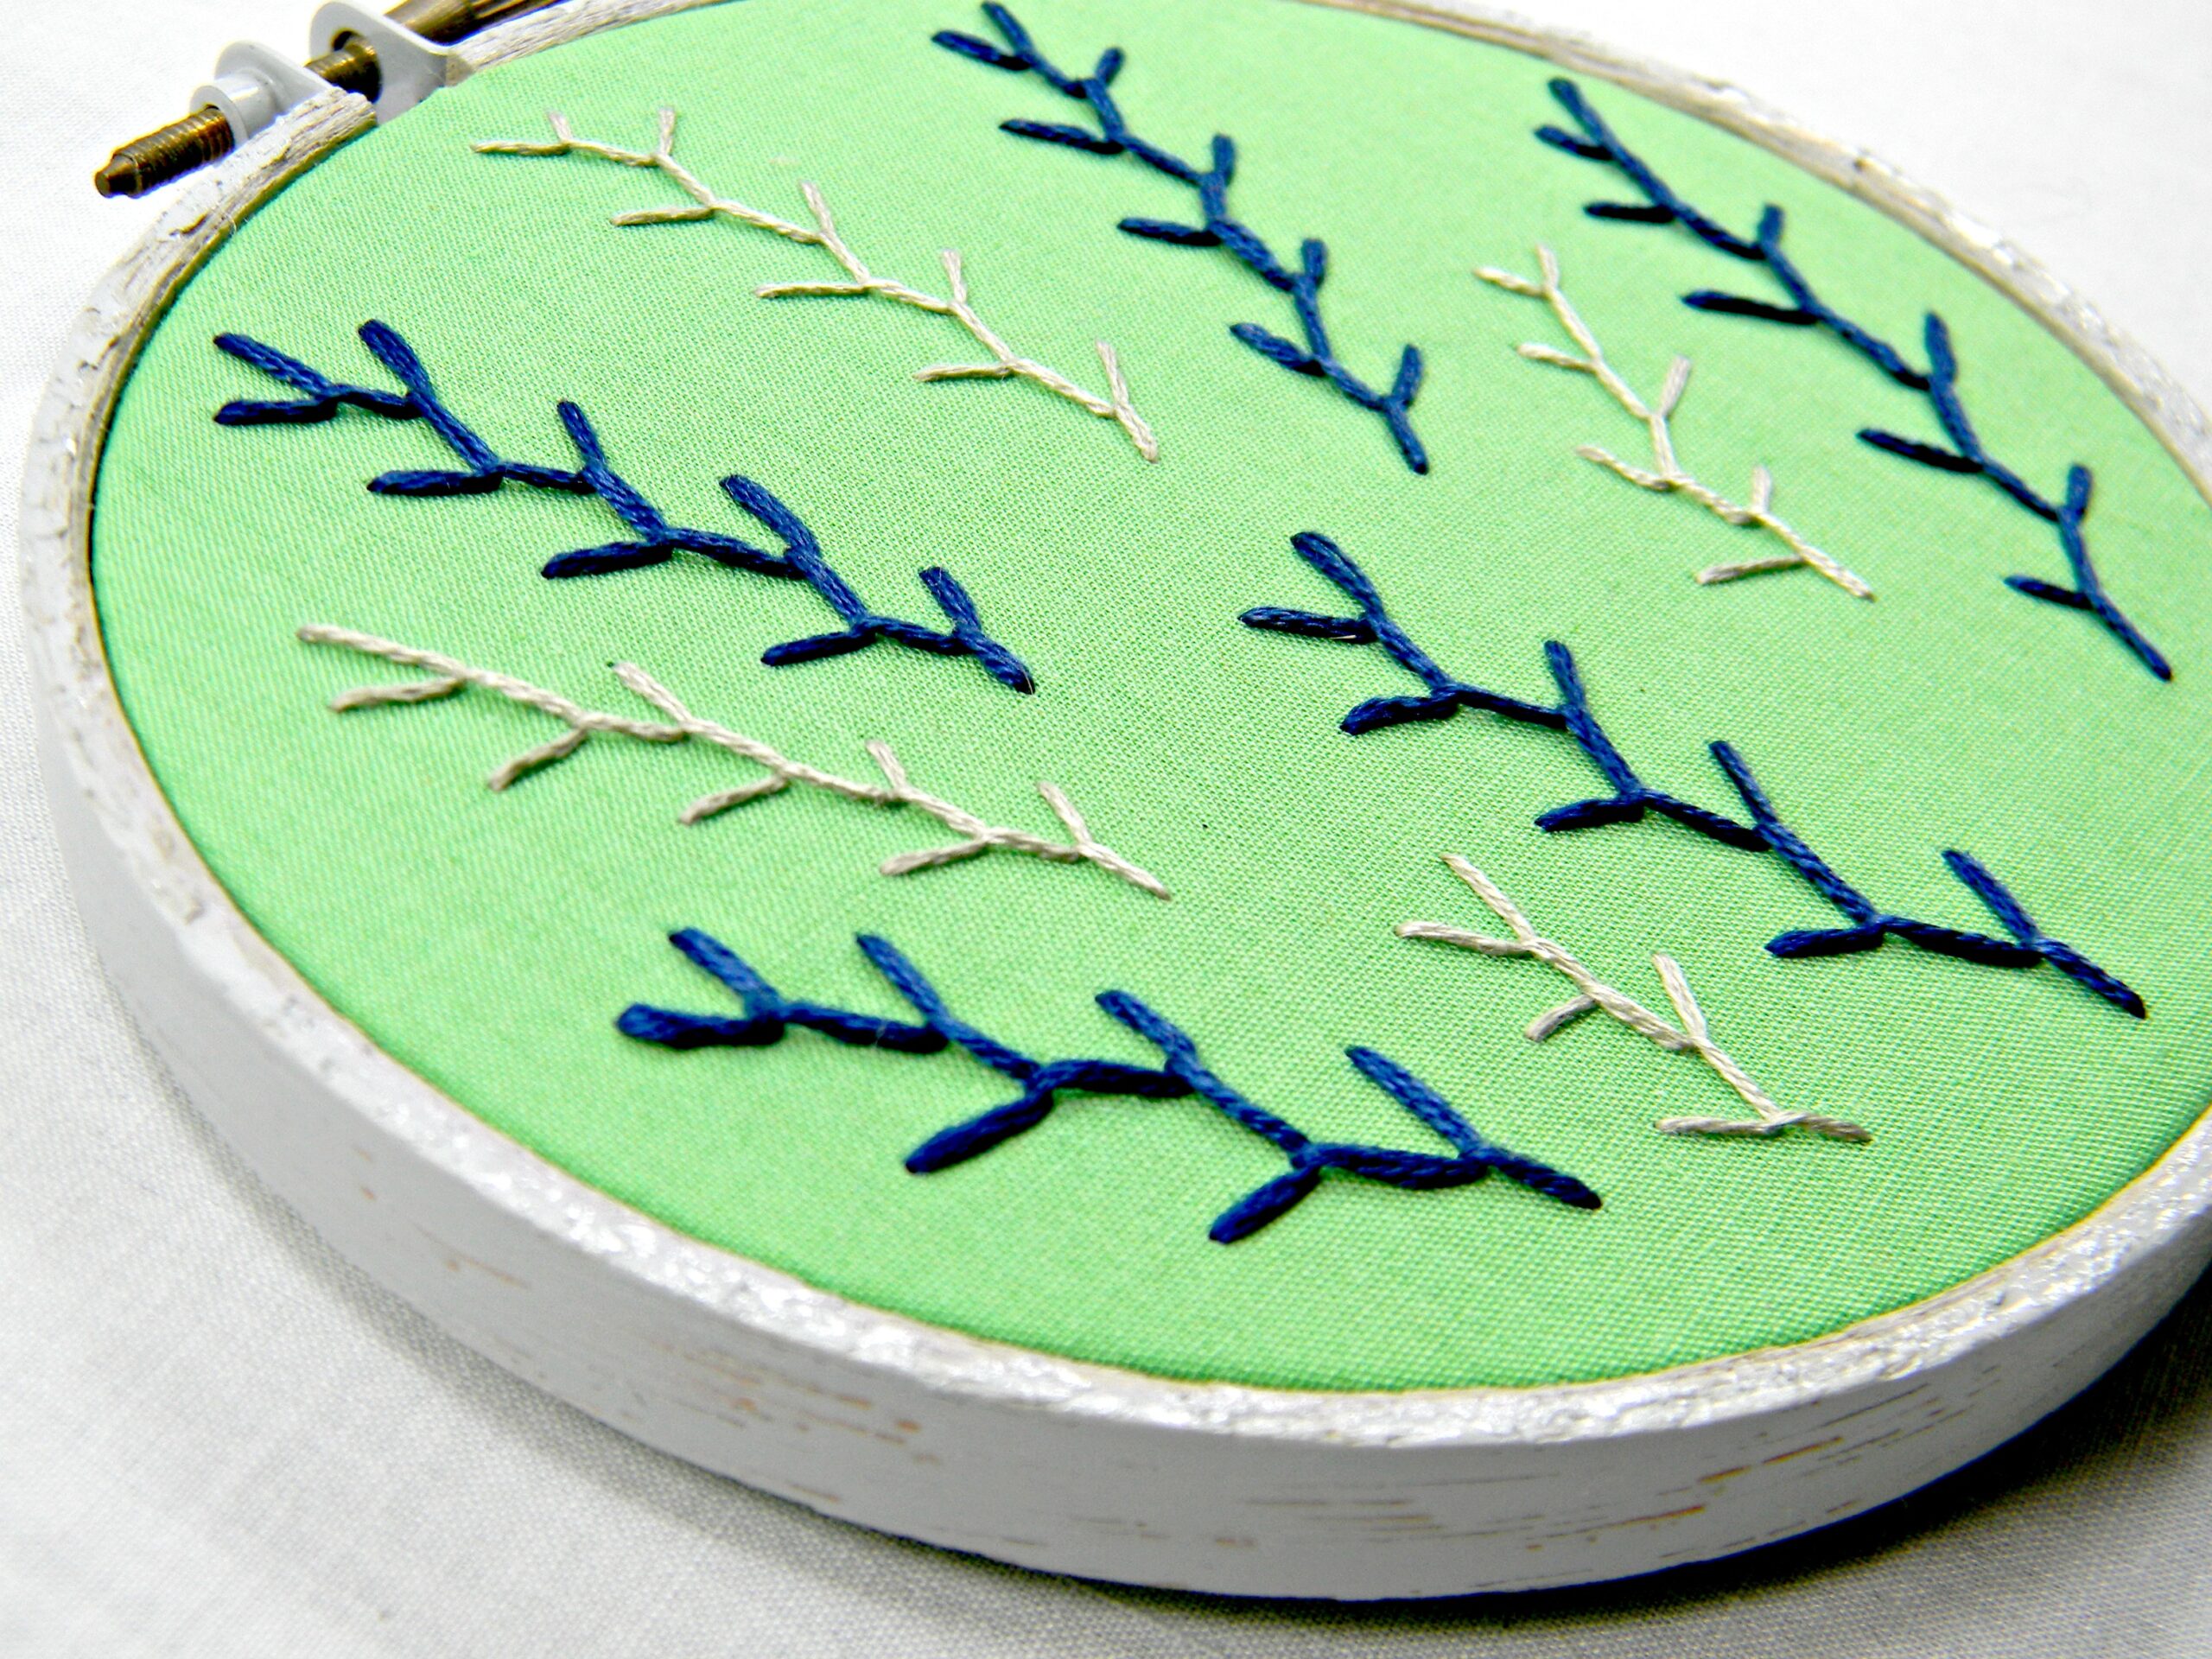
Tiny embroidery hoops make sweet frames for little stitched scenes, scraps of plaid fabric or even a dried flower. Stitch a simple sprig of holly, a snowflake or an initial, then tighten the hoop and trim the fabric at the back. Add a ribbon at the top and they are ready for the tree. They connect to the long history of the Christmas ornament, when many decorations were handmade at home. Which design would you hang first?
You will need: Mini embroidery hoops, cotton fabric, embroidery floss, a needle, felt, fabric glue and ribbon.
How to make it: 1. Place the fabric in the hoop and tighten. 2. Draw a simple design with a pencil. 3. Stitch over the lines. 4. Trim the back, glue on felt and add a ribbon.