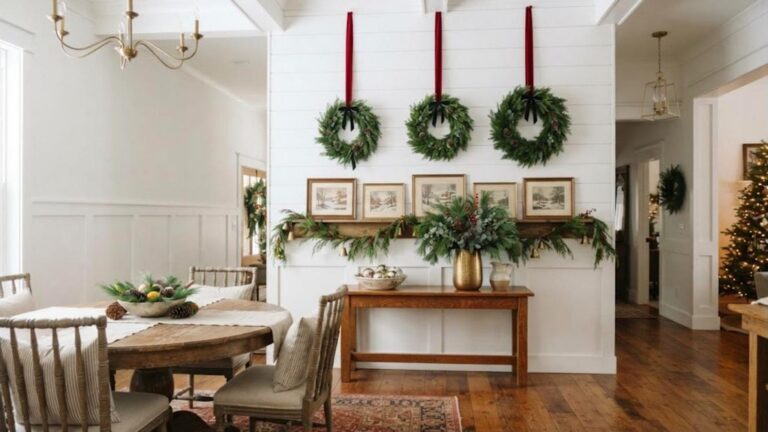
Diorama Christmas Ornaments: 16 Tiny Snowy Worlds That Look Like Antique Shop Treasures
Diorama Christmas ornaments look like they came from a fancy antique shop, but you can make one at your kitchen table tonight. Each one tucks a whole winter story inside one clear glass ball. Think of a snowy cabin, a little red barn or a frozen pond with tiny skaters, all small enough to hang on a branch. They feel like something passed down from a grandparent, and they cost far less than they look. You only need a clear ornament, a pinch of faux snow, a few miniatures and a steady hand. Kids love picking the scene, and grown ups love how special the finished piece looks. Below you will find 16 ideas, from a cozy reading nook to a seaside lighthouse, each with a simple supply list and easy steps. Pick one for your own tree or make a few to tuck into holiday cards and gift bags this year..
Diorama Christmas Ornaments With a Snowy Log Cabin
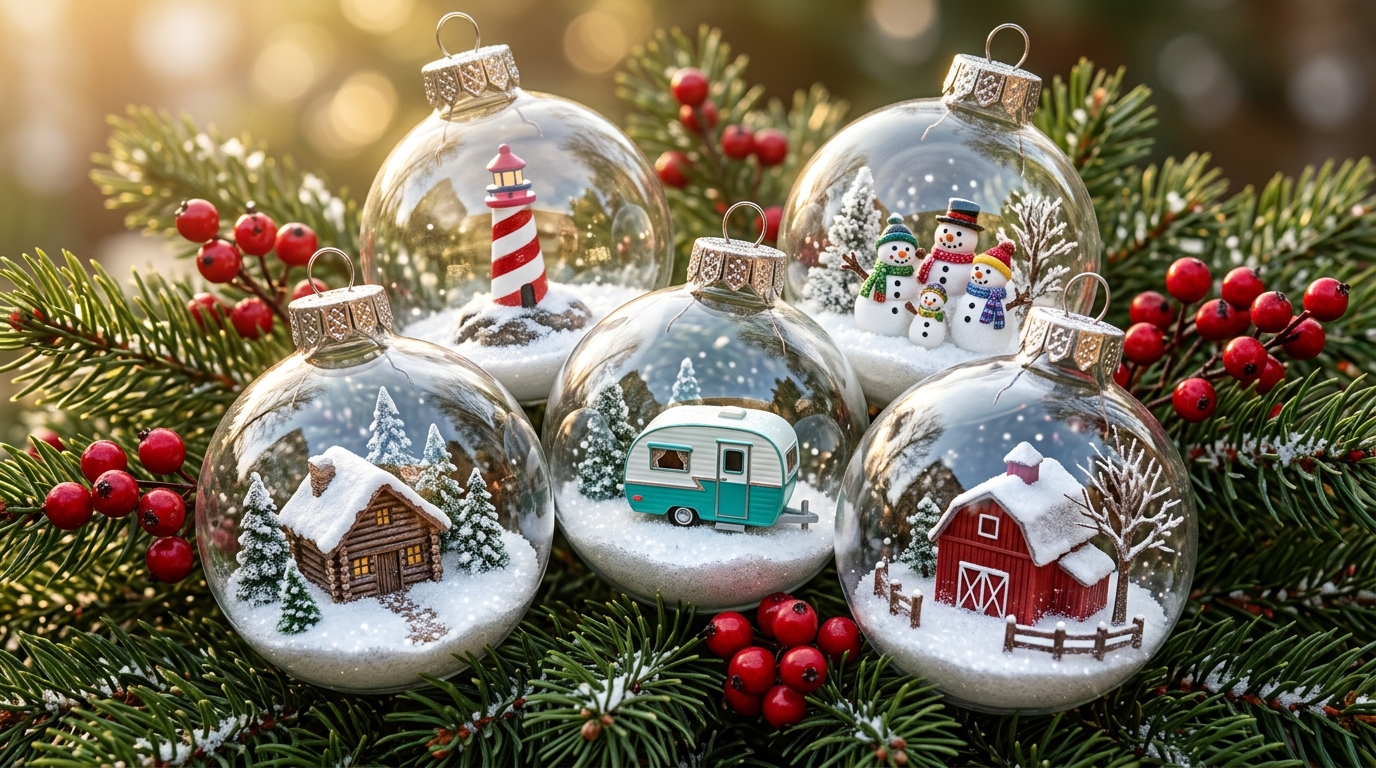
One tiny cabin in a glass ball made millions of people stop scrolling. This whole idea took off when creator Nick Douillard shared a short of a full tiny scene built inside a clear glass ornament. He worked piece by piece until a little world sat inside the ball, and the finished keepsake looked like it came from an old toy shop. His diorama ornament video has close to 7.9 million views, and it is easy to see why. A snowy log cabin is the perfect first try. It is a step up from simple fillable Christmas ornaments, and it looks amazing on day one..
You will need: Clear glass or plastic ball ornament (about 4 inches), small wooden cabin miniature, 2 tiny bottle brush trees, faux snow, a circle of cardstock, craft glue, long tweezers.
How to make it: 1. Cut a cardstock circle that fits through the opening and glue the cabin and trees on it. 2. Roll the circle gently and slide it inside, then flatten it with a pencil. 3. Spoon in faux snow, put the cap back on and add a ribbon.
A Tiny Flocked Pine Forest
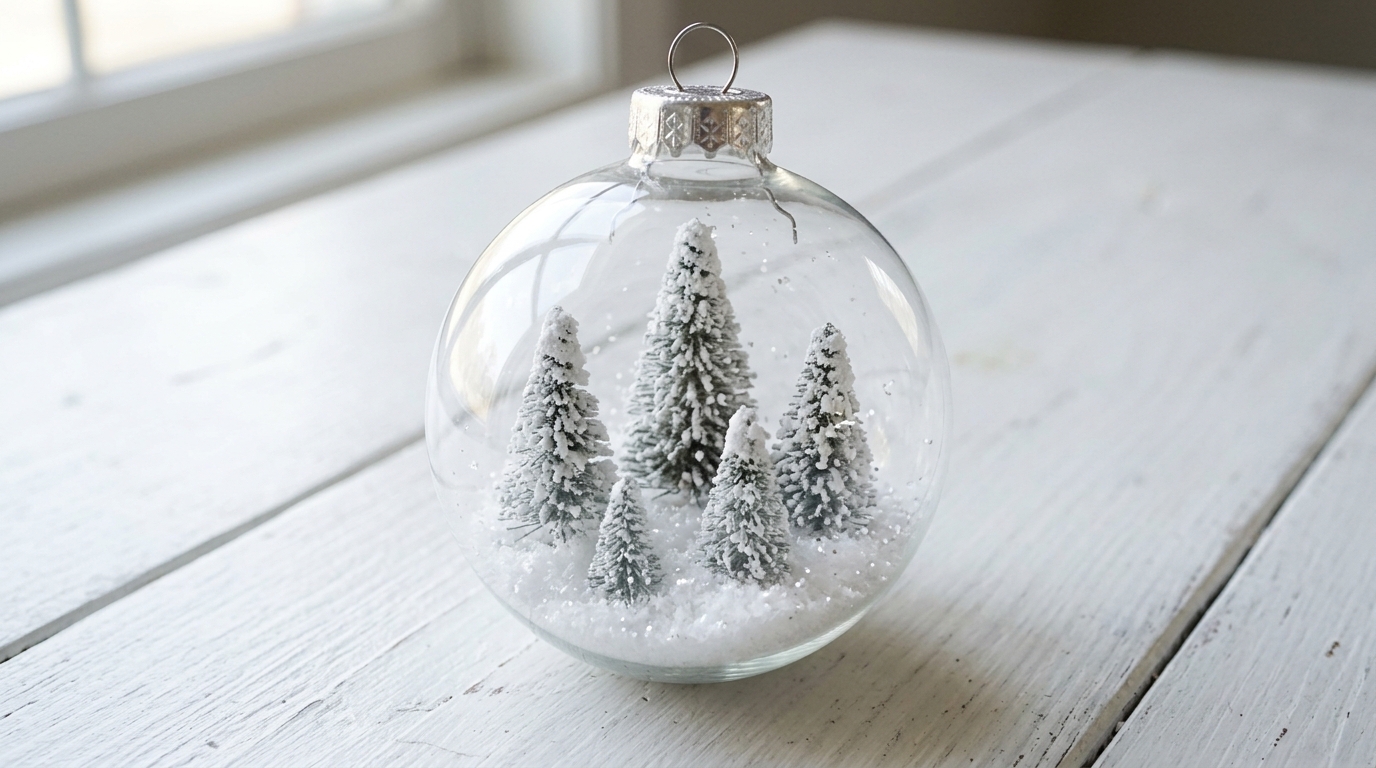
Sometimes the simplest diorama Christmas ornaments are the prettiest ones. A forest of white trees in different heights feels quiet and calm, like the woods right after a fresh snowfall. Use three to five little trees and set the tallest one in the back so the scene has depth. If your trees are green, you can flock them yourself with a light coat of glue and a shake of faux snow. Our guide to bottle brush trees has more ways to dye, trim and flock them for your scenes.
You will need: Clear ball ornament, 3 to 5 mini bottle brush trees in mixed sizes, white flocking powder or faux snow, craft glue, a small cardstock base, tweezers.
How to make it: 1. Trim the trees so the tallest fits inside the ball with room to spare. 2. Glue them to a cardstock base, tallest in back, and let dry. 3. Slide the base in, add a spoon of snow and close the cap.
Grandma’s Kitchen Window With Tiny Cookies
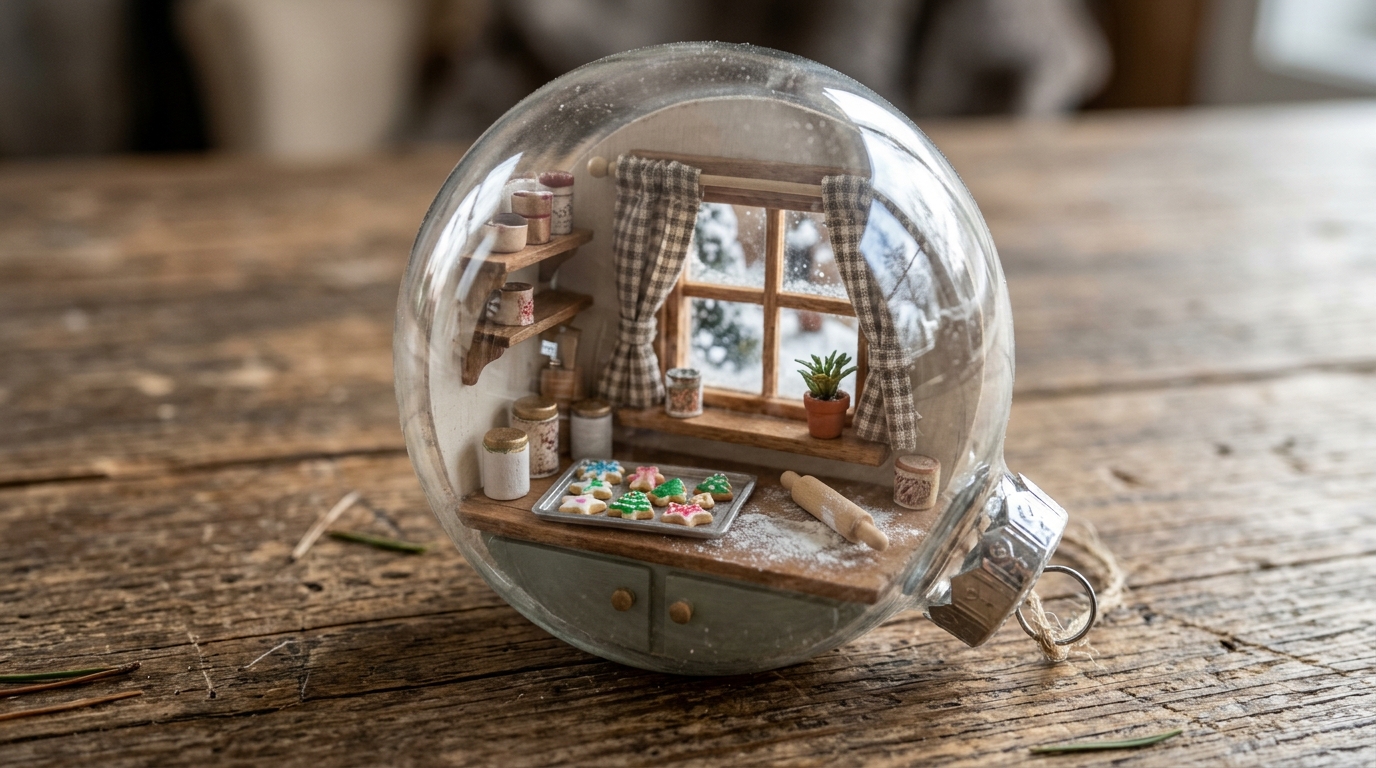
Of all the diorama Christmas ornaments here, this one feels most like a warm memory you can hold. A small window frame, a tray of iced cookies and a mini rolling pin turn the ball into a peek inside a holiday kitchen. Make the cookies from white air dry clay and add dots of paint for icing. It makes a lovely gift for the family baker, and it pairs nicely with grandma style kitchen decor on a small kitchen tree.
You will need: Large clear ornament (flat back style works best), craft sticks for the window frame, white air dry clay, acrylic paint, a mini tray or bottle cap, craft glue, tweezers.
How to make it: 1. Glue four thin craft stick pieces into a tiny window frame. 2. Shape tiny round cookies from clay, let dry, then dot on paint icing. 3. Glue the cookies on a mini tray, set the frame behind it and place everything inside.
Diorama Christmas Ornaments With a Frozen Pond
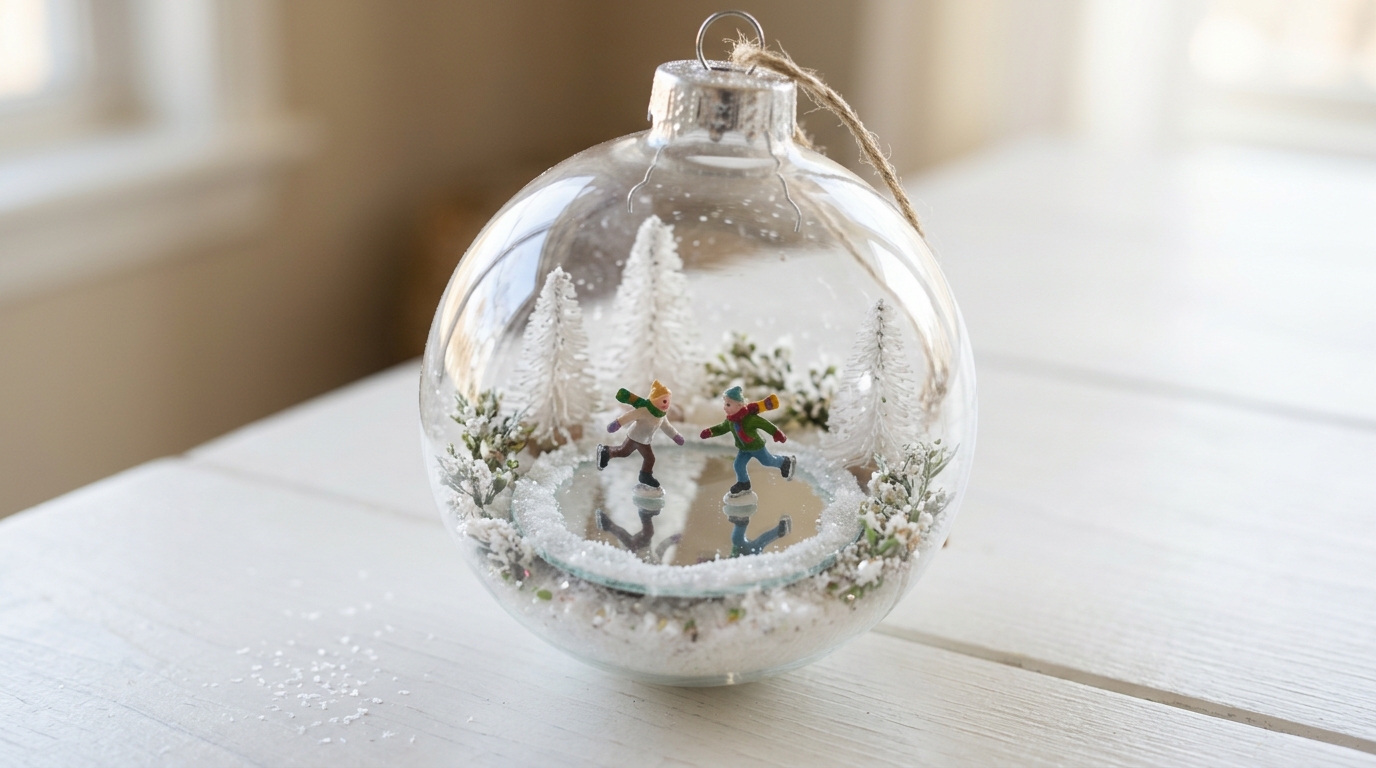
A small round mirror makes the best frozen pond. It catches the tree lights and looks like real ice. Add two tiny skaters in scarves and a ring of white trees, and the scene comes alive. Use a craft mirror with smooth edges, and have an adult handle any cutting. For extra sparkle around the edge, borrow a few tricks from our faux snow Christmas decor ideas.
You will need: Clear ball ornament, a 1 inch round craft mirror with smooth edges, 2 tiny skater figurines, mini white trees, faux snow, clear glue, tweezers.
How to make it: 1. Glue the mirror to a cardstock circle and set the skaters on top with a dot of clear glue. 2. Glue small trees around the edge of the pond. 3. Slide the scene in and sprinkle snow around the trees, not on the mirror.
A Gingerbread Village in a Flat Disc Ornament
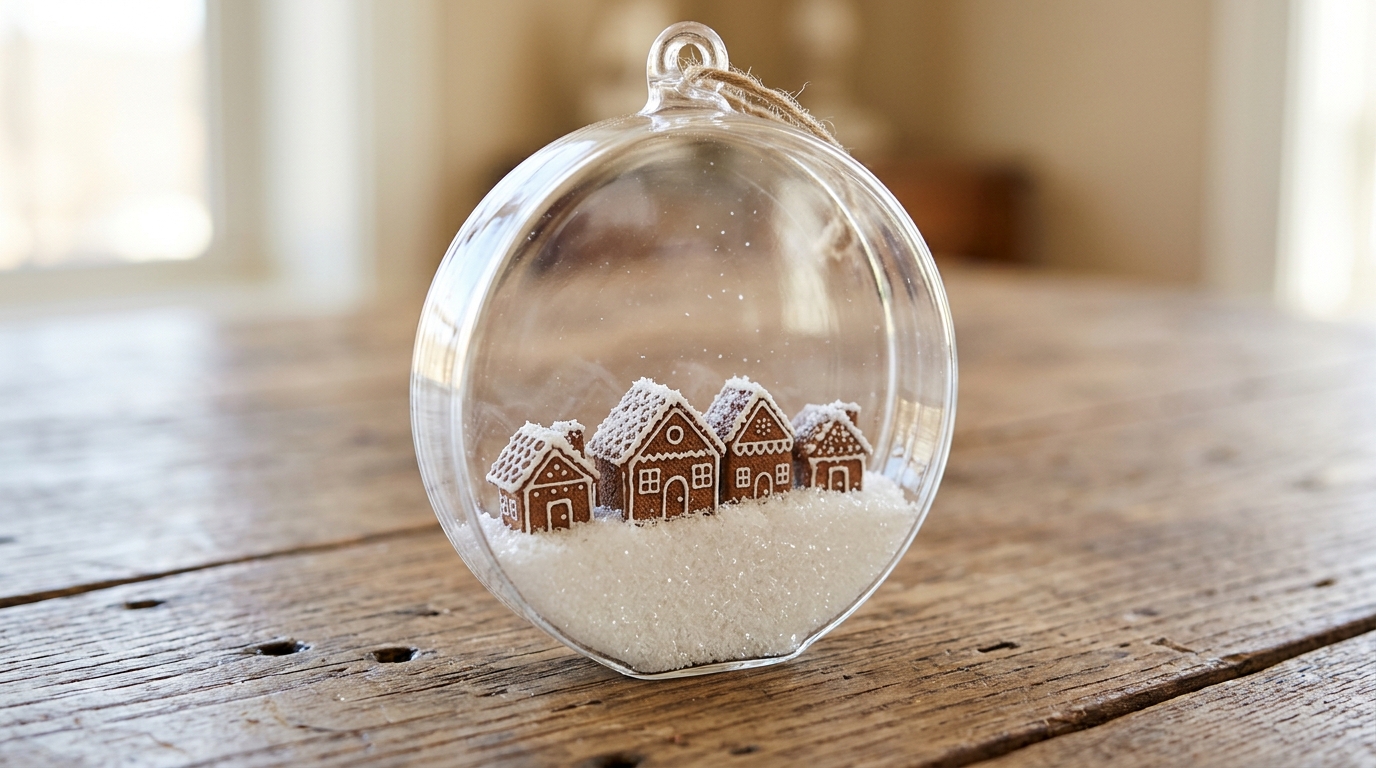
Flat discs make lovely diorama Christmas ornaments for a row of houses, since the scene reads like a little stage. Make the houses from brown craft foam or clay and pipe on white puffy paint for icing trim. Three small houses fit nicely, and you can add a gumdrop shaped bush or two. If you love the look, our gingerbread house ideas are full of trims you can copy in miniature.
You will need: Clear flat disc ornament, brown craft foam or brown air dry clay, white puffy paint, tiny colored beads, craft glue, a thin cardstock strip for the base.
How to make it: 1. Cut three tiny house shapes from foam or shape them from clay. 2. Add puffy paint trim and bead candies, then let dry overnight. 3. Glue the houses to a strip of cardstock, slide it into the disc and add snow at the base.
Diorama Christmas Ornaments for Book Lovers

Every book lover will smile at this one. A small red armchair, a mini plaid blanket and a stack of tiny books turn the ball into the coziest corner in the house. Make the books from folded paper glued to bits of colored cardstock. Add a tiny rug cut from felt to finish the scene. It looks sweet hung near a shelf styled with our old book Christmas crafts.
You will need: Large clear ornament, a dollhouse armchair, scraps of plaid fabric, cardstock and paper for mini books, a felt scrap, craft glue, tweezers.
How to make it: 1. Fold tiny paper pages and glue colored cardstock covers on them. 2. Drape a fabric scrap over the chair and glue the books in a stack beside it. 3. Glue everything on a felt rug base and ease it inside the ornament.
A Vintage Camper Parked in the Snow
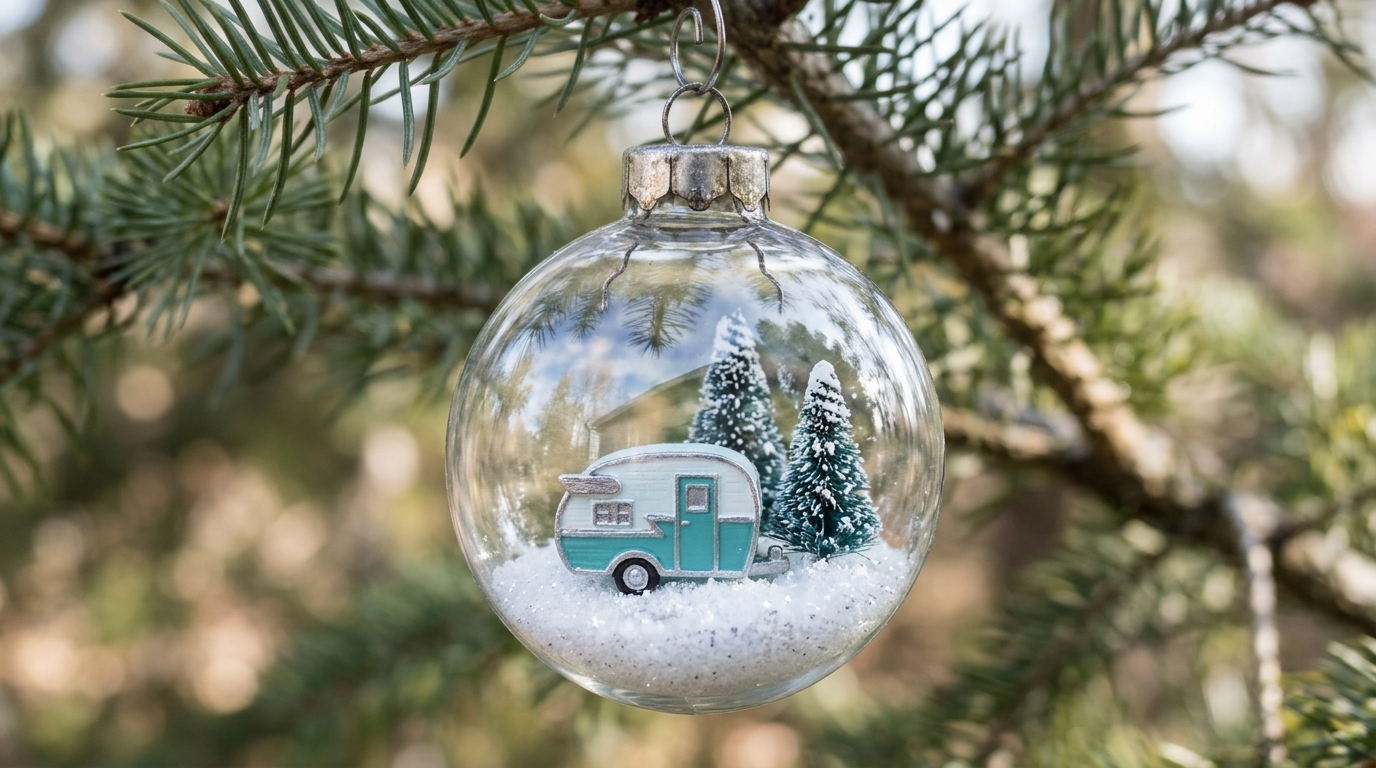
For the family that loves road trips, diorama Christmas ornaments with a little vintage camper in the snow are pure joy. Look for a small toy camper or shape one from clay and paint it a soft teal or red. Park it next to two small trees and add a tiny wreath on the door if you can. Small spaces have a big charm, much like the ones in our tiny house tours.
You will need: Clear ball ornament, a small toy camper or air dry clay, acrylic paint, 2 mini bottle brush trees, faux snow, craft glue, tweezers.
How to make it: 1. Paint the camper and let it dry fully. 2. Glue it to a small cardstock base with a tree on each side. 3. Slide it in, add snow around the wheels and tie on a bright ribbon.
Diorama Christmas Ornaments With a Little Red Barn
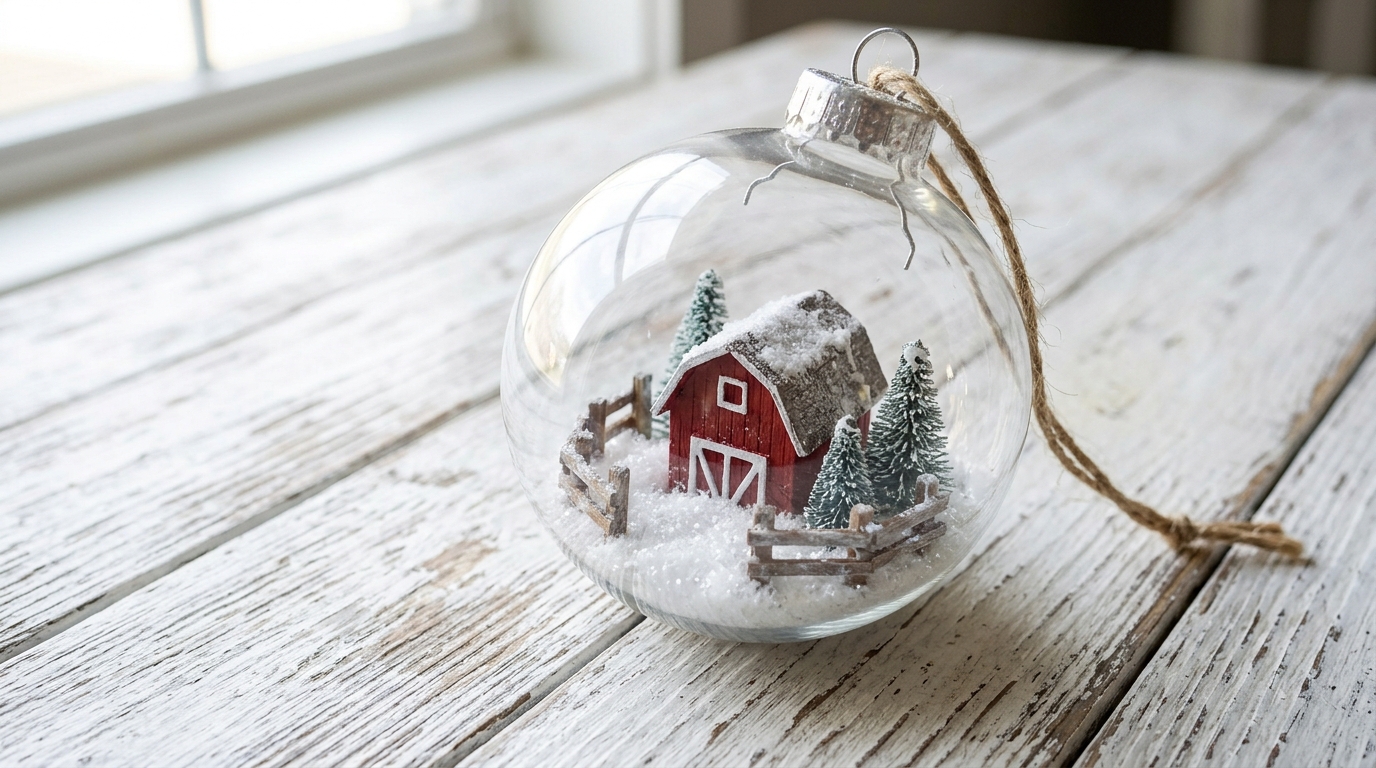
A red barn in the snow is one of the most loved winter scenes for diorama Christmas ornaments, and it fits perfectly in a clear ball. Build the barn from a small wood block, paint it red and add white trim with a fine brush. A fence made from toothpick bits finishes the country look. Hang it on a tree dressed with our farmhouse Christmas decor for a cozy, rustic feel.
You will need: Clear ball ornament, a 1 inch wood block, red and white acrylic paint, toothpicks, faux snow, wood glue, a cardstock base.
How to make it: 1. Sand one end of the block into a roof peak and paint it red with white trim. 2. Glue toothpick pieces into a tiny fence. 3. Glue the barn and fence on a base, slide it in and pile snow in soft drifts.
A Mini Mantel With Tiny Stockings
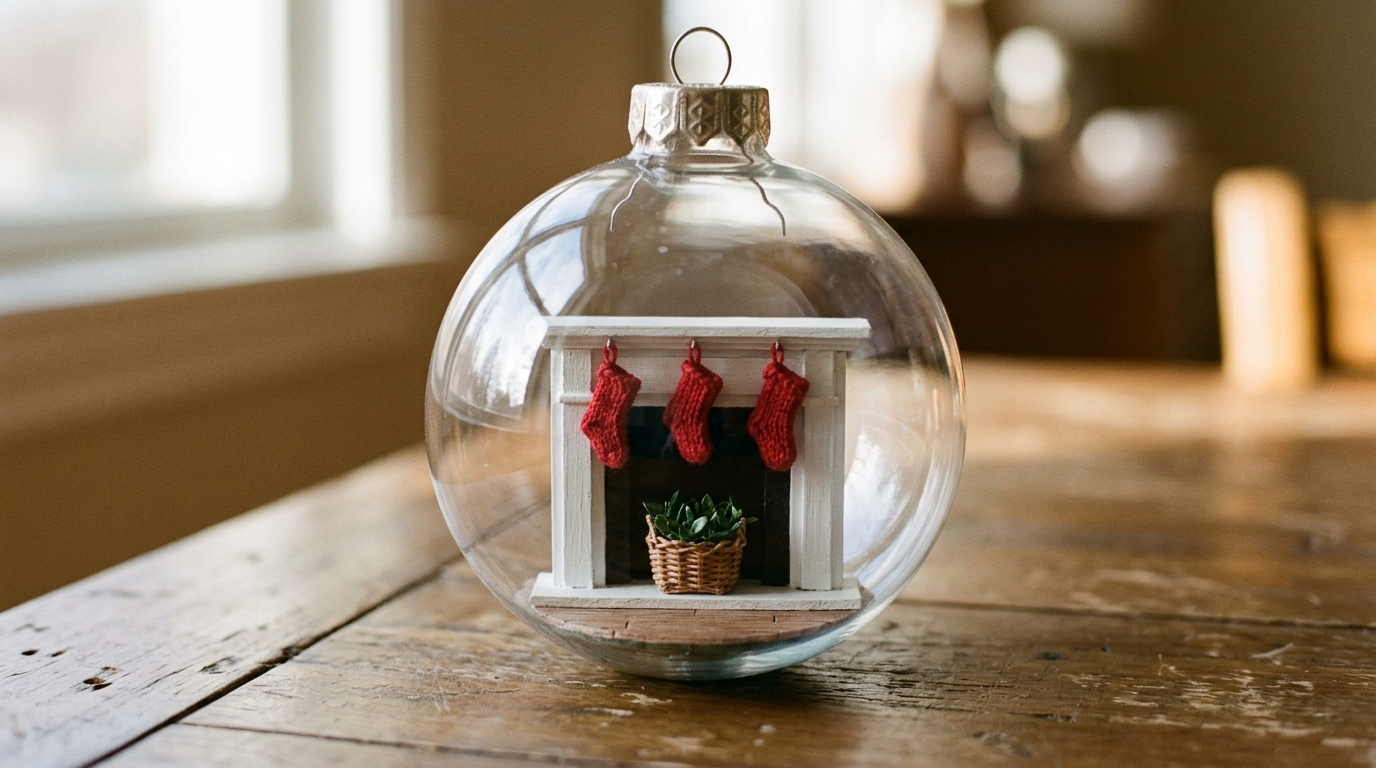
This scene shows the best part of Christmas morning in miniature. A white mantel, three tiny red stockings and a basket of greenery in the hearth make it feel homey. Paint little logs in the hearth instead of any fire, and keep it bright and simple. You can make the stockings from felt with a dab of white for the cuff. For full size inspiration, browse our Christmas mantel ideas.
You will need: Large clear ornament, a dollhouse mantel or craft wood scraps, red and white felt, a tiny basket, faux greenery, white paint, craft glue.
How to make it: 1. Glue wood scraps into a mantel shape and paint it white. 2. Cut three tiny felt stockings and glue them along the top edge. 3. Glue the basket of greenery in the hearth and slide the scene inside.
A Snowman Family on a Mossy Hill
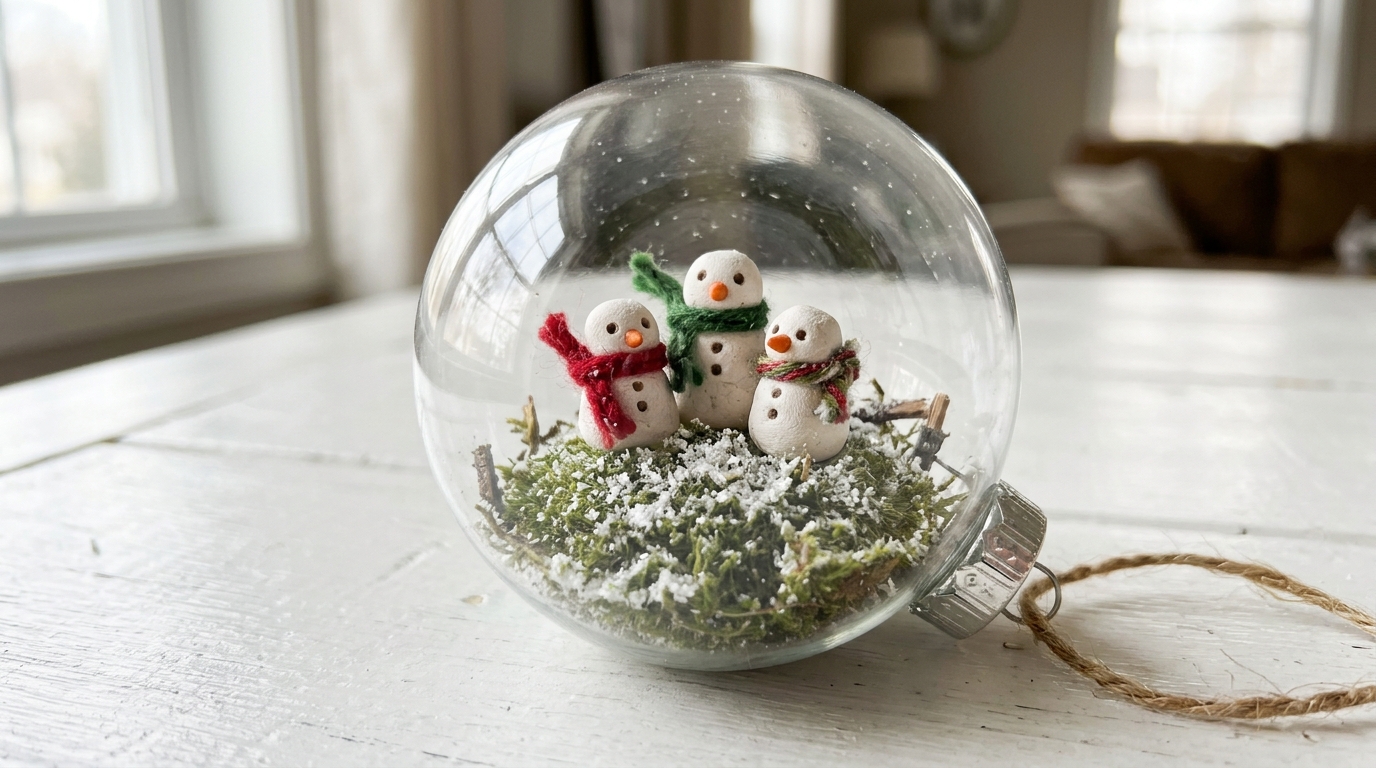
A little snowman family is sweet for any home with kids. Make a tall one, a medium one and a tiny one so it feels like a real family. Shape them from white air dry clay, then add thread scarves and dots of paint for eyes and buttons. A bit of preserved moss makes a soft green hill under the snow. Find more cute builds in our snowman decor ideas.
You will need: Clear ball ornament, white air dry clay, red and green embroidery thread, black and orange paint, preserved moss, faux snow, craft glue.
How to make it: 1. Roll clay balls into three snowmen of different sizes and let them dry. 2. Paint faces, buttons and tiny noses, then tie on thread scarves. 3. Glue moss on a base, set the snowmen on top and dust with snow before sliding it in.
Diorama Christmas Ornaments With a Village Street
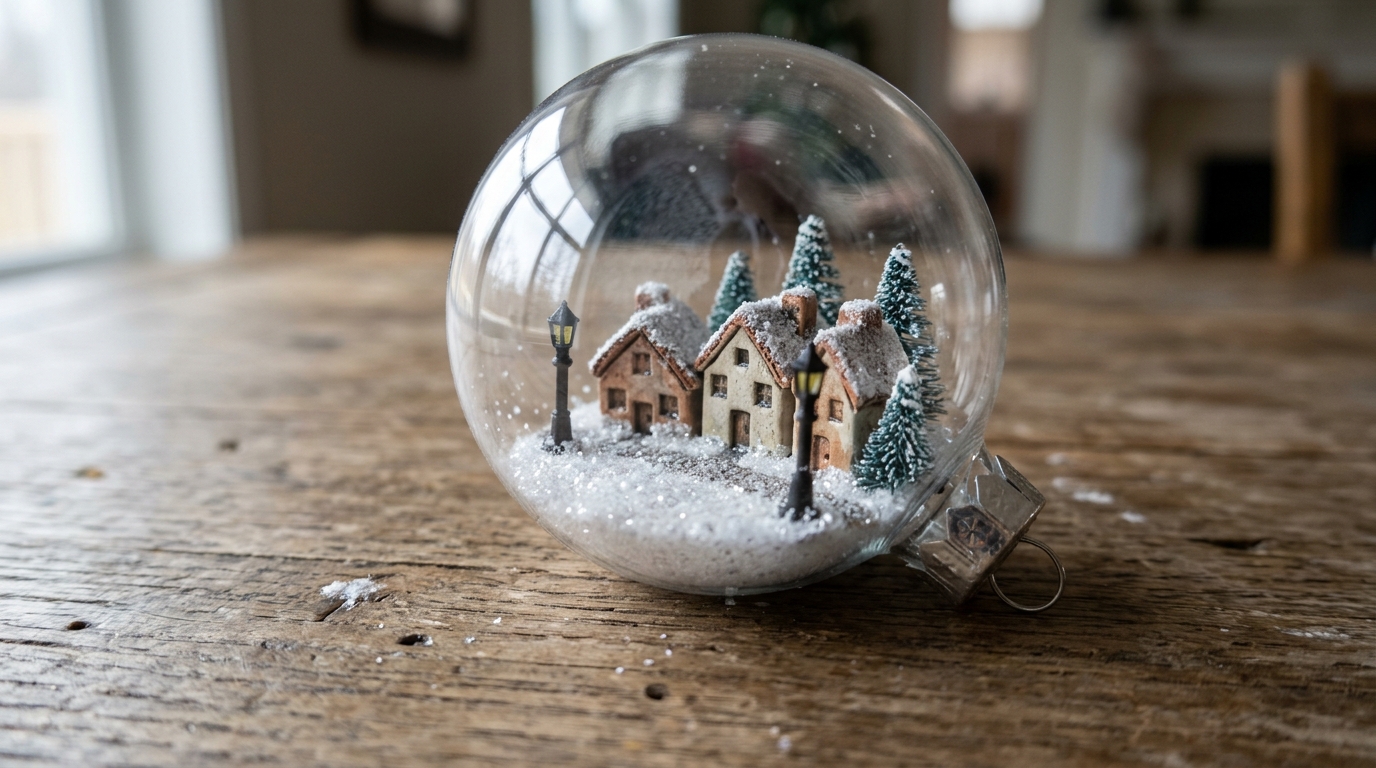
A whole village street inside one ornament feels like magic. Line up three tiny houses, add two black lampposts and cover the road in snow. Keep the scene shallow so every house can be seen from the front. Map pins or painted toothpicks make easy lampposts. If you already build a holiday village, our DIY Christmas village guide has houses you can shrink down to fit.
You will need: Large clear ornament, 3 tiny wooden or clay houses, black painted toothpicks or map pins, faux snow, a cardstock base, craft glue, tweezers.
How to make it: 1. Paint the houses in soft colors and add white roof snow. 2. Glue them in a gentle curve on the base with a lamppost at each end. 3. Slide the street in and sprinkle snow along the road.
A Hometown Scene With a Printed Backdrop

This is the most personal idea in the list. Print a small photo of your street or hometown and curve it around the back of the ball. Then set a tiny tree and a bit of snow in front so the photo looks like a real view. It makes a thoughtful gift for someone who moved away. For more photo keepsakes, see our printed Christmas ornaments.
You will need: Large clear ornament, a printed photo of a hometown street (about 3 by 2 inches), a mini bottle brush tree, faux snow, clear glue, tweezers.
How to make it: 1. Trim the photo so it curves inside the back half of the ball. 2. Roll it and slide it in, then smooth it flat against the glass with a pencil. 3. Add a tree on a small base in front and finish with snow.
Diorama Christmas Ornaments With Woodland Animals
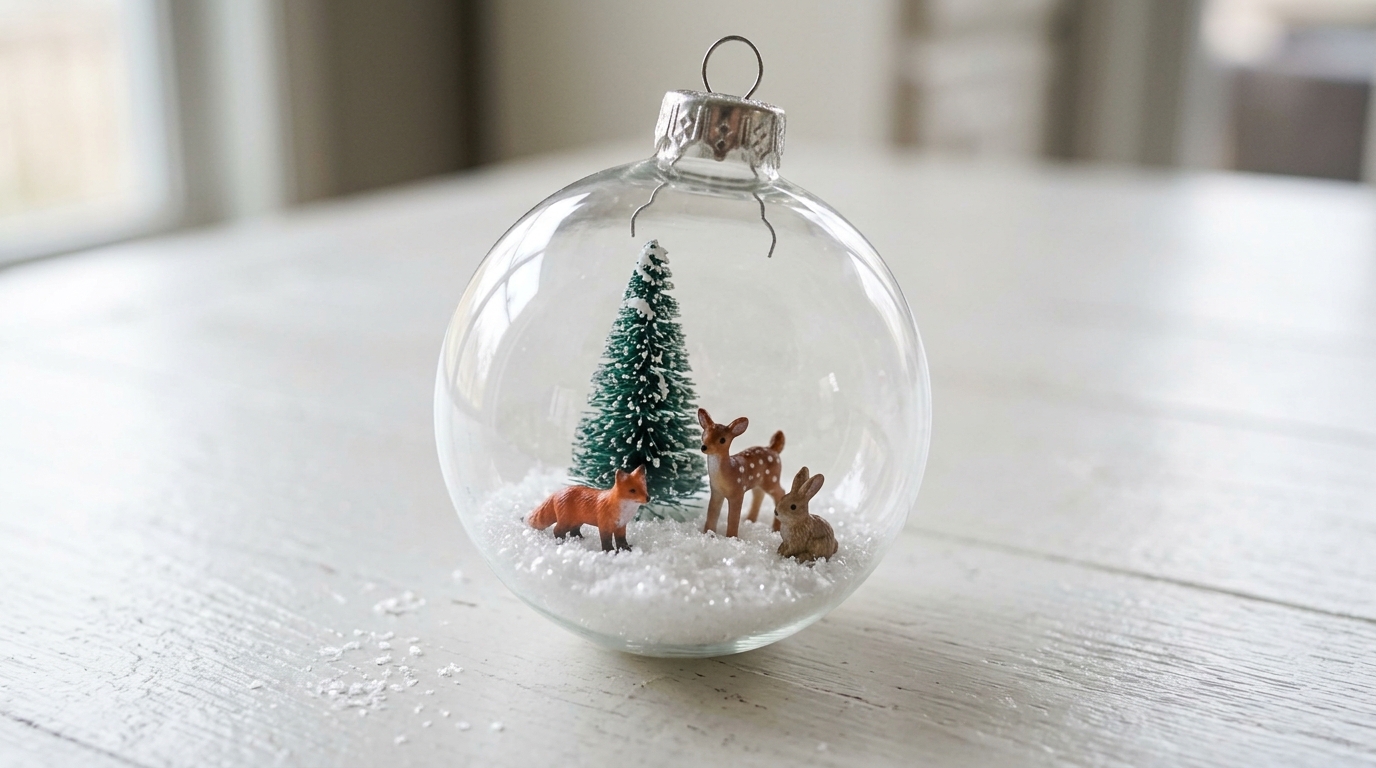
Little woodland animals gathered around a tree feel like a scene from a storybook. A fox, a deer and a rabbit fit nicely, but any small forest friends will work. Glue each animal so it faces the tree, as if they came to visit on Christmas Eve. This one looks lovely with the rest of our woodland Christmas decor on a natural tree.
You will need: Clear ball ornament, 3 tiny animal figurines, a mini bottle brush tree, faux snow, a cardstock base, craft glue, tweezers.
How to make it: 1. Glue the tree in the center of the base. 2. Set the animals in a loose circle facing the tree and glue them down. 3. Ease the scene inside and add snow around their feet.
A Sleigh and Reindeer on a Wood Slice
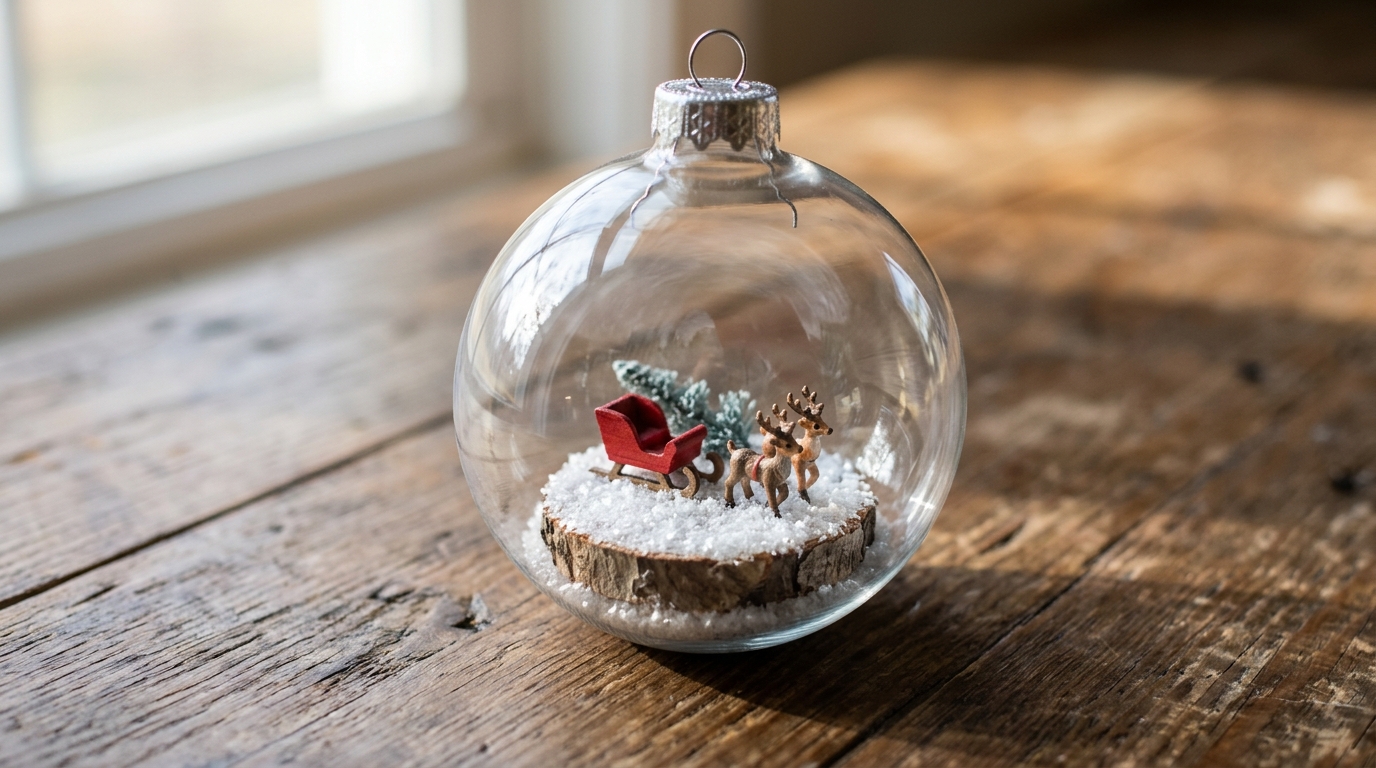
A thin wood slice makes a sturdy, natural base for diorama Christmas ornaments like this classic scene. Set a little red sleigh behind two small reindeer, and the ball looks ready for a big night of deliveries. Ask an adult to help if the wood slice needs trimming to fit. Pair it with our Santa sleigh decor for a theme that ties the whole tree together.
You will need: Large clear ornament, a thin 2 inch wood slice, a mini red sleigh, 2 tiny reindeer figurines, faux snow, wood glue, tweezers.
How to make it: 1. Check that the wood slice fits through the opening, or have an adult trim it. 2. Glue the reindeer in front and the sleigh behind them. 3. Slide the slice in on its edge, lay it flat with a pencil and dust with snow.
A Seaside Lighthouse in Winter
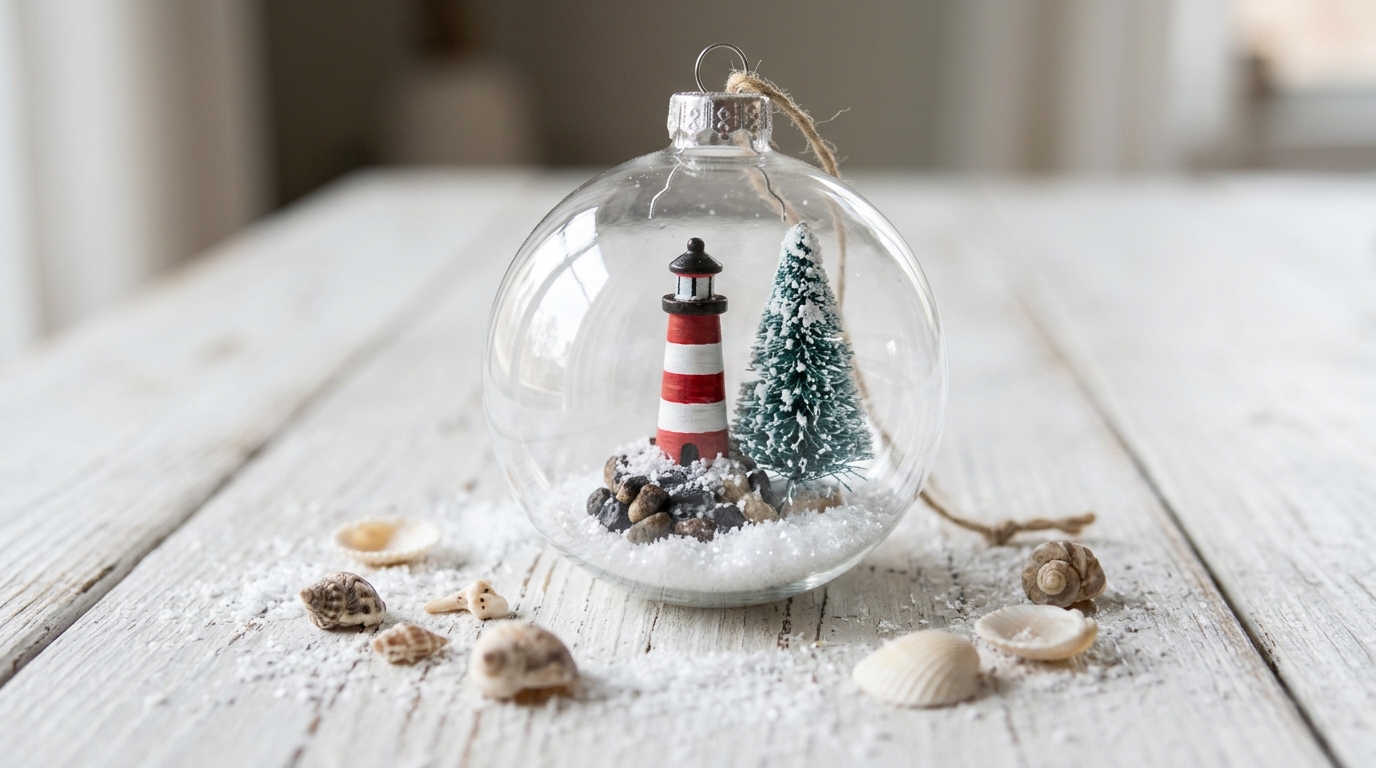
For coastal homes, a little striped lighthouse brings the beach to the Christmas tree. Paint a wooden peg or small cone with red and white stripes, then set it on a few pebbles. A dusting of snow and one small tree show it is winter by the sea. If you love a snowy scene you can shake, try our DIY snow globes next.
You will need: Clear ball ornament, a small wooden peg or cone, red and white paint, a few tiny pebbles, a mini bottle brush tree, faux snow, craft glue.
How to make it: 1. Paint stripes on the peg and let them dry. 2. Glue the pebbles on a base and set the lighthouse on top with the tree beside it. 3. Slide it in and add a light layer of snow.
A New Home Ornament With a Tiny Front Door
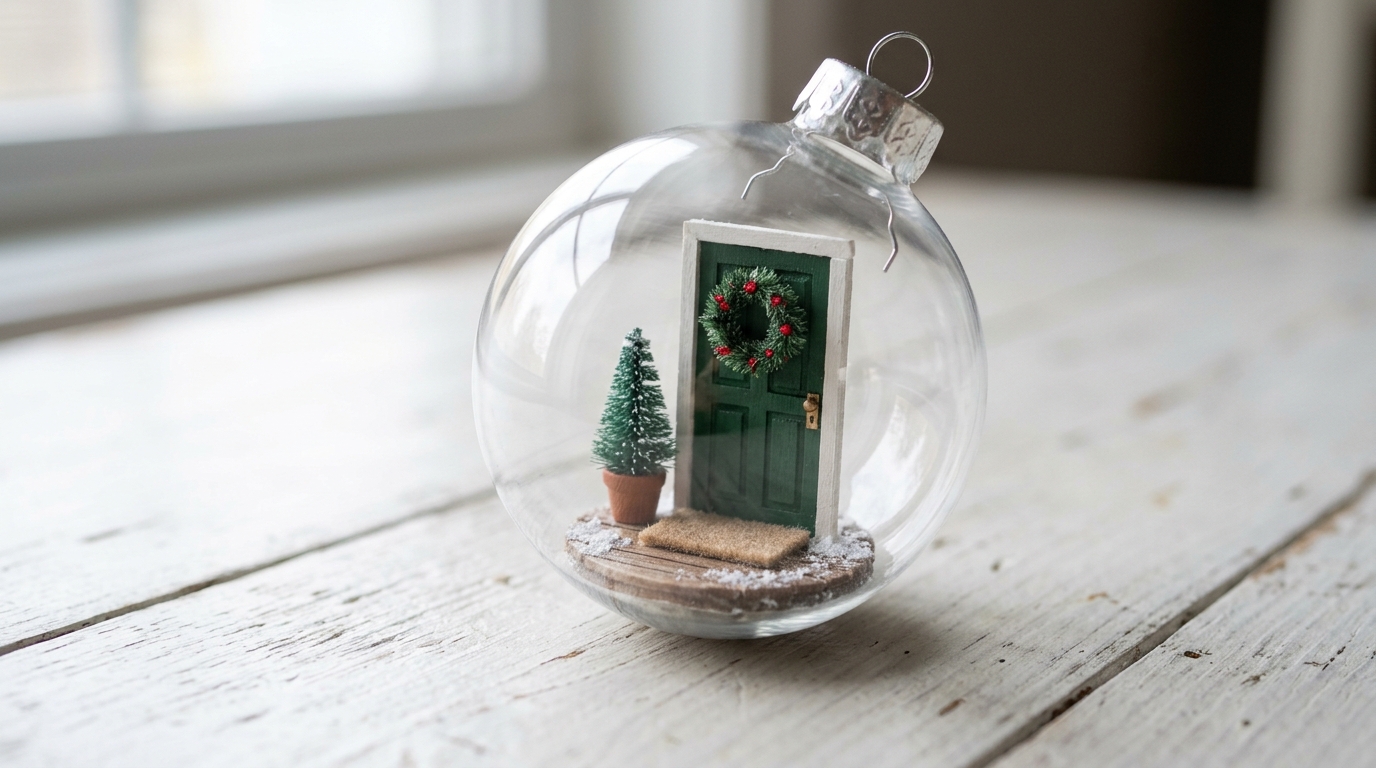
Diorama Christmas ornaments make a perfect gift for someone who just moved, and a tiny front door says it best. Paint a small piece of wood in the same color as their real door and add a mini wreath. A blank felt mat and a potted tree make it feel like home. Write the year on the back of the cap with a fine marker, and you have a gift to match our personalized Christmas ornaments.
You will need: Large clear ornament, a small wood scrap, acrylic paint, a mini wreath, a felt scrap, a tiny potted tree, craft glue, a fine marker.
How to make it: 1. Paint the wood scrap as a door and glue on a tiny bead knob. 2. Glue the wreath on the door and set it on a felt mat base with the tree beside it. 3. Slide it in, close the cap and add the year on the back.