DIY Christmas Village: 14 Tiny Glowing Houses You Can Build From Cardboard and Popsicle Sticks
A DIY Christmas village brings back that magic feeling of pressing your nose to a toy shop window as a child. Store bought village pieces can cost a small fortune, one little house at a time. But you can build a whole glowing town from things you already have: cereal boxes, milk cartons, popsicle sticks and a bag of cotton batting. Add a few battery LED lights and the windows glow just like the real thing. It is a wonderful project to make over a few cozy evenings, alone with a cup of cocoa or with the whole family around the table. Here are 14 houses, scenes and simple tricks to build a village you will want to set out every single year..
DIY Christmas Village That Glows on the Sideboard
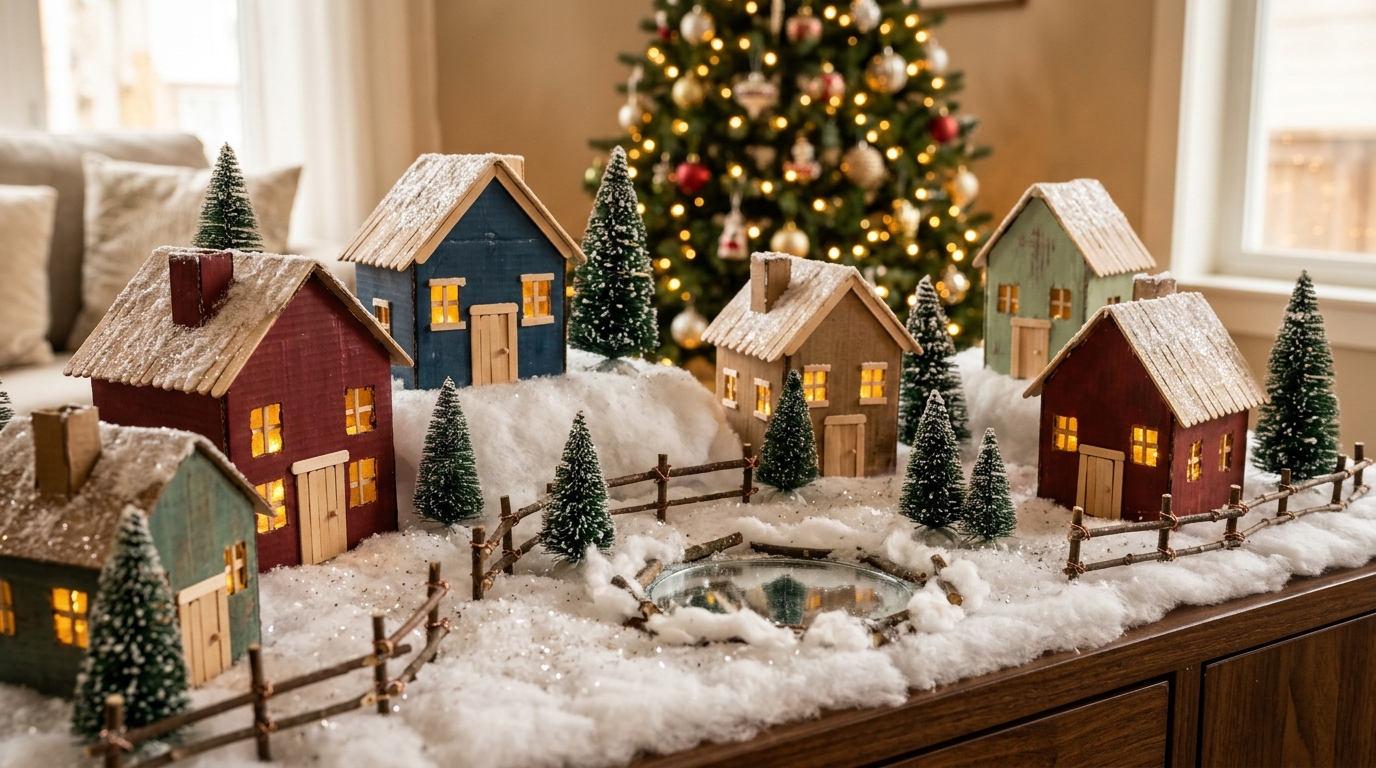
Picture this on your sideboard: a row of little handmade houses with warm glowing windows, tiny trees, a frozen pond and soft snow all around. A DIY Christmas village like this looks like a collector set, but it is mostly cardboard, sticks and glue. Start with three or four houses in different heights, then add trees, a fence and a pond to tie the scene together. Each year you can add one more building. How many houses would your village start with..
You will need: Cardboard, popsicle sticks, white glue, acrylic paint, battery LED tea lights or fairy lights, cotton batting, bottle brush trees, a small mirror.
How to make it: 1. Build three or four houses from the ideas below. 2. Lay cotton batting on the shelf as a snowy base. 3. Arrange the houses, then add trees, a fence and a mirror pond in front.
Cardboard Cottage With a Glowing Window
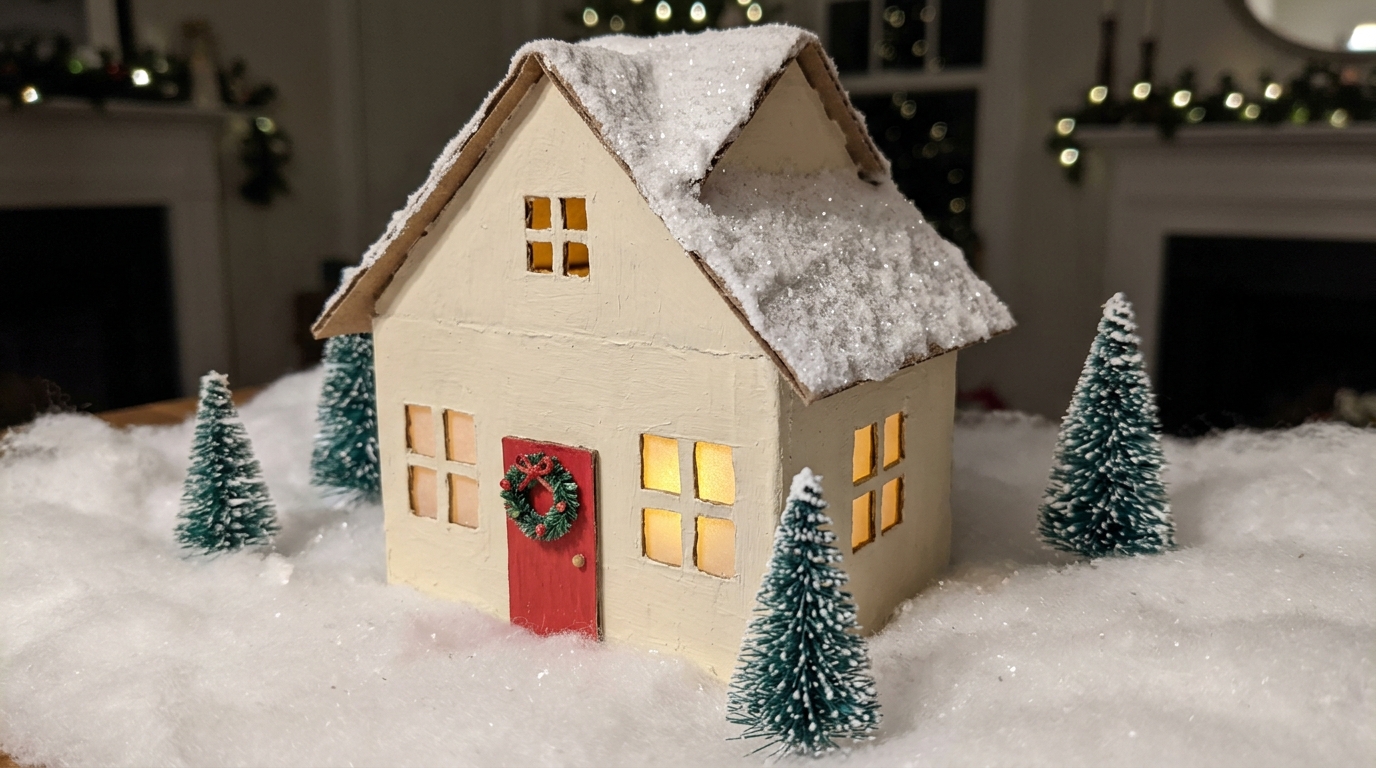
The classic cardboard cottage is where every village begins. Draw a simple house shape on a cereal box or shipping box, cut out the windows and fold it into a little building. Glue vellum or tracing paper behind the windows so the light glows soft and warm. Paint it cream with a red door and top the roof with glue and white glitter. Slip a battery LED tea light inside and watch it come alive. Would you paint yours cream, red or soft green?
You will need: Thin cardboard, pencil, ruler, craft knife with adult help, vellum or tracing paper, white glue, acrylic paint, white glitter, battery LED tea light.
How to make it: 1. Draw the walls and roof as one flat pattern, cut it out and cut the windows. 2. Glue vellum behind the windows, fold the house and glue the tabs. 3. Paint it, add a glitter roof and set an LED tea light inside.
Popsicle Stick Log Cabin
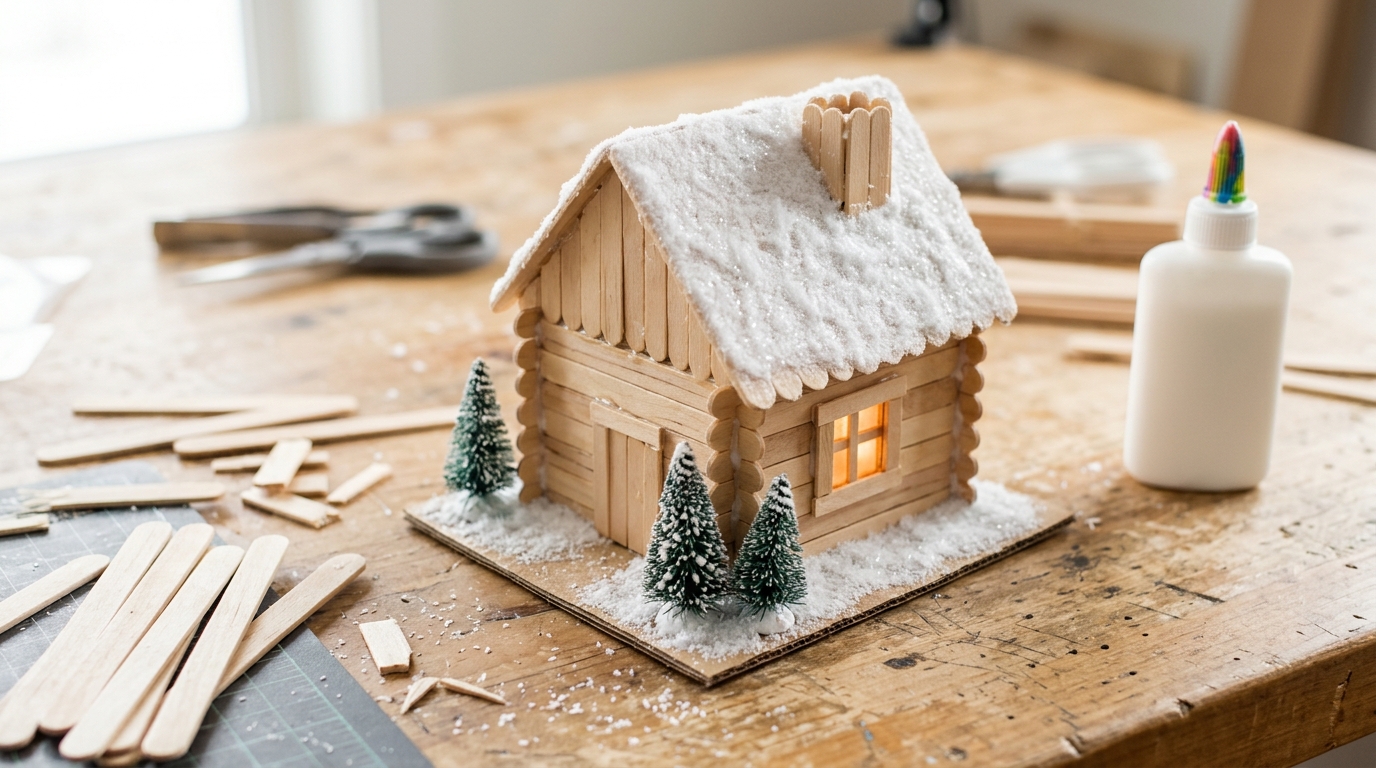
Popsicle sticks stack just like tiny logs, which makes them perfect for a cozy cabin. Glue them in a crisscross pattern for the walls, leave a gap for a window, and lay more sticks across for a peaked roof. A dab of white paint and fake snow on top makes it look freshly snowed in. This one is so fun that people have watched popsicle stick houses come together hundreds of thousands of times. Would you leave the wood natural or stain it darker?
You will need: A pack of popsicle sticks and craft sticks, wood glue, small scissors or snips, white paint, fake snow, a battery LED light.
How to make it: 1. Glue sticks in a square, crisscrossing the corners like logs, until the walls are about 3 inches high. 2. Glue two long sticks in a peak and cover them with shorter sticks for the roof. 3. Dab the roof with white paint and snow and place an LED light inside.
Milk Carton Houses for a DIY Christmas Village
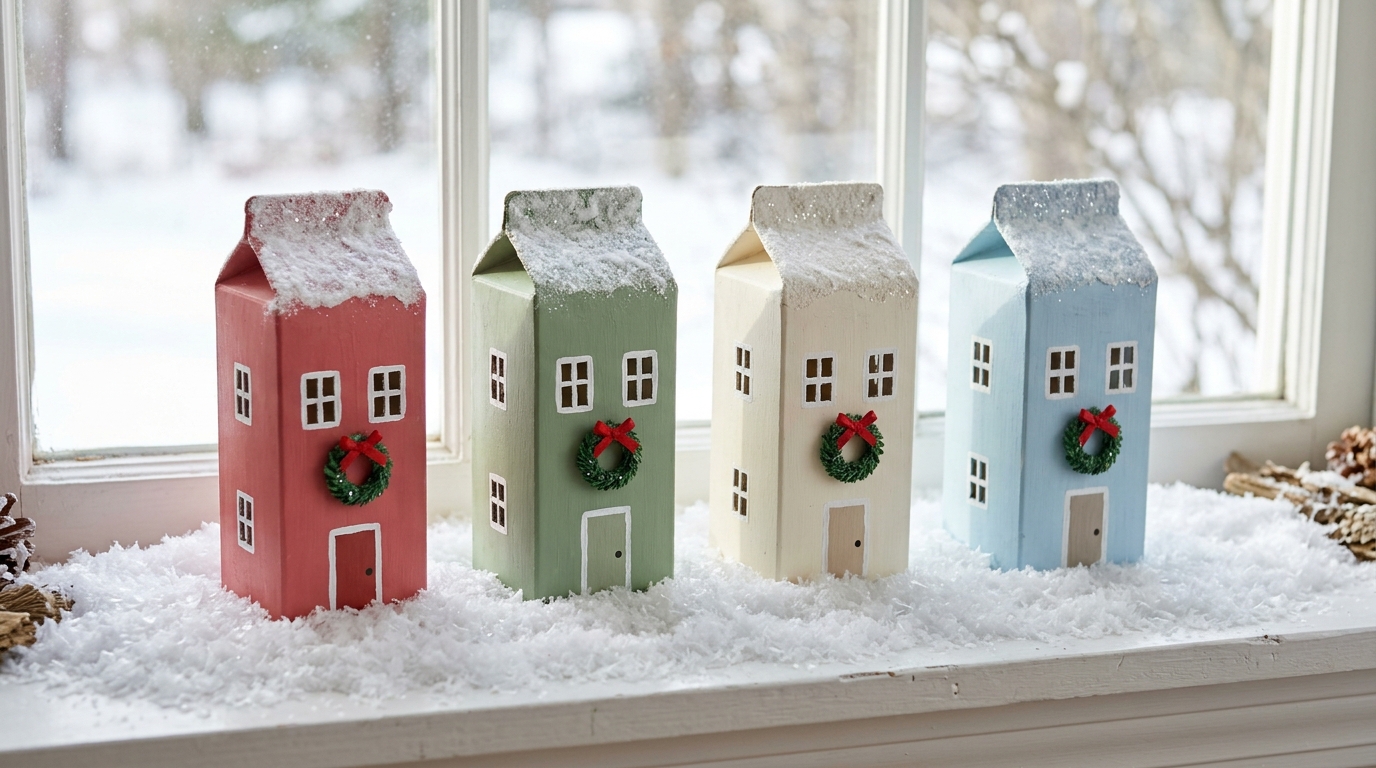
Empty milk and juice cartons already have the perfect pointed roof, so half the work is done. Wash them out, wrap them in paper or paint them, and add white window frames and little doors with a paint pen. Line up four or five in soft colors and you get a sweet row of townhouses for your DIY Christmas village. They are light, free and great for little helpers. Ask the family to save cartons for a couple of weeks. What colors would your street be?
You will need: Clean empty milk or juice cartons, primer or white paper, acrylic paint, white paint pen, glue, glitter, tiny wreaths or beads.
How to make it: 1. Rinse and dry the cartons, then prime or wrap them in paper. 2. Paint each one a different soft color and add windows and doors with a paint pen. 3. Glue glitter on the roofs and add a tiny wreath on each door.
Cereal Box Church With a Steeple
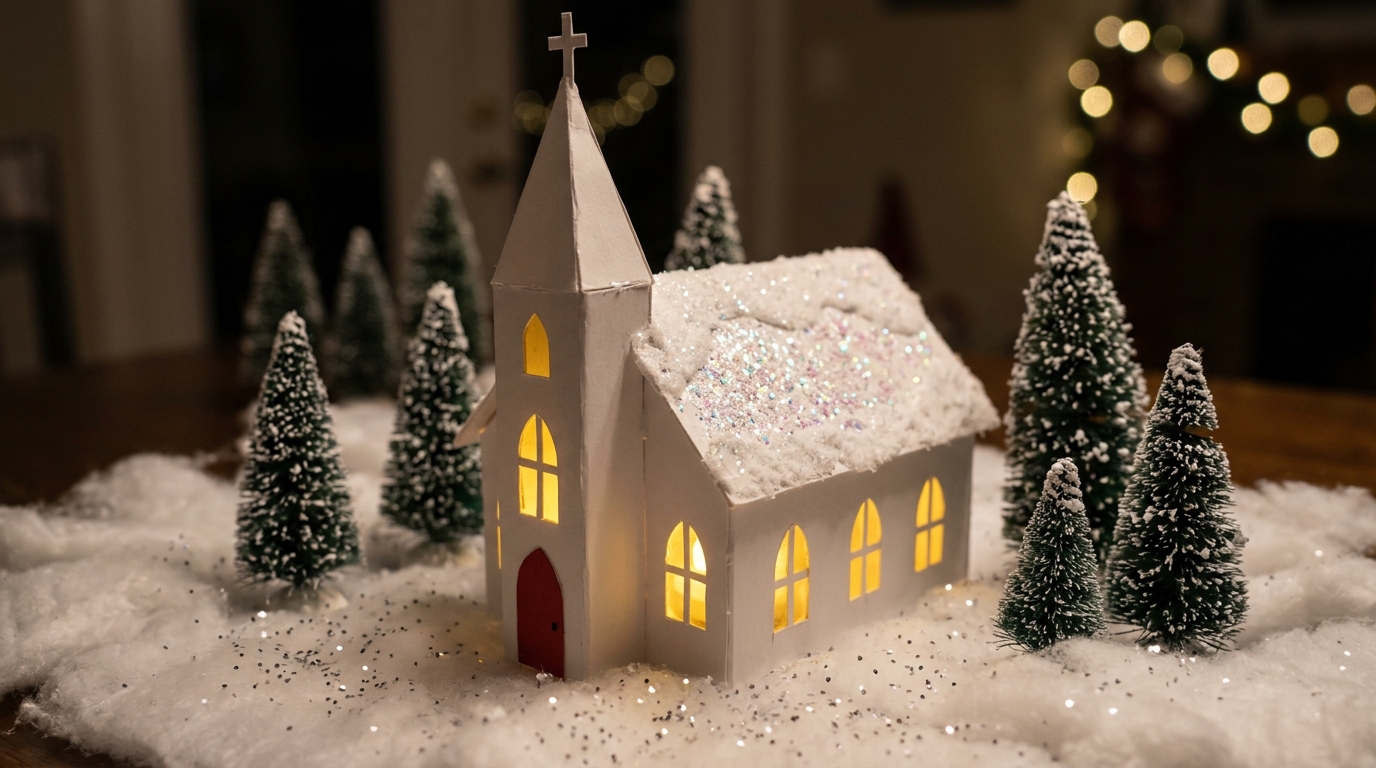
Every village needs a little white church in the middle. A tall cereal box makes the main building, and a paper towel roll or a folded cone of card becomes the steeple. Cover it in white paper, cut arched windows and back them with yellow tissue paper so they glow like stained glass. A red door and a dusting of glitter snow finish it off. It becomes the centerpiece the rest of the houses gather around. Would your church have one steeple or two?
You will need: A cereal box, white paper, a paper towel roll or card for the steeple, yellow tissue paper, glue, craft knife with adult help, red paint, glitter, LED light.
How to make it: 1. Cover the box in white paper and cut arched windows. 2. Glue yellow tissue behind the windows and add a peaked roof and steeple from card. 3. Paint the door red, add glitter snow and place an LED inside.
Air Dry Clay Mini Houses
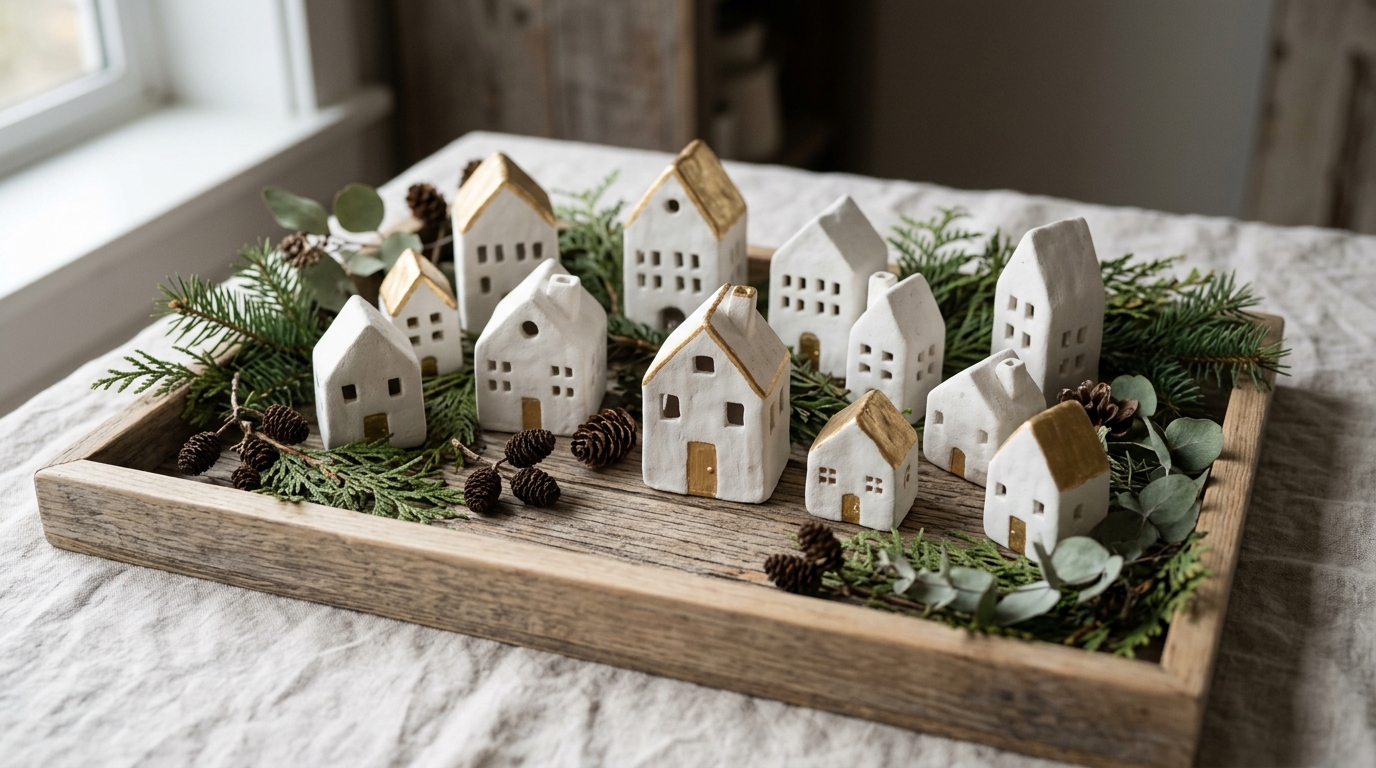
For a modern, Scandinavian look, try tiny houses made from white air dry clay. Roll the clay into a thick slab, cut out house shapes and press out little windows and doors with a straw or a small cutter. Once dry, leave them plain white or add a touch of gold paint. They look beautiful grouped on a wooden tray with dried greenery. Some people even pop a tiny LED behind them for a soft glow. Plain white or a little gold?
You will need: White air dry clay, rolling pin, plastic knife, a straw or small cutters, sandpaper, gold paint pen.
How to make it: 1. Roll the clay about half an inch thick and cut out house shapes. 2. Press out windows and doors and smooth the edges with a wet finger. 3. Let them dry for two days, sand lightly and add gold details if you like.
Glittery Paper Putz Houses for a DIY Christmas Village
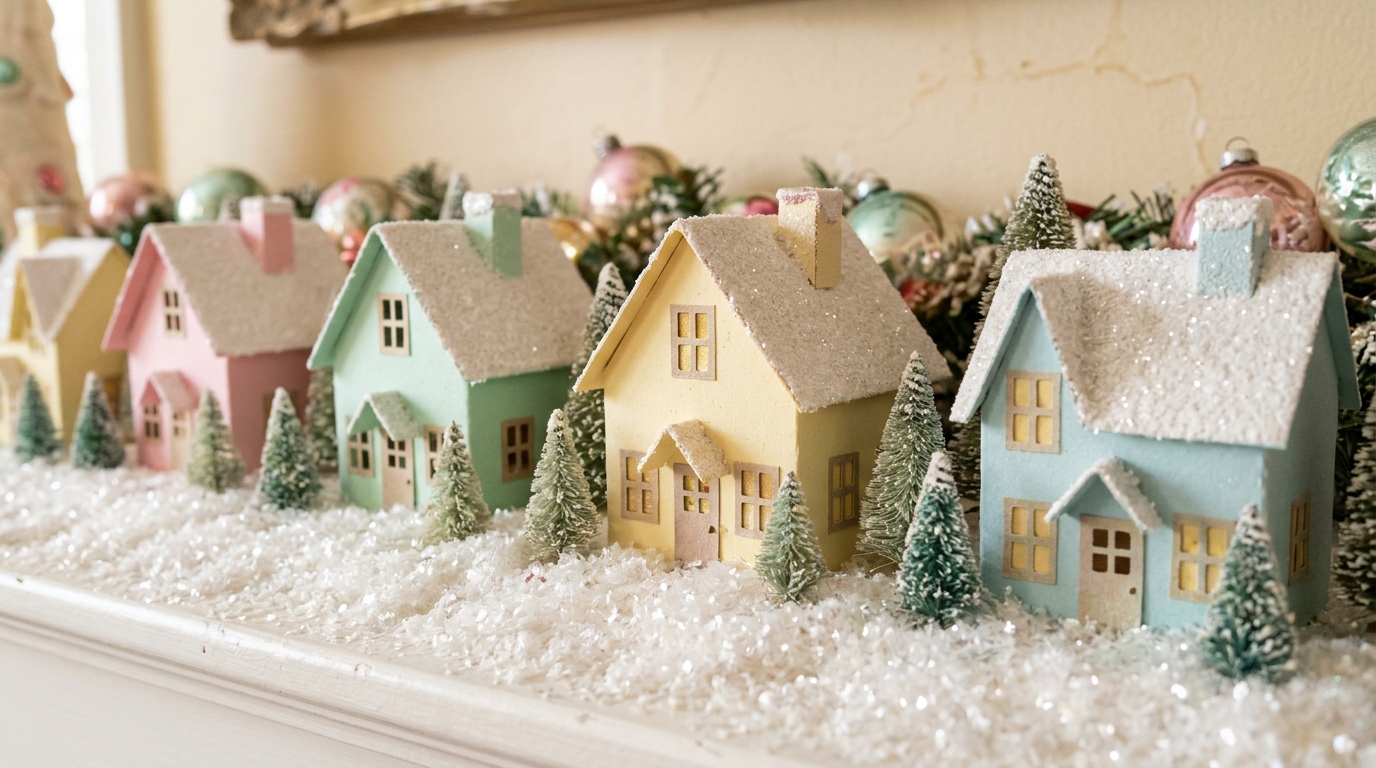
Putz houses are the sweet little paper buildings our grandmothers set under the tree in the 1940s and 50s. You can copy them with colored cardstock, a simple printable pattern and lots of glitter on the roof. Pastel pink, mint and pale yellow look especially vintage. Group them on a bed of sparkly snow with tiny trees in front, and your DIY Christmas village suddenly feels like an heirloom. They are light enough to hang on the tree too. Which pastel would you pick?
You will need: Pastel cardstock, a free putz house template, scissors, glue, white glitter, tiny bottle brush trees, mica flake or glitter snow.
How to make it: 1. Print the template on cardstock and cut it out. 2. Score the fold lines, fold the house and glue the tabs. 3. Brush glue on the roof, shake on glitter and set the house on sparkly snow.
Mirror Ice Pond
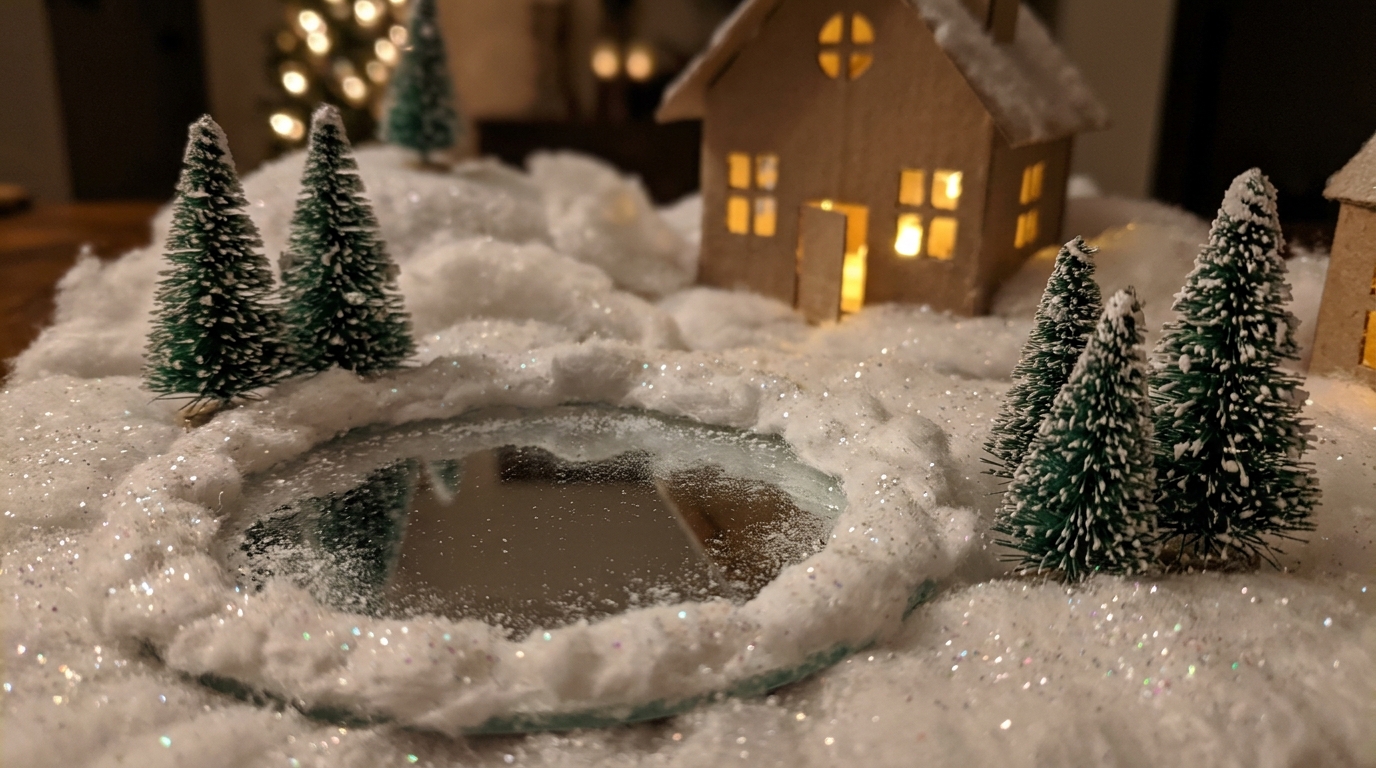
A small round mirror turns into a frozen pond in seconds, and it reflects the glowing windows beautifully. Set it in front of the houses, then hide the edges with cotton snow and a sprinkle of glitter. Add a few small trees around the edge. If you have a tiny bench or a bridge, place it nearby for a storybook look. Craft stores sell little mirrors for under a dollar, or reuse one from an old compact. Where in your village would the pond sit?
You will need: A small round craft mirror, cotton batting, white glitter, mini bottle brush trees.
How to make it: 1. Place the mirror in an open spot in front of the houses. 2. Tuck cotton batting around the edges so no rim shows. 3. Sprinkle glitter on the snow and add trees around the pond.
Backyard Twig Fence
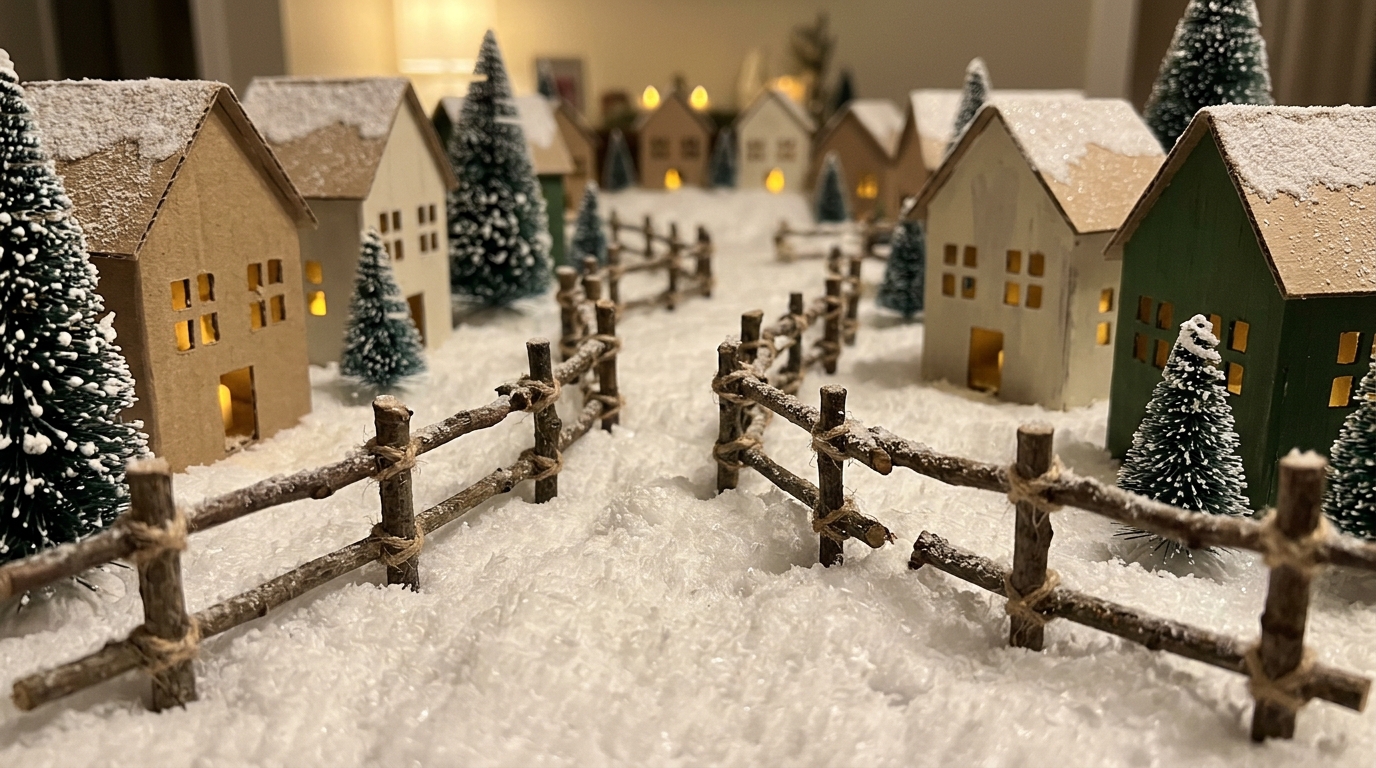
Take a walk around the yard and collect a handful of thin, straight twigs. Snap them into short pieces, tie them with twine or glue them into little fence sections, and you have a rustic fence that winds through the village. It adds so much charm and costs nothing at all. Bend it gently along the path between houses to lead the eye through the scene. Kids love helping gather the twigs. Have you ever made decor from things you found outside?
You will need: Thin dry twigs, garden snips, thin twine or hot glue with adult help, a ruler.
How to make it: 1. Cut twigs into 2 inch posts and 4 inch rails. 2. Tie or glue two rails across three posts to make each section. 3. Push the sections into the snow base, joining them along a path.
Village on a Cake Stand
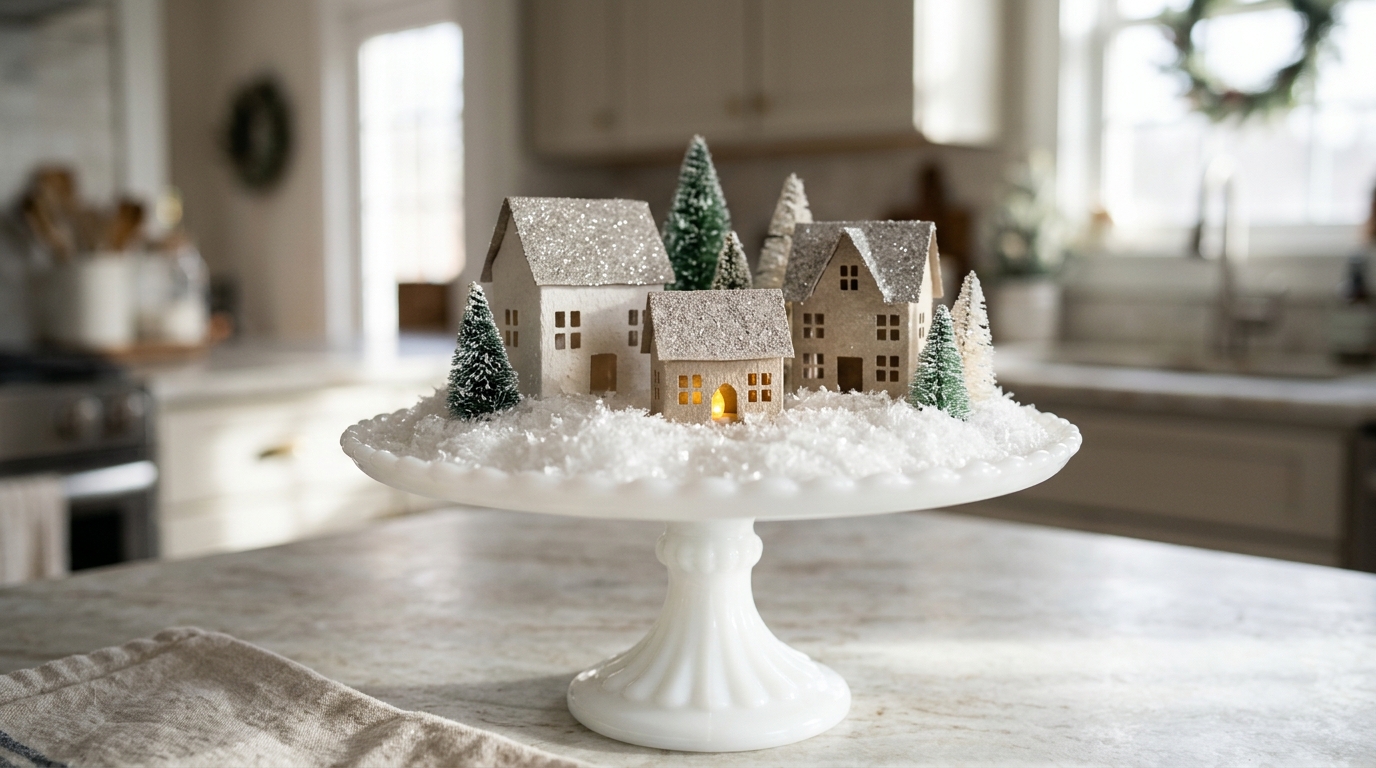
Short on space? Put your village on a cake stand. Three small houses, a few trees and a layer of snow fit perfectly, and the raised stand makes it feel like a special display. It works on a kitchen island, a coffee table or a dining table as a centerpiece. You can move it around easily, and it keeps little pieces safe from pets. Pick a white or glass stand so the colors pop. Which room would get your cake stand village?
You will need: A cake stand, 3 small handmade houses, mini bottle brush trees, fake snow, a battery LED light.
How to make it: 1. Spread a thin layer of fake snow on the stand. 2. Place the tallest house in the middle and the others to each side. 3. Fill the gaps with trees and hide the LED battery behind a house.
Village Under a Glass Cloche

A glass cloche turns one little house from your DIY Christmas village into a precious snow globe style scene. Place a small handmade house on a wooden base, add two tiny trees and some snow, then cover it with the dome. The glass protects it from dust and curious hands, and the light inside glows through. It looks lovely on a bookshelf or a nightstand. Make a few in different sizes for a mantel trio. What would you put under your cloche?
You will need: A glass cloche with a base, one small handmade house, 2 mini trees, fake snow, a small battery LED light.
How to make it: 1. Spread snow on the base. 2. Set the house and trees in place and turn on the LED. 3. Lower the cloche carefully over the scene.
Line a Shelf With Your DIY Christmas Village
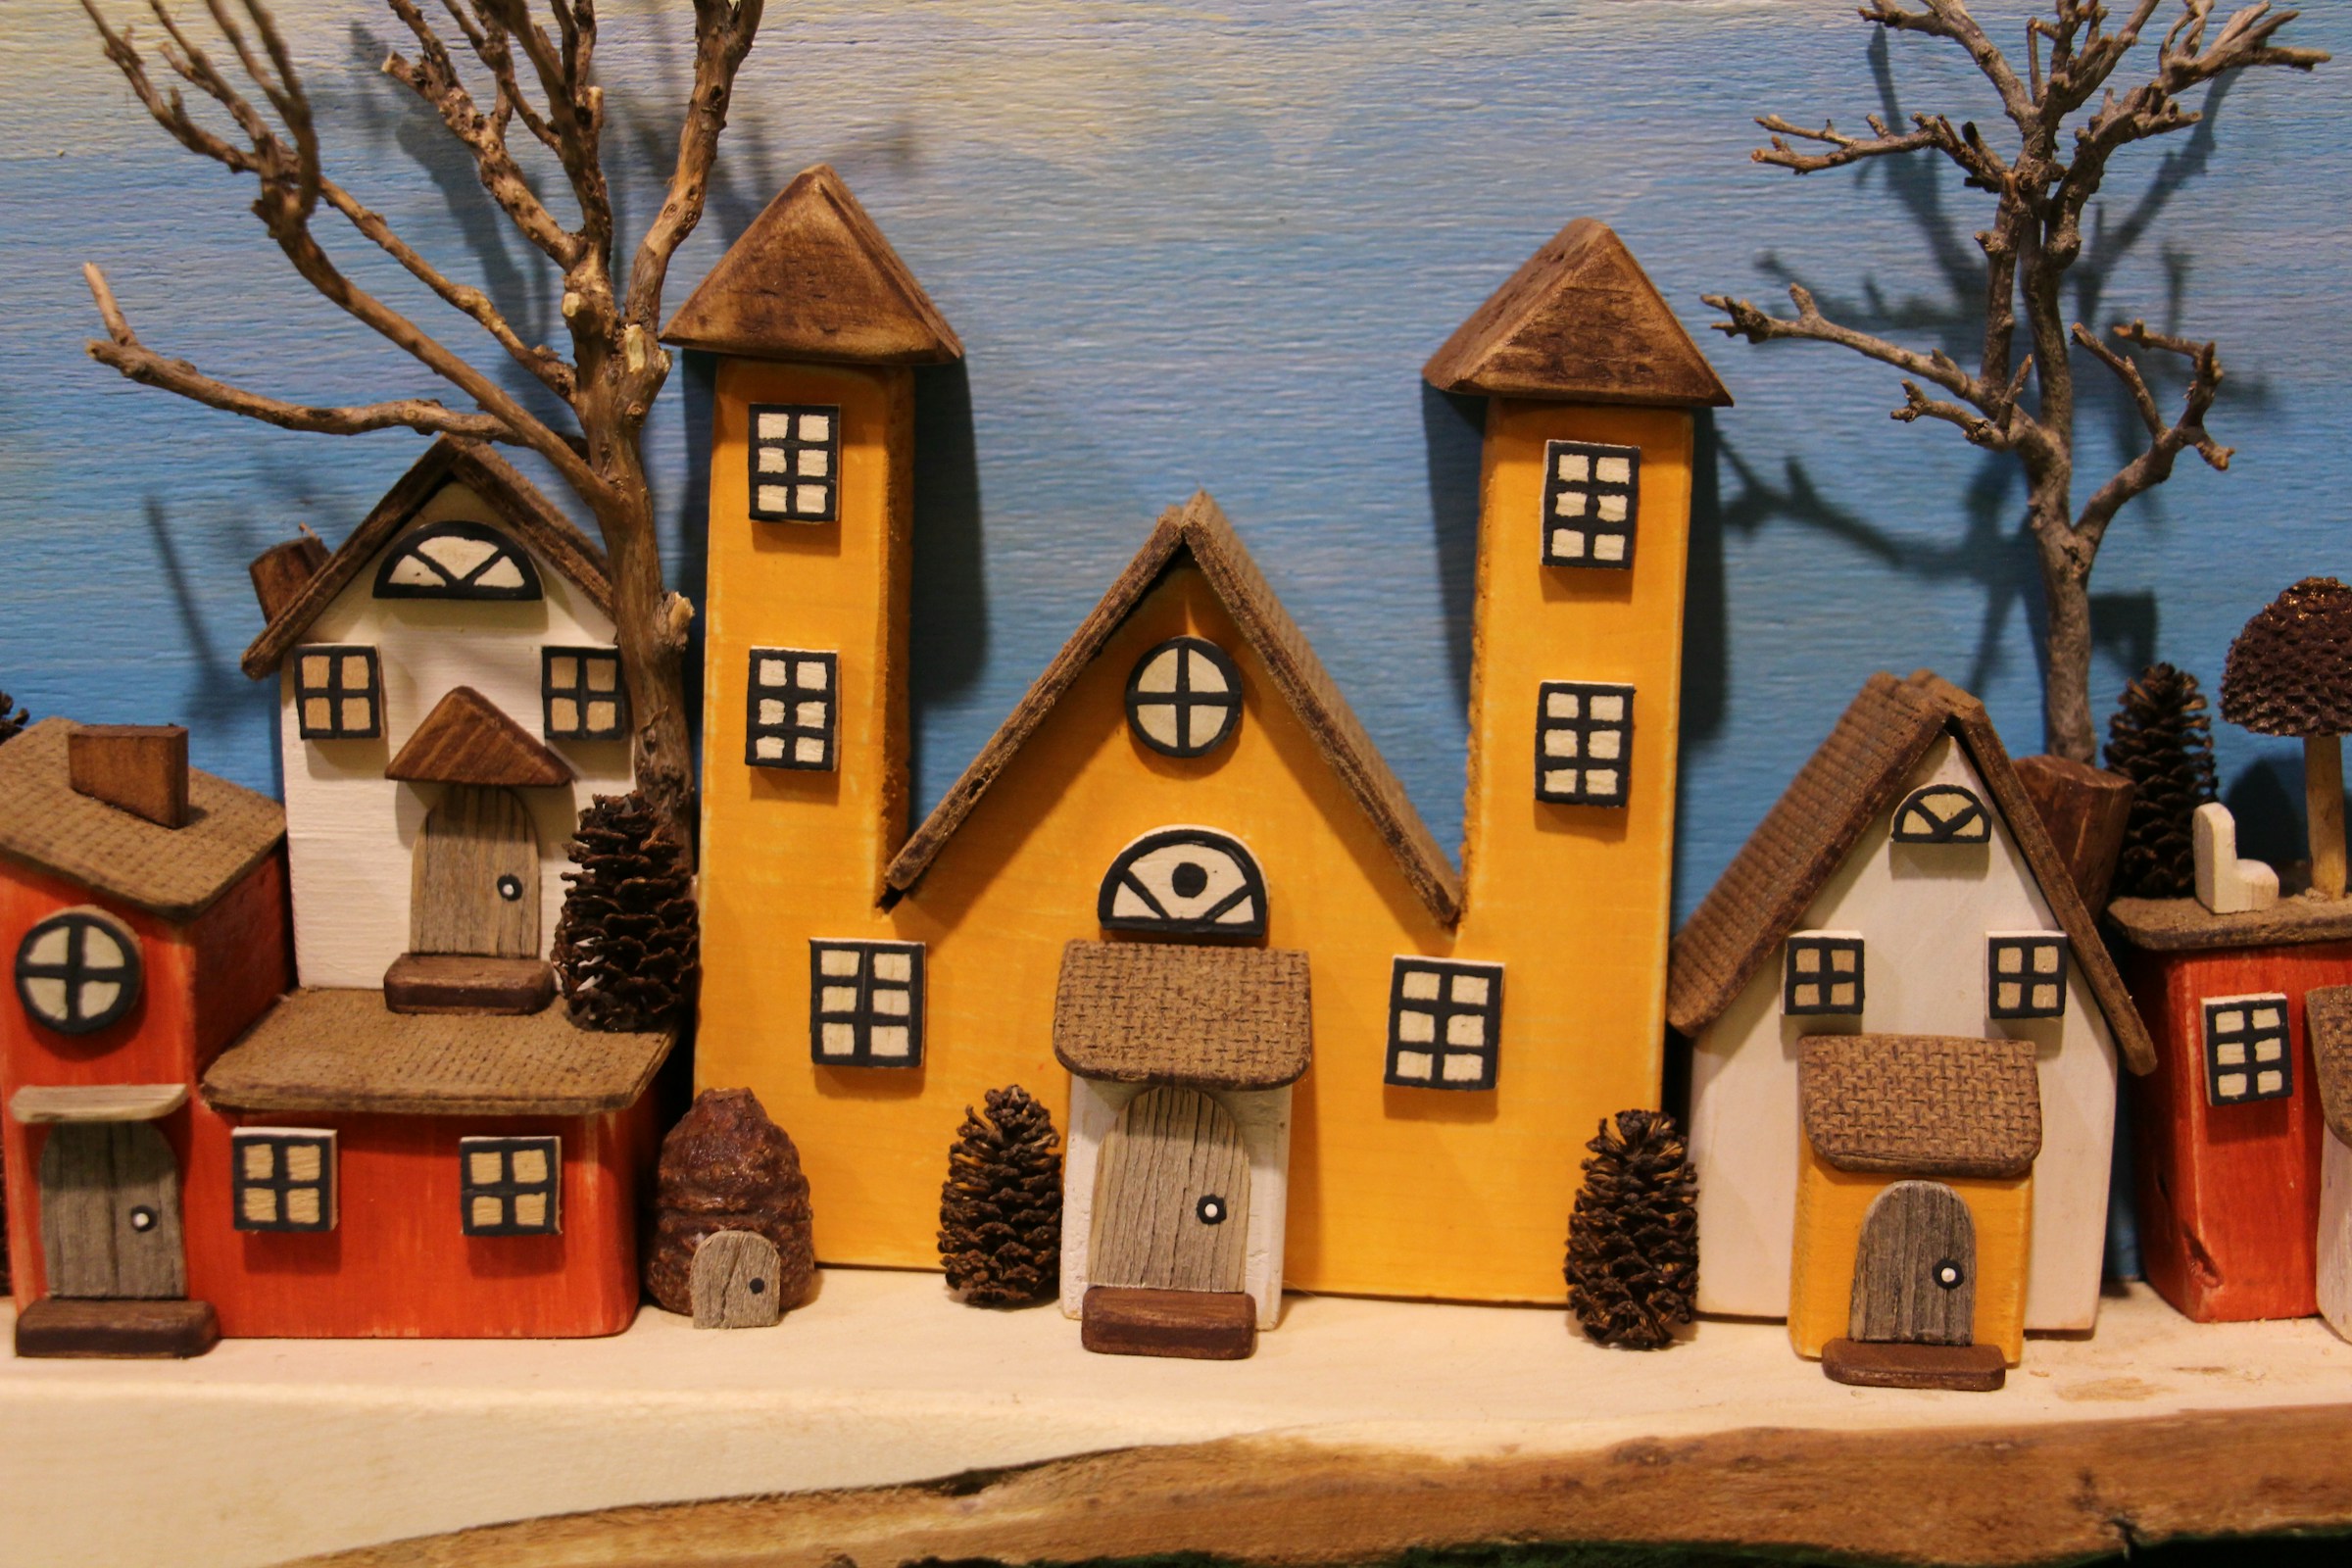
A narrow shelf or windowsill is a perfect stage for a DIY Christmas village. Line up houses of different heights shoulder to shoulder, just like a little European street, and tuck pine cones and bare twigs between them as trees. Bright mustard, red and white houses look cheerful all winter long. Painted wood blocks work too if you want something sturdy enough for little hands. People walking by will stop to look. For more layout secrets, read our Christmas village display tips. Which shelf would you choose?
You will need: Your handmade houses or painted wood blocks, small pine cones, thin bare twigs, a strip of cotton batting, battery LED fairy lights.
How to make it: 1. Lay a strip of batting or a wood board along the shelf. 2. Place the tallest houses in the middle and step down in height to each end. 3. Tuck pine cones and twig trees in the gaps and weave fairy lights behind.
Build Hills With a Stack of Books
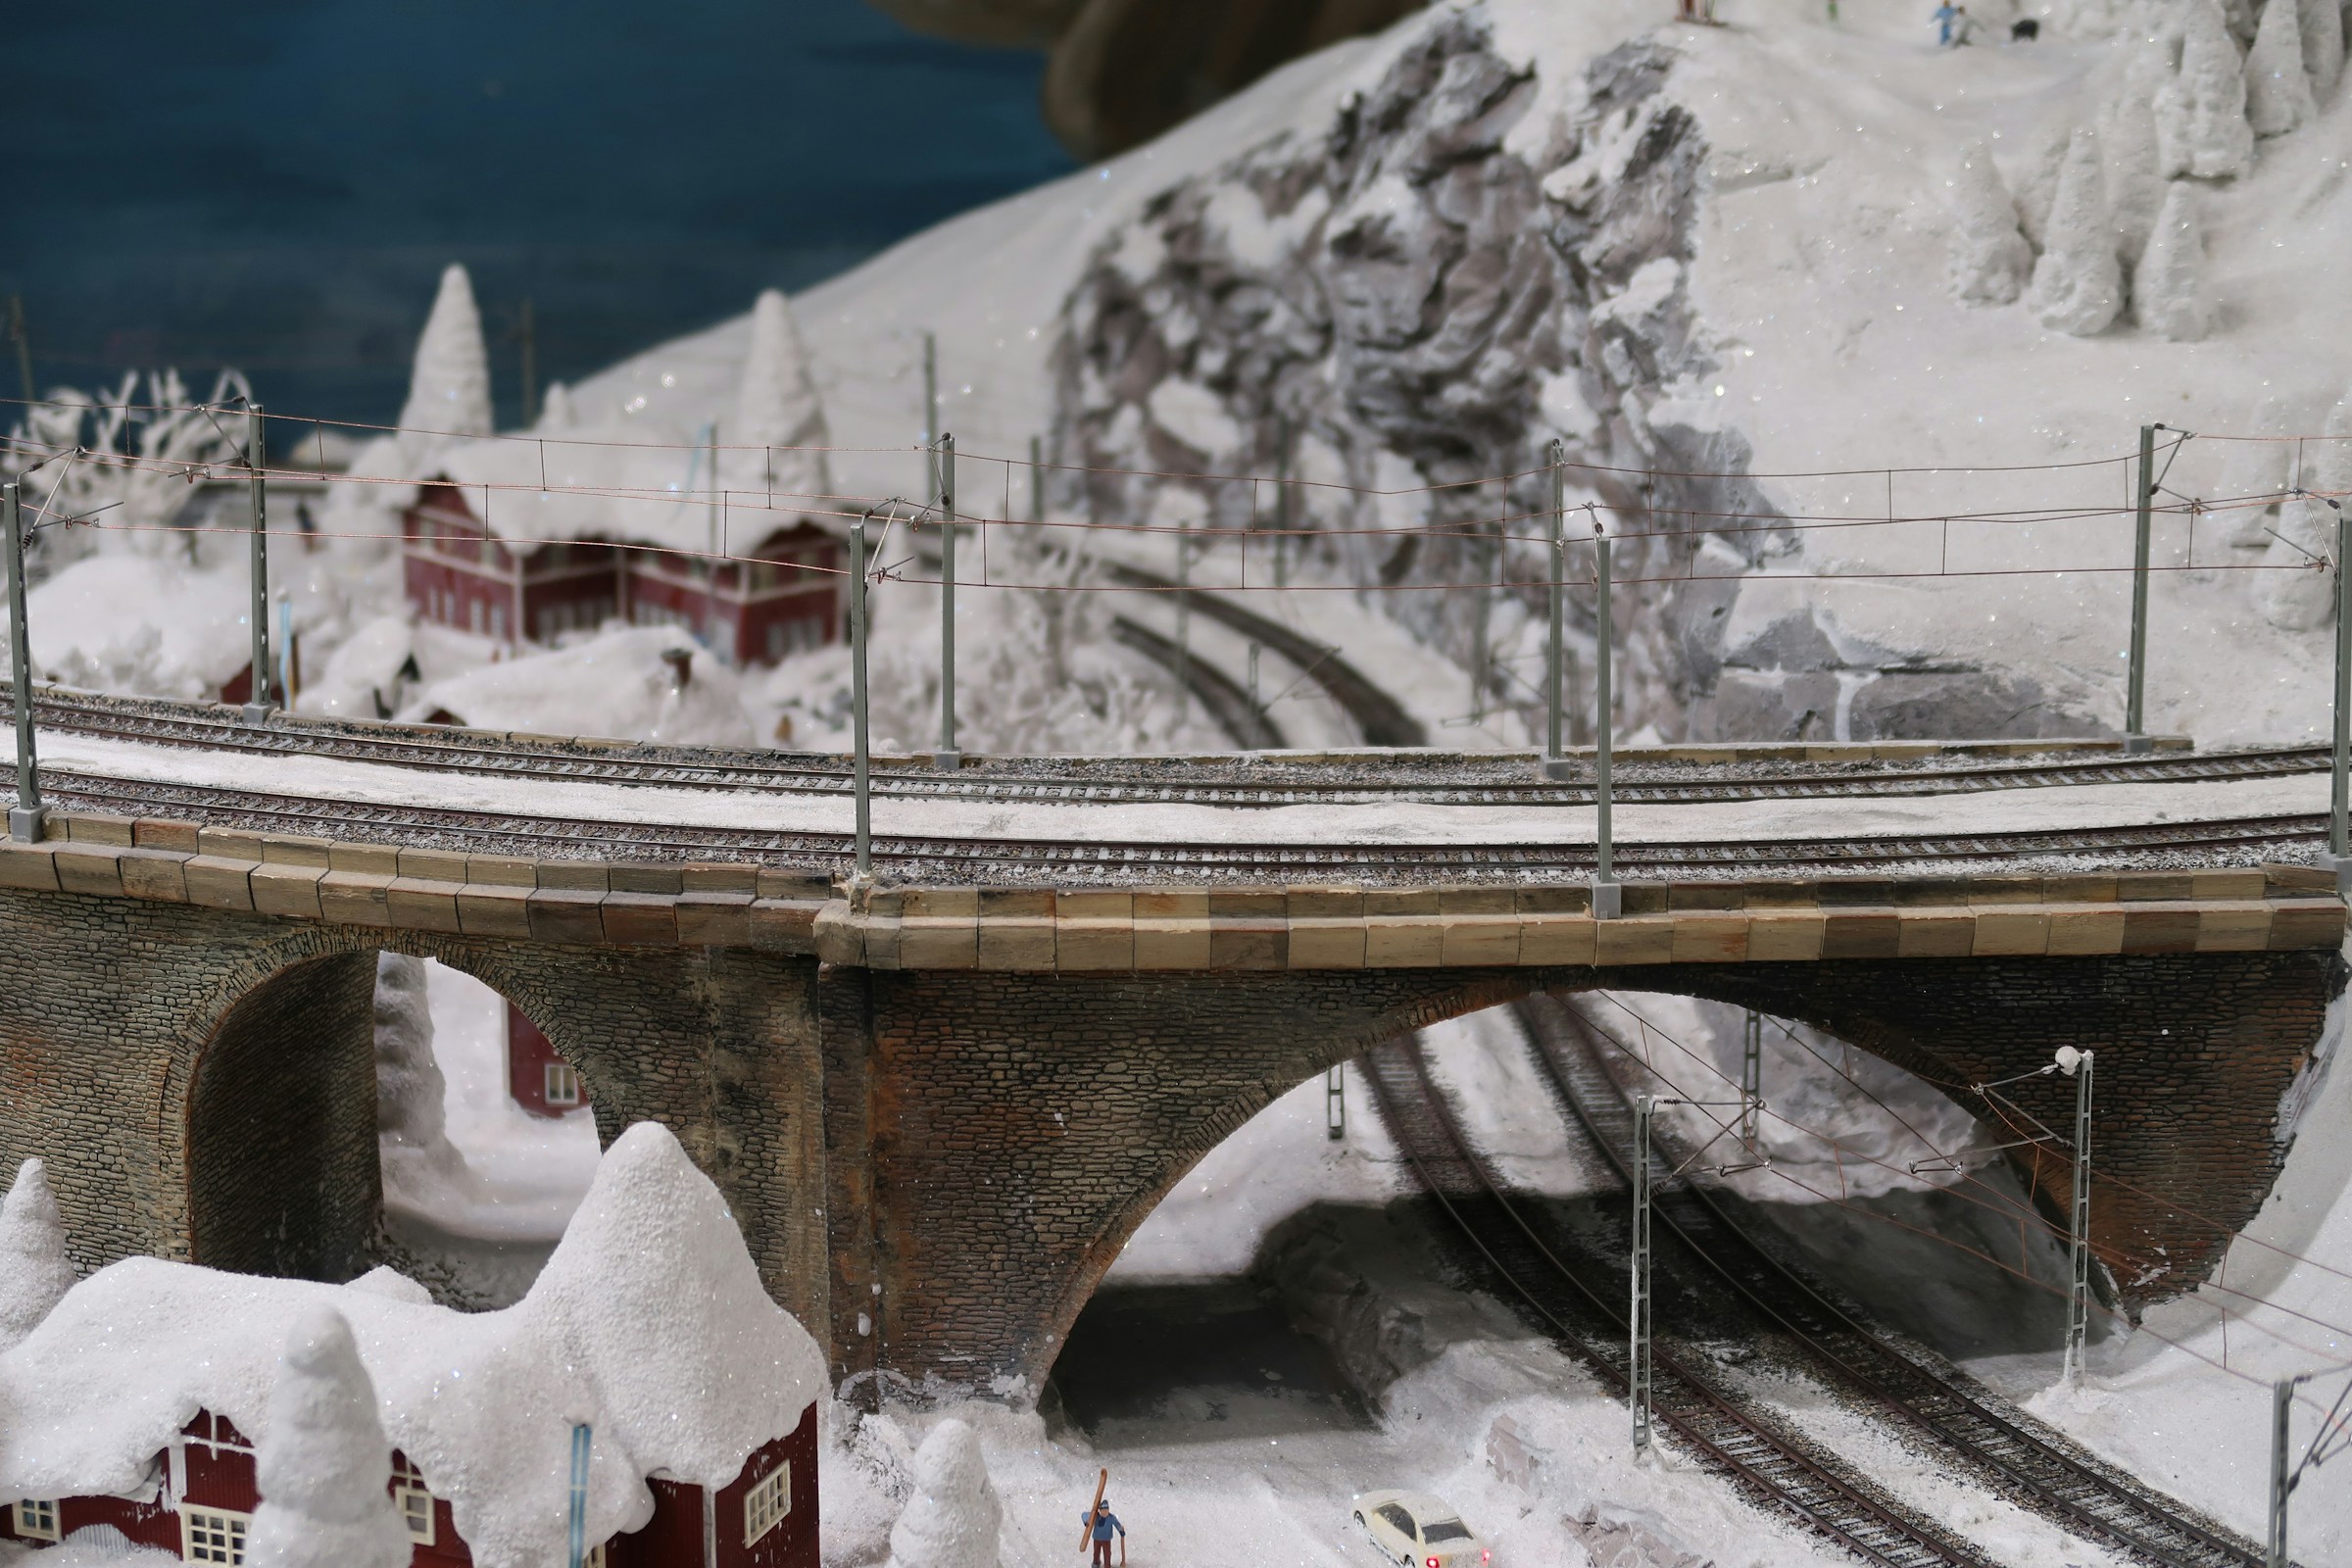
The best village displays have different levels, so every house can be seen, just like this snowy model landscape with its hills and bridge. The trick at home is simple: stack a few books or small boxes under your snow blanket to make hills. Place the tallest buildings at the back on the highest hill and the small houses in front. Suddenly your flat shelf looks like a little mountain town. A paper bridge over a gap adds even more charm. How many levels would your village have?
You will need: Old books or small boxes, a white felt or cotton blanket, your houses, frosted trees, LED lights.
How to make it: 1. Stack books into two or three heights along the back of the shelf. 2. Drape white batting or felt over them to make smooth hills. 3. Place houses on each level, tallest at the back.
Cotton Snow Base for a DIY Christmas Village
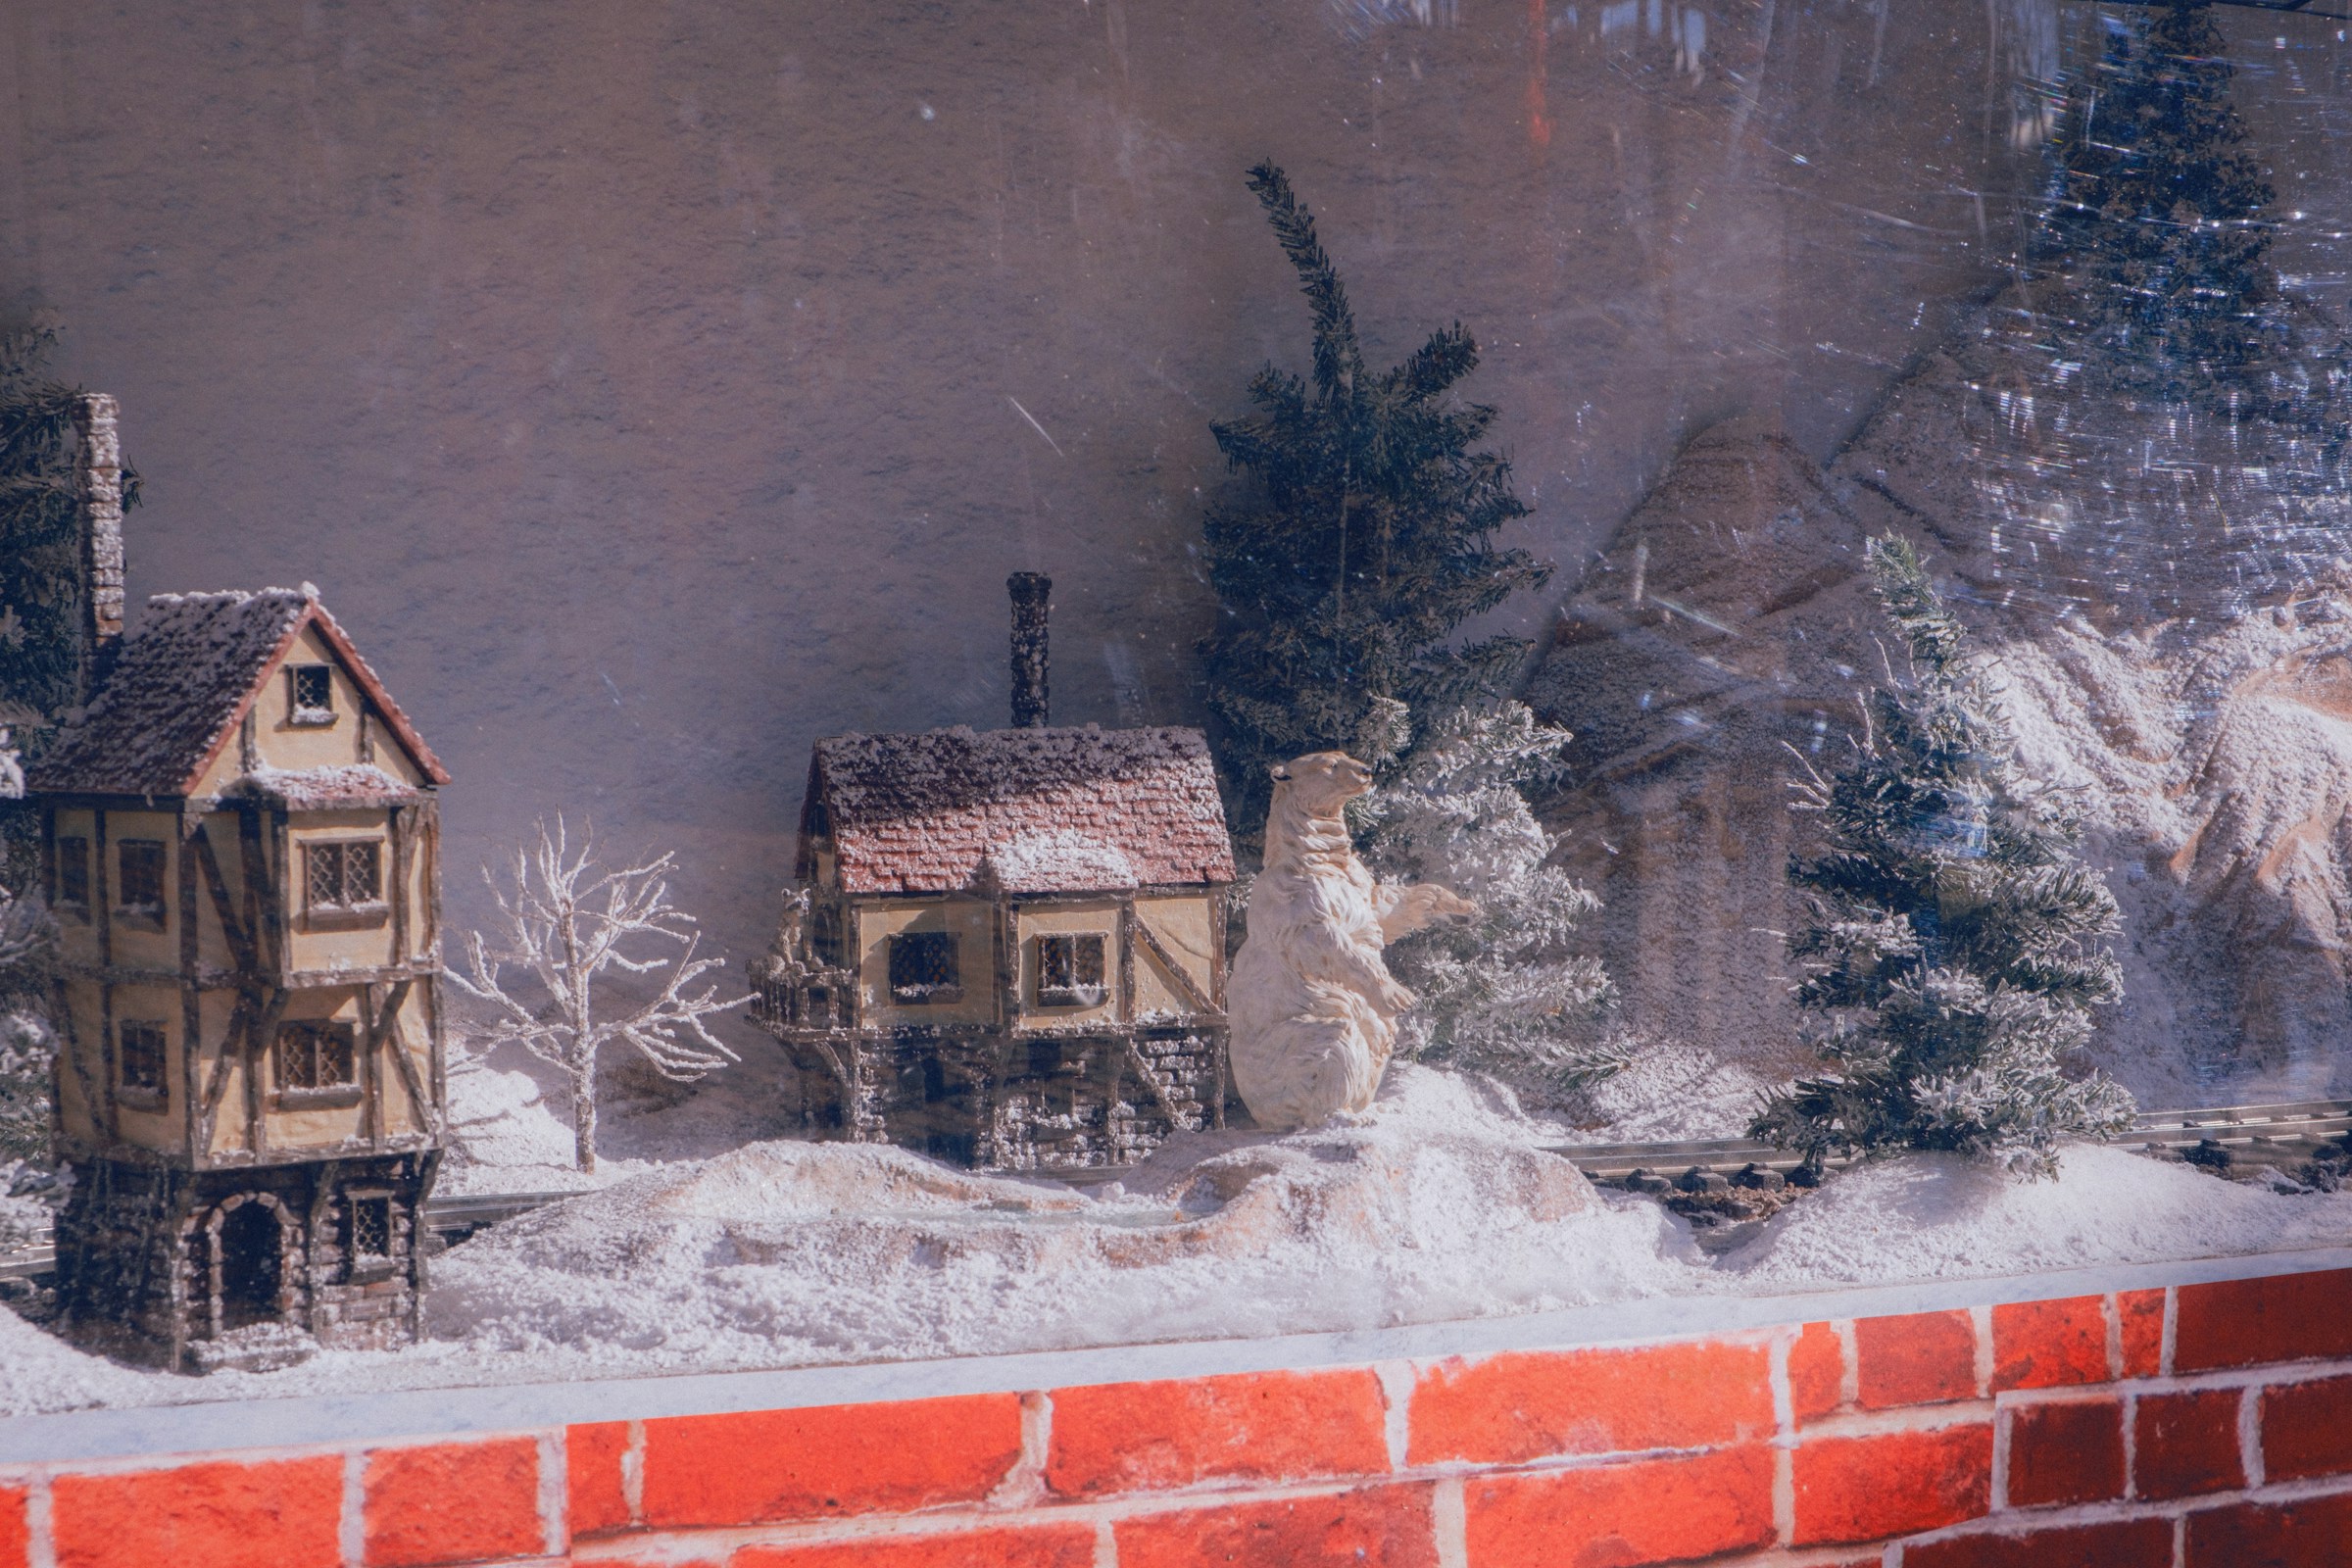
A soft snowy base is the finishing touch that pulls a DIY Christmas village together. Quilt batting or a roll of cotton snow blanket hides cords and makes everything look like it just snowed. Pull it apart a little so it looks fluffy and natural, then sprinkle on some glitter or fake snow flakes. Tuck the LED battery packs under the batting so no wires show. It costs only a few dollars and makes the whole scene feel magical. Ready to let it snow?
You will need: Quilt batting or a cotton snow blanket, fake snow flakes, iridescent glitter, scissors.
How to make it: 1. Lay the batting over your shelf and pull it into soft lumps. 2. Hide cords and battery packs underneath. 3. Sprinkle fake snow and a little glitter on top before setting out the houses.