DIY Christmas Gnomes: 15 Cute Ideas So Sweet You Will Want One in Every Room
DIY Christmas Gnomes have taken over holiday decorating, and it is easy to see why. These chubby little guys with tall hats and fluffy beards look cozy on a mantel, sweet on a shelf and cheerful by the front door. Best of all, you can make them from things you already have, like an old sweater, a plastic bottle, a gift bag or a handful of wine corks. Gnome craft videos are pulling in well over a hundred thousand reactions this season, and families are starting early so they have time to build a whole gnome village. We picked the cutest, easiest and most budget friendly ideas for every skill level. Hot glue makes most of these faster, so keep an adult nearby for that part. Grab your fabric scraps and let us make some gnomes..
DIY Christmas Gnomes Lined Up on the Mantel

A row of gnomes in mixed heights and hats turns a plain mantel into the coziest spot in the house. Mix red, cream and plaid hats, and tuck pine sprigs and berries between them so they look like they are peeking out of a little forest. Battery string lights add a warm glow without any worry. Make one of these DIY Christmas gnomes each week from now until December and you will have a whole family by Christmas Eve. Start with the colors that already match your living room..
You will need: Several handmade gnomes, faux pine garland, faux berries, battery fairy lights.
How to make it: 1. Lay the garland along the mantel. 2. Arrange the gnomes with the tallest in the middle and the smallest at the ends. 3. Weave battery lights through the greenery and switch them on at dusk.
A Chunky Yarn Gnome Everyone Is Copying
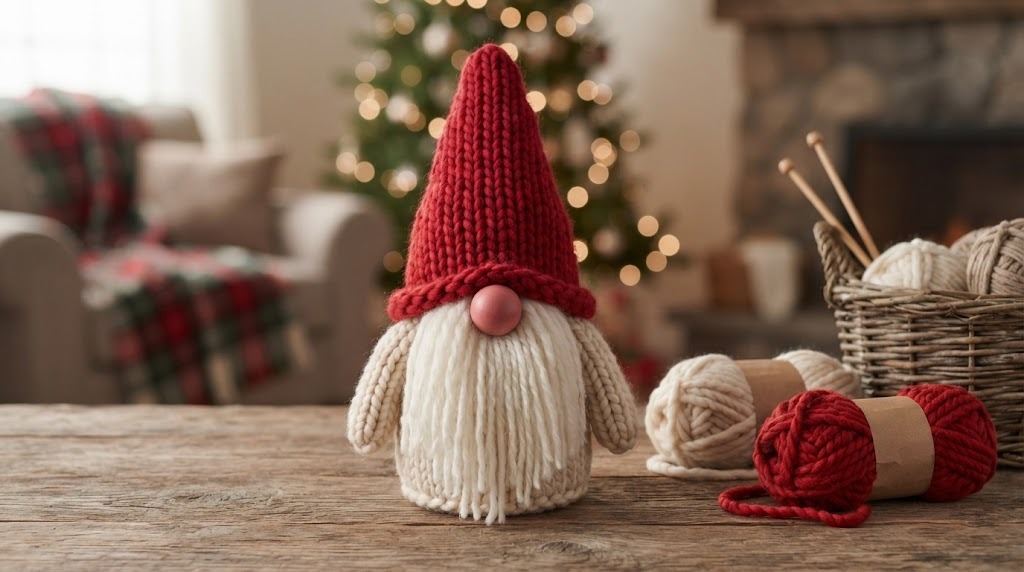
One chunky yarn gnome reel passed a hundred thousand reactions, and once you see it, you will understand why. The beard is made from loops of soft yarn, the hat is a little knit cone, and the body can be a foam cone or a stuffed yarn ball. It looks cozy and handmade in the best way. No knitting skills? Simply wrap yarn around a cardboard cone instead. Yarn is one of the most forgiving materials for DIY Christmas gnomes. Which hat color would you choose?
You will need: Chunky yarn in red and cream, a foam cone, a wooden bead, scissors, a hot glue gun with adult help.
How to make it: 1. Glue loops of cream yarn around the bottom of the cone for the beard. 2. Wrap red yarn around the top for the hat. 3. Glue the bead nose where the hat meets the beard.
Plastic Bottle Gnomes From the Recycling Bin

A gnome made from a plastic bottle passed 157,000 reactions on Facebook Reels, which shows how much people love turning trash into treasure. Small drink bottles make the perfect sturdy body. Wrap them in felt, add a cone hat, glue on a faux fur beard and finish with a wooden bead nose. Pour a little rice inside first so your gnome does not tip over. Who knew recycling could make DIY Christmas gnomes this cute?
You will need: Small clean plastic bottles, felt in red and green, faux fur, wooden beads, rice, a hot glue gun with adult help.
How to make it: 1. Add a little rice to the bottle for weight and screw on the cap. 2. Wrap the bottle in felt and glue a felt cone hat on top. 3. Add a fur beard and a bead nose.
The Classic Sock and Rice Gnome
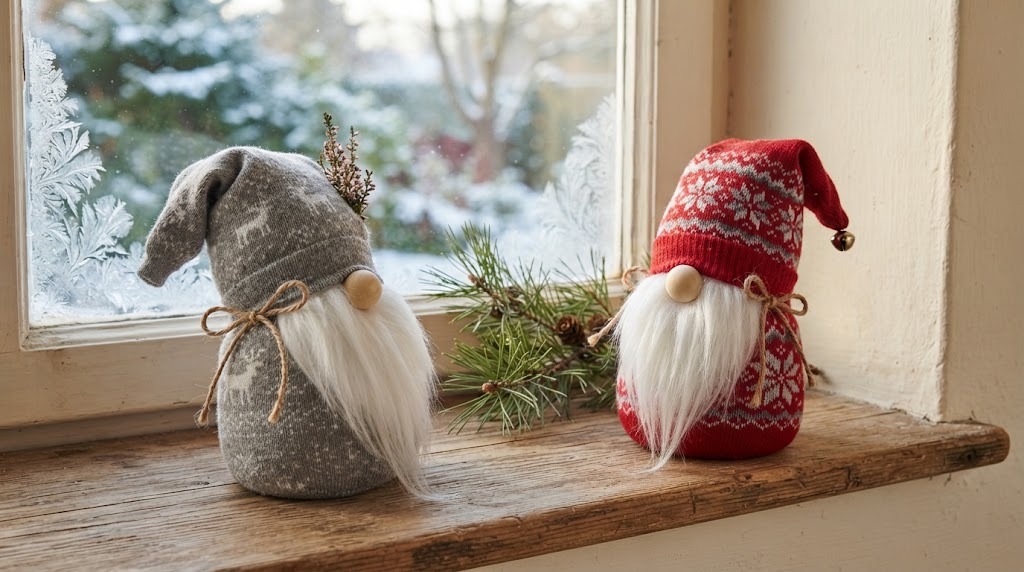
This is the easiest gnome of all and a great first project for kids. Fill a sock with rice, tie it off, and you have a soft, sturdy body that stands on its own. Fold the top of the sock into a hat or add a second sock cuff. A puff of faux fur and a round bead finish the face. Patterned holiday socks make the cutest DIY Christmas gnomes. How many could you make from your sock drawer?
You will need: A clean sock, rice, a rubber band, twine, faux fur, a wooden bead, glue.
How to make it: 1. Fill the bottom of the sock with rice and close it with a rubber band. 2. Fold the top into a pointy hat and tie twine at the base. 3. Glue on a fur beard and a bead nose.
A Giant Gift Bag Gnome

Here is a fun twist: the gift bag becomes the gnome. A paper gift bag gets a felt cone hat on top, a big fluffy beard on the front and a round nose. Slip your present inside, and the wrapping becomes part of the decor. Many people keep the bag out as decoration all season long. DIY Christmas gnomes like this are perfect for teachers, neighbors and grandparents. Who would smile the most at a gnome gift bag?
You will need: A tall paper gift bag, felt, faux fur, a pom pom or wooden bead, tissue paper, glue.
How to make it: 1. Make a felt cone hat that fits over the bag handles. 2. Glue a big fur beard to the front. 3. Add the nose, tuck in tissue and fill the bag with your gift.
Wine Cork Mini Gnomes
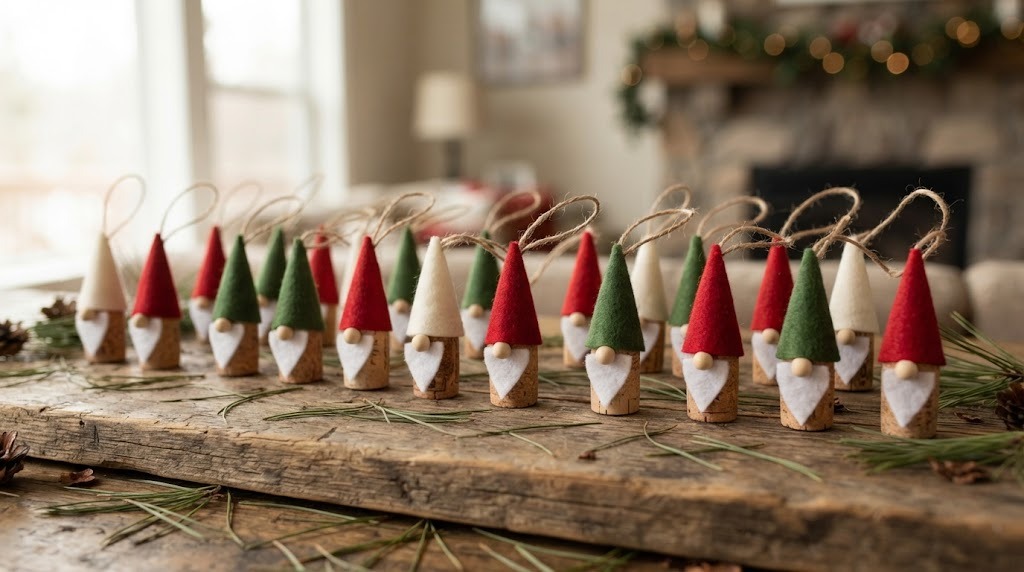
Save your corks, because they turn into the tiniest gnomes. Each cork becomes the body, a small felt cone becomes the hat, and a dab of faux fur makes the beard. Add a twine loop and they become ornaments, or line them up on a tray for a mini gnome village. They are quick to make, so they are great for a craft night with friends. How many corks are hiding in your kitchen drawer?
You will need: Corks, felt scraps, faux fur or white yarn, twine, a hot glue gun with adult help.
How to make it: 1. Cut a small felt triangle, roll it into a cone and glue it on the cork. 2. Glue a tuft of fur just below the hat. 3. Add a twine loop at the top for hanging.
A Dollar Store Funnel Gnome

A plain plastic kitchen funnel already has the perfect gnome hat shape. Flip it upside down, cover it in velvet or felt, and glue a beard underneath. The narrow tip becomes the pointy top of the hat. It is sturdy, quick and costs about a dollar. Make a few DIY Christmas gnomes in different sizes for a kitchen counter display. Would you pick red velvet or buffalo plaid?
You will need: A plastic funnel, velvet or felt fabric, faux fur, a wooden bead, a hot glue gun with adult help.
How to make it: 1. Wrap the funnel in fabric and glue the seam at the back. 2. Glue a fur beard under the wide rim. 3. Add a bead nose and a little pine sprig.
A Tomato Cage Porch Gnome
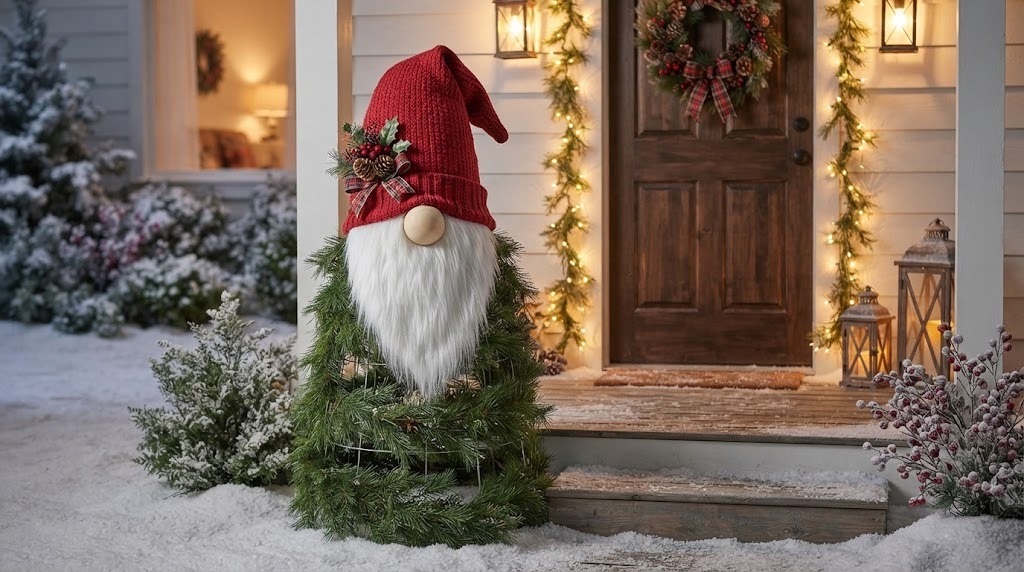
Your garden tomato cage can work all winter. Flip it upside down, wrap it with faux pine garland and top it with a knit hat to make a big porch gnome that greets your guests. A long faux fur beard and a giant pom pom nose finish the look. Add battery string lights for a soft glow at night. Neighbors will definitely slow down to look at DIY Christmas gnomes this big. Will your porch gnome be tall and skinny or short and round?
You will need: A wire tomato cage, faux pine garland, zip ties, a large knit hat or felt, faux fur, a big pom pom, battery string lights.
How to make it: 1. Turn the cage upside down and gather the legs together with a zip tie. 2. Wrap garland around it and secure it with zip ties. 3. Add the hat, beard, nose and battery lights.
A Cozy Sweater Sleeve Gnome

An old sweater sleeve has a built in ribbed cuff that makes a perfect hat brim. Cut the sleeve, fill the bottom part with a bag of rice and some stuffing for the body, and gather the top into a floppy hat. Cable knit and patterned sweaters look especially charming. It is a sweet way to keep a loved sweater in the family a little longer. Do you have a sweater with holes that deserves a second life?
You will need: An old sweater sleeve, fiberfill, rice in a zip bag, rubber bands, faux fur, a wooden bead.
How to make it: 1. Cut a section of sleeve and close one end with a rubber band. 2. Fill it with the bag of rice and some fiberfill, then close the body. 3. Fold the cuff end into a hat and add the beard and nose.
Tiny Gnome Napkin Rings

Tiny gnomes can sit right at your Christmas dinner table. Glue a small felt hat and a puff of beard onto a plain wooden napkin ring, and each place setting gets its own little guest. Use different hat colors so everyone can find their seat, or add a tiny name tag. Like all DIY Christmas gnomes, they pack flat and come out again every year. Will your table be classic red and green or soft neutrals?
You will need: Wooden napkin rings, felt scraps, faux fur, small wooden beads, a hot glue gun with adult help.
How to make it: 1. Cut and glue a small felt cone hat onto each ring. 2. Add a little fur beard under the hat. 3. Glue on a tiny bead nose and slide in a napkin.
DIY Christmas Gnomes for a Frosty Garden
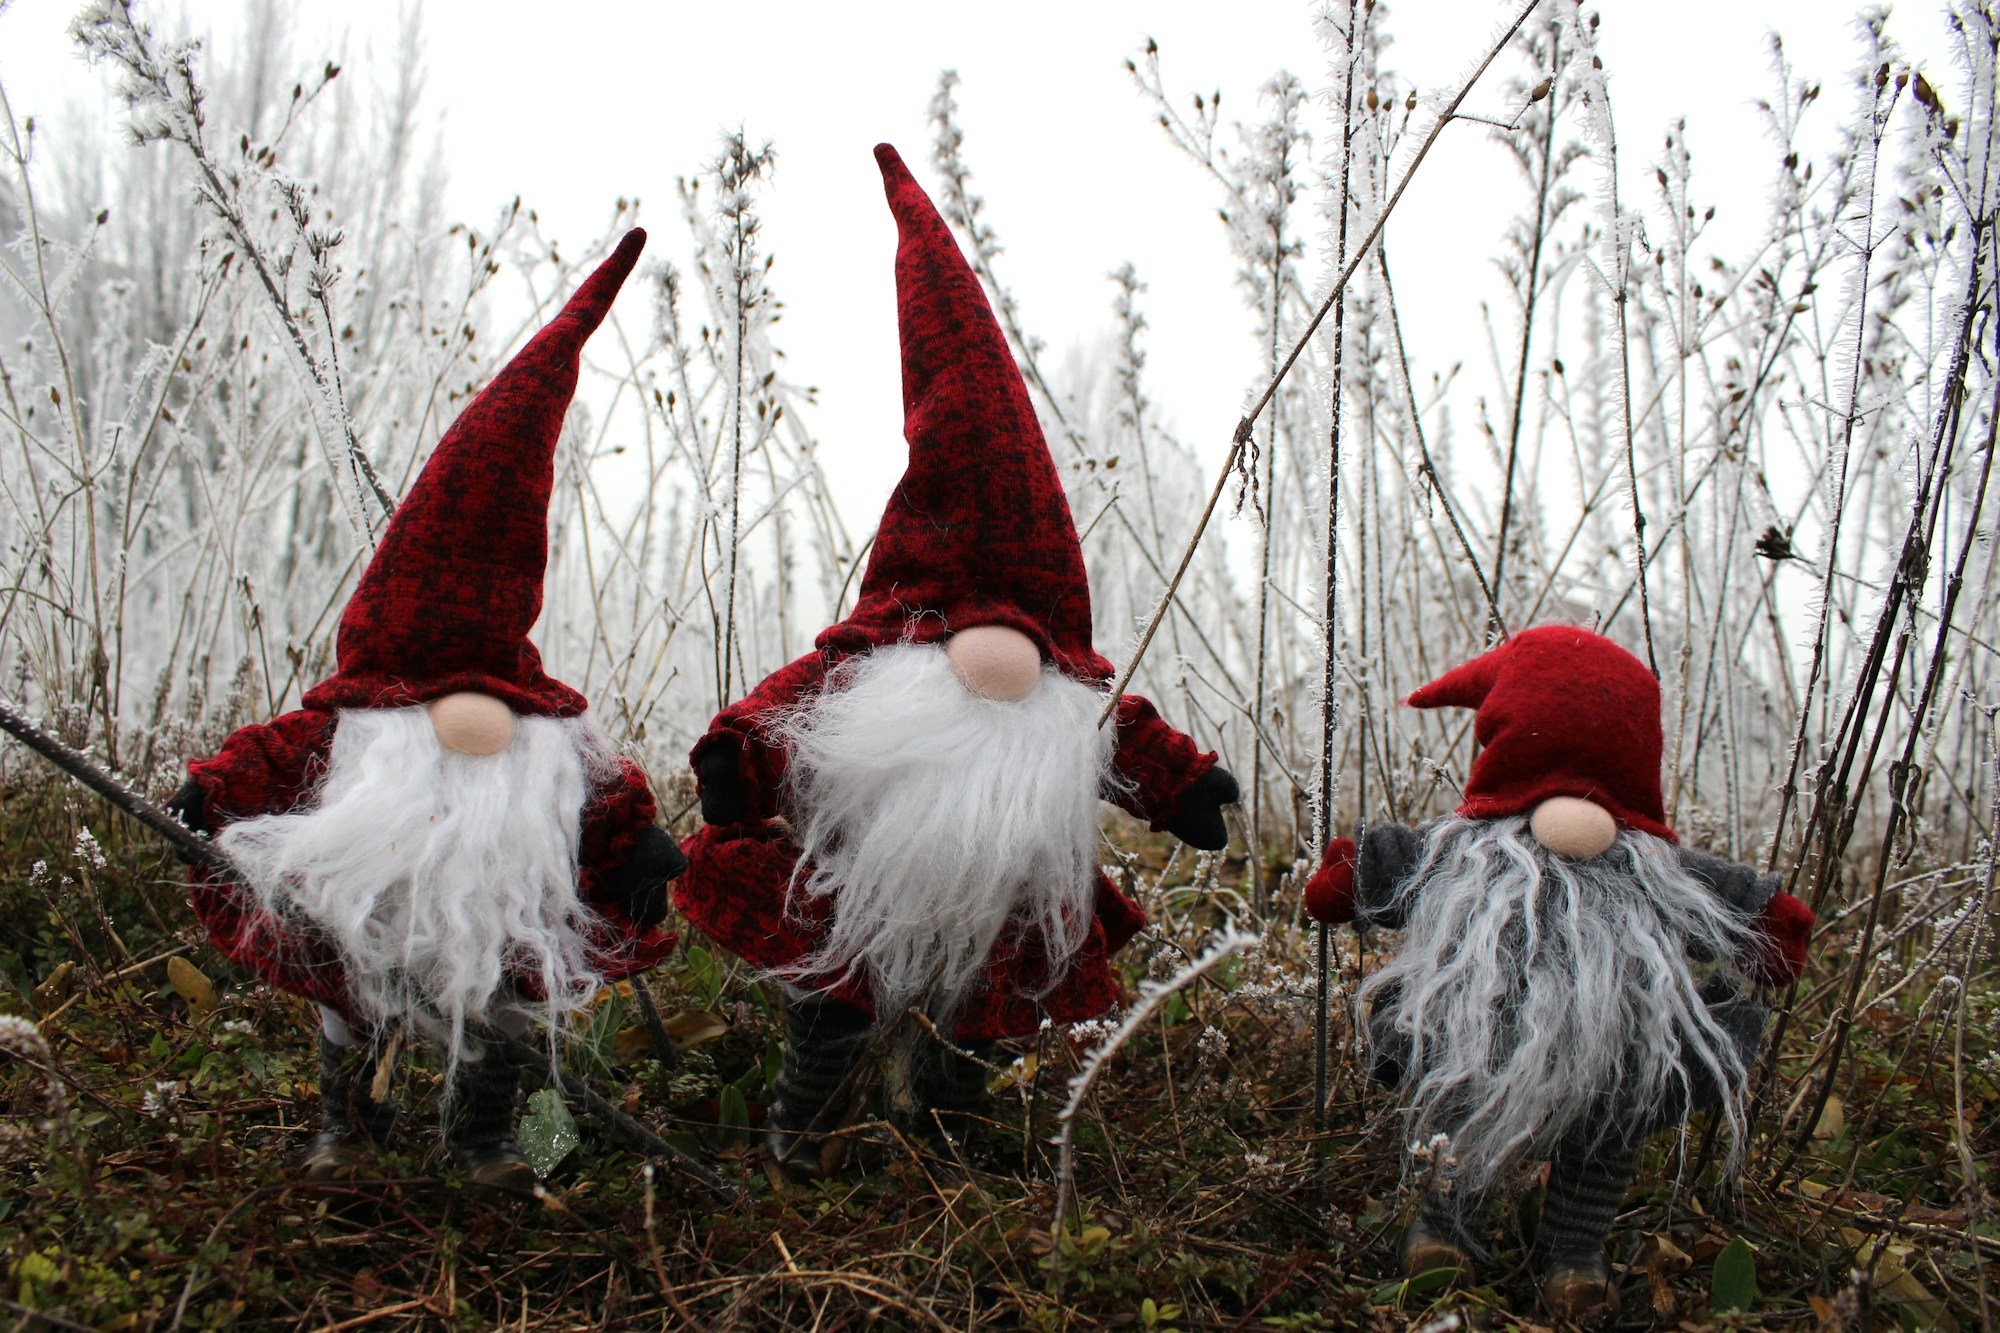
Gnomes are garden folk at heart, so set a few outside to enjoy the first frost. Fabric gnomes look adorable tucked into planters, along a path or on the porch steps, as long as you bring them inside before rain or snow. For gnomes that stay out longer, use outdoor fabric and fill them with plastic pellets instead of rice. A little trio by the door feels like a welcome party. Where would your gnomes hide outside?
You will need: Outdoor fabric or felt, faux fur, plastic filler pellets, wooden beads, waterproof glue.
How to make it: 1. Glue or stitch cone shaped bodies from outdoor fabric. 2. Fill them with plastic pellets so they stay put. 3. Add beards and noses and set them in a sheltered spot.
A Hanging Gnome Trio
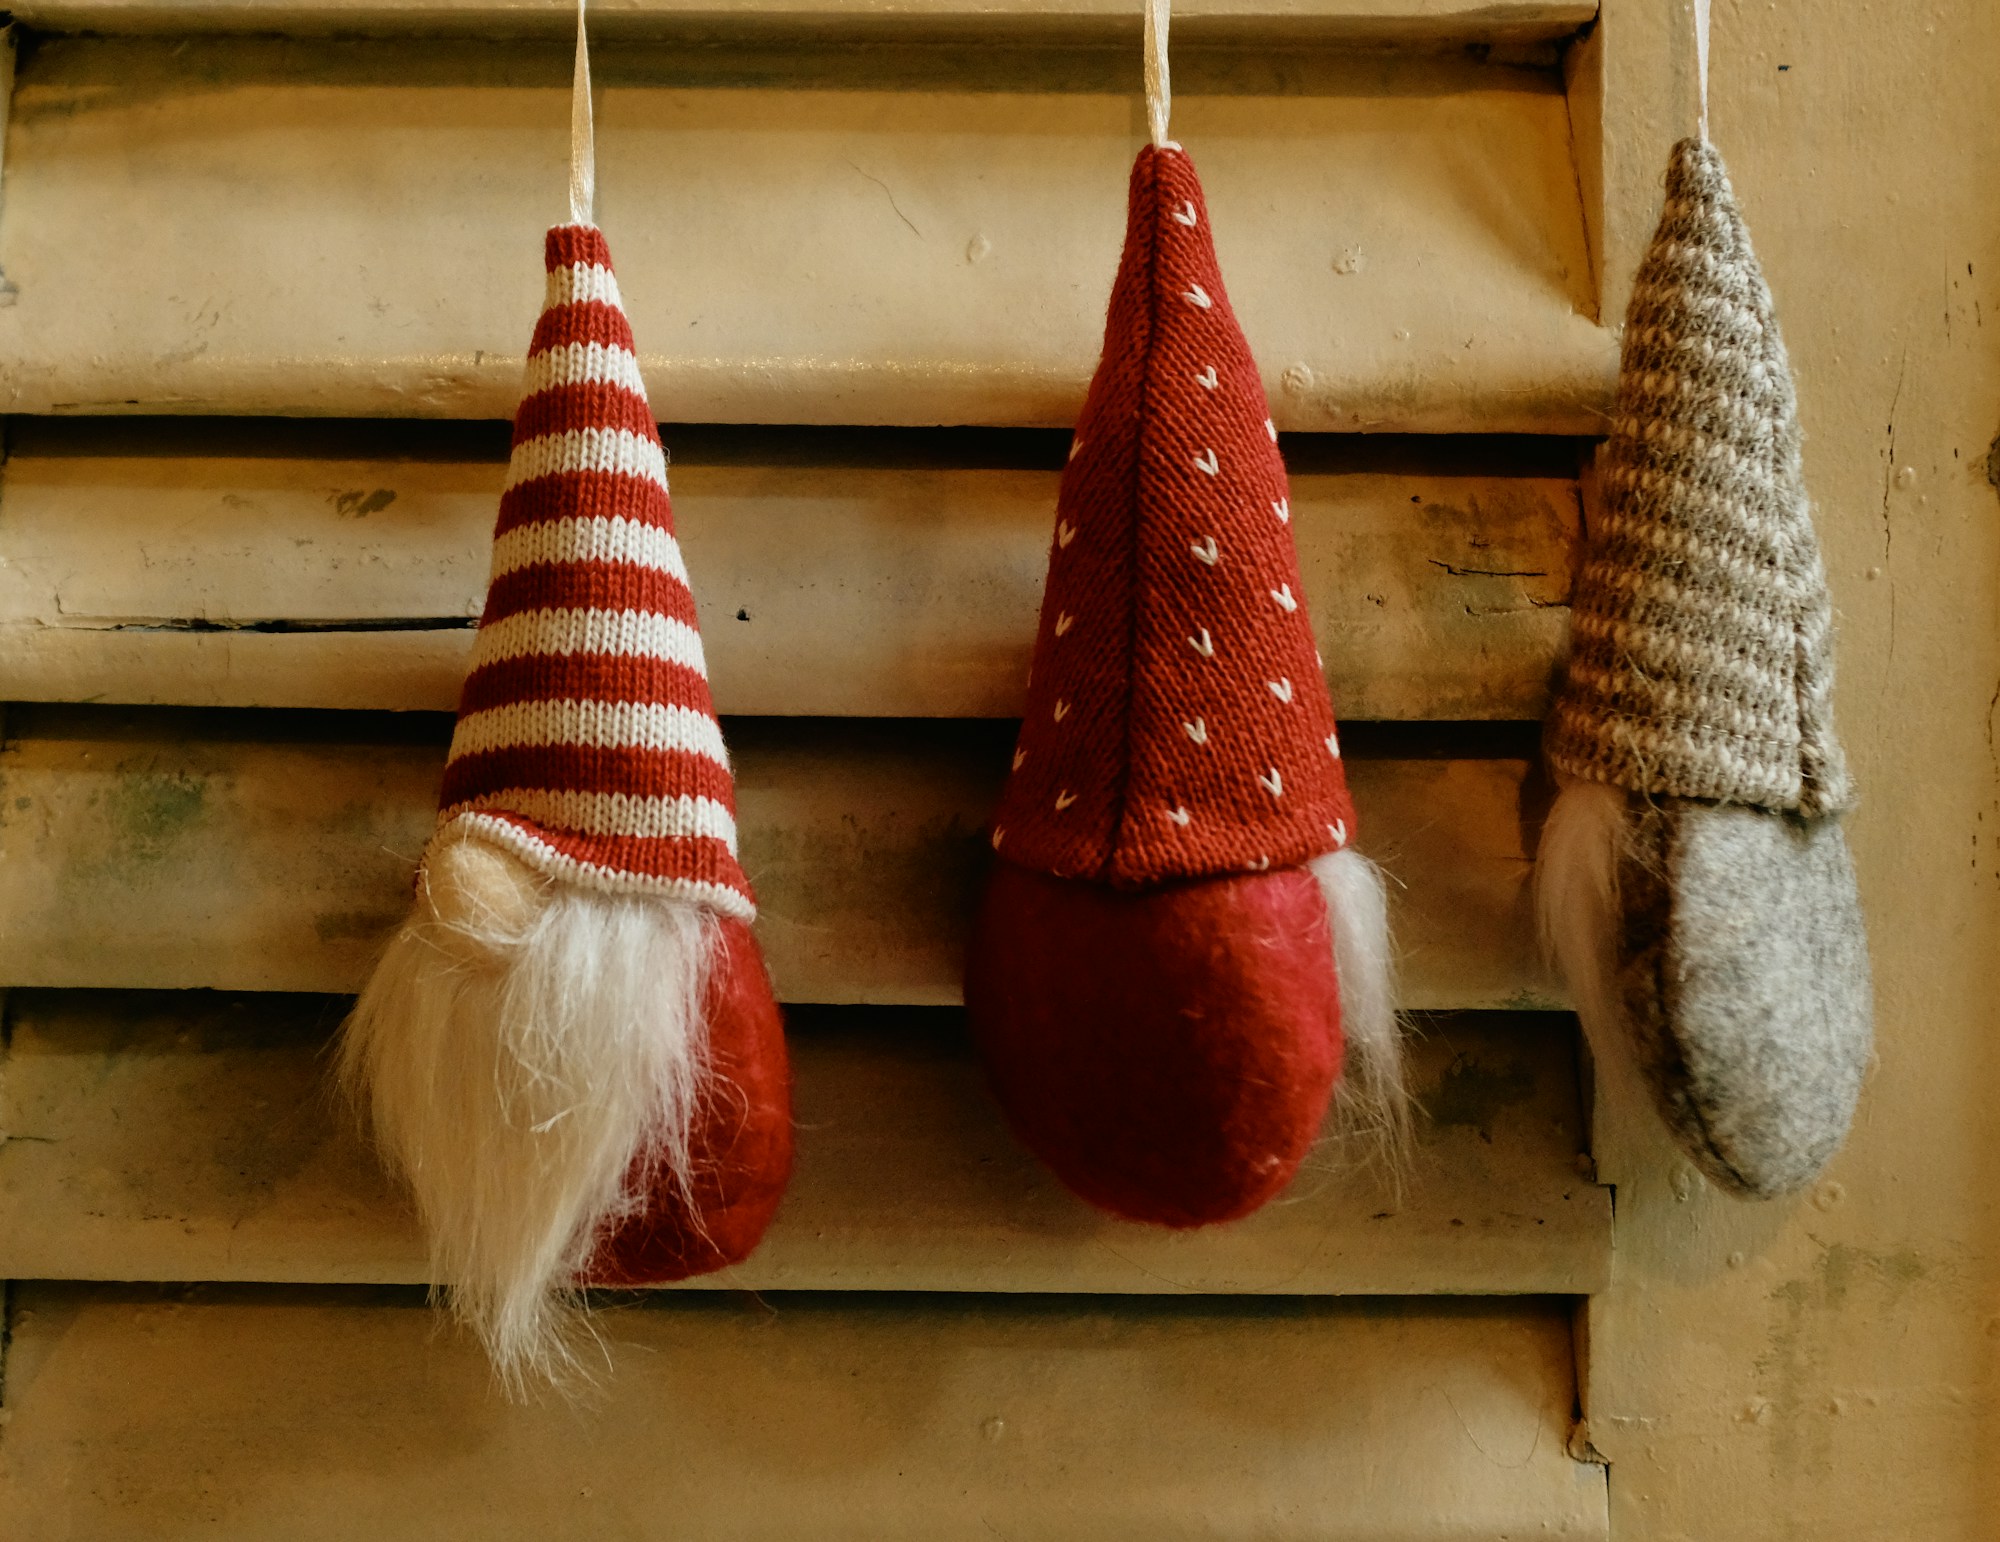
Gnomes do not always have to sit. Add a ribbon loop to the top of each hat and hang a trio on a shutter, a door knob, a cabinet or a hook by the entry. Long striped hats look especially fun when they dangle. This is a smart idea for small homes where every shelf is already full. Kids can help choose the stripe colors for these DIY Christmas gnomes. Which door in your home would you dress up first?
You will need: Striped felt or knit fabric, fiberfill, faux fur, wooden beads, ribbon, a hot glue gun with adult help.
How to make it: 1. Make long cone hats and stuff them lightly. 2. Attach fur beards and bead noses to small stuffed bodies. 3. Glue a ribbon loop to each hat tip and hang them up.
DIY Christmas Gnomes on a Wood Slice
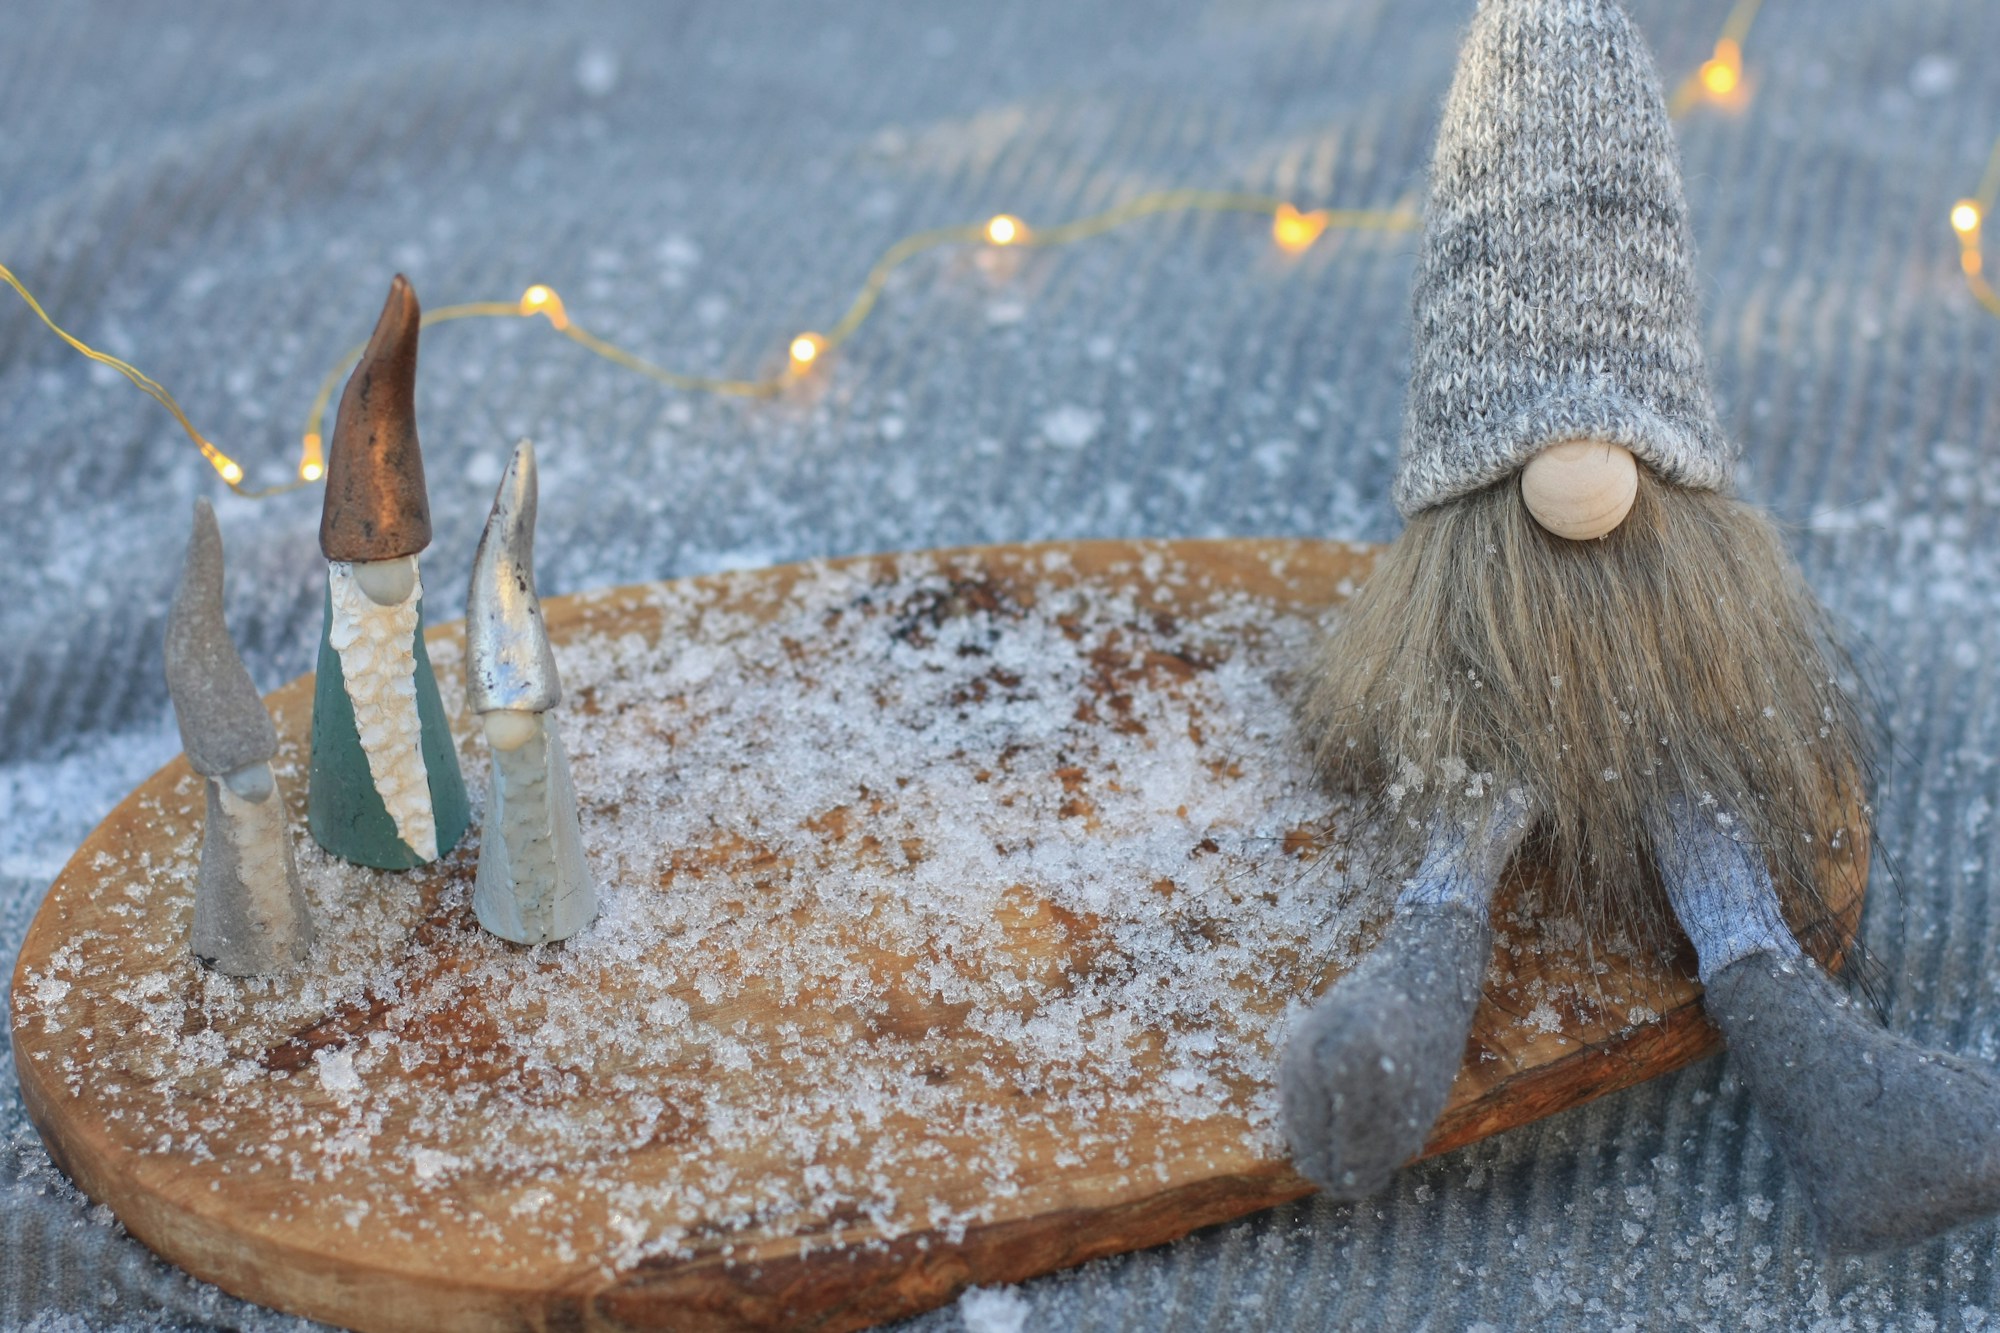
A round wood slice makes a natural little stage for a gnome scene. Set a few small gnomes on it with faux snow, mini bottle brush trees and tiny pine cones, and you have an instant centerpiece. You can also paint simple gnome faces onto smaller wood slices to make rustic ornaments. It feels woodsy, simple and very Scandinavian. Would you build a snowy scene or a woodland one?
You will need: A round wood slice, small gnomes, faux snow, mini trees, tiny pine cones.
How to make it: 1. Wipe the wood slice clean. 2. Arrange the gnomes in the center and add mini trees around them. 3. Sprinkle faux snow over the whole scene.
Faux Fur Beard Table Gnomes
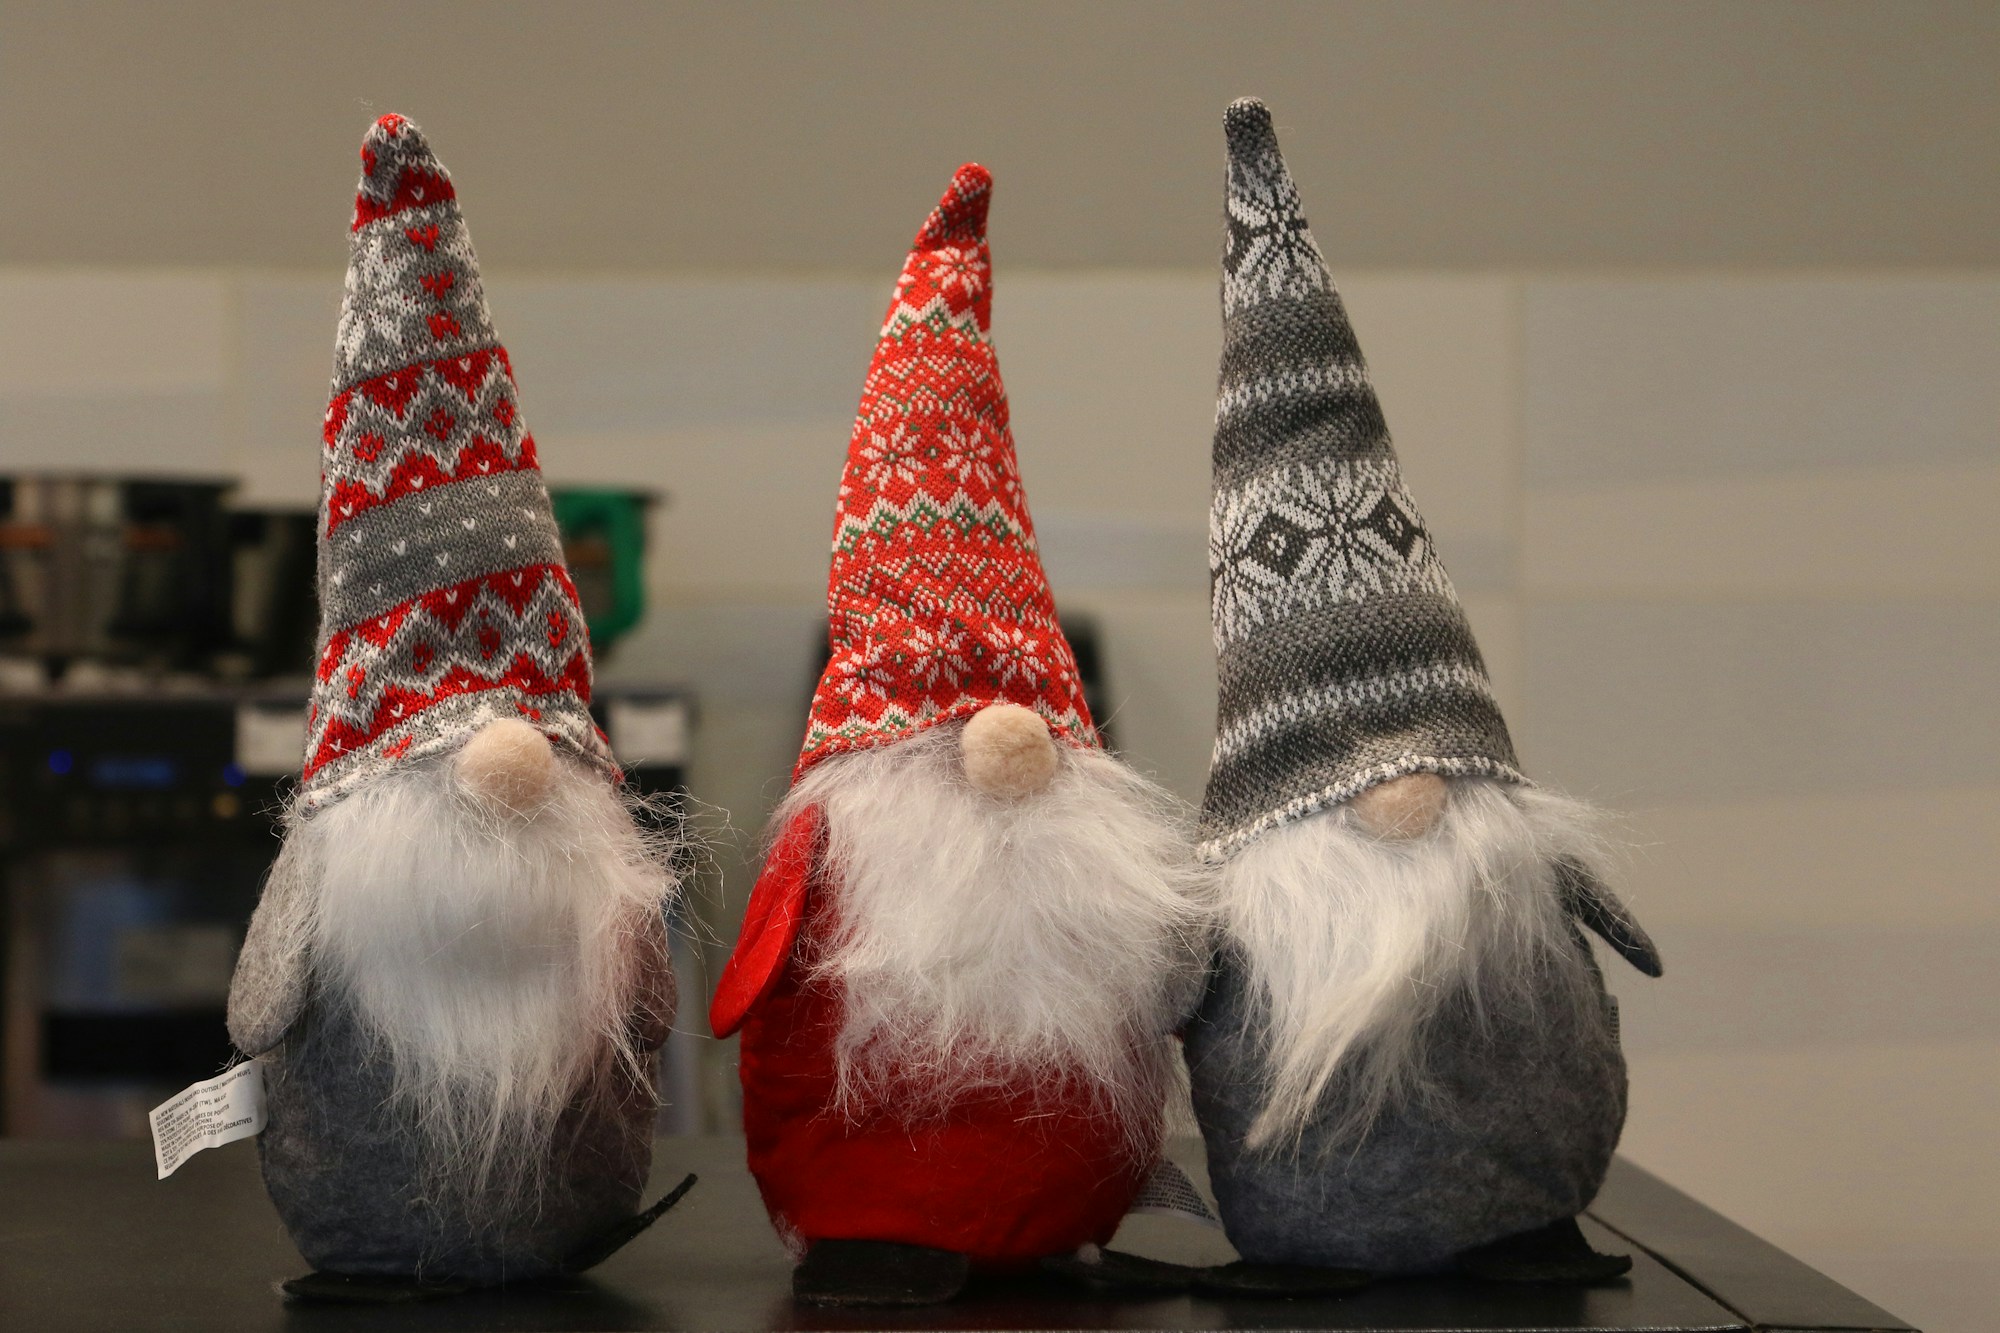
The beard is the star of every gnome, and a long faux fur beard makes even a simple cone look magical. Cut faux fur from the back with a craft knife, slicing only the fabric backing, so the strands stay long and fluffy. Ask an adult to handle the knife. Mix knit hats with patterned fabric hats for a cozy trio on a side table or tiered tray. Want ornaments to match? Try these old fashioned handmade Christmas ornaments.
You will need: Foam cones or stuffed fabric bodies, faux fur, a craft knife used by an adult, knit or fabric scraps, wooden beads.
How to make it: 1. Have an adult cut the fur from the back so the strands stay long. 2. Glue the beard to the cone. 3. Add a hat that covers the eyes and a bead nose.
A Gnome Door Wreath to Finish the Look

Finish your gnome village at the front door. Tuck a small gnome into a pine wreath with berries and pine cones so he looks like he is peeking out. Wire him on securely so the wind cannot carry him away. It is a quick way to refresh a wreath you already own. One DIY Christmas gnomes post on Instagram drew more than 26,000 likes, so you are in good company. Ready to start your gnome family this weekend?
You will need: A pine wreath, a small gnome, faux berries, pine cones, floral wire.
How to make it: 1. Choose a spot low on the wreath for the gnome. 2. Wire the gnome and pine cones firmly in place. 3. Tuck in the berries and hang the wreath on your door.