DIY Nativity Scene: 16 Handmade Ideas That Look Like Treasured Heirlooms but Cost Almost Nothing
A DIY nativity scene is one of those Christmas projects that families keep for decades, and the best part is that most of them start with things already sitting in a craft drawer. Clothespins, wood blocks, jute twine, pine cones and a few jars can turn into a set that looks like it came from a little European market. Many families set theirs out early in December, so now is the perfect time to start. Some of these ideas take one evening, while others make a sweet weekend project with kids or grandkids. Every set below is built to be handled, loved and packed away for next year. Pick the one that fits your home, gather your supplies and let the making become part of your holiday story..
Rustic DIY Nativity Scene Stable From Old Boards
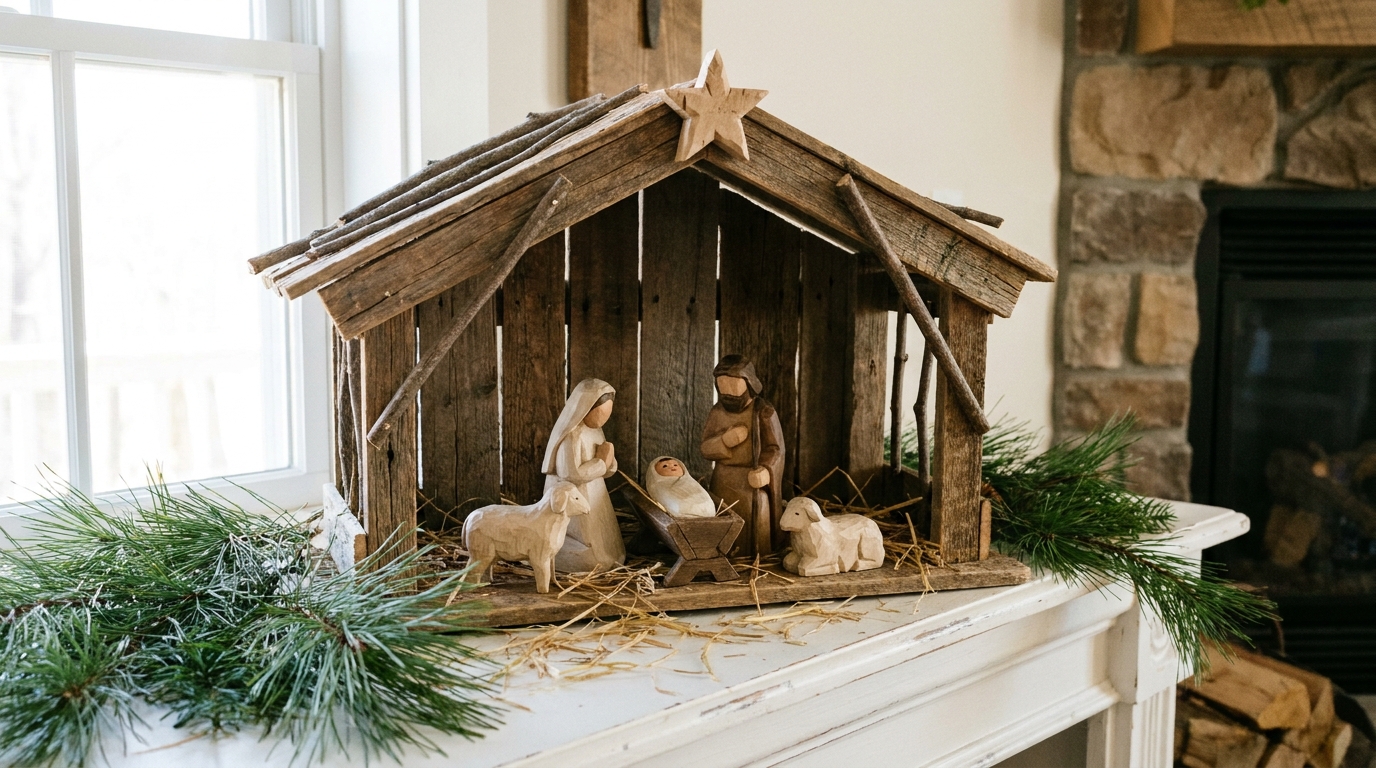
Start with the stable, because it frames everything else. A DIY nativity scene feels instantly old fashioned when the shelter is made from weathered fence boards and a few straight twigs from the yard. The tradition itself goes back centuries, and the history of the nativity scene is a lovely read before you begin. Glue the boards into a simple open box, add a slanted roof and tuck straw along the floor. If you enjoy simple woodworking ideas, this is a great first build..
You will need: weathered fence boards, straight twigs, wood glue, small nails, a wooden star, loose straw, sandpaper
How to make it: 1. Cut a back panel and two short side walls from the boards. 2. Glue and nail them into an open box, then add two roof boards at an angle. 3. Lay twigs across the roof, glue a wooden star at the peak and scatter straw inside.
Cloth Doll Mary and Joseph
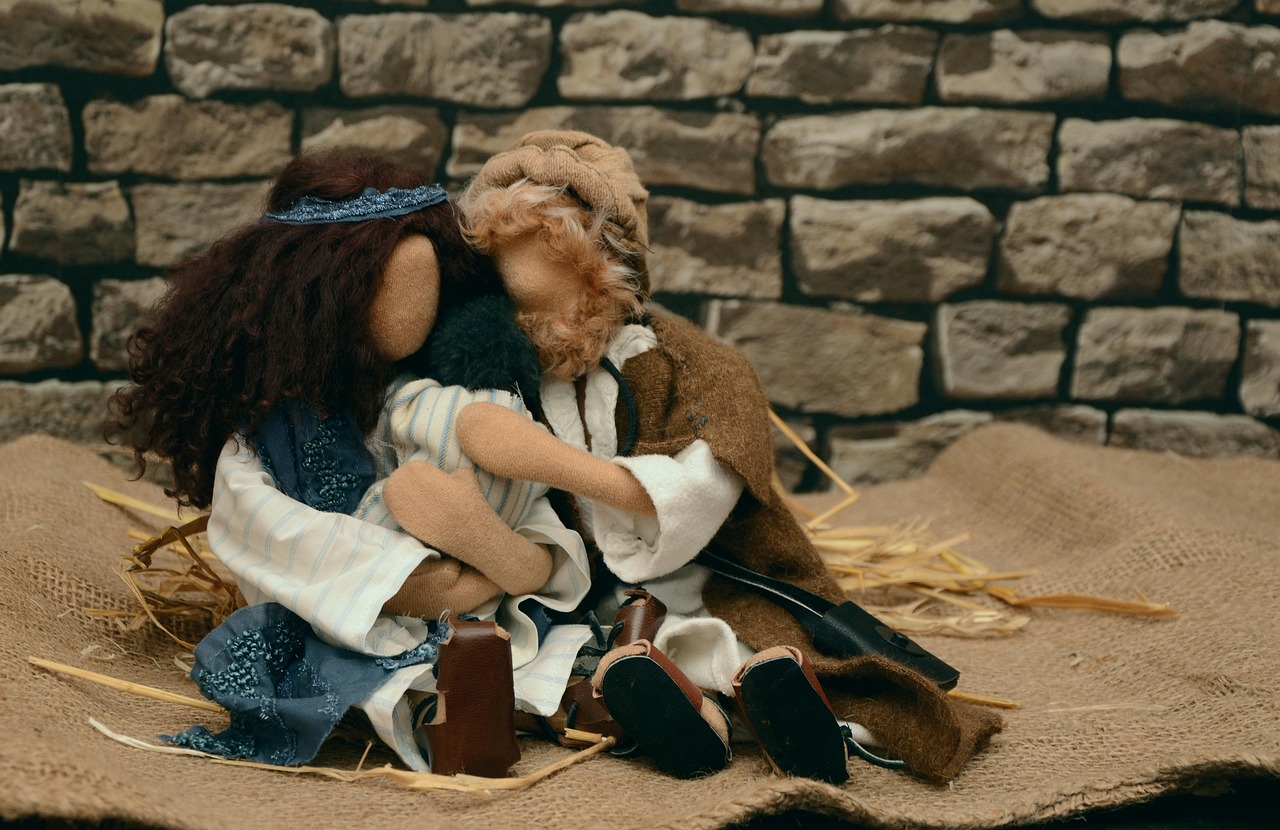
Soft cloth dolls bring a gentle, grandma made feeling to the season, and little hands can hold them without worry. Sew simple tube bodies from linen or cotton, stuff them lightly and dress them in long robes of blue and brown wool. Curly yarn makes lovely hair, and a strip of burlap under the pair looks like a stable floor. If you already love making felt Christmas crafts, these dolls use the same easy sewing and a few leftover pieces of fabric from past projects.
You will need: linen or cotton fabric, wool felt for robes, polyester stuffing, yarn for hair, needle and thread, burlap, a little straw
How to make it: 1. Cut two body shapes per doll and sew around the edges, leaving the base open. 2. Stuff lightly, close the base and sew on yarn hair. 3. Wrap felt robes around each doll, tie them with thread and set them on burlap.
DIY Nativity Scene With Clothespin Figures
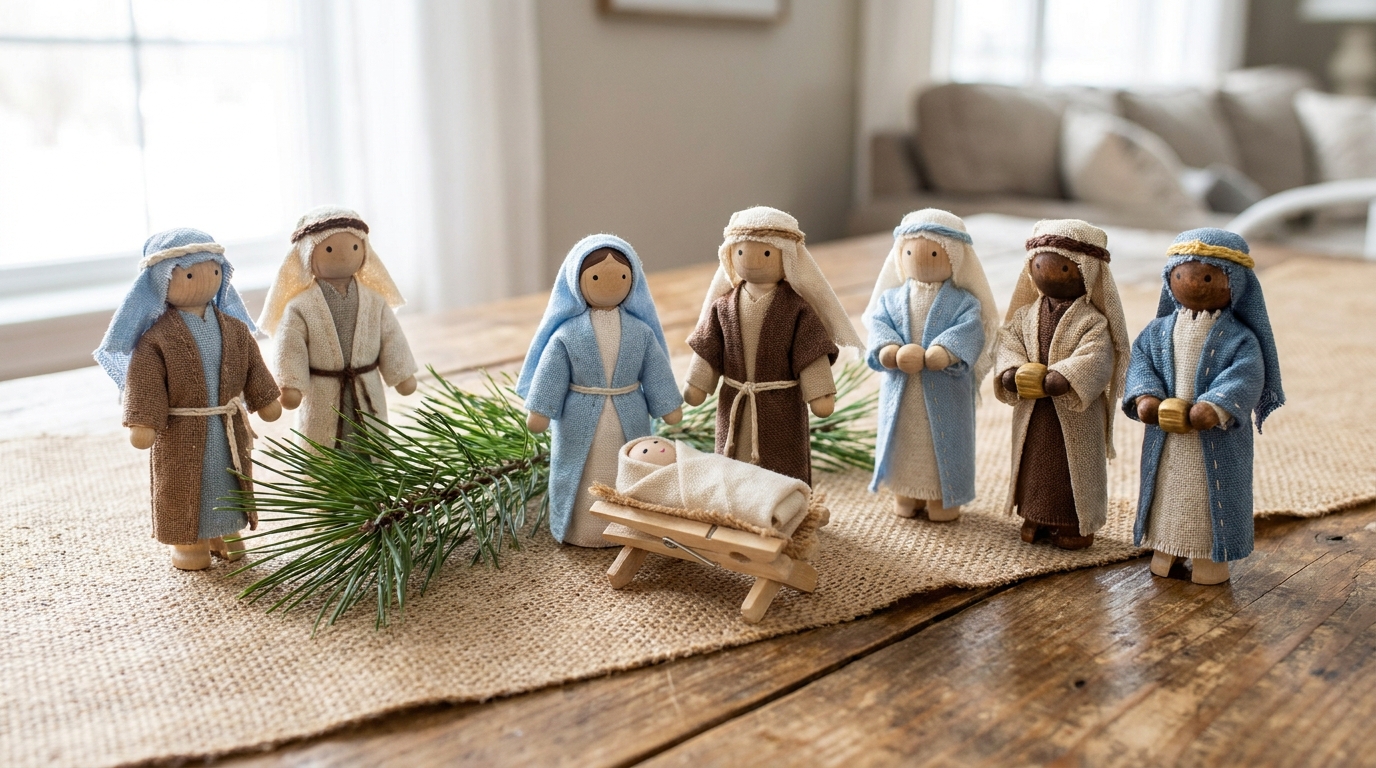
Old wooden clothespins have the perfect shape for little people, with a round top for a head and a long body for a robe. This DIY nativity scene uses the plain one piece kind, wrapped in bits of felt and soft cotton in blue, cream and brown. Tiny head scarves are just strips of fabric tied with thread. A pair of craft sticks makes the manger in minutes. For even more ways to use a bag of pins, browse these clothespin crafts before the holidays get busy.
You will need: one piece wooden clothespins, felt and cotton fabric, embroidery thread, fine tip paint pen, craft sticks, tacky glue, a burlap runner
How to make it: 1. Draw tiny faces on the clothespin tops with a paint pen. 2. Wrap each body in fabric, glue the seam and tie a head scarf with thread. 3. Glue craft sticks into a small X frame for the manger and arrange the set on burlap.
Smooth Hand Carved Wooden Figures

Some of the most treasured sets have almost no detail at all. Smooth, rounded figures with simple robes and bowed heads let the grain of the wood do the talking. You can whittle soft linden wood with a small knife, or start with wooden shapes from the craft store and round them with sandpaper. A few coats of mineral oil bring out warm tones. If you want to learn the basics first, these tips on beginner wood carving will help you feel confident with the knife.
You will need: linden wood blocks, a carving knife, cut resistant glove, sandpaper in three grits, food safe mineral oil, a soft cloth
How to make it: 1. Sketch a tall teardrop shape for each figure on the block. 2. Carve away the corners slowly, then round the head and robe lines. 3. Sand smooth, rub in mineral oil and let the pieces rest overnight.
DIY Nativity Scene Painted on Wood Blocks
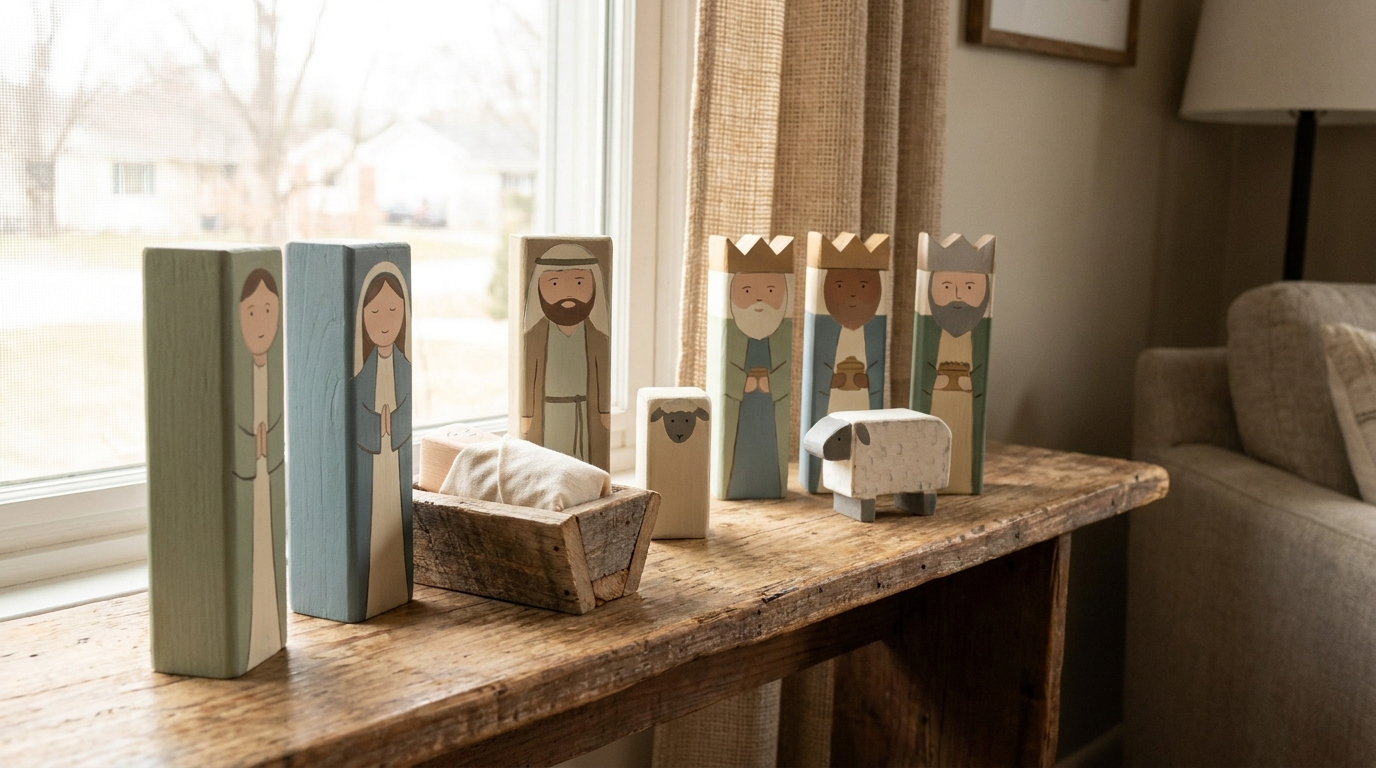
Plain rectangular blocks become a calm, modern set with nothing more than soft paint and a fine brush. This DIY nativity scene uses sage, dusty blue, cream and tan, with tiny gold crowns for the three kings. Sand the edges so the colors look gently worn, as if the blocks were handed down for years. Toddlers can line them up again and again without breaking anything. Leftover blocks also make sweet wooden Christmas gifts for teachers and neighbors.
You will need: wood blocks in a few heights, chalk paint in soft colors, gold paint, fine detail brushes, sandpaper, clear matte sealer
How to make it: 1. Paint each block a base color and let it dry. 2. Add simple faces, robes and crowns with a fine brush. 3. Lightly sand the edges and seal with a matte finish.
Air Dry Clay Mary and Joseph
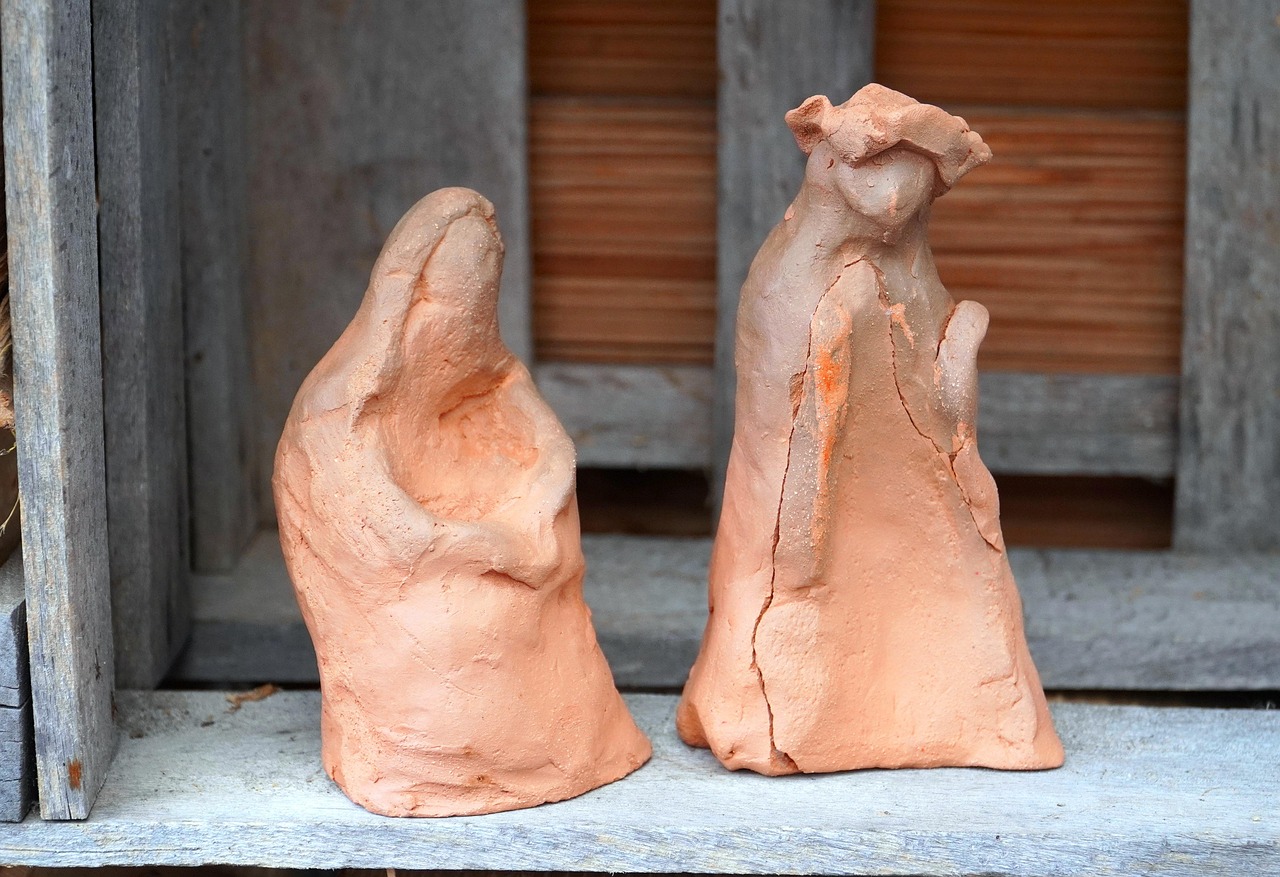
Terracotta colored air dry clay gives a rustic, sculpted look without a kiln. Roll a thick cone for each figure, pinch a head at the top and press folds into the robe with a table knife. Leave fingerprints and small cracks, since they make the pieces feel handmade and old. Once dry, a wash of watered down brown paint settles into the folds. The same clay works beautifully for clay Christmas ornaments, so make a few extras while the table is already set up.
You will need: terracotta air dry clay, a table knife, a small cup of water, brown acrylic paint, a soft brush, a paper towel
How to make it: 1. Roll a thick cone of clay and pinch a rounded head at the top. 2. Press robe folds into the clay with the knife and smooth with damp fingers. 3. Dry for two days, then brush on a thin brown wash and wipe it back.
Tiny Set Inside a Jute Twine Ball
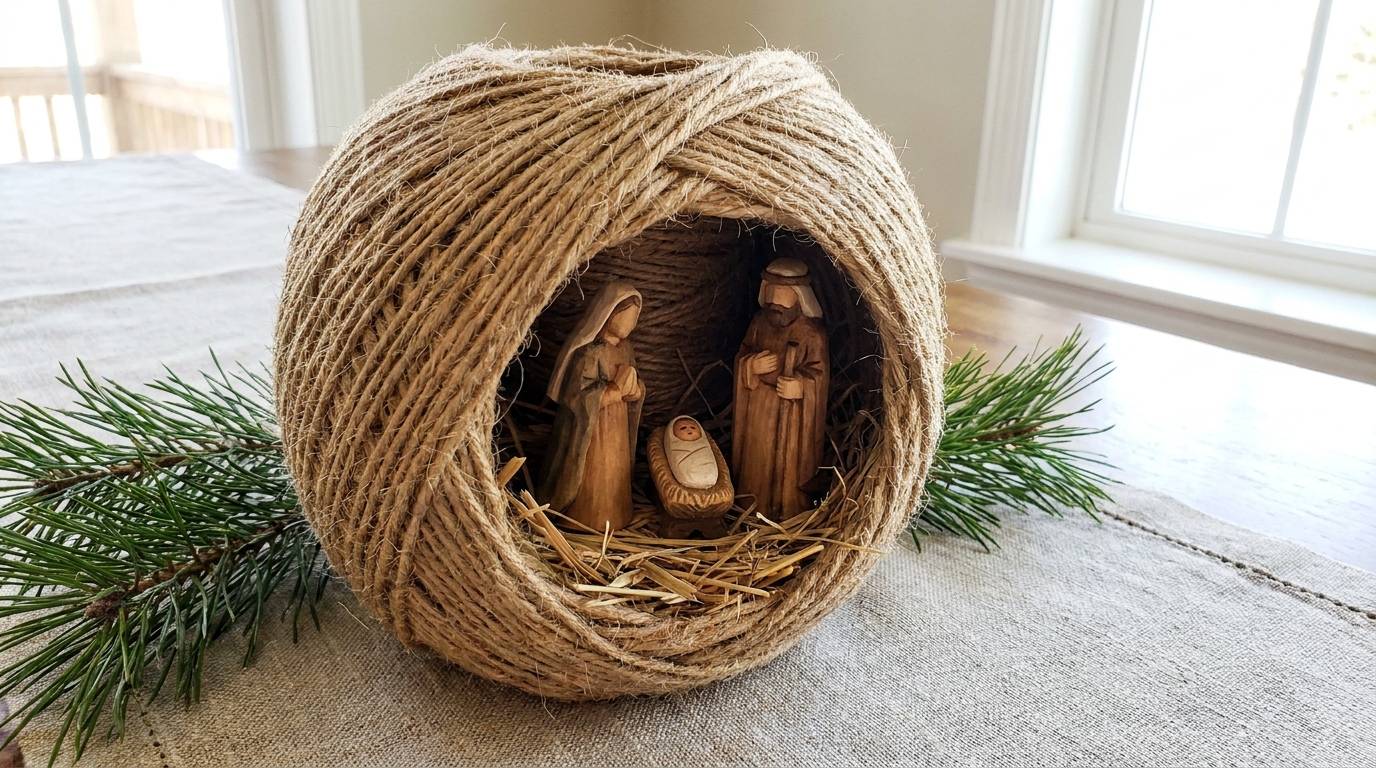
This one took off on social media, where a video of a little set tucked inside a twine ball gathered tens of thousands of reactions. The DIY nativity scene is built around a balloon wrapped in jute twine and glue. Once dry, pop the balloon, cut an opening in the front and you have a cozy little cave. Tiny wooden figures and a pinch of straw finish it off. If you love the look, there are many more ways to use jute twine decor around the house this season.
You will need: a round balloon, natural jute twine, white school glue, a bowl, scissors, tiny wooden figures, straw
How to make it: 1. Dip the twine in a mix of glue and a little water, then wrap it around the inflated balloon. 2. Let it dry for a full day, then let the air out of the balloon and remove it. 3. Cut a wide opening in the front, add straw and set the figures inside.
Tiny Family in Half a Walnut
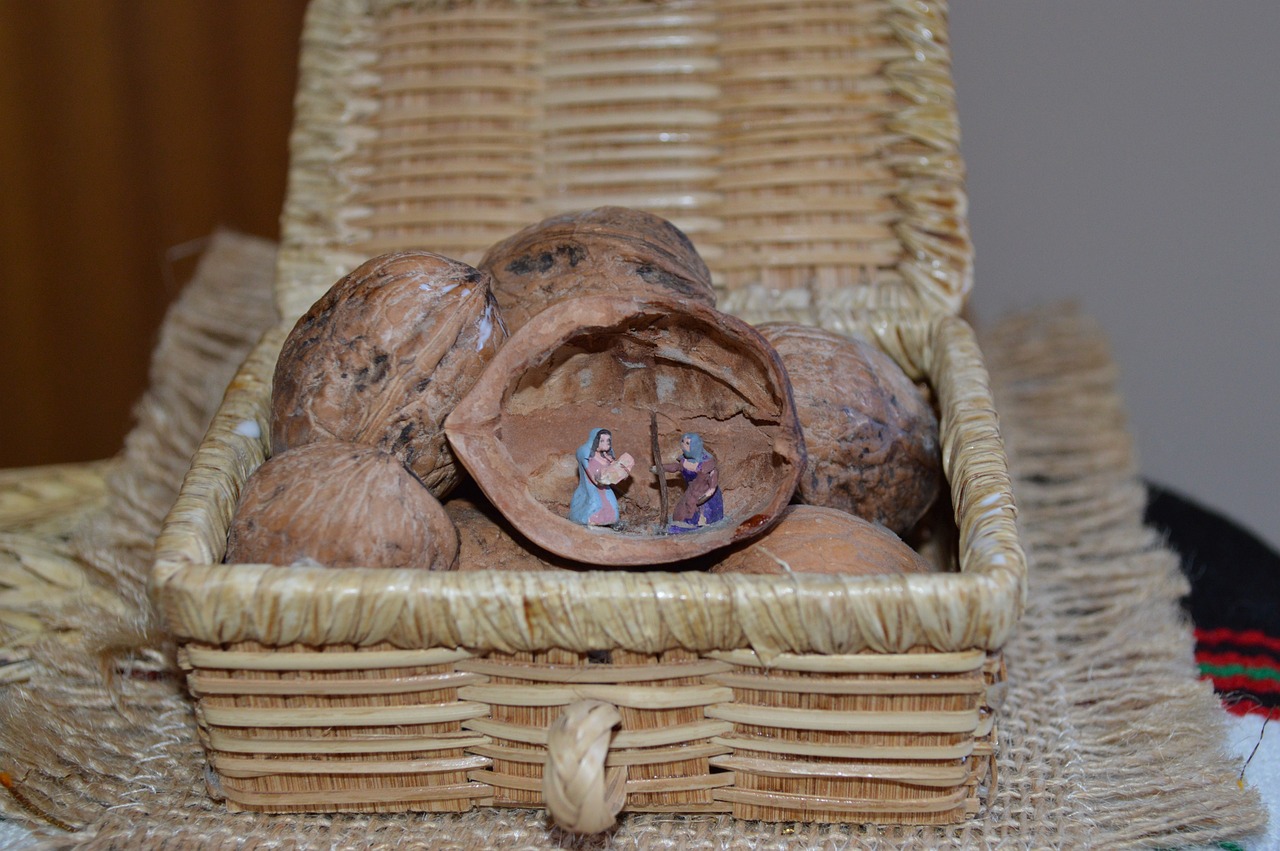
Small can be magical. Families in parts of Europe have long tucked miniature scenes inside half a walnut, and they make charming gifts or tree decorations. Crack walnuts carefully along the seam, clean them out and glue a tiny bed of moss inside. Mini figures can be painted toothpick tops or little beads with fabric robes. Display them in a woven basket with unopened walnuts around them. If you enjoy working this small, you will love these tiny dollhouse miniatures too.
You will need: walnuts, a table knife, dried moss, tiny beads or wood pieces, fabric snips, fine paint pens, tacky glue, a small basket
How to make it: 1. Push a table knife into the walnut seam and twist to split it neatly. 2. Clean out the inside and glue in a bed of moss. 3. Paint tiny figures, wrap them in fabric and glue them inside.
DIY Nativity Scene With Peg Dolls in a Crate
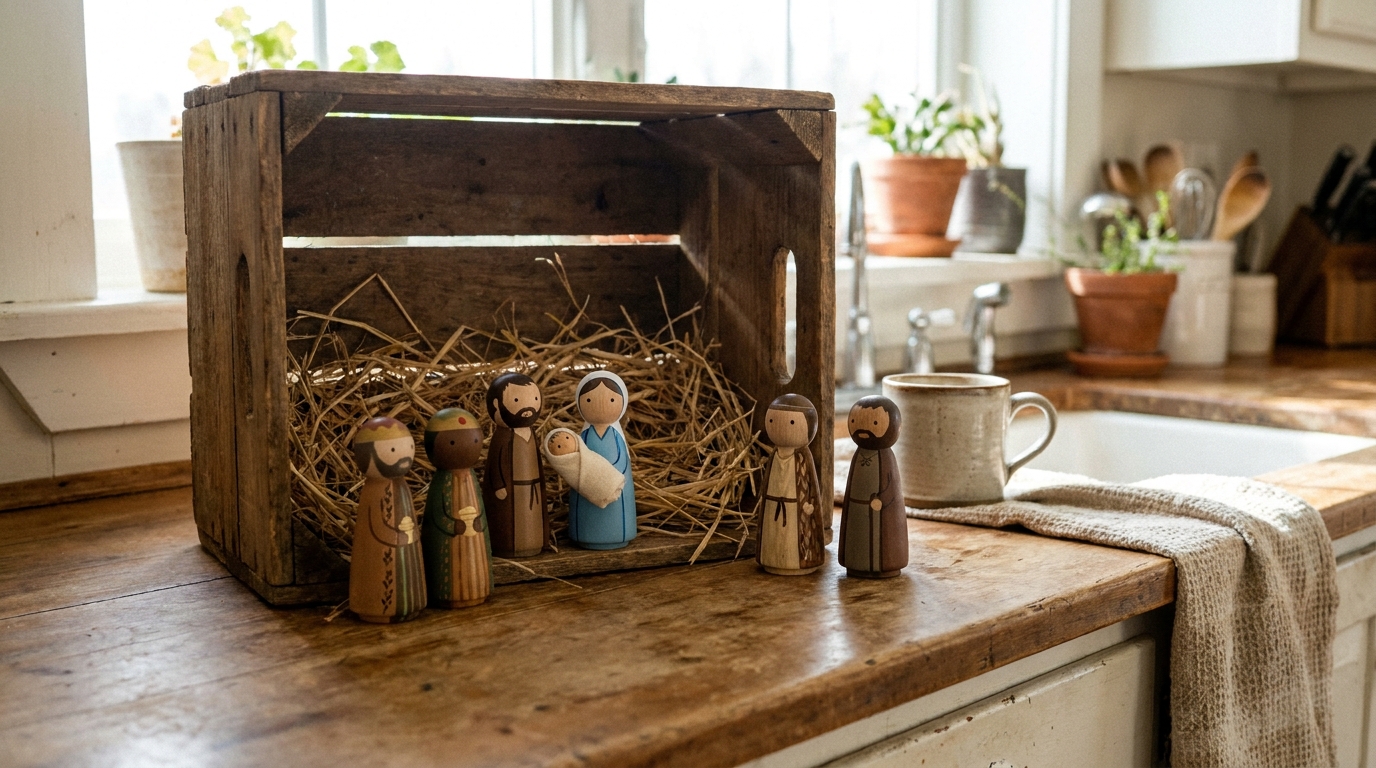
Peg dolls are a favorite of Waldorf style crafters, and they make an adorable, child friendly set. Paint simple robes and faces on unfinished peg dolls, then let the kids decide on colors. This DIY nativity scene sits inside a small wooden crate turned on its side and filled with straw, so it doubles as storage when the season ends. Just tuck the dolls into the crate and close it up. For more farmhouse ideas, browse this wooden crate Christmas decor roundup.
You will need: unfinished peg dolls in two sizes, acrylic paints, fine brushes, clear sealer, a small wooden crate, straw
How to make it: 1. Paint robes and head coverings on each peg doll and let them dry. 2. Add small faces and details with a fine brush, then seal. 3. Turn the crate on its side, fill the base with straw and arrange the dolls.
Wooden Toy Wise Men and Camel
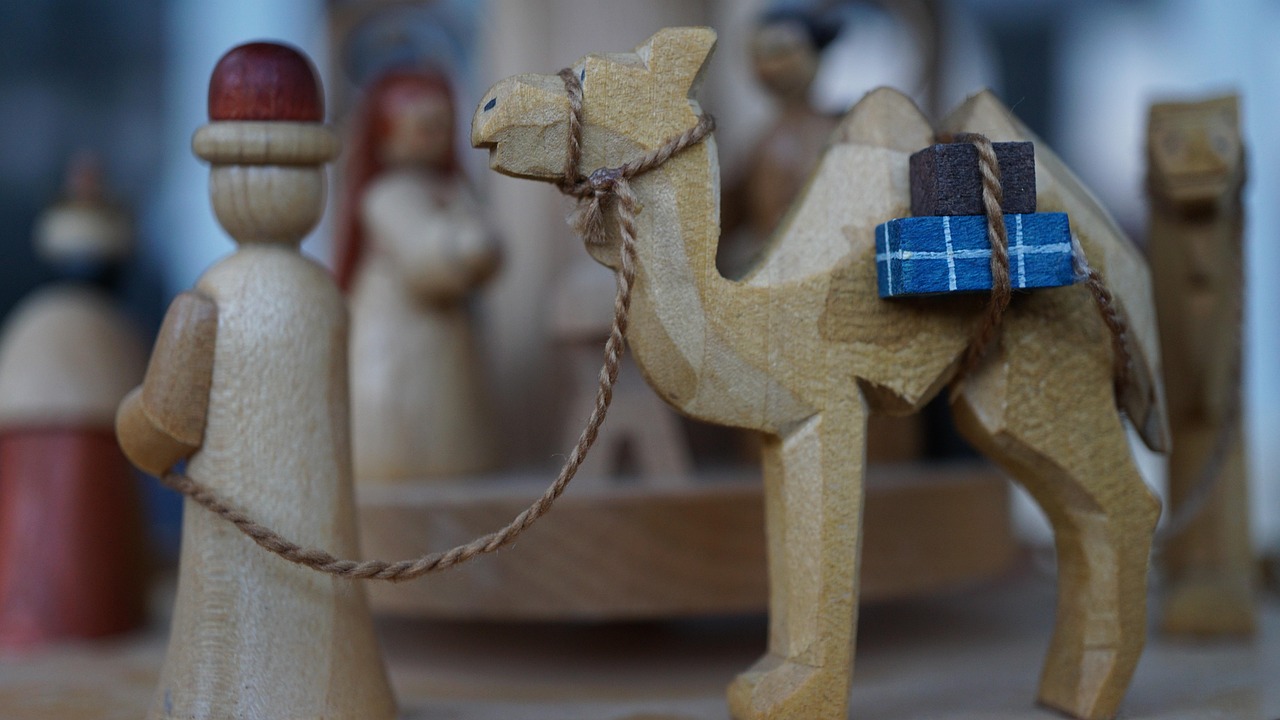
The three kings are the most playful part of any set, and a carved camel makes them even better. Simple turned shapes with round heads and painted crowns look like old European toys. Tie a thin cord from the king to the camel so it looks like he is leading it across the room. Many families move the kings closer each day until they arrive on January 6. If you have a lathe, try these small woodturning projects for more heirloom shapes.
You will need: wooden peg shapes or turned blanks, a wooden camel cutout, acrylic paints, gold paint, thin cord, small gift box beads
How to make it: 1. Paint each king a rich robe color and add a gold or red crown. 2. Paint the camel a soft tan and glue tiny bead gifts on its back. 3. Tie thin cord between one king and the camel.
DIY Nativity Scene in Mason Jars
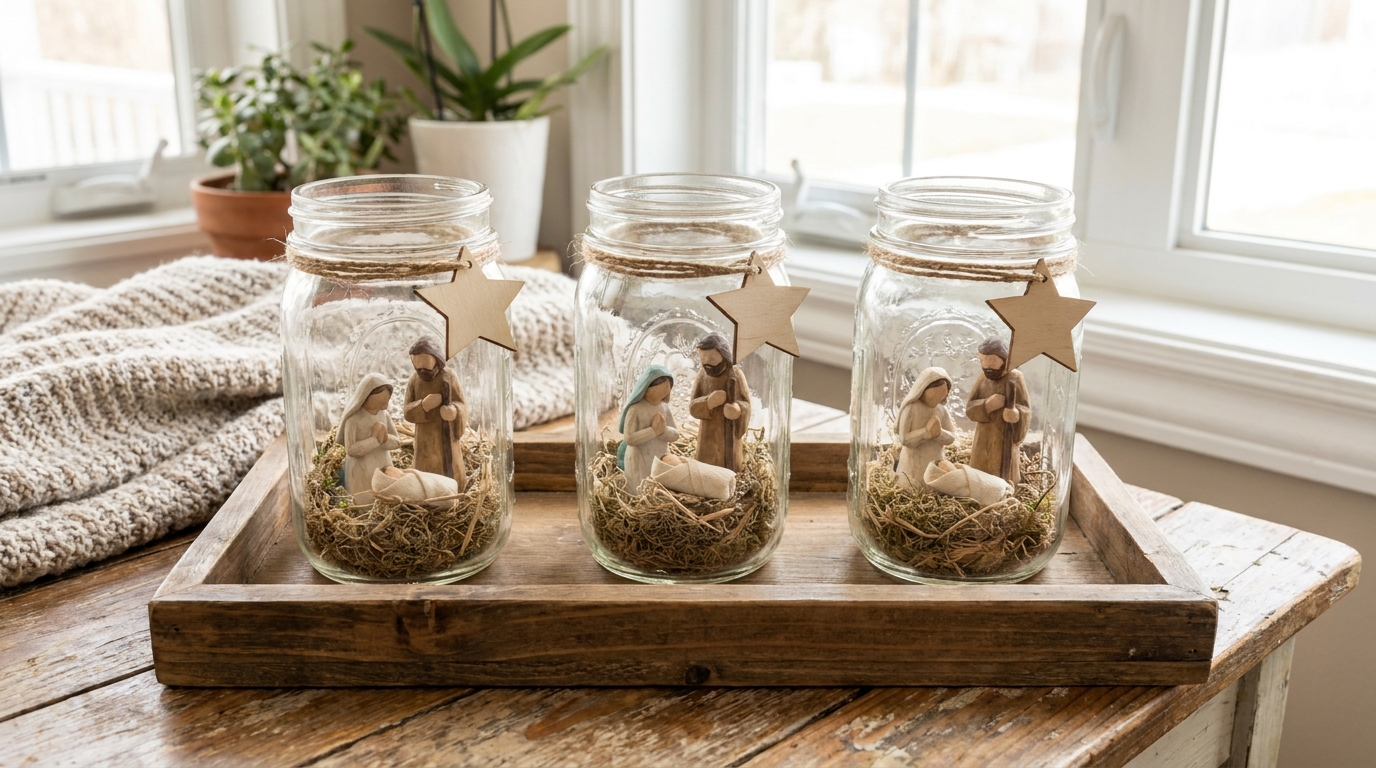
Clear jars turn a tiny set into a keepsake you can see from every side. Each DIY nativity scene sits on a bed of moss and straw inside a wide mouth jar, with a little wooden star tag tied on with twine. Make one jar for the holy family, one for the shepherds and one for the kings. They look sweet lined up on a tray in the kitchen or on a windowsill. Find even more ways to fill jars in these mason jar Christmas crafts.
You will need: three wide mouth mason jars, dried moss, straw, tiny wooden figures, wooden star cutouts, jute twine, a wooden tray
How to make it: 1. Lay moss and straw in the bottom of each jar. 2. Use long tweezers to set the figures in place. 3. Tie a wooden star to each jar with twine and group them on a tray.
Modern Wood Set With a Tall Star
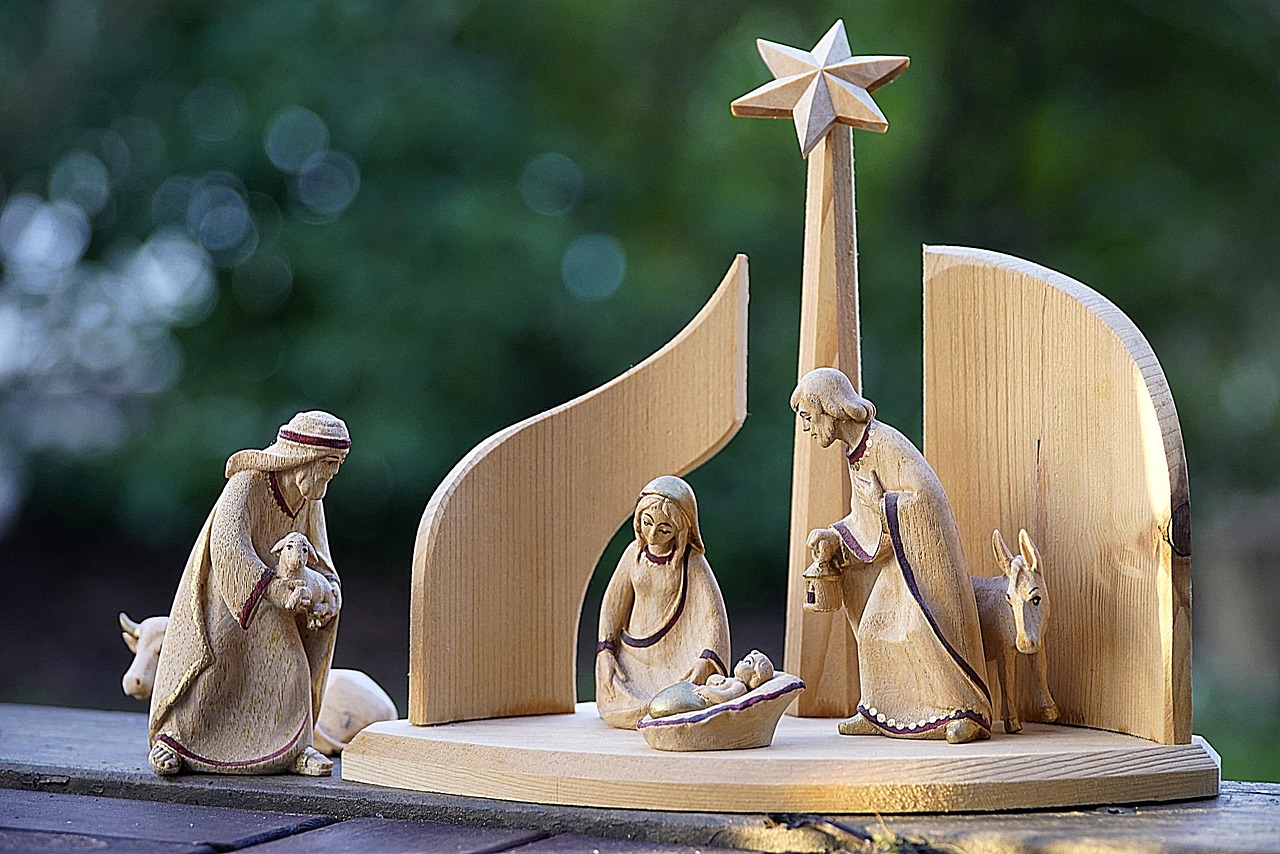
If your home leans clean and Scandinavian, try a set built on one long base board. Two curved panels stand in for the stable walls, and a tall post holds a carved star above the family. The light wood and simple lines look modern yet warm. You can cut the curves with a scroll saw or use thin plywood shapes from the craft store. A set like this makes a beautiful centerpiece among these Christmas mantel ideas.
You will need: a pine base board, thin plywood panels, a square dowel, a wooden star, wood glue, sandpaper, simple wooden figures
How to make it: 1. Cut two curved wall panels and glue them upright on the base. 2. Glue a tall dowel at the back and top it with the star. 3. Sand everything smooth and set the figures in front.
Pine Cone Shepherds and Sheep
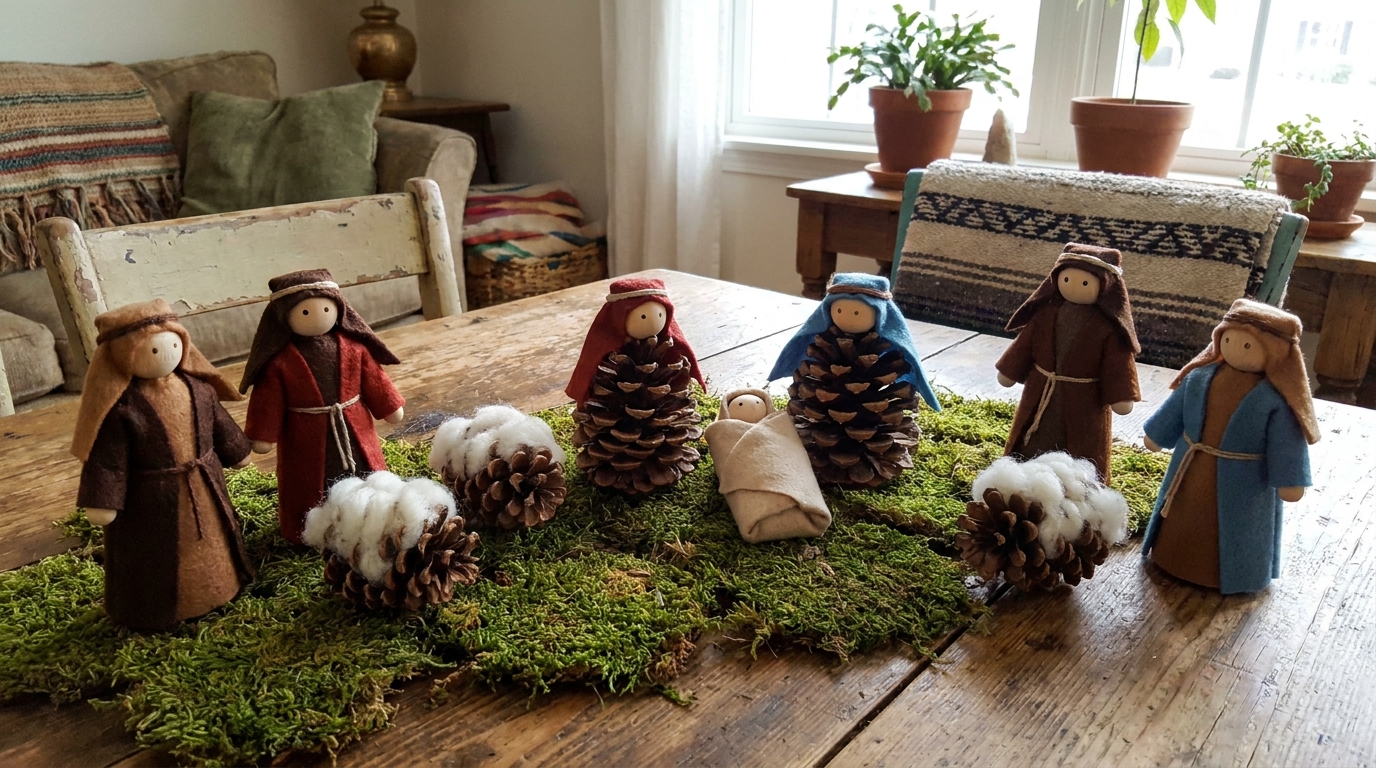
Pine cones from a fall walk make the cutest shepherds and sheep. For this DIY nativity scene, glue a wooden bead head on top of each upright cone, then wrap tiny felt robes and head cloths around the scales. Sheep are small cones turned on their sides, with fluffy wool roving tucked into the gaps. Set them all on a mat of moss down the middle of the table. For more nature crafts, try these pine cone Christmas crafts with the kids.
You will need: pine cones in two sizes, wooden beads, felt, wool roving, a hot glue gun, fine paint pens, sheet moss
How to make it: 1. Bake the cones at a low heat for an hour to clean them, then let them cool. 2. Glue bead heads on the tall cones and wrap them in felt robes. 3. Tuck wool roving into the small cones for sheep and arrange everything on moss.
White Figures on a Bed of Moss
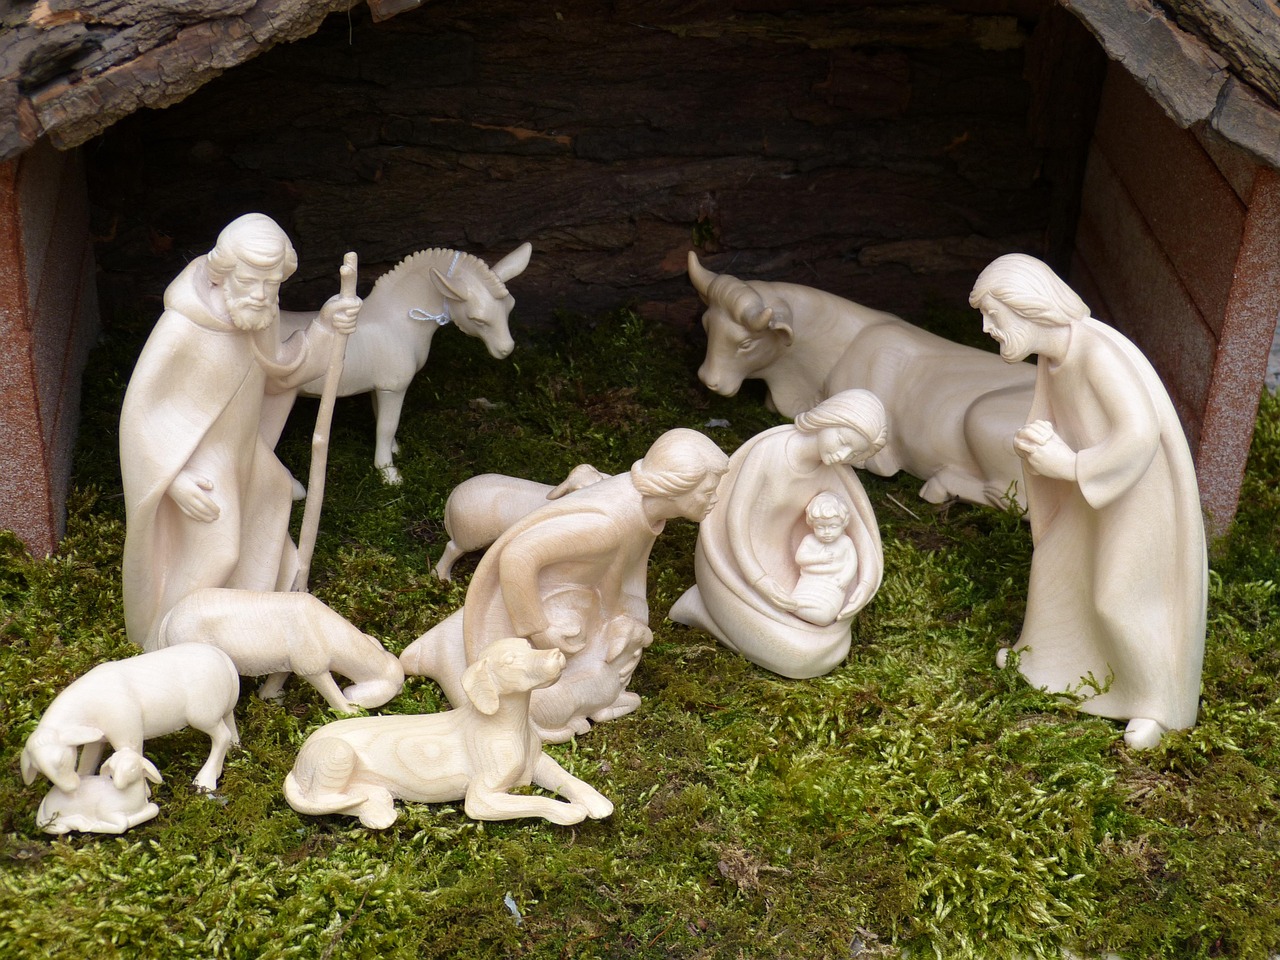
An all white set looks soft and elegant against fresh green moss. You can paint an old thrift store set in matte white chalk paint, or shape new figures from white air dry clay. The plain color lets the shapes stand out, and the moss brings in a touch of the outdoors. Build a low stable roof from bark or thin boards to finish the scene. This look fits right in with other woodland Christmas decor on a table or sideboard.
You will need: a thrift store figure set or white air dry clay, matte white chalk paint, a soft brush, sheet moss, bark pieces or thin boards
How to make it: 1. Clean the figures and brush on two coats of white chalk paint. 2. Lay a sheet of moss on a tray or shelf. 3. Build a low roof from bark and arrange the figures underneath.
DIY Nativity Scene in a Shadow Box
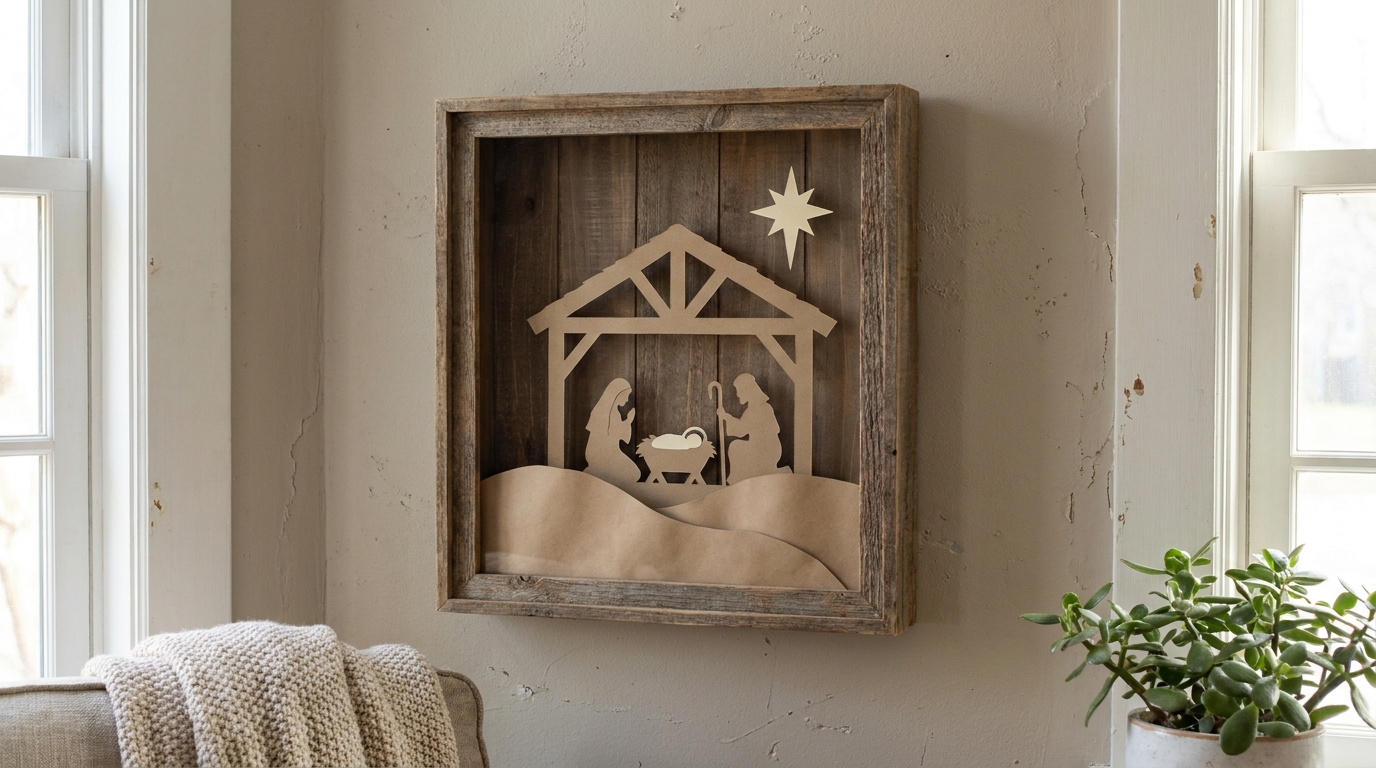
A shadow box keeps a delicate paper set safe from little hands and dusty shelves. This DIY nativity scene uses layered paper silhouettes, with soft kraft paper hills in front, a stable outline in the middle and a cream star at the top. Spacers between the layers create real depth. Hang it on a wall or stand it on a bookshelf all season long. If you love this format, there are plenty of other shadow box ideas to try after Christmas too.
You will need: a deep wooden shadow box, cream and kraft cardstock, a craft knife, foam spacers, glue, a printed silhouette template
How to make it: 1. Trace the stable, family and star onto cardstock and cut them out carefully. 2. Cut gentle hills from kraft paper for the front layer. 3. Stack the layers with foam spacers inside the box and close the frame.
Outdoor Nativity for the Front Yard
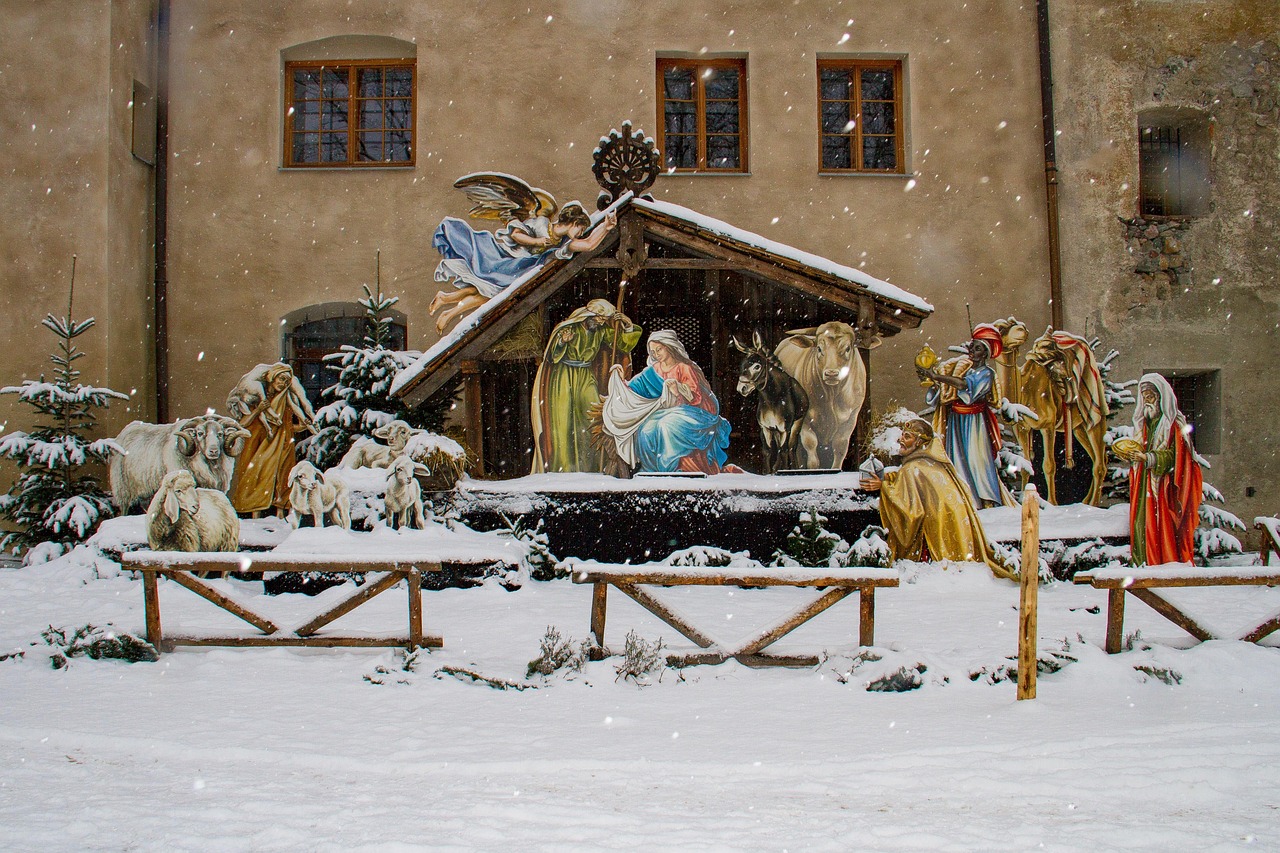
Some towns set up large outdoor scenes each year, with painted figures standing in fresh snow. You can create a smaller version for your own yard with plywood cutouts painted in rich colors. Seal every piece well with exterior varnish and anchor it with stakes so wind cannot tip it over. A simple wooden fence in front adds a finished, village look. For more ways to dress up the lawn, browse these Christmas yard decorations before the first snow.
You will need: exterior plywood, a jigsaw, exterior paint, outdoor varnish, metal garden stakes, short fence pickets, exterior nails
How to make it: 1. Trace large figure shapes on plywood and cut them out with a jigsaw. 2. Paint the figures, then seal both sides with outdoor varnish. 3. Fasten a stake to the back of each piece and set them in the yard with a little fence in front.