Judy Garland Christmas: 16 Victorian Decor Ideas Straight Out of Meet Me in St. Louis
A Judy Garland Christmas feels like stepping into a cozy 1903 parlor full of glass baubles, paper fans and snow piled against the windows. That is the world of Meet Me in St. Louis, the 1944 musical where Judy Garland, playing Esther Smith, introduced the song Have Yourself a Merry Little Christmas. The story follows one St. Louis family through a single year, and the Christmas chapter is the part many of us rewatch every December. There is a grand Christmas Eve ball, a front yard full of snow people and a family home trimmed the old fashioned way. So we pulled the best decorating ideas from that movie mood and turned them into easy crafts you can make with paper, thrift store finds and a jar of decoupage medium. Grab your brushes, cue up the soundtrack and let us bring a Judy Garland Christmas home..
A Judy Garland Christmas Starts in a Victorian Parlor
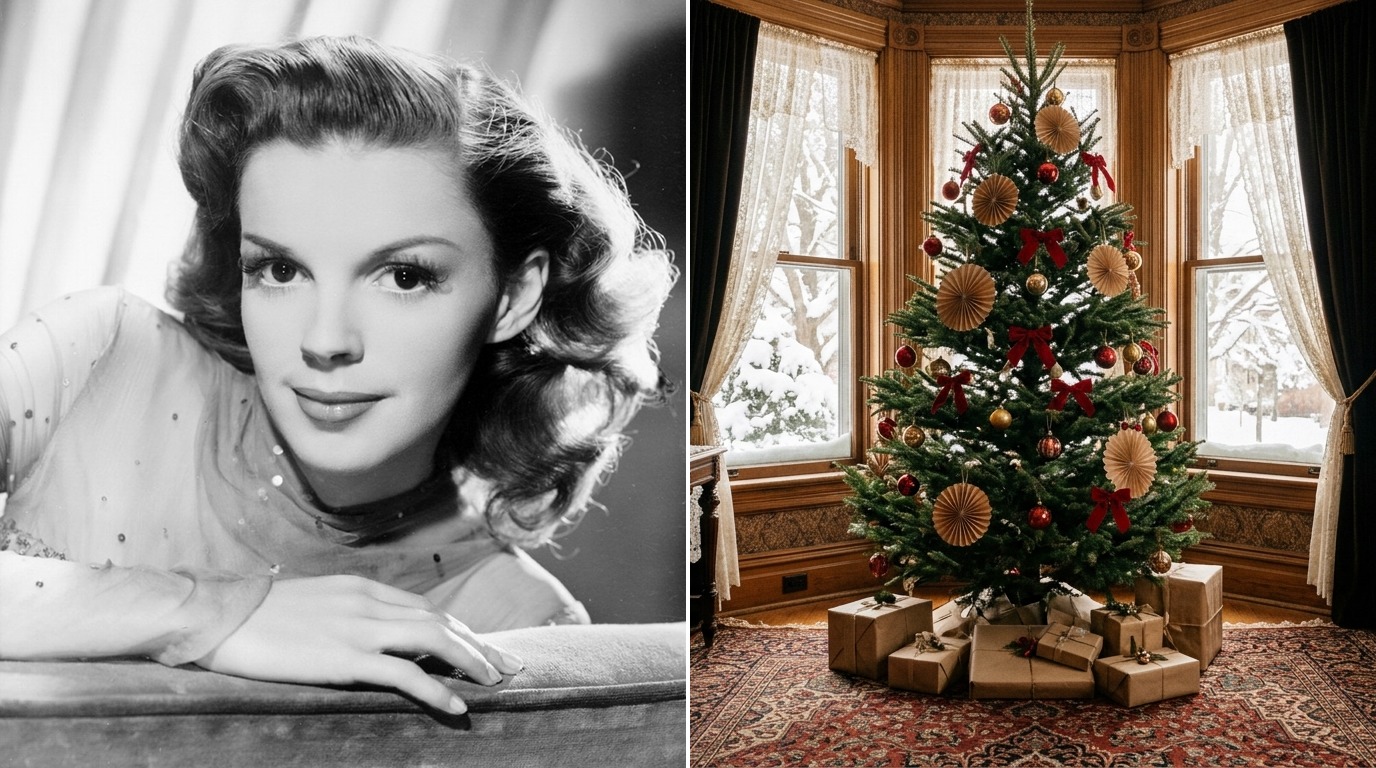
Picture the Smith family parlor in the movie: carved wood, lace curtains and a tall fir tree near a bay window. According to the history of Meet Me in St. Louis, MGM released the film in 1944 and it became one of the biggest hits of its year. Its Christmas scenes still shape how many of us picture a Victorian holiday. Trim your tree with pleated paper fans, red velvet bows and glass baubles, the same way families copied Victorian Christmas tree traditions a century ago. A Judy Garland Christmas tree is all about soft gold, deep red and a little sparkle..
You will need: A real or faux fir tree, kraft or gold paper, double sided tape, red velvet ribbon, glass ornaments in red and gold, a lace table runner.
How to make it: 1. Accordion fold strips of paper 1 inch wide and tape the ends into round fans. 2. Tie red velvet ribbon into floppy bows with long tails. 3. Hang fans and baubles first, then tuck bows between them, and finish the base with brown paper gifts.
Build a Snow Family in the Front Yard

One of the sweetest winter scenes in the film shows the youngest Smith sister, Tootie, out in the yard with a row of snow people the family built together. A snowman in an old top hat and knit scarf is the easiest decoration of the season, and it costs nothing but a cold afternoon. If your winters are mild, bring the look indoors with some fun snowman decor ideas made from wood, socks or glass jars. Either way, give each one a different hat so every family member is represented.
You will need: Packing snow, a thrifted top hat, a knit scarf, two twigs, buttons or small stones, a carrot.
How to make it: 1. Roll three snow rounds, largest at the bottom, and pack snow between them. 2. Press in stones for eyes and buttons, and add the carrot nose. 3. Push twigs in for arms, then add the hat and scarf at a slight angle for personality.
Judy Garland Christmas Trolley Car Ornament

Before the Christmas chapter, Judy Garland sings The Trolley Song aboard a crowded St. Louis streetcar, and it is one of the most famous numbers in the movie. Turn that bright red trolley into a Judy Garland Christmas ornament made from a cereal box and craft paint. It hangs beautifully next to vintage train decorations if you already collect little rail cars. Make one for every member of the family and add the year on the back in gold paint pen.
You will need: Thin cardboard, a craft knife, white glue, red and gold acrylic paint, a small brush, glossy decoupage medium, thin red ribbon.
How to make it: 1. Cut a long box shape with a curved roof and cut small window openings. 2. Glue the panels together and let them dry for 30 minutes. 3. Paint the body red, trim the windows and roof in gold, seal with glossy decoupage medium and glue a ribbon loop on top.
Stamped Brown Paper Gift Wrap

The Smith house is full of simple, pretty touches, and plain brown paper parcels feel right at home under a turn of the century tree. Kraft paper is cheap, it takes stamps beautifully and it looks charming tied with striped baker’s twine. Carve a tiny tree stamp from a pencil eraser and press a pattern across each package. Finish every gift with handmade gift tags and a sprig of fresh pine for a true old fashioned look under the tree.
You will need: A roll of brown kraft paper, red and white baker’s twine, a pencil with an eraser, a craft knife, green ink pad, pine sprigs.
How to make it: 1. Trim a pencil eraser into a small triangle tree shape. 2. Wrap each gift in kraft paper and stamp trees in loose rows. 3. Tie with baker’s twine in a crisscross pattern and tuck a pine sprig under the bow.
A Judy Garland Christmas Ball Gown Tree Skirt
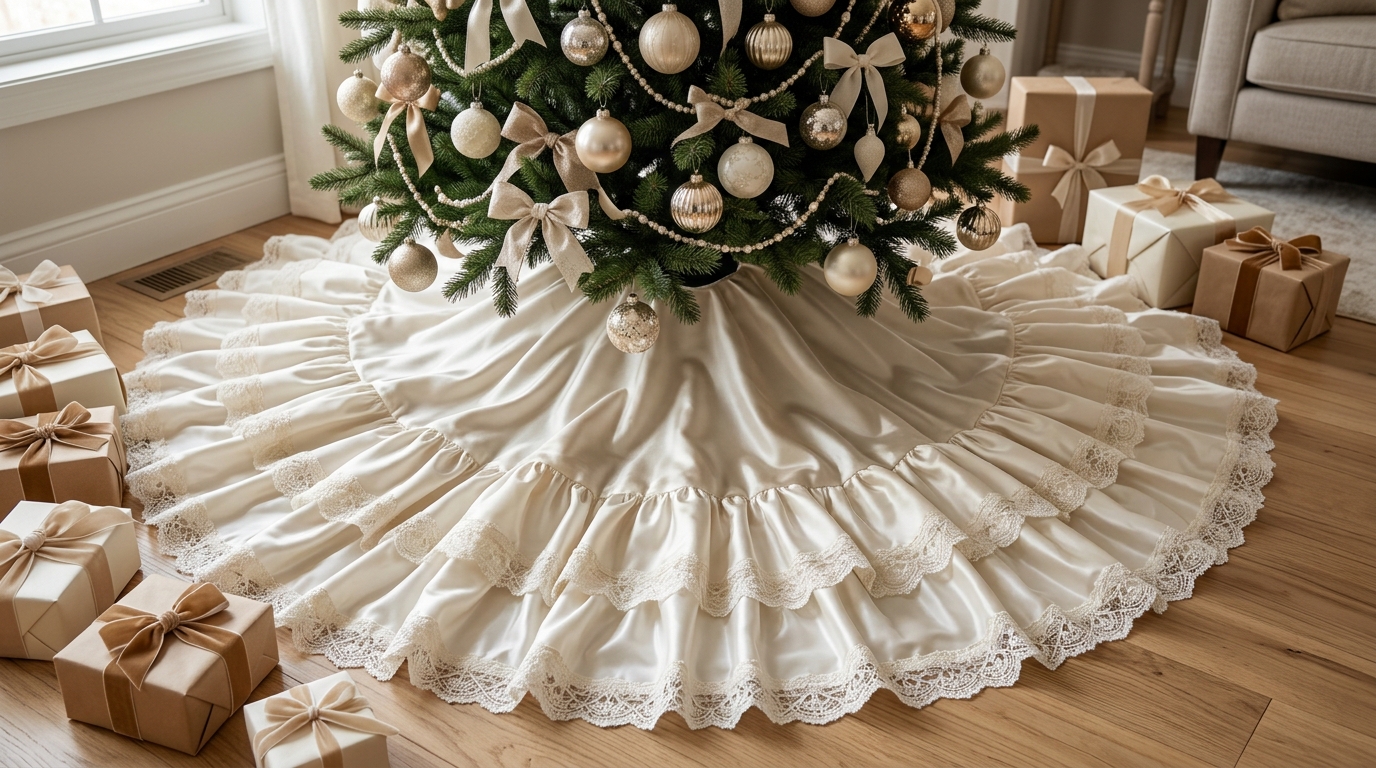
The Christmas Eve ball is the dressiest moment in the film, with long satin gowns swirling across the dance floor. Catch that glamour with a tree skirt sewn from a thrifted satin dress or bridesmaid gown. Ivory, champagne and blush fabrics glow under the lowest branches, and the ruffles look like a ball gown hem. If you love sewing for the tree, browse more DIY tree skirt ideas for simple patterns and no sew options. This is the kind of heirloom piece that makes the tree feel extra special.
You will need: One or two thrifted satin gowns, lace trim, a large circle template, fabric scissors, a sewing machine or fabric glue, a seam ripper.
How to make it: 1. Open the skirt seams of the gown and press the fabric flat. 2. Cut a large circle with a small center circle and one straight slit. 3. Gather the remaining fabric into ruffles, sew or glue them around the edge and finish with lace.
A Wooden Rocking Horse Like a 1903 Toy
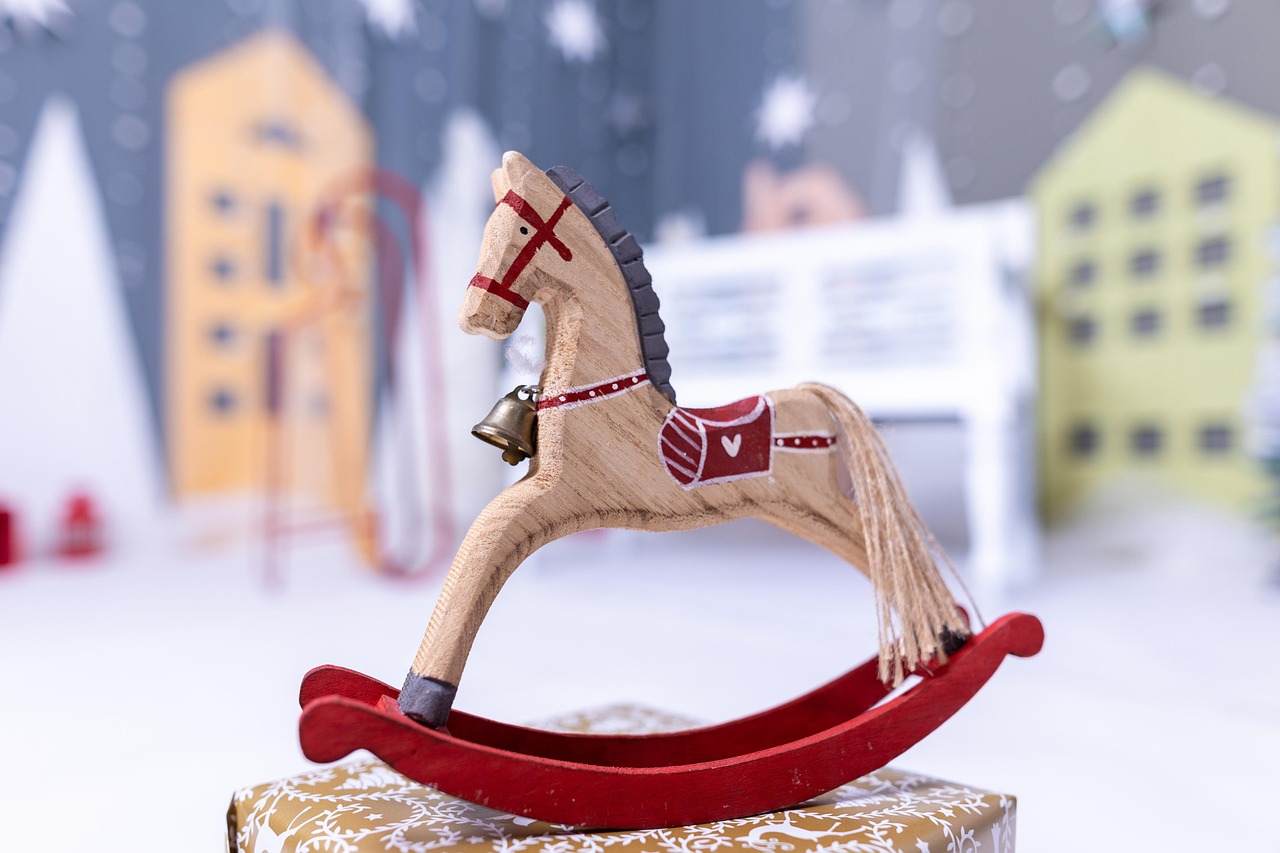
Children in 1903 found wooden toys under the tree, and a little rocking horse is the perfect nod to that era. Look for plain unfinished wooden horses at the craft store and paint them with a red saddle and tiny gold details. They look darling tucked into branches or lined up on a shelf, much like carousel horse decor that brings back childhood memories. Hang one by a ribbon and add a small brass bell so it jingles when someone brushes past.
You will need: Unfinished wooden rocking horse cutouts, red and cream acrylic paint, a fine detail brush, a small brass bell, twine, matte sealer.
How to make it: 1. Base coat each horse in cream and let it dry. 2. Paint a red saddle, rockers and simple stripes on the mane. 3. Seal with matte sealer, tie on a brass bell and add a twine loop for hanging.
Sheet Music Decoupage Ornaments

Music fills every room of the Smith house, so sheet music ornaments are a lovely way to honor the film’s famous songs. Tear old song pages into small pieces and decoupage them over clear plastic or glass ornaments. The soft cream paper looks antique right away, especially with a thin red ribbon on top. If you have a stack of yellowed pages, try more old book Christmas crafts too. This Judy Garland Christmas craft is easy enough for kids and pretty enough for gifts.
You will need: Clear ornaments, old sheet music or printed copies, matte decoupage medium, a foam brush, thin red satin ribbon.
How to make it: 1. Tear the sheet music into small pieces about 1 inch wide. 2. Brush decoupage medium on a section of the ornament and smooth the pieces on, overlapping the edges. 3. Coat the outside with one more layer, let it dry overnight and tie on a red ribbon.
Decoupage a Little Music Box Keepsake
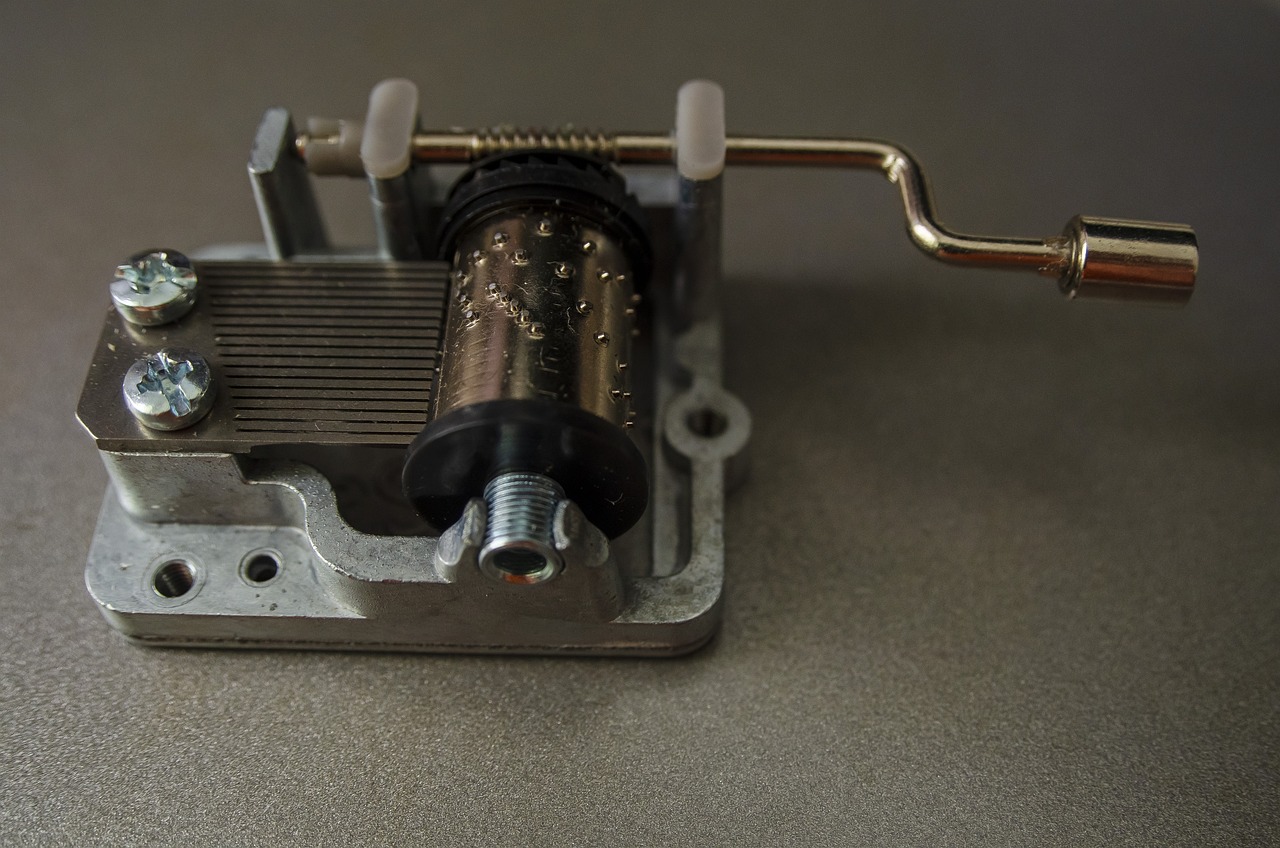
A tinkling music box is the kind of keepsake a girl like Tootie would treasure, and you can build one yourself. Small wind up music movements are sold online for a few dollars, and they fit inside a plain wooden box. Decoupage the lid with floral napkins or vintage style paper and it becomes a gift that plays a holiday tune. It is one of those relaxing Christmas crafts for adults that feels special to give. Pick a movement that plays a classic carol everyone knows.
You will need: A small unfinished wooden box, a wind up music box movement, paper napkins with a floral print, matte decoupage medium, acrylic paint, a drill.
How to make it: 1. Paint the box and drill a small opening in the bottom for the winding key. 2. Separate the top napkin layer and decoupage it onto the lid. 3. Seal with two coats, then fix the movement inside with strong glue.
Judy Garland Christmas Gingerbread House
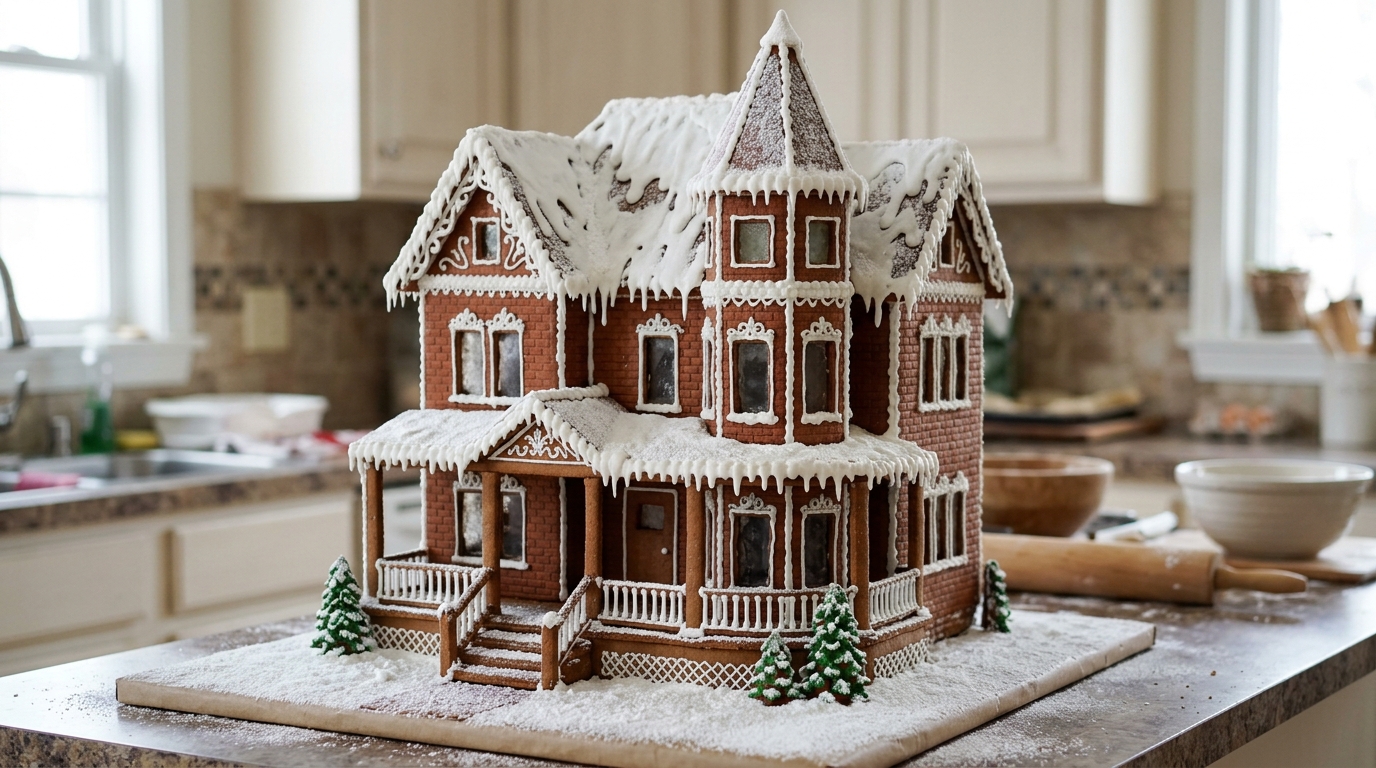
The Smith family home in the film is a tall Victorian on Kensington Avenue in St. Louis, with a deep porch and plenty of trim. Recreate it as a Judy Garland Christmas gingerbread house with a turret and icing gingerbread details. Draw your pattern on cardboard first, then cut the dough to match. Our gingerbread house ideas have more tips for sturdy walls. Dust the board with powdered sugar snow and add tiny trees for a front yard.
You will need: Gingerbread dough, a cardboard pattern, royal icing, a piping bag, powdered sugar, small cone shaped sugar trees, a cake board.
How to make it: 1. Bake the walls, roof panels and a small turret from your pattern and let them cool. 2. Glue the walls with thick royal icing and let them set for an hour. 3. Add the roof, pipe white trim along every edge and dust everything with powdered sugar.
Red Ribbed Glass Baubles for the Tree

Glass ornaments were the height of fashion at the turn of the century, and deep red ribbed baubles still look rich today. You can give plain ornaments the same vintage feel with a few coats of paint and a gold cap. Mix them with mercury glass and old family pieces, and see our vintage Christmas ornaments for more ways to show them off. A tree full of red glass instantly sets a 1903 mood.
You will need: Clear ribbed ornaments, red alcohol ink or translucent paint, gold metallic paint, a small paper cup, a paint pen.
How to make it: 1. Remove the cap and squeeze a little red paint inside each ornament. 2. Swirl to coat the inside and set it upside down in a paper cup to drain. 3. Paint the cap gold, let everything dry for a day and add a few gold lines with the paint pen.
Judy Garland Christmas Card Decoupage Tray
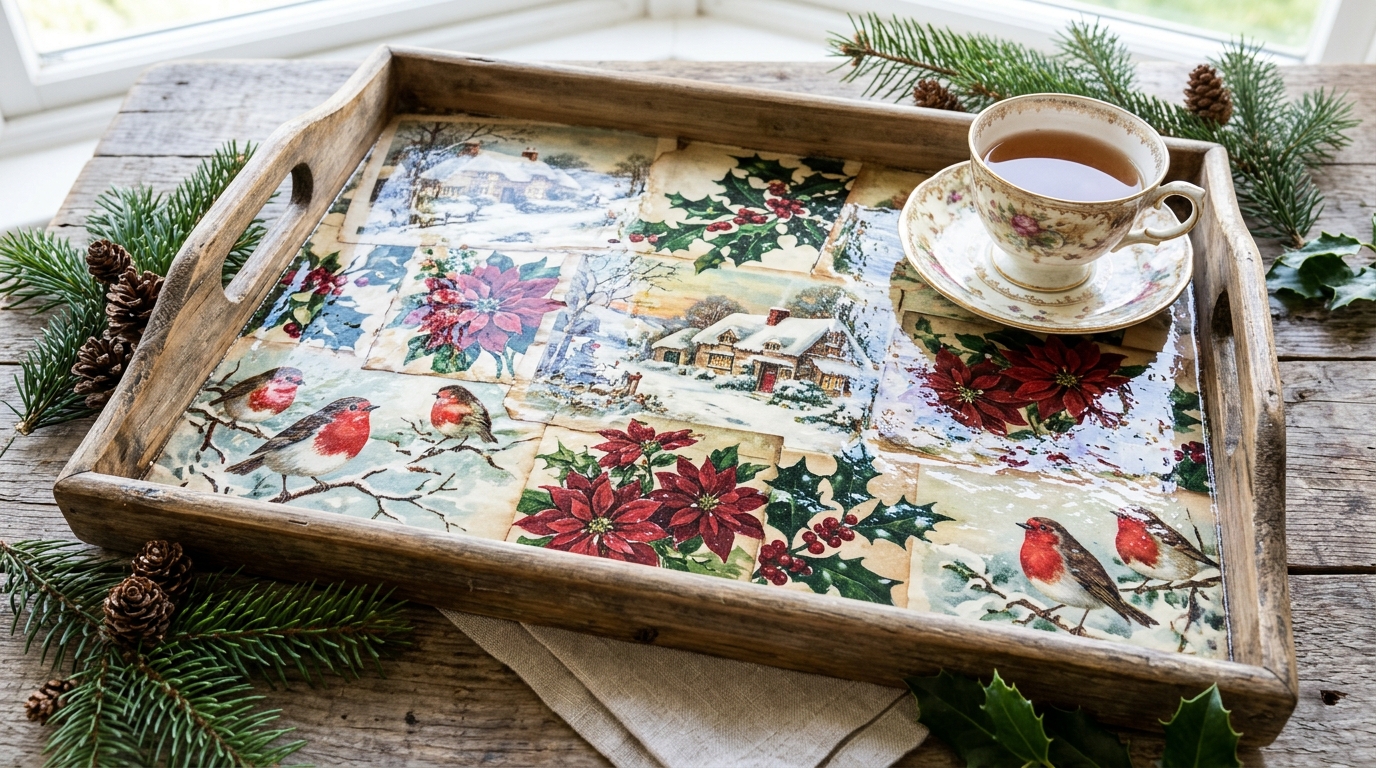
Victorian families loved collecting printed Christmas cards with robins, holly and snowy cottages. Turn copies of those pictures into a Judy Garland Christmas serving tray for cookies and cocoa. The idea comes straight from the era of Louis Prang Christmas cards, when cards first became popular in America. Print free vintage images on thin paper and layer them edge to edge for a patchwork look.
You will need: A wooden tray, printed vintage holiday card images, gloss decoupage medium, a foam brush, a brayer or old gift card, clear sealer.
How to make it: 1. Trim the pictures and arrange them on the tray bottom like a quilt. 2. Glue them down one at a time with decoupage medium and smooth out bubbles. 3. Add three top coats, letting each dry, then finish with a clear sealer for food safe use.
Holly Plates for a Family Christmas Supper
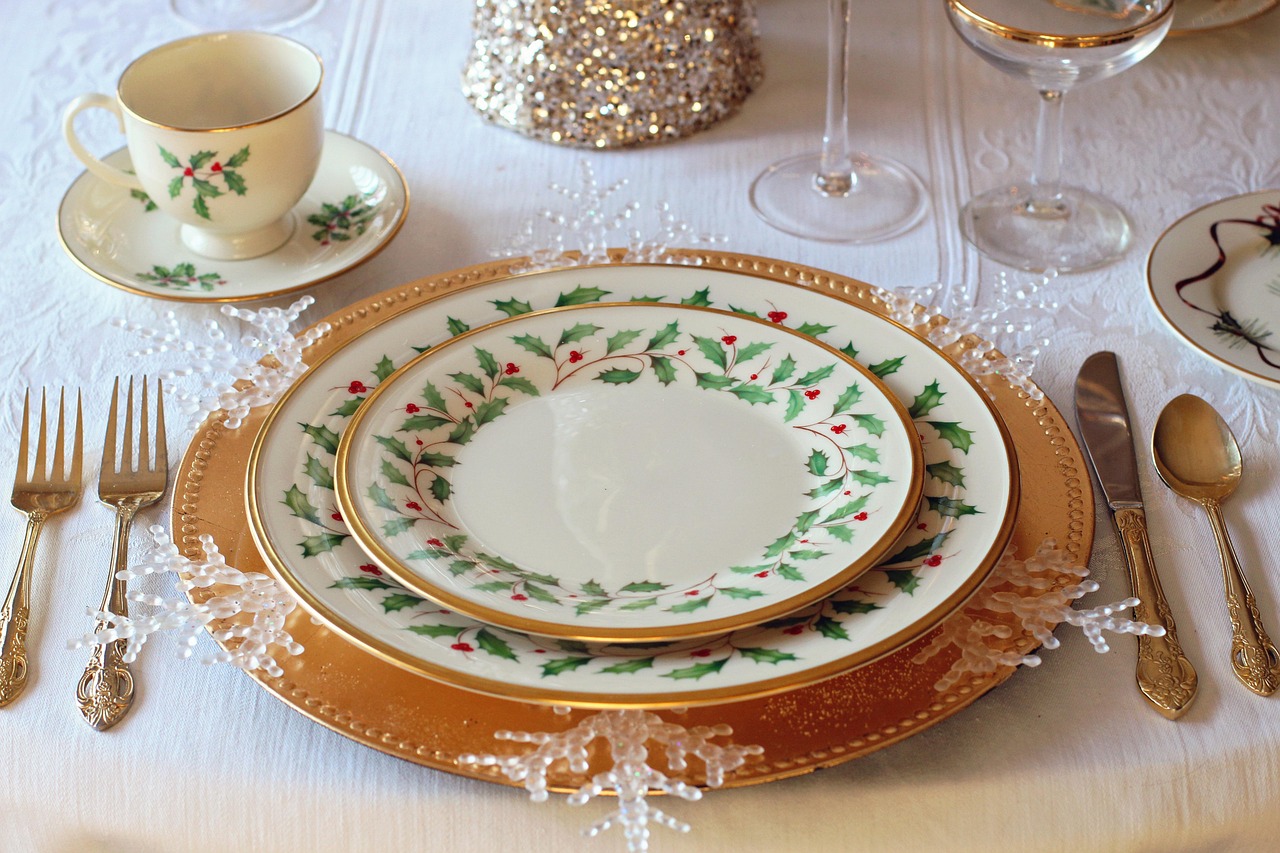
Family meals matter in Meet Me in St. Louis, and holly china makes any table feel like a holiday supper from long ago. If you do not own a holly pattern, decoupage paper napkins onto the back of clear glass plates. The design shows through the front and the plates stay easy to wipe clean. Find the full method in our decoupage Christmas plates guide, and set your table with gold chargers for a warm glow.
You will need: Clear glass plates, holly print paper napkins, matte decoupage medium, a foam brush, cream acrylic paint, a gold charger.
How to make it: 1. Separate the printed napkin layer and cut it to fit the plate. 2. Brush medium on the back of the plate, press the napkin face down and smooth it out. 3. Paint the back cream once dry, seal it and hand wash only.
Judy Garland Christmas Hat Box Gift Boxes

The women of the film wear grand hats, so hat boxes are a fun way to dress up your gifts. Thrift stores often sell sturdy round boxes for a dollar or two, and they take decoupage beautifully. Cover them in red and cream floral paper, stack them by size and tie them with velvet ribbon. For more clever packaging, see our DIY Christmas gift boxes. A tower of these boxes makes a festive display all on its own.
You will need: Round hat boxes or papier mache boxes, red floral wrapping paper, matte decoupage medium, a foam brush, wide red velvet ribbon.
How to make it: 1. Cut paper strips for the sides and circles for the lids. 2. Decoupage the paper on and smooth it from the center out. 3. Seal with one top coat, stack the boxes from large to small and tie them with a big velvet bow.
Wooden Sleds Dressed Up With Greenery
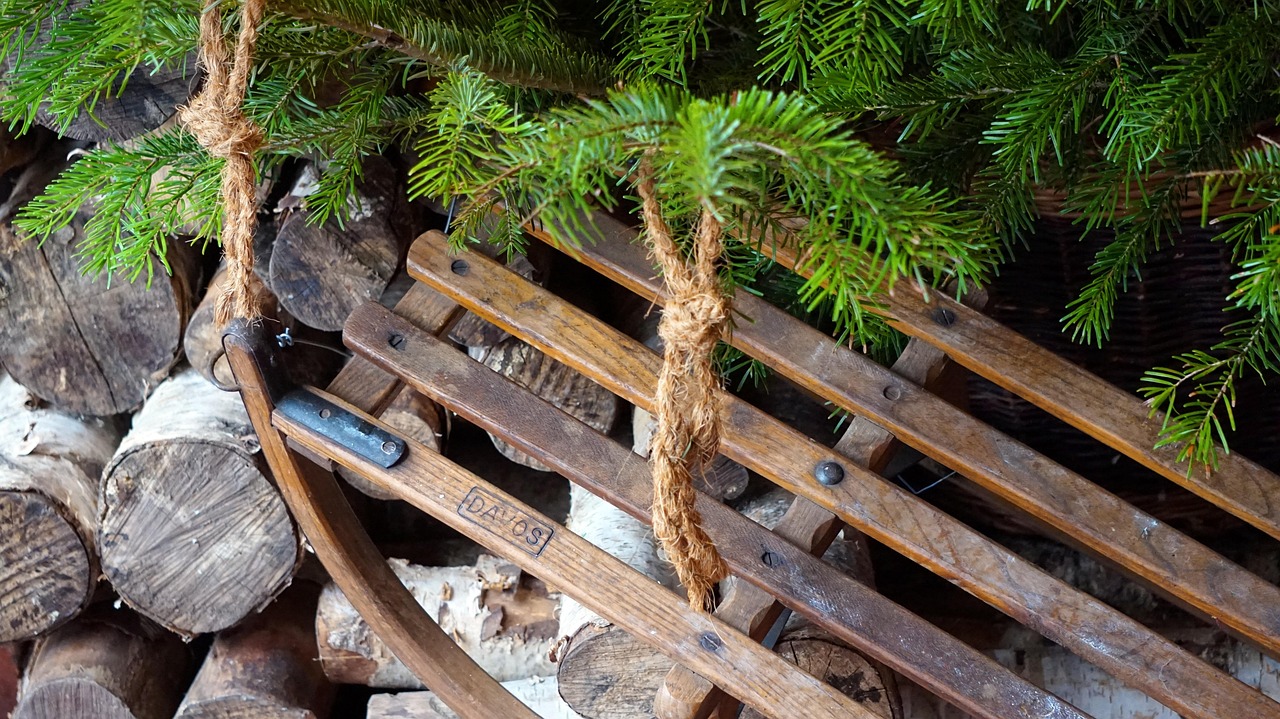
Snowy St. Louis winters meant sledding, and an old wooden sled makes a perfect porch decoration. Lean one by the door, tuck fir branches across the slats and add a plaid bow. If you find a vintage sled at a yard sale, check our vintage sled decor ideas for even more ways to use it. Small craft store sleds work just as well on a mantel or tucked into a basket with pine cones.
You will need: A wooden sled, fresh or faux fir branches, pine cones, floral wire, plaid ribbon, wood stain if needed.
How to make it: 1. Clean the sled and touch up the wood with stain. 2. Wire a bundle of fir branches and pine cones across the top slats. 3. Tie a plaid bow over the wire and lean the sled against the porch wall.
Lace and Pearl Ornaments Fit for the Ball
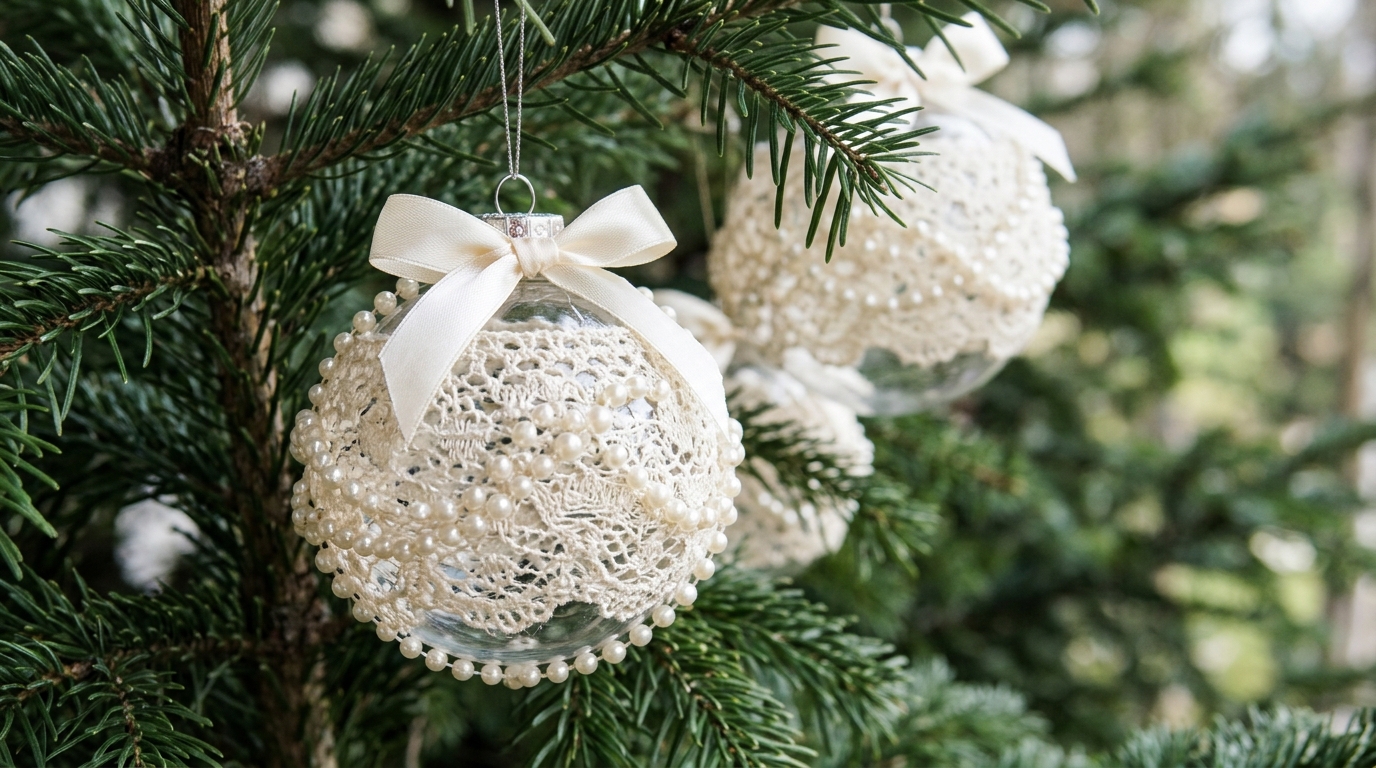
The Christmas Eve ball scenes are full of lace collars, pearls and pale satin, and these ornaments carry that elegance onto the tree. Wrap clear ornaments in vintage lace and strings of faux pearls, then top them with a small satin bow. Old doilies and lace trim from the thrift store work perfectly. For other pretty options, browse our handmade Christmas ornaments. Hang them near white or gold baubles so the lace really stands out.
You will need: Clear ornaments, ivory lace trim, faux pearl strands, fabric glue, thin ivory satin ribbon.
How to make it: 1. Glue lace around the ornament in bands, overlapping the ends neatly. 2. Wrap pearl strands between the lace bands and glue the ends under the cap. 3. Tie a small satin bow at the top and let the glue dry before hanging.
Sleigh Bells and Holly on the Piano

In the movie, the Smith family gathers around the piano to sing, and a piano is the heart of a Judy Garland Christmas parlor. Lay a garland of brass sleigh bells, holly and pine cones along the top or the key cover when you are not playing. It looks festive and jingles softly when someone opens the lid. Get more inspiration from our Christmas piano decor ideas, and keep sheet music for the film’s songs nearby for a sing along.
You will need: Brass sleigh bells, faux holly sprigs, small pine cones, floral wire, a length of red ribbon.
How to make it: 1. Thread the sleigh bells onto ribbon, spacing them about 4 inches apart. 2. Wire holly sprigs and pine cones between the bells. 3. Drape the garland along the top of the piano and secure the ends with removable putty.