Kidult Craft Ideas: 16 Childhood Crafts Grown Ups Are Happily Making for Themselves Again
Kidult craft ideas are the cheerful side of a big new trend, and you might already be part of it. A new Harris Poll on the rise of kidulting found that 89 percent of Americans spent money on play in the past year, including 92 percent of millennials and 95 percent of Gen Z. Eight in ten said they did playful things just for their own enjoyment. For many of us, play means the crafts we loved as kids: shrink plastic charms, pom poms, paper mache and painted rocks. This time, though, we make them for our homes, our gifts and our own happy evenings. Below are 16 childhood crafts with a grown up twist, each with a short supply list and easy steps..
Kidult Craft Ideas Bring Back the Fun
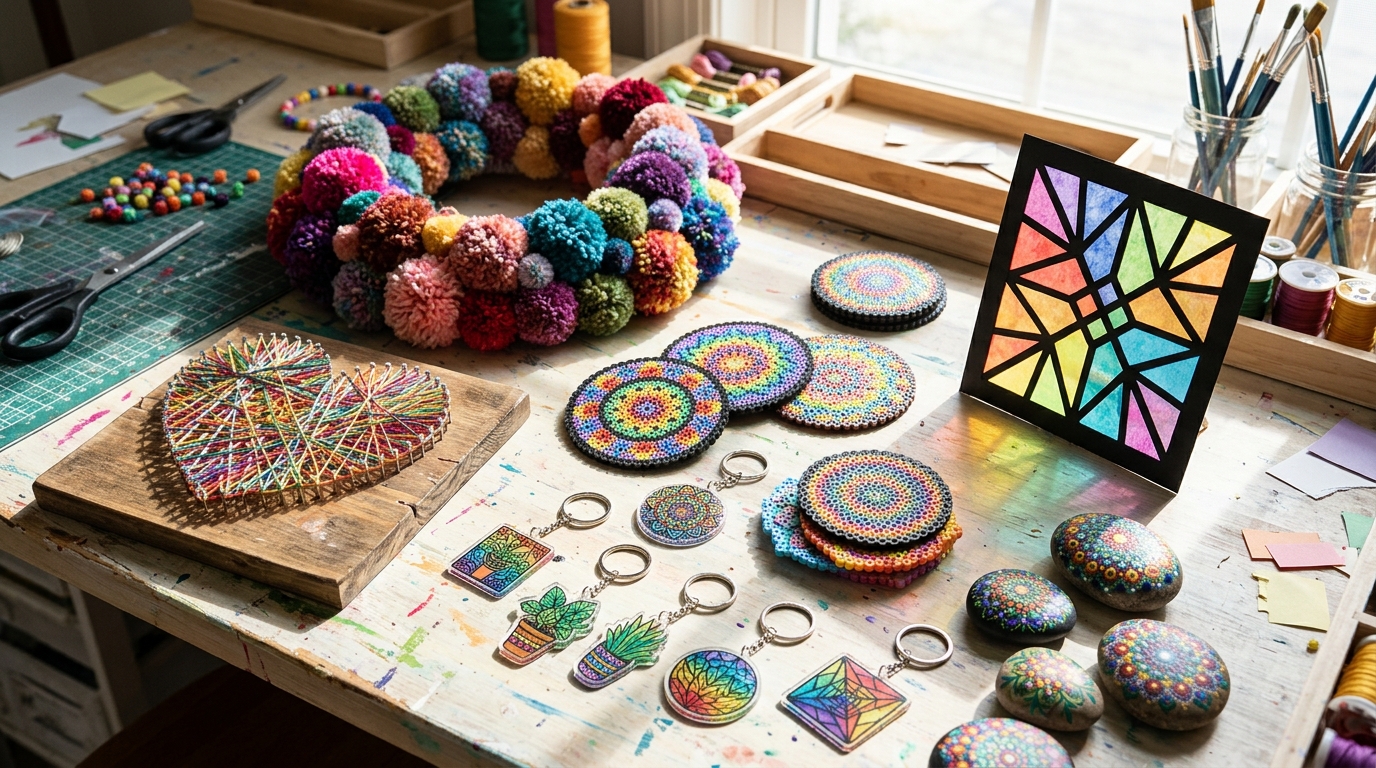
There is a reason these crafts feel so good. They are simple, colorful and a little bit silly, and they let your mind rest. According to the new poll, most adults now say they make time to play just for themselves. Set out a table with a few supplies, put on some music, and pick one project from your childhood. You might be surprised how quickly an hour flies by..
You will need: A clear table, a craft mat, basic supplies like glue, scissors, paint and markers, a playlist of favorite songs.
How to make it: 1. Choose one craft you loved as a child. 2. Gather the supplies on a tray so cleanup is easy. 3. Give yourself one evening with no goal except to have fun.
Shrink Plastic Charms and Keychains
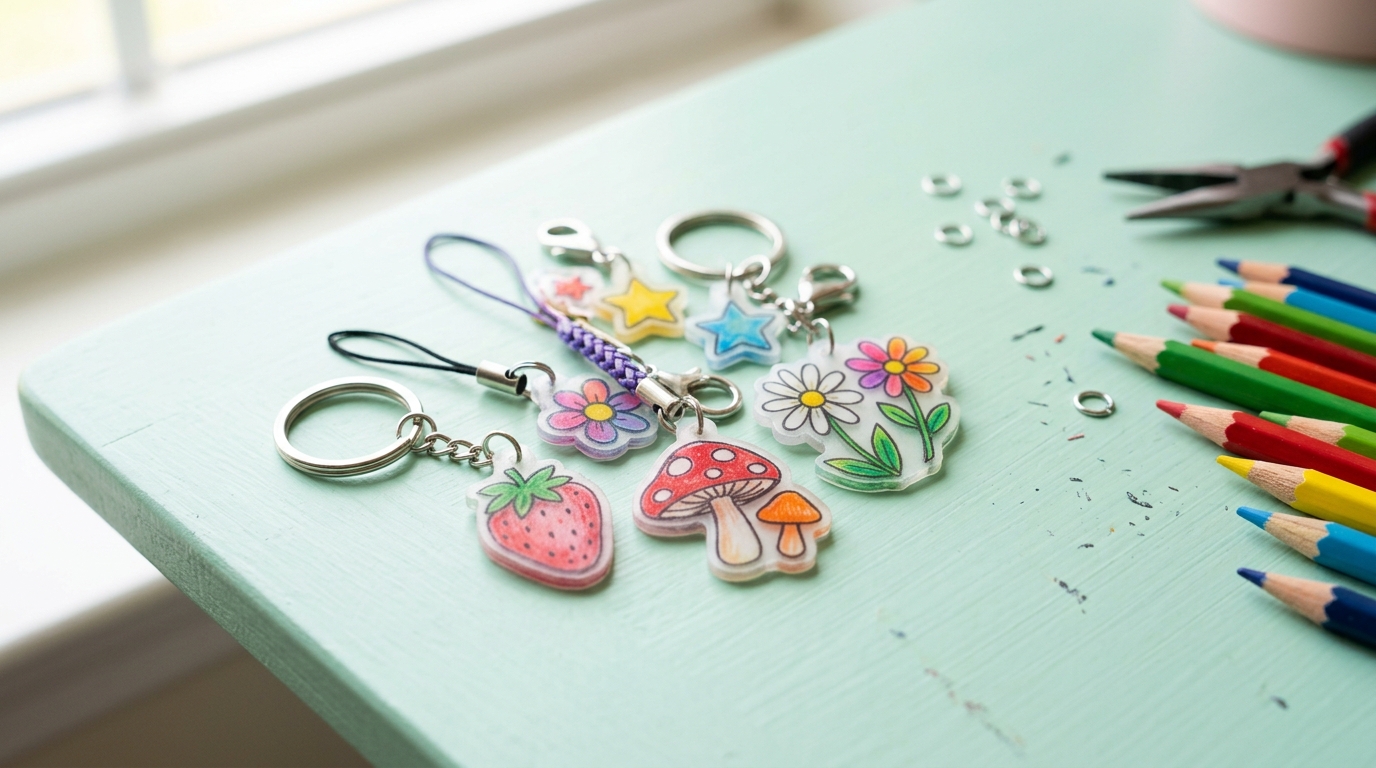
Remember drawing on a plastic sheet and watching it shrink in the oven? It still feels like magic, and it tops many lists of kidult craft ideas. Grown ups are making tiny charms for keychains, zipper pulls and gift tags in soft colors and simple line drawings. Punch the hole before baking, because the plastic gets hard and thick. An adult should handle the oven, with a window open, and follow the package temperature. What tiny picture would you draw first?
You will need: Shrink plastic sheets, colored pencils or permanent markers, a hole punch, scissors, a baking sheet, parchment paper, keyrings.
How to make it: 1. Draw your design large, color it and cut it out. 2. Punch a hole near the top. 3. Bake on parchment as the package says with an adult, let it cool and add a keyring.
Grown Up Paint by Numbers
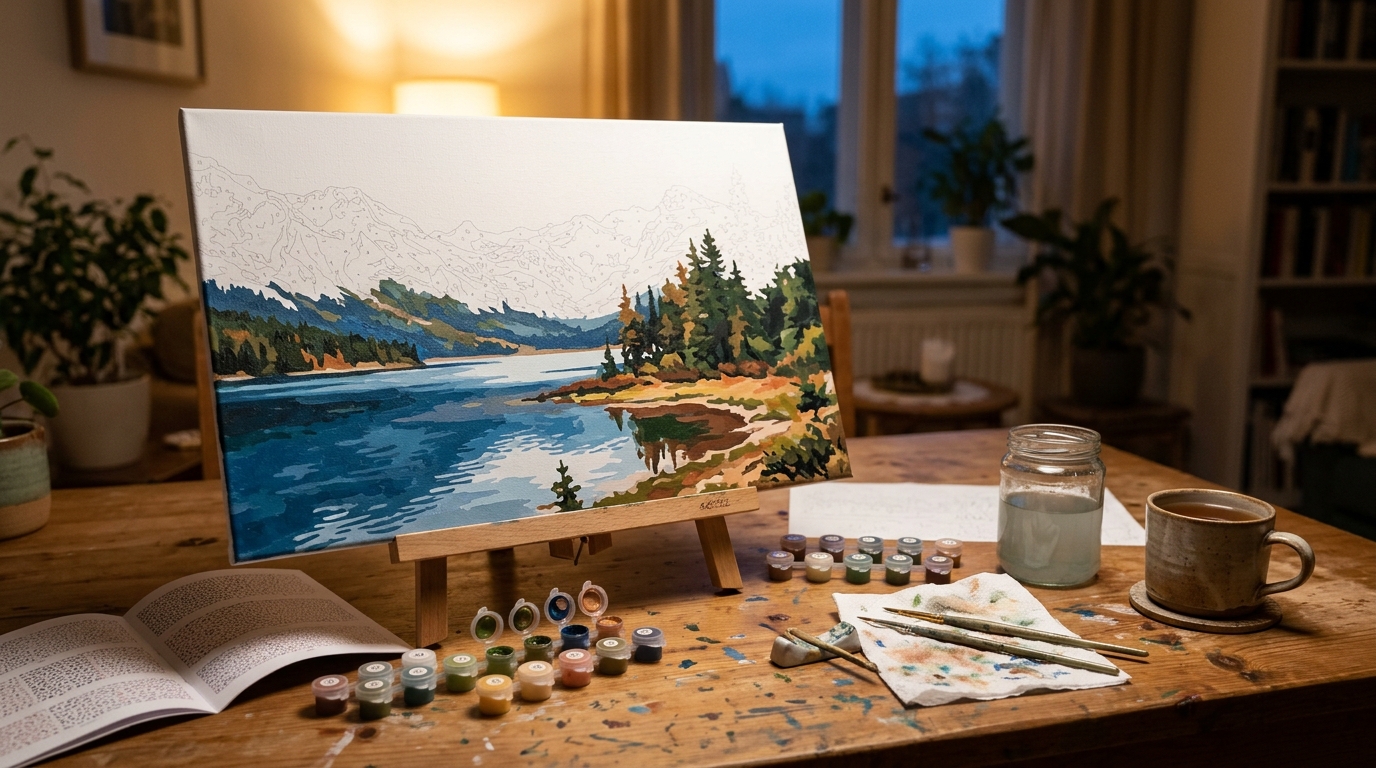
Paint by numbers is one of the calmest kidult craft ideas, and it is back with beautiful landscapes, flowers and city scenes made for adults. It is calm and steady, like a puzzle with paint, and the finished piece looks good enough to frame. Start with a small canvas so you can finish it in a weekend. Many people paint a little each night instead of scrolling on their phones. What scene would you want to paint?
You will need: An adult paint by numbers kit, fine brushes, a cup of water, paper towels, good light.
How to make it: 1. Start with the darkest colors first. 2. Paint one number at a time and close each paint pot when you finish. 3. Let it dry and frame it.
Kidult Craft Ideas With Fuse Bead Coasters
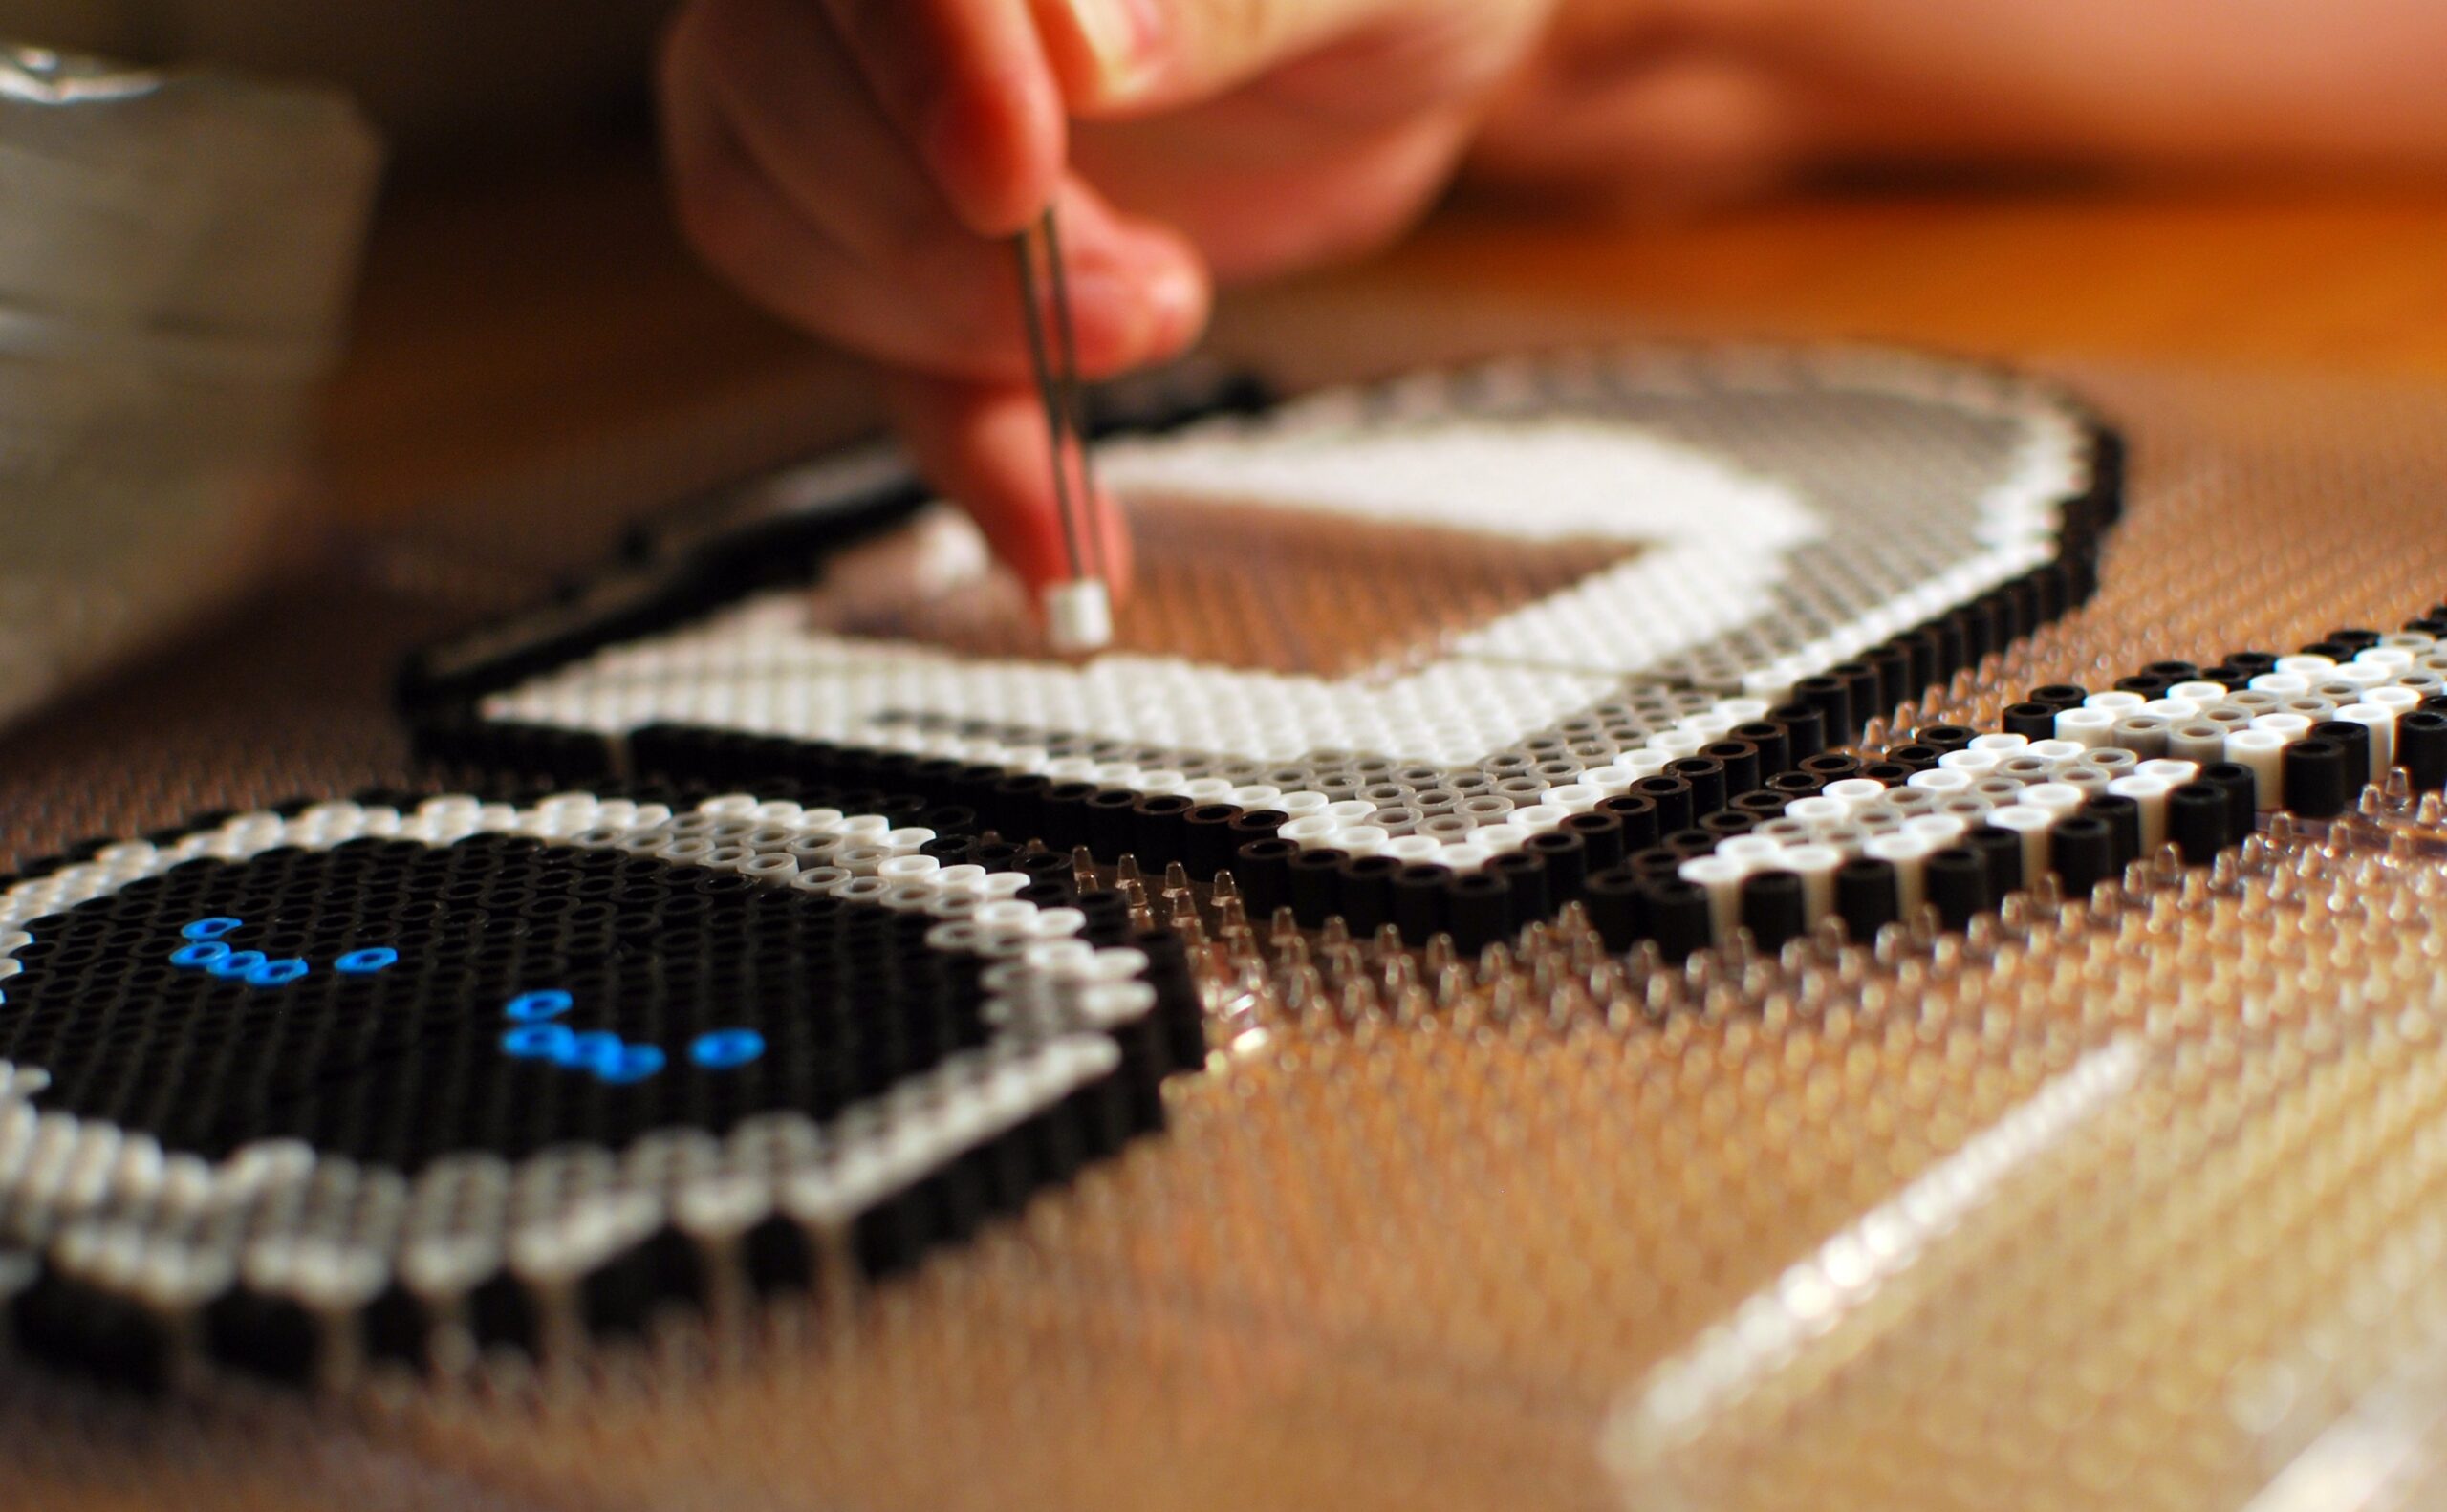
Those little plastic beads you ironed as a kid now make bright, modern coasters and trivets. Try simple patterns like checkerboards, rainbows or tiny fruit. Use parchment paper between the iron and the beads, and let an adult handle the iron. A set of four makes a playful housewarming gift. Which pattern would you choose for your table?
You will need: Fuse beads in your colors, a square pegboard, ironing paper or parchment, an iron (adult use), cork backing if you like.
How to make it: 1. Place beads on the pegboard in your pattern. 2. Cover with parchment and iron gently until the beads join. 3. Let it cool, flip and iron the other side, then glue on cork.
A Pom Pom Wreath for the Front Door
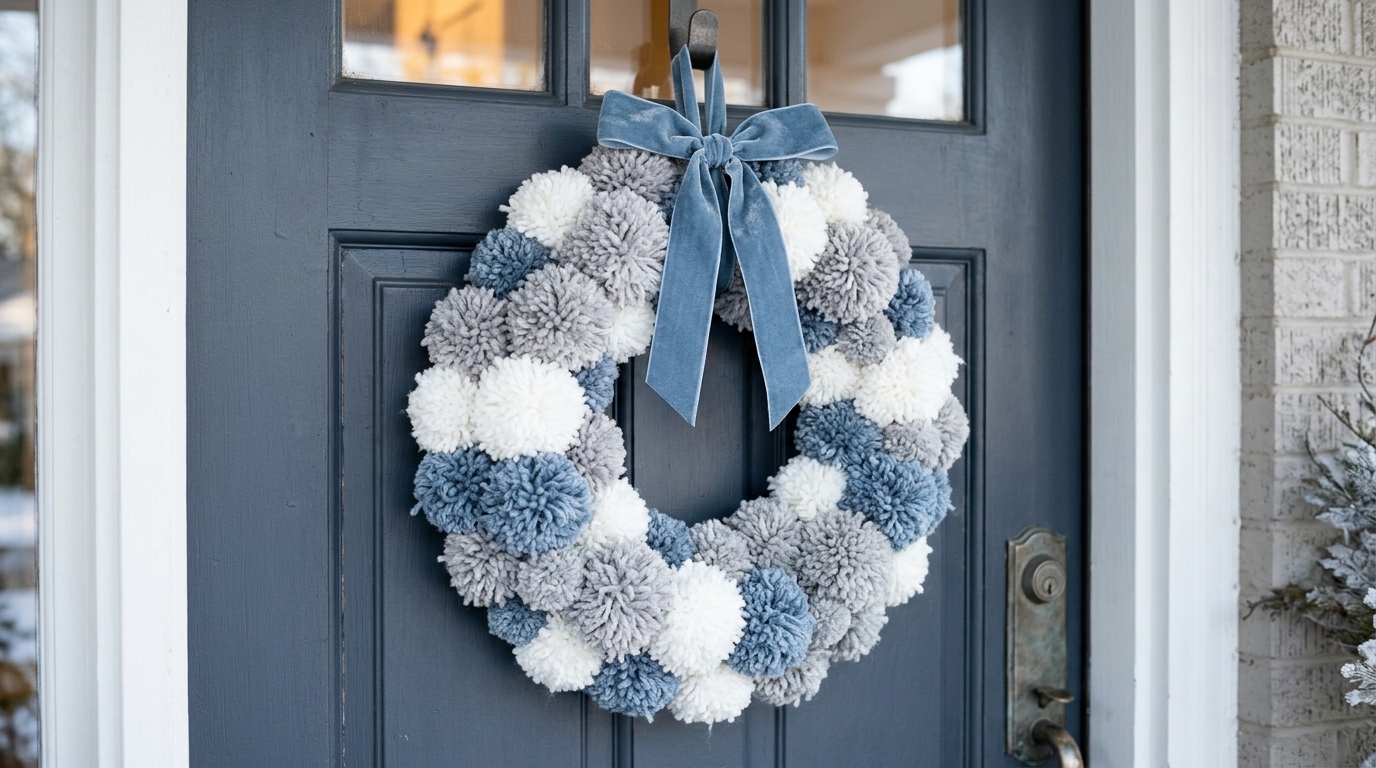
Making pom poms with a fork or a piece of cardboard is a classic childhood craft, and a whole wreath of them looks wonderfully cozy. Choose winter whites and soft grays for a calm look, or bright colors for a cheerful one. Glue them onto a foam ring until it is full and fluffy. It is one of those kidult craft ideas that looks like it came from a boutique. Which colors suit your door?
You will need: Yarn in three or four colors, a pom pom maker or cardboard, scissors, a foam wreath ring, a low temp glue gun (adult help), ribbon.
How to make it: 1. Make 30 to 40 pom poms in different sizes. 2. Glue them all around the ring, close together. 3. Tie on a ribbon to hang it.
Potato Stamp Gift Wrap
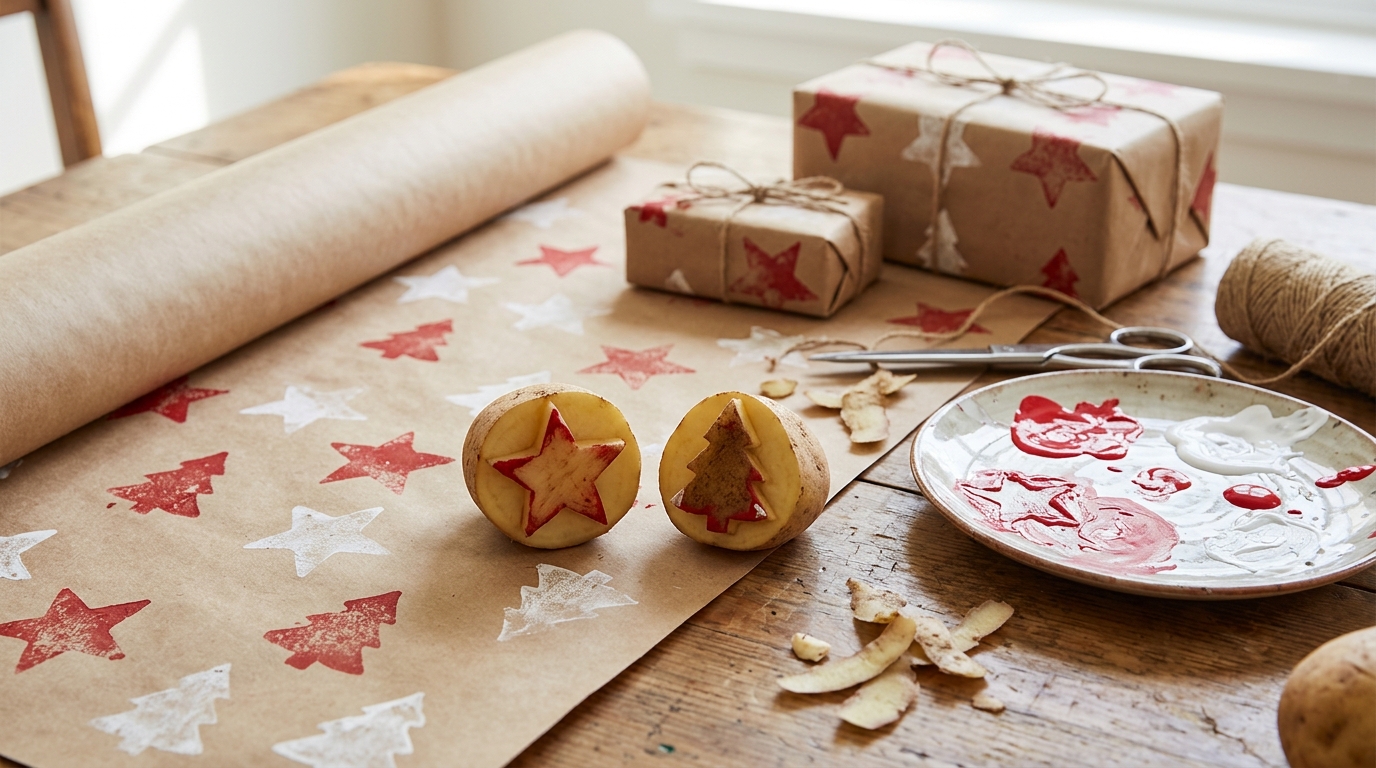
Cutting shapes into a potato half and stamping paint onto paper is a joy at any age. Simple shapes like stars, hearts, trees and dots look modern on brown kraft paper. Use one or two colors for a stylish holiday gift wrap. An adult should cut the potato shapes with a small knife. It is a fun project to do with kids, too. What shape would you stamp?
You will need: Potatoes, a small knife (adult use), cookie cutters, acrylic or craft paint, a paper plate, brown kraft paper.
How to make it: 1. Cut a potato in half and press a cookie cutter into it, then trim away the outside. 2. Dab the stamp in paint on a plate. 3. Stamp a pattern on the paper and let it dry.
Kidult Craft Ideas With String Art
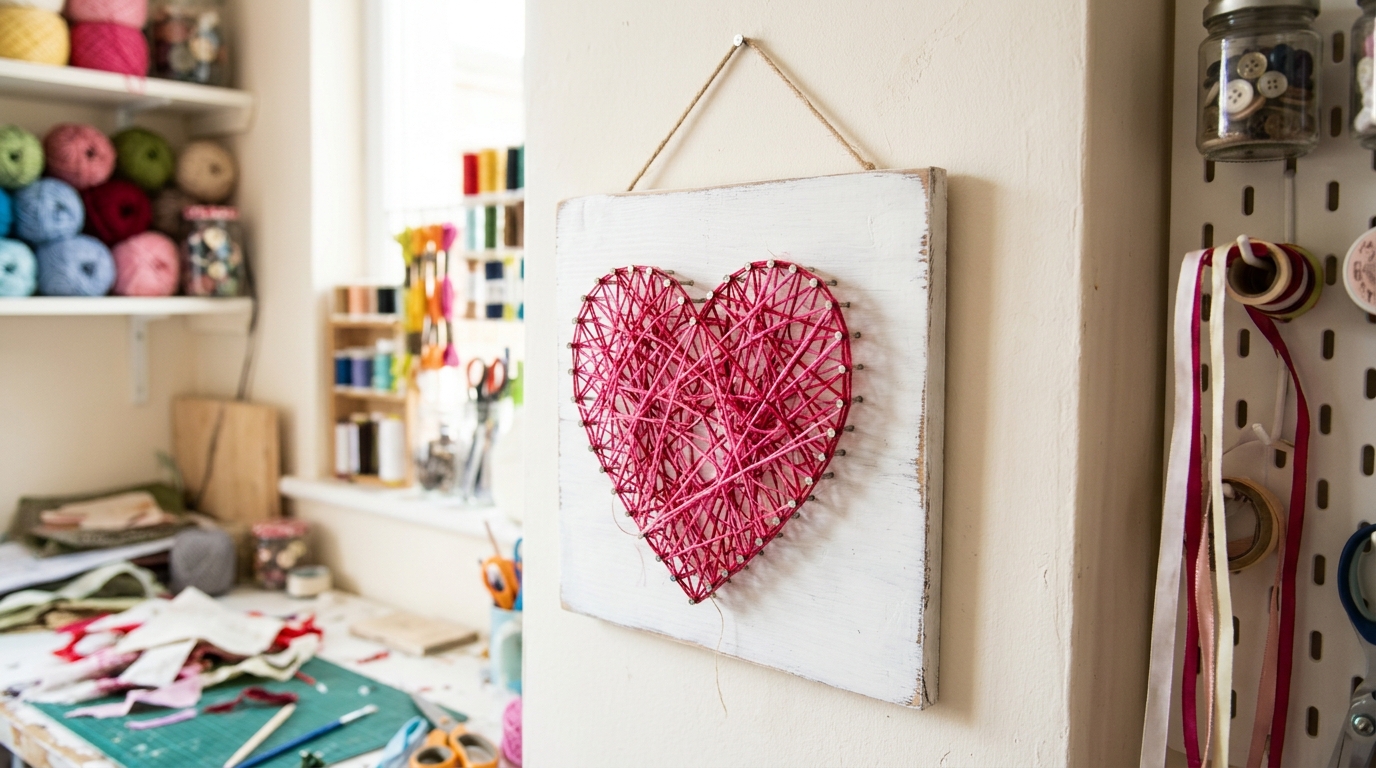
String art was a favorite in summer camps and school art rooms, and it looks fresh again on a painted board. Draw a simple shape like a heart, a star or a word, tap in small nails along the outline and wrap colorful thread around them. An adult should handle the hammer and nails. It makes a fun wall hanging for a craft room or a kid’s room. What shape would you make?
You will need: A scrap wood board, paint, small nails, a small hammer (adult use), embroidery thread, a paper template.
How to make it: 1. Paint the board and tape the paper template on top. 2. Tap in nails along the lines and remove the paper. 3. Tie the thread to one nail and wrap it back and forth across the shape.
Lanyard Keychains Like Summer Camp
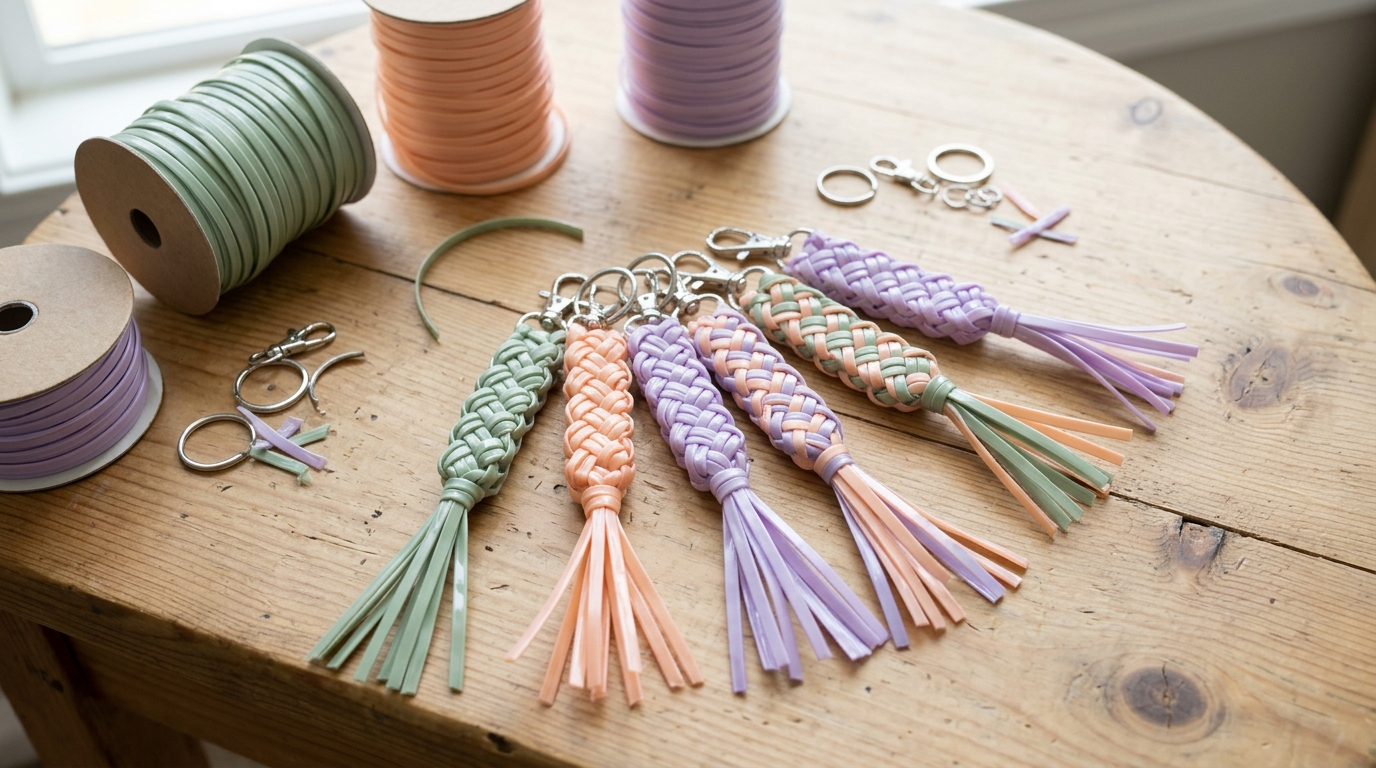
Remember braiding plastic lace into keychains at camp? Kidults are making them again in soft modern colors. The box stitch is easy to learn and very relaxing once you get the rhythm. Attach a clip and they are perfect for keys, bags or water bottles. Make them in a friend’s favorite colors as a fun little gift. Which colors would you braid first?
You will need: Plastic lacing cord in two colors, a keyring or clip, scissors.
How to make it: 1. Cross two cords through the keyring so you have four strands. 2. Weave the box stitch, pulling each round tight. 3. Keep going to the length you want and tie it off.
Tissue Paper Stained Glass Window Art
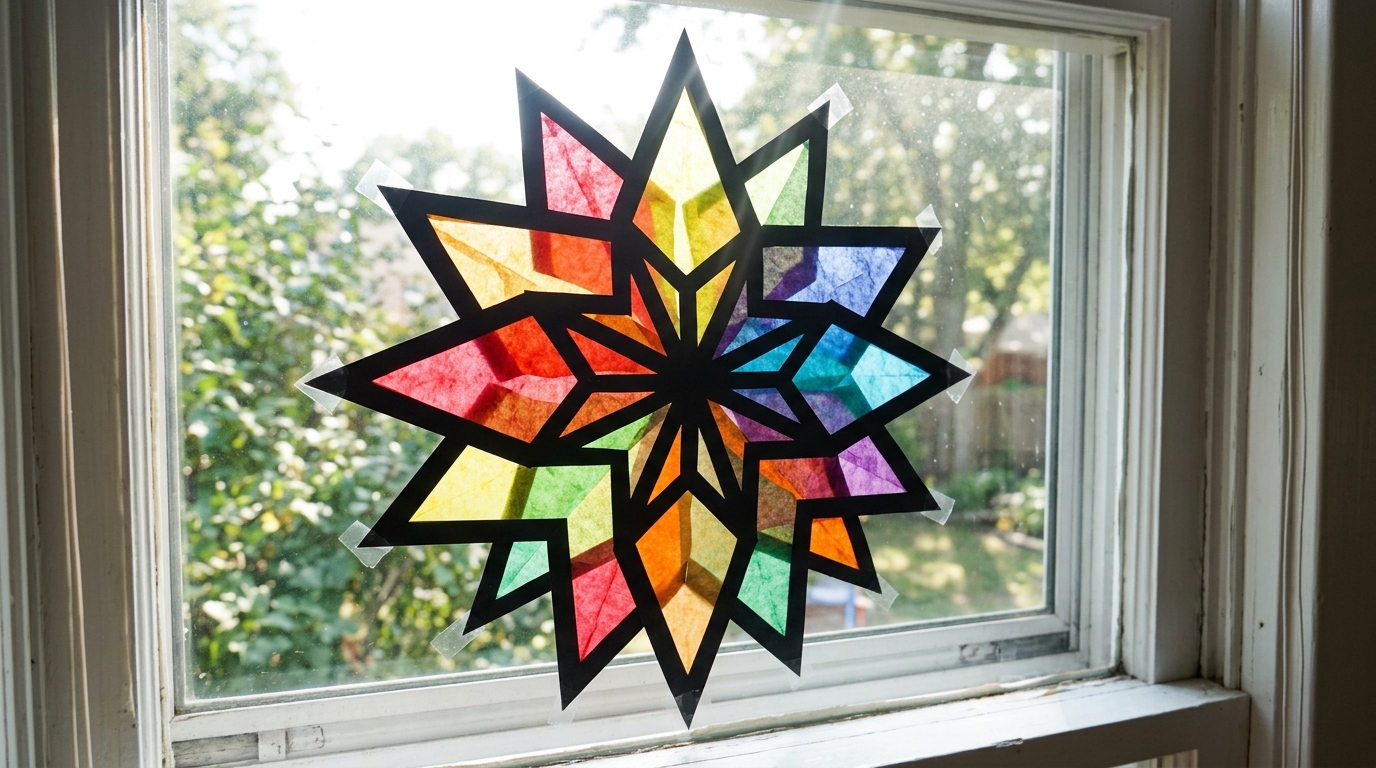
Tissue paper on clear contact paper makes a bright stained glass look that glows in the window. Cut a frame from black paper, fill it with overlapping squares of color, and seal it with another sheet. Try a rainbow, a flower or a big star for the holidays. It is quick, cheap and very satisfying when the sun hits it. Which window would you brighten?
You will need: Clear contact paper, tissue paper in many colors, black card stock, scissors, tape.
How to make it: 1. Cut a frame shape from black card stock. 2. Stick it to the sticky side of the contact paper and fill it with tissue squares. 3. Seal with a second sheet and tape it to a window.
Paper Mache Bowls With Decoupage Tops
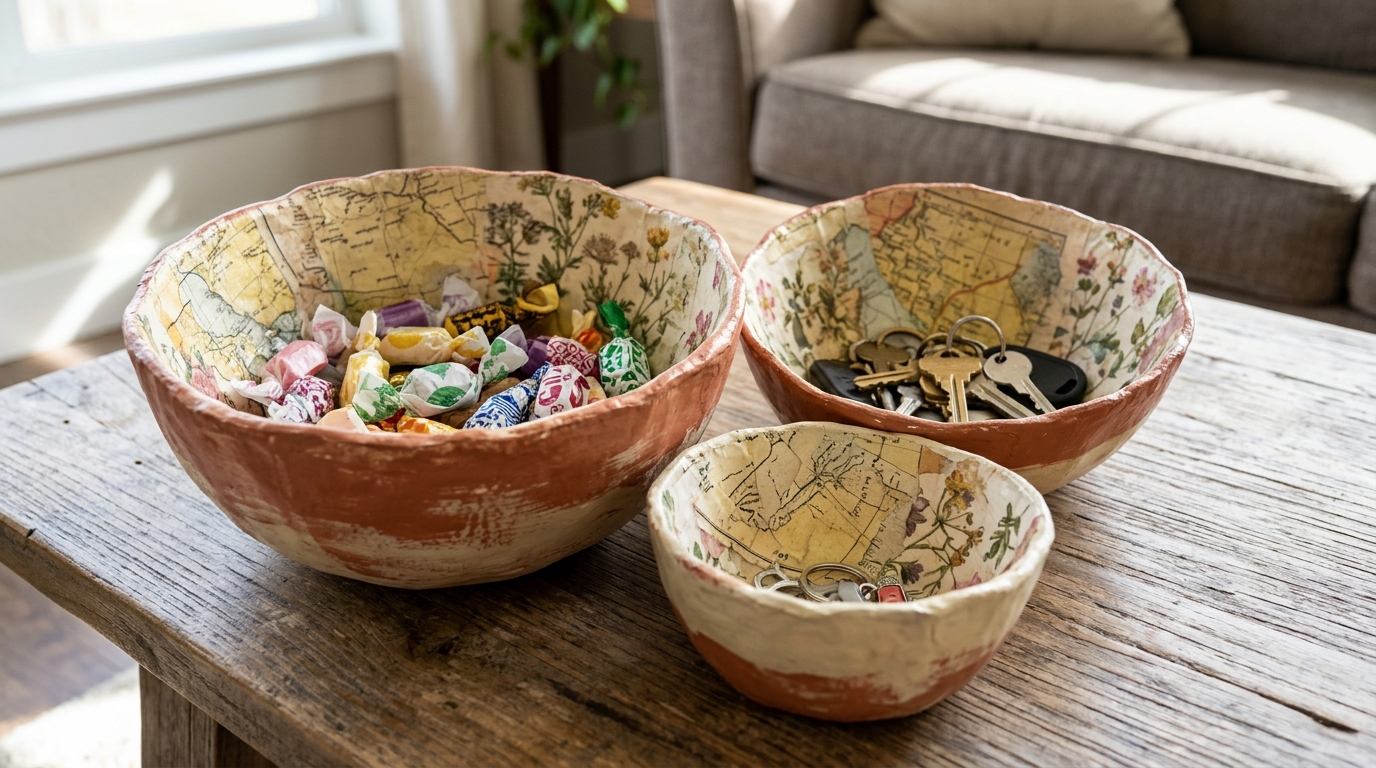
Paper mache was messy fun in school, and it is just as fun now. Layer paper strips over a balloon, let them dry, then pop the balloon to reveal a light bowl. Paint the outside and decoupage pretty napkins or old maps inside for a grown up look. Use them to hold keys, jewelry or wrapped candy. Which pattern would you add inside?
You will need: A balloon, newspaper strips, flour and water paste or white glue, paint, printed napkins, decoupage glue.
How to make it: 1. Cover half the balloon with three or four layers of paper strips and paste. 2. Let it dry fully, then pop the balloon and trim the edge. 3. Paint the outside and decoupage the inside.
Kidult Craft Ideas for the Tree With Salt Dough
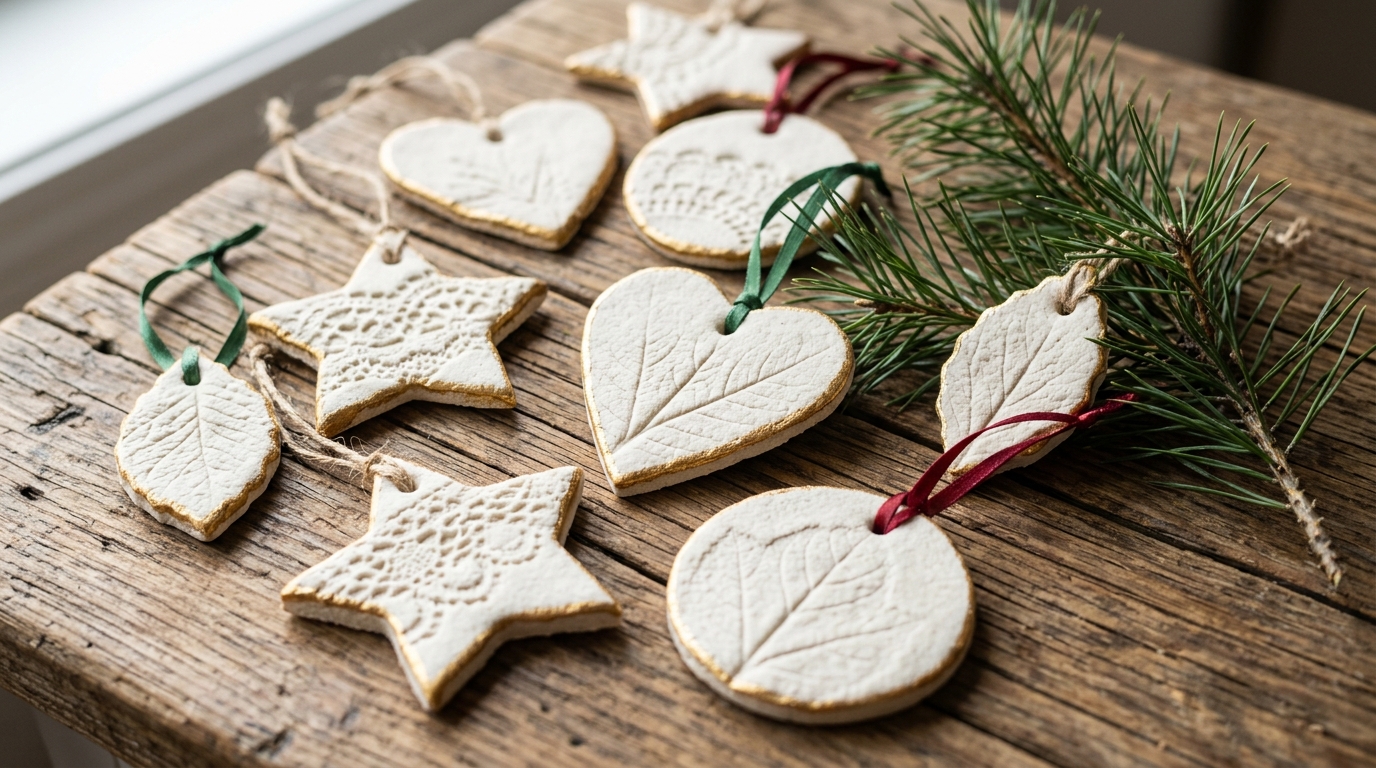
Salt dough ornaments are a holiday tradition for many families, and grown ups are making elegant versions with white paint and gold edges. Press leaves, lace or stamps into the dough for pretty textures. Bake them low and slow with an adult at the oven, then paint them. They make a lovely set to give with a holiday card. Will you make them all white or full of color?
You will need: Flour, salt, water, cookie cutters, a straw, lace or stamps for texture, white and gold paint, ribbon.
How to make it: 1. Mix two cups flour, one cup salt and about three quarters cup water into a dough. 2. Roll, cut shapes, press in texture and poke a hole with a straw. 3. Bake low with an adult until hard, then paint and add ribbon.
Painted Rocks for the Garden
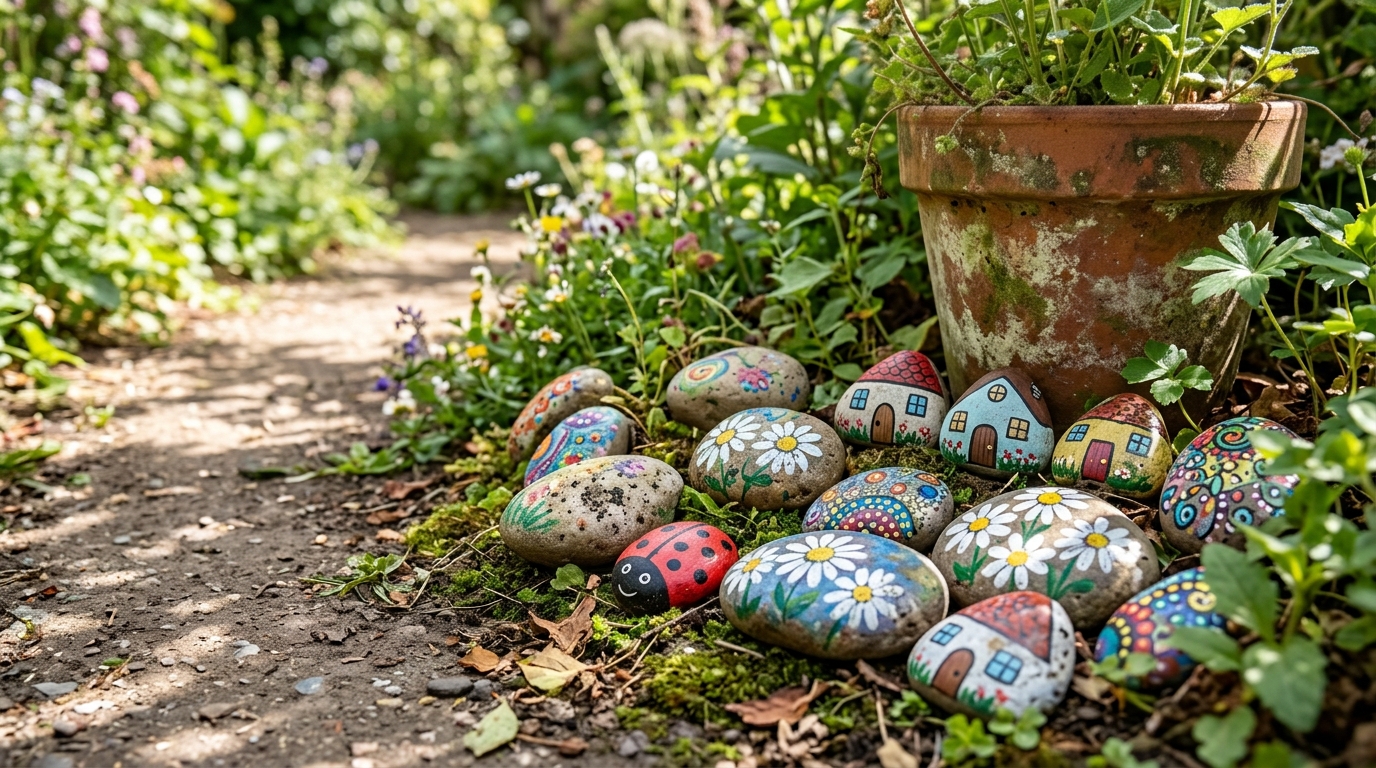
Painting rocks is one of the most relaxing kidult craft ideas, and the results brighten a garden path or a plant pot. Paint ladybugs, flowers, little houses or kind words. Seal them with outdoor sealer so they last through the weather. Some people leave them around their neighborhood for others to find, which makes the joy spread. What would you paint first?
You will need: Smooth clean rocks, acrylic paint pens or paint, small brushes, outdoor sealer.
How to make it: 1. Wash and dry the rocks. 2. Paint a base color, then add your design with paint pens. 3. Seal with outdoor sealer and set them in the garden.
Pasta Ornaments Sprayed Gold
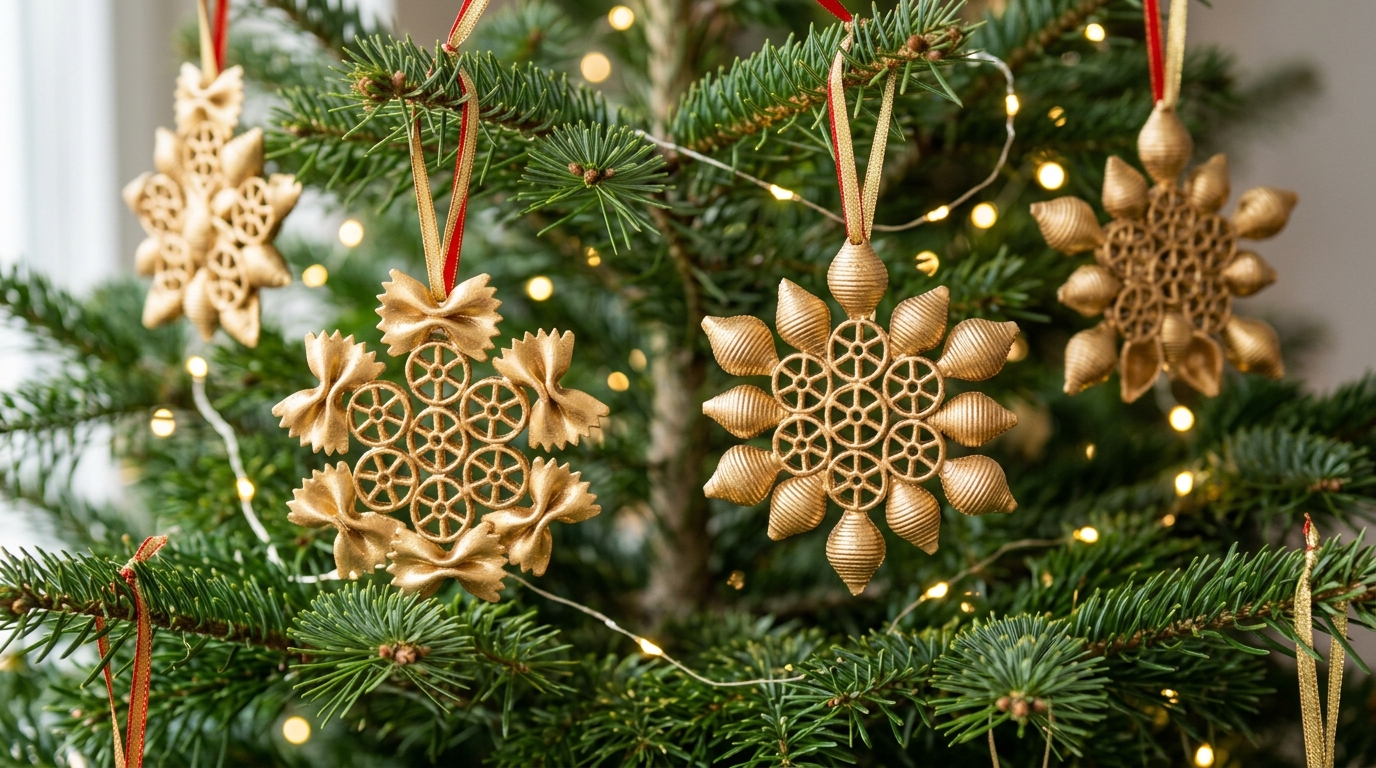
Macaroni crafts were a school favorite, and now they are among the most surprising kidult craft ideas thanks to a glamorous upgrade. Glue bow tie, wheel and shell pasta into stars, snowflakes and wreaths, then spray them gold. Nobody guesses they are pasta until they look closely. An adult should do the spray painting outdoors. For more nostalgic holiday fun, take a look at this 90s Christmas decor. Which shape will you make?
You will need: Dry pasta in fun shapes, craft glue, cardboard or parchment, gold spray paint (adult use, outdoors), ribbon.
How to make it: 1. Arrange pasta into a star or snowflake on parchment and glue it together. 2. Let it dry overnight. 3. Spray gold outdoors with an adult, then add a ribbon loop.
Felt Finger Puppets as Gift Toppers
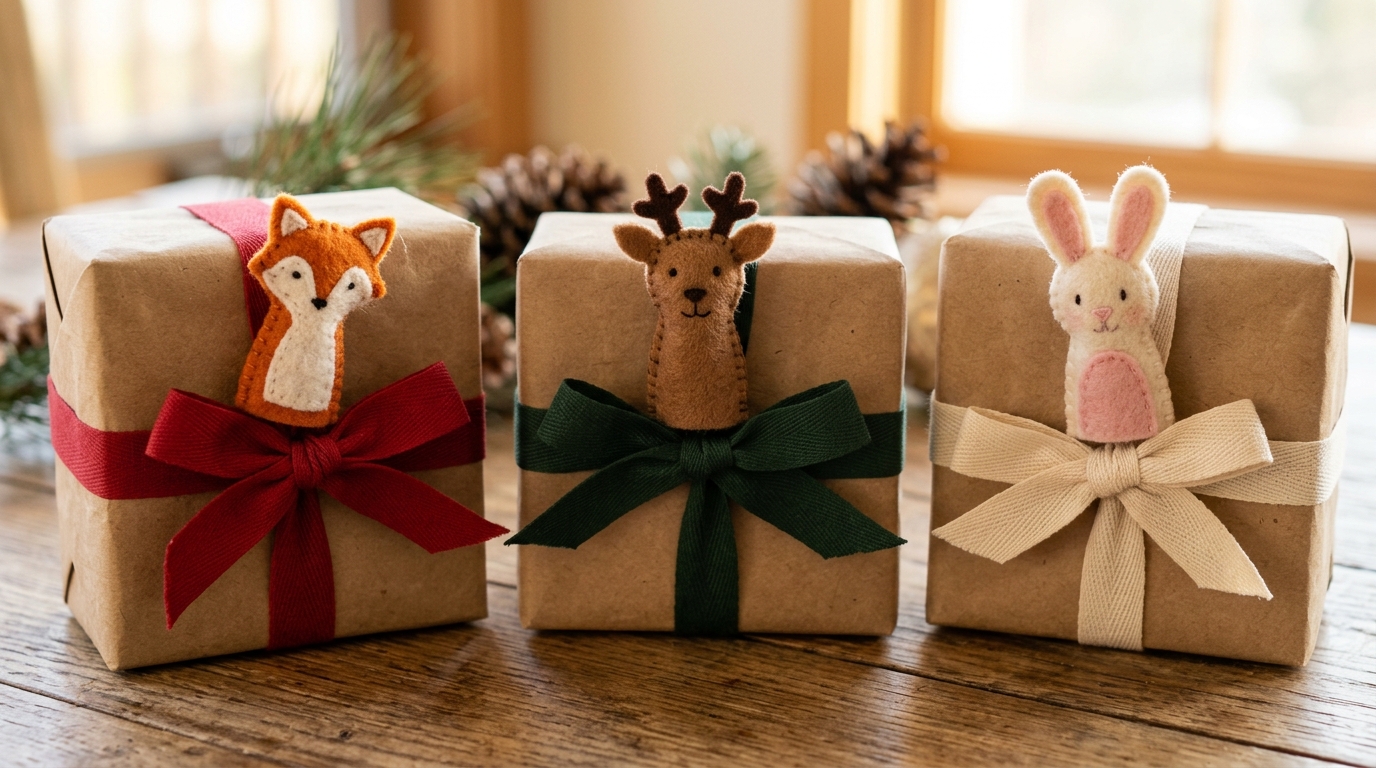
Little felt finger puppets make playful gift toppers that kids and grown ups both love. Cut simple animal shapes like a fox, a reindeer or a bunny, and stitch or glue them together. Slide them onto a bow on top of a gift, and the wrapping becomes part of the present. They are quick to make in an evening while watching a movie. Which animal would you make first?
You will need: Felt in a few colors, scissors, a needle and embroidery thread or fabric glue, small googly eyes or embroidery for faces.
How to make it: 1. Cut two matching finger shapes from felt for each puppet. 2. Stitch or glue the edges, leaving the bottom open. 3. Add ears, faces and details and slip it onto a gift bow.
A Puffy Paint Sweatshirt Makeover
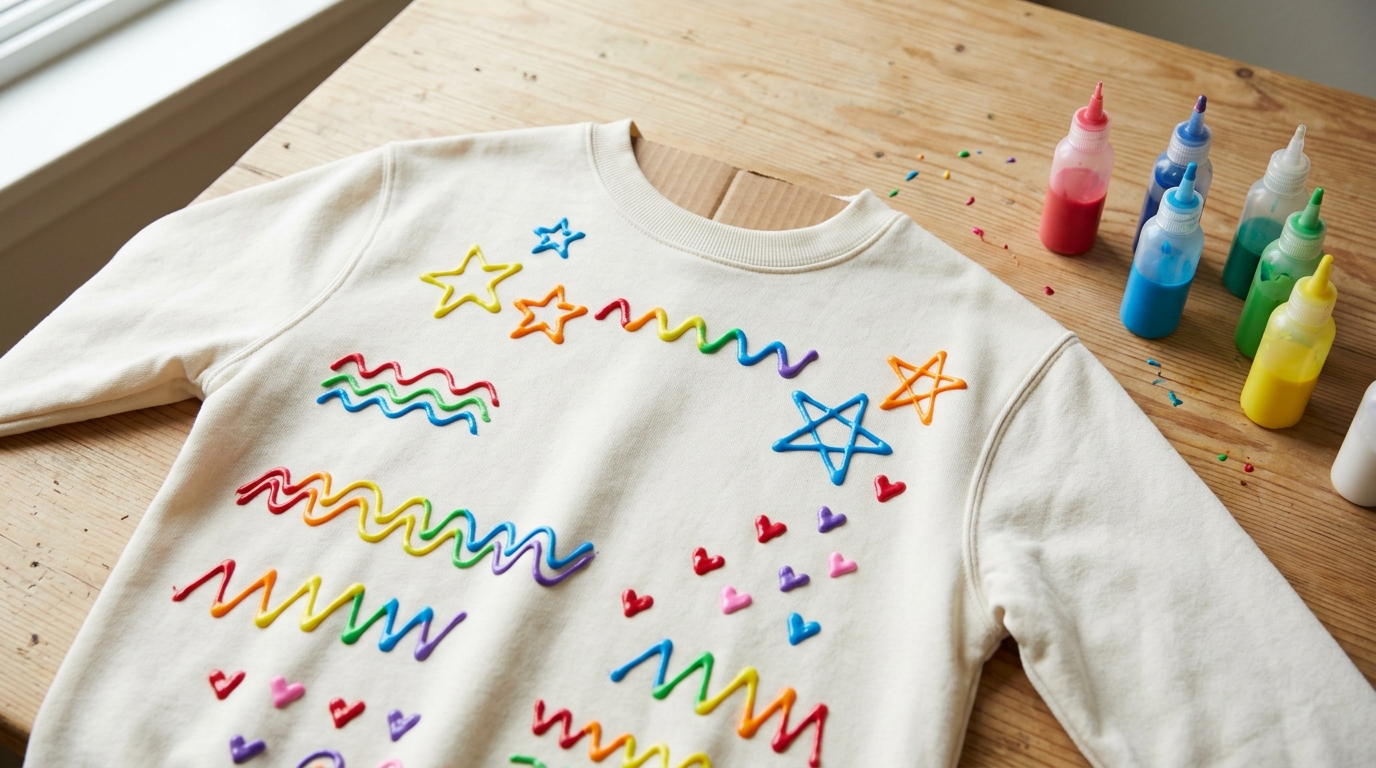
Puffy paint was everywhere in the 90s, and like many kidult craft ideas it is back on cozy sweatshirts in grown up designs. Try simple stars, wavy lines, little hearts or your initials on a plain sweatshirt. Put cardboard inside so the paint does not soak through, and let it dry flat overnight. It is a fun group project for a girls’ night or a family craft night. What design would you add?
You will need: A plain sweatshirt, puffy fabric paint in a few colors, a piece of cardboard, chalk for sketching.
How to make it: 1. Slide cardboard inside the sweatshirt. 2. Sketch your design lightly with chalk. 3. Trace over it with puffy paint and let it dry flat for at least a day.
Kidult Craft Ideas for a Grown Up Craft Night
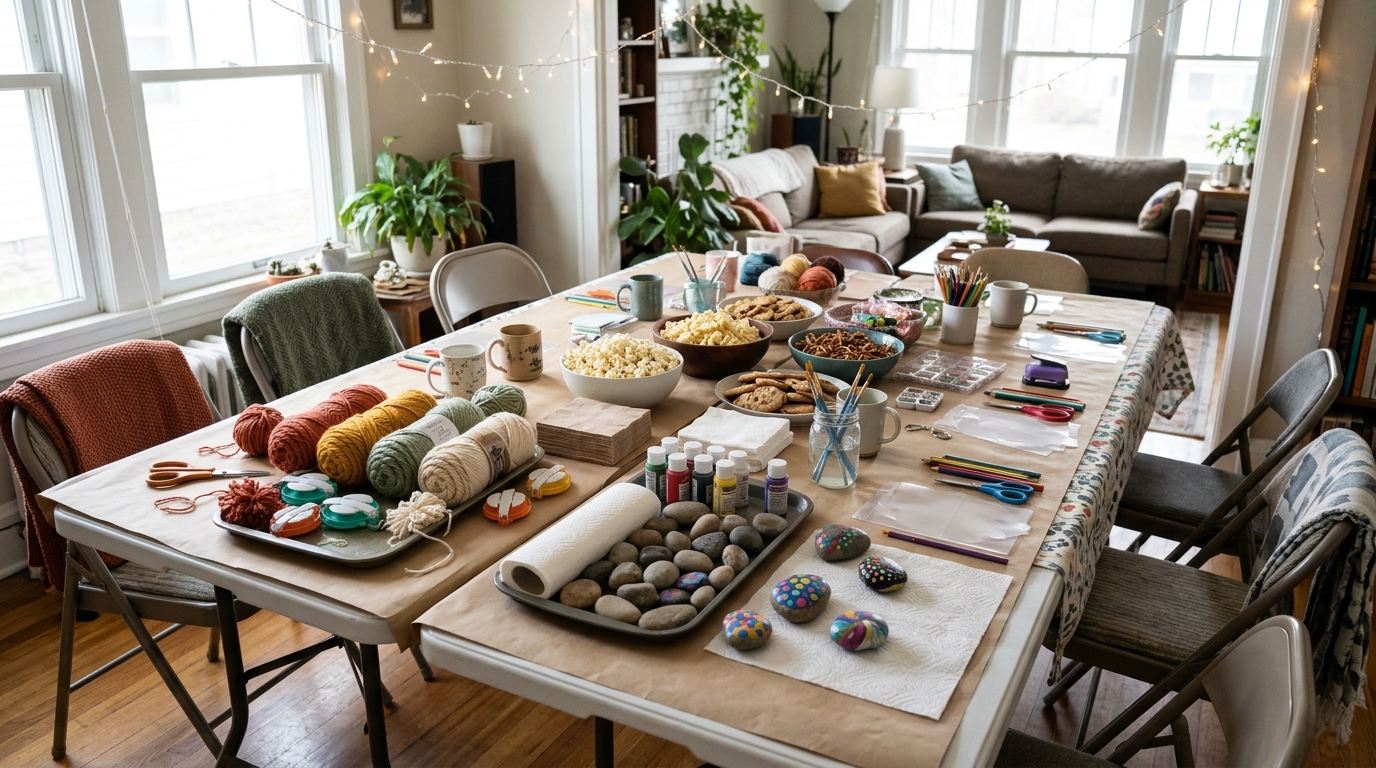
The best way to enjoy all these crafts is together. Invite a few friends, set up stations with different projects, add snacks, and let everyone try something new. Battery string lights and a good playlist make the evening feel cozy. Kidult craft ideas like these remind us that play is not just for kids. Which station would you head to first?
You will need: Folding tables, trays of supplies for three or four crafts, snacks, battery string lights, music.
How to make it: 1. Choose three or four crafts and set up a station for each. 2. Put all supplies on trays with simple steps written on a card. 3. Let guests move between stations and take home what they make.