90s Christmas Decor: 14 Nostalgic DIY Ideas That Bring Back Your Childhood Holidays
90s Christmas decor is making a huge comeback, and searches for it jumped this week. Maybe it is the comfort of remembering a simpler time: tinsel dripping from every branch, big colored bulbs glowing in the window, a popcorn garland you were not supposed to eat, and ornaments made at the kitchen table with puffy paint and safety pins. Those homemade touches were cheap, a little messy and full of heart. The best part is that almost all of them can be made today for a few dollars, and they still feel just as cozy. If you grew up in that decade, this is your chance to share the magic with your own kids. Here are fourteen nostalgic ideas to bring those childhood holidays back home..
90s Christmas Decor Starts With a Tinsel Heavy Tree
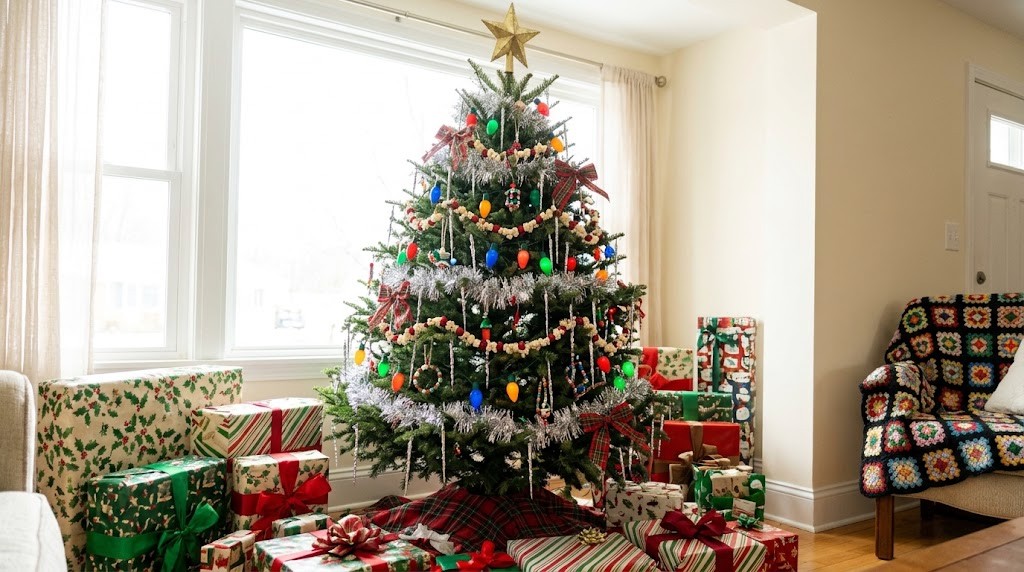
The heart of all 90s Christmas decor was a tree that looked like it might collapse under the tinsel. Silver icicle strands were hung one by one, or thrown in clumps when the kids got impatient. Add big colored bulb lights, plaid ribbon bows, a popcorn garland and every handmade ornament from school, and you have the tree from your childhood. It is not minimal and it is not perfectly matched, and that is exactly why it feels so warm. Will you let the kids throw the tinsel this year..
You will need: A green artificial or real tree, silver tinsel icicles, big bulb style LED lights, plaid ribbon, handmade ornaments, a gold star.
How to make it: 1. String the lights first, tucking them deep into the branches. 2. Hang ornaments and tie plaid bows on the branch tips. 3. Finish with tinsel icicles, draped a few strands at a time so they hang straight.
Big Bulb Lights for 90s Christmas Decor
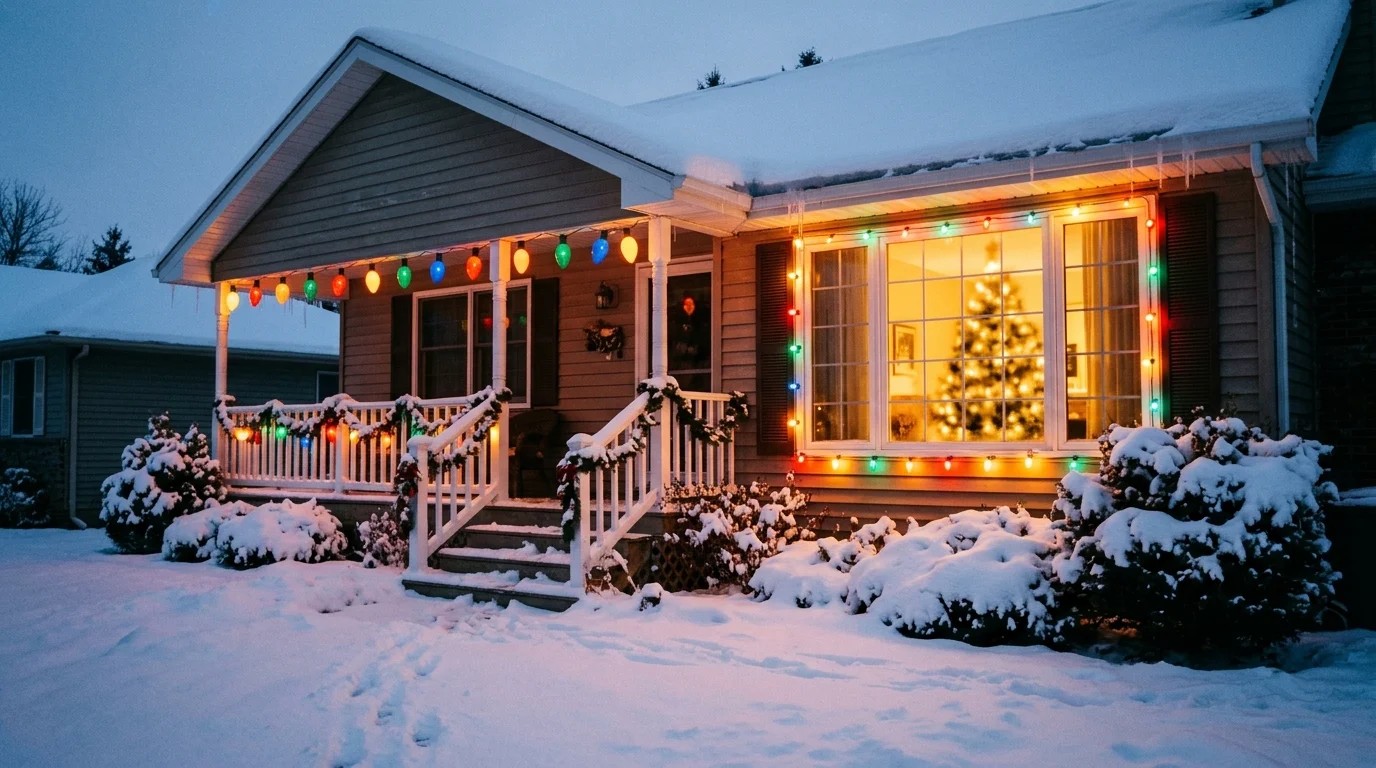
Before warm white fairy lights took over, every house on the block glowed with big, chunky bulbs in red, green, blue, orange and yellow. Today you can buy the same look in safe, cool running LED strands that use very little power. Outline the porch, the front window and the railing, and your house will look like a holiday card from 1995. Use outdoor rated strands and timers, and never overload a single outlet. Do you remember driving around to look at lights?
You will need: Outdoor rated big bulb style LED light strands, light clips, an outdoor timer, an outdoor rated extension cord.
How to make it: 1. Measure the porch and window outlines to know how many strands you need. 2. Attach light clips every 12 inches and snap the strand in place. 3. Plug into an outdoor timer so the lights turn on at dusk.
A Popcorn Garland, the Classic 90s Christmas Decor
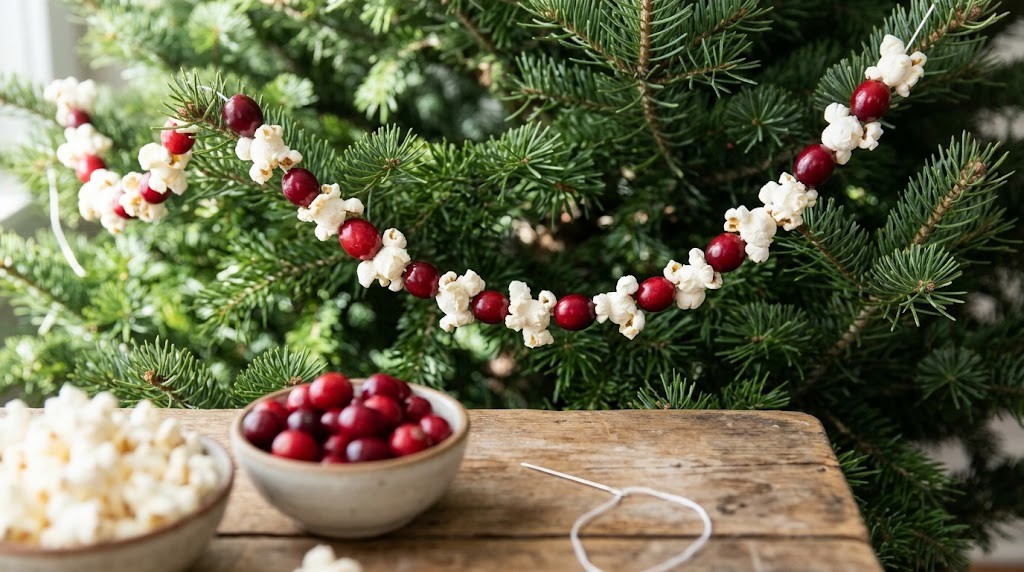
Threading popcorn and cranberries was a classic evening activity, usually with a holiday special playing on TV. Use day old plain popcorn, since fresh popcorn crumbles, and alternate it with fresh cranberries for that red and white pattern. It looks charming on the tree and you can hang it outside for the birds afterward. Adults should handle the needle with younger kids. It is cheap, simple and so nostalgic. Who in your family will sneak the most popcorn?
You will need: Plain popped popcorn (a day old), fresh cranberries, a large needle, strong white thread or fishing line, scissors.
How to make it: 1. Cut a length of thread about six feet long and knot one end. 2. Thread popcorn and cranberries in a simple pattern. 3. Tie off the end and drape the garland across the branches.
Safety Pin Bead Ornaments
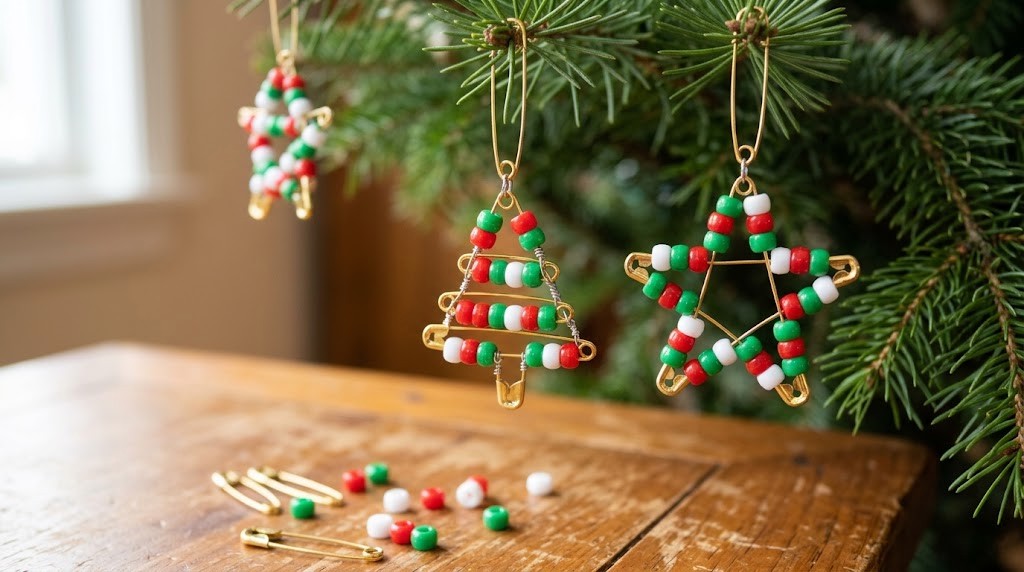
Remember beaded safety pins on your sneakers? The same craft made adorable Christmas ornaments. Slide tiny pony beads onto gold safety pins, close them, then thread the pins onto wire in rows to form a little tree or star. They sparkle on the tree and cost almost nothing. This is a great project for older kids and adults, since the pins are small and sharp. These little treasures are pure 90s Christmas decor and they last for years. Which shape will you make first?
You will need: Gold safety pins, small pony or seed beads in red, green and white, craft wire, round nose pliers, ribbon for hanging.
How to make it: 1. Fill each safety pin with beads and close it. 2. Thread the pins onto wire in rows, longer rows at the bottom for a tree shape. 3. Twist the wire ends into a loop and add a ribbon hanger.
90s Christmas Decor Paper Chains
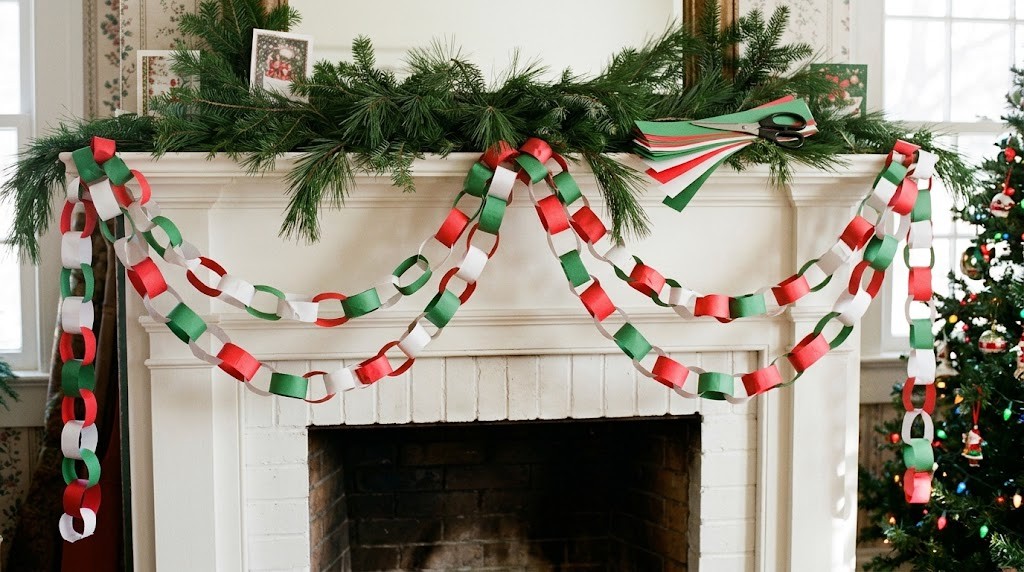
Paper chains were the countdown calendar in many 90s homes. Every night someone tore off a link, and the chain got shorter until Christmas Eve. Make a long one in red, green and white strips and swag it across the mantel, or make a shorter one with exactly 24 links for counting down. Use a glue stick or tape for each loop. It costs a few sheets of paper and keeps kids busy for an hour. Will your family count down with a paper chain?
You will need: Red, green and white construction paper, a paper cutter or scissors, a glue stick or tape, a ruler.
How to make it: 1. Cut paper into strips about one inch by eight inches. 2. Loop the first strip and glue it closed, then thread the next strip through and glue. 3. Keep going, alternating colors, until the chain is long enough.
Puffy Paint Ornaments
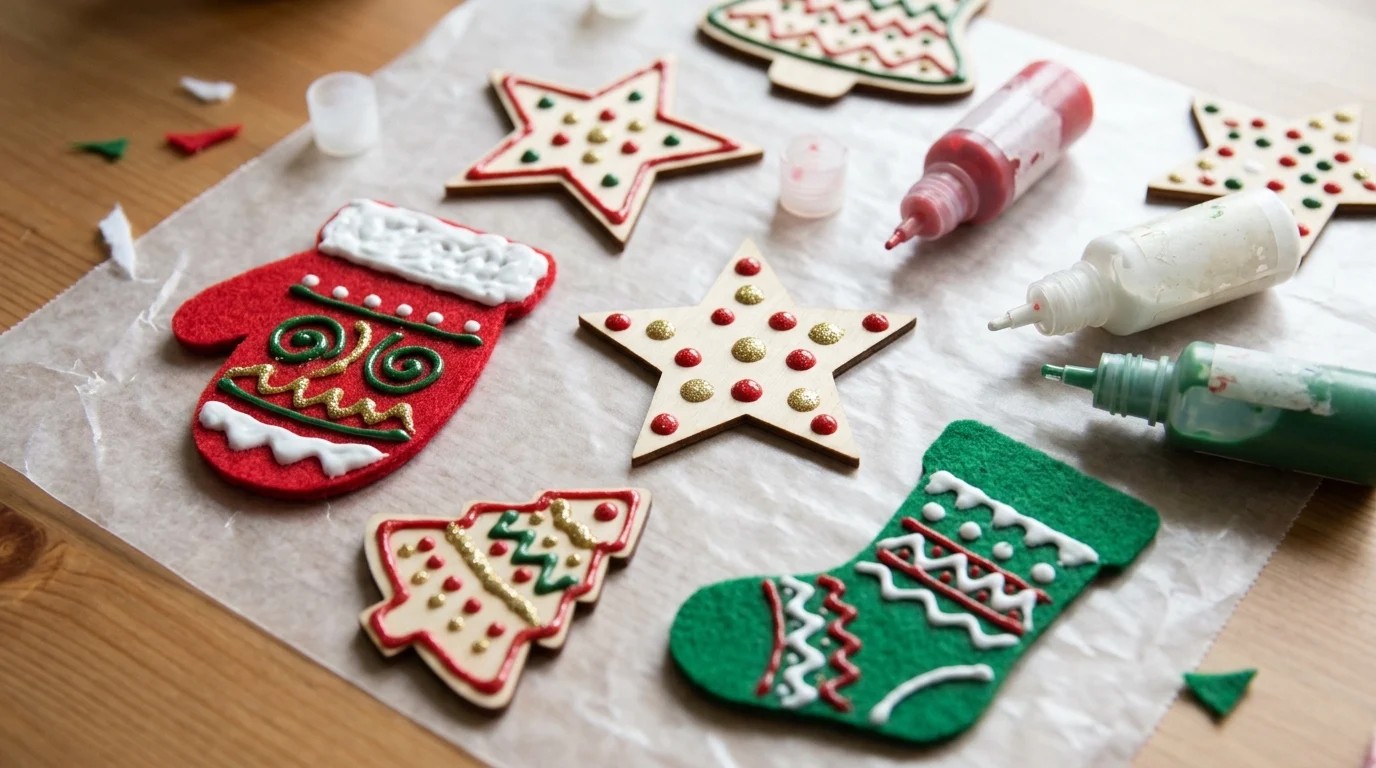
If you had a puffy paint sweatshirt, you probably also had puffy paint ornaments. Plain wooden cutouts and felt shapes become little works of art with raised dots, swirls and zigzags of dimensional paint. Glitter gold and white are especially pretty. Let them dry flat overnight on wax paper so the paint stays raised and shiny. This is one of the most fun 90s Christmas decor crafts for a family afternoon. What shape would you decorate?
You will need: Unfinished wooden ornament shapes or felt cutouts, dimensional puffy paint in several colors, wax paper, ribbon.
How to make it: 1. Lay the shapes on wax paper. 2. Squeeze dots, lines and swirls of puffy paint onto each one. 3. Let them dry flat overnight, then add ribbon loops.
A Felt Tree Advent Calendar
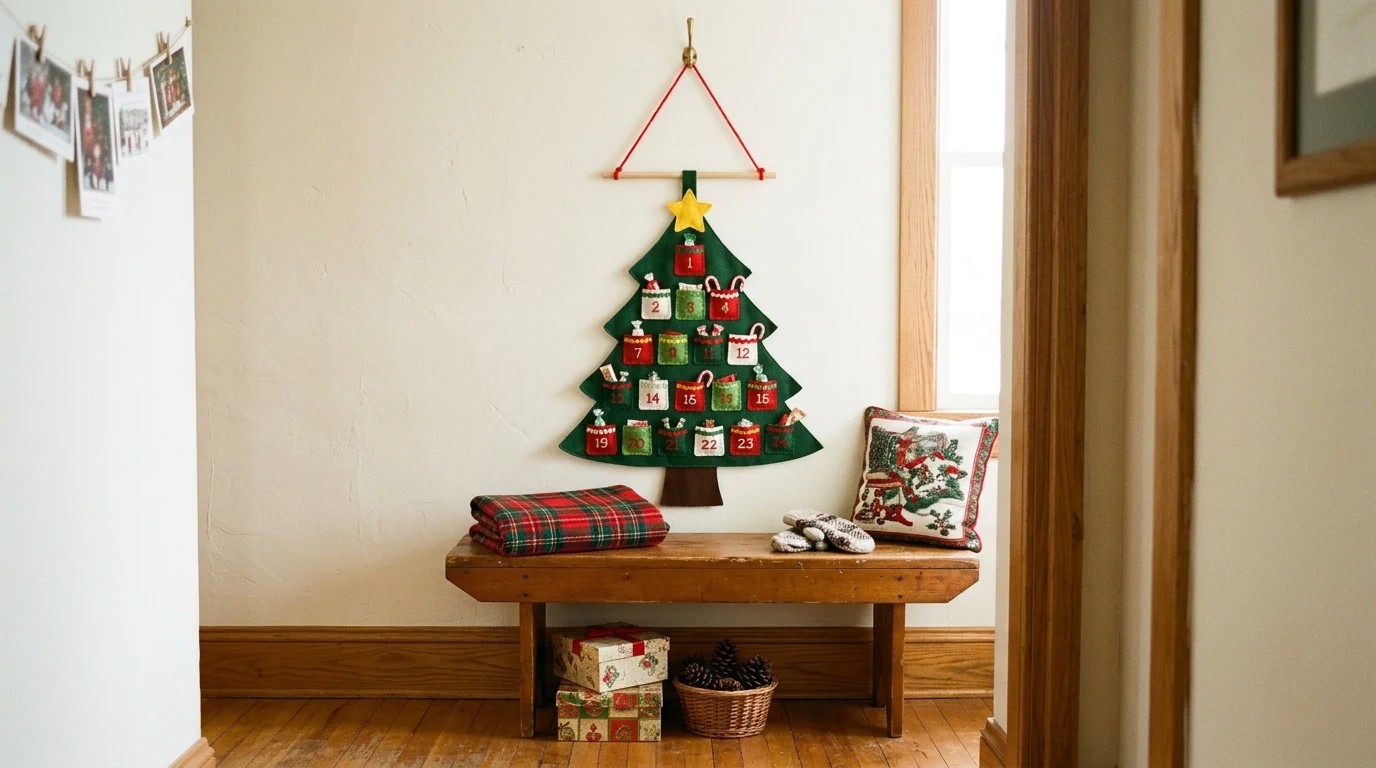
A felt advent calendar hanging in the hallway was a family treasure in many homes. Cut a big tree from green felt and sew or glue 24 small pockets onto it in red, white and green. Each pocket can hold a candy, a tiny toy or a little note with an activity for the day. Hang it from a wooden dowel and it will come out every December for years. It is the kind of handmade piece kids remember forever. What would you tuck into the first pocket?
You will need: Green felt, red and white felt for pockets, fabric glue or a needle and thread, felt numbers, a wooden dowel, ribbon.
How to make it: 1. Cut a large tree shape from green felt. 2. Glue or stitch 24 small pockets onto the tree and add numbers. 3. Fold the top over a dowel, glue it, and tie ribbon to hang.
90s Christmas Decor Window Clings Made From Glue
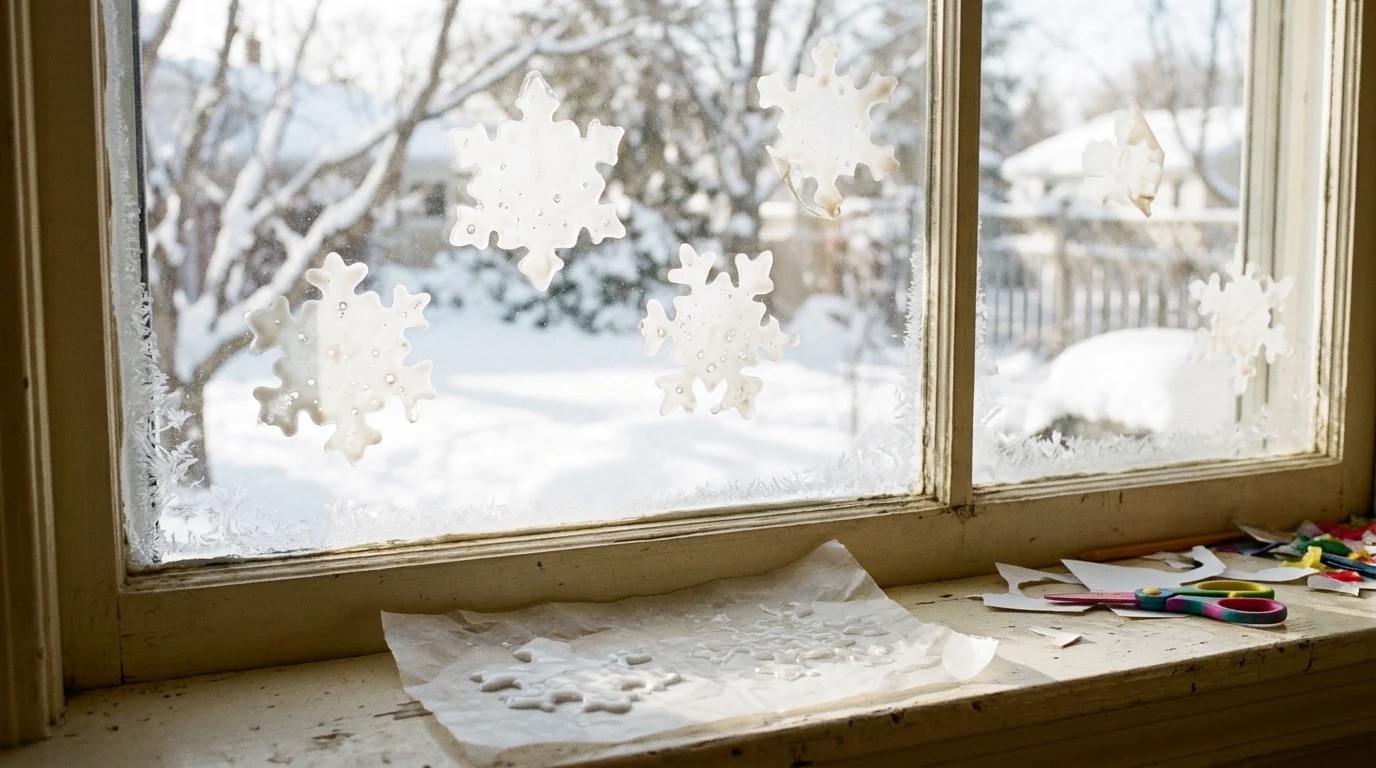
Here is a classroom favorite that still works like magic. Trace a snowflake pattern under wax paper, squeeze white school glue over the lines, add a sprinkle of glitter and let it dry for a day or two. Peel it off and it sticks to the window like a store bought cling. Kids love watching the glue turn clear. They come off easily and can be saved for next year between sheets of wax paper. How many snowflakes will cover your window?
You will need: White school glue, wax paper, printed snowflake patterns, fine glitter (optional), a toothpick.
How to make it: 1. Lay wax paper over a snowflake pattern and trace the lines with a thick bead of glue. 2. Use a toothpick to connect the lines and add glitter. 3. Let dry completely, peel off and press onto a clean window.
A Patchwork Fabric Tree
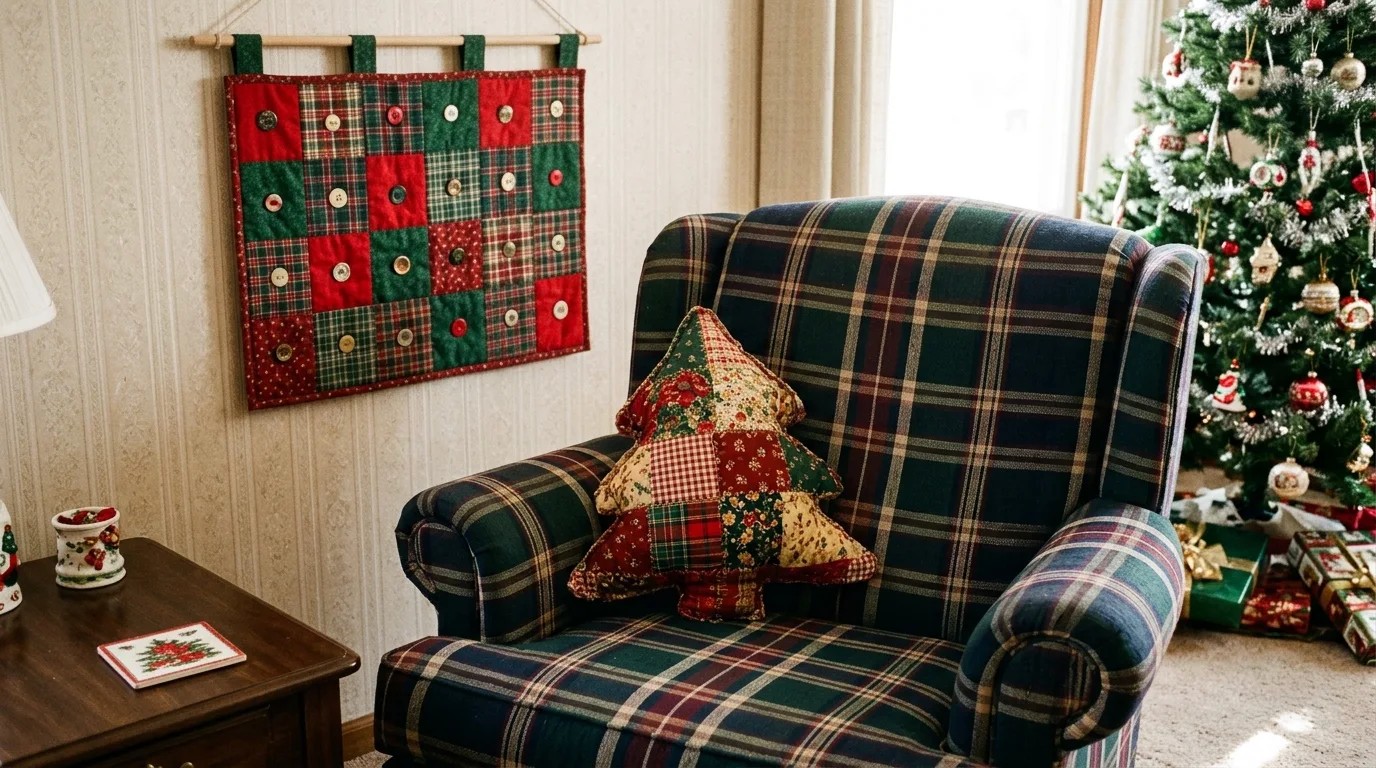
Calico prints and plaid were everywhere in 90s Christmas decor, often sewn into country style pillows and wall hangings. A stuffed patchwork tree pillow is a sweet beginner sewing project made from fabric scraps. Cut squares from red and green calico and plaid, sew them together, then cut a tree shape and stuff it. Buttons make perfect ornaments. Pair it with a plaid armchair and you are right back in Grandma’s living room. Do you still have fabric scraps saved somewhere?
You will need: Red and green calico and plaid fabric scraps, a sewing machine or needle and thread, fiberfill stuffing, buttons, scissors.
How to make it: 1. Sew fabric squares into a patchwork panel. 2. Cut two tree shapes from the panel, sew them right sides together and leave a gap. 3. Turn, stuff, stitch closed and sew on buttons.
Plaid Ribbon on Everything
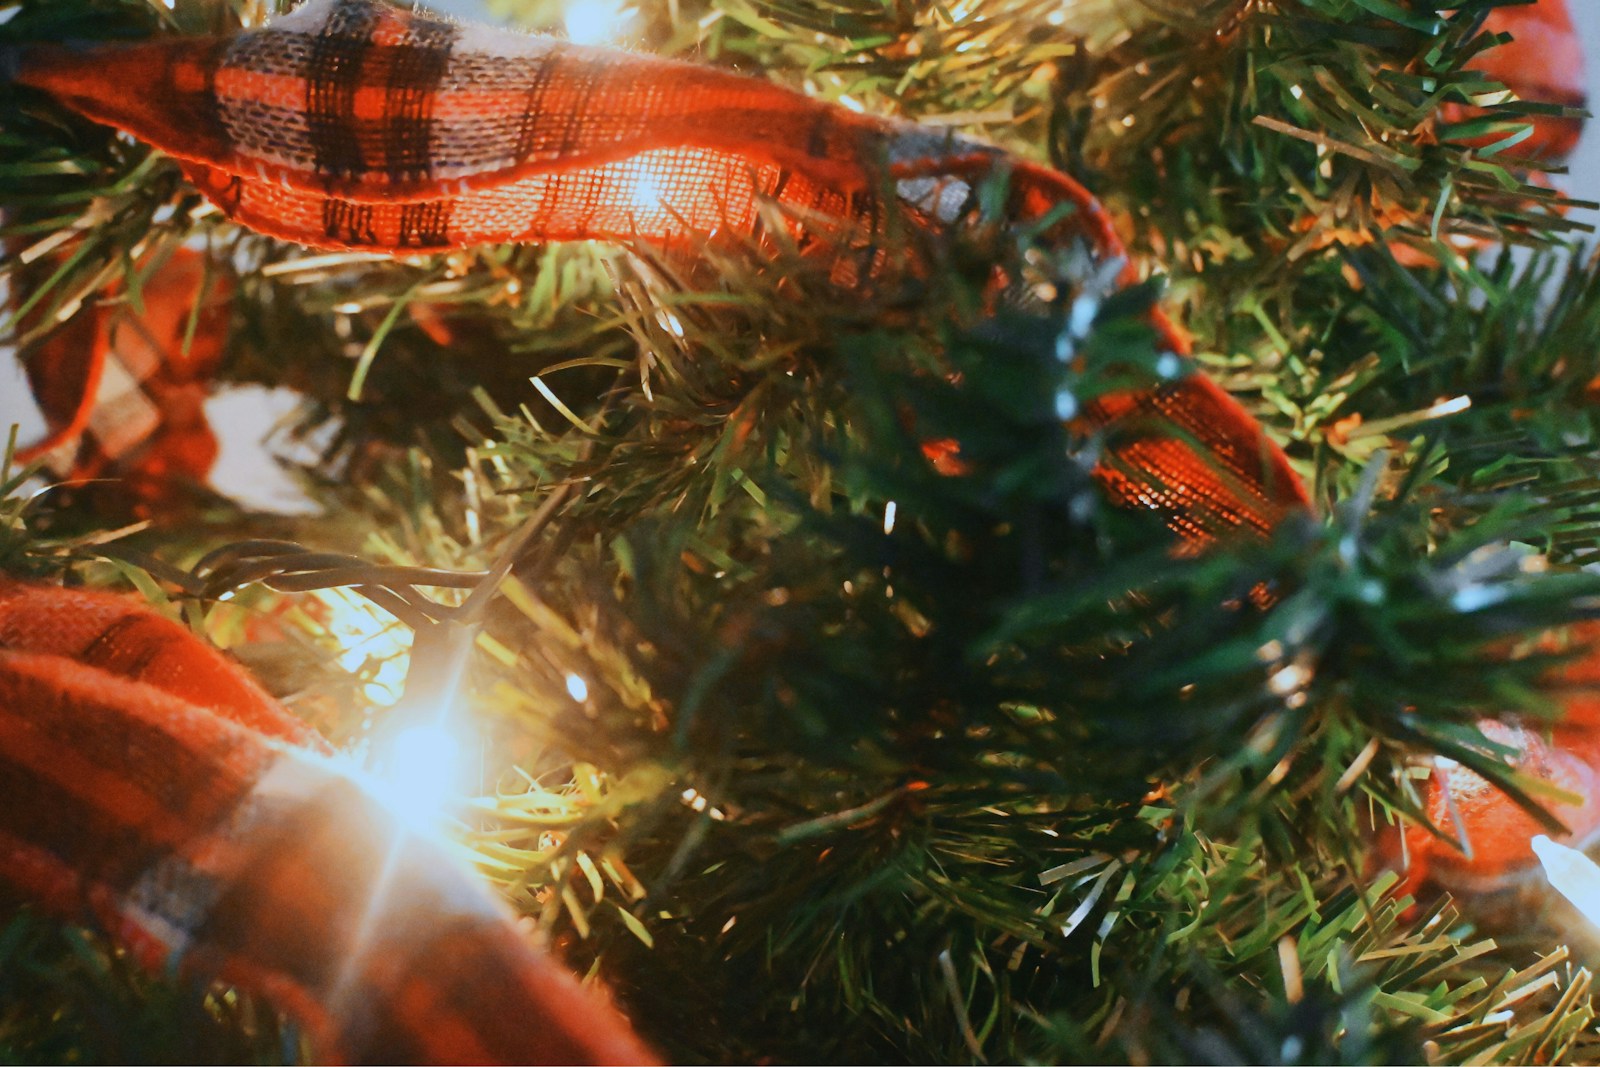
In the 90s, red and green plaid ribbon went on everything: the tree, the wreath, the banister, the gifts and even the dog. A few rolls of wired plaid ribbon are the fastest way to bring back that look. Tie big bows on the tips of branches, wrap it around candle style battery lights, or weave it through a garland. Wired ribbon holds its shape, so the bows stay fluffy all season. Where would your first plaid bow go?
You will need: Rolls of wired red and green plaid ribbon, scissors, floral wire.
How to make it: 1. Cut 24 inch pieces of ribbon. 2. Tie each one into a big bow and fluff the loops. 3. Wire the bows onto branches, wreaths or stair rails.
Gold Garland Swags
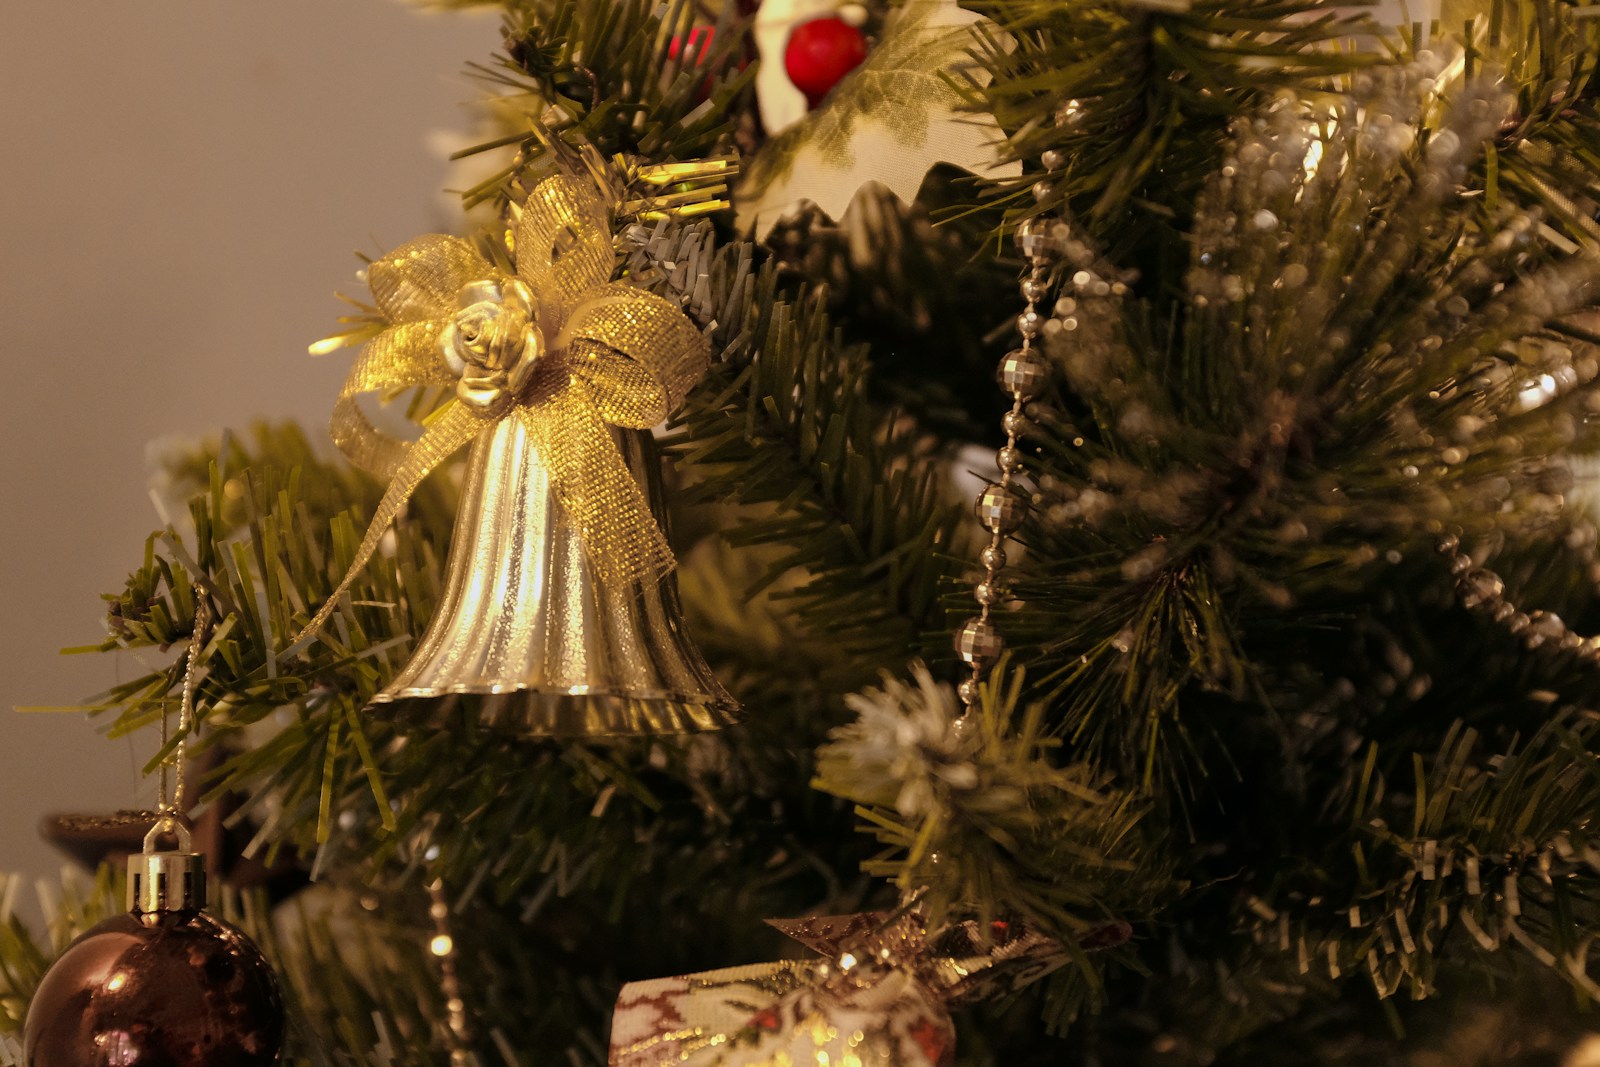
Shiny gold tinsel garland swagged around the tree in big loops was a signature look of 90s Christmas decor. It catches the light from the big bulbs and fills empty spots on the tree. Start at the top and drape it in deep, even swoops as you go around. You can also use it on doorways and around mirrors. It costs very little at dollar stores and lasts year after year. Do you prefer gold or silver?
You will need: Gold tinsel garland, a few ornament hooks, removable hooks for doorways.
How to make it: 1. Start at the top of the tree and hook the garland to a branch. 2. Drape it in wide swags as you walk around the tree. 3. Hook each swag in place so it stays even.
Glitter Pine Cones
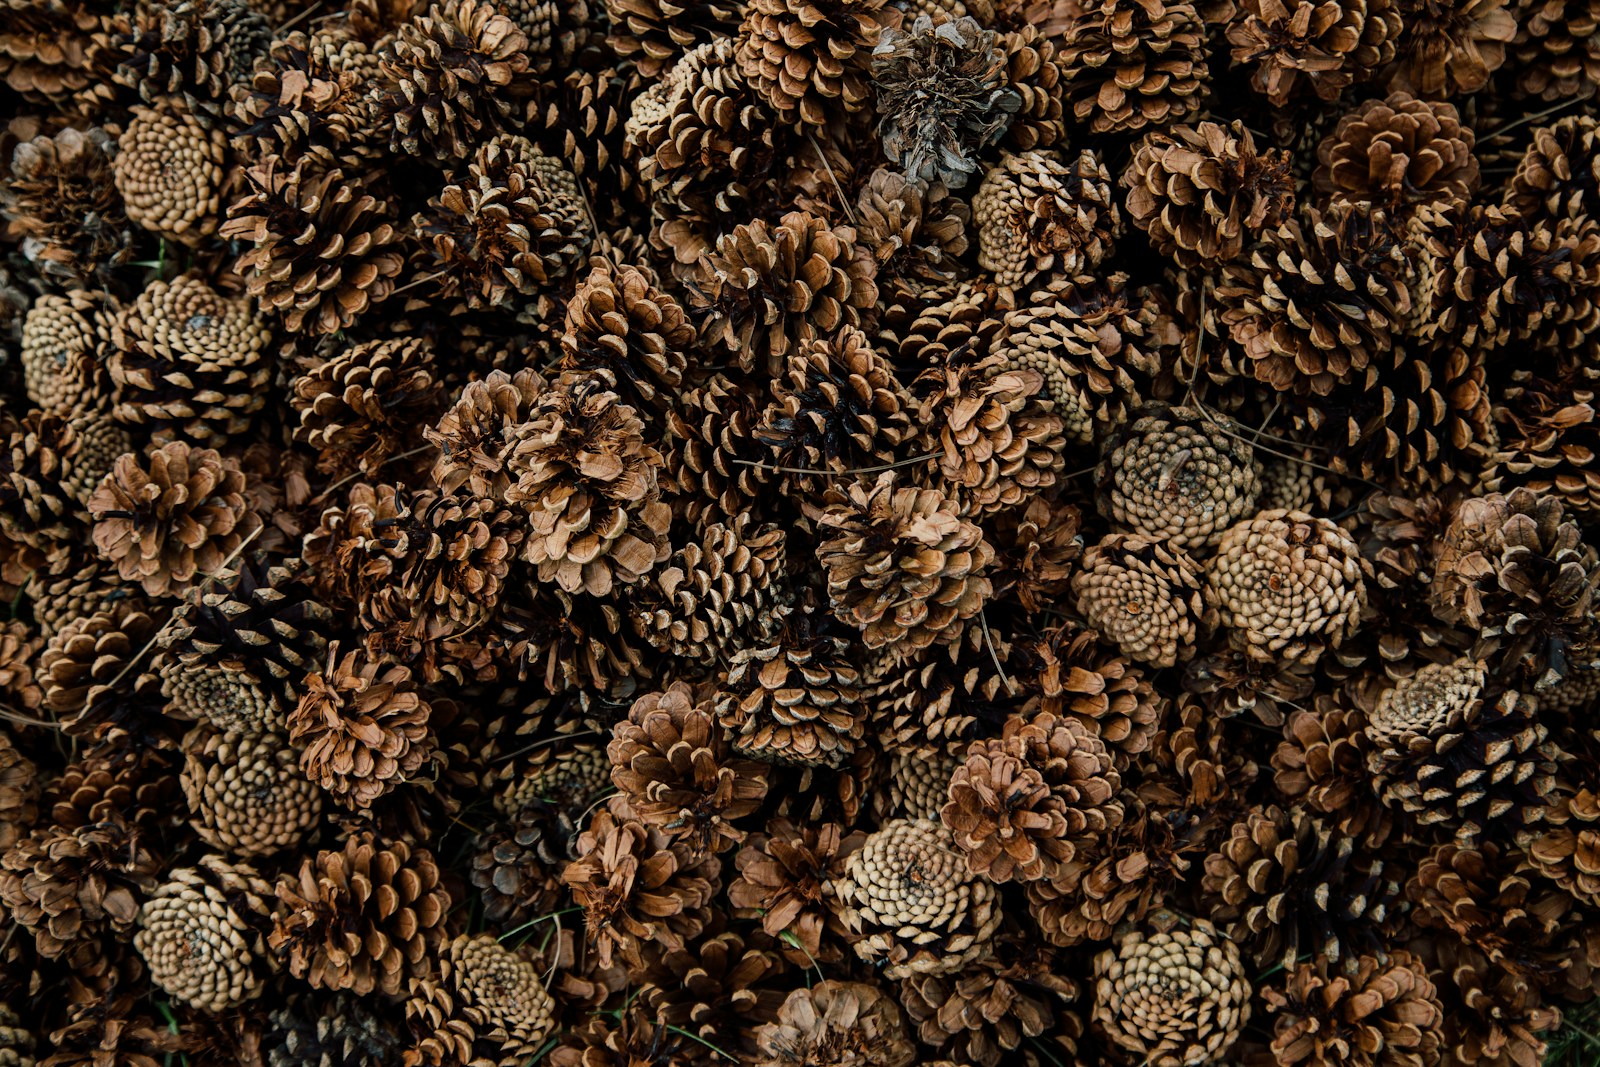
Collecting pine cones on a walk and painting the tips with glue and glitter was a classic school craft. They look beautiful piled in a bowl, tucked into garland or hung on the tree with a ribbon. Silver, gold and white glitter all look great. Bake the pine cones at a low temperature first, with an adult watching, to dry them out. This free 90s Christmas decor idea is perfect for kids of any age. How many pine cones can you find?
You will need: Pine cones, white glue, a small brush, fine glitter, a paper plate, ribbon.
How to make it: 1. Dry the pine cones in a 200 degree oven for about 30 minutes with an adult watching. 2. Brush glue on the scale tips and sprinkle glitter over a paper plate. 3. Let them dry and display them in a bowl or hang them with ribbon.
Candy Cane Decorations

Real candy canes hung on the tree were a staple of 90s Christmas decor, along with pipe cleaner candy canes made by twisting red and white chenille stems together. Both are cheap and easy. Hang the real ones with their hooks right on the branches, or tie a bundle with a bow for a doorknob. Kids can make dozens of pipe cleaner versions in minutes. If you love more vintage looks, see these retro 70s decor ideas too. Which kind will you hang?
You will need: Candy canes, red and white pipe cleaners, ribbon.
How to make it: 1. Twist one red and one white pipe cleaner together tightly. 2. Bend the top into a hook shape. 3. Hang them on the tree with real candy canes, or tie a bundle together with ribbon.
Tinsel Icicles the Old Fashioned Way
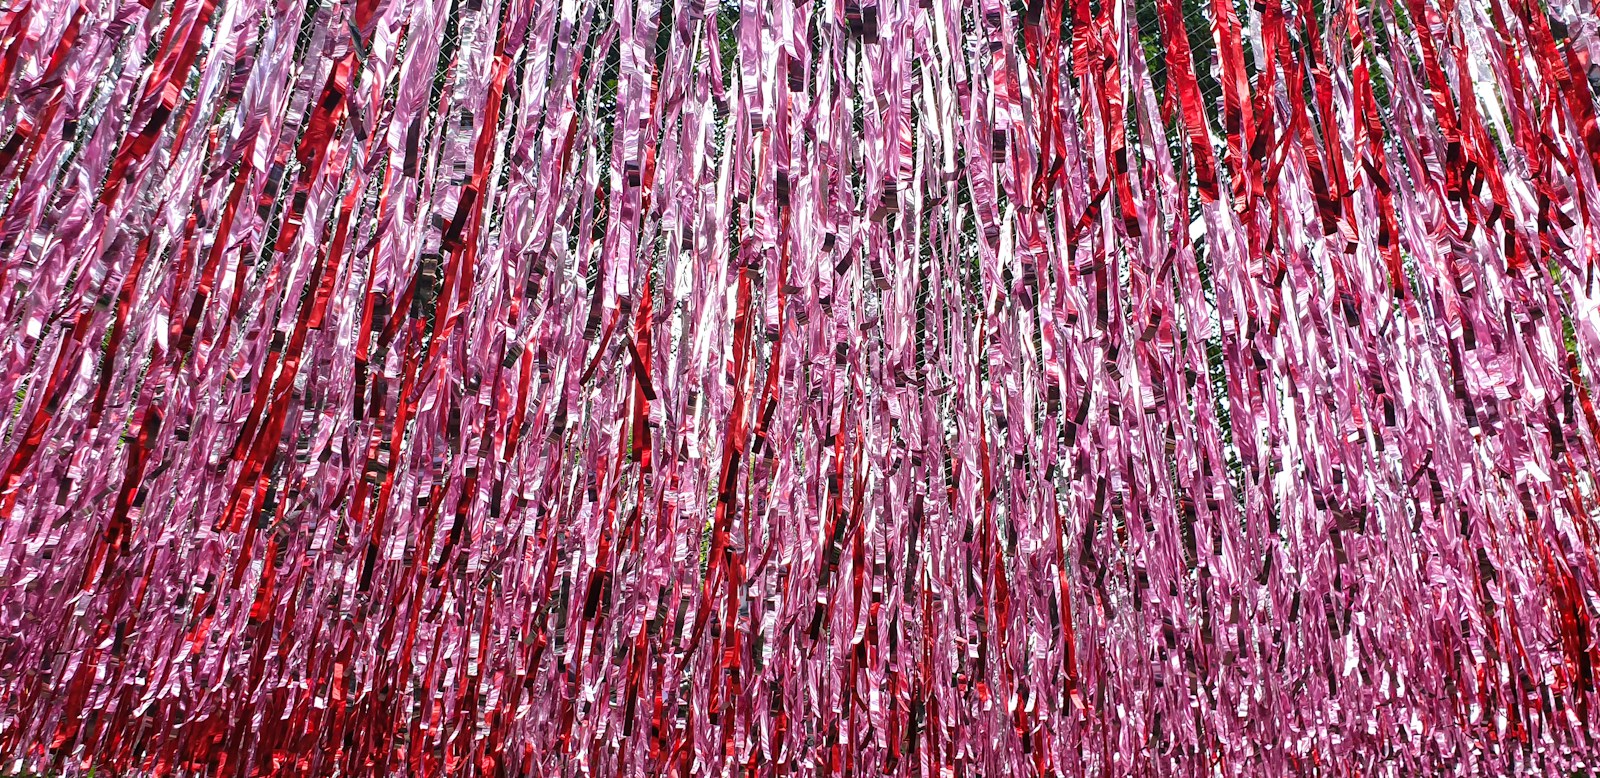
Tinsel icicles were the finishing touch of every 90s Christmas decor tree. Patient families hung them one strand at a time so they hung straight down like real icicles. Today you can find tinsel in many finishes. Hang it last, after lights and ornaments, and drape a few strands over the tips of the branches. It makes the whole tree shimmer under the lights. You can read more about the history of tinsel, which goes back hundreds of years. Will you hang it one strand at a time or toss it?
You will need: Silver tinsel icicles, a little patience.
How to make it: 1. Finish lights and ornaments first. 2. Drape two or three strands over each branch tip so they hang straight. 3. Step back and fill any bare spots.