Renter Friendly Upgrades: 16 Deposit Safe Ideas That Make Any Apartment Look Custom
Renter friendly upgrades are the secret to loving a home you do not own. Beige walls, builder lights and tired counters can make any apartment feel temporary, but you do not need a hammer, a drill or your landlord’s blessing to change that. One video of a renter showing her landlord every upgrade she made has passed 894,000 views, and millions more are watching makeover videos just like it. The trick is choosing changes that look custom but come off cleanly when you move. Below are sixteen ideas that do exactly that, from peel and stick walls to plug in lights. Always check your lease first, keep the original parts in a labeled box, and get ready to fall in love with your place..
Renter Friendly Upgrades Start With a Peel and Stick Accent Wall
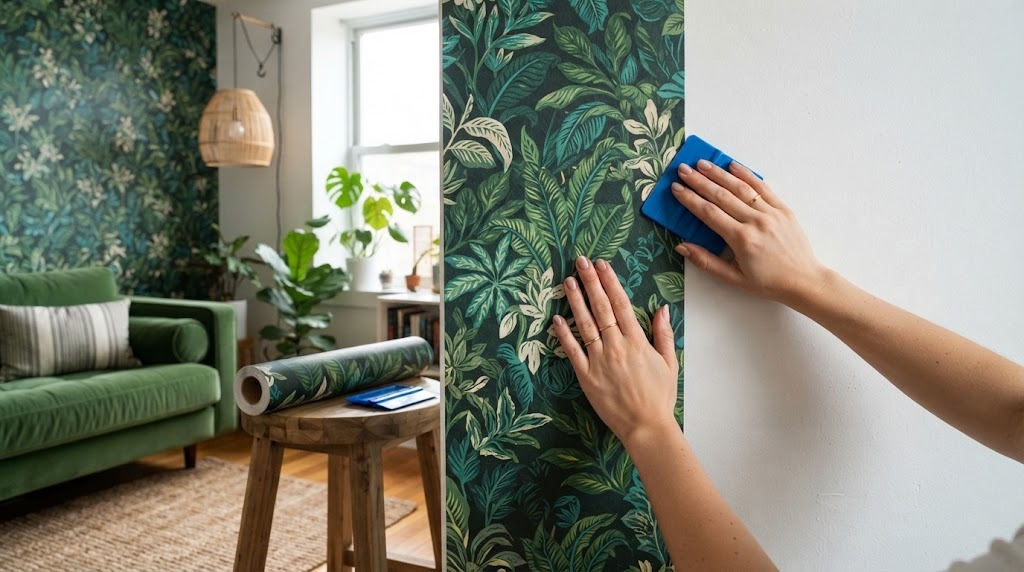
One wall of peel and stick wallpaper can change a whole room in an afternoon. Pick the wall your eye goes to first, usually behind the sofa or bed, and choose a soft pattern so it feels calm instead of busy. Start at the ceiling, smooth each panel with a plastic card, and match the pattern as you go. When it is time to move, it peels away without damaging most painted walls. Add a plug in pendant and a layered rug and suddenly the room looks designed. Start here..
You will need: Peel and stick wallpaper, a level or laser line, a plastic smoothing card, a utility knife (adult use), a step stool.
How to make it: 1. Clean the wall and let it dry. 2. Draw a straight starting line with a level. 3. Peel a few inches of backing at a time and smooth as you go. 4. Match the pattern on the next panel. 5. Trim the top and bottom edges.
Peel and Stick Wall Molding
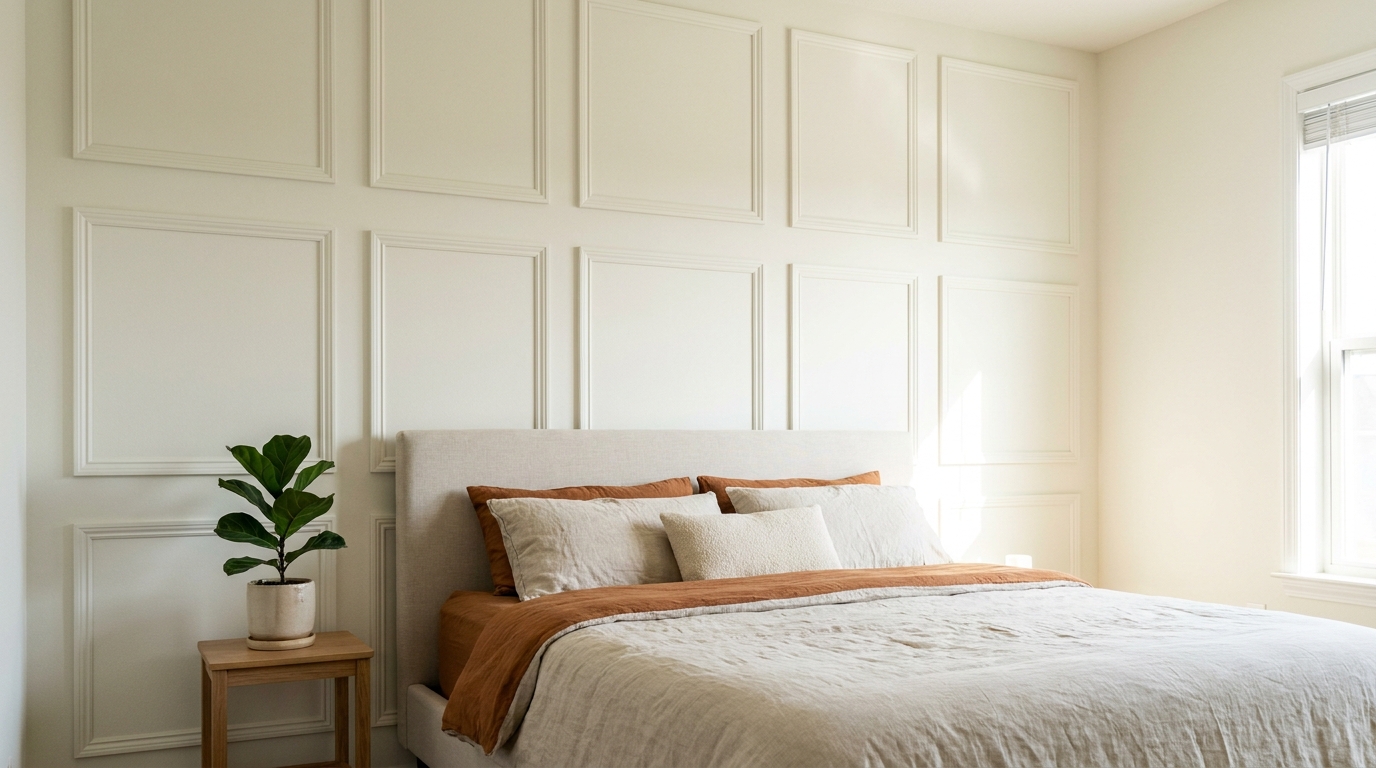
Wall molding makes a plain rental bedroom feel like a historic home, and peel and stick versions skip the nails. Light foam or composite strips come with adhesive backing, so you simply measure your boxes, cut the corners and press them on. Paint them the same color as the wall with a small roller for a high end look, or leave them white. The boxes look especially good behind a bed or above a desk. Want the look of an old Paris apartment?
You will need: Peel and stick molding strips, a tape measure, a pencil, a level, a miter box and small saw (adult use), a small paint roller (optional).
How to make it: 1. Plan the box sizes on paper. 2. Mark them lightly on the wall with a level. 3. Cut the corners at 45 degrees. 4. Peel and press each strip in place. 5. Paint if you like.
A Fridge Wrap in a Soft Color
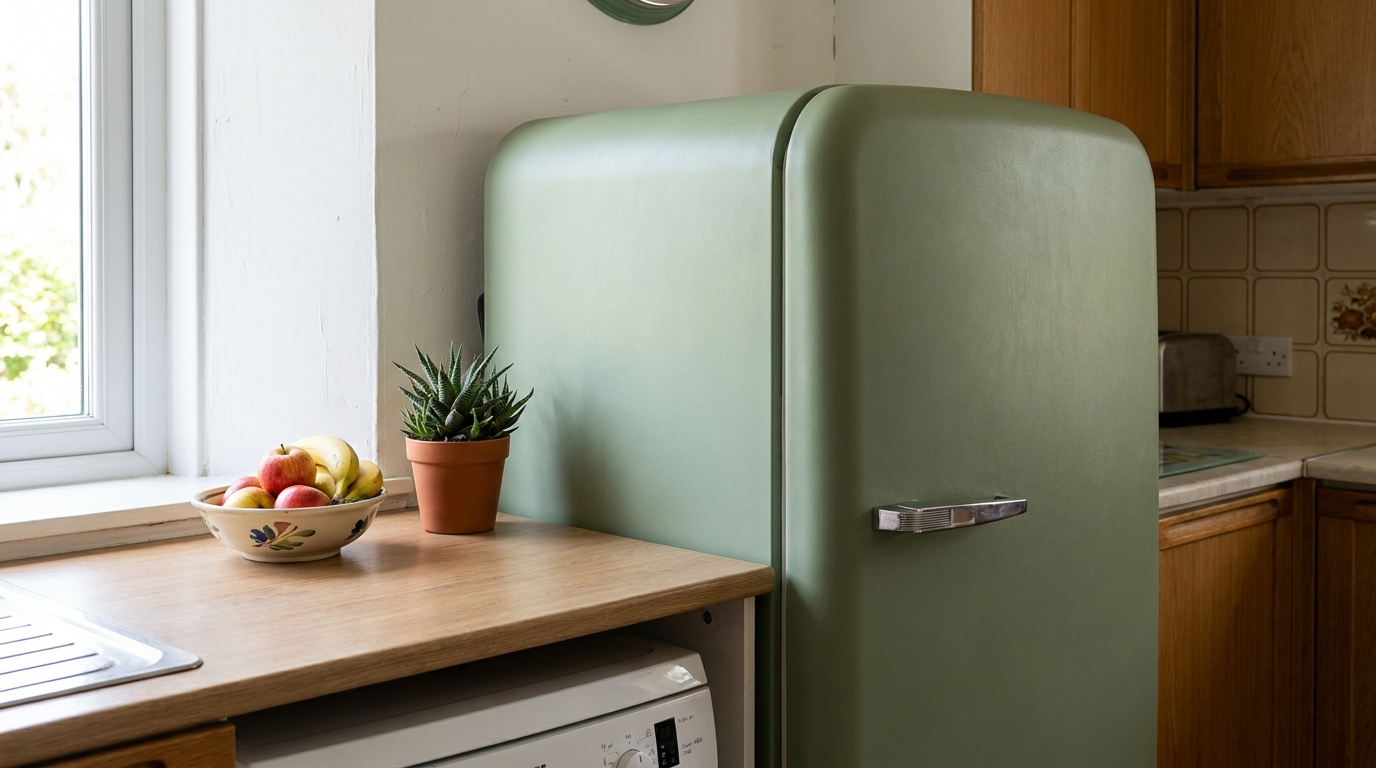
Among renter friendly upgrades, this one surprises people most. That dented, mismatched fridge does not have to ruin your kitchen. Appliance vinyl wrap comes in soft colors like sage, cream and blush, and it turns an old fridge into something that looks retro and expensive. Work slowly, smooth the vinyl from the center out and use a hair dryer on low to ease it around curves. Remove the handles first and put them back on top. When you move, it peels off. What color would you choose?
You will need: Appliance vinyl wrap, a plastic squeegee, a utility knife (adult use), a hair dryer, a screwdriver for the handles.
How to make it: 1. Clean the fridge well and remove the handles. 2. Cut the vinyl a little larger than each panel. 3. Smooth it on from the center out. 4. Trim the edges and reattach the handles.
Renter Friendly Upgrades for Studios: A Tension Rod Divider
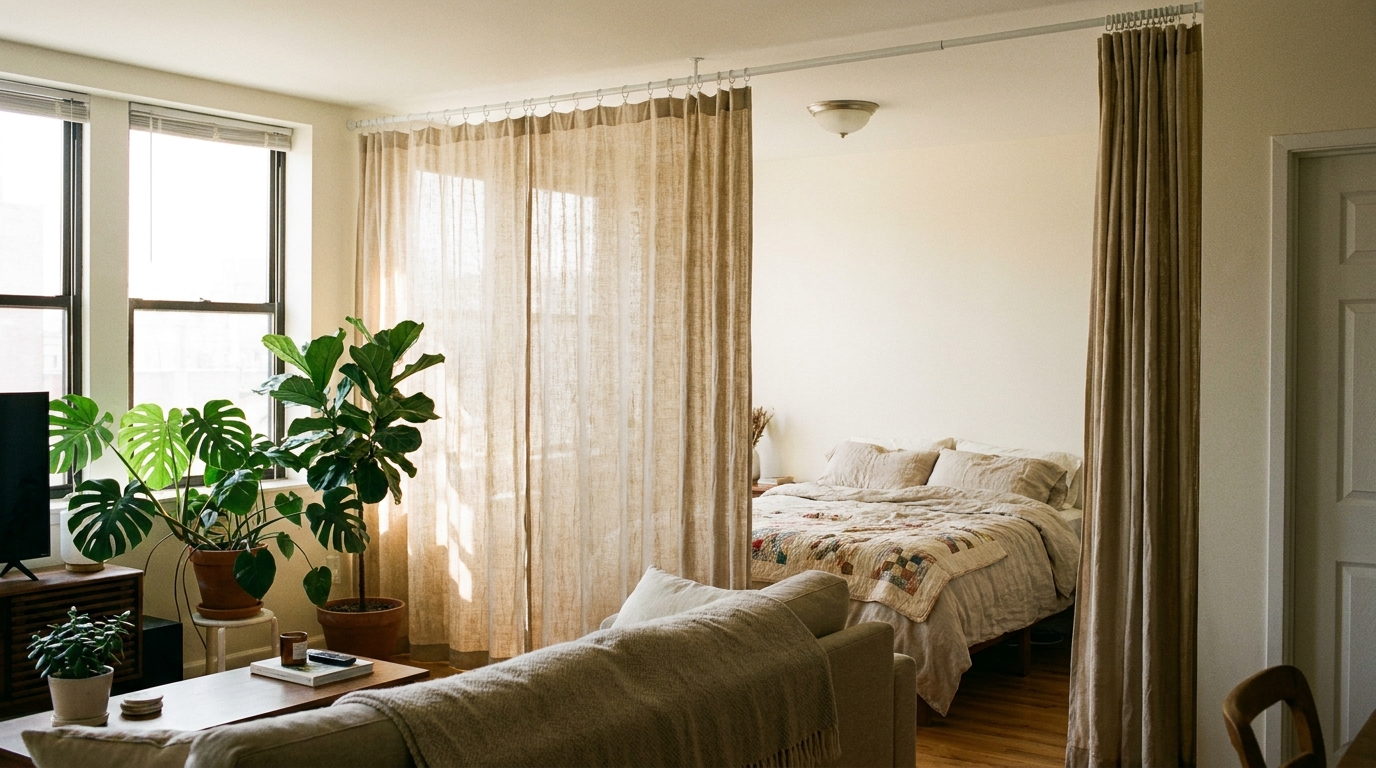
Studio living is easier when the bed has its own little room. A heavy duty tension rod wedged between two walls, or a ceiling track that clamps in place, can hold a long linen curtain that splits the space in seconds. Pull it closed for privacy when friends visit, and open it to let the light flow in the morning. Choose a curtain that reaches the floor so it looks intentional. It is one of the most useful renter friendly upgrades for small spaces. Would you rather close it or keep it open?
You will need: A heavy duty tension rod or no drill ceiling track, long linen curtains, curtain rings with clips, a tape measure.
How to make it: 1. Measure the gap where the divider will go. 2. Install the tension rod snugly at the ceiling. 3. Clip the curtains to the rings. 4. Slide them onto the rod and adjust the length.
A Plug In Pendant Light
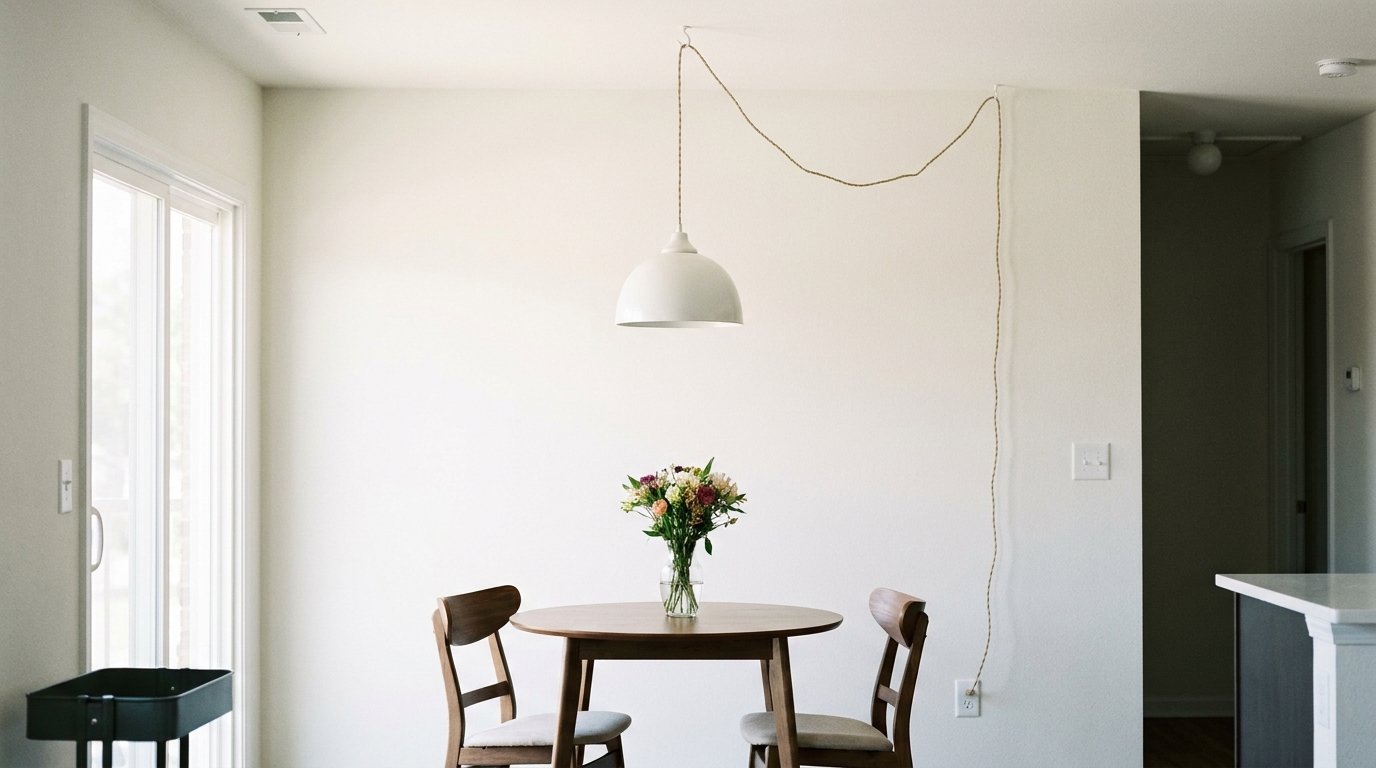
Builder light fixtures are often the saddest thing in a rental, but you do not need any wiring to fix that. A plug in pendant hangs from a ceiling hook and runs down to a regular outlet, so it adds a warm glow over a dining table, desk or reading chair. Swag the cord neatly and clip it along the wall with small cord clips. Pick a shade that matches your style, like rattan, ceramic or glass. Leave the electrical work to professionals and keep it plug in only. Where would you hang yours?
You will need: A plug in pendant light, a ceiling hook rated for the weight, adhesive cord clips, an extension cord cover (optional).
How to make it: 1. Choose the spot over a table or chair. 2. Hang the hook and loop the cord over it. 3. Run the cord down the wall with clips. 4. Plug it in and adjust the height.
Peel and Stick Backsplash Tiles
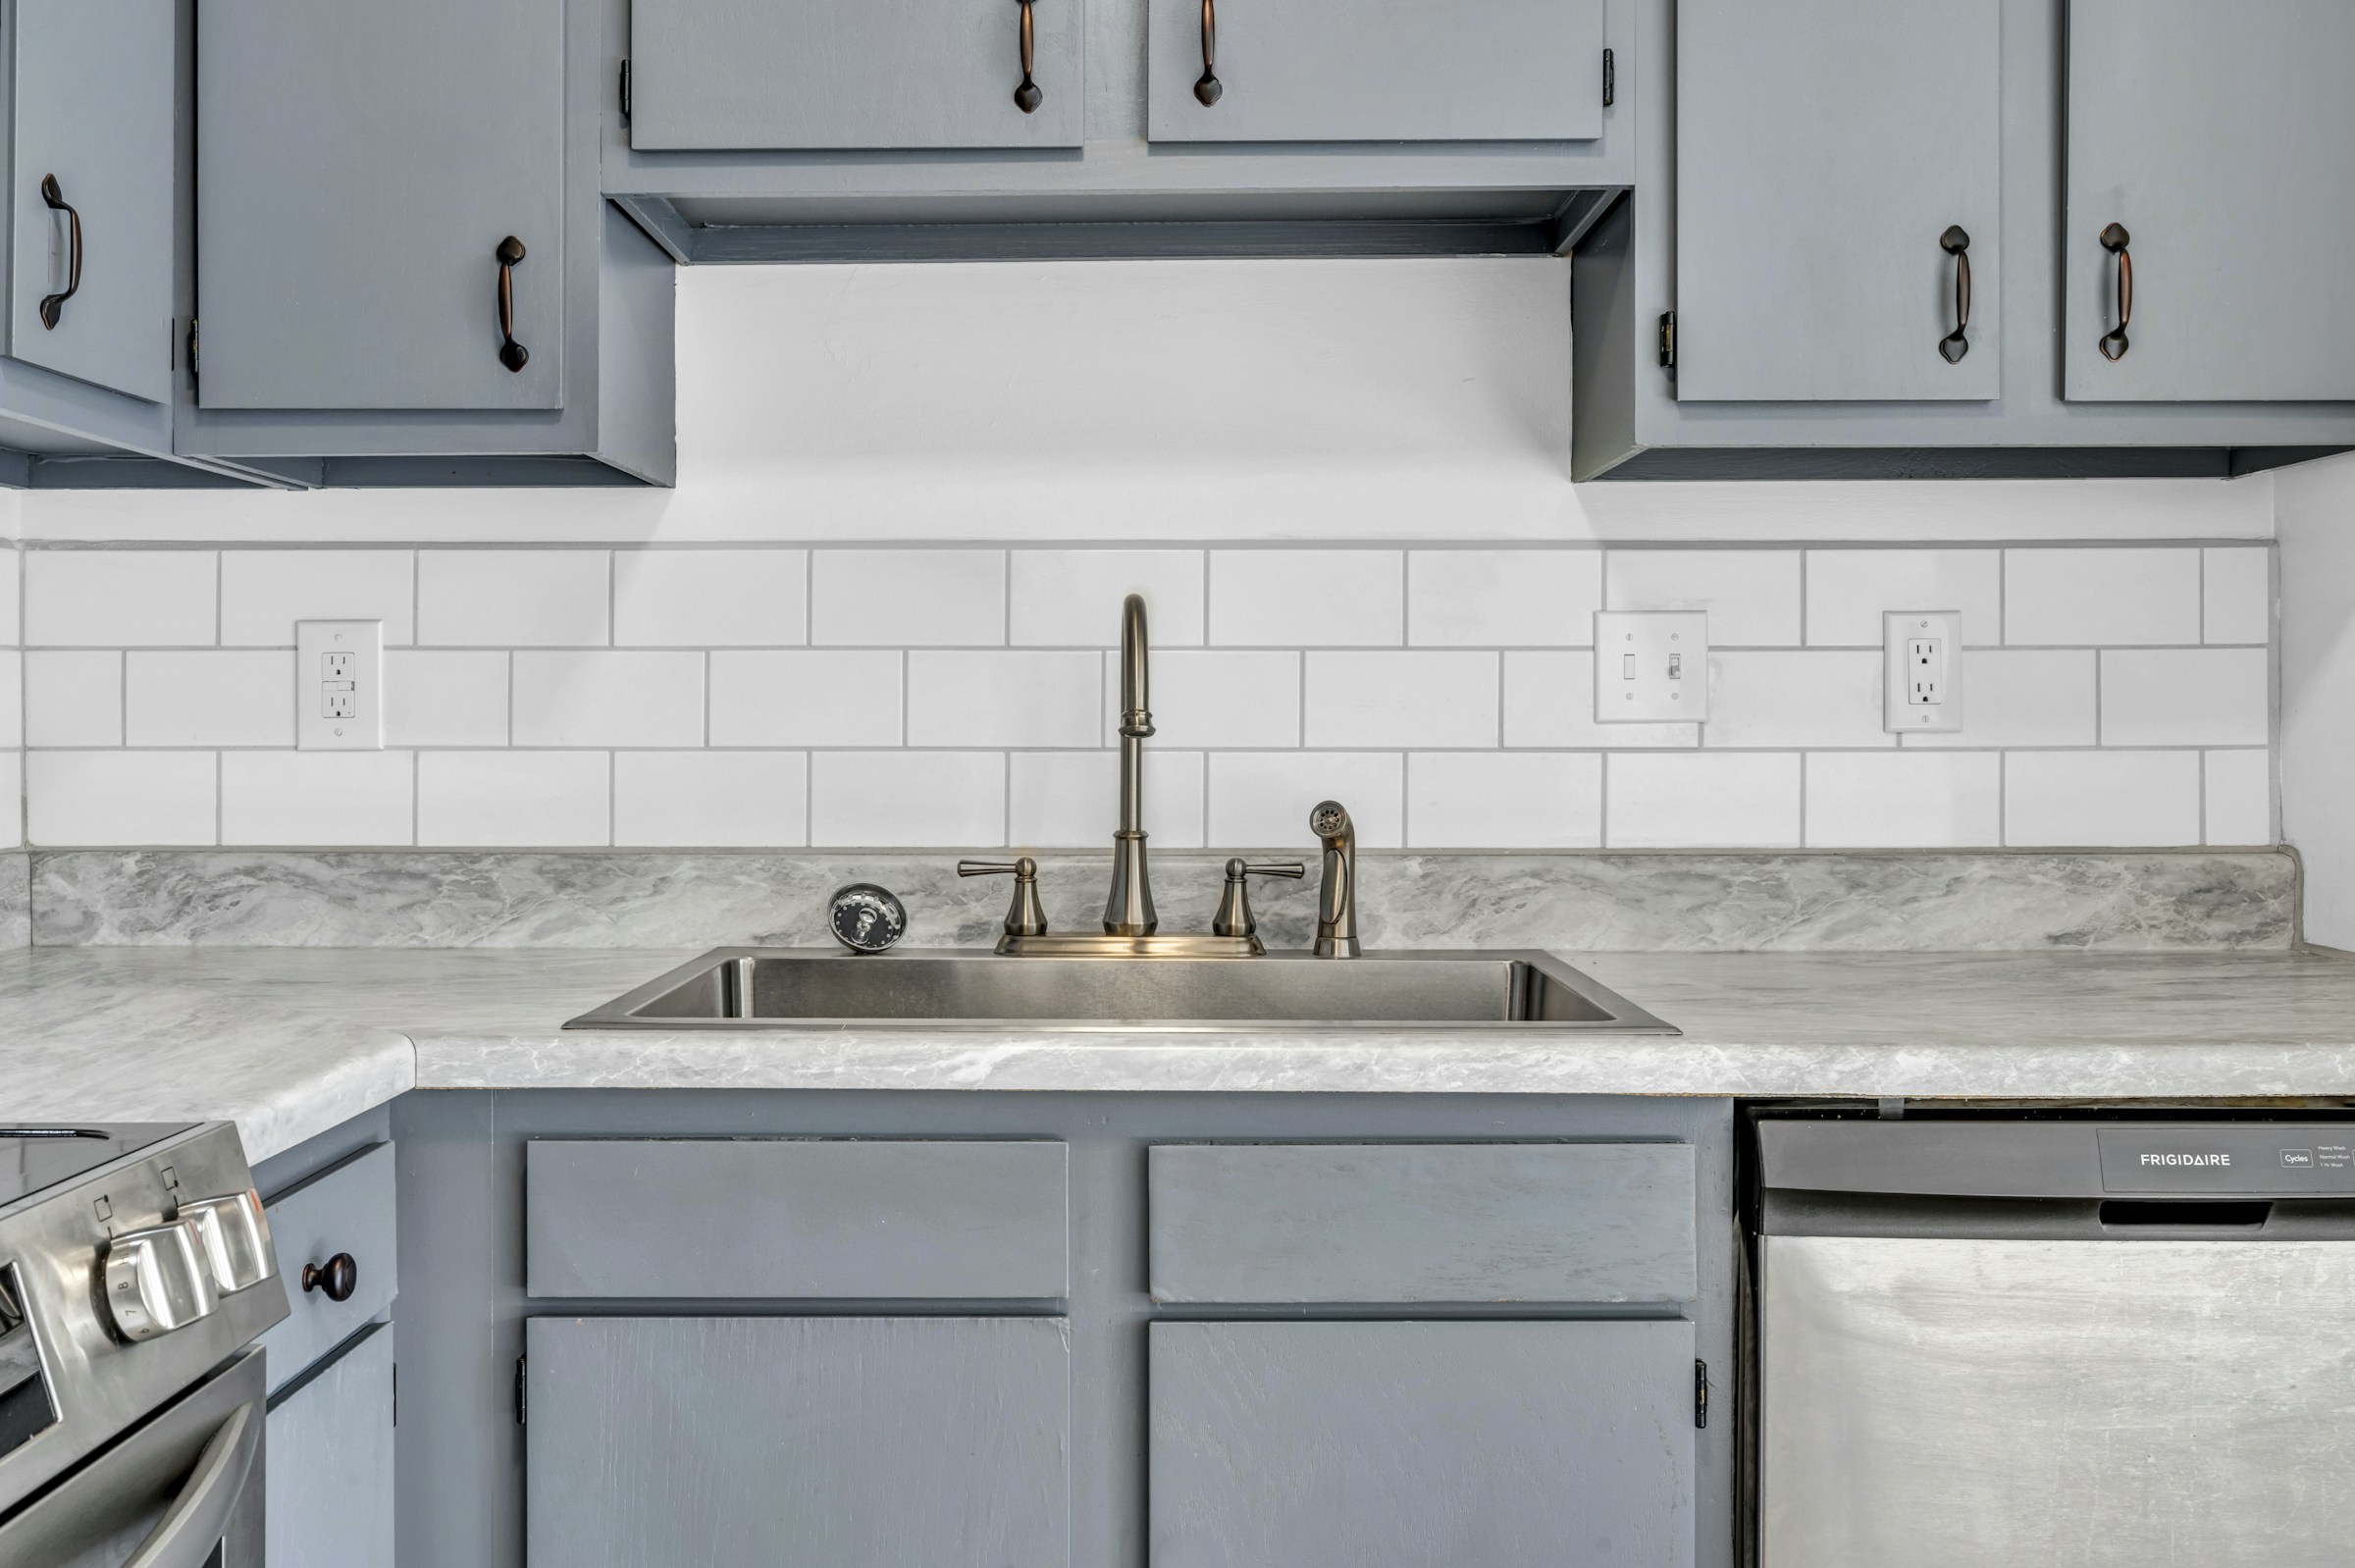
A backsplash is one of the quickest ways to make a rental kitchen look updated. Peel and stick tiles come in classic white subway, marble and patterned styles, and many look so real that guests will not guess. Start at the counter line and work up, cutting around outlets with scissors or a utility knife. Turn the power off at the outlet before you cut around it, and remove the cover plate first. A single wall usually takes less than two hours. Which tile style fits your kitchen?
You will need: Peel and stick backsplash tiles, sharp scissors or a utility knife (adult use), a level, a smoothing card.
How to make it: 1. Clean and degrease the wall. 2. Start at the bottom corner on a level line. 3. Overlap the tile edges as the package directs. 4. Trim around outlets and replace the covers.
Renter Friendly Upgrades for the Kitchen: Contact Paper Counters
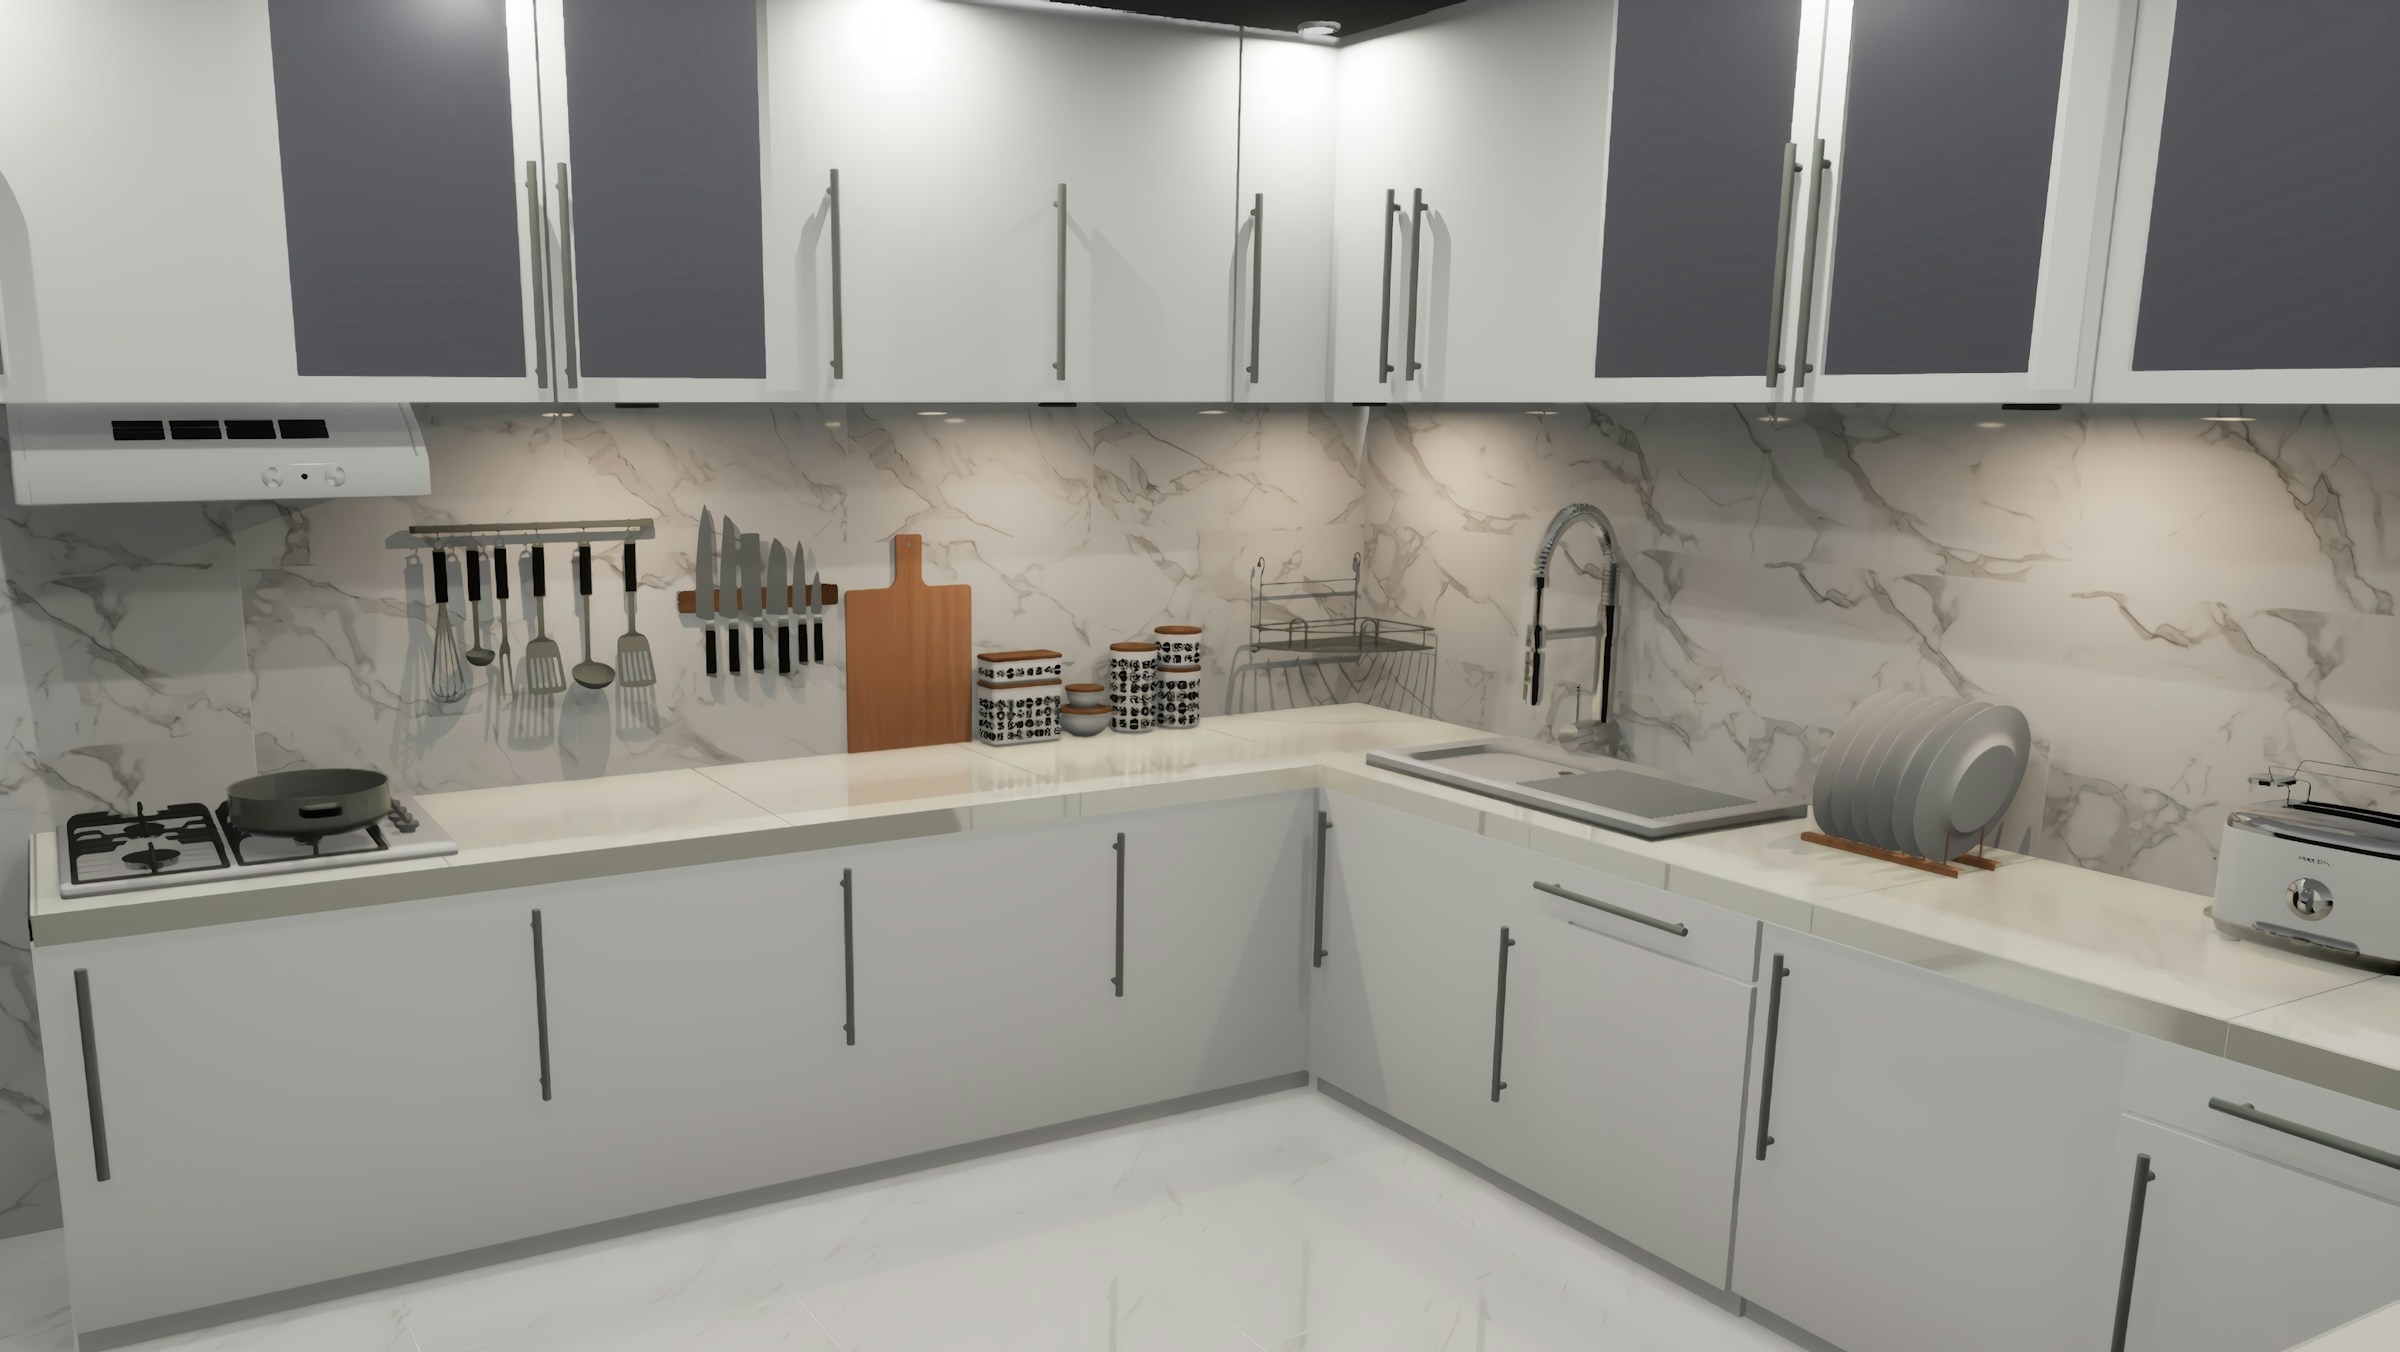
Speckled or stained counters can be hidden under marble look contact paper, and this is one of the most popular renter friendly upgrades on social media. Clean the surface well, roll out the paper a little at a time, and smooth every bubble with a card. Wrap the front edge for a neat finish. It will not handle hot pans, so keep trivets nearby, but it holds up surprisingly well for everyday use. Would you go classic white marble or dark stone?
You will need: Thick marble look contact paper, a smoothing card, a utility knife (adult use), a hair dryer, trivets.
How to make it: 1. Clean and dry the counters. 2. Peel a few inches of backing and line up the edge. 3. Smooth as you go, pushing out bubbles. 4. Warm and wrap the front edge, then trim.
Swap Cabinet Knobs and Keep the Old Ones
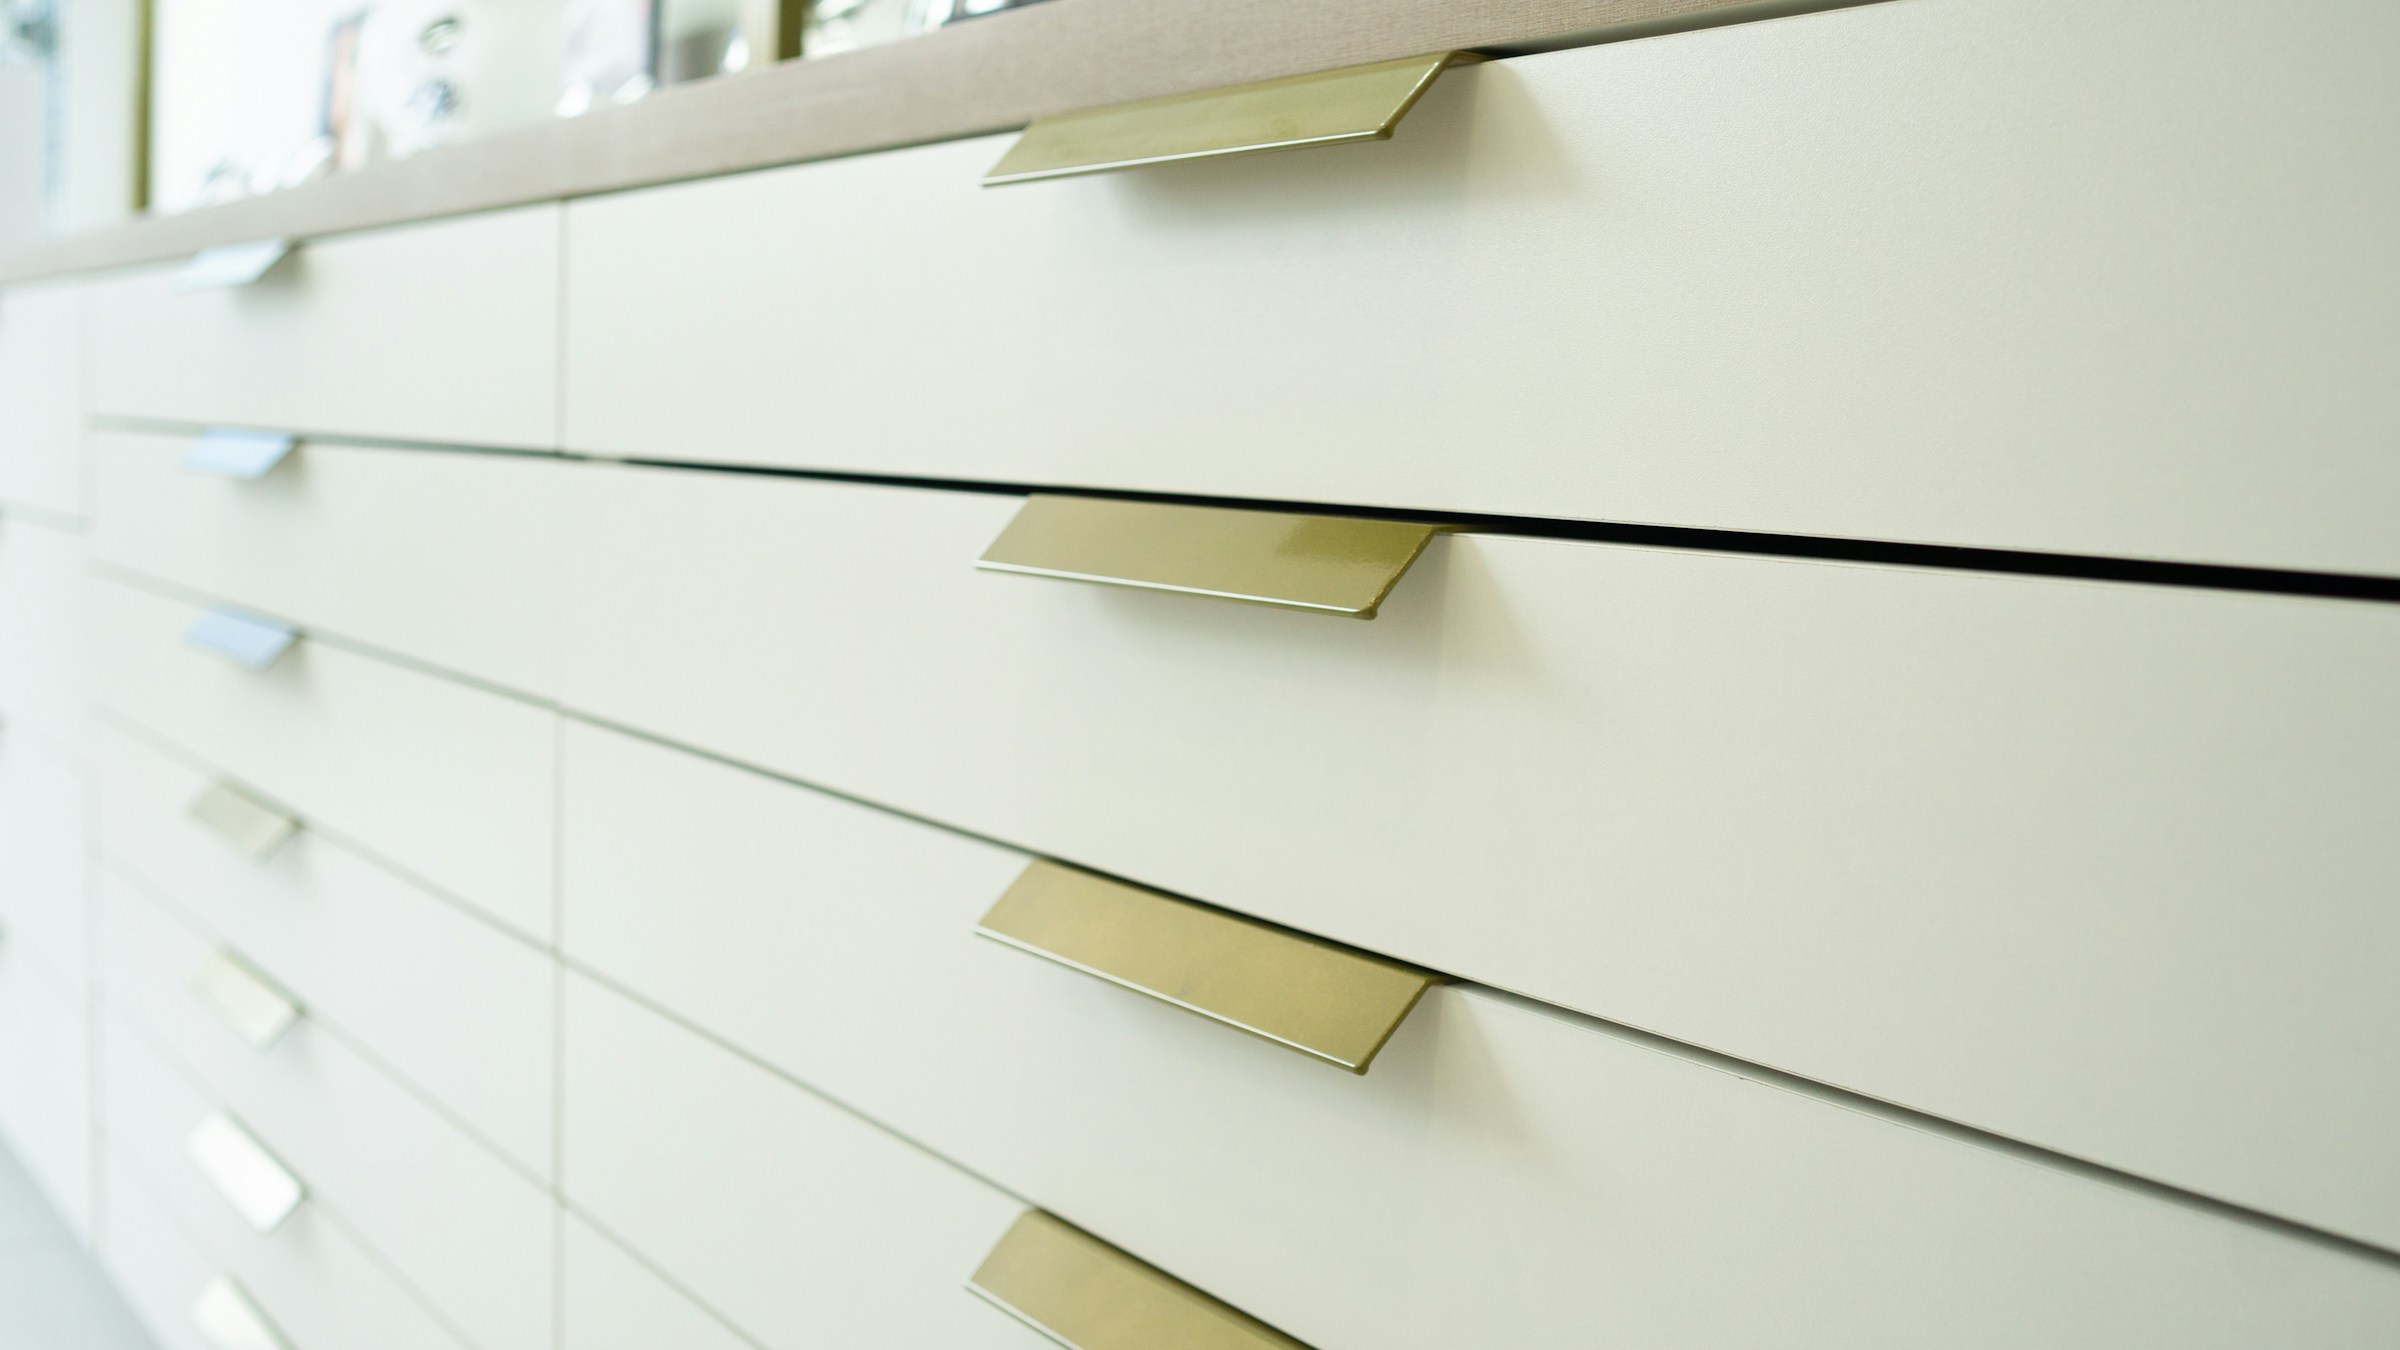
New hardware is one of the fastest renter friendly upgrades, and it works like jewelry for your kitchen and furniture. Swapping dated knobs for brass or black pulls takes about ten minutes per cabinet and only needs a screwdriver. The key is to measure the distance between the screw holes before you buy so you do not need to drill new ones. Put the original knobs in a labeled bag and tape it inside a cabinet so they are ready for move out day. For more budget tricks, see these dollar store decor ideas. Brass or black?
You will need: New knobs or pulls, a screwdriver, a tape measure, a zip bag and labels for the originals.
How to make it: 1. Measure the hole spacing. 2. Unscrew the old hardware and bag it. 3. Attach the new pulls. 4. Label the bag and store it inside a cabinet.
Rechargeable Stick On Wall Sconces
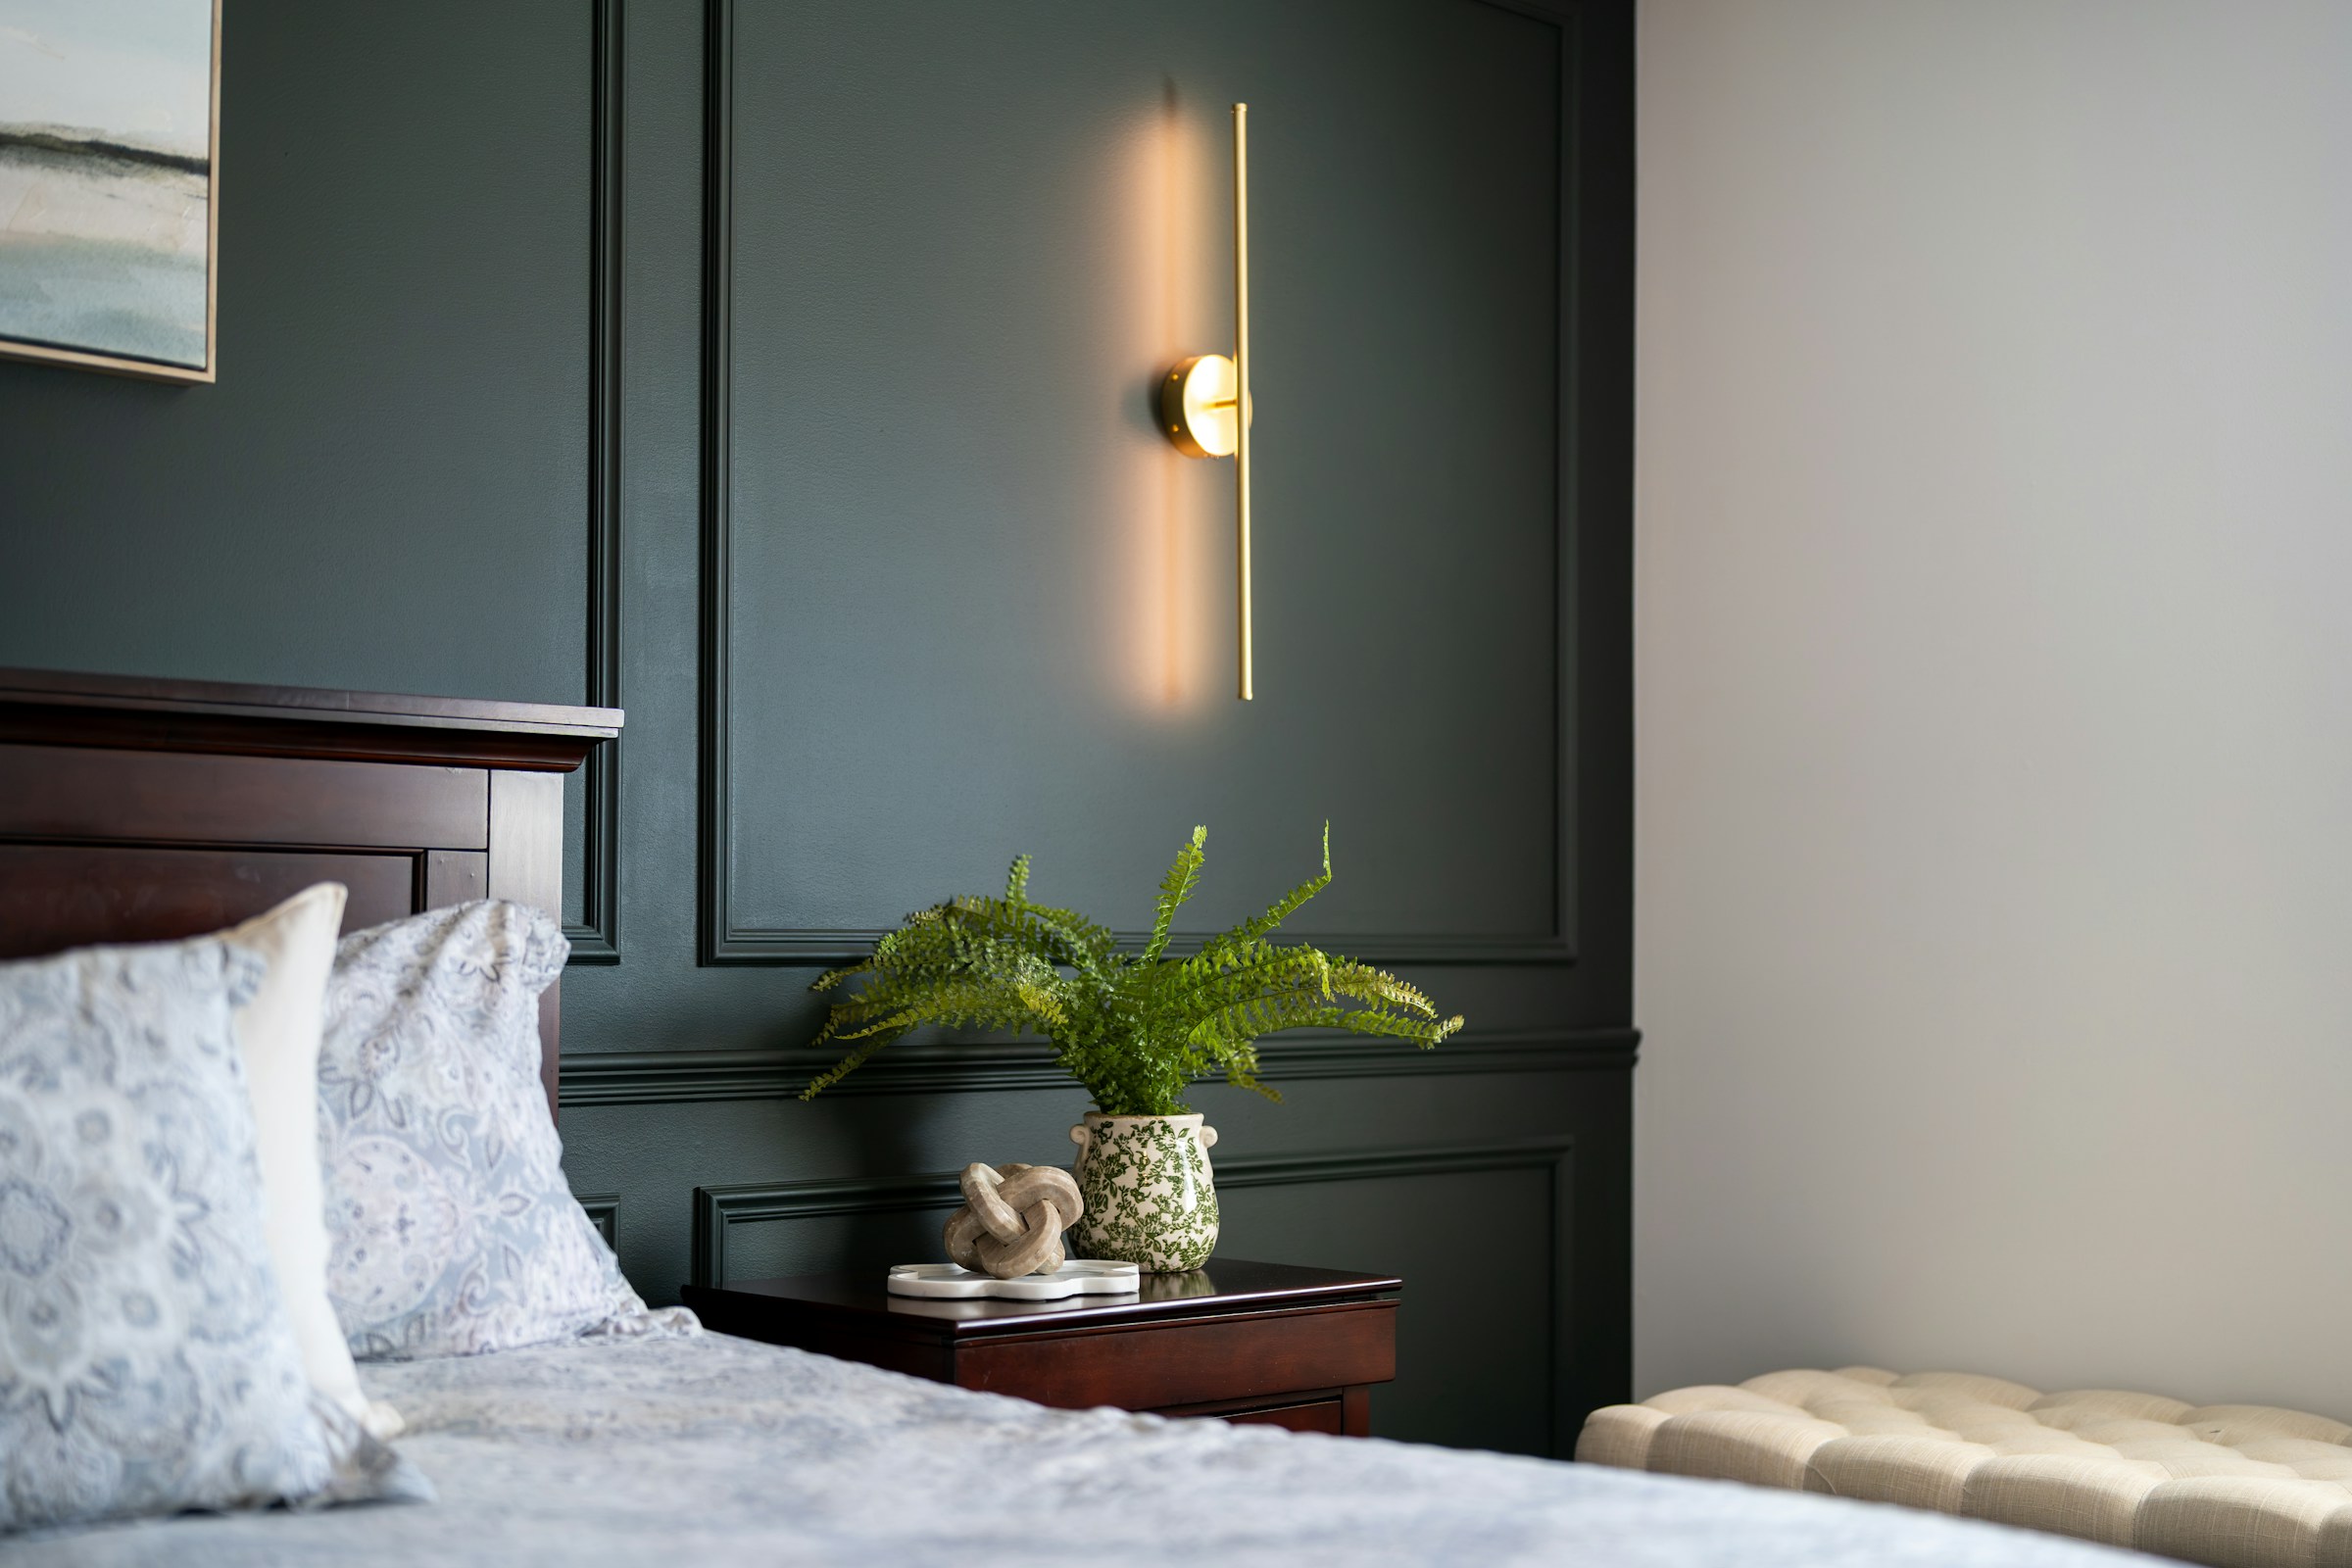
Wall sconces beside the bed feel like a hotel, and rechargeable versions make them possible with no wiring at all. They mount with a small screw or a strong adhesive plate, run on a battery, and many have touch dimmers or remotes. Charge them every week or two with a USB cable. Pair them with a darker painted or papered wall and the room suddenly feels cozy and custom. Ask your landlord before painting, or use a removable paper instead. Would you read more with one of these?
You will need: Two rechargeable wall sconces, mounting plates or adhesive pads, a level, a USB charging cable.
How to make it: 1. Charge the sconces fully. 2. Mark matching heights on both sides of the bed with a level. 3. Attach the mounting plates. 4. Click the sconces on and test the dimmer.
Wallpaper Behind the Bed Instead of a Headboard
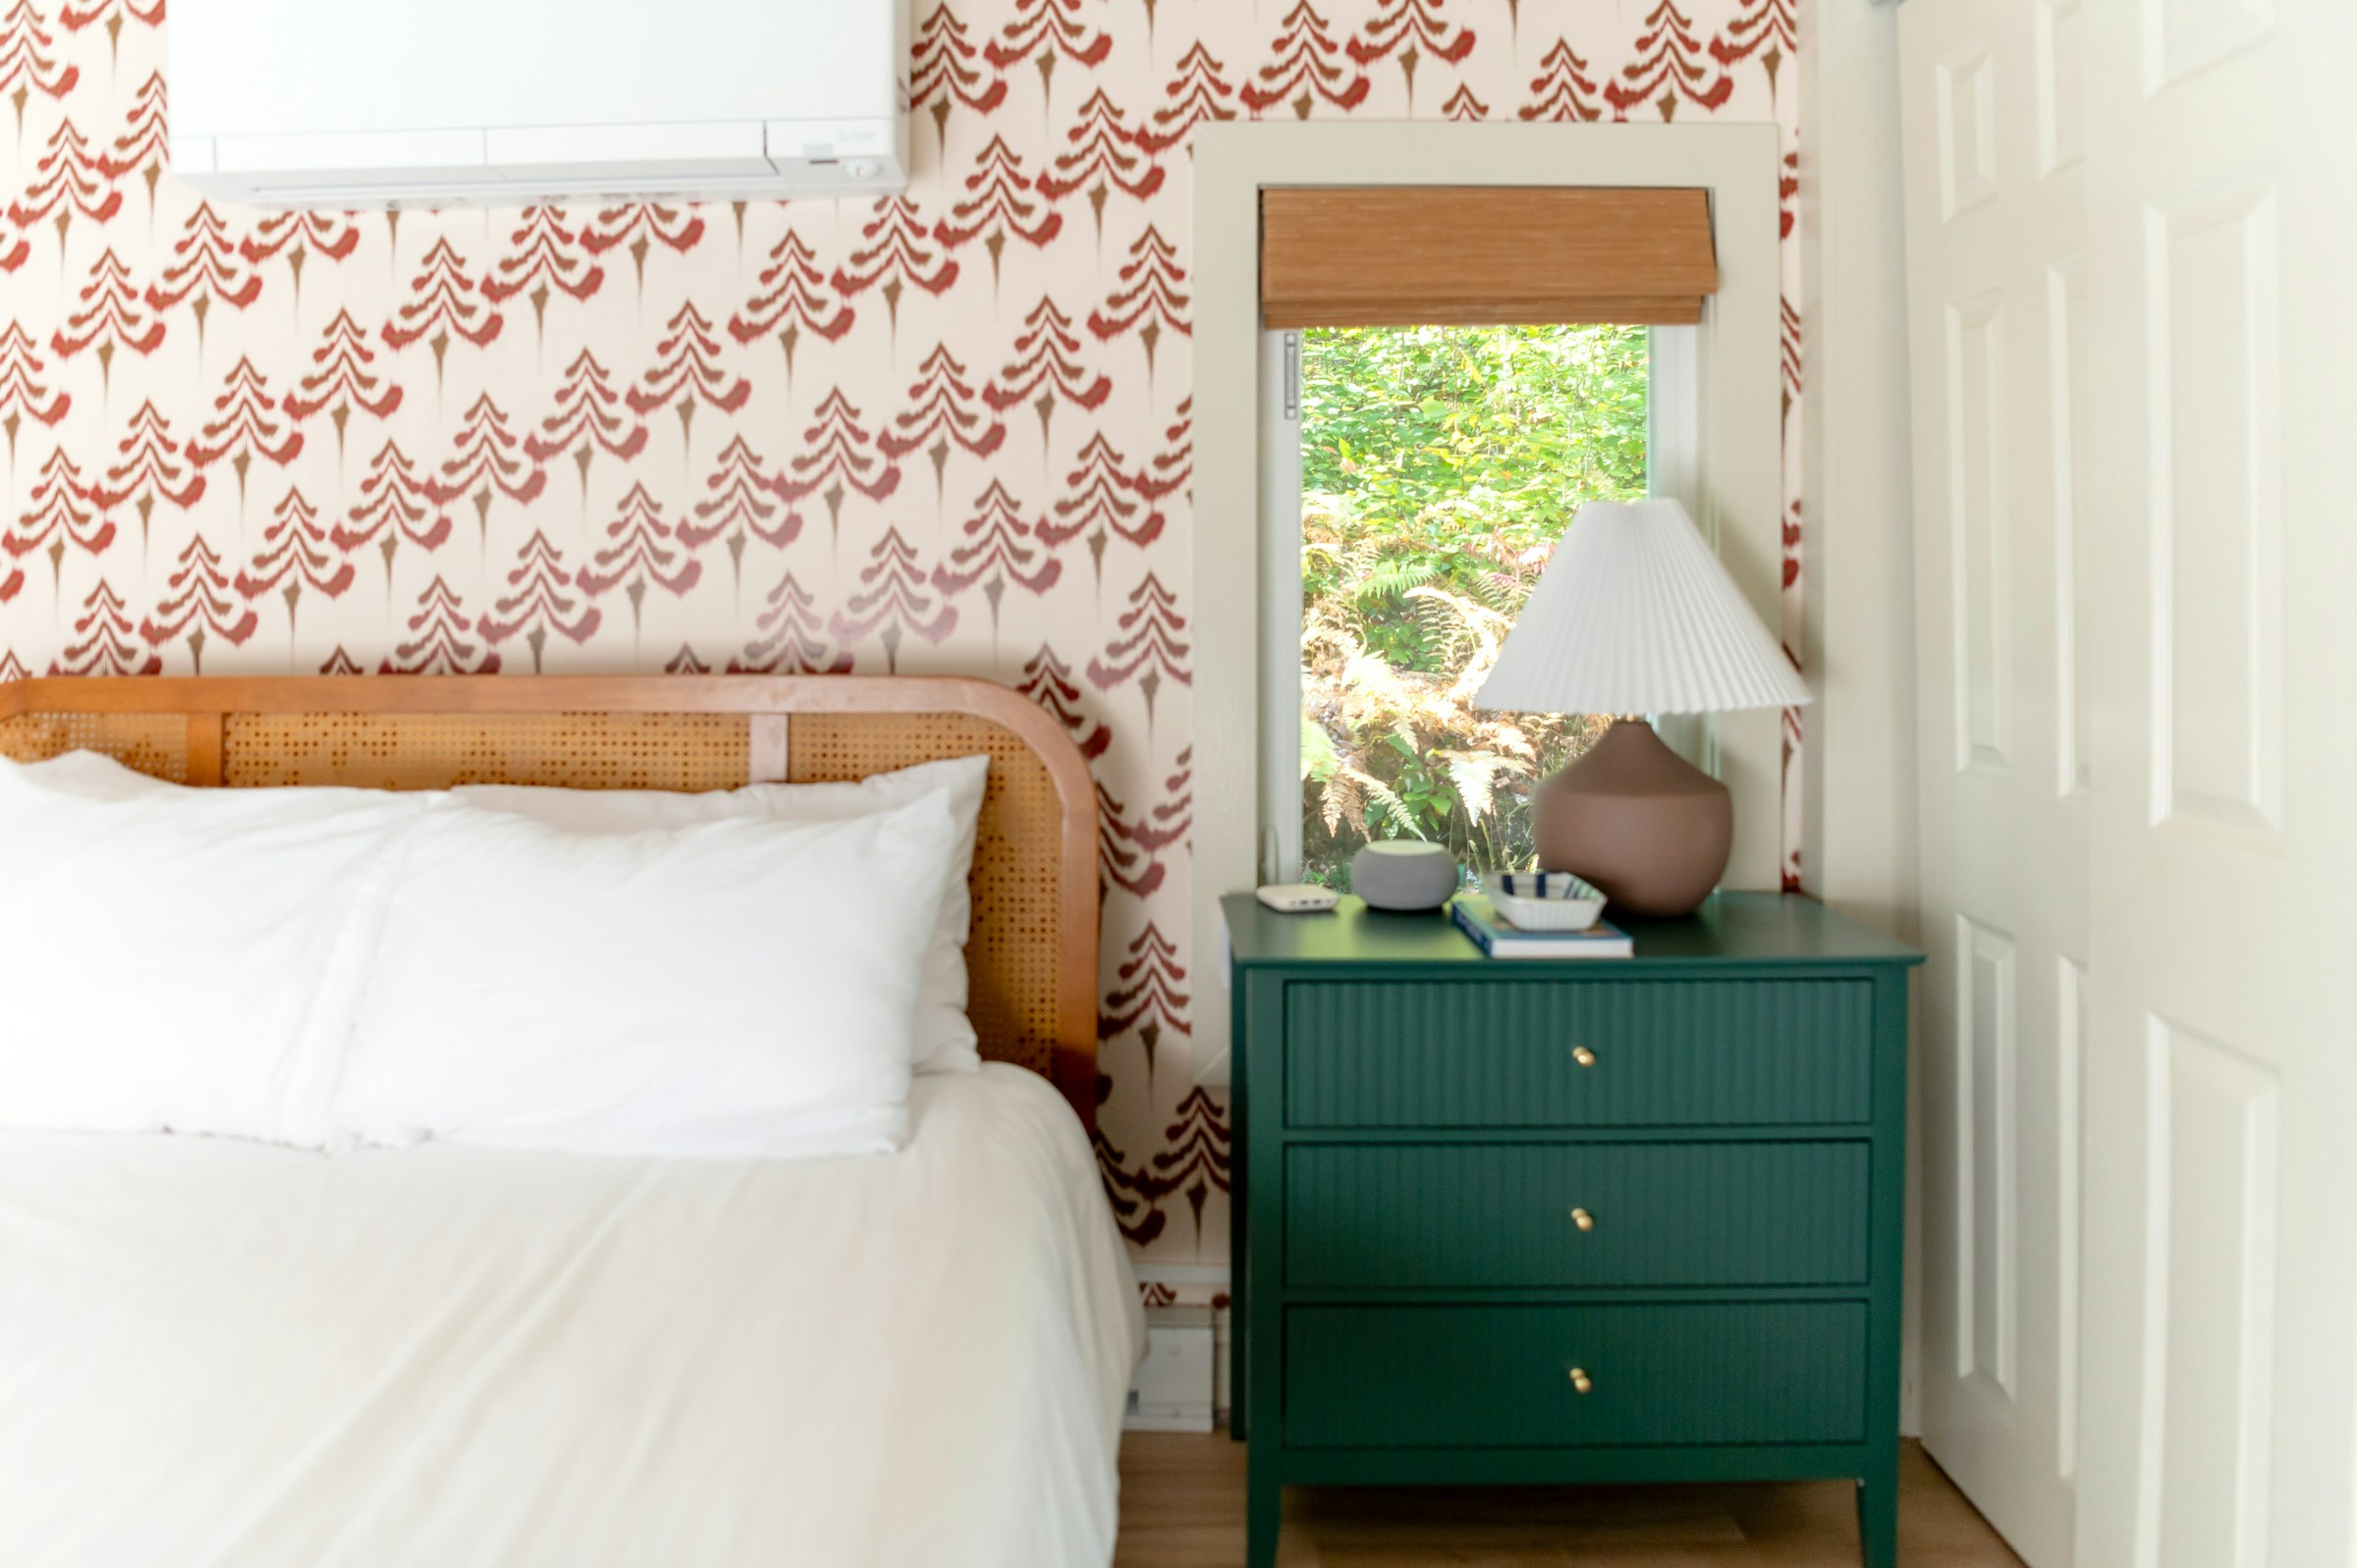
If one big accent wall feels like too much, try a smaller patch of removable wallpaper just behind the bed. It frames the bed like a headboard and adds pattern exactly where your eye lands. Pick a bold print in a small space and keep the bedding simple so the wall shines. A freestanding cane or upholstered headboard in front finishes the look. It takes about two hours, and it peels off when you move. What pattern would make you smile every morning?
You will need: Removable wallpaper, a level, a smoothing card, a utility knife (adult use), a freestanding headboard (optional).
How to make it: 1. Mark a rectangle a bit wider than the bed. 2. Hang the first panel straight with a level. 3. Match the pattern on each panel. 4. Trim the edges cleanly.
A Ceiling Curtain Track to Hide Ugly Closet Doors
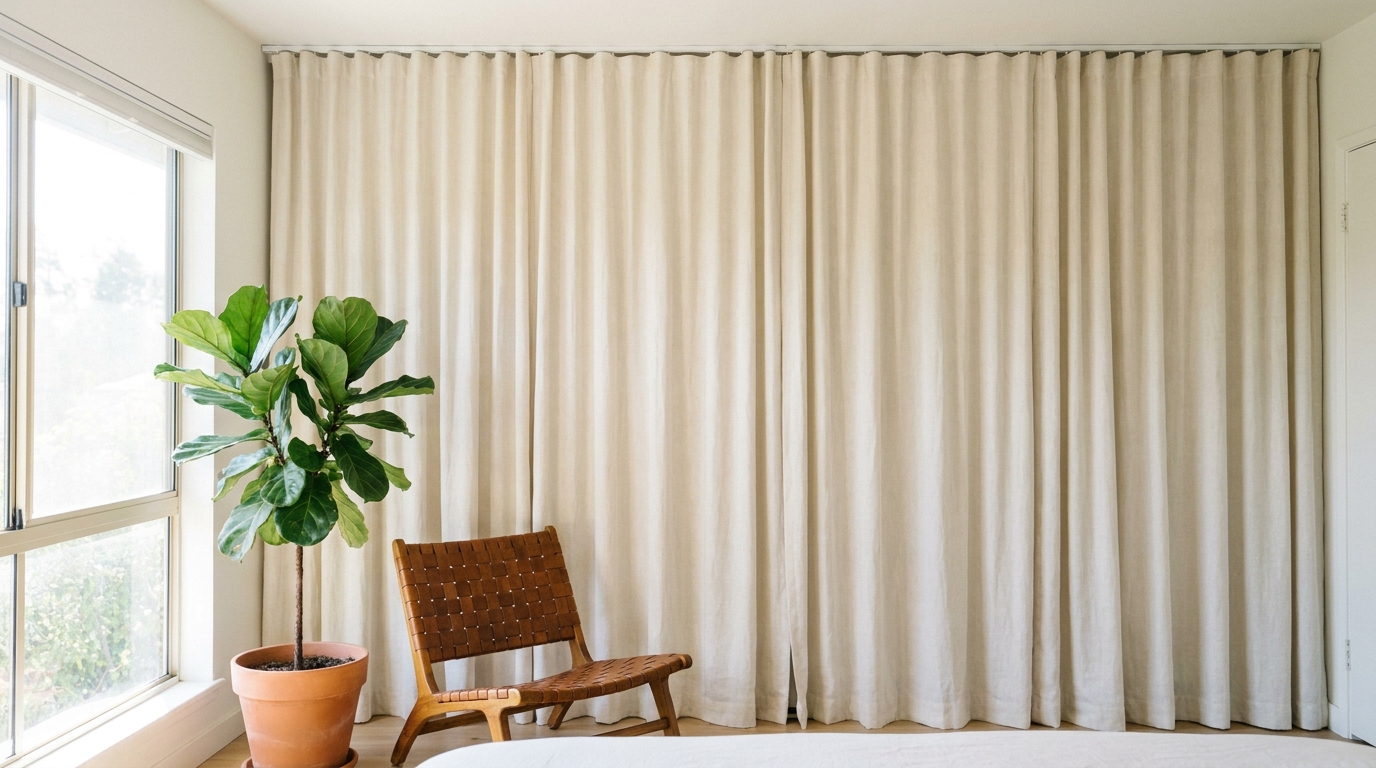
Mirrored or flimsy sliding closet doors can make a bedroom look dated fast. Take them off their track, store them safely under the bed, and hang floor to ceiling linen curtains in their place. A slim no drill ceiling track or tension rod at the top of the opening does the job. The soft fabric warms up the whole wall and makes the room look taller. Put the doors back before you move out. Would you choose cream, gray or a bold color?
You will need: Long linen curtains, a no drill ceiling track or tension rod, curtain hooks, a tape measure, padding to store the doors.
How to make it: 1. Lift the closet doors off their track and store them. 2. Install the curtain track or rod. 3. Hang the curtains so they just kiss the floor. 4. Reinstall the doors at move out.
Renter Friendly Upgrades Underfoot: Layer a Rug
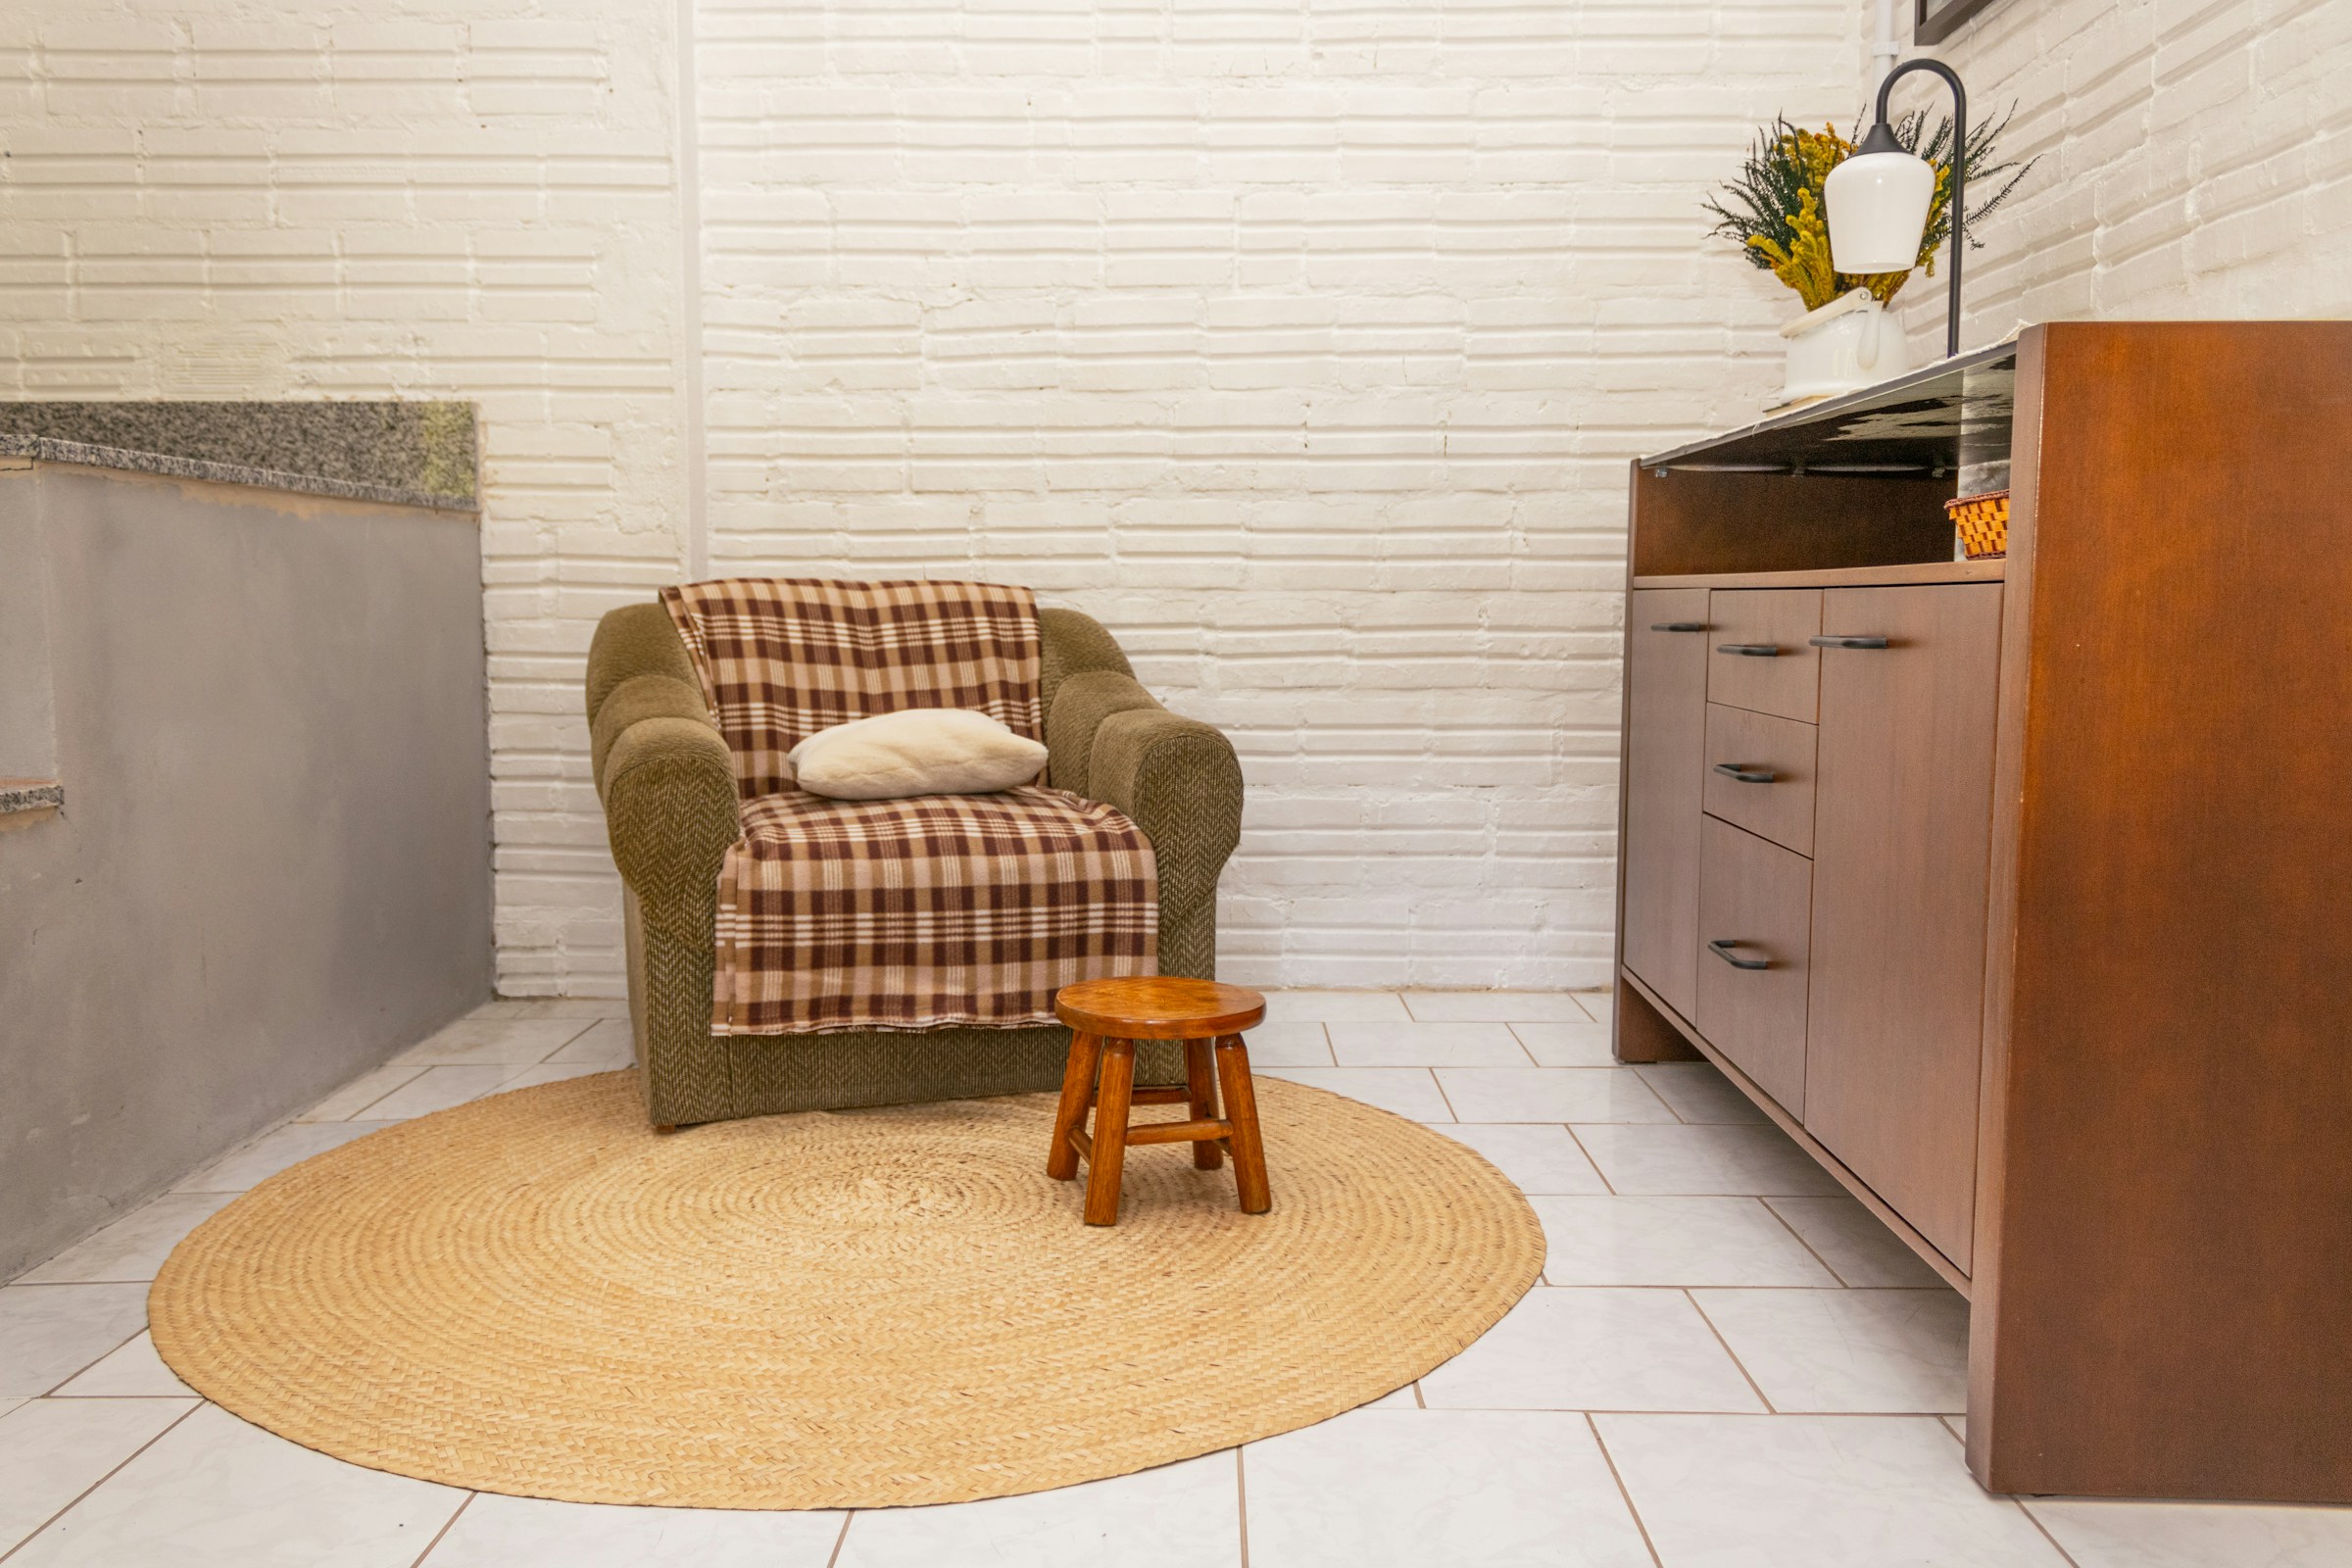
Dated tile or worn carpet is hard to ignore, but a big rug hides most of it instantly. Layering is the designer trick: start with a large, neutral jute or flat weave rug, then lay a smaller patterned rug on top. It adds warmth, softens echoes and defines a cozy corner. Use a rug pad to stop slipping. Renter friendly upgrades like this travel with you to the next home, which makes them worth a little extra. Which corner of your home needs a rug the most?
You will need: A large neutral rug, a smaller patterned rug, a non slip rug pad, a tape measure.
How to make it: 1. Measure the area you want to cover. 2. Lay the pad and the big rug first. 3. Place the smaller rug slightly off center. 4. Arrange the furniture so front legs sit on the rugs.
A Shower Head Swap
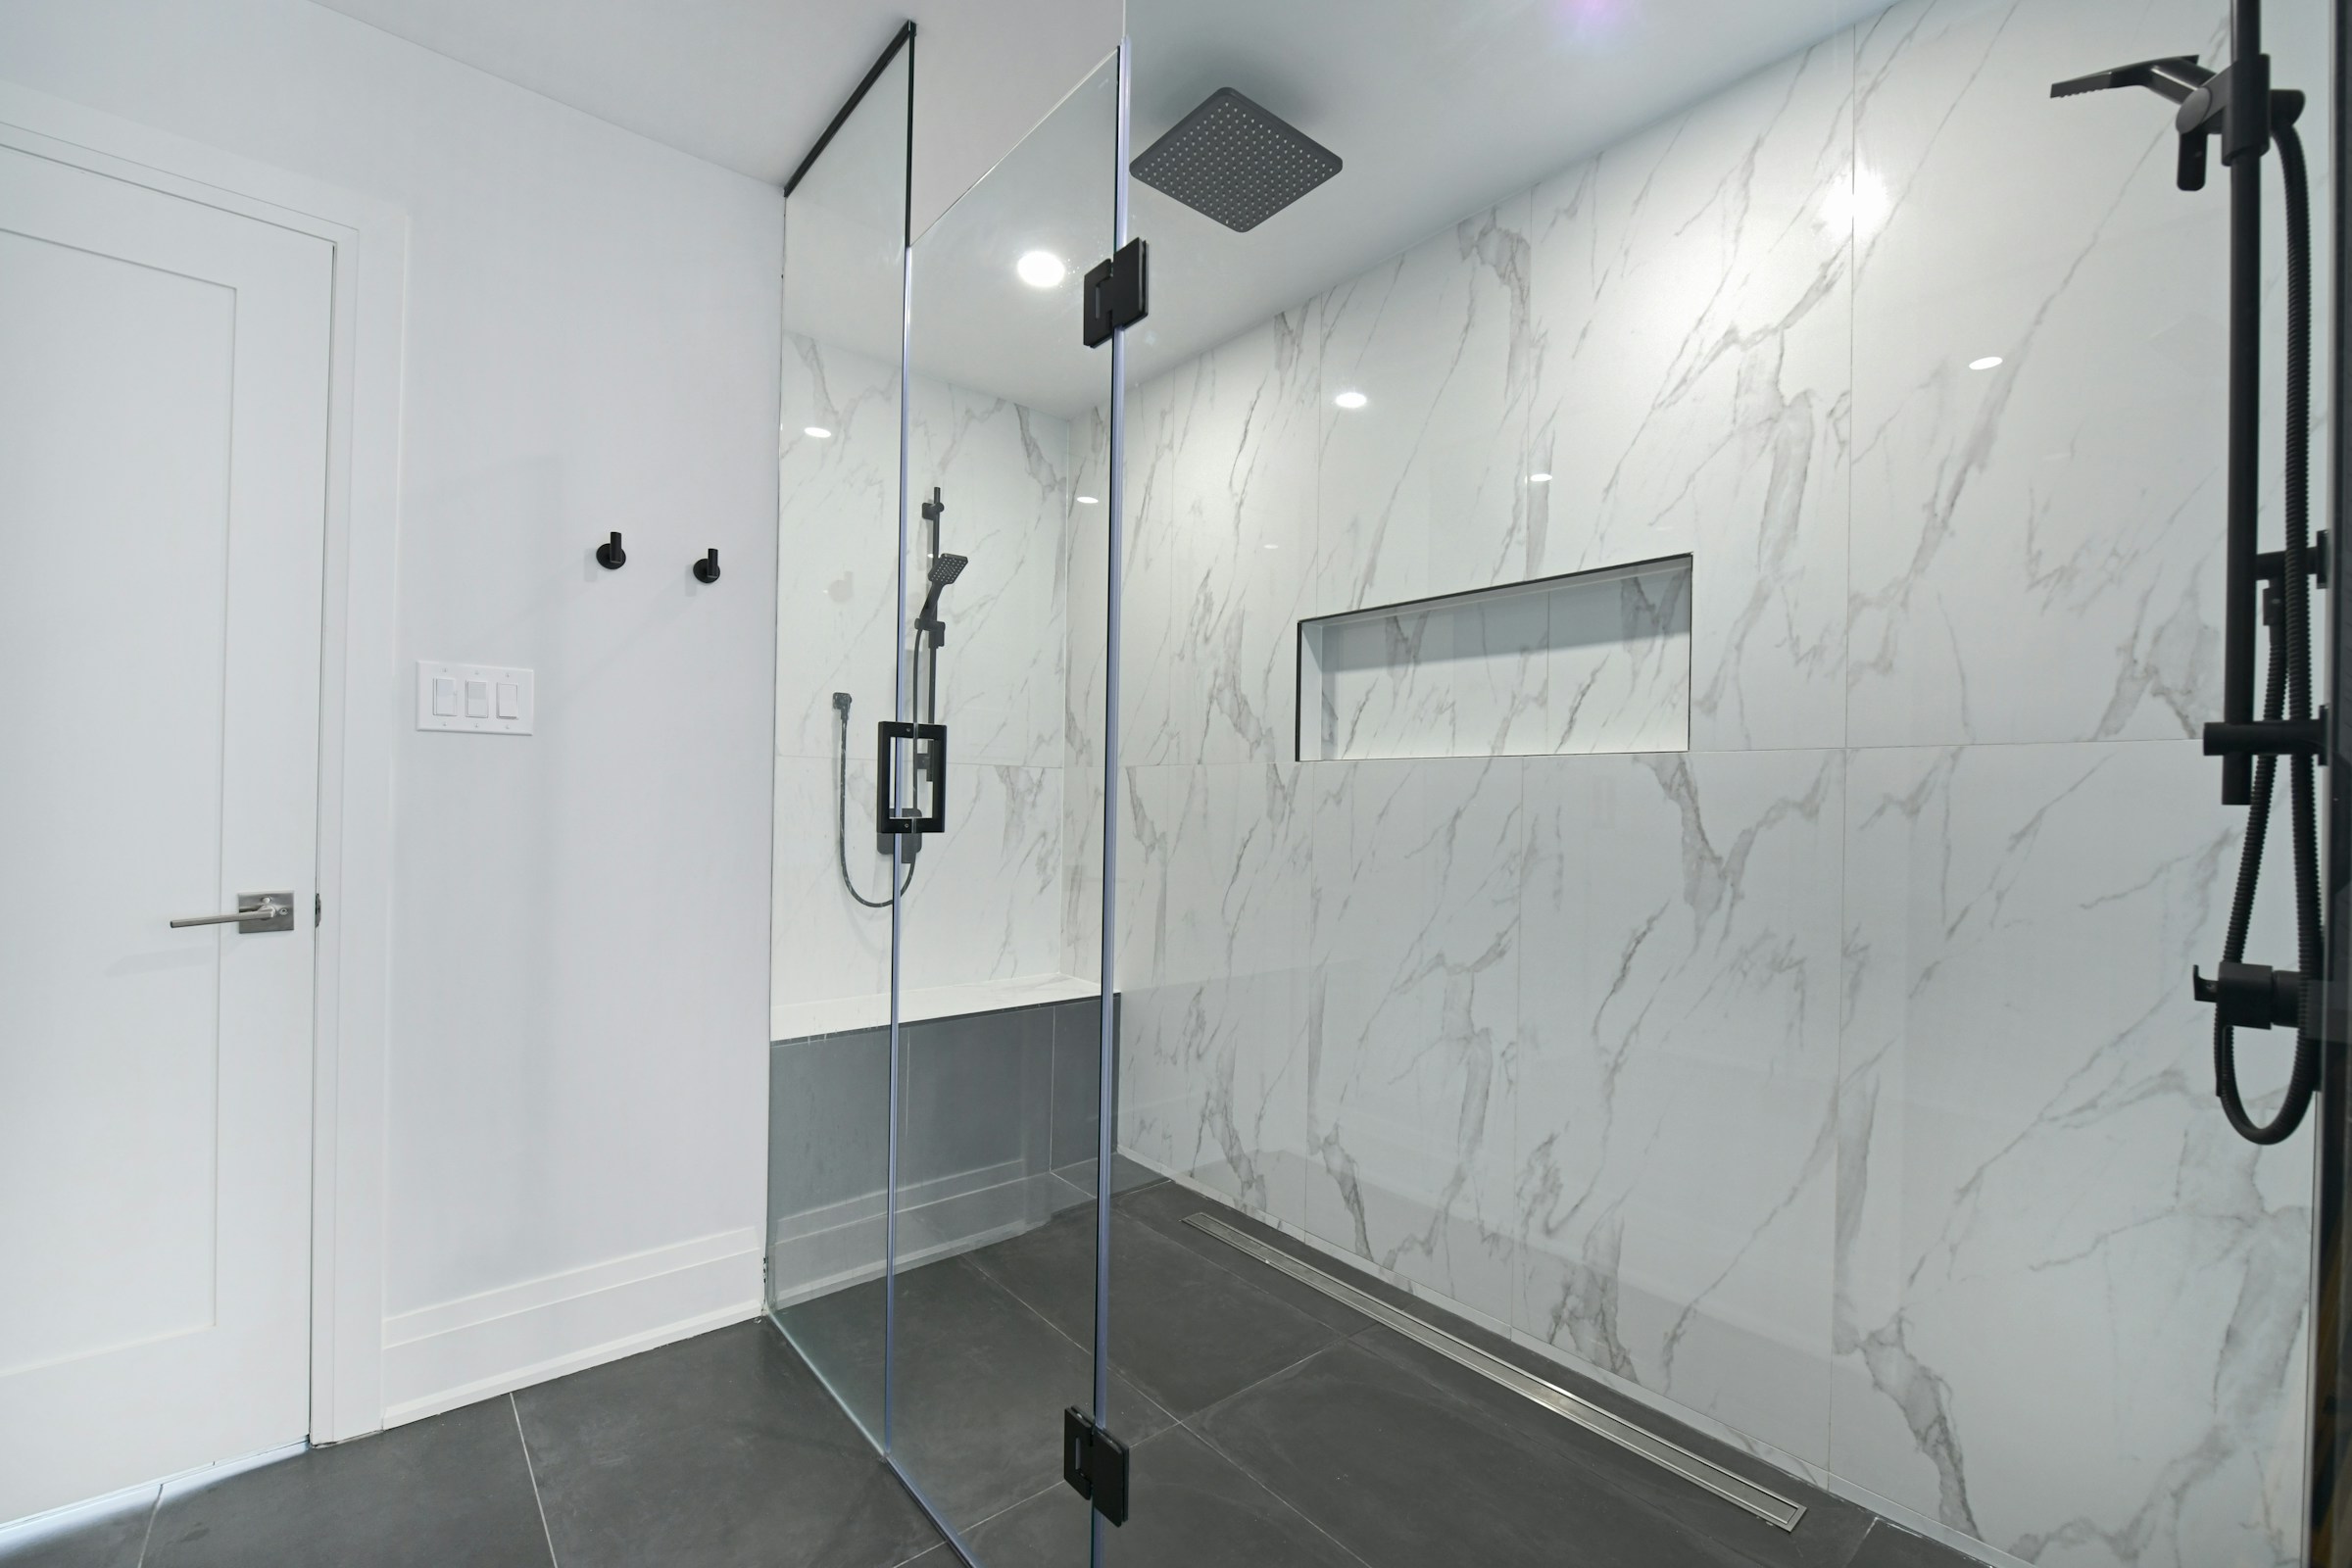
A weak, crusty shower head can ruin every morning. Swapping it is one of the simplest renter friendly upgrades: a rain style or handheld head usually takes about ten minutes to install. Unscrew the old head, wrap the threads with plumber tape, and twist on the new one by hand. Keep the original in a labeled bag so you can put it back when you move. Check your lease, and ask your landlord if you are unsure. Is your morning shower ready for an upgrade?
You will need: A new shower head, plumber tape, a soft cloth, an adjustable wrench, a bag for the original.
How to make it: 1. Unscrew the old head, using a cloth over the wrench if stuck. 2. Clean the threads. 3. Wrap them with plumber tape. 4. Screw on the new head and test for leaks.
A Freestanding Pegboard Wall
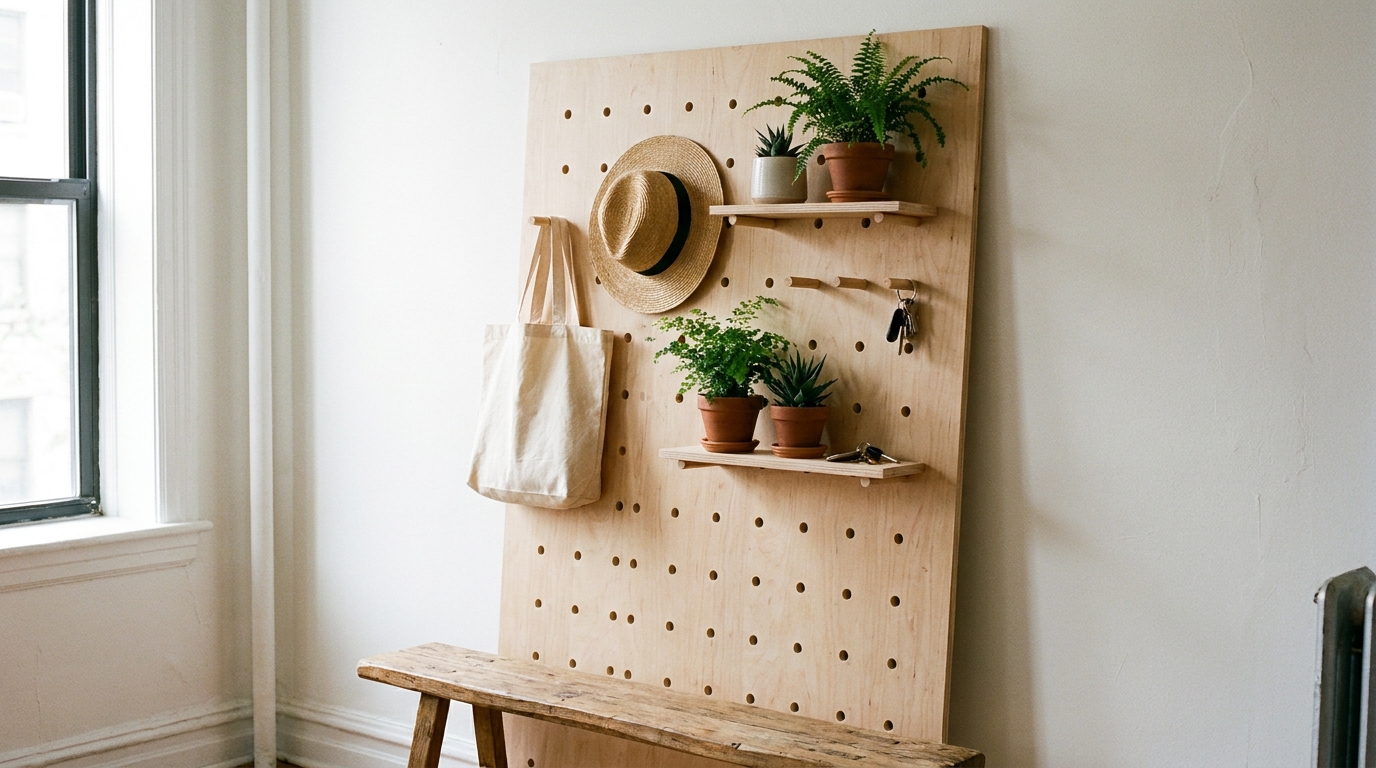
Pegboard is endlessly useful, but you do not need to drill it into the wall. Lean a large wooden pegboard panel against the wall on a bench or console, or set it in two sturdy picture ledges. Add pegs and small shelves to hold keys, bags, hats and plants. It turns a messy entry into an organized drop zone, and you can rearrange it any time. It also works in a home office or craft corner. What would you hang on yours?
You will need: A wooden pegboard panel, wooden pegs, small pegboard shelves, a bench or console, felt pads for the bottom edge.
How to make it: 1. Stick felt pads on the bottom edge. 2. Lean the board securely on the bench. 3. Add pegs and shelves. 4. Hang your everyday items.
Balcony Makeover With Deck Tiles and Plants

A plain concrete balcony becomes a tiny garden escape with interlocking deck tiles and lots of plants. The tiles snap together and sit right on top of the floor, no glue needed. Add railing planters, a small bistro set and outdoor string lights that run on solar or batteries. Herbs and trailing plants make it feel lush even in a small space. When you move, the tiles pack up and come with you. What would you grow first?
You will need: Interlocking deck tiles, railing planters, potting soil, plants or herbs, solar string lights, a small bistro set.
How to make it: 1. Sweep the balcony clean. 2. Snap the deck tiles together from one corner. 3. Hang the railing planters and fill them. 4. Add the furniture and lights.
Renter Friendly Upgrades for Art: A Damage Free Gallery Wall
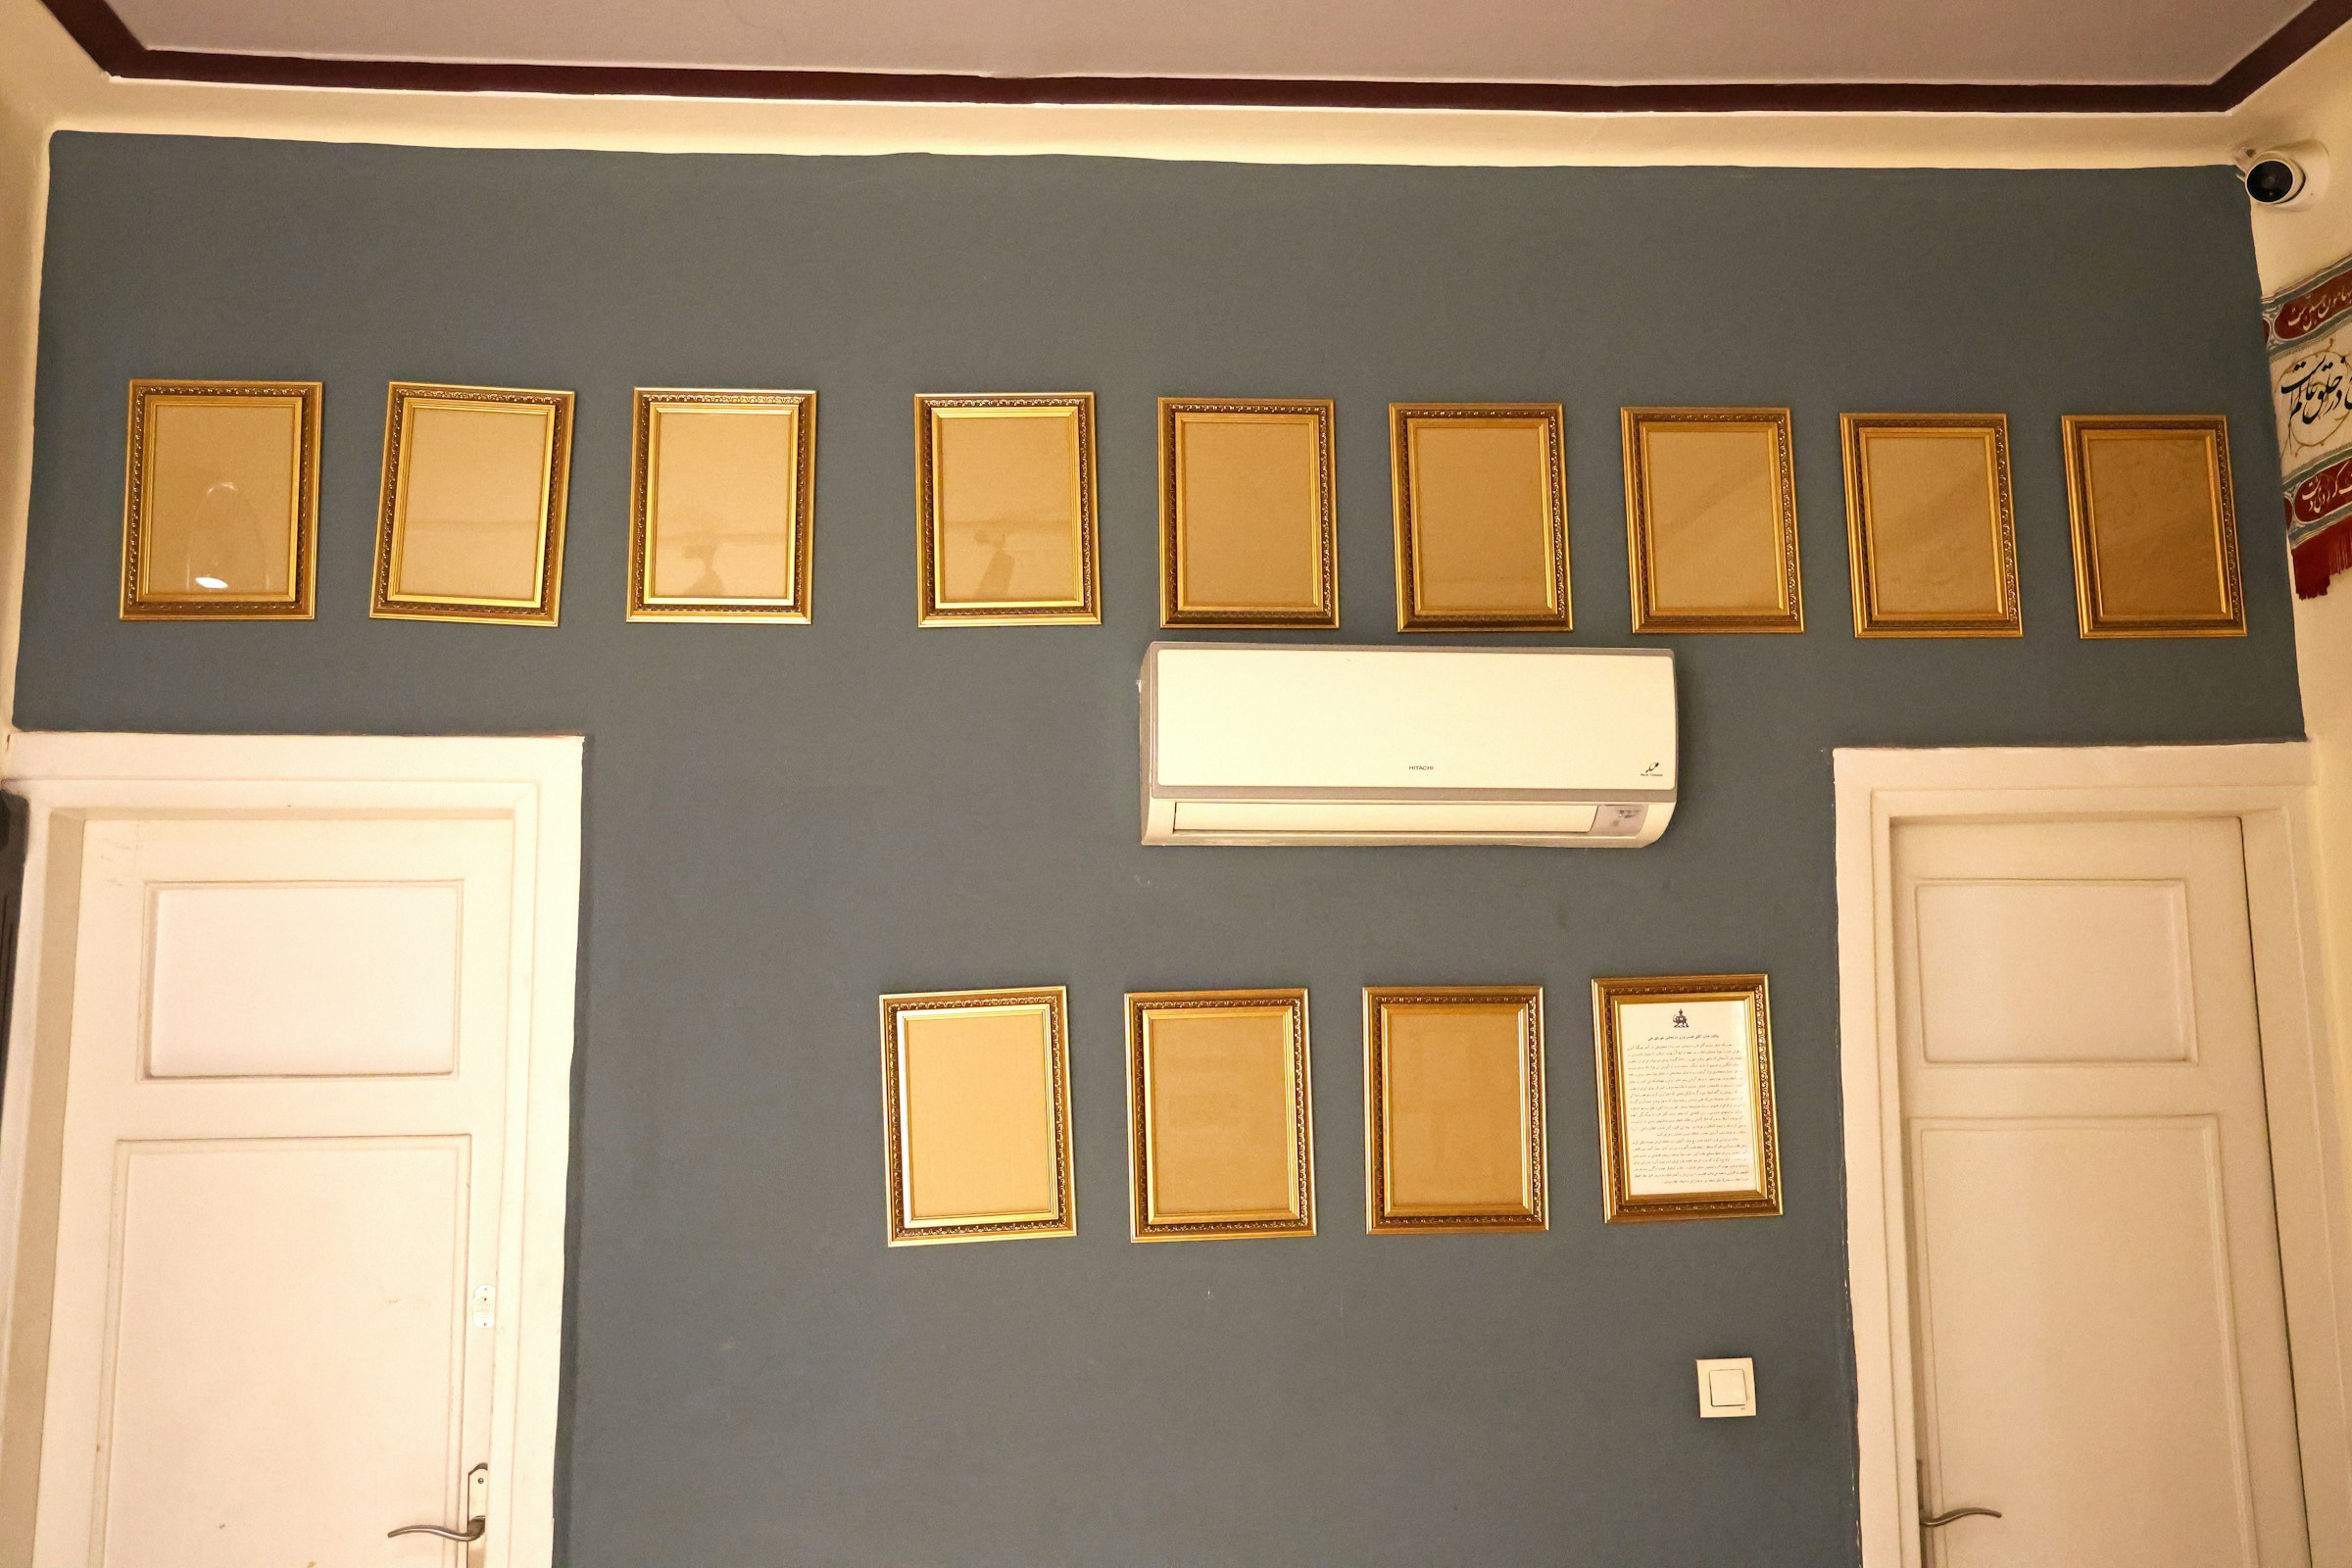
A gallery wall makes any home feel personal, and you can build one without a single nail. Damage free picture hanging strips hold most lightweight frames, and they release cleanly when you pull the tab straight down. Lay the frames on the floor first, trace them on paper, and tape the paper to the wall to test the layout. Matching frames look tidy, while mixed frames feel collected. Renter friendly upgrades like this are easy to change with the seasons. For more ideas, browse these renter approved home projects on MSN. What will you frame first?
You will need: Lightweight frames, damage free picture hanging strips, kraft paper, painter tape, a pencil, a level.
How to make it: 1. Trace each frame on paper and cut it out. 2. Tape the paper shapes on the wall and adjust. 3. Attach the strips to the frames. 4. Press each frame in place over its paper, then remove the paper.