Salt Dough Ornaments: 16 Grandma Style Keepsakes That Look Like Pricey Heirlooms for Pennies
Salt dough ornaments are the kind of Christmas craft that lives in a storage box for forty years and still makes everyone smile when the lid comes off. All you need is flour, salt and water, the same three things grandma kept in her pantry, plus a rolling pin, a few cutters and a slow oven. The finished pieces feel solid in your hand, take paint beautifully and look like little folk art heirlooms on the tree, yet a full batch costs less than a cup of coffee. Below you will find sixteen ideas, from handprint keepsakes and baby footprints to twisted wreaths, painted Santas and tiny cottages, each with a supply list and simple steps. Pick one or two for this weekend, invite the family to the kitchen table and start a tradition that will be hanging on your branches for years to come..
Salt Dough Ornaments Grandma Made on the Kitchen Table

Picture a white farmhouse table dusted with flour, a wooden rolling pin pushed to one side and a little crowd of stars, hearts and rounds waiting for ribbon. That is the heart of salt dough ornaments: simple shapes, soft colors and a homemade look that store bought decorations never quite match. Leave some pieces plain cream and paint others barn red or sage green so the mix feels relaxed. Tie each one with thin red ribbon and you have a set that looks just like the old fashioned handmade ornaments grandma treasured..
You will need: 2 cups flour, 1 cup table salt, about 3/4 cup warm water, rolling pin, star and heart cutters, a drinking straw, baking sheet, parchment, acrylic paint, thin red ribbon.
How to make it: 1. Mix the flour and salt, then add the water a little at a time and knead until smooth and soft. 2. Roll to a quarter inch, cut shapes and poke a hanging spot near the top with the straw. 3. Bake at 250 F for 2 to 3 hours, turning once, cool, paint and add ribbon.
Grandma’s Three Part Recipe
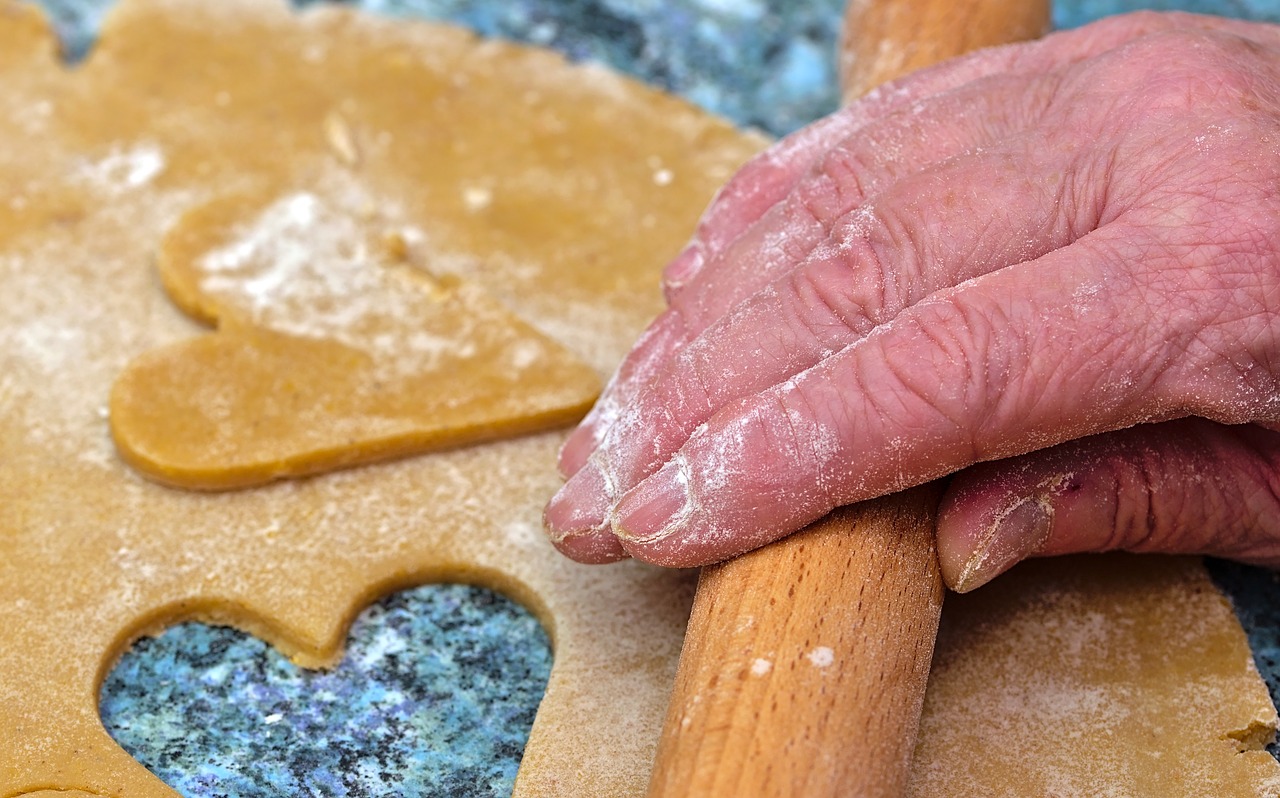
Every good batch of salt dough ornaments starts with the recipe our grandmothers knew by heart: two parts flour, one part salt and just enough warm water to bring it together. Use fine table salt rather than chunky salt so the surface stays smooth. Knead longer than you think you need to, because that extra work is what keeps the dough from cracking in the oven. If it feels sticky, dust in more flour; if it crumbles, add water a teaspoon at a time. Keep the bowl covered while you work, the way you would in a cozy grandma kitchen on a cold afternoon.
You will need: 2 cups all purpose flour, 1 cup fine salt, 3/4 to 1 cup warm water, mixing bowl, wooden spoon, clean towel.
How to make it: 1. Stir the flour and salt together in the bowl. 2. Add the warm water slowly and mix until a shaggy mound forms. 3. Knead on a floured counter until it feels like soft clay, then cover with the towel until you are ready to roll.
Handprint Salt Dough Ornaments for the Memory Box
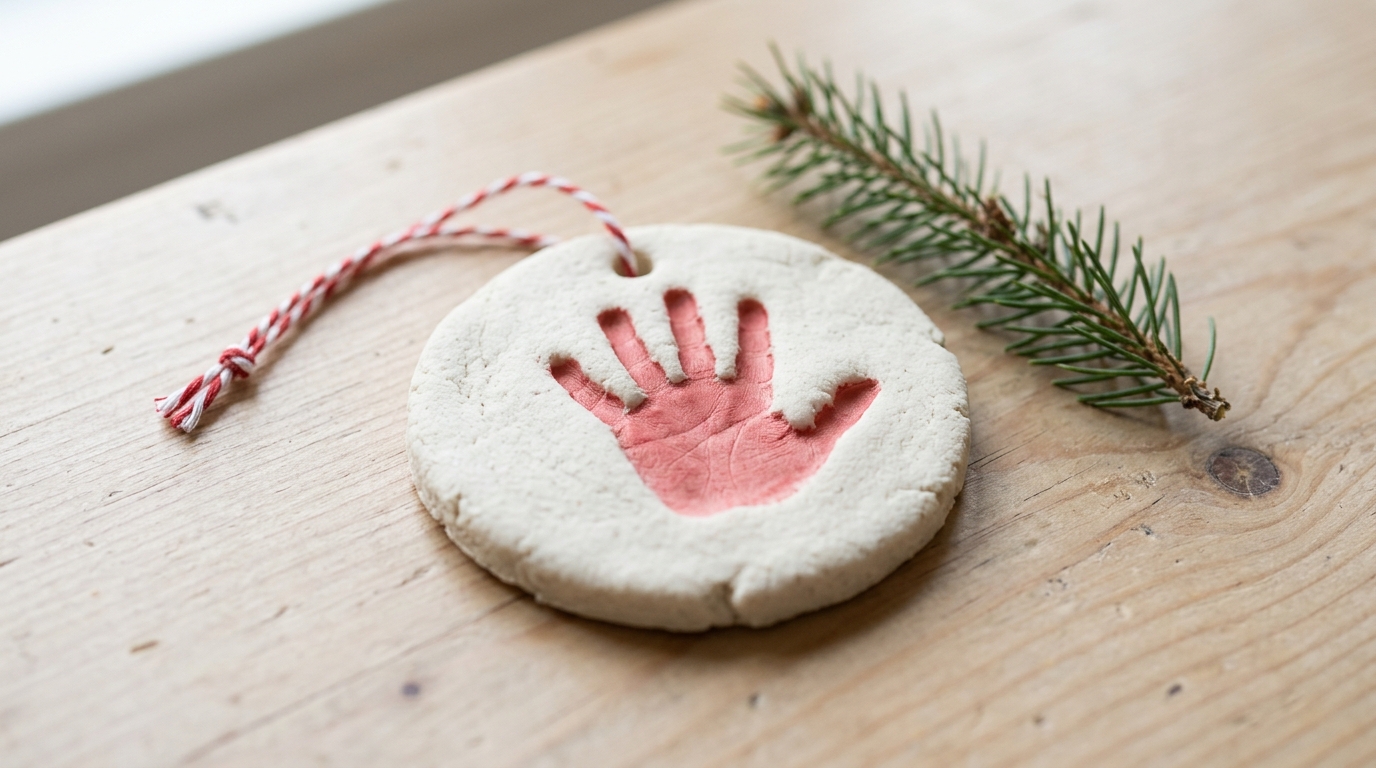
Few keepsakes pull at the heartstrings like a tiny handprint pressed into a round of dough. Roll a circle a little larger than the hand, press each finger in firmly and lift straight up so the edges stay crisp. Once it is baked, paint just the print in a soft red and leave the rest cream so the little fingers stand out. Write the name and year on the back with a fine paint pen. These sit beautifully beside other handprint and footprint keepsakes you have saved over the years.
You will need: One batch of dough, a small bowl or saucer to trace, a table knife, a straw, red acrylic paint, small brush, fine paint pen, red and white cord.
How to make it: 1. Roll the dough a quarter inch thick and cut a circle using the saucer as a guide. 2. Press the child’s hand in firmly, lift straight up and poke a hanging spot with the straw. 3. Bake low and slow, paint the print red, add the name and year on the back and tie on cord.
Baby Footprint Keepsakes
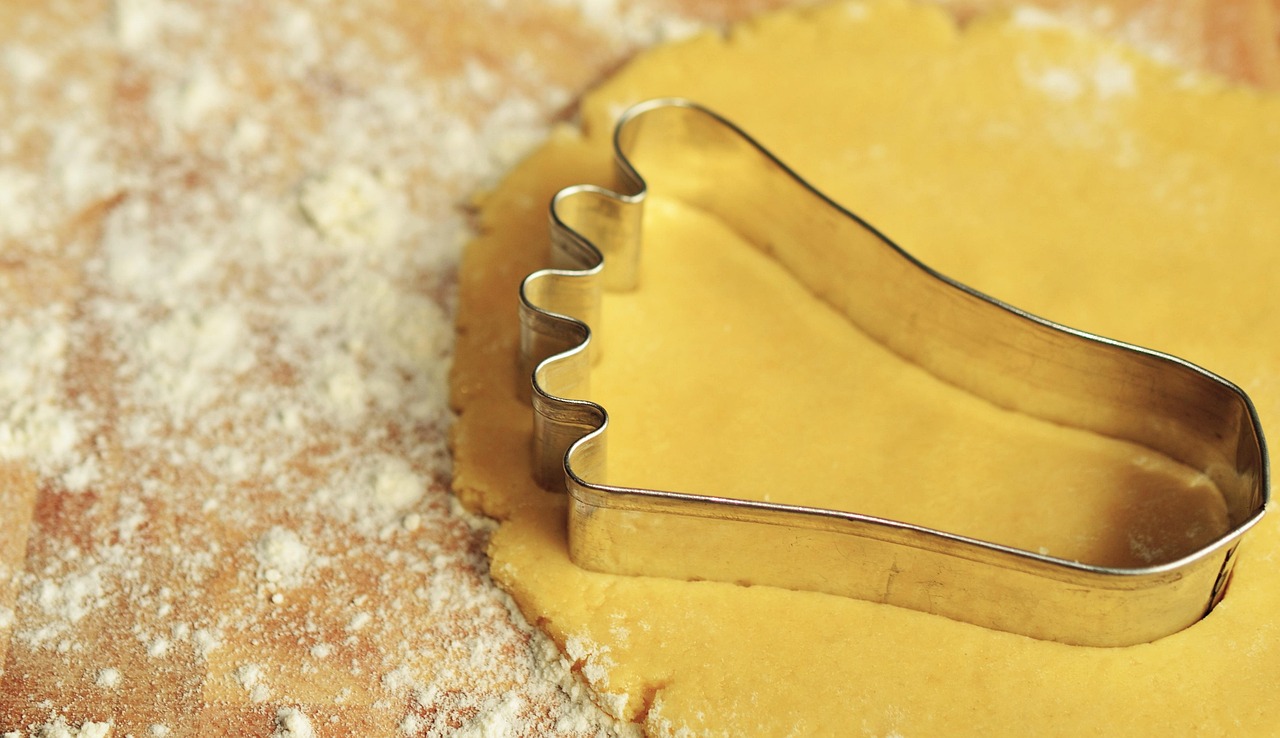
If you have a newborn in the family, a footprint is the sweetest first Christmas memento. Babies rarely hold still for a real print, so a foot shaped cutter is a clever stand in for salt dough ornaments. Cut a pair of little feet, press tiny toe dimples with the end of a pencil eraser and bake them side by side. Paint them soft blue, pink or plain cream and tie them together with one ribbon. They make tender sentimental Christmas gifts for new grandparents too.
You will need: Dough, foot shaped cookie cutter, pencil with an eraser end, straw, pastel acrylic paint, narrow satin ribbon, fine paint pen.
How to make it: 1. Roll the dough and cut two feet with the cutter. 2. Press toe dimples with the eraser and poke a small hanging spot in each heel. 3. Bake, paint in a soft pastel, add the date on the back and join the pair with ribbon.
Bake Salt Dough Ornaments Low and Slow
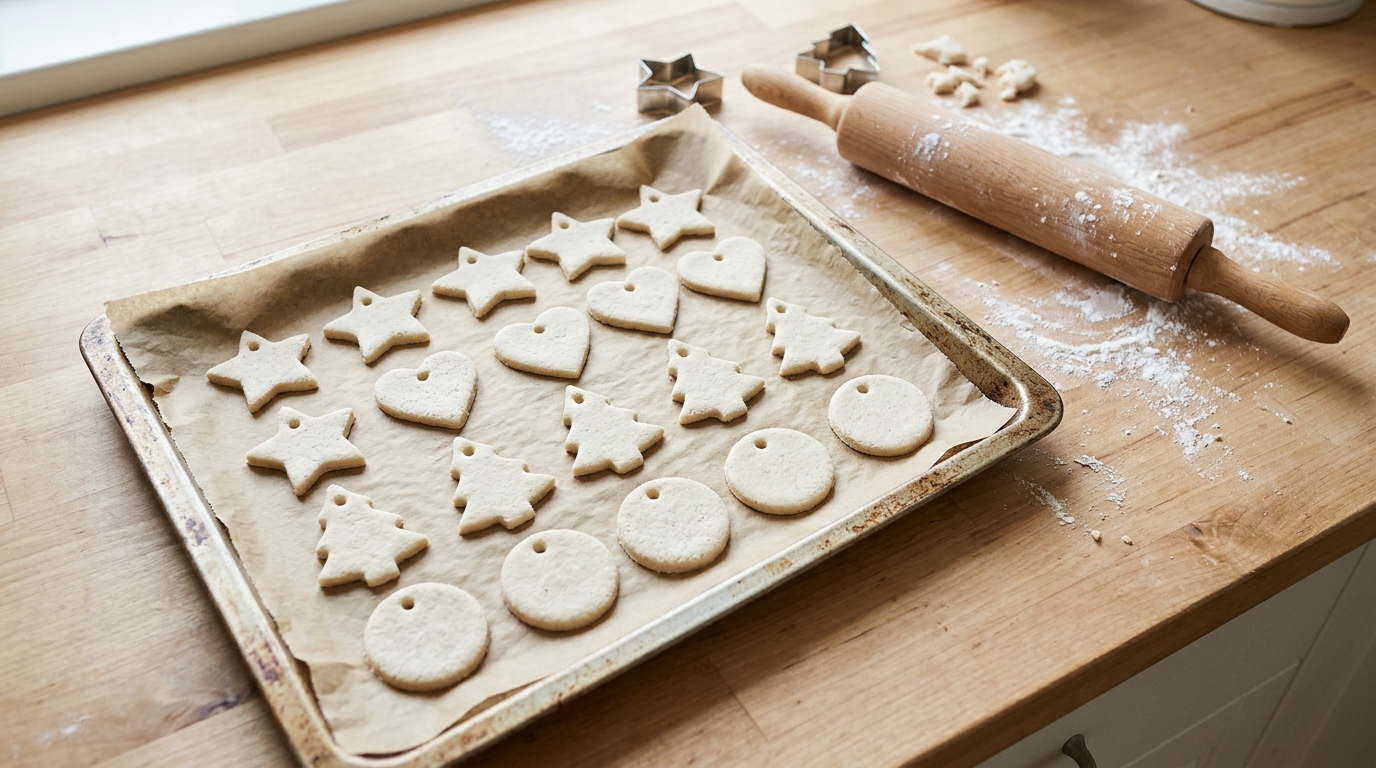
The real secret to pieces that last is patience in the oven. A low temperature dries the dough instead of puffing it, so shapes stay flat and smooth. Space everything on parchment, set the oven to 250 F and let it work for two to three hours, flipping halfway. Thicker shapes need longer, so tap the back: a hollow sound means it is done. Let everything cool on the tray until the next day before painting, a habit borrowed from vintage ornament makers who never rushed a good thing.
You will need: Cut shapes, baking sheet, parchment paper, oven, cooling rack, spatula, oven mitts.
How to make it: 1. Lay the shapes on parchment with a little space between them. 2. Bake at 250 F for 2 to 3 hours, turning each piece over halfway through. 3. Tap the backs to test, then cool fully on a rack before any paint goes on.
Plain White Stars on Jute Cord
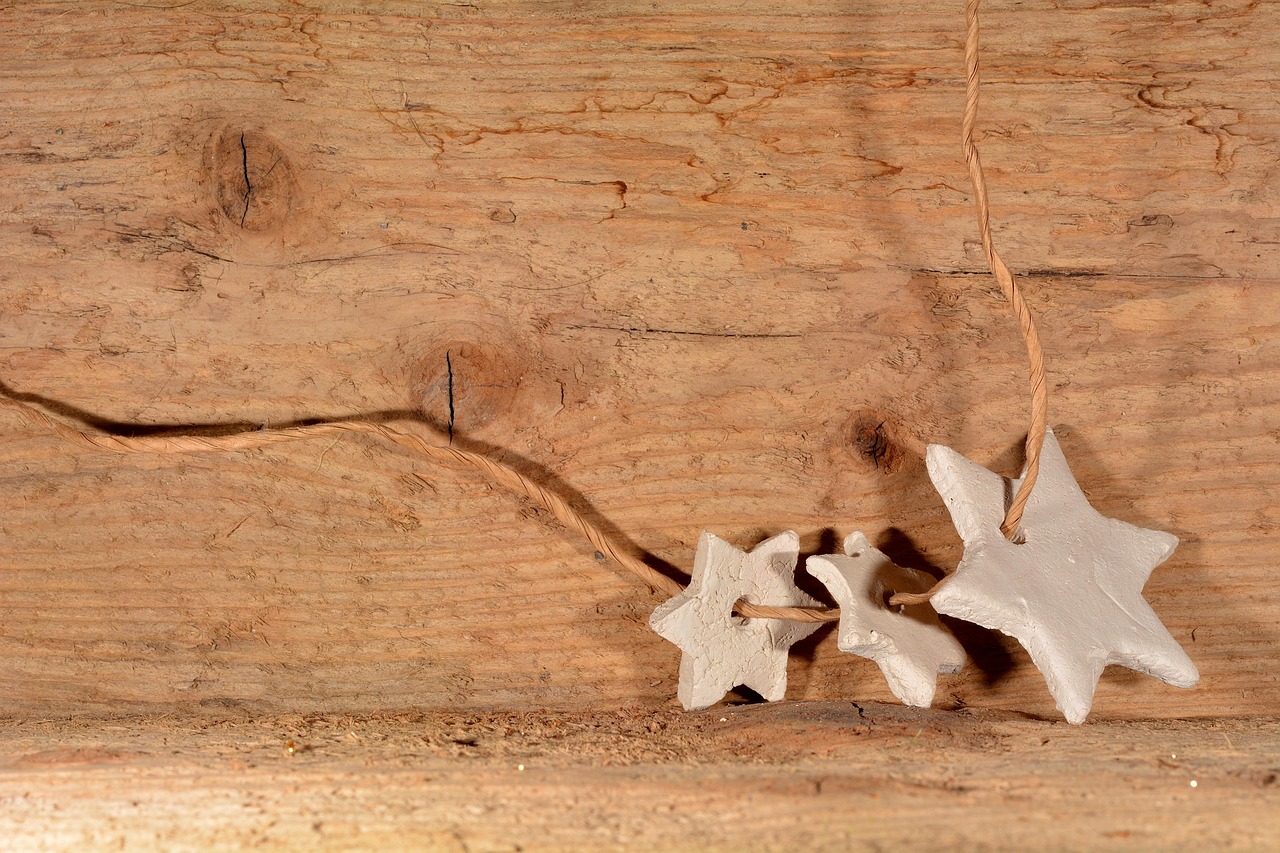
Sometimes the prettiest salt dough ornaments have no paint at all. Plain baked stars have a soft, chalky look that pairs perfectly with natural jute cord and weathered wood. For extra white, brush on one thin coat of white acrylic, then seal with a matte clear coat so the finish stays powdery rather than shiny. Hang a group of three at different lengths for a simple, Scandinavian feel that fits right into farmhouse Christmas decor and neutral trees.
You will need: Dough, star cutters in two or three sizes, straw, white acrylic paint, matte clear sealer, jute cord.
How to make it: 1. Cut stars in mixed sizes and poke a hanging spot in one point of each. 2. Bake, cool and brush on a thin coat of white paint. 3. Seal with matte clear coat and tie three stars together at staggered lengths.
Hand Painted Vintage Santa Salt Dough Ornaments
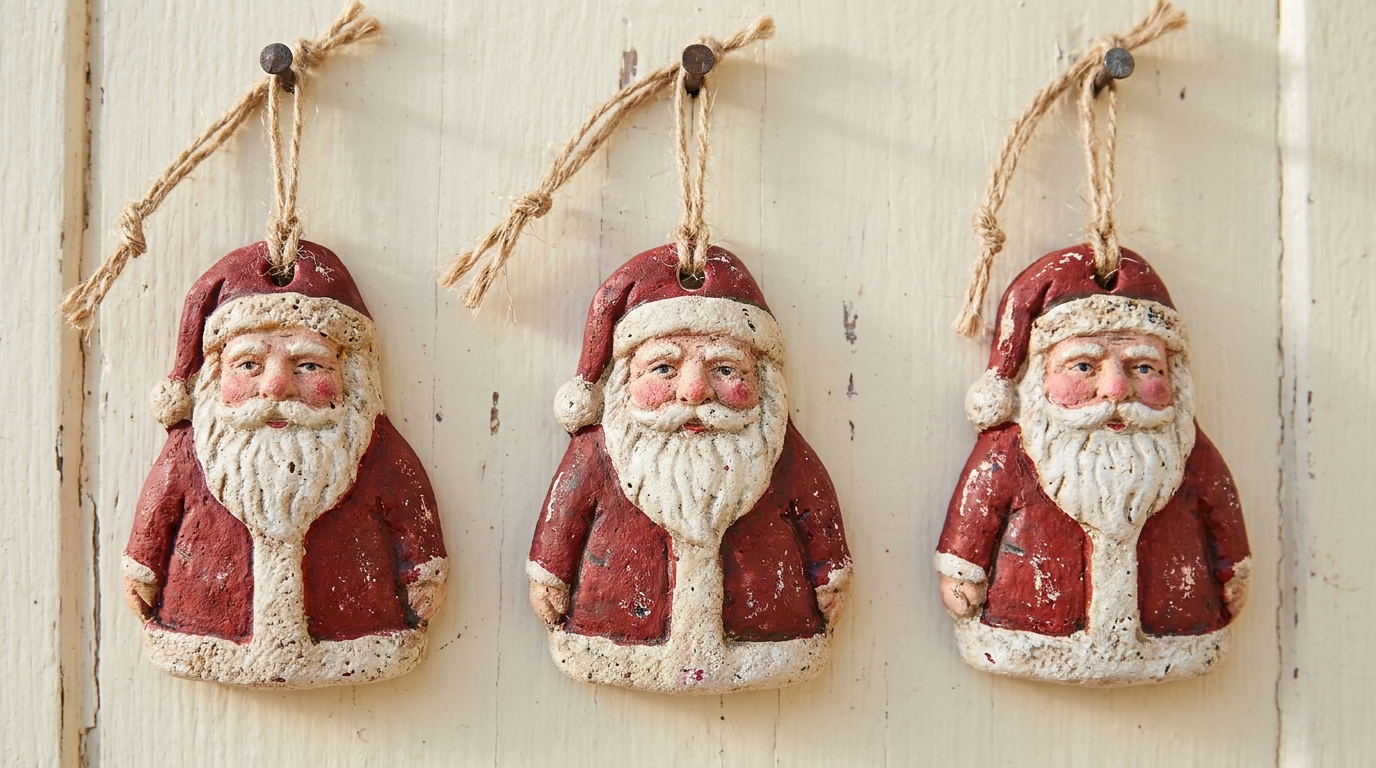
Old folk art Santas have a charm all their own, and dough is the perfect material for copying that look. Shape a simple teardrop body, add a rolled beard, a flat hat and a tiny bead of dough for the nose, then bake. Paint the coat barn red, the beard cream and the cheeks soft pink. Once dry, lightly rub fine sandpaper over the high spots to give an aged, well loved finish. If you enjoy this kind of detail, try more hand painted ornament ideas this season.
You will need: Dough, table knife, toothpick, straw, acrylic paint in red, cream, pink and black, small brushes, fine sandpaper, jute cord.
How to make it: 1. Form a teardrop body, then add a rolled beard, a flat hat and a nose, pressing the joins well. 2. Mark beard texture with the toothpick, poke a hanging spot and bake. 3. Paint, let dry, sand the high spots lightly and add cord.
Cut a Batch of Stars for a Garland
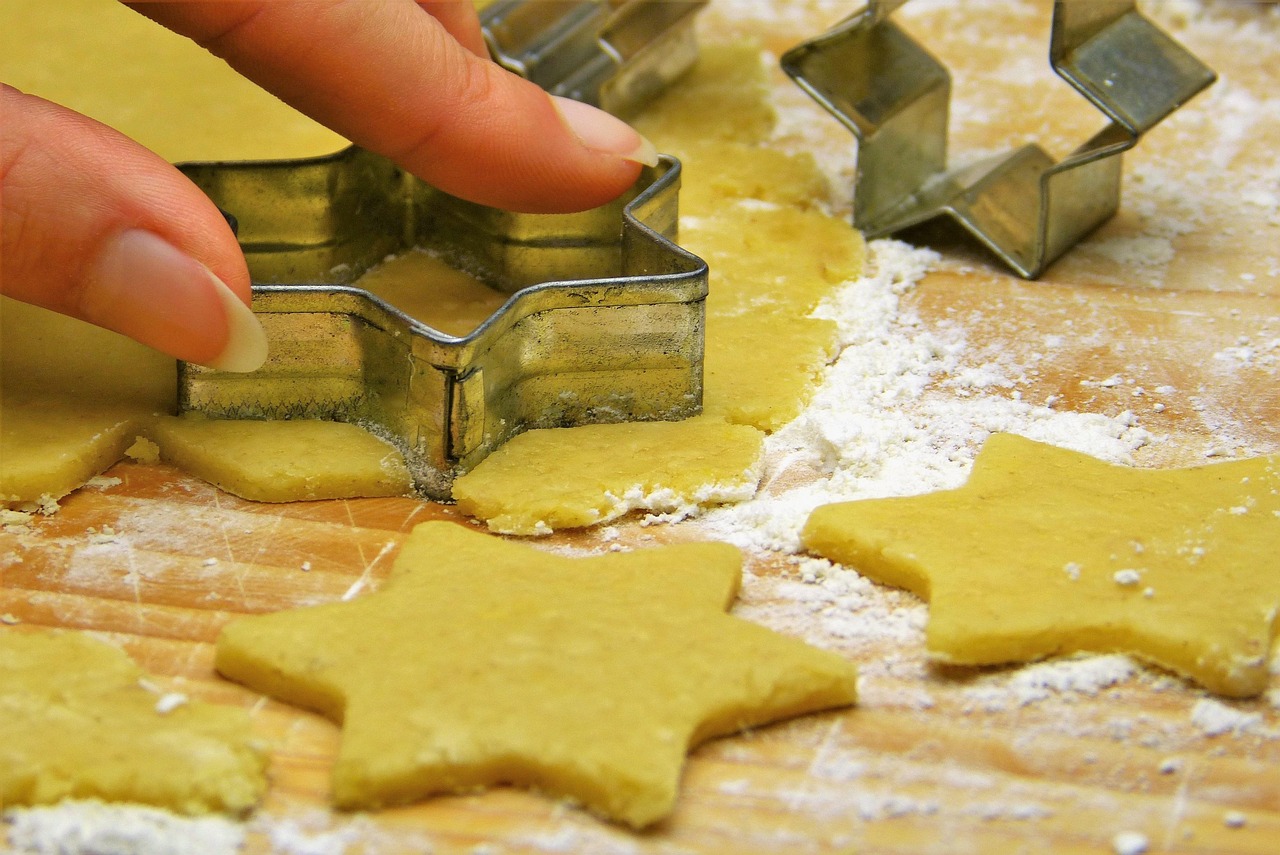
Once the dough is rolled, it is hard to stop at a few ornaments, so turn extra salt dough ornaments into a garland. Cut two dozen stars in one size, poke a small opening in two points of each, bake and paint them in a rhythm of red, cream and green. Thread them on baker’s string with a knot between each star so they stay evenly spaced. Hang it on a mantel or a shelf, or mix it with a few paper Christmas stars for a layered look.
You will need: Dough, one star cutter, straw, acrylic paint, baker’s string, scissors, large needle.
How to make it: 1. Cut about 24 stars and poke an opening in two opposite points of each. 2. Bake, cool and paint in a repeating color pattern. 3. Thread onto cord, tying a small knot on each side of every star to keep the spacing even.
Twisted Dough Rings Shaped Like Wreaths
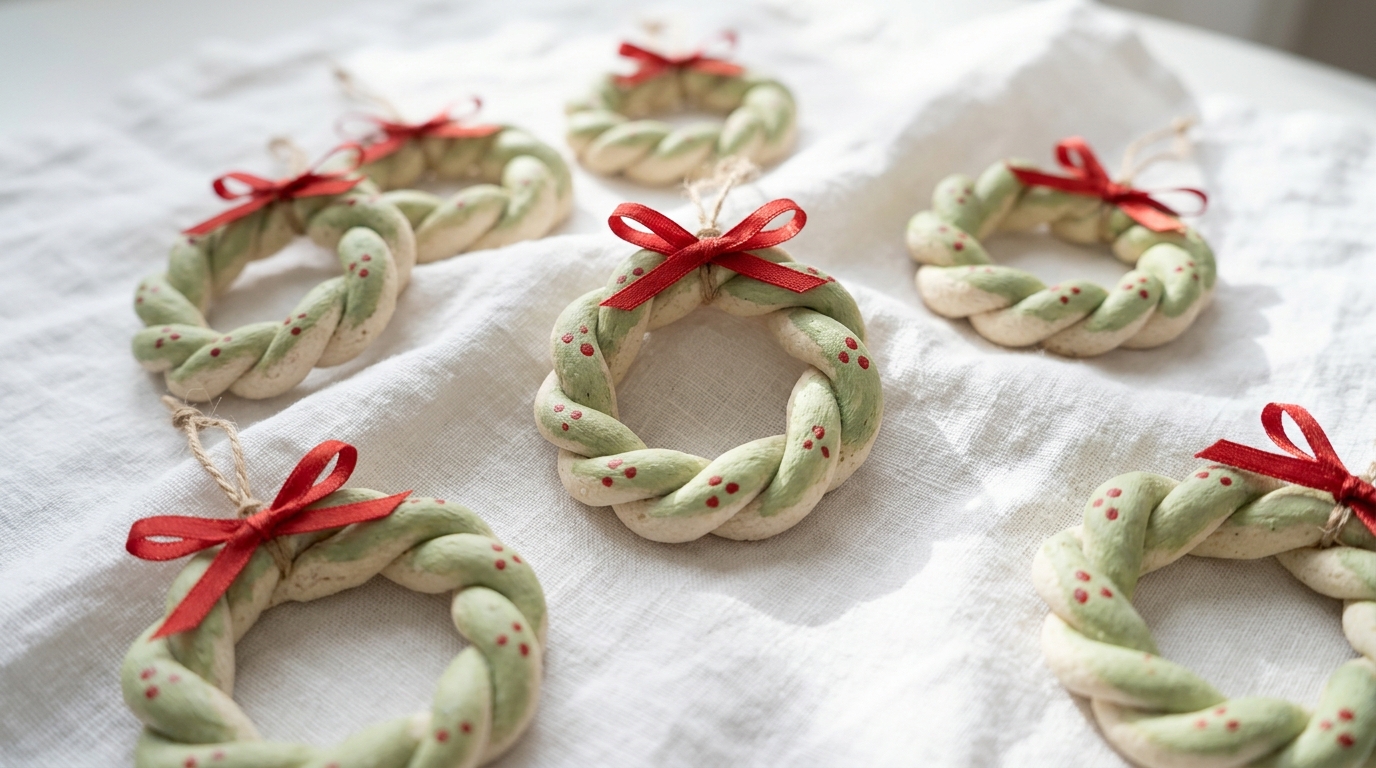
These little rings are as fun to make as braiding a loaf of bread. Roll two thin ropes, twist them together and pinch the ends into a circle. After baking, paint the twists pale green and dot on tiny red berries with the end of a paintbrush. A small red bow at the top finishes each one. Hang them on the tree or tie a few onto a larger door wreath for a set that mirrors ornament wreath ideas on a smaller scale.
You will need: Dough, damp paper towel, pale green and red acrylic paint, paintbrush with a round handle end, thin red ribbon, white craft glue.
How to make it: 1. Roll two ropes about the thickness of a pencil and twist them together. 2. Bend into a ring, pinch the ends with a little water and bake. 3. Paint green, dot on red berries with the brush handle and glue a red bow to the top.
A Rolling Pin Afternoon With the Grandkids
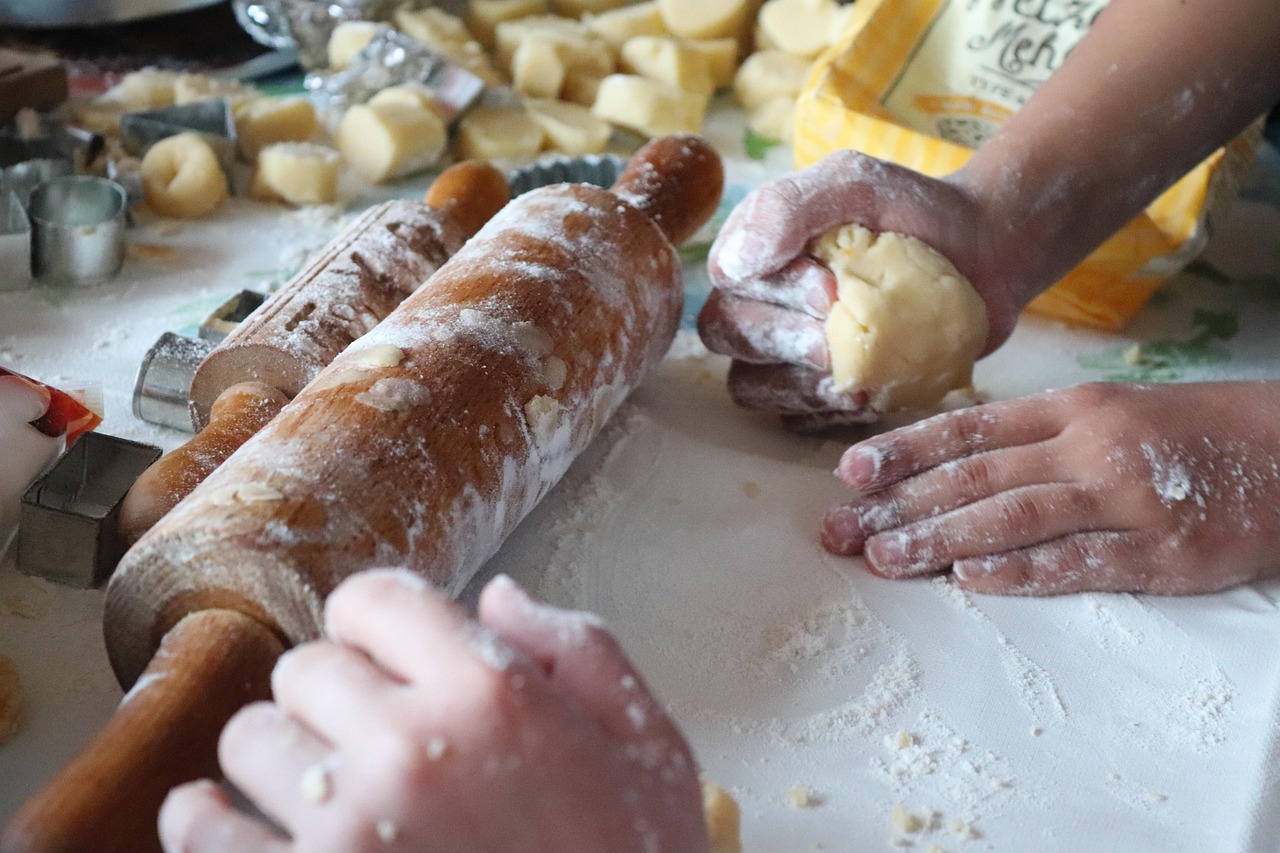
Salt dough ornaments were made for little helpers. Kids love squishing the dough, rolling it flat and choosing their own cutters, and nothing is wasted because leftover pieces can simply be rolled out again. Give each child a small lump of dough and a placemat so everyone has their own workspace. Let them stamp shapes with bottle caps, forks or textured toys for extra detail. It is one of the easiest Christmas crafts with the grandkids because the oven does the hard part.
You will need: Dough divided into small portions, child sized rolling pins, cookie cutters, forks and bottle caps for texture, placemats, straws.
How to make it: 1. Give each child a lump of dough and a placemat dusted with flour. 2. Let them roll, cut and add texture, then poke a hanging spot with a straw. 3. An adult bakes the tray, and painting happens the next day once everything is cool.
Pressed Flower Salt Dough Ornaments
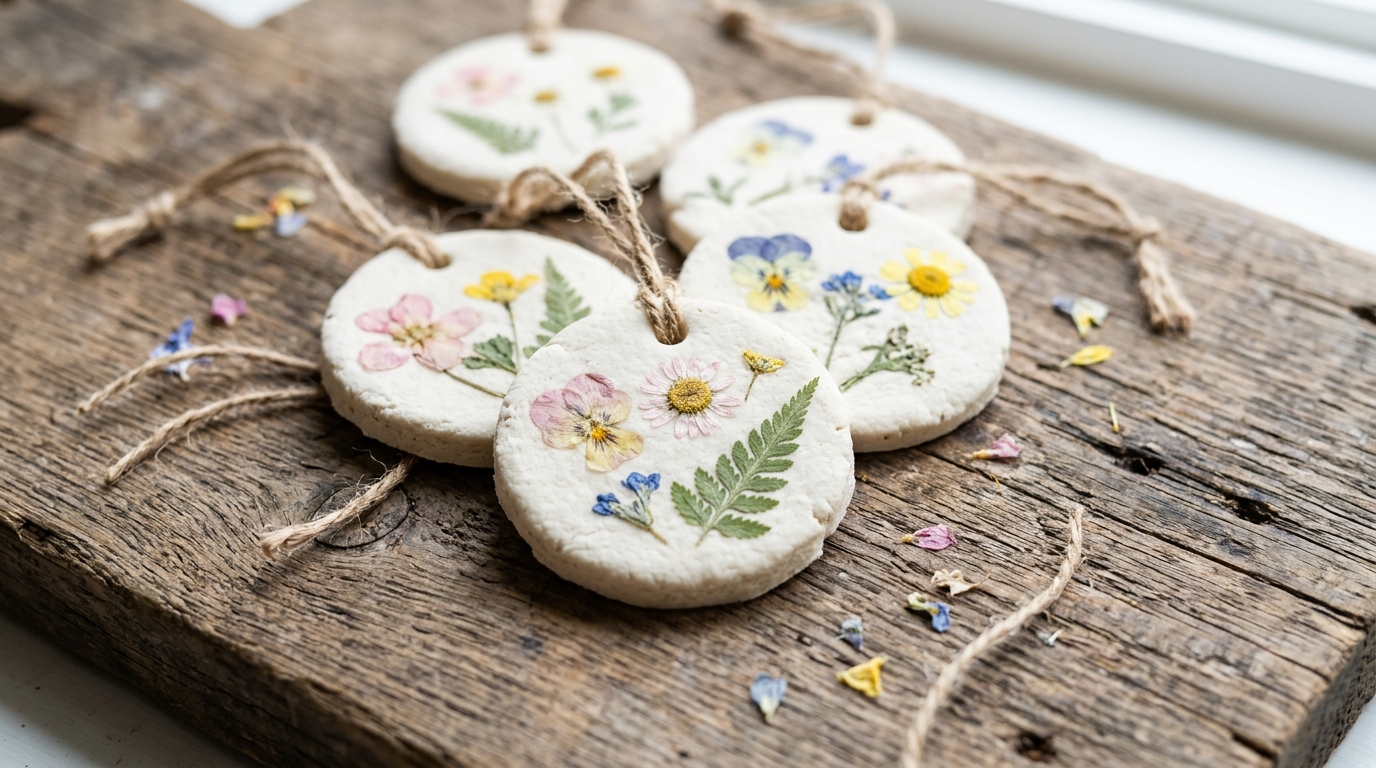
Save a few blooms from summer and turn them into Christmas keepsakes. Dried pressed flowers and small fern leaves can be set right into the surface of a raw round, then gently rolled once so they sink in and stay put. Bake at the lowest setting so the petal colors hold, then seal with a thin coat of matte clear coat. The result looks like a botanical print you might find in an antique shop, a lovely match for other pressed flower crafts you already enjoy.
You will need: Dough, dried pressed flowers and fern leaves, round cutter or jar lid, straw, rolling pin, matte clear sealer, natural cord.
How to make it: 1. Cut rounds and arrange the pressed flowers on top. 2. Roll once lightly so the petals settle into the dough, then poke a hanging spot. 3. Bake at 200 F until firm, cool and seal with a thin matte coat before adding cord.
Cinnamon Brown Hearts
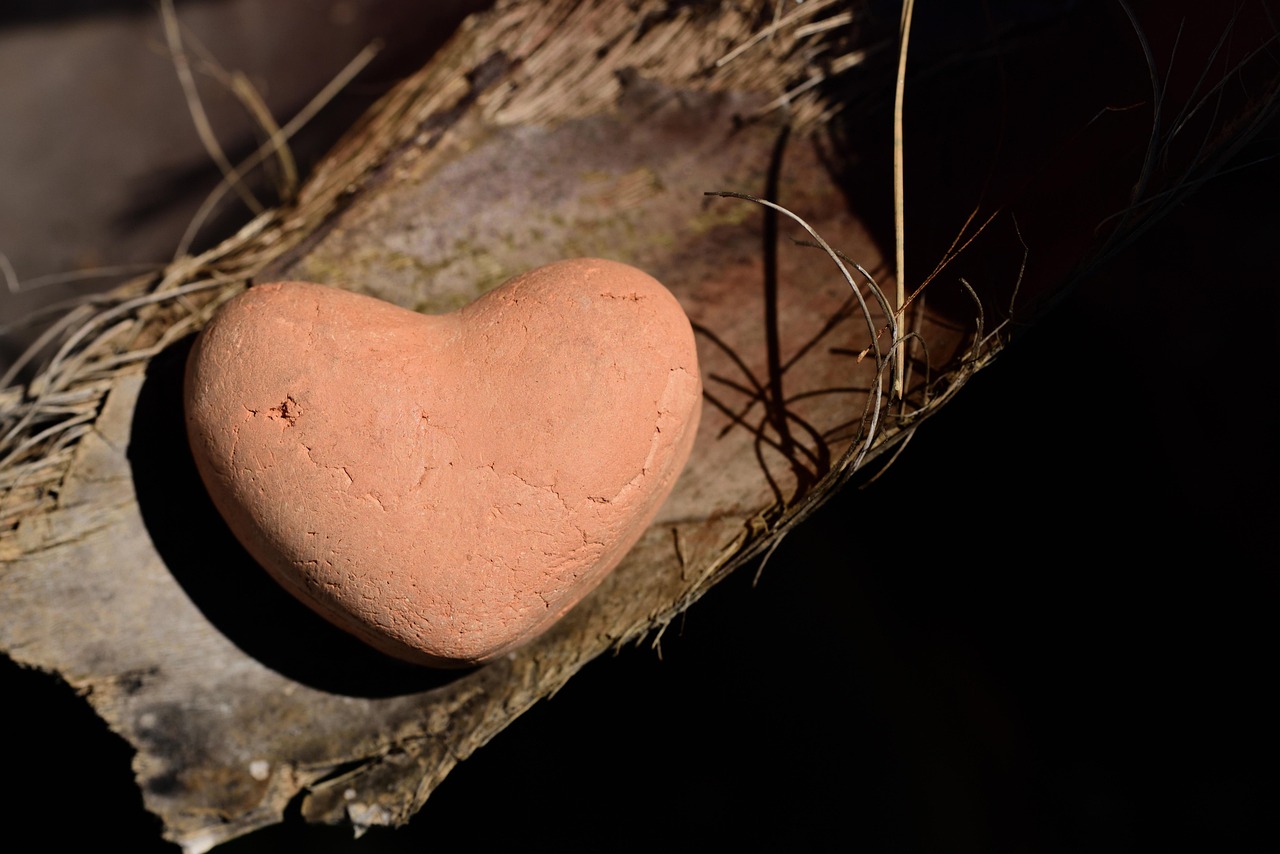
For a warmer, earthy look, knead a few spoonfuls of ground cinnamon into the dough before rolling. These salt dough ornaments bake up a rich brown and smell wonderful while they are in the oven. Leave them unpainted and simply wrap a strand of raffia around the middle, or dry brush a little gold on the edges. They look right at home next to the air dry clay ornaments you may have made before, but cost even less.
You will need: 2 cups flour, 1 cup salt, 3 tablespoons ground cinnamon, warm water, heart cutters, straw, raffia.
How to make it: 1. Stir the cinnamon into the flour and salt before adding water, then knead until even in color. 2. Cut hearts, poke a hanging spot and bake low and slow. 3. Cool and wrap with raffia or leave plain.
Little Cottage Houses With Snowy Roofs
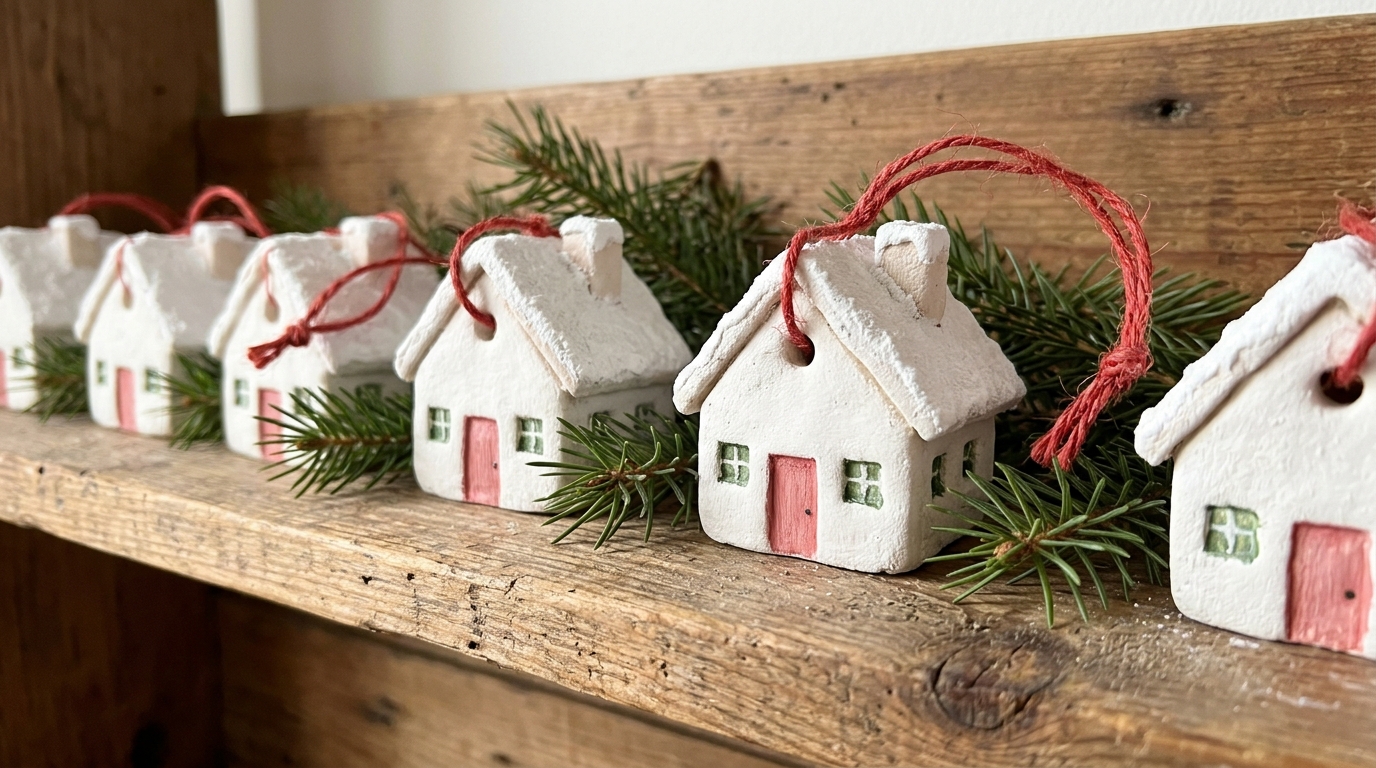
A row of tiny white houses brings a cozy village feeling to the tree. Cut a simple house shape with a knife, then add a thin strip of dough along the roof line for snow. Press in a door and two windows with the edge of a ruler. After baking, paint the walls white, the door soft red and the windows green, and leave the roof unpainted cream so it reads as snow. They fit any cozy cottage decor scheme and look adorable lined up on a shelf.
You will need: Dough, table knife, ruler, straw, white, red and green acrylic paint, small brushes, red string.
How to make it: 1. Cut house shapes about 3 inches tall and add a thin snow strip along each roof. 2. Press in a door and windows with the ruler edge, poke a hanging spot in the roof peak and bake. 3. Paint walls, door and windows, then add a red string loop.
Dough Tags on Kraft Paper Gifts

Plain brown paper packages become something special when salt dough ornaments double as tags. Cut small rounds or rectangles, poke a hanging spot and write each name with a fine paint pen once they are painted cream. The recipient gets a gift tag that doubles as an ornament, so the present keeps giving long after the paper is gone. Pair them with red and white cord for a crisp look, and find more DIY Christmas gift tags to round out the set.
You will need: Dough, small round and rectangle cutters, straw, cream acrylic paint, fine paint pen, kraft paper, red and white cord.
How to make it: 1. Cut small tag shapes and poke a hanging spot near one edge. 2. Bake, cool and paint cream, then write each name with the paint pen. 3. Wrap the gifts in kraft paper and tie on the tags with cord.
A Rustic Tree Full of Salt Dough Ornaments
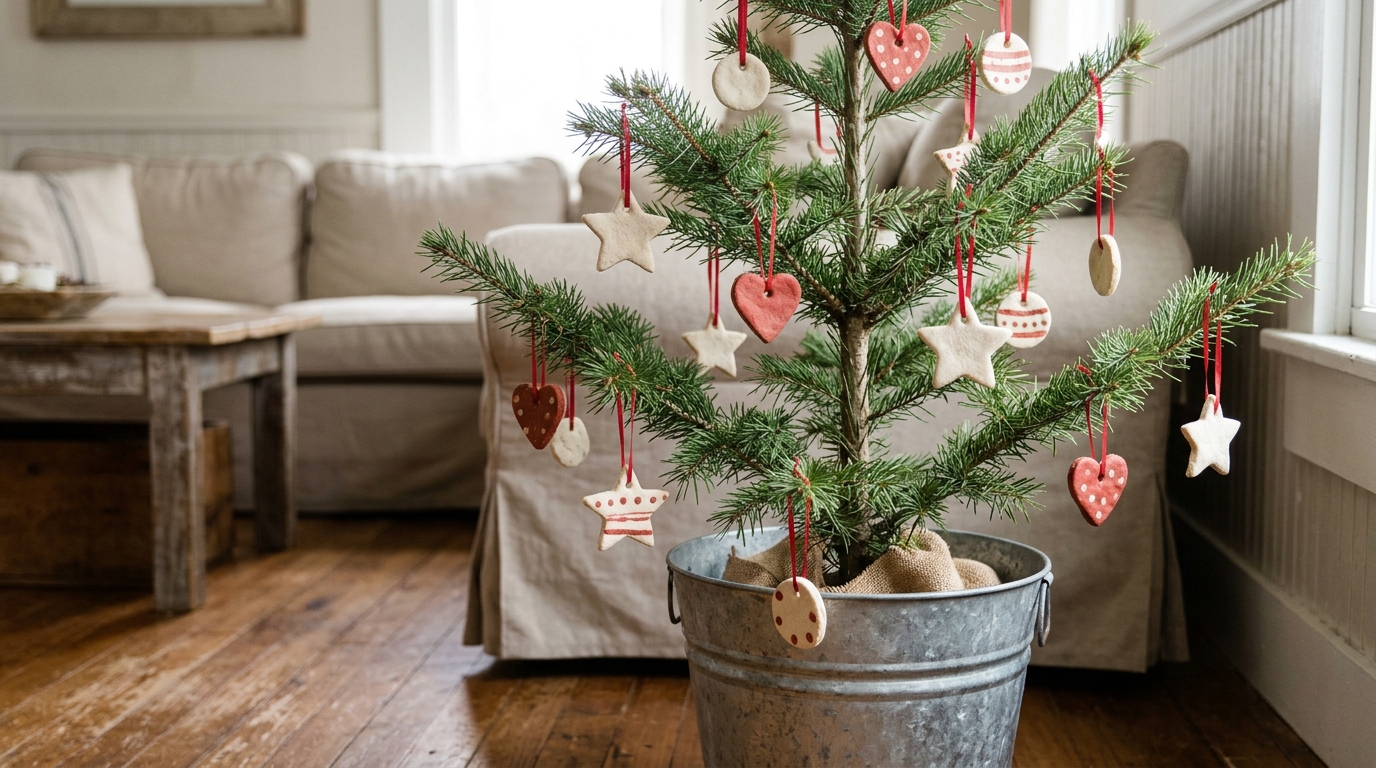
When the collection grows, give it a tree of its own. A small potted evergreen or tabletop tree in a galvanized bucket is the perfect stage for a mix of cream, red and white painted pieces. Keep the color palette tight so the tree feels calm and collected, and hang heavier shapes closer to the trunk where the branches are strong. Tuck a piece of burlap around the base and you have one of the most charming ornament tree ideas in the house.
You will need: Small tabletop evergreen, galvanized bucket, burlap, a collection of finished ornaments, ribbon in matching colors.
How to make it: 1. Set the tree in the bucket and wrap the base with burlap. 2. Hang the largest pieces near the trunk first, then fill in with smaller shapes. 3. Step back and balance colors so red and cream are spread evenly.
A Raffia Tied Heart to Give Away
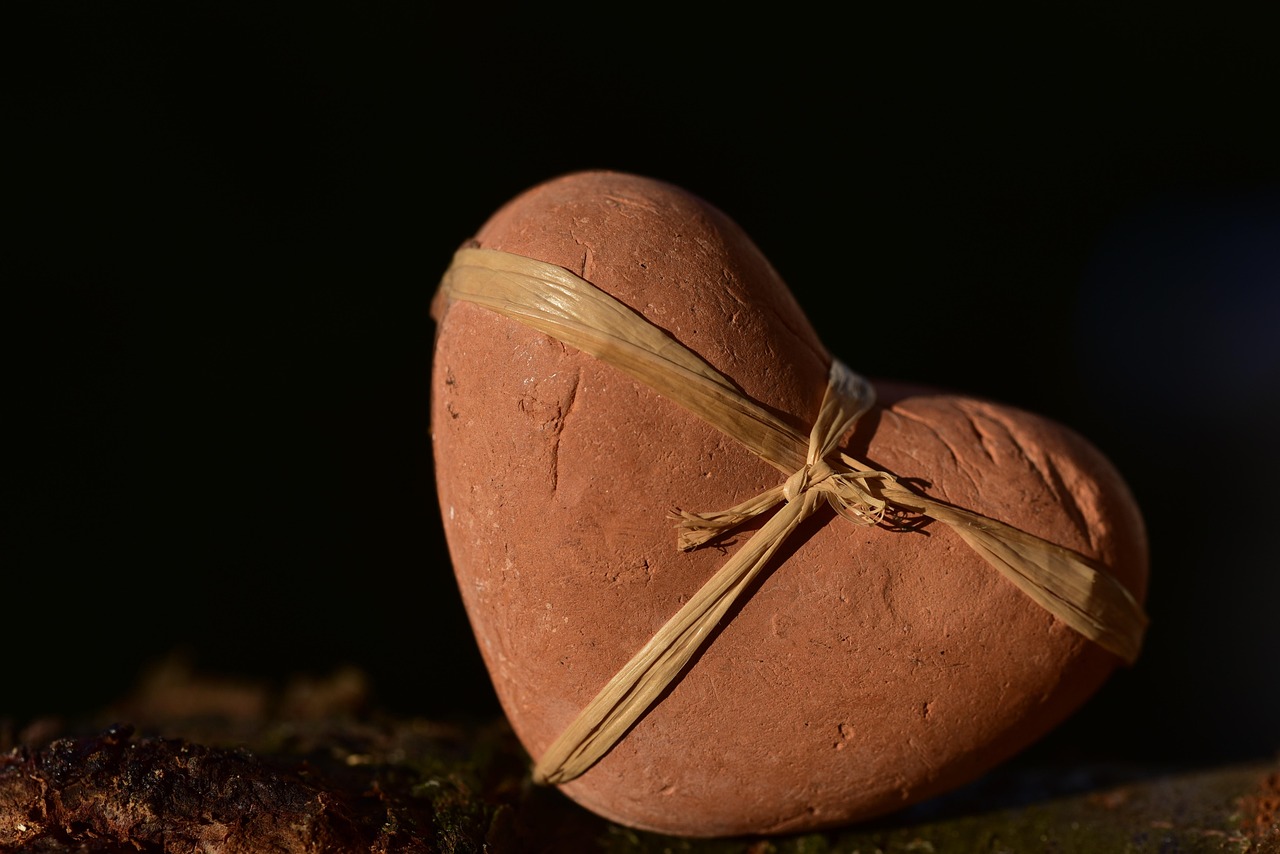
End the season by giving salt dough ornaments away. A thick heart wrapped in raffia makes a thoughtful little present for a neighbor, teacher or friend, and it costs only pennies. Make it a bit chunkier than your tree pieces so it feels substantial, and bake it a little longer. Write a short message and the year on the back. Hand it over with a cup of cocoa and it becomes one of those Christmas gifts under five dollars people keep for decades. You can read more about the history of the material on Wikipedia.
You will need: Cinnamon or plain dough, large heart cutter, straw, raffia, fine paint pen, optional brown acrylic paint.
How to make it: 1. Roll the dough about half an inch thick and cut a large heart. 2. Poke a hanging spot and bake 3 to 4 hours at 250 F, turning once. 3. Paint if you like, write a message on the back and wrap the middle with raffia.