Thanksgiving Dessert Table: 16 Cheap Pie Displays That Look Like a Bakery Window
A Thanksgiving dessert table is the easiest way to make pie feel like the main event instead of an afterthought on the counter. Most of us bake or buy three or four pies, then line the tins up next to the coffee maker and call it done. With a few thrift finds, some kraft paper and a jar of decoupage medium, you can turn that same row of pies into a display that looks like the front window of a small town bakery. These ideas use cake stands, old frames, a ladder shelf, burlap and twine, and almost everything costs less than a single store bought pie. Mix two or three of them, or build the full setup, and watch guests reach for their phones before they reach for a fork..
Thanksgiving Dessert Table Styled Like a Bakery Window
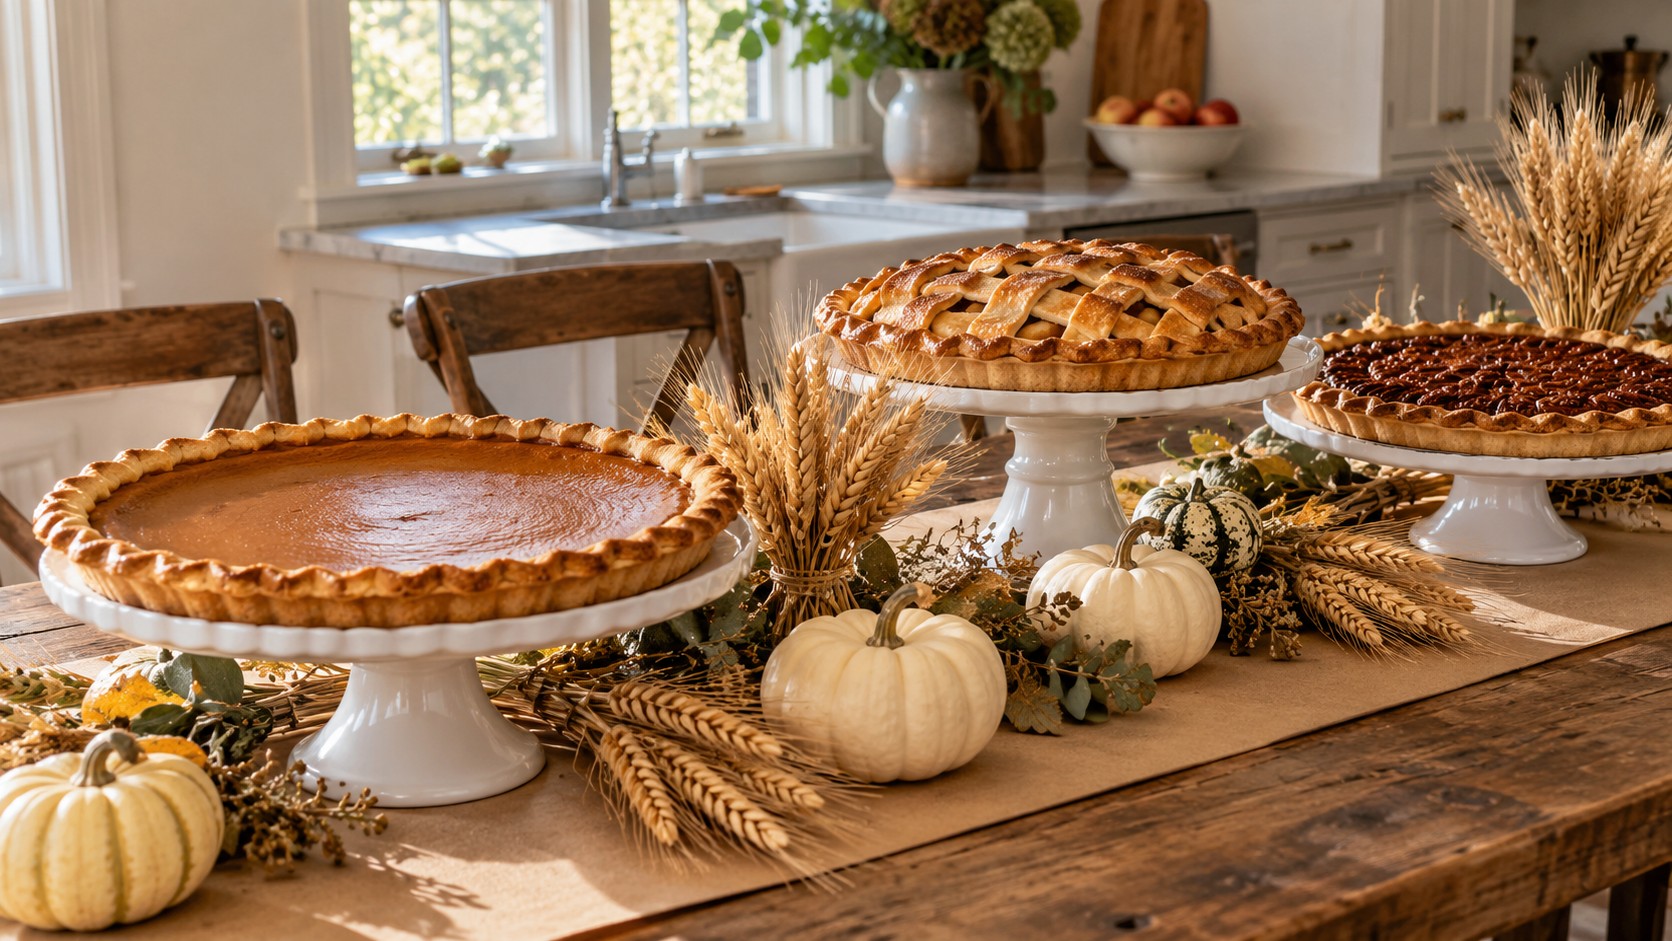
Start with the big picture before you make a single craft. A bakery window works because everything has a place: tall stands in the middle, shorter ones toward the ends, and every pie turned so the prettiest crust faces the room. Keep the colors simple with cream, warm wood and pumpkin orange, then repeat them from one end of the table to the other. If you want more ideas for the rest of the meal, our Thanksgiving table ideas pair well with this look. A Thanksgiving dessert table built this way looks planned even when the pies are a mix of homemade and store bought..
You will need: pies, three to five cake stands in different heights, a roll of brown kraft paper, small white pumpkins, a few wheat bundles.
How to make it: 1. Clear the table and roll kraft paper down the center as a runner. 2. Put the tallest stand at the back middle and step the heights down toward each end. 3. Tuck pumpkins and wheat into the gaps, then set the pies out just before guests arrive.
Cake Domes Lined Up on a Window Ledge
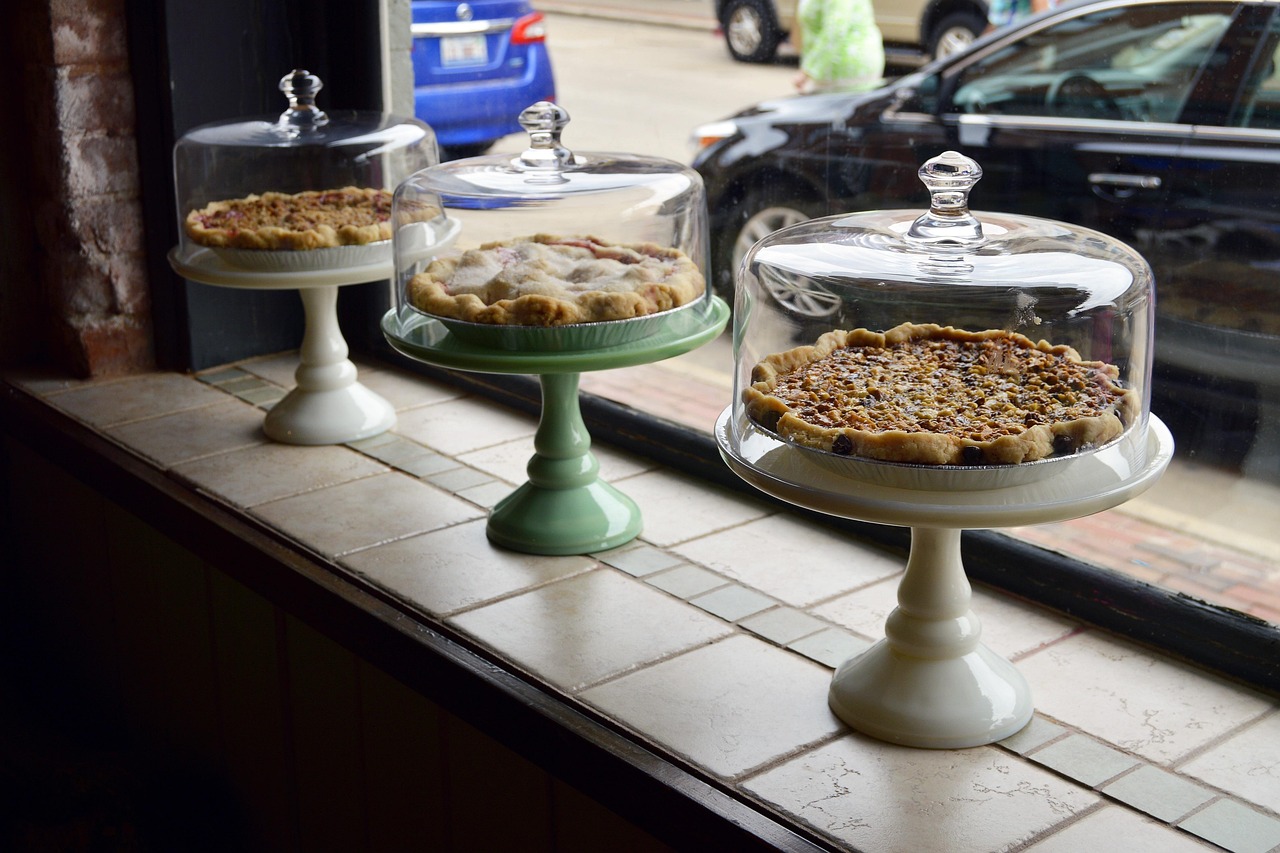
This sunny ledge is the exact look we are chasing: three pies on footed stands, each one under a clear dome, lined up where the light hits them. Domes keep pies fresh and stop curious fingers, so you can set the display out early and still serve a perfect crust. Pick stands in two or three soft colors for a vintage bakery feel. For more ways to stay calm on the big day, see these easy hosting tricks before you start baking.
You will need: two to four clear cake domes with stands, pies, a sunny ledge, sideboard or deep windowsill.
How to make it: 1. Wash and dry the domes, then wipe off every fingerprint with a lint free cloth. 2. Set the stands in a row with the tallest in the middle. 3. Add the pies, lower the domes and lift them off only when it is time to slice.
Thrift Plate Tiered Stand on Candlestick Bases
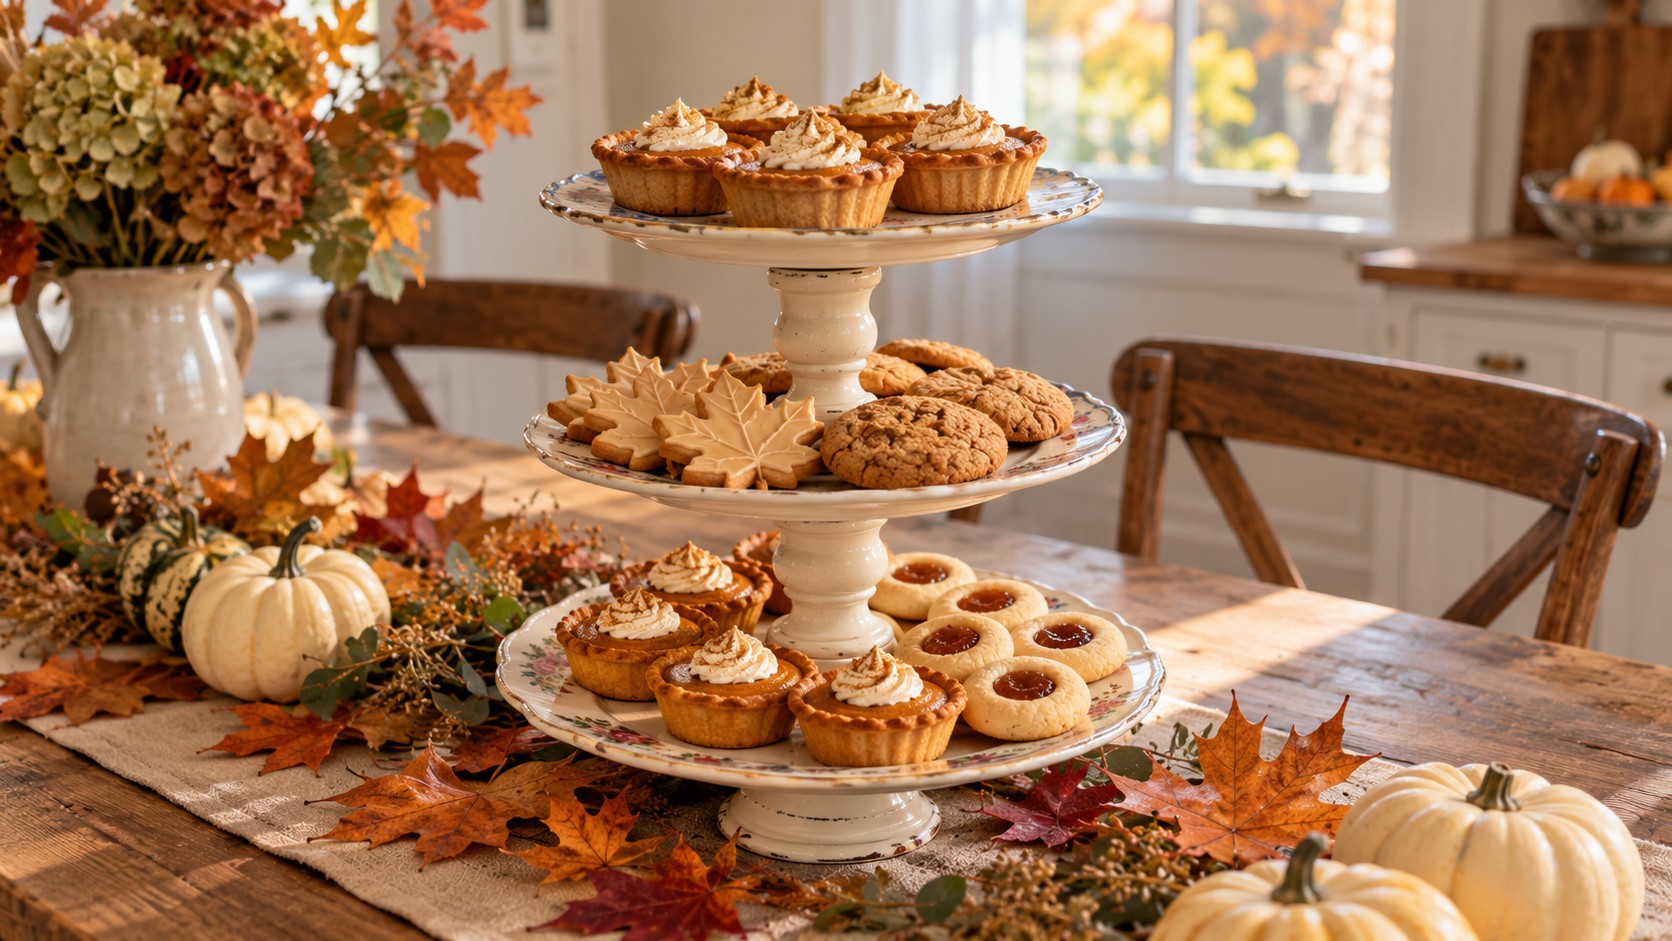
Mismatched china is one of the cheapest finds at any secondhand shop, and three plates plus two wooden candlestick holders make a tiered stand that looks custom. Choose plates in three sizes so each tier steps back, and paint the wood bases one cream color so the mix of patterns feels pulled together. It is perfect for mini tarts and cookies on a Thanksgiving dessert table. Browse our thrift store decor finds for more ideas on what to grab while you are out. Let the stand cure fully before any food goes on it.
You will need: three thrift store plates in large, medium and small sizes, two wooden candlestick holders, cream chalk paint, a paintbrush, two part epoxy made for ceramics, a ruler.
How to make it: 1. Paint the candlestick holders and let them dry. 2. Mark the center of each plate with the ruler, then use epoxy to attach one candlestick between the large and medium plates and one between the medium and small plates. 3. Let it cure for a full day, hand wash only, and set food on parchment rounds.
Burlap and Star Anise Under the Pumpkin Pie
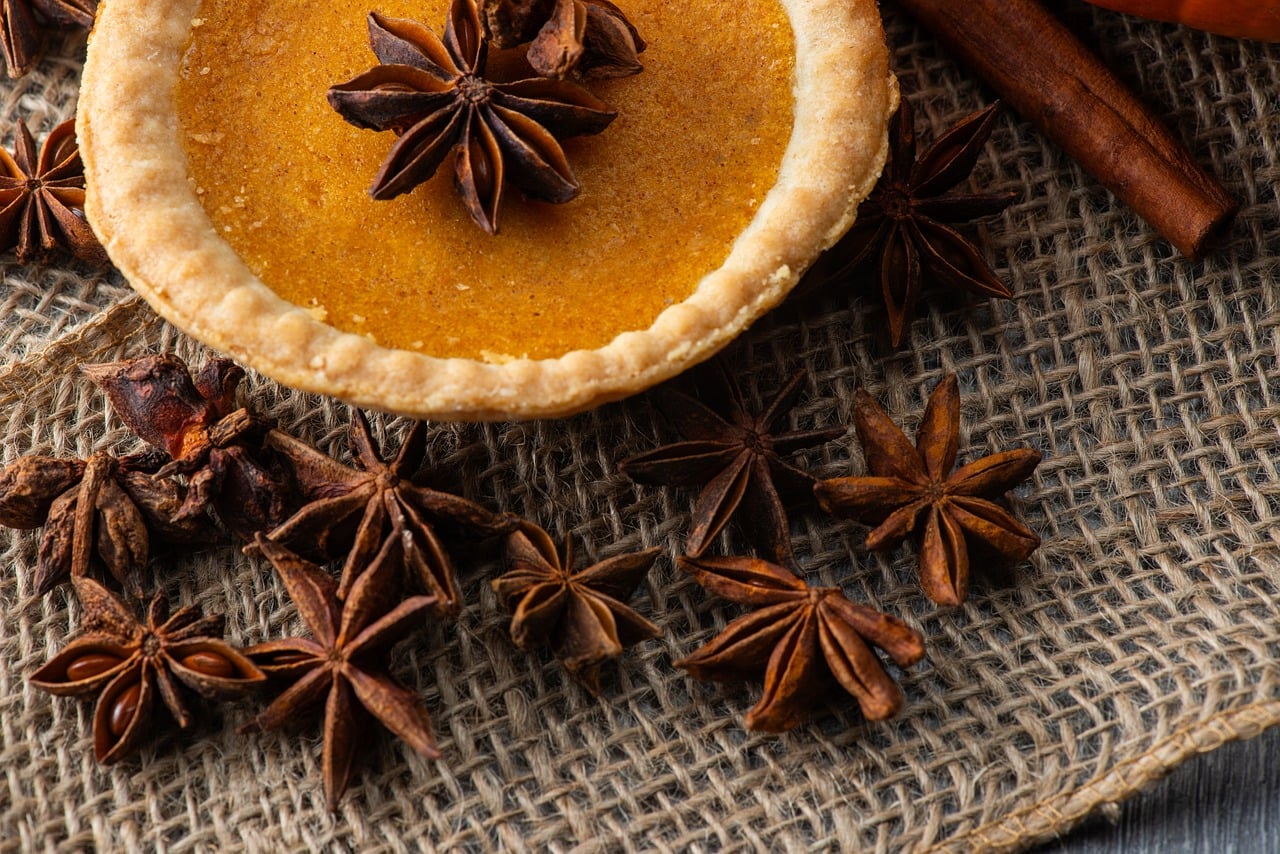
Sometimes the best display is just good texture under a good pie. A square of burlap with frayed edges, a handful of star anise pods and a few cinnamon sticks make a plain pumpkin pie look styled for a cookbook. Pumpkin pie has a long history in America, and recipes for it appear in early American cookbooks, so a rustic setting suits it. This trick costs almost nothing and fits right in with our cheap Thanksgiving decor ideas. Keep the pods around the rim, not on the filling.
You will need: a burlap square about 4 inches wider than your board, star anise pods, cinnamon sticks, a round wood board or charger.
How to make it: 1. Pull a few threads from each side of the burlap to make a soft fringe. 2. Lay the burlap on the table, set the board on top and add the pie. 3. Scatter the star anise and cinnamon sticks around the edge of the board.
Thanksgiving Dessert Table With a Napkin Decoupage Cake Stand
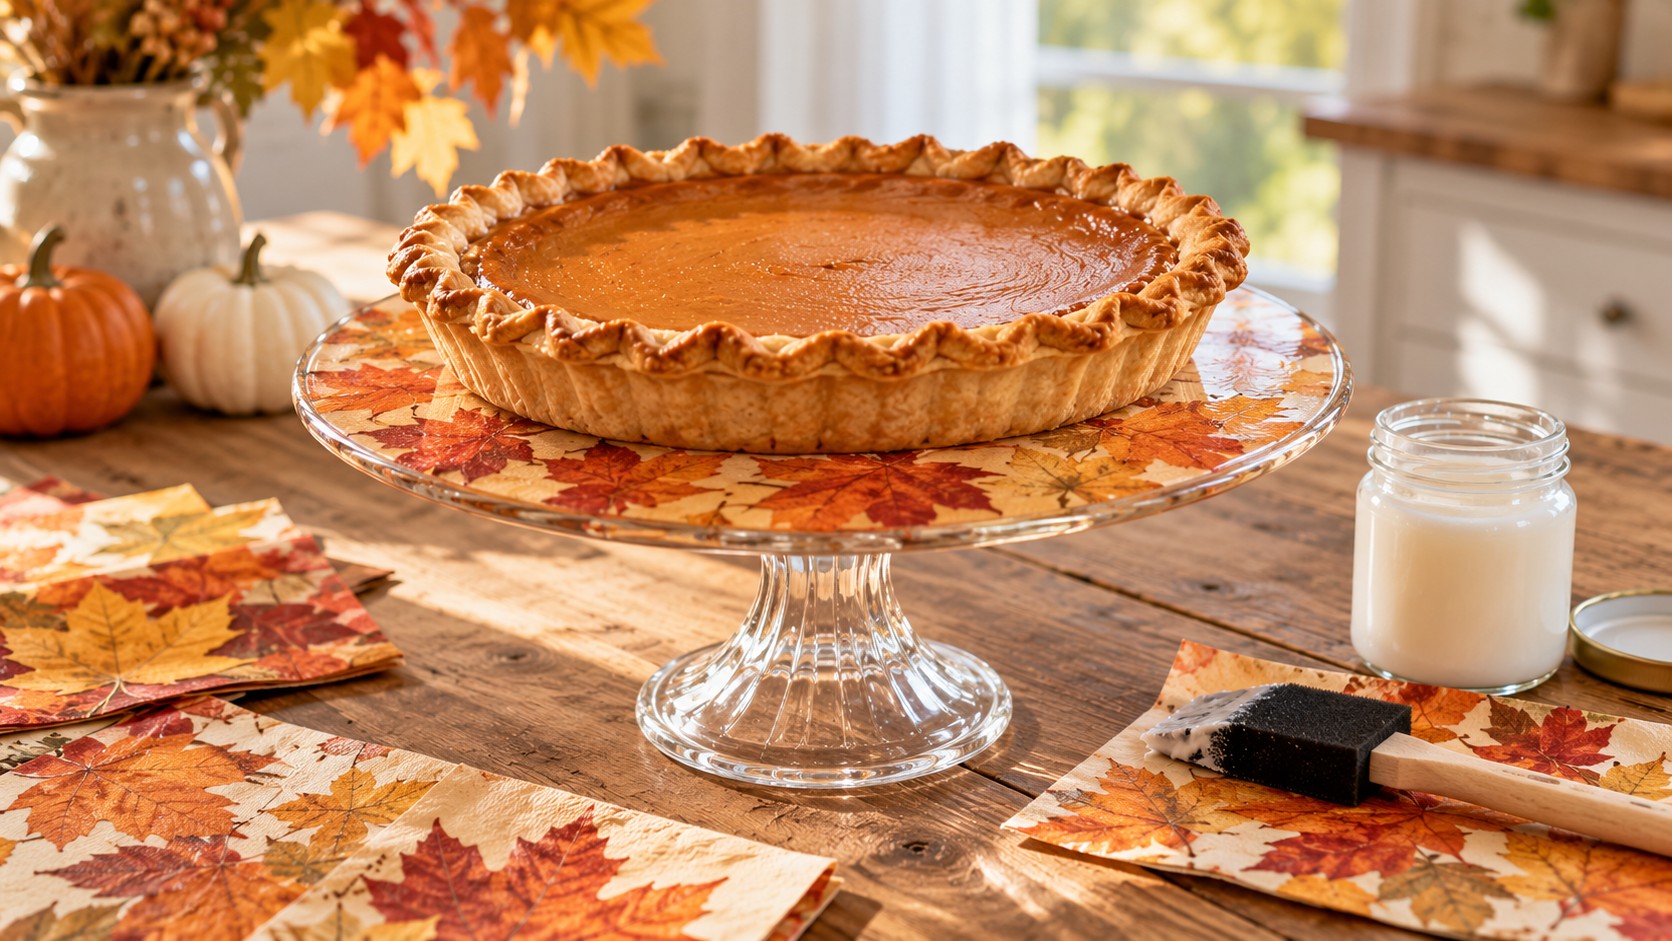
Here is where decoupage earns its spot on a Thanksgiving dessert table. A clear cake stand from the dollar store becomes a one of a kind piece when you add a fall leaf paper napkin to the underside of the plate. Because the napkin sits under the clear top, the pie never touches the paper or the decoupage medium. Orange and gold prints look rich under a pumpkin pie, and you can make a matching set in an afternoon. Our napkin decoupage ideas show more patterns that work with this method.
You will need: a clear cake stand, a fall print paper napkin, decoupage medium in gloss, a soft foam brush, scissors.
How to make it: 1. Separate the printed top layer of the napkin and trim it a little larger than the plate. 2. Brush decoupage medium on the underside of the plate, lay the napkin print side down and smooth it, then brush another coat over the back. 3. Trim the edges, add two more coats and let it cure for several days; hand wash the top only.
A Cake Dome Over the Showpiece
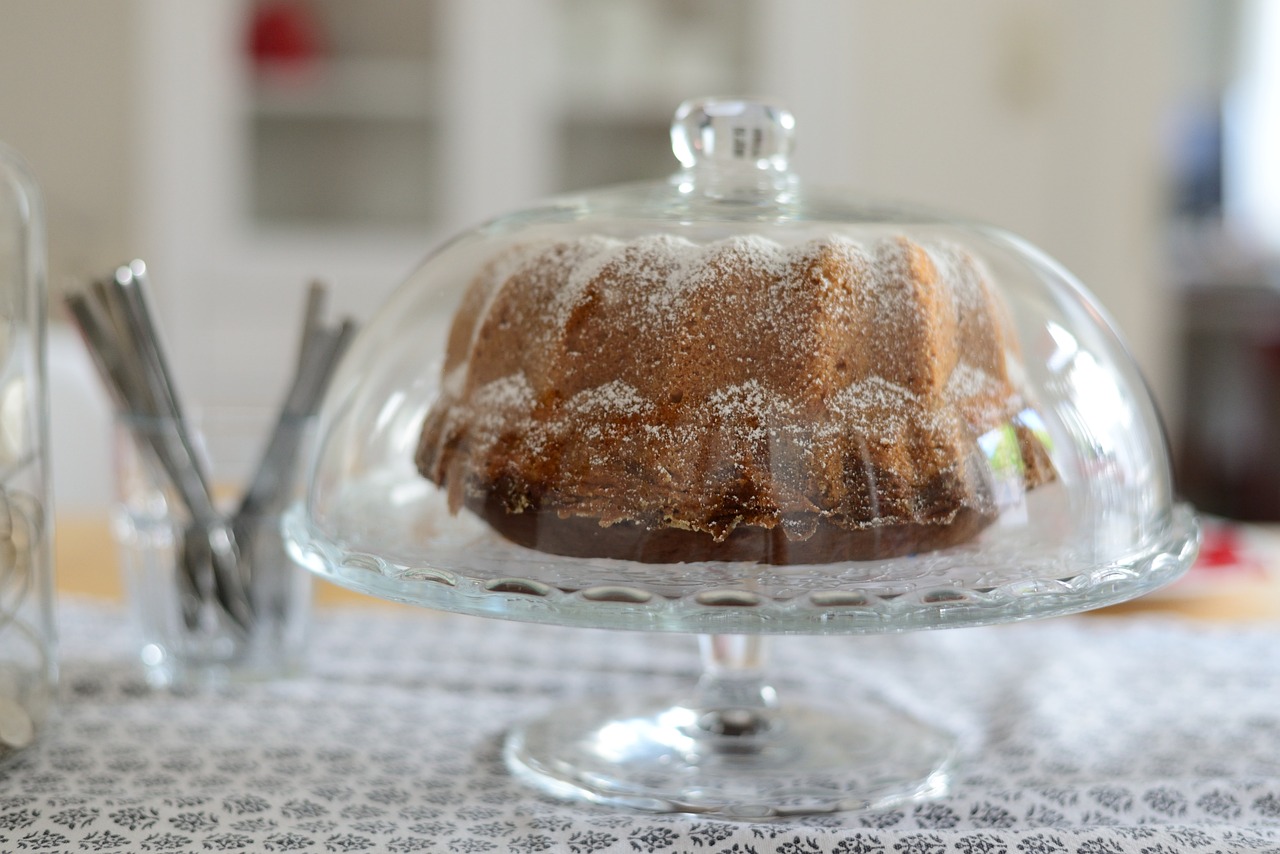
Every display needs one hero, and a tall dome tells guests exactly where to look. Put your best looking dessert under it, whether that is a bundt cake, a tall apple pie or a stack of cookies. A lace runner underneath adds an old fashioned touch without any work. If you love the idea of covered treats, our covered treat jars use the same trick for the next holiday. Place the dome near the front corner of the table so it catches the eye but does not block the pies behind it.
You will need: one tall clear cake dome with a stand, a lace runner or doily, your showpiece dessert.
How to make it: 1. Lay the lace runner across the front corner of the table. 2. Set the stand on the lace and add the dessert. 3. Lower the dome and leave a small cake server beside it for easy slicing.
Old Window Frame Bakery Backdrop
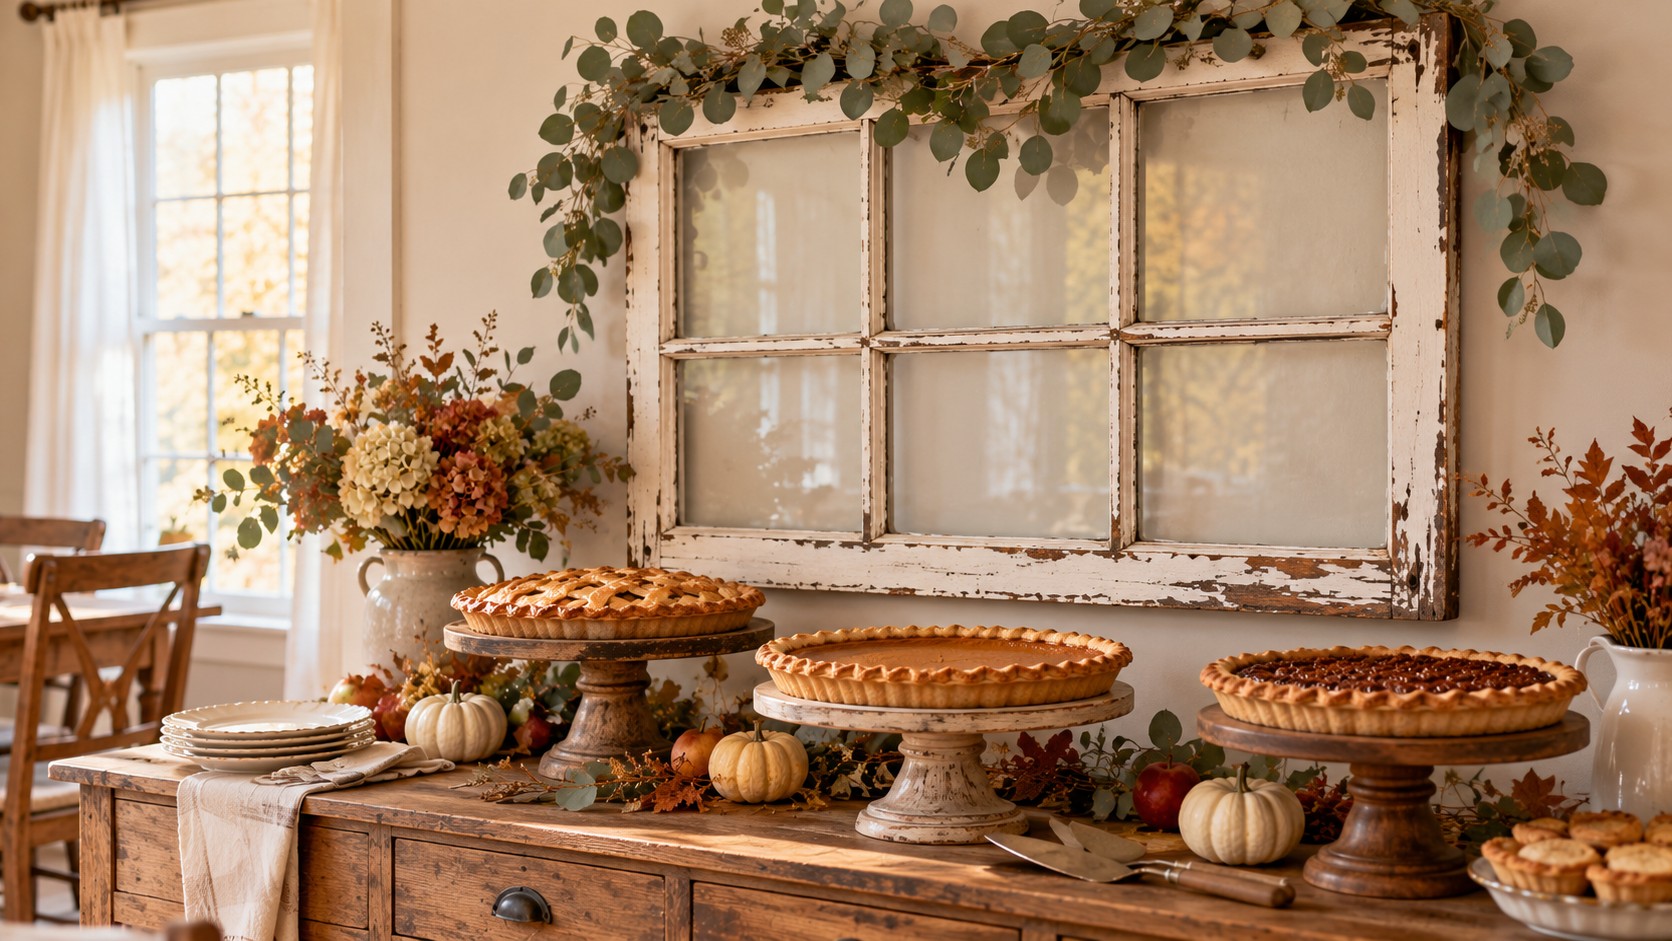
Nothing says bakery window like an actual window behind your Thanksgiving dessert table. An old multi pane frame from a flea market or yard sale hangs behind the table and frames the pies like a shop front. A loose eucalyptus garland across the top softens the edges. Old frames often have old paint, so do not sand them; just wipe them down and brush on a clear matte sealer to lock in the chippy finish. This pairs beautifully with other old fashioned Thanksgiving decor around the house. Always hang it from two heavy duty hooks.
You will need: an old wooden window frame, two heavy duty picture hooks rated for its weight, clear matte sealer, a brush, a faux or fresh eucalyptus garland.
How to make it: 1. Wipe the frame clean and seal it, then let it dry. 2. Install two heavy duty hooks into a stud or with wall anchors and hang the frame centered over the table. 3. Lay the garland along the top edge and tie it in place with thin wire.
Let a Lattice Top Pie Take Center Stage
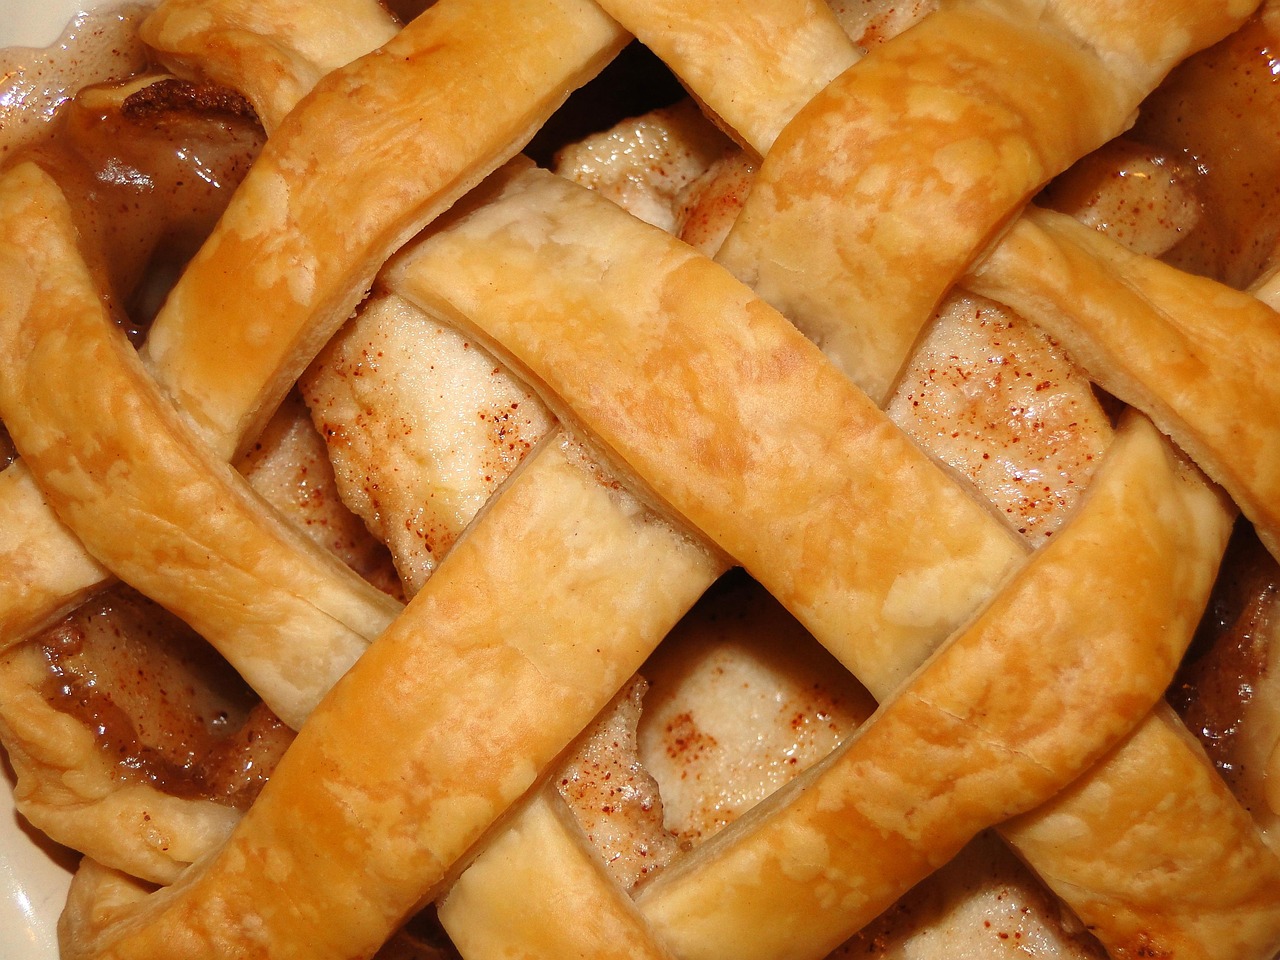
A lattice crust is the prettiest thing you can put on a table, so give it the tallest stand you own. The woven crust catches the light and show off the filling underneath, which makes it the natural star of the lineup. Set it in the center and build the rest of the table around it, the same way you would plan one of our Thanksgiving centerpieces.
You will need: a lattice top pie, your tallest cake stand, a sprig of rosemary or a few bay leaves.
How to make it: 1. Let the pie cool completely so the crust holds its shape. 2. Set it on the tallest stand in the middle of the table. 3. Tuck one sprig of rosemary at the base of the stand for a pop of green.
Thanksgiving Dessert Table on a Ladder Shelf
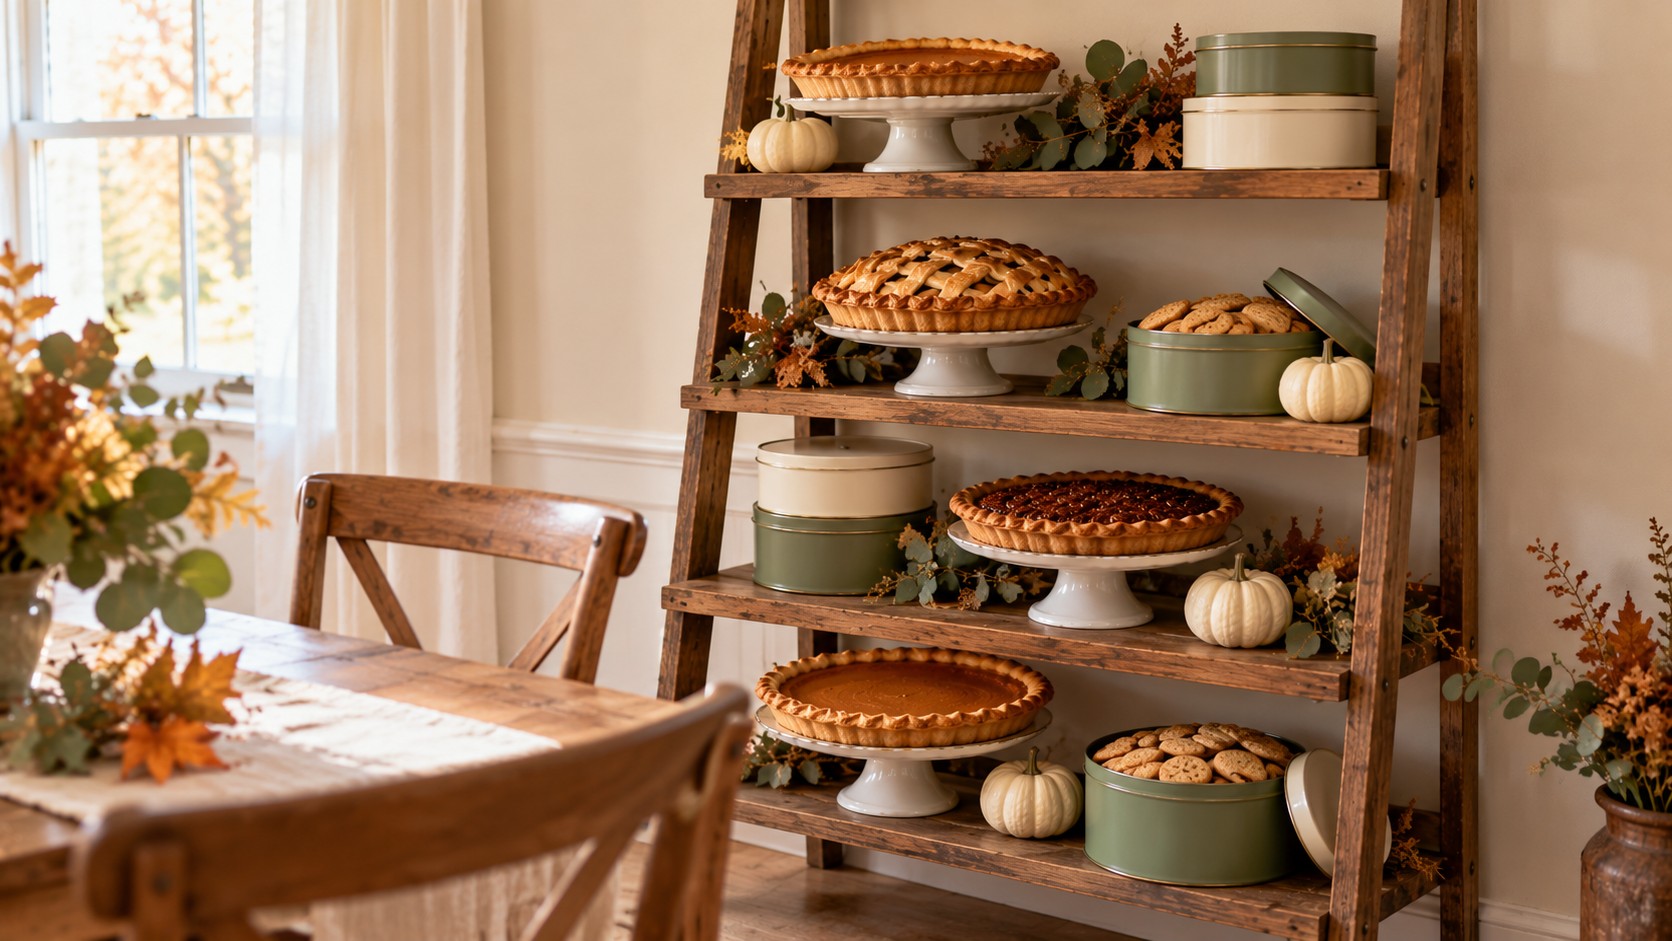
Short on table space? Go up instead of out. A leaning ladder shelf holds pies, cookie tins and little pumpkins on every rung, and it turns an empty dining room wall into a Thanksgiving dessert table without taking up floor space. Put the heaviest pies on the lowest shelves and the lighter tins up top. Painted cookie tins in sage and cream look charming and hide store bought treats. See how we styled one for winter in our ladder shelf decorating ideas. Always use the anti tip strap that comes with the shelf.
You will need: a leaning ladder shelf with its wall strap, two or three pies, cookie tins, small white pumpkins, museum putty.
How to make it: 1. Attach the anti tip strap to the wall so the shelf cannot move. 2. Place the heaviest pies on the bottom two shelves and the tins higher up. 3. Add a dab of museum putty under each pumpkin so nothing rolls.
Whipped Cream Rosettes and a Toppings Row
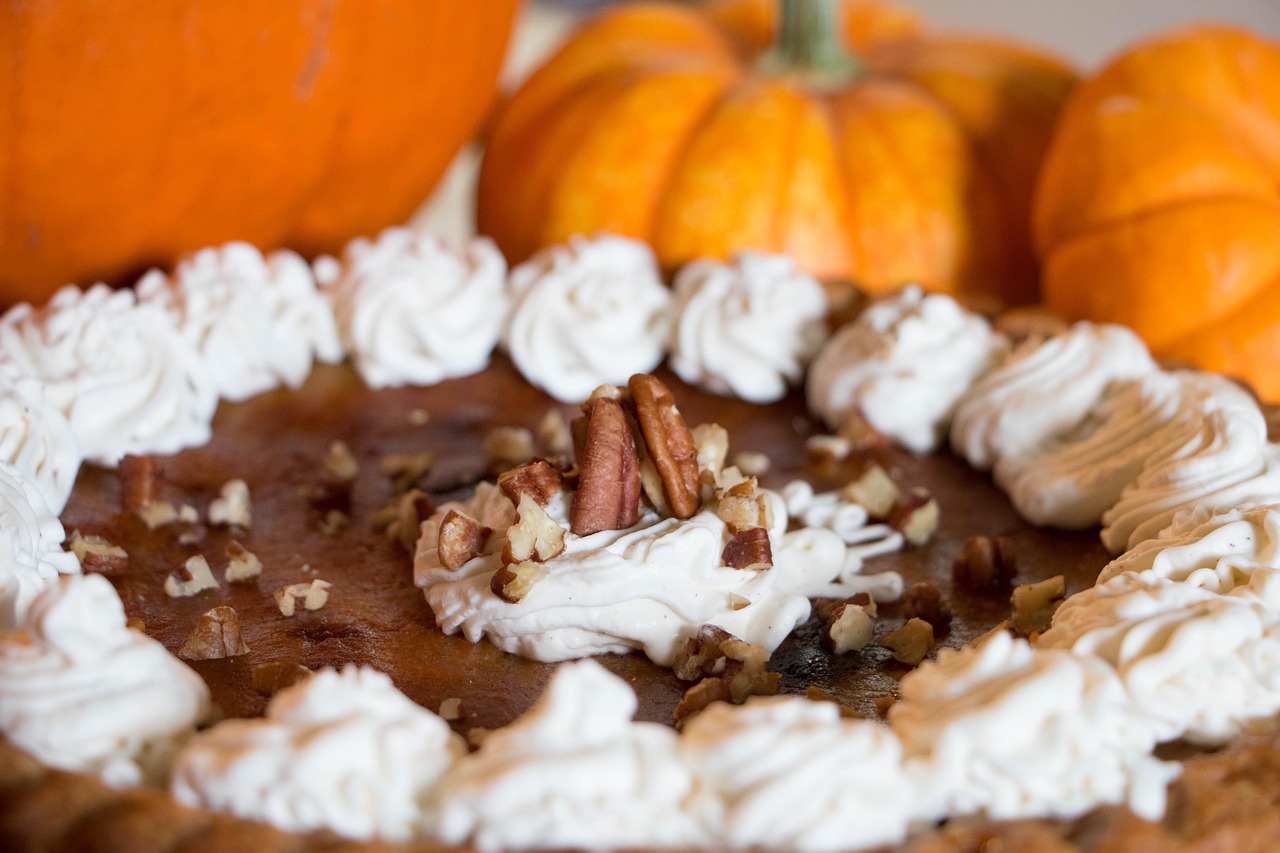
Toppings make guests linger, and a ring of piped whipped cream rosettes looks like it came from a pastry case. Pipe the rosettes just before serving so they stay crisp, then set a row of little jars beside the pie with extra cream, chopped pecans, caramel sauce and cinnamon sugar. Small canning jars are cheap and stack neatly when the party is over. Our small jar crafts have more ways to dress up the lids with fabric or twine so the toppings row matches the rest of the table.
You will need: a pie, chilled whipped cream, a piping bag with a large star tip, four to six small canning jars, toppings like chopped pecans, caramel sauce and cinnamon sugar.
How to make it: 1. Fill the piping bag and pipe rosettes around the edge of the pie. 2. Fill the jars with toppings and line them up in front of the pie. 3. Add a small scoop or tiny server to each jar.
Antique Bread Box Pie Reveal
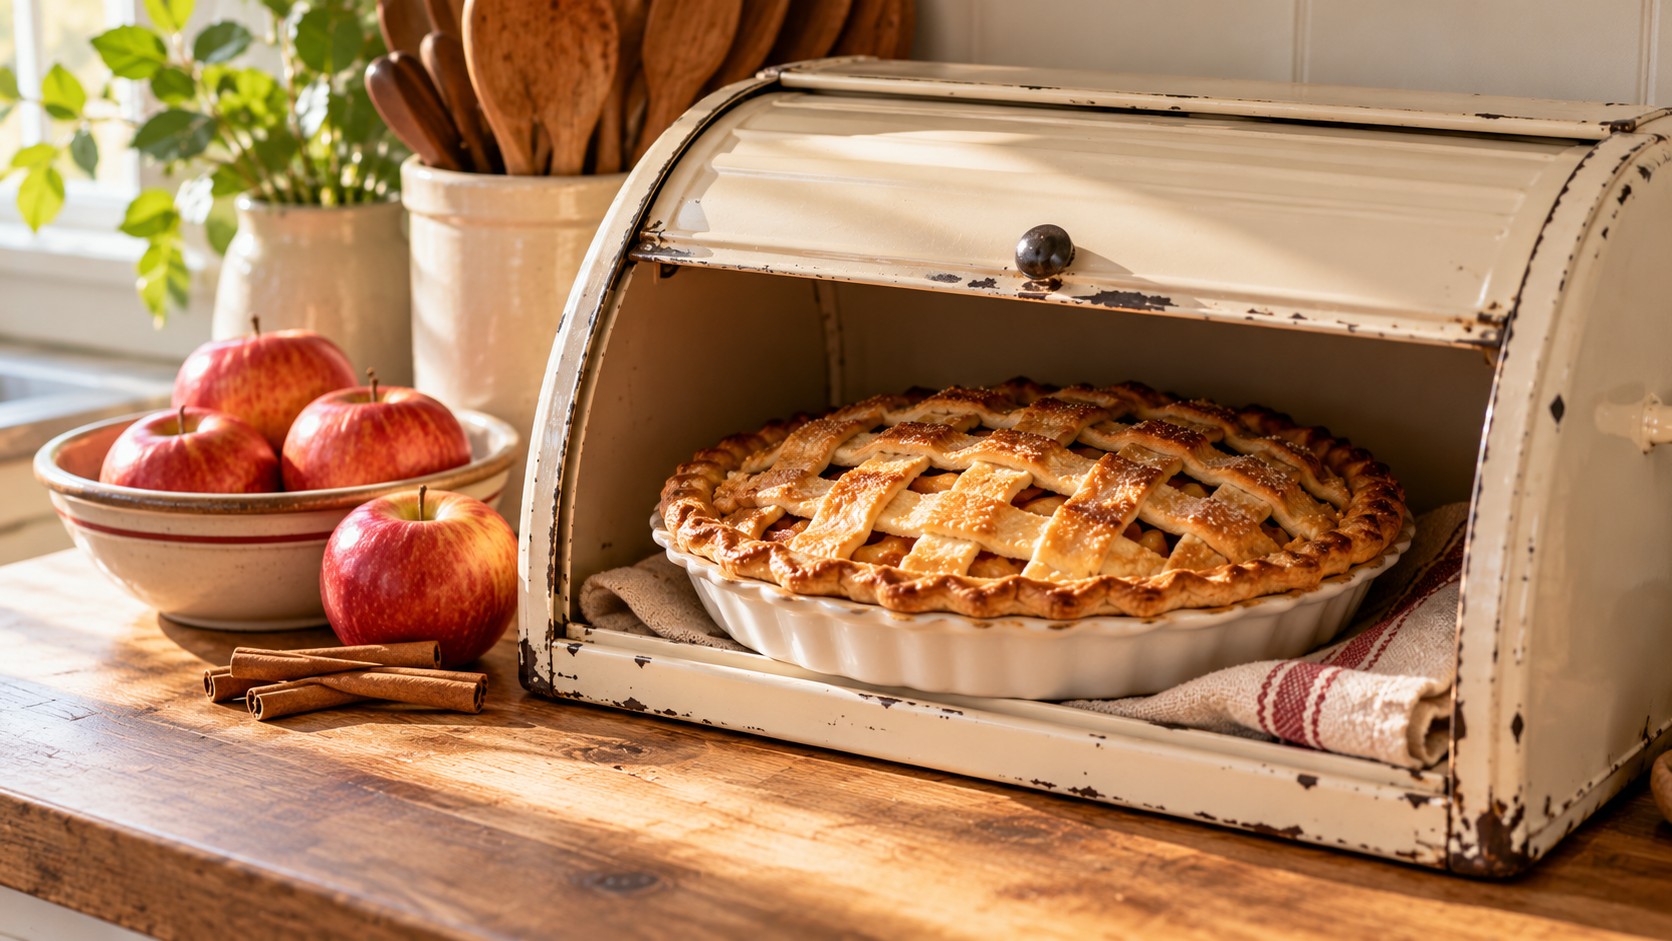
An old bread box with the lid rolled back makes a sweet little stage for one pie. It is a surprise for guests, and it hints at an old country kitchen. Clean it well, line the bottom with parchment, and set an apple pie inside with a few red apples and cinnamon sticks in front. If you love this kind of find, our vintage kitchen features are full of more old fashioned pieces to look for.
You will need: an antique or vintage bread box, parchment paper, an apple pie, a few red apples, cinnamon sticks.
How to make it: 1. Wash the bread box with warm soapy water and dry it fully. 2. Line the bottom with parchment and slide the pie in. 3. Open the lid all the way and arrange the apples and cinnamon sticks in front.
Thanksgiving Dessert Table Filler With White Pumpkins
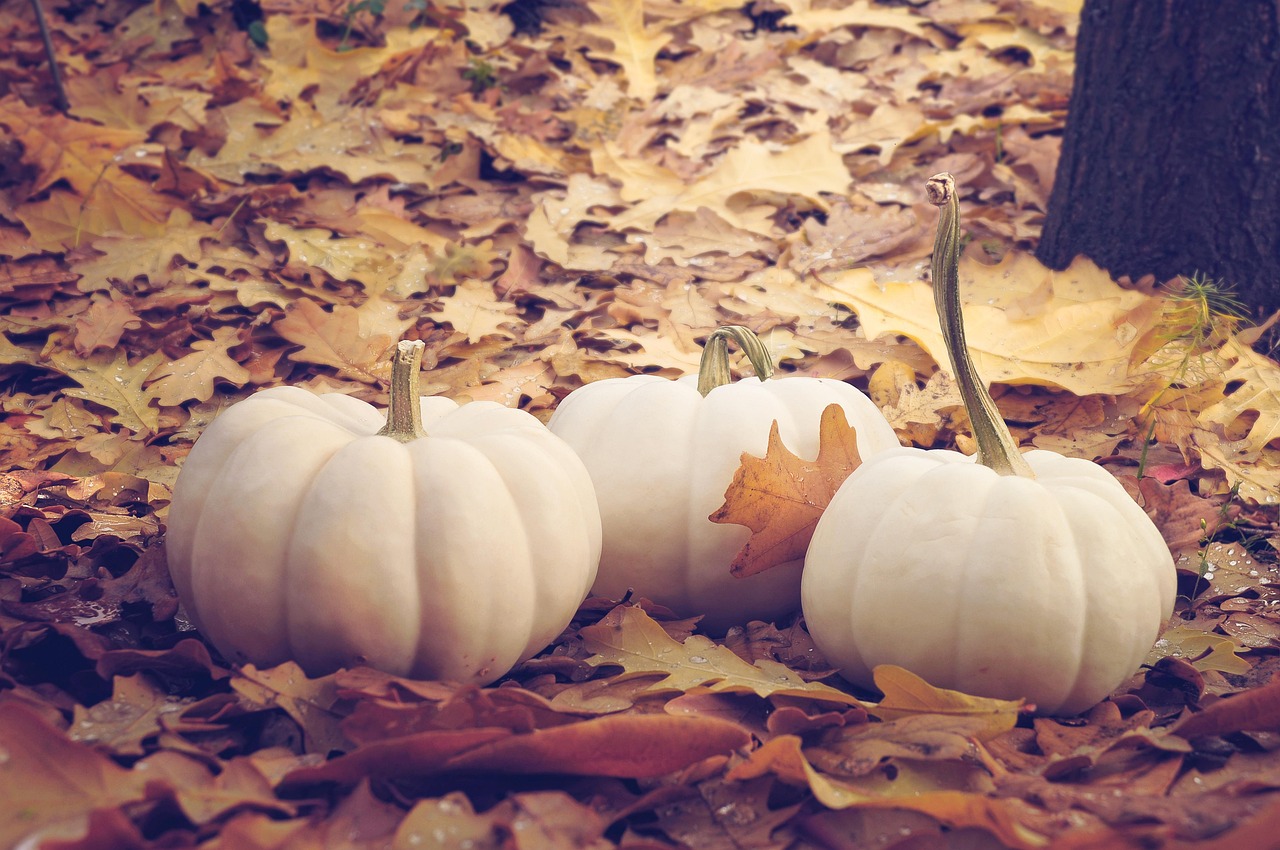
Small white pumpkins are the quiet helpers of a Thanksgiving dessert table. They fill the gaps between stands, add height where a pie plate sits low, and their soft color makes orange pumpkin pie look even brighter. A few dry oak leaves scattered around them finish the look for free. If your faux pumpkins look a little plain, try one of our faux pumpkin makeovers with paint and decoupage.
You will need: six to ten small white pumpkins, real or faux, a handful of dry oak leaves.
How to make it: 1. Set the cake stands and pies first. 2. Place pumpkins in odd numbered groups in the gaps between stands. 3. Scatter oak leaves around the pumpkins, keeping them off the pies.
Twine Wrapped Pie Servers With Felt Leaves
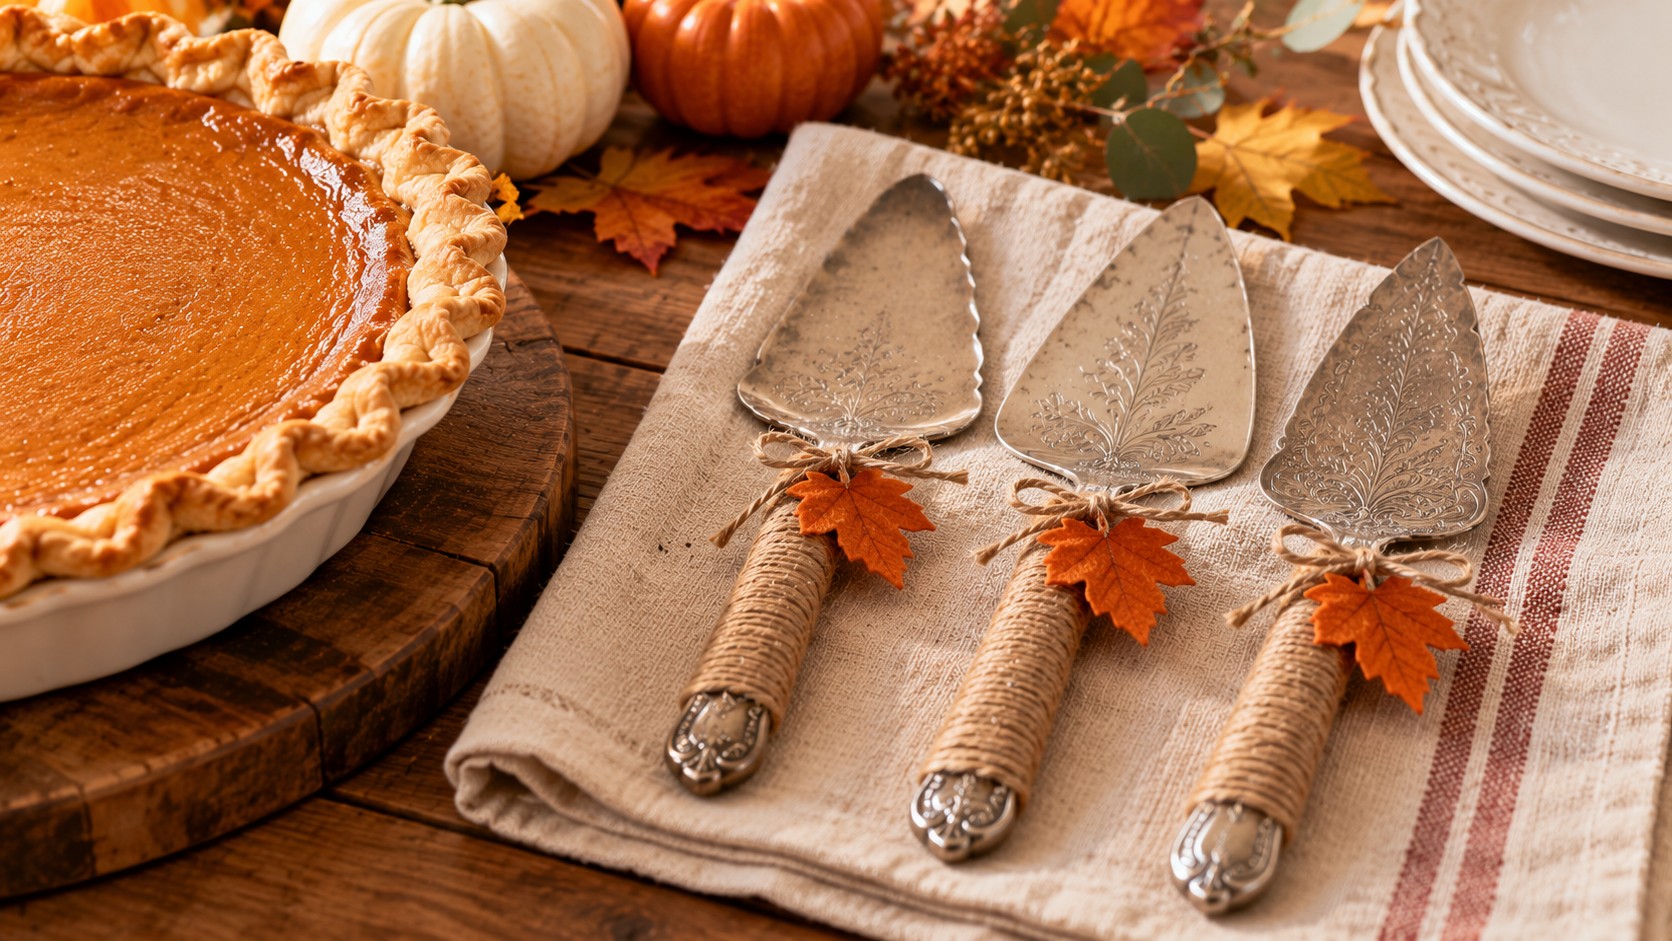
Thrift store pie servers are often mismatched, but wrapping the handles in jute twine makes them look like a set. Tie on a small felt maple leaf and each server becomes a tiny decoration that sits right beside its pie. Stiffen the felt leaves with a coat of decoupage medium so they hold their shape. Our jute twine projects use the same easy wrapping method.
You will need: three pie servers, natural jute twine, orange and gold felt, decoupage medium, scissors, a leaf template.
How to make it: 1. Wrap twine tightly around each handle from the base to the end and knot it. 2. Cut felt leaves, brush both sides with decoupage medium and let them dry flat. 3. Tie one leaf to each handle with a short piece of twine.
A Basket of Apples Beside the Lattice Pie
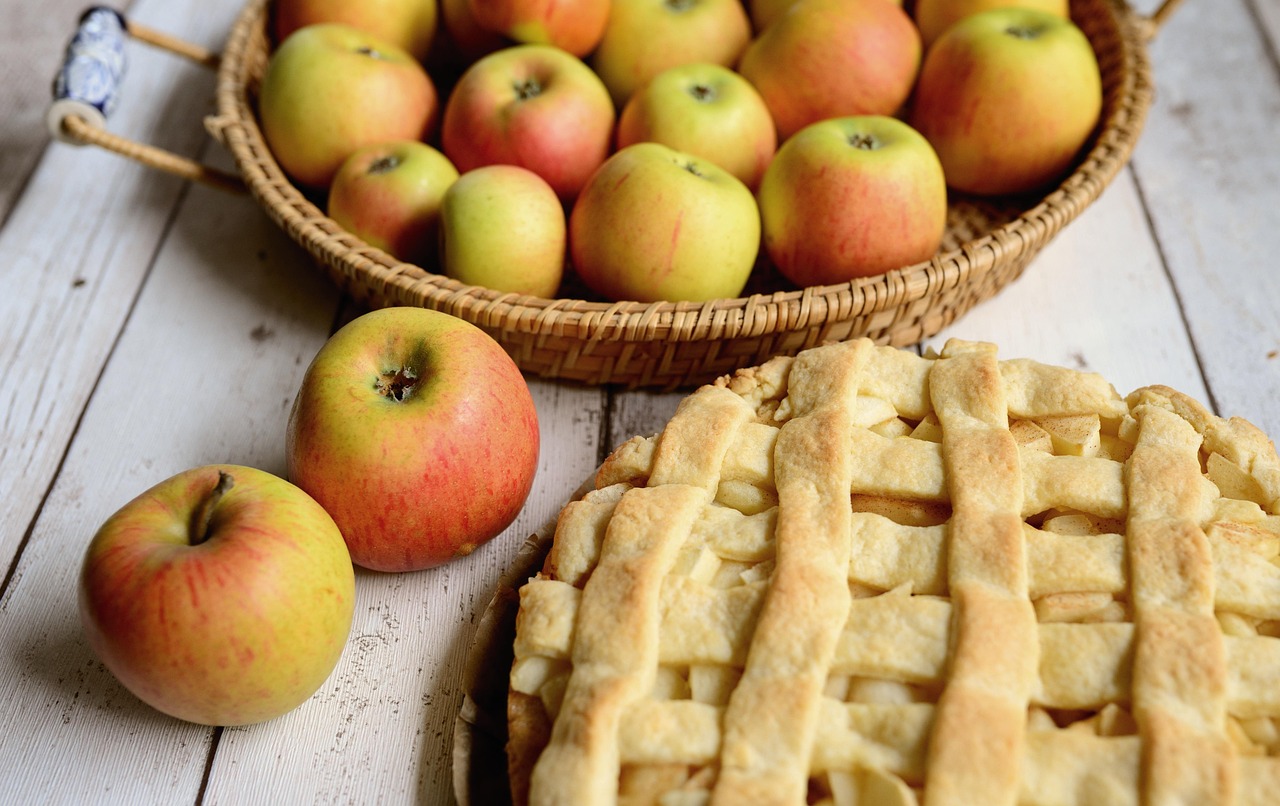
Real fruit next to the pie tells guests what is inside without a single label. A shallow woven basket of apples beside an apple pie looks fresh and farm stand simple, and you can do the same with pecans in a bowl beside a pecan pie. On a Thanksgiving dessert table with mismatched stands, the baskets tie everything together. Our mismatched Thanksgiving table shows how to make a mix of pieces look on purpose.
You will need: a shallow woven basket, eight to ten apples, a lattice apple pie, a linen tea towel.
How to make it: 1. Line the basket with a tea towel. 2. Fill it with apples, stems up. 3. Set it beside the apple pie at the end of the table, angled toward the room.
Thanksgiving Dessert Table With a Burlap Table Skirt
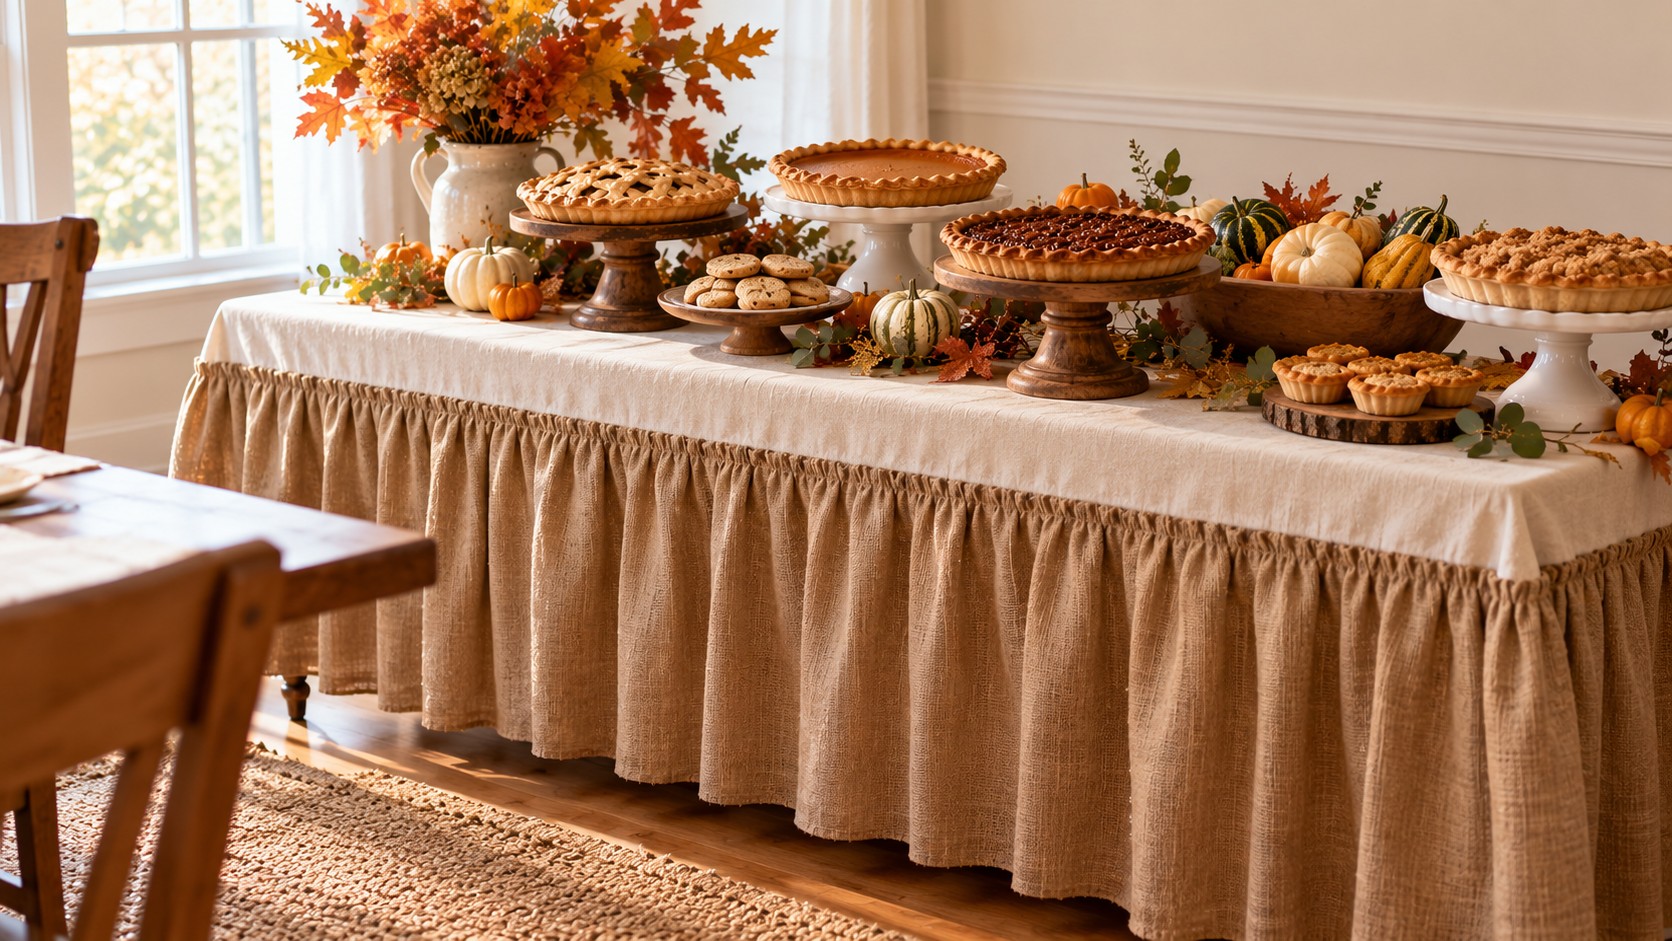
A plain folding table is the most useful piece of furniture you own in November, and a burlap skirt hides its legs in about half an hour. Gather the burlap into loose pleats and pin it around the edge, then lay a cream linen cloth on top. Suddenly the extra table in the corner is a proper Thanksgiving dessert table with a farmhouse feel. Find more weekend projects in our Thanksgiving crafts for adults.
You will need: a folding table, burlap yardage about twice the table perimeter, safety pins or table skirt clips, a cream linen tablecloth.
How to make it: 1. Lay the linen cloth on the table so it hangs a few inches over each side. 2. Starting at a back corner, fold the burlap into loose pleats and pin or clip it to the cloth edge all the way around. 3. Trim the bottom so it just touches the floor.
Thanksgiving Dessert Table Send Off With Plated Slices
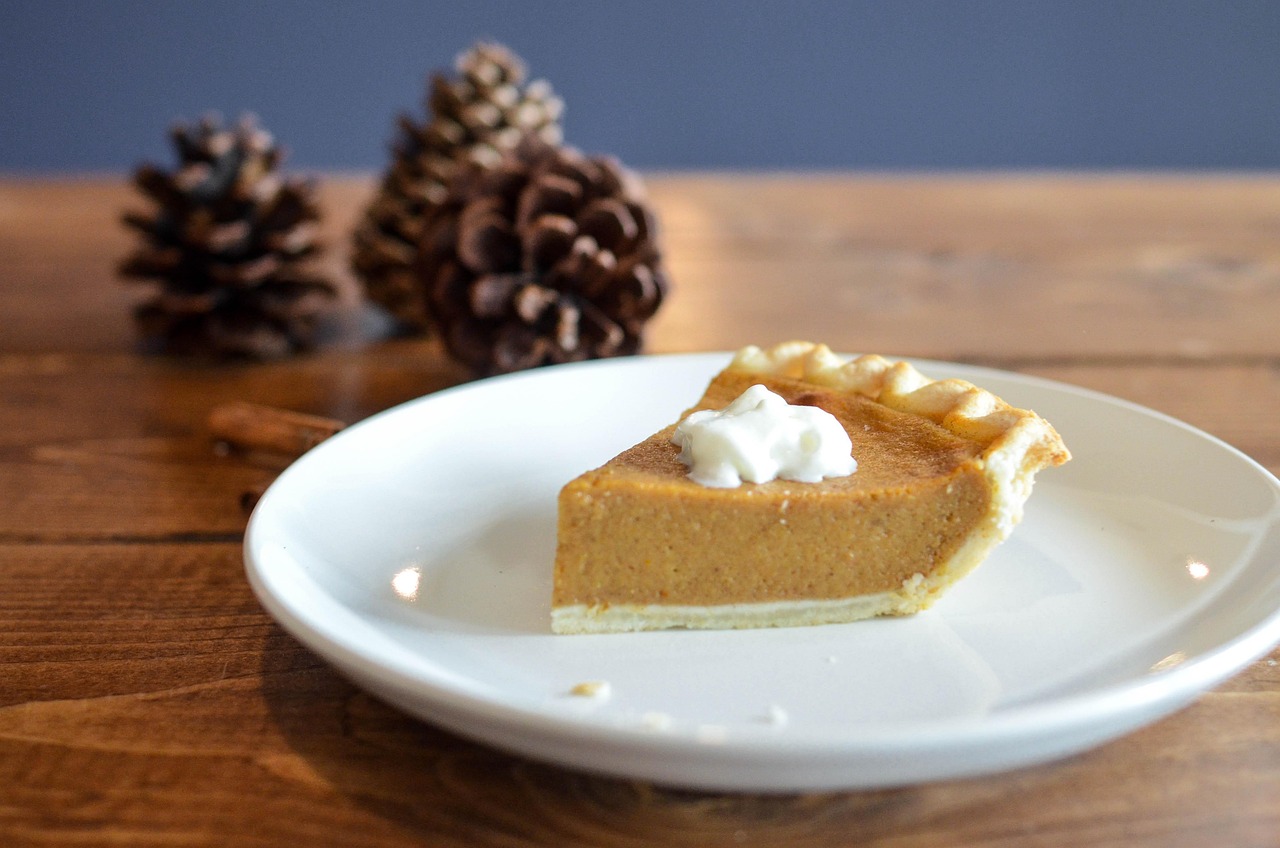
End the evening with a little gift. Set out small plates or paper pie boxes at the end of the Thanksgiving dessert table so guests can take a slice home. A dollop of whipped cream and a pine cone on the board make even one piece look special. Kraft paper boxes are cheap in packs online and at craft stores, and you can tie each one with twine. For a matching touch, our DIY napkin rings use the same simple materials.
You will need: small dessert plates or kraft paper pie boxes, jute twine, a pie server, a few pine cones.
How to make it: 1. Stack the plates or boxes at the end of the table near the door. 2. Cut slices ahead of time and keep them covered until guests leave. 3. Tie each box with twine and hand it over with a smile.