Peel and Stick Makeovers: 16 Holiday Ready Renter Upgrades That Look Like a Pricey Remodel
Peel and stick makeovers are the easiest way for renters to get a kitchen, bath or living room they are proud to show off before holiday guests arrive. No paint, no drills and no begging the landlord, just smart products that are designed to be removable when you move. These ideas are huge online right now, with renter friendly videos pulling in millions of views. Below you will find 16 peel and stick makeovers, from tile backsplashes and frosted windows to wood plank walls and a plaid dresser, each with a simple supply list and quick steps. Most can be done in an afternoon, and many cost less than a holiday dinner for four. Pick one room or tackle a few, and get ready for guests to ask who did your remodel..
Peel and Stick Makeovers Start in the Kitchen
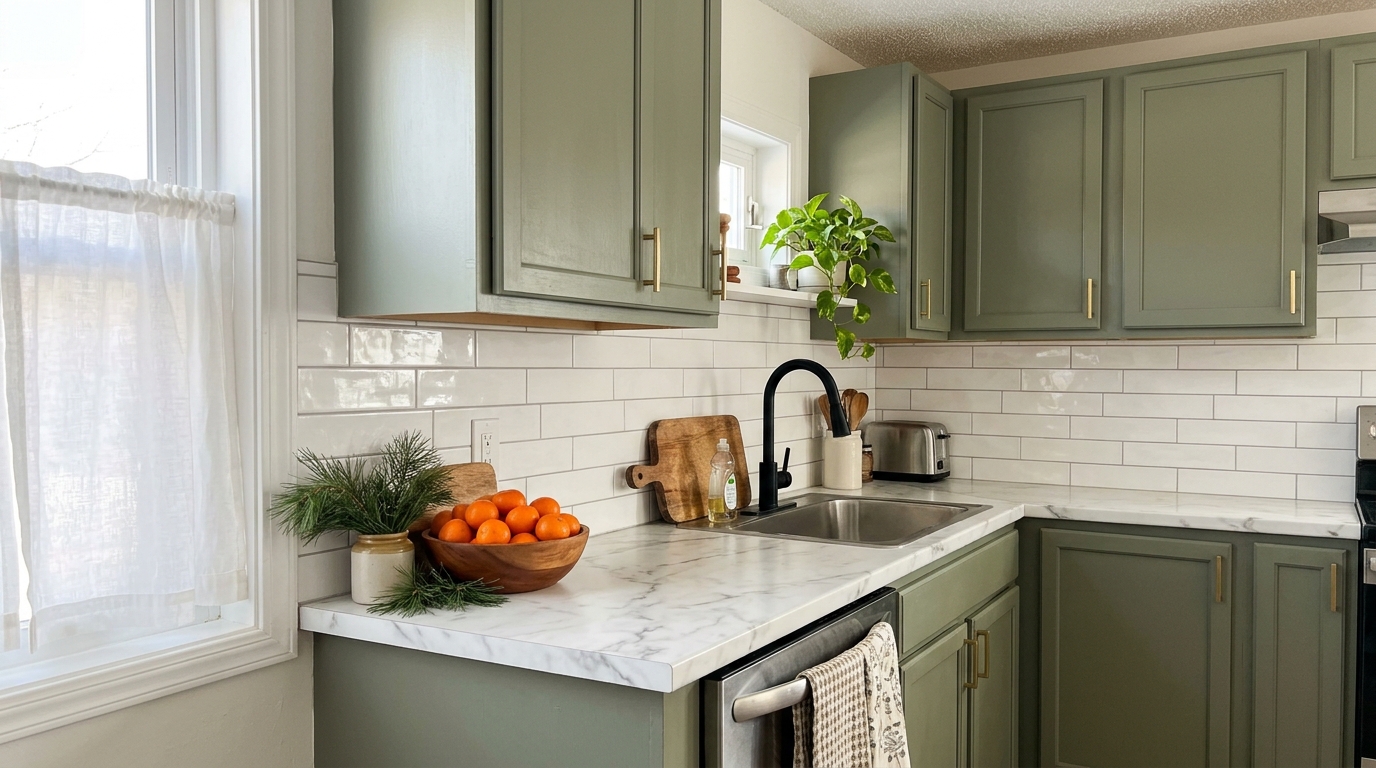
This is the kind of before guest week glow up renters dream about. A plain rental kitchen gets crisp white subway tile stickers along the backsplash, marble look film on the counters and soft sage film on the cabinet fronts, and nothing was painted or drilled. The trend took off when a 2.3 million view video from Waynaworld rounded up ten removable products. Peel and stick makeovers like this one pair nicely with our other renter friendly upgrades, and your kitchen will be ready to impress before the first pie comes out of the oven..
You will need: White subway tile stickers, marble look countertop film, sage green matte vinyl, a felt edge smoothing tool, a craft knife, a tape measure.
How to make it: 1. Clean every surface with mild soap and let it dry fully. 2. Start the tile stickers at the center of the backsplash and work outward so the grout lines stay level. 3. Wrap the counters and cabinet fronts, smoothing from the middle to the edges, then trim the extra film with a sharp knife.
Patterned Floor Tiles for a Tired Bathroom
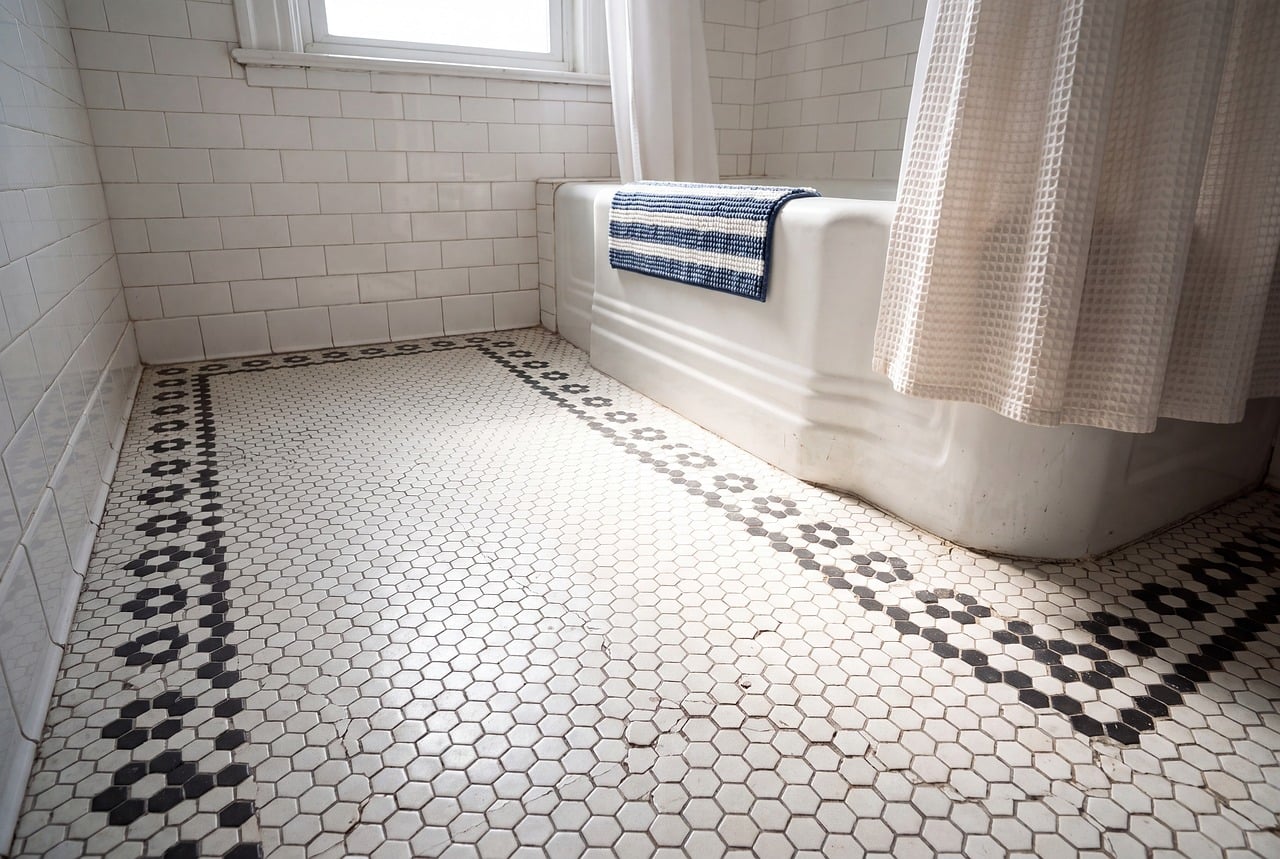
Old rental bathroom floors are often a sad beige vinyl that no amount of scrubbing can save. Peel and stick floor tiles go right over a smooth, clean floor, and a hexagon design with a dark border like this one gives a vintage hotel feel for the price of a takeout dinner. It is a favorite trick from our retro bathroom ideas, and it takes about an afternoon in a small bath. Guests will notice the floor first, and nobody needs to know it lifts up when you move out.
You will need: Peel and stick floor tiles, a utility knife, a straight edge ruler, a small roller, cardboard for a template.
How to make it: 1. Sweep, mop and degrease the floor, then let it dry overnight. 2. Lay the first row along the longest straight wall and press each tile with the roller. 3. Make cardboard templates for the curves around the tub and toilet, then trace and cut.
Peel and Stick Makeovers for Dated Cabinet Doors
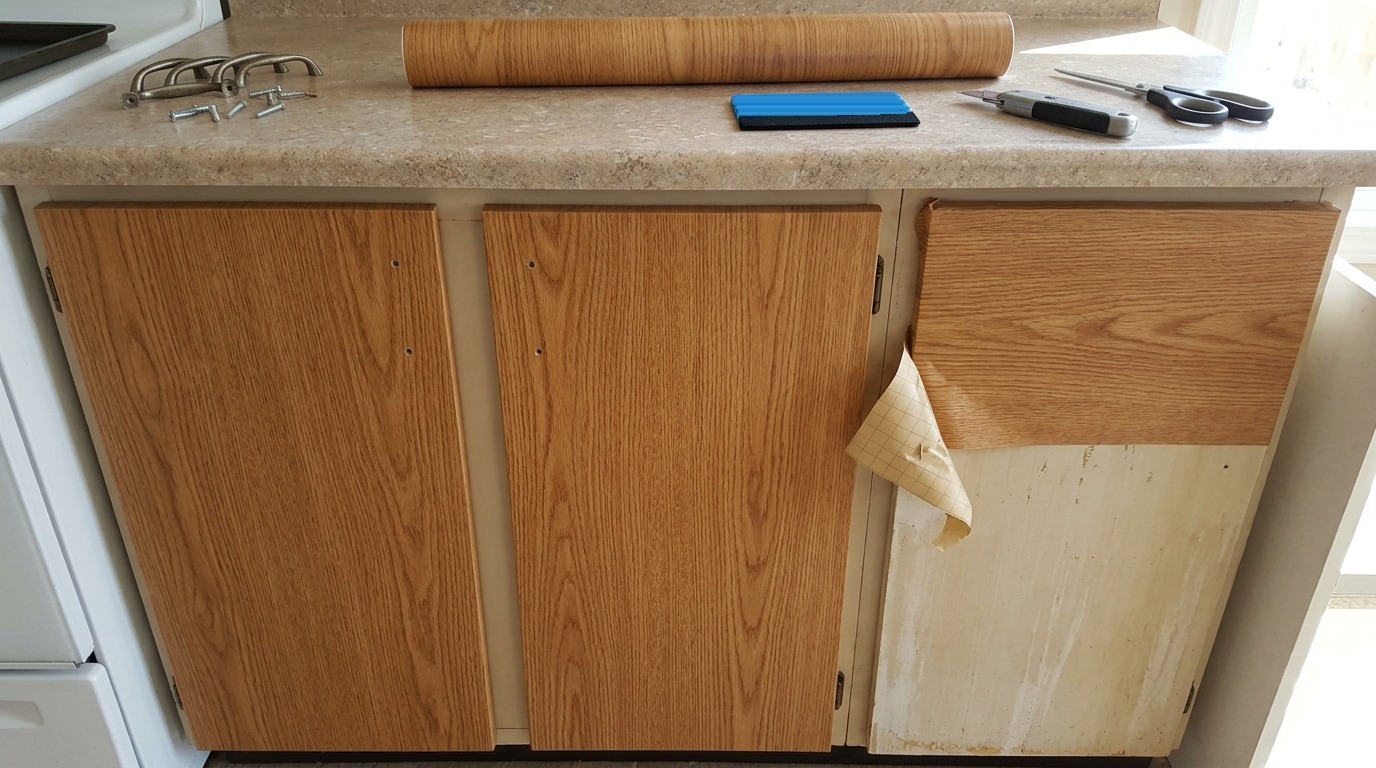
Orange toned or chipped cabinet doors date a kitchen faster than anything else, and wood grain film fixes that in a weekend. You peel back a small part of the liner, line up the top edge and smooth it down as you go, wrapping the extra around the door edges. Unlike the painted ideas in our kitchen cabinet roundup, peel and stick makeovers like this are designed to be removable, so they work for renters. Take the pulls off first and put them back on top of the film for a crisp finish.
You will need: Wood grain vinyl film, a felt edge smoothing tool, a craft knife, a small driver for the pulls, a degreasing spray.
How to make it: 1. Remove the doors and pulls and wipe each door with degreaser. 2. Cut the film two inches larger than the door on every side. 3. Smooth it on from the top down, wrap the edges, trim the corners and reattach the pulls.
A Botanical Accent Wall in the Living Room
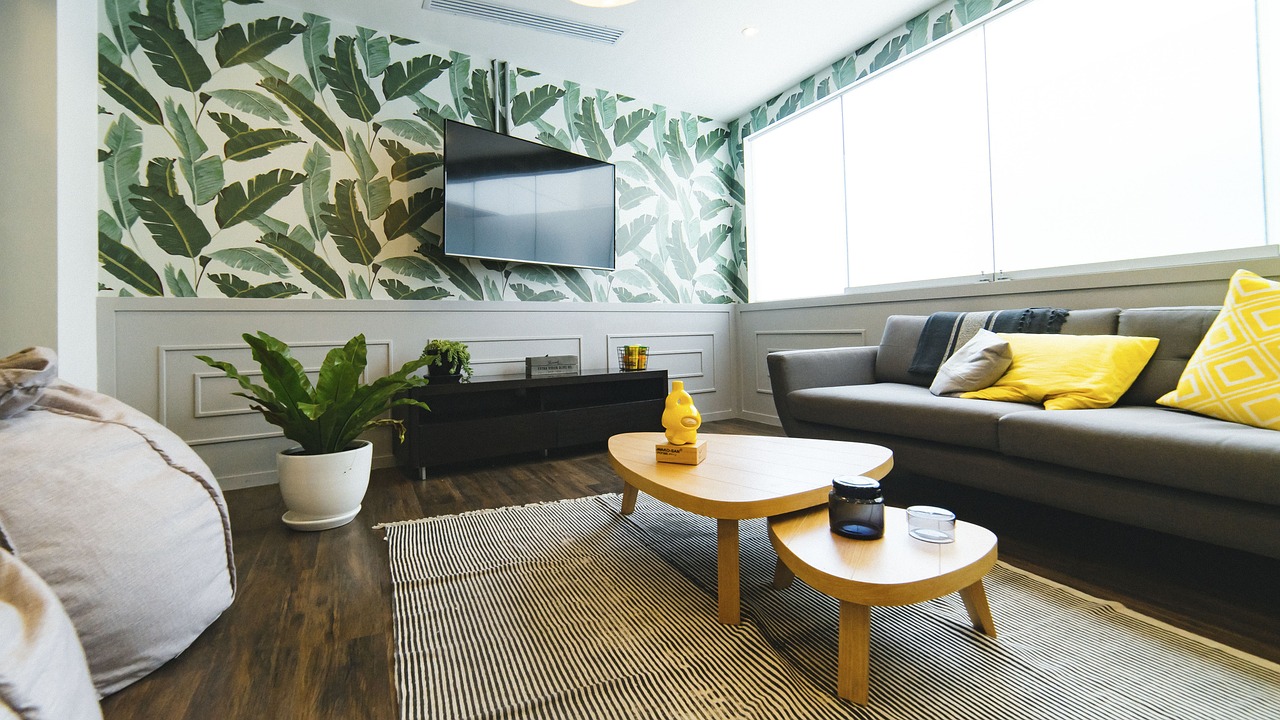
One wall is all it takes to change the mood of a room. A big leaf print like this turns a boxy rental living room into something that feels like a boutique hotel lobby. Removable wallpaper goes up like a giant sticker, and you line up the pattern as you go. If you love bold walls but cannot paint, this is the renter version of our painted wall designs. Keep the rest of the room calm with neutral pillows so the wall is the star.
You will need: Removable wallpaper rolls, a tape measure, a level, a smoothing tool, a sharp knife, a step stool.
How to make it: 1. Draw a straight plumb line with a level about one roll width from the corner. 2. Hang the first panel on that line and smooth it from the top down. 3. Match the pattern on the next panels and trim the top and bottom edges.
Peel and Stick Makeovers Inside a Bookshelf
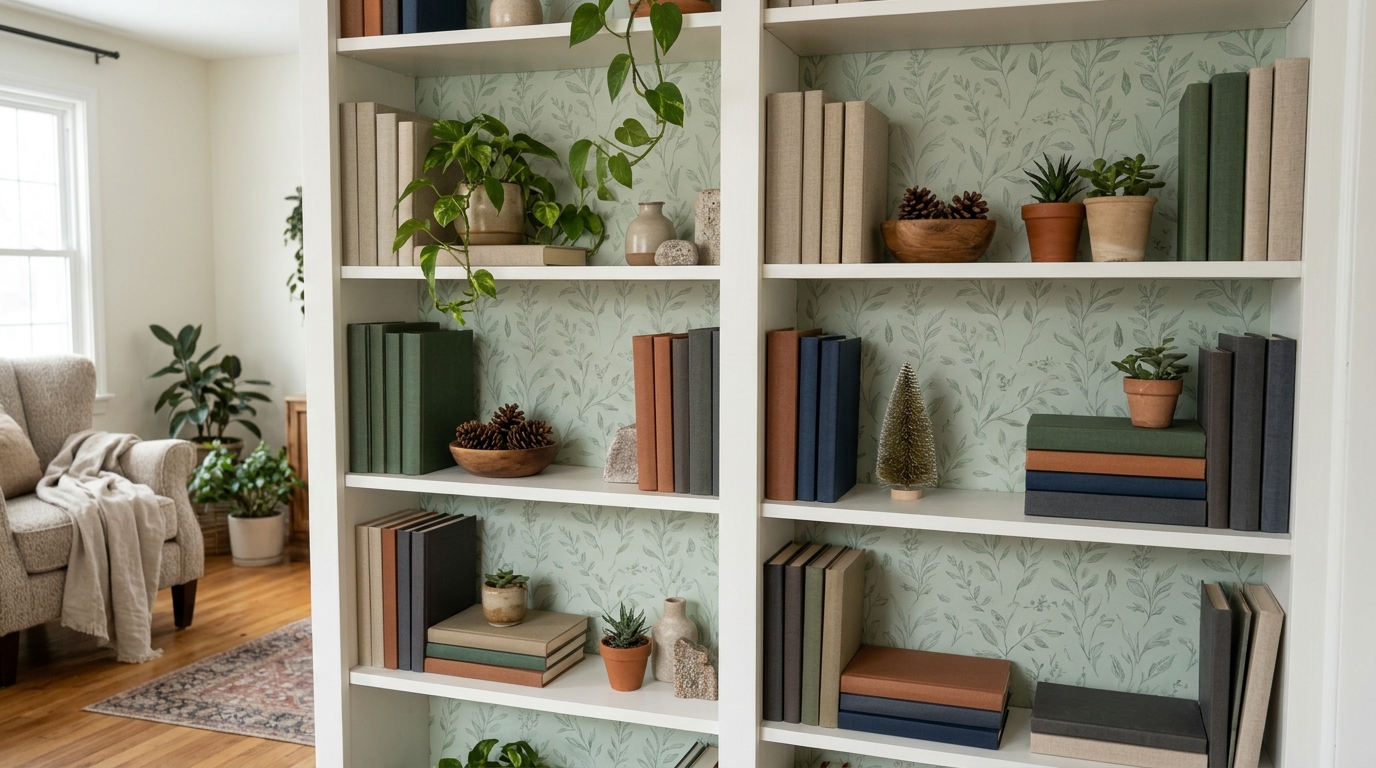
The back of a cheap bookshelf is usually flat white board that makes everything look like a store display. Lining it with a soft leaf print gives it depth and makes every book and plant pop, and it is one of the fastest peel and stick makeovers on this list. You only need a couple of rolls, and leftover pieces can line a drawer. It is a perfect base for our Christmas bookshelf styling, especially with tiny trees and pinecones.
You will need: Removable wallpaper or patterned contact paper, a ruler, a pencil, sharp scissors, a smoothing tool.
How to make it: 1. Take the books off and measure the back of each opening, since shelves are rarely perfectly square. 2. Cut panels a little larger, peel the top edge and press it in place. 3. Smooth downward and trim the extra with a knife along the shelf edge.
A Checkered Floor That Feels Like a Retro Diner
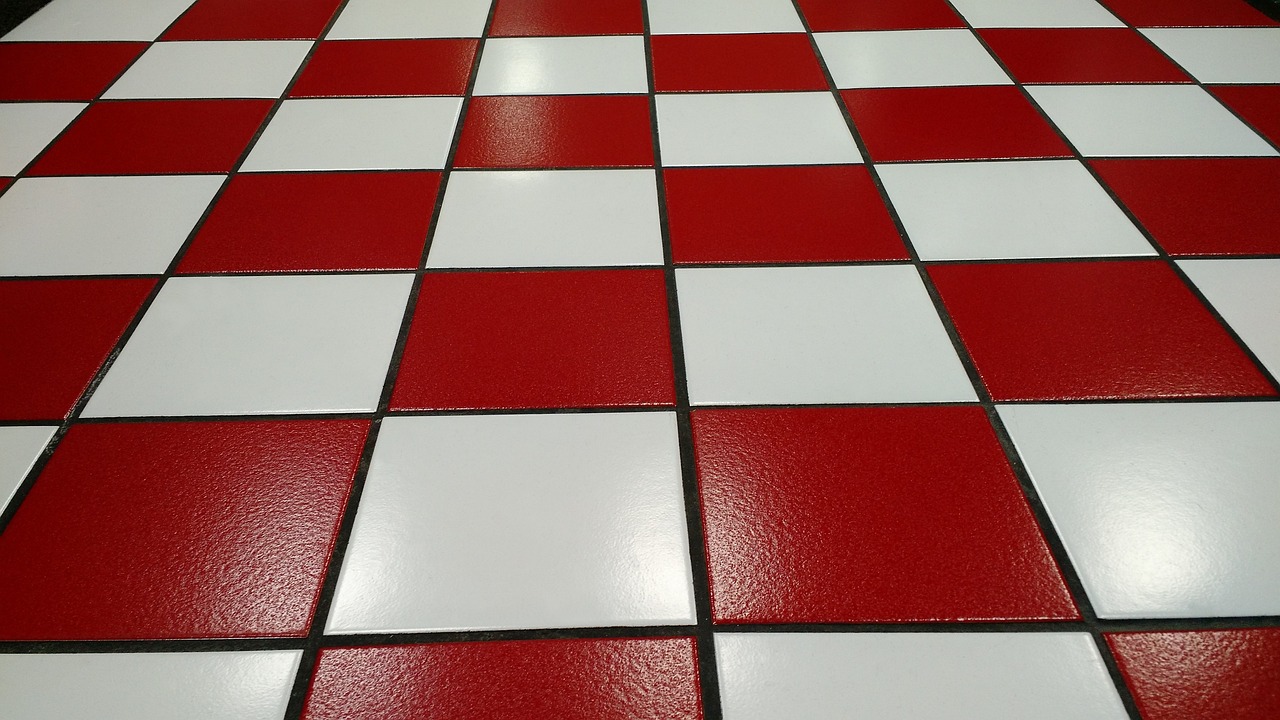
Checkered floors are everywhere right now, and you do not need real tile to get the look. Vinyl squares in two colors let you build the pattern one square at a time in a small entry, a mudroom or a galley kitchen. Red and white feels playful for the holidays, while black and white looks timeless. Use it as a landing spot with our winter entryway ideas, like a boot tray and a bench. Snap a chalk line first so the squares stay straight.
You will need: Vinyl floor squares with adhesive backing in two colors, a chalk line, a utility knife, a roller, a straight edge.
How to make it: 1. Find the center of the room and snap two chalk lines that cross. 2. Lay squares out from the center, alternating colors. 3. Roll every square firmly and cut the edge pieces to fit.
Frosted Film for Bathroom Window Privacy
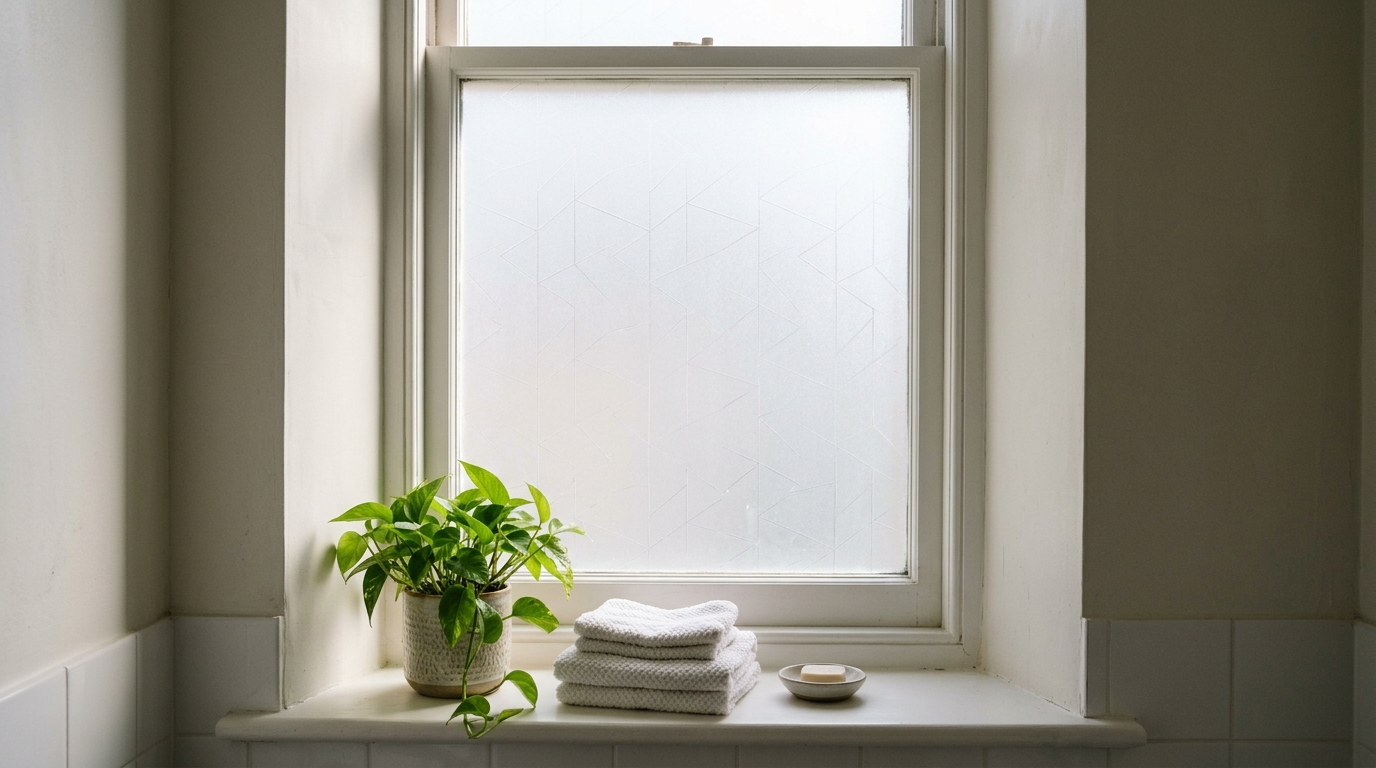
Bathroom windows in rentals often come with no blinds at all, which is awkward when the house fills with guests. Frosted window film lets daylight in while blurring the view, and many kinds cling with just water, so they come off clean later. A subtle geometric pattern looks like pricey etched work. It also pairs well with our simple fixes for drafty windows if cold air sneaks in. Mist the pane well so you can slide the film into place before smoothing it flat.
You will need: Static cling frosted window film, a spray bottle with water and a drop of dish soap, a plastic smoothing card, a craft knife.
How to make it: 1. Clean the window well and spray it generously with the soapy water. 2. Peel the backing, place the film and slide it into position. 3. Push out water and bubbles from the center, then trim the edges.
A Patterned Tile Landing Spot by the Door
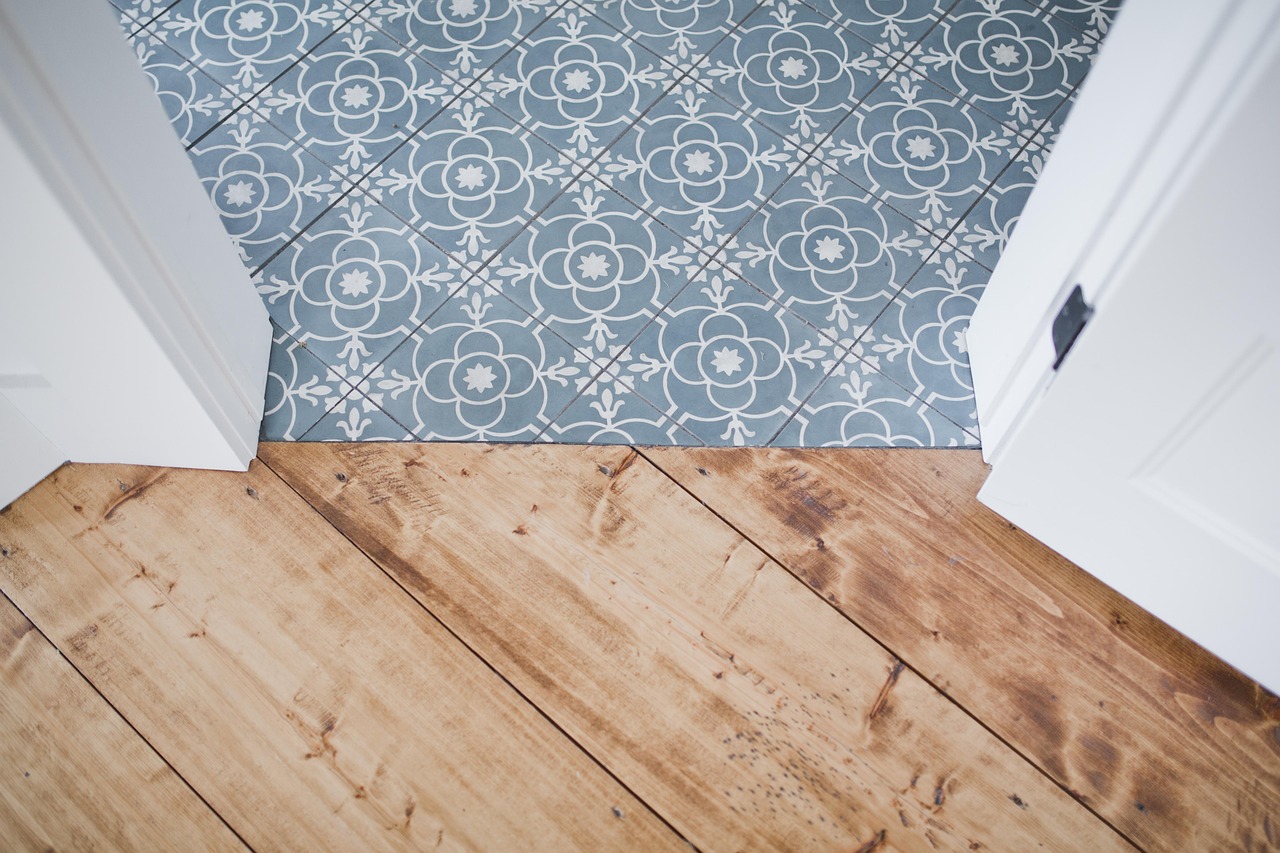
A small patch of pattern by the door works like a built in welcome mat. This blue and white design next to plain wood floors looks like an expensive tile inlay, and the same idea works with removable tiles in a rental entry. It defines a spot for wet boots and gives guests a cheerful first look. Find more ways to dress the space in our Christmas entryway decor ideas. Keep the patch rectangular and edge it with a thin dark trim strip for a finished look.
You will need: Patterned floor tiles with adhesive backing, a thin vinyl edge trim, a utility knife, a roller, painter’s tape.
How to make it: 1. Tape out a rectangle near the door and clean the floor inside it. 2. Lay tiles from one corner, matching the pattern. 3. Roll them firmly and stick a thin trim strip along the outside edge.
Peel and Stick Makeovers on Stair Risers
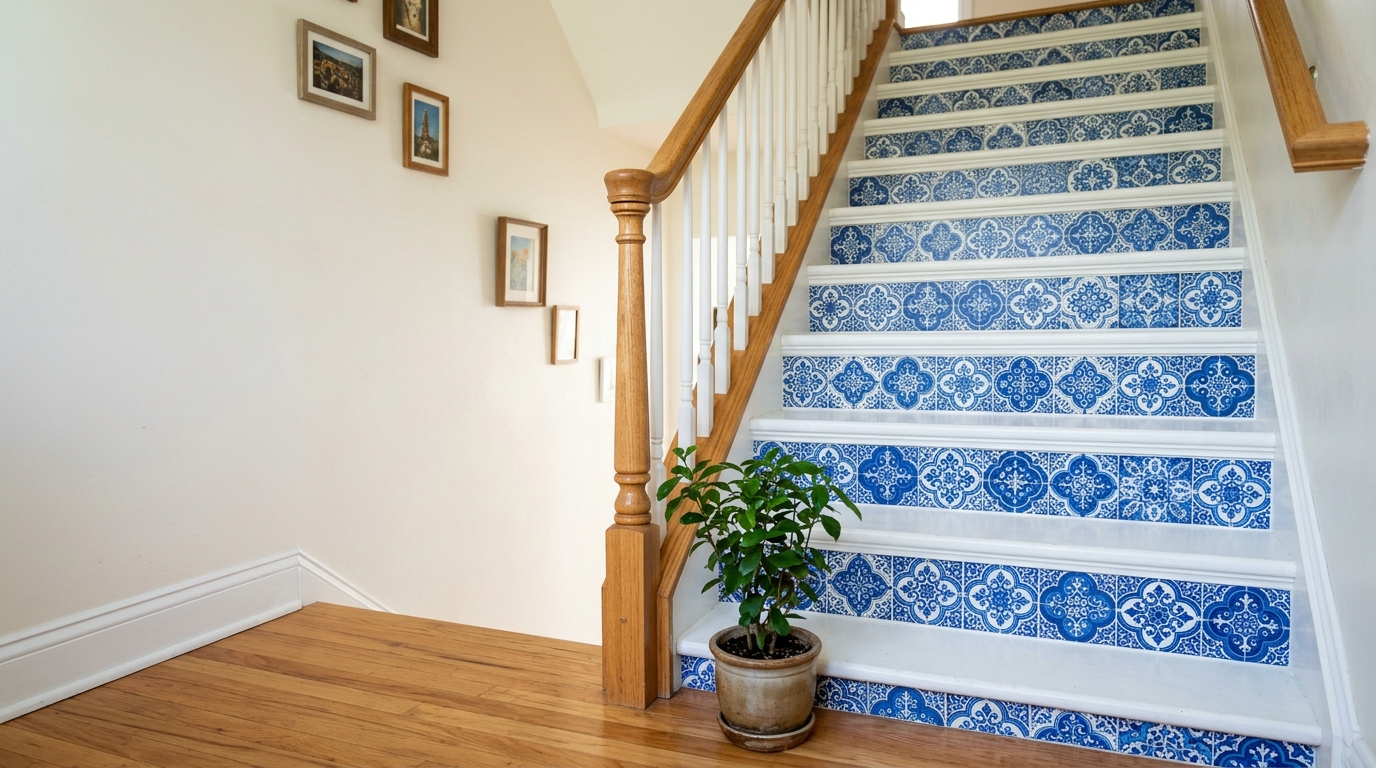
Stair risers are the upright part of each step, and they are a perfect place for a little drama. Blue and white patterned stickers turn a basic staircase into a showpiece that guests see the moment they walk in. Each riser is a small, simple strip, which makes this one of the best peel and stick makeovers for beginners. Once it is done, add garland and ribbon from our Christmas staircase decor ideas. Skip the treads you walk on, since film there can get slippery.
You will need: Patterned tile sticker strips, a tape measure, a craft knife, a smoothing tool, a degreasing wipe.
How to make it: 1. Wipe each riser and measure its height and width. 2. Cut the strips to size and press them on from the center out. 3. Smooth the edges well so feet do not catch them.
Marble Look Counters Over Old Laminate
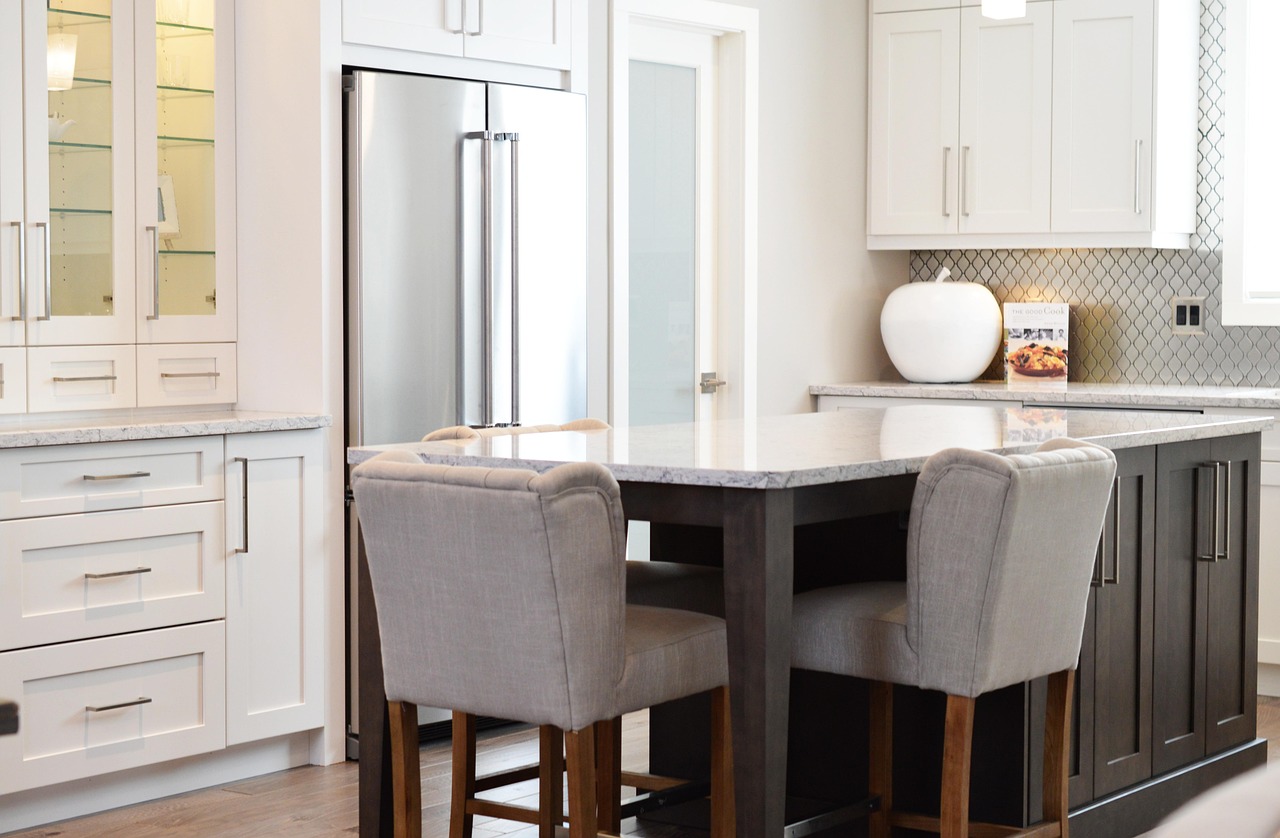
Real marble costs a fortune, but marble look countertop film gets you very close to this bright, clean kitchen. The film goes right over old laminate, and a thicker film hides small dents and seams better. Work in small sections and use a hair dryer on low to stretch it around rounded edges. For more ways to refresh worn counters, see our countertop refresh ideas. Always use a cutting board on top, since a knife can slice through the film.
You will need: Marble look countertop film, a hair dryer, a felt edge smoothing tool, a craft knife, a degreaser.
How to make it: 1. Clear and degrease the counters, then let them dry. 2. Roll the film out a few inches at a time, smoothing as you go. 3. Warm the front edge with the hair dryer, wrap it under the lip and trim the extra.
Peel and Stick Makeovers With Faux Wood Planks
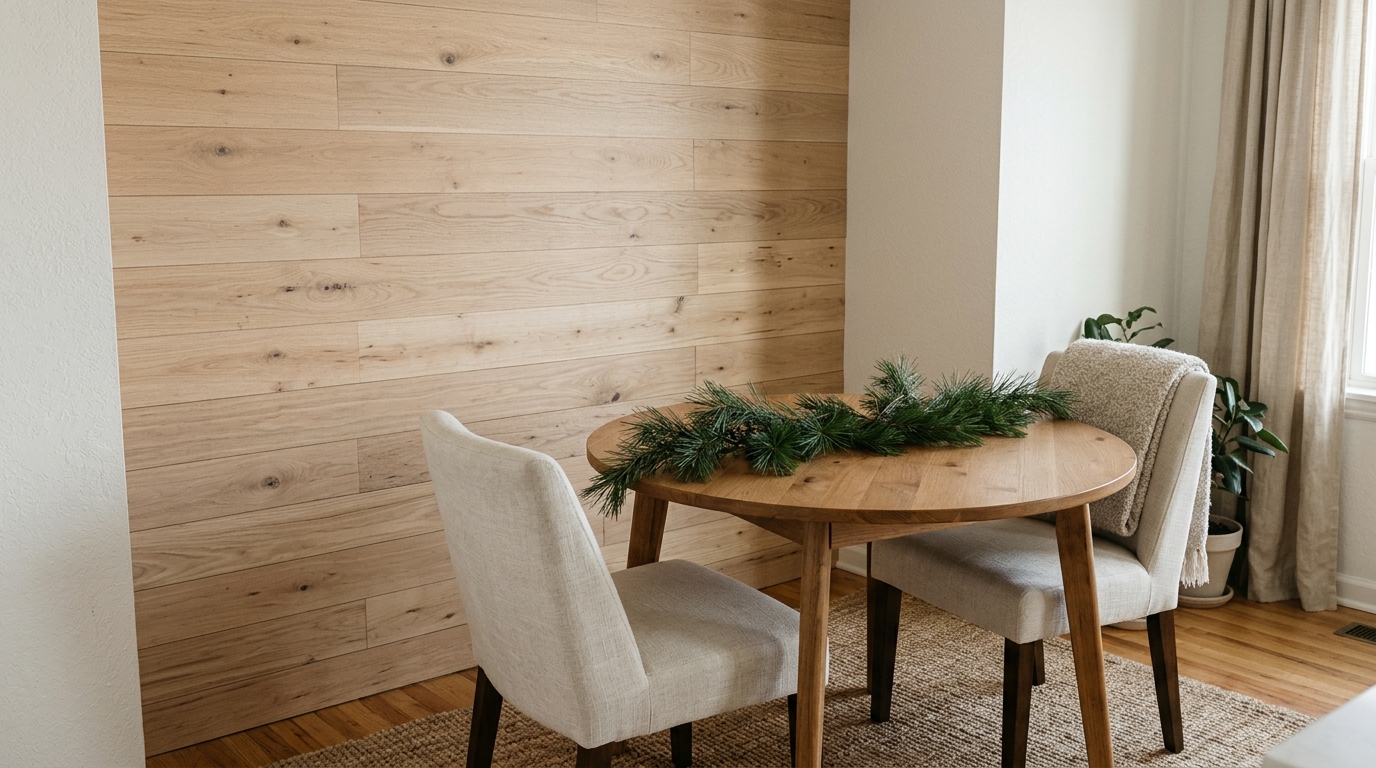
A wood plank wall makes a dining nook feel warm and cabin cozy, perfect for holiday meals. These planks have adhesive on the back and go up in rows, staggering the seams like real boards. They are light enough that you do not need nails or a saw, just a sharp knife and a level, so peel and stick makeovers like this suit any rental. It is one of the budget tricks behind our designer kitchen looks. Start at the bottom so the first row sits level.
You will need: Wood look planks with adhesive backing, a level, a tape measure, a sharp utility knife, a pencil.
How to make it: 1. Wipe the wall and mark a level line for the first row. 2. Press the planks on in rows, staggering the seams. 3. Cut the last row to fit at the ceiling and the ends to fit at the corners.
A Shimmery Mosaic Backsplash Behind the Stove
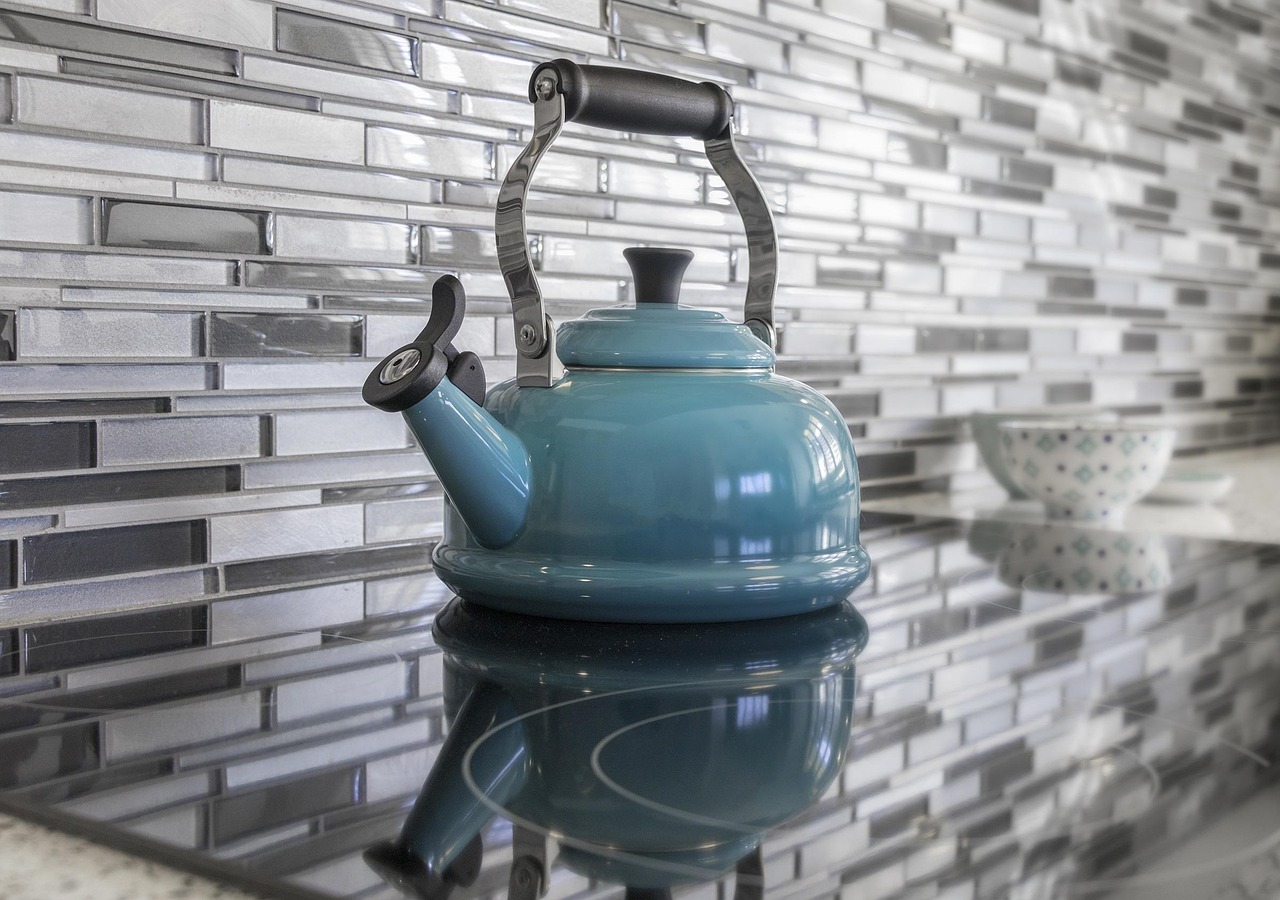
Long, skinny mosaic tiles in gray, white and silver catch the light and make a small kitchen feel brighter. Gel style sticker versions have a raised, shiny surface, so they look surprisingly real up close. This is a fresh option if plain white subway tile feels too common. Our kitchen backsplash ideas roundup has more styles to compare. Leave a small gap at the counter and fill it with clear caulk for a finished edge.
You will need: Gel mosaic tile stickers, a level, a craft knife, a smoothing card, clear caulk.
How to make it: 1. Clean the wall with degreaser and let it dry. 2. Start at the counter, level the first sheet and press it on firmly. 3. Overlap the next sheets along the pattern edge and cut around outlets with the knife.
Removable Wallpaper in a Laundry Nook
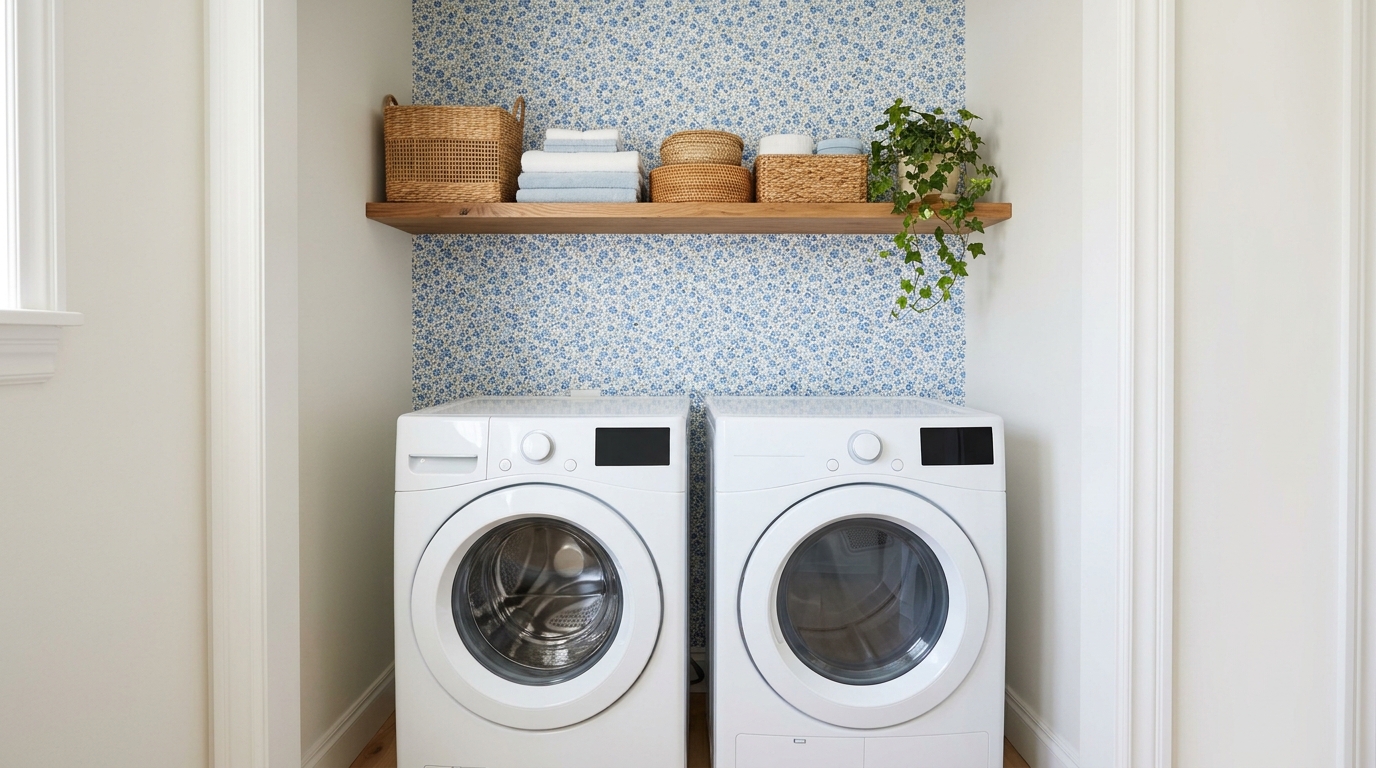
Laundry corners are usually the plainest spot in a home, which makes them perfect for a fun print. A small blue and white floral pattern makes folding towels a little more cheerful, and peel and stick makeovers in a spot this small take just one or two rolls. You only need to cover the wall above and behind the machines. Pair it with the storage ideas in our laundry room refresh post. Unplug and pull the machines out first so you can reach the full wall.
You will need: Removable floral wallpaper, a tape measure, a level, a smoothing tool, a sharp knife.
How to make it: 1. Pull out the machines and wipe the wall. 2. Hang the first panel against a level line and smooth it down. 3. Match the pattern on the next panel, trim the edges and slide the machines back.
A Wood Look Vanity in a Bright Bathroom
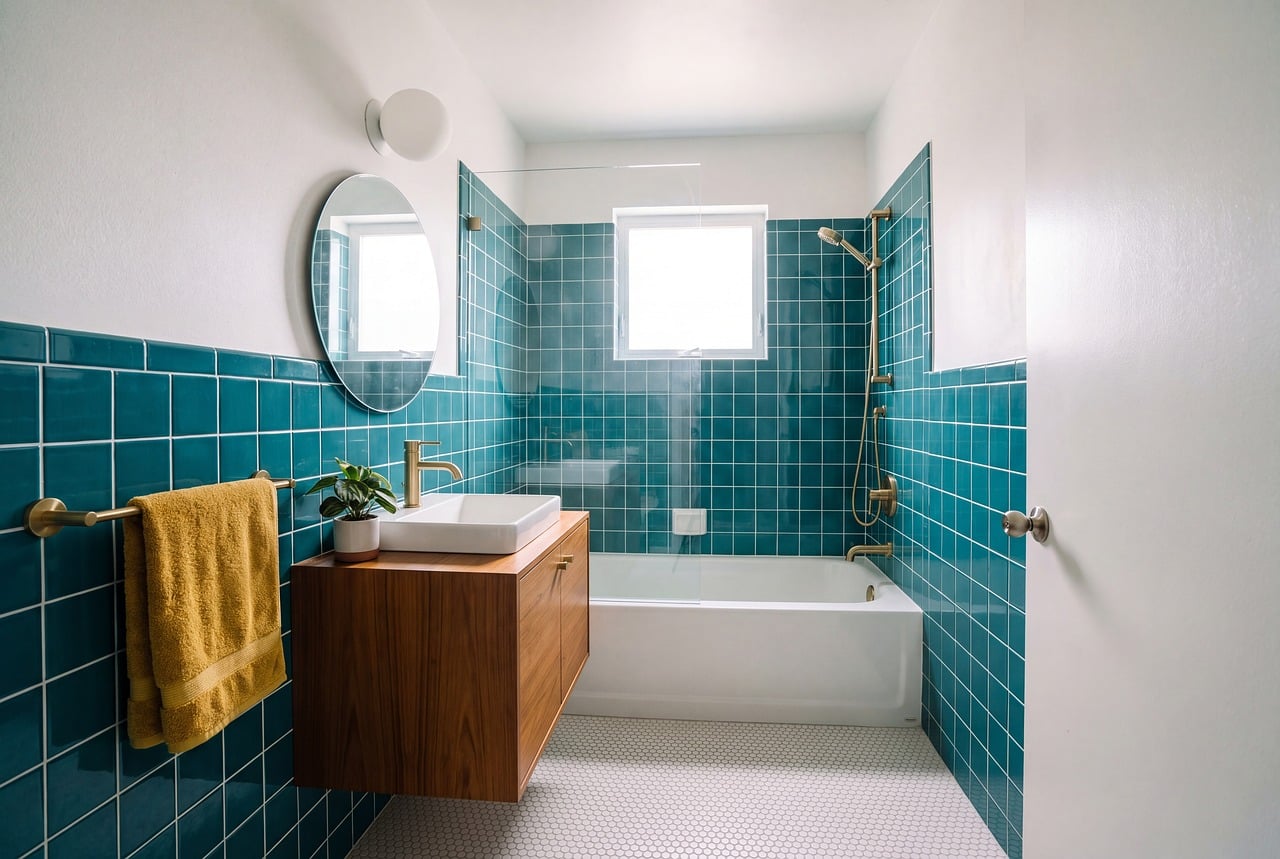
Rental vanities are often plain white or worn laminate. Wood look film turns them into a warm, floating style cabinet like this one, and new removable pulls finish it off. The teal tile here shows how much color behind a wood vanity helps, and tile stickers can fake that too. Clear the cabinet out and add a few clever bins from our bathroom storage hacks while the doors are off. Wrap the doors flat on a table for the smoothest result.
You will need: Wood look vinyl film, a felt edge smoothing tool, a craft knife, new pulls, a degreaser.
How to make it: 1. Remove the doors and pulls and wipe every surface. 2. Wrap the doors flat on a table, then wrap the cabinet frame in place. 3. Trim the edges and install the new pulls on top of the film.
Peel and Stick Makeovers for a Holiday Plaid Dresser
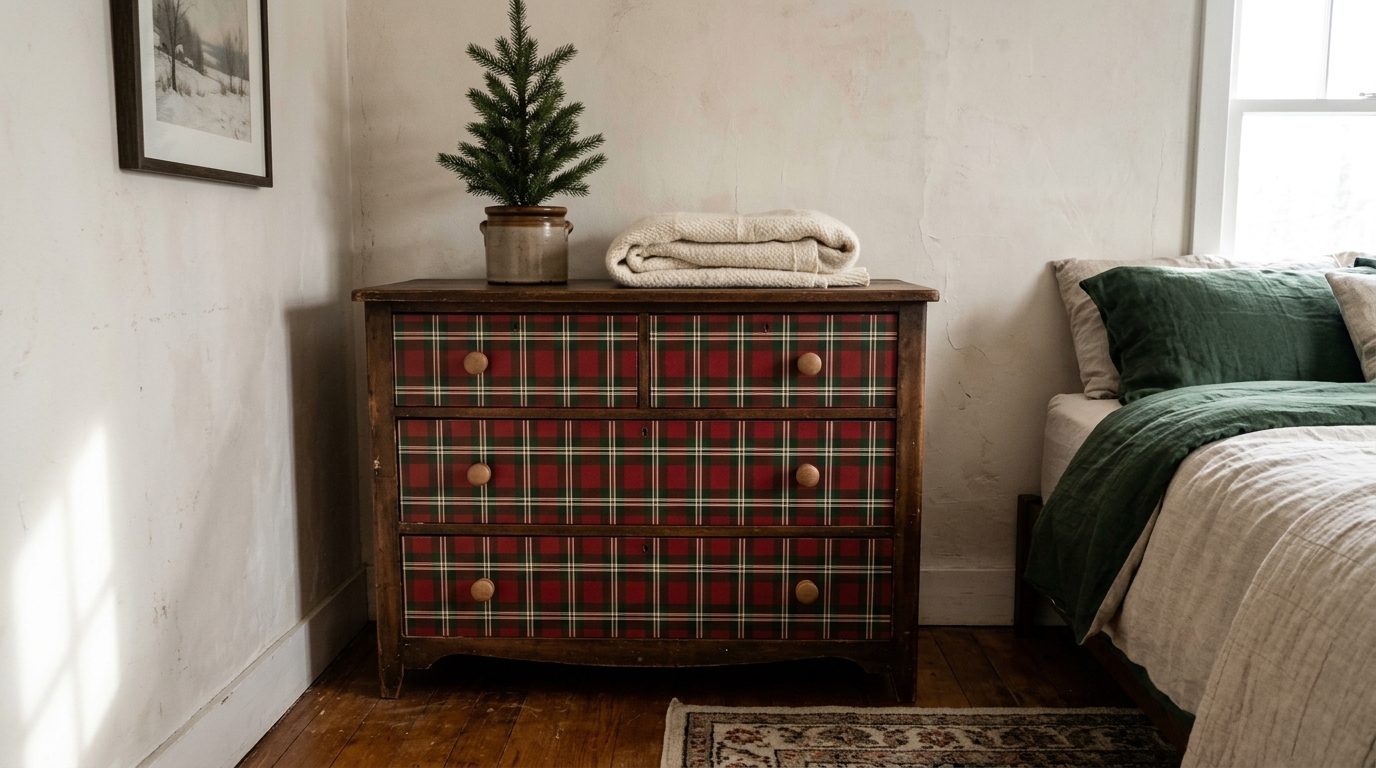
A tired dresser becomes a holiday statement piece with plaid paper on each drawer front. Red and green tartan feels cozy in a guest room or hallway, and when January comes you can peel it off and try a new pattern. Simple round wooden knobs keep it timeless. Find more ideas for secondhand furniture in our furniture flips gallery. Cut the paper about an inch bigger than each drawer and wrap the extra around the edges.
You will need: Plaid contact paper, a ruler, a craft knife, a smoothing tool, wooden knobs.
How to make it: 1. Take out the drawers, remove the knobs and wipe the fronts. 2. Smooth the plaid paper on from the center out and wrap the edges. 3. Poke a small opening for each knob and put the knobs back on.
A Vintage Floral Wall to Welcome Guests
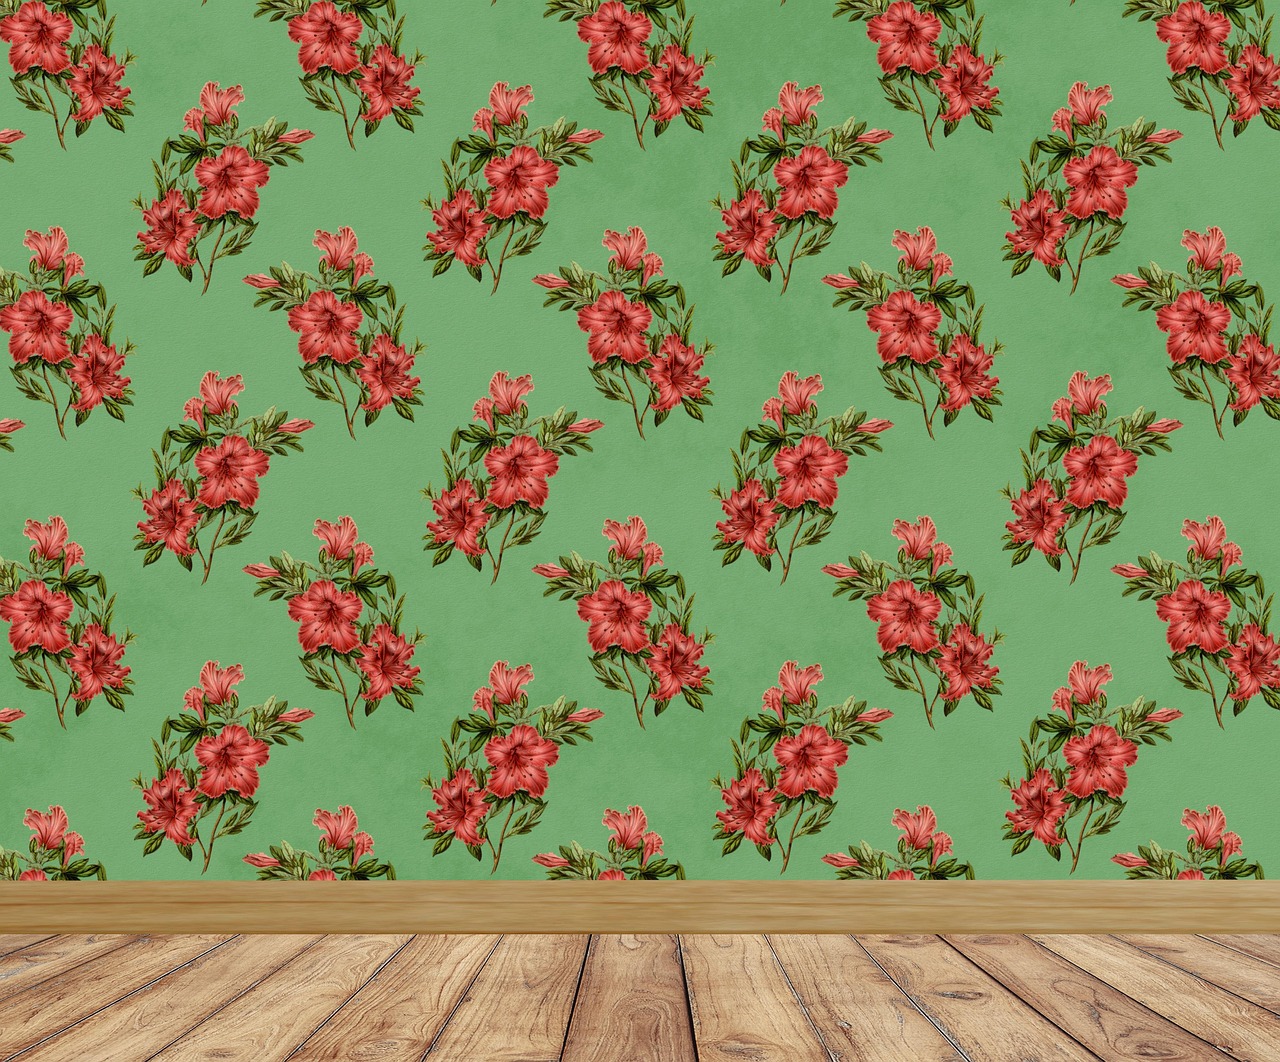
Finish with a wall that says welcome. A vintage style floral print in red and green feels made for the holidays and turns a plain guest room into a charming retreat. Removable wallpaper means you can switch it out in spring, which is why peel and stick makeovers are so popular with renters. Add a quilt, a lamp and fresh towels from our cozy guest room ideas and your visitors will feel spoiled. Hang it behind the bed for the most impact with the least paper.
You will need: Removable vintage floral wallpaper, a level, a tape measure, a smoothing tool, a sharp knife.
How to make it: 1. Mark a level line near one corner of the wall behind the bed. 2. Hang the first panel and smooth out any bubbles. 3. Match the pattern on each new panel and trim at the ceiling and baseboard.