Barbara Bush Christmas: 16 Storybook and Needlepoint Ideas That Feel Like Grandma Made Them
A Barbara Bush Christmas at the White House felt less like a palace and more like a grandmother’s living room, full of soft storybook friends and careful handwork. As first lady from 1989 to 1993, she chose themes that celebrated reading, stitching and giving, and many of the ornaments were made by hand by staff and volunteers. That makes her trees easy to borrow for a regular home. In this gallery you will find felt characters, matchbox mini books, plastic canvas needlepoint, a little stitched village and cozy gifts for the book lovers on your list. Every Barbara Bush Christmas idea here uses simple supplies like felt, yarn, ribbon and wood, plus a few free hours with a cup of cocoa. Pick one project or try them all, and let the grandkids help..
Barbara Bush Christmas Storybook Character Tree
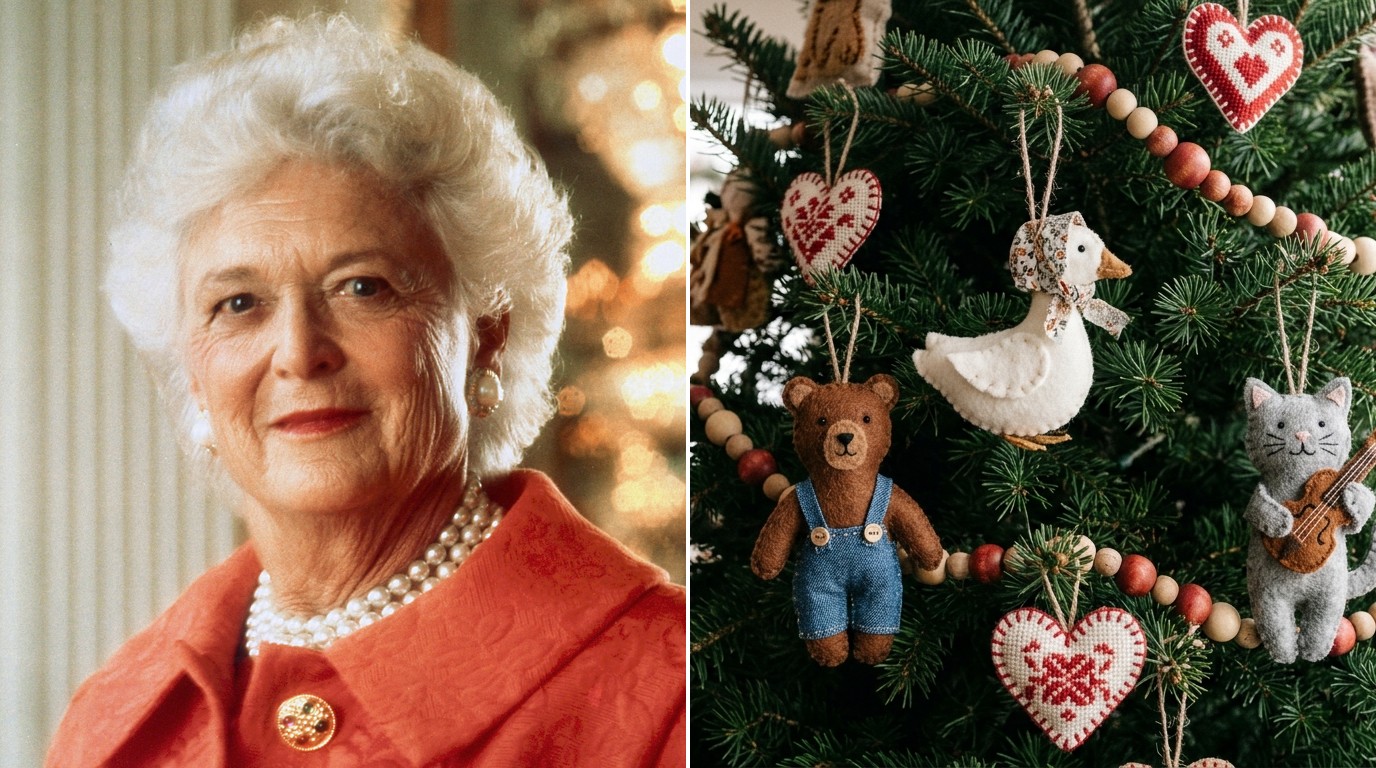
In 1989 the Blue Room tree carried a family literacy theme, with about 80 soft sculpture characters from well loved children’s books made by White House staff. You can copy the look with soft felt characters like a bear in overalls, a goose in a bonnet and a cat with a fiddle. Keep the faces simple with a few French knots and a stitched smile. This Barbara Bush Christmas idea works best when every ornament looks a little homemade, so do not worry about perfect seams. Hang them on wooden bead garland for a warm, storybook feel..
You will need: Felt sheets, embroidery floss, polyester stuffing, a needle, jute twine and wooden beads.
How to make it: 1. Trace a simple animal shape twice on felt and cut it out. 2. Add the face and clothes with small felt pieces and floss. 3. Blanket stitch the edges, stuff lightly and add a twine hanger.
Wrap a Favorite Book With a Gold Cord Bow
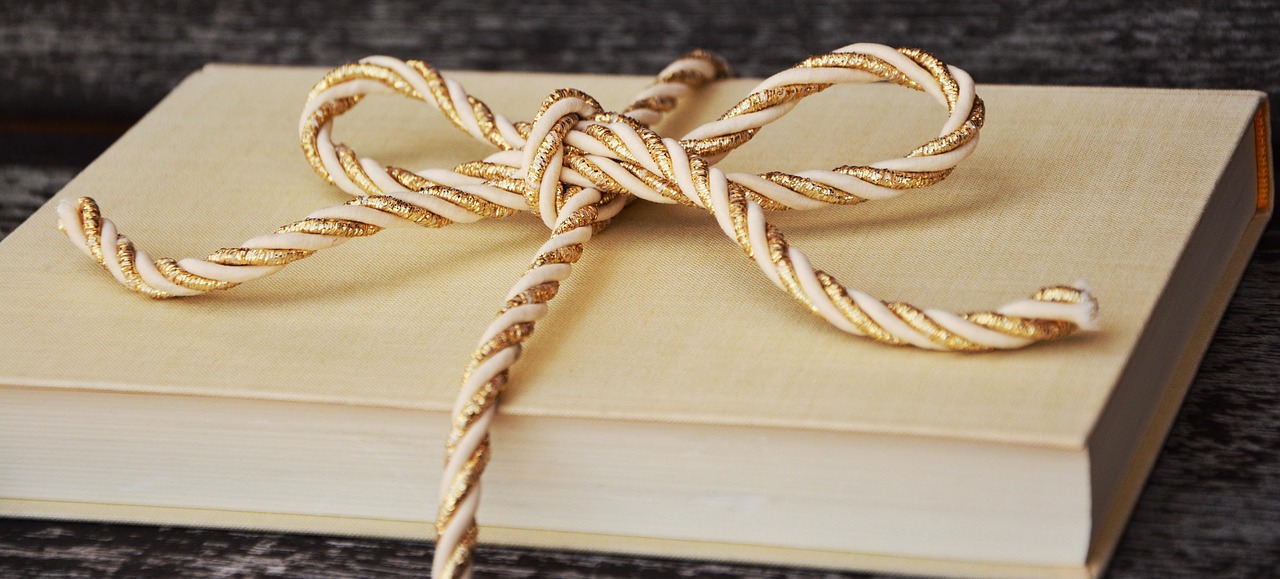
The heart of the 1989 tree was a love of reading, and a wrapped book is the easiest gift to borrow from that idea. Choose a hardcover with a plain cloth cover from a used bookstore, then skip the paper and tie it with a thick twisted gold cord. The book becomes the wrapping. Stack a few of these under the tree or on a side table and they double as decor, a trick that pairs well with other cozy bookshelf decorating ideas. Tuck a handwritten note inside the cover so the gift feels personal.
You will need: A cloth hardcover book, twisted gold cord, scissors and a small note card.
How to make it: 1. Wrap the cord twice around the book in each direction. 2. Tie a loose bow on top and trim the ends. 3. Slip a note card inside the front cover.
Barbara Bush Christmas Matchbox Mini Books
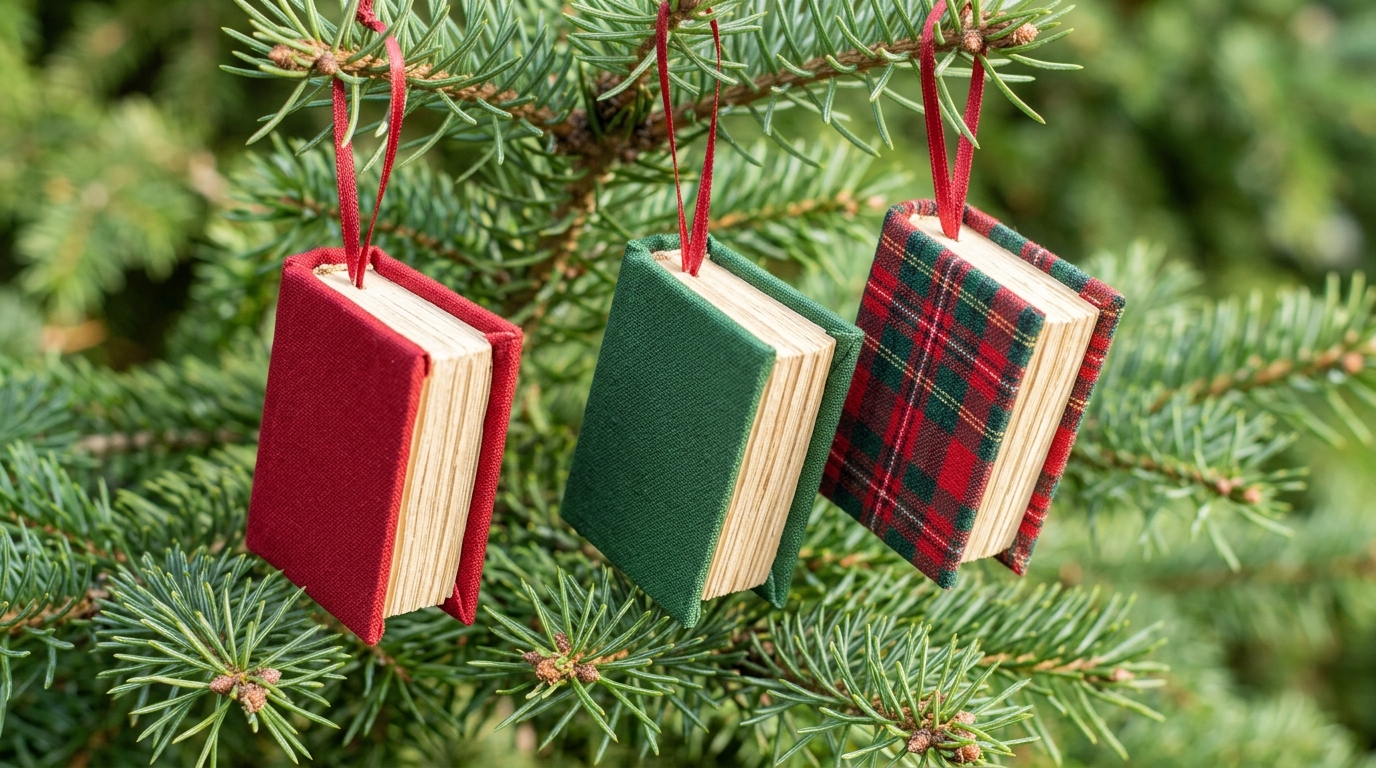
Tiny book ornaments make a sweet nod to a Barbara Bush Christmas and its reading theme. Empty matchboxes are the perfect size and shape for a pretend hardcover. Wrap each box in red, green or plaid fabric, then glue a strip of folded paper along one side so it looks like pages. Thin ribbon loops turn them into ornaments that sit nicely beside other vintage style ornaments on the tree. Older kids can make a full shelf of them in one afternoon, and they cost almost nothing.
You will need: Empty matchboxes, cotton fabric in red, green and plaid, Mod Podge, cream paper strips and narrow red ribbon.
How to make it: 1. Brush Mod Podge on the box and smooth fabric over it, folding the edges. 2. Glue folded cream paper along one long side as pages. 3. Glue a ribbon loop to the top and let it dry.
Learn One Simple Cross Stitch
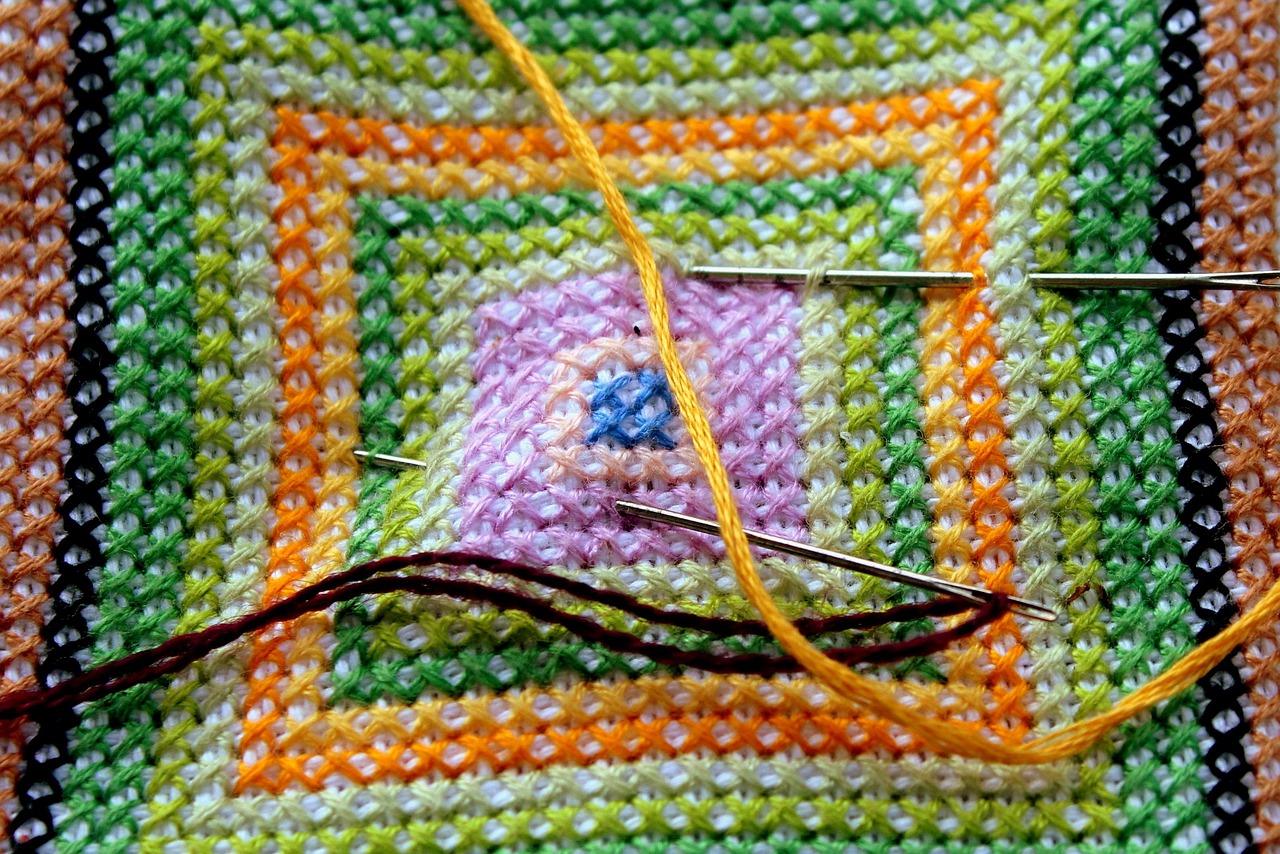
The needlework tree of 1991 started with people who simply loved to stitch, and you can begin with one basic cross stitch. Each X is two small diagonal stitches over a square of fabric, worked in rows. Once your hand learns the rhythm, you can stitch tiny hearts, trees and stars for gifts and ornaments. Use bright floss in Christmas colors and a fabric with an easy to count grid. If you want more practice patterns, these easy Christmas embroidery projects are a fun next step for beginners.
You will need: Cross stitch fabric, a small wooden hoop, embroidery floss, a blunt tapestry needle and small scissors.
How to make it: 1. Place the fabric in the hoop so it is tight like a drum. 2. Work a row of half stitches from left to right. 3. Come back from right to left to finish each X.
Plastic Canvas Needlepoint Ornaments
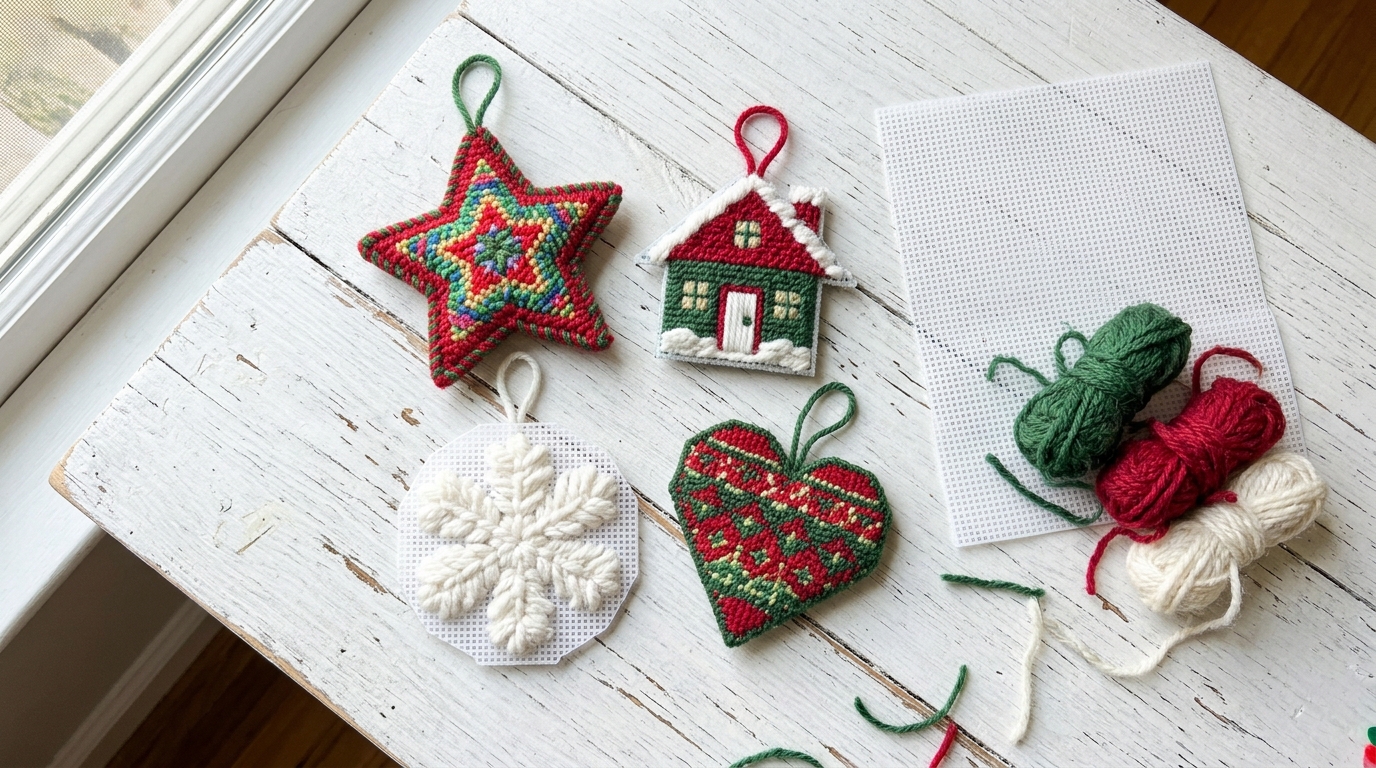
Plastic canvas is the friendliest way to try needlepoint, because the stiff grid holds its shape and never needs a frame. Cut a star, a heart, a little house or a snowflake, then fill it with wool yarn in tent or long stitches. These sturdy ornaments were a church craft favorite for decades, which fits the spirit of a Barbara Bush Christmas. They also last for years on the tree. If you enjoy the stitching, try one of these needlepoint pillow projects next for a bigger piece.
You will need: Plastic canvas sheets, wool or acrylic yarn in red, green and white, a plastic needle and sharp scissors.
How to make it: 1. Cut your shape from plastic canvas, counting the squares. 2. Fill the shape with long or tent stitches. 3. Overcast the edges in a contrast color and add a yarn loop.
Wooden Animals Two by Two
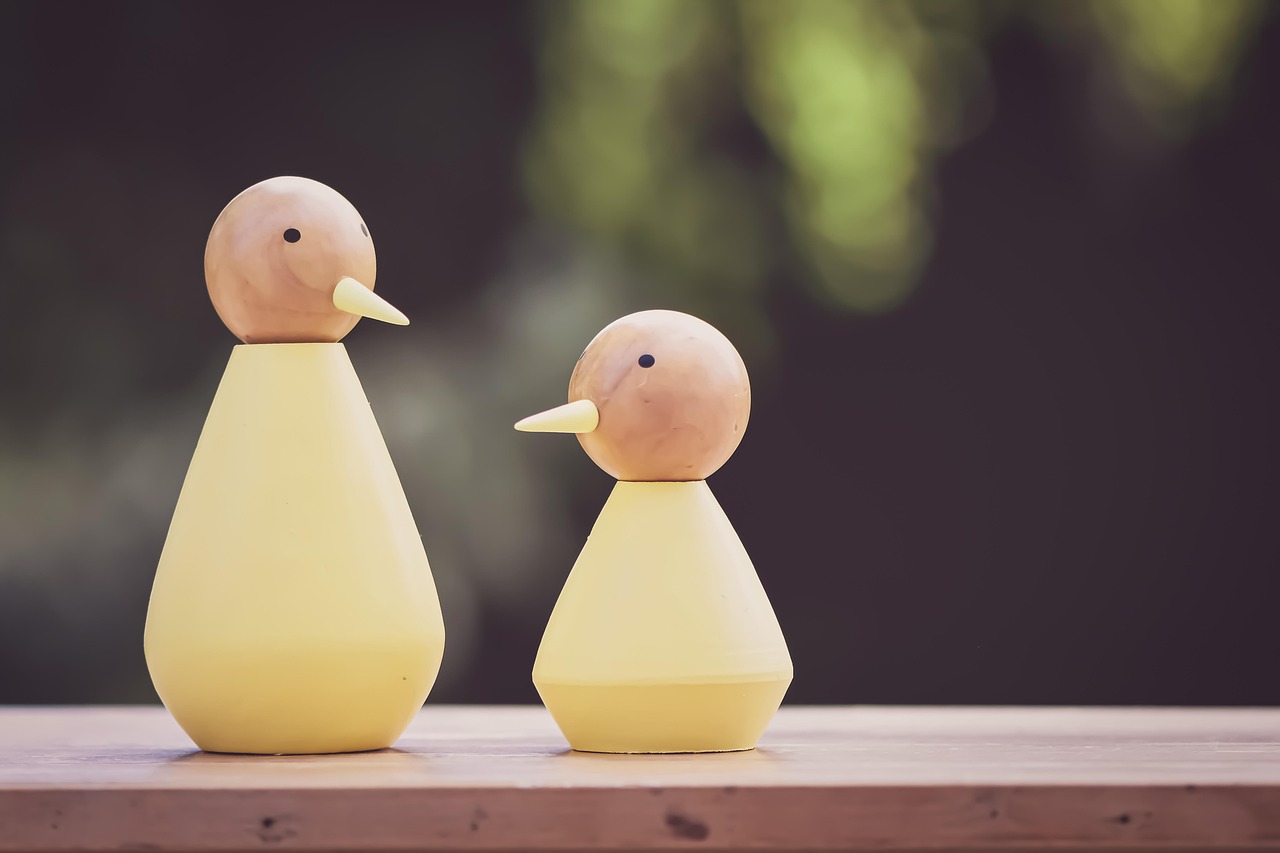
The 1991 tree also had a Noah’s Ark built by the White House staff, with animals marching in pairs. You can make a simple version with wooden peg birds and animals lined up two by two on a shelf or windowsill. Unfinished wood shapes from a craft store need only paint, a tiny beak or ears and a coat of clear sealer. Children love setting them out each morning. Pairs of painted animals also make charming handmade wooden Christmas gifts for little ones and grandparents alike.
You will need: Unfinished wooden peg shapes, acrylic paint, small paintbrushes, wood glue, toothpick beaks and clear sealer.
How to make it: 1. Paint the bodies in soft colors and let them dry. 2. Glue on beaks or ears and dot on eyes with a toothpick. 3. Seal them and set them out in matching pairs.
Barbara Bush Christmas Needlepoint Village
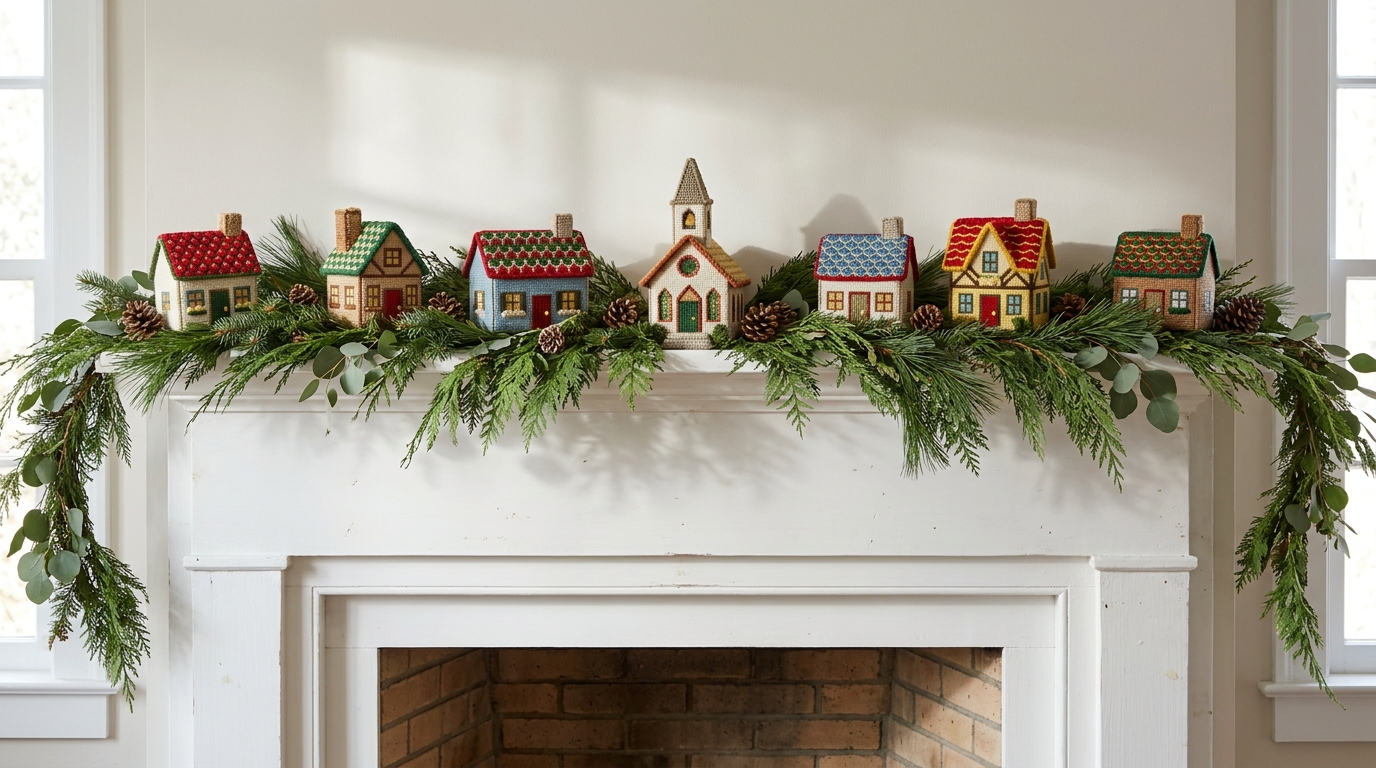
The most famous Barbara Bush Christmas tree may be the 1991 needlework tree. The Saintly Stitchers of St. Martin’s Episcopal Church in Houston stitched a needlepoint village and dozens of other pieces for it, as noted in this history of the White House Christmas tree. You can stitch a small row of houses and a church on plastic canvas and stand them on the mantel with fresh greenery. It is a slower project, but a handmade Christmas village like this becomes a family heirloom.
You will need: Plastic canvas, yarn in house colors, a plastic needle, scissors, fresh or faux garland and craft glue.
How to make it: 1. Cut four walls and two roof panels for each house. 2. Stitch windows, doors and roof patterns. 3. Whip stitch the panels together into box shapes and set them on the garland.
A Gingham Bow Ornament Bucket
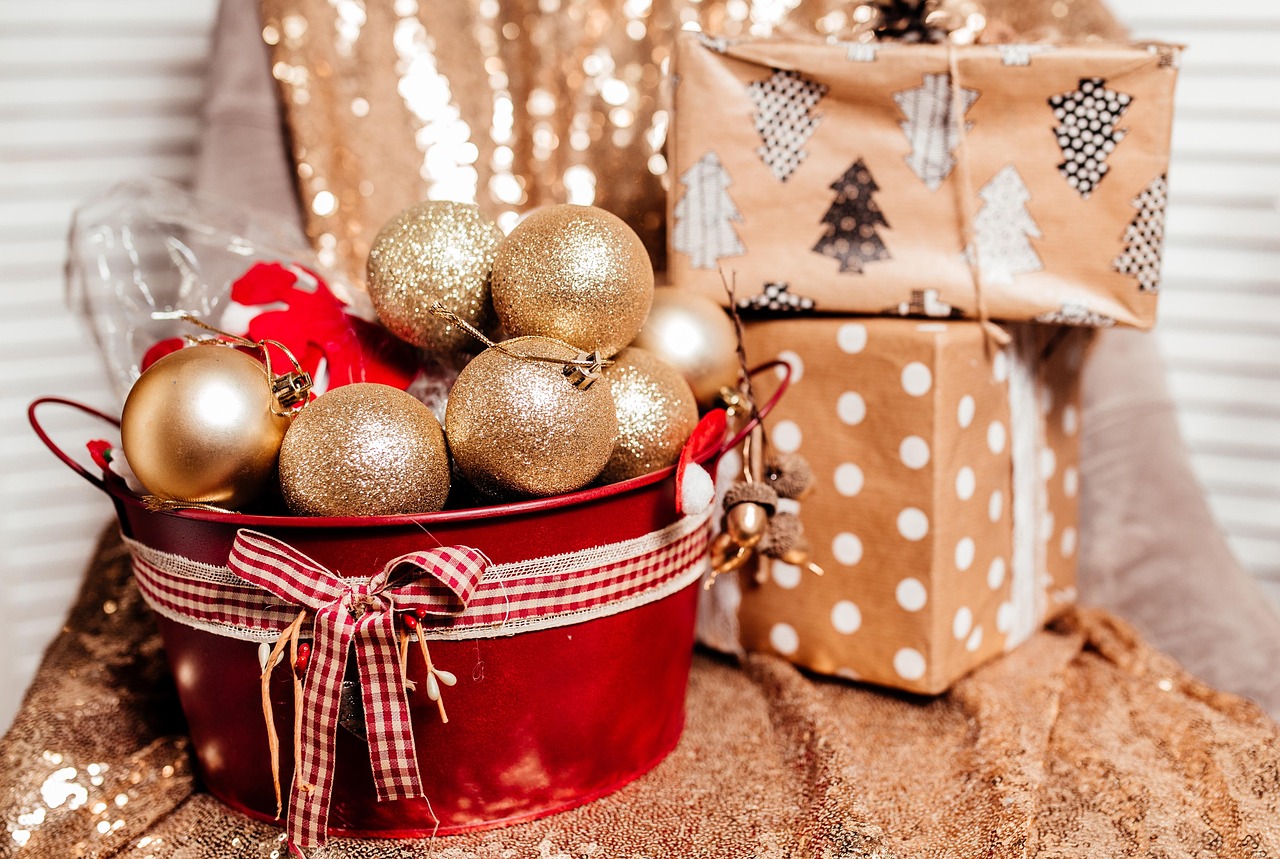
Part of the charm of these White House trees was how homey they felt, like a family parlor rather than a showroom. A painted metal bucket full of spare ornaments brings that same feeling to a side table or the floor beside the tree. Tie a big red gingham bow around the rim and tuck a few kraft paper packages next to it. Nothing needs to match. This relaxed cozy cottage style looks best when it is a little lived in, so fill the bucket with the ornaments your family already loves.
You will need: A small metal bucket, red spray paint or acrylic paint, red gingham ribbon, spare ornaments and a few wrapped gifts.
How to make it: 1. Paint the bucket red and let it dry completely. 2. Wrap gingham ribbon around the rim and tie a big bow. 3. Fill it with ornaments and set it beside the tree.
Barbara Bush Christmas Felt Gift Givers
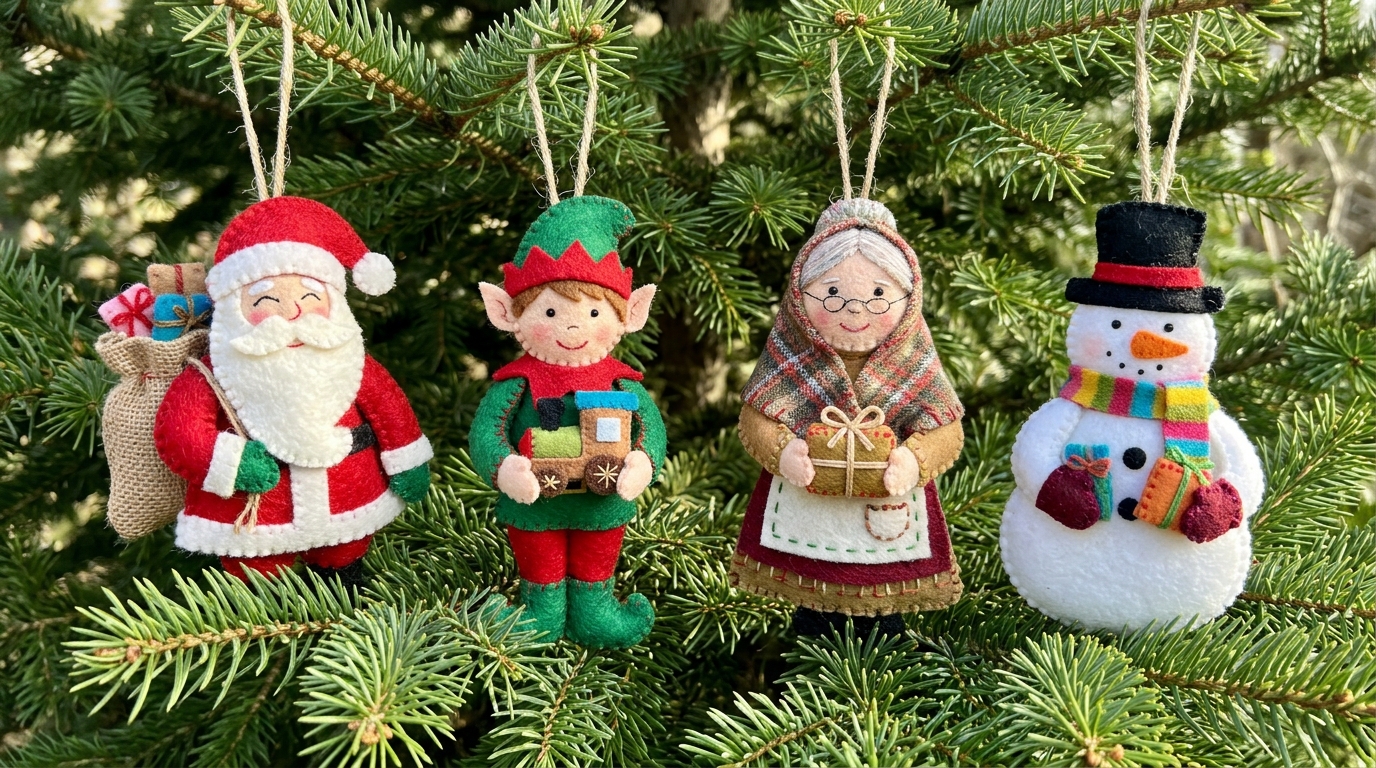
In 1992 the theme was gift givers, and White House florists created 88 characters who bring presents at Christmas. That idea translates beautifully into felt. Make a Santa with a sack, a toy maker elf, a grandmother holding a tiny parcel and a snowman with a gift in his mittens. A Barbara Bush Christmas tree filled with gift givers reminds everyone that the season is about sharing. These handmade felt ornaments are also a lovely project for a family craft night.
You will need: Felt in red, green, white, tan and plaid, embroidery floss, stuffing, tiny felt gift shapes and twine.
How to make it: 1. Cut each figure as a front and back from felt. 2. Add faces, clothes and a tiny felt gift with small stitches. 3. Stitch the edges, stuff lightly and add a twine loop.
Kraft Paper and Twine Gift Wrap
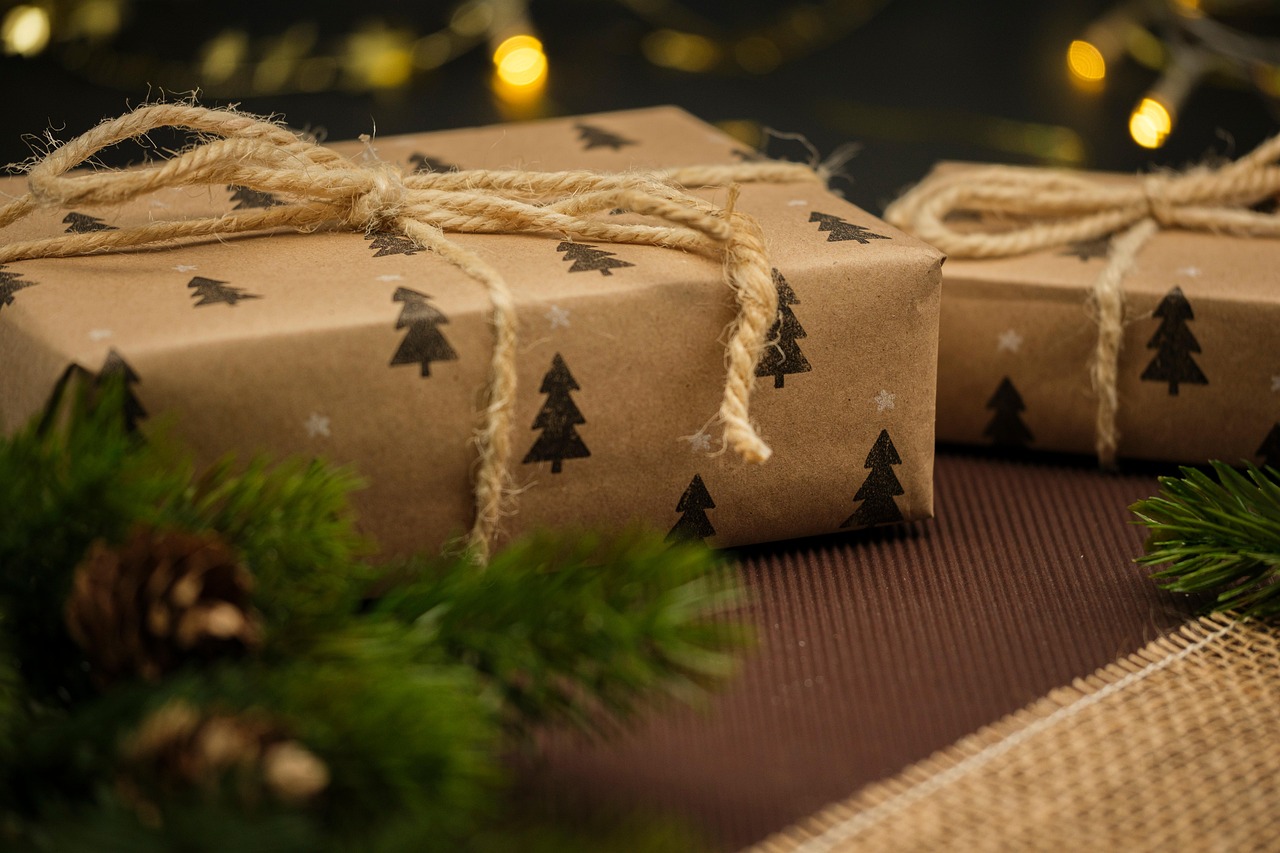
A gift giver tree looks best with simple, old fashioned packages underneath. Brown kraft paper costs very little and you can stamp it with tiny trees using a pencil eraser or a cut potato. Tie each box with jute twine and tuck in a sprig of greenery. The result looks handmade and calm, and it blends with felt and needlepoint ornaments much better than shiny paper. For more ideas on folds and bows, these simple gift wrapping tips help every package look neat.
You will need: Brown kraft paper, a tree rubber stamp or carved potato, ink or paint, jute twine, tape and greenery.
How to make it: 1. Stamp little trees across the paper and let them dry. 2. Wrap each box with neat folded ends. 3. Tie with jute twine and tuck in a sprig of pine.
Barbara Bush Christmas Nursery Rhyme Ornaments
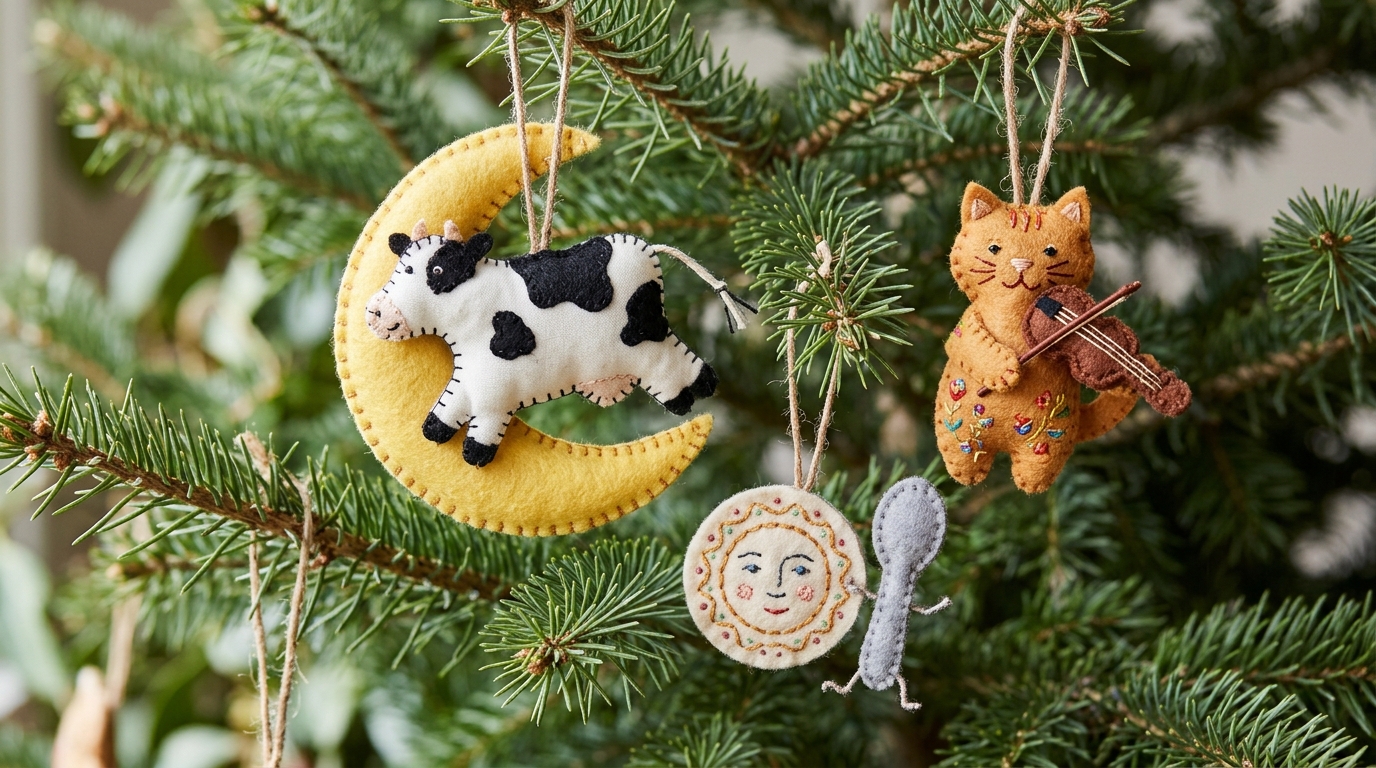
Nursery rhymes are the first stories many children hear, so they fit a Barbara Bush Christmas literacy tree perfectly. Hey Diddle Diddle is a favorite to stitch in felt: a cow jumping over a crescent moon, a cat with a fiddle, and the dish and spoon. Each piece is a small, flat ornament with a few embroidered details. Hang them together on one branch so they tell the rhyme in order. It is the kind of whimsical holiday decor that makes little ones stop and point.
You will need: Felt in yellow, white, black, orange and gray, embroidery floss, light stuffing and twine.
How to make it: 1. Cut the moon, cow, cat, dish and spoon from felt. 2. Add spots, faces and the fiddle with floss. 3. Stitch the edges, stuff lightly and hang them in rhyme order.
A Christmas Eve Read Aloud Hour

Barbara Bush spent years encouraging families to read together, and a read aloud hour on Christmas Eve is a lovely way to carry that on. Set out warm mugs, a soft blanket and one special picture book. Let a grandparent read, or take turns page by page. It costs nothing and becomes a memory children ask for every year. A new book with a handwritten note is also one of the most thoughtful gifts for grandma, since she can read it to the kids next year.
You will need: A favorite picture book, mugs, cocoa or tea, a soft knit blanket and a battery LED reading lamp.
How to make it: 1. Pick a book a few days early and wrap it. 2. Set up blankets and mugs after dinner. 3. Unwrap the book and read it aloud together.
Painted Storybook Star Tree Topper
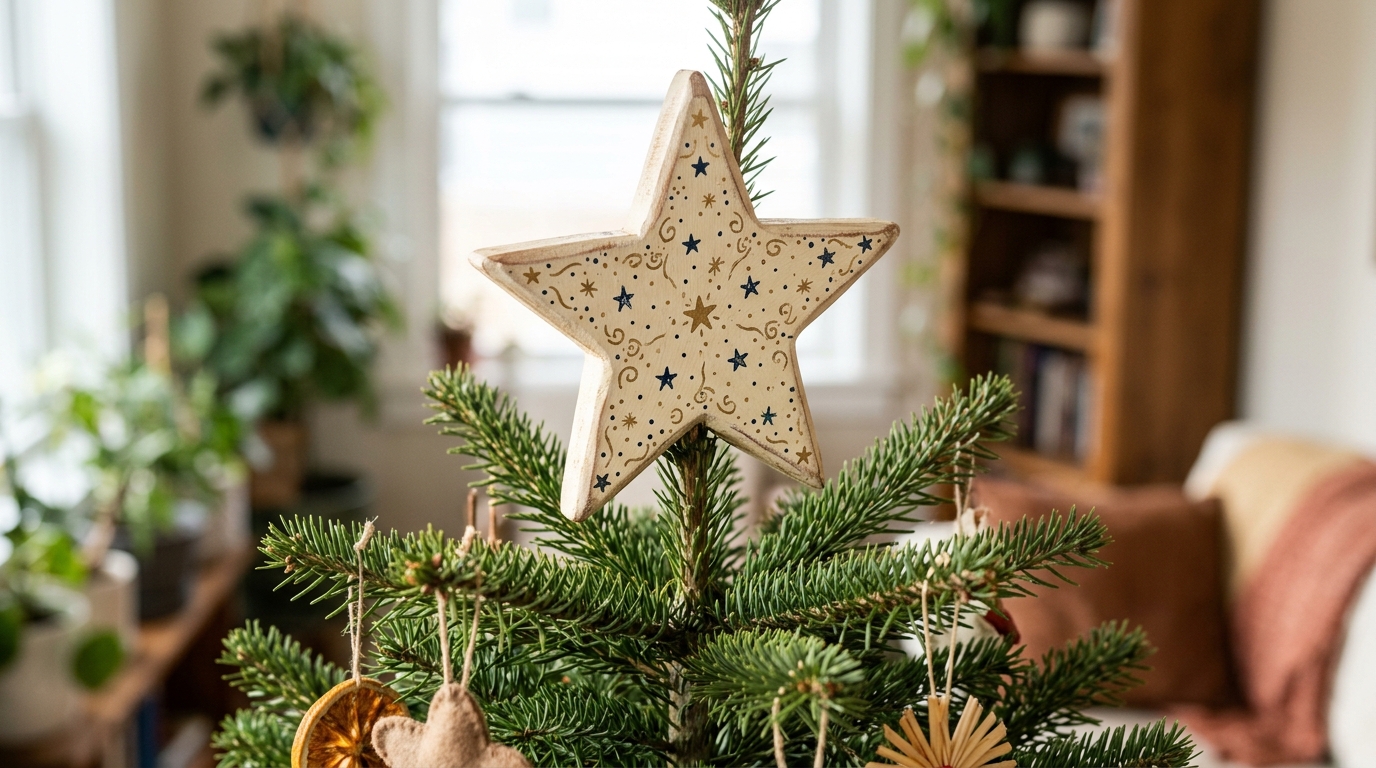
A storybook tree needs a topper that looks like it came from a picture book. Start with an unfinished wooden star, paint it cream and add tiny dark blue and gold stars with a fine brush or the end of a pencil. A few swirls and dots give it a fairy tale feel. Mounting is easy: glue a short cardboard tube to the back so it slides onto the top branch. Browse more Christmas tree topper ideas if you want a larger or lighter version.
You will need: An unfinished wooden star, cream, navy and gold acrylic paint, a fine brush, a cardboard tube and strong craft glue.
How to make it: 1. Paint the star cream and let it dry. 2. Add small stars, dots and swirls in navy and gold. 3. Glue a cardboard tube to the back and slide it onto the top branch.
Wooden Birdhouse Ornaments With Red Ribbon
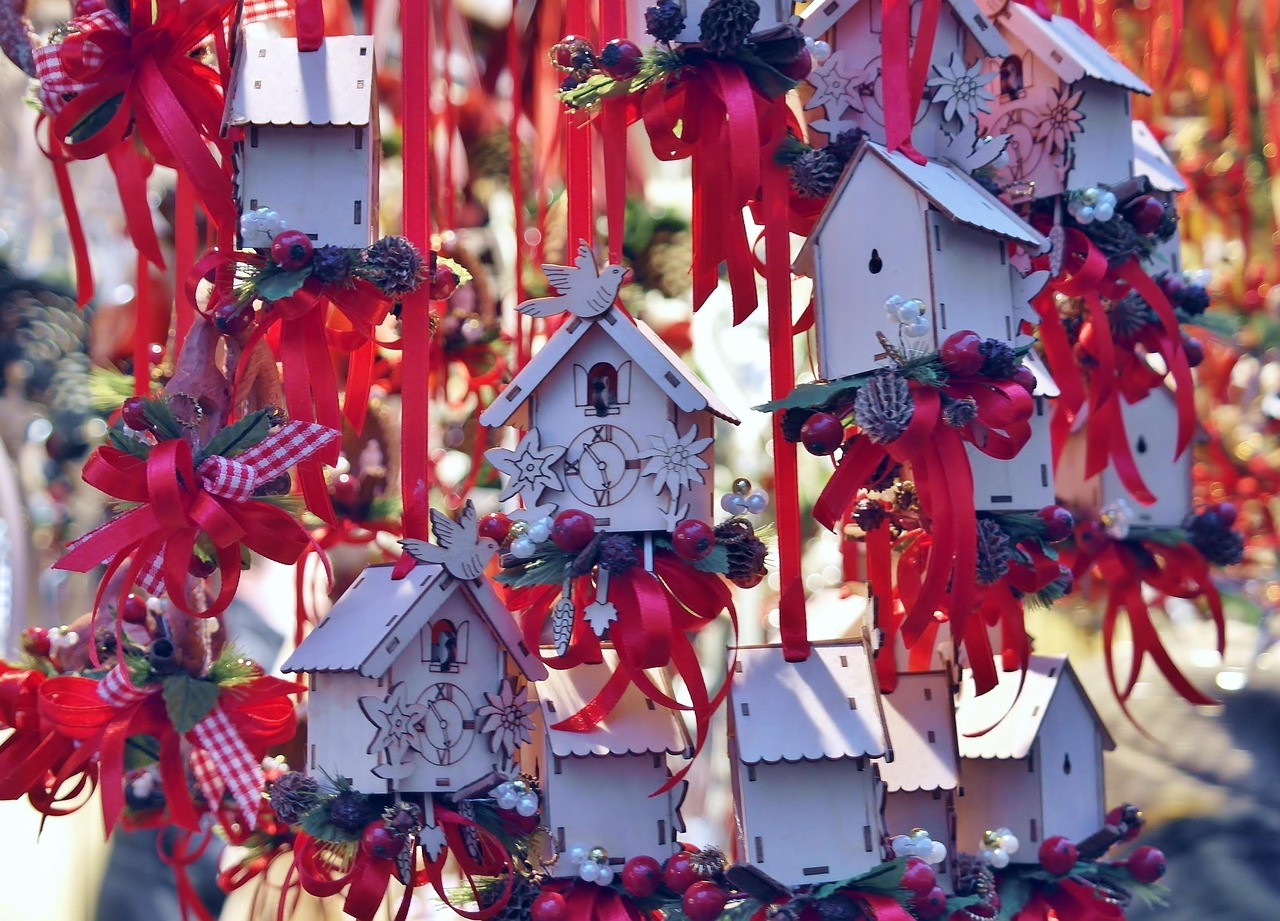
Little wooden birdhouses look like a tiny village hanging on the tree, a sweet echo of the stitched village from 1991. Buy plain craft birdhouses or build them from thin balsa sheets, paint them white and tie each one with a long red ribbon. Tuck a few faux berries and pine cones under the bows. They are light enough for small branches and pretty on a wreath too. If you like this look, you will enjoy more rustic wood crafts made from simple pieces.
You will need: Small wooden birdhouses, white acrylic paint, red satin ribbon, faux berries, mini pine cones and hot glue.
How to make it: 1. Paint the birdhouses white and let them dry. 2. Glue berries and a mini pine cone on each roof. 3. Tie a long red ribbon through the top for hanging.
Barbara Bush Christmas Cross Stitch Bookmarks
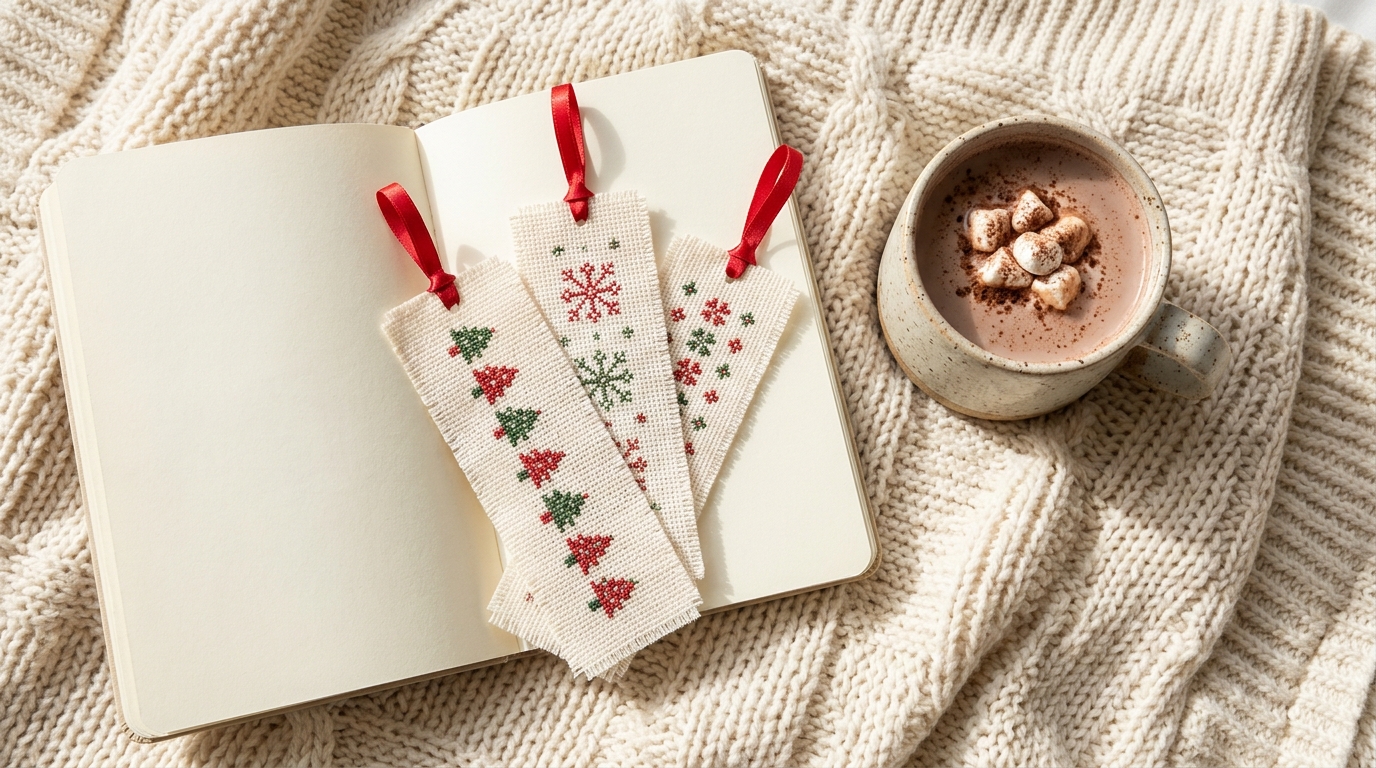
Bookmarks were made for a Barbara Bush Christmas, since they combine reading and handwork in one small gift. Cut strips of cross stitch fabric and stitch rows of tiny trees, snowflakes or hearts. Back each strip with felt so the stitches stay neat, and glue a loop of red satin ribbon at the top. Tuck one inside a new book or add it to a card. These quick hand embroidery tips can help you keep the back of your work tidy.
You will need: Cross stitch fabric strips, red and green floss, a tapestry needle, felt for backing, red satin ribbon and fabric glue.
How to make it: 1. Stitch a simple repeating pattern down the center of each strip. 2. Glue felt to the back and trim the edges. 3. Fold a ribbon loop and glue it to the top.
Needle Felted Snowmen for the Grandkids
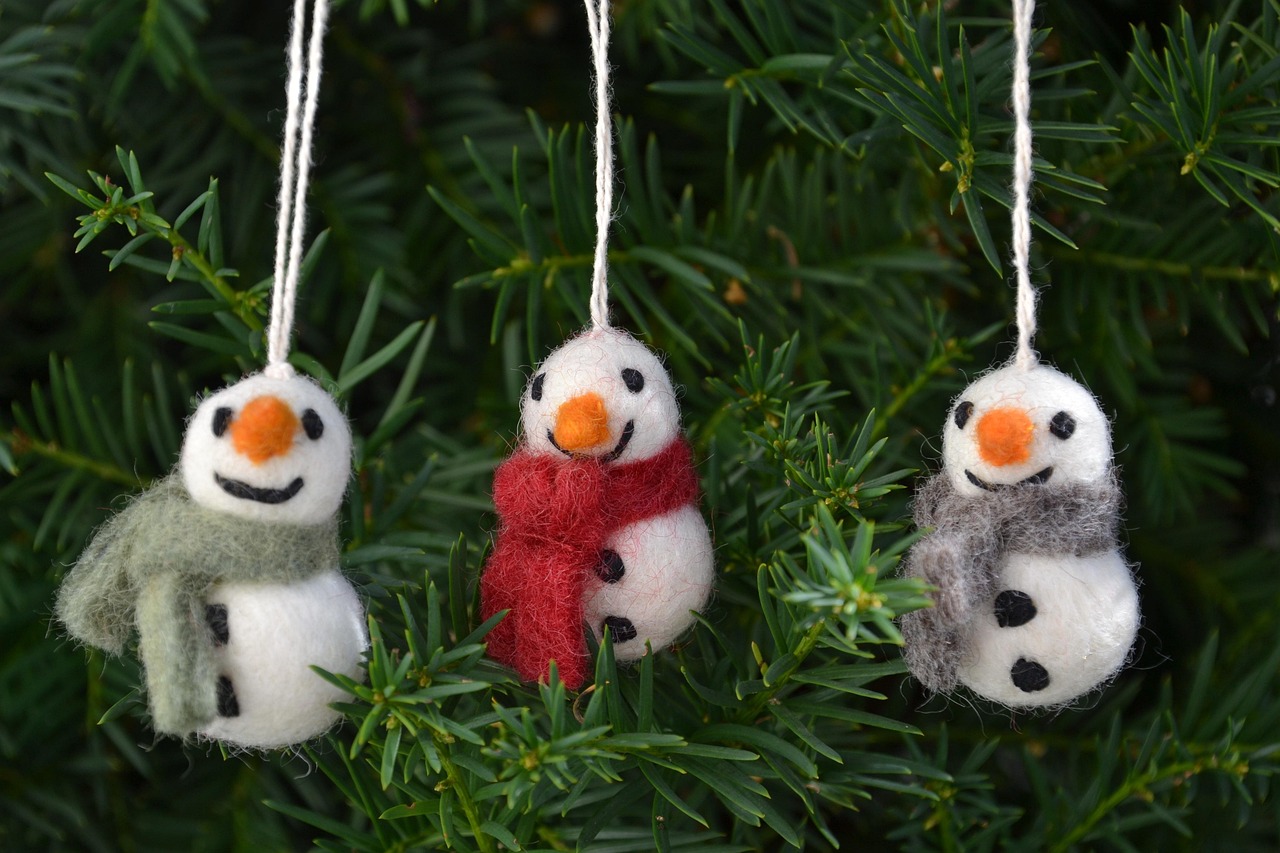
Handmade ornaments last, and that is part of this story. In 2003, the ornaments from the 1989 literacy tree came back out for another White House Christmas, as you can read about with Laura Bush’s own trees. Start your own family set with soft wool snowmen in knit scarves, one for each grandchild. Wool roving shapes easily into round bodies, and a felting needle firms them up. Let older kids pick the scarf colors. Years from now, these simple pieces will be the ones everyone looks for first.
You will need: White wool roving, a felting needle, a foam pad, orange and black wool bits, small pieces of knit fabric and baker’s twine.
How to make it: 1. Roll and poke two wool bodies until firm, then join them. 2. Felt on a carrot nose and black eyes and buttons. 3. Tie on a knit scarf and add a twine loop for hanging.