Things Invented by Kids: 16 Genius Ideas You Can Make at Home This Weekend
Some of the best things invented by kids started with a cold drink, chilly ears or a simple wish to swim faster. Young minds do not worry about rules. They see a problem, try an idea and keep going until it works. That is why so many smart, everyday things were invented by kids who were only 10, 11 or 15 years old. In this gallery you will meet a few of those young inventors and make your own version of what they dreamed up. You will also find easy invention crafts that use cardboard, craft sticks, socks and other things you already have at home. Every project is simple, low cost and great for a weekend with the kids or grandkids. Grab a box of supplies and let the little inventors in your home take the lead..
Fruit Juice Popsicles, the Sweetest of All Things Invented by Kids
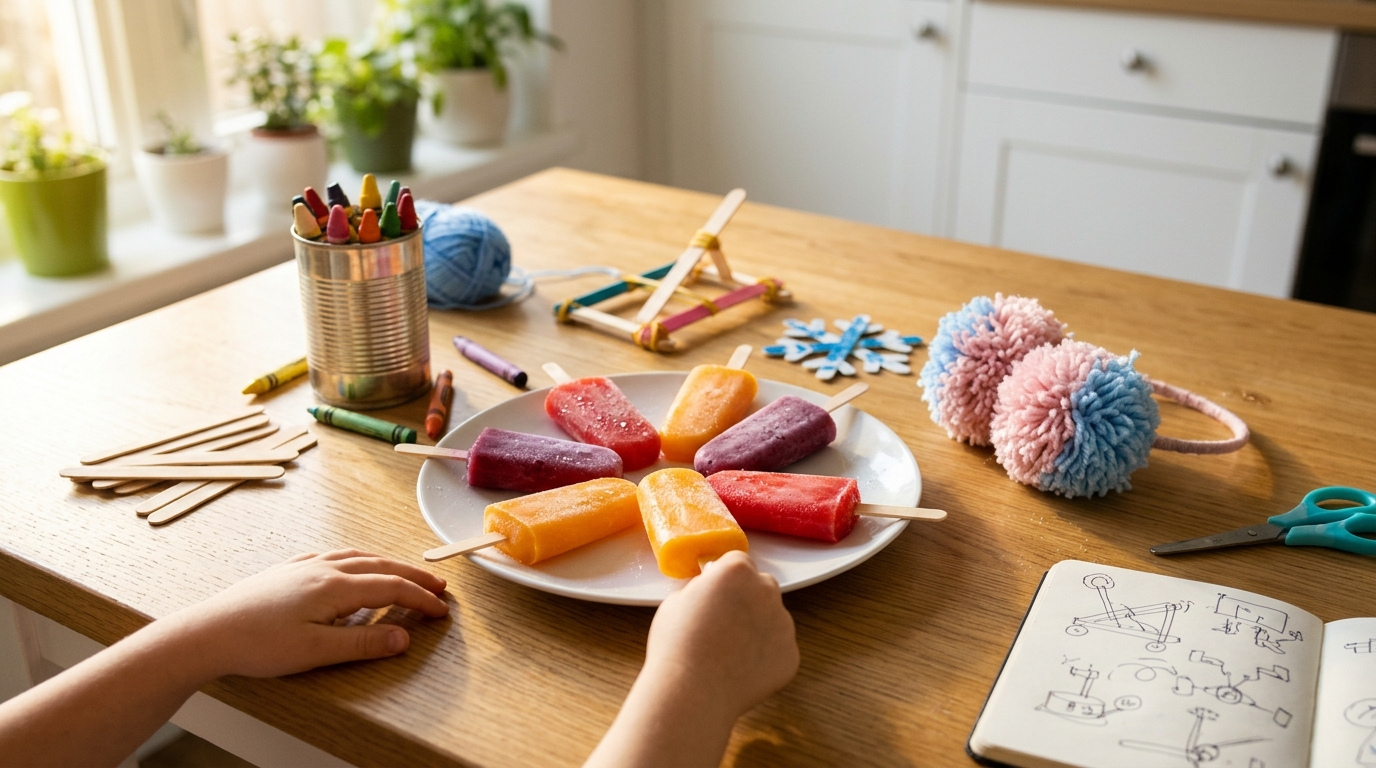
Frank Epperson said he first made an ice pop in 1905, when he was just 11 years old. As the story goes, he left a drink with a stirring stick outside on a cold night, and by morning it had frozen solid. You can read more in the history of the ice pop. Today kids can make the same treat with real fruit juice and a few paper cups. It is a sweet way to show them that one happy accident can change the world..
You will need: 100 percent fruit juice, small paper cups or ice pop molds, wooden craft sticks, foil, a tray.
How to make it: 1. Pour juice into the cups until they are about three quarters full. 2. Cover each cup with foil and push a stick through the middle so it stands up straight. 3. Freeze for at least six hours, then peel off the cup and enjoy.
Pom Pom Earmuffs, One of the Coziest Things Invented by Kids
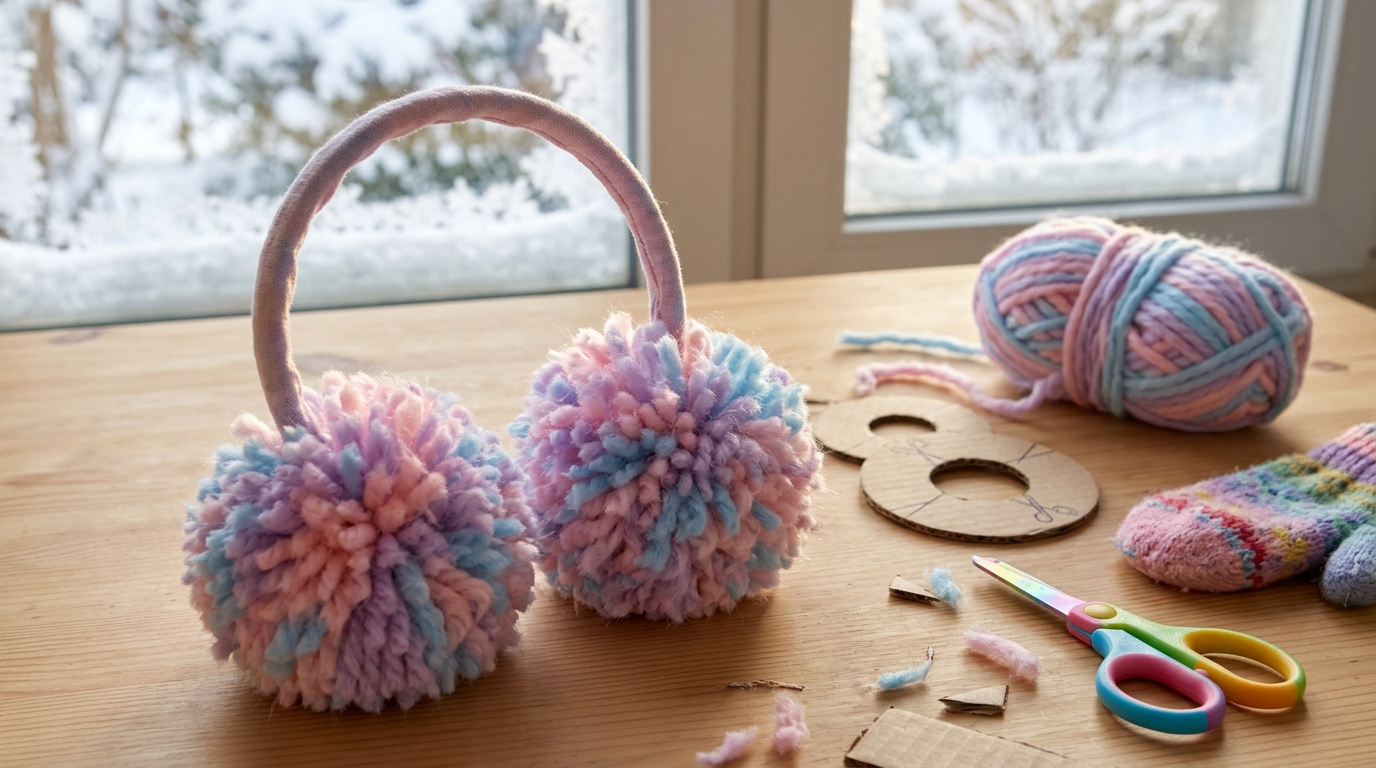
In 1873, a 15 year old boy named Chester Greenwood went ice skating in Maine and his ears got painfully cold. So he bent some wire into loops and asked his grandmother to sew fur and fabric onto them. That idea became earmuffs, and he later started a whole business making them. Your kids can make a soft, cheerful version with yarn pom poms and a plain headband. Who in your family needs a warm pair before the first snow?
You will need: a plain padded headband, yarn in two or three colors, a pom pom maker or cardboard ring, scissors, fabric glue or a hot glue gun (adult help).
How to make it: 1. Wrap yarn thickly around the pom pom maker and tie it tight in the middle. 2. Cut the loops, fluff the ball and trim it round. Make two big pom poms. 3. An adult glues one pom pom to each end of the headband. Let it dry before wearing.
Wooden Swim Paddles: Things Invented by Kids Like Ben Franklin
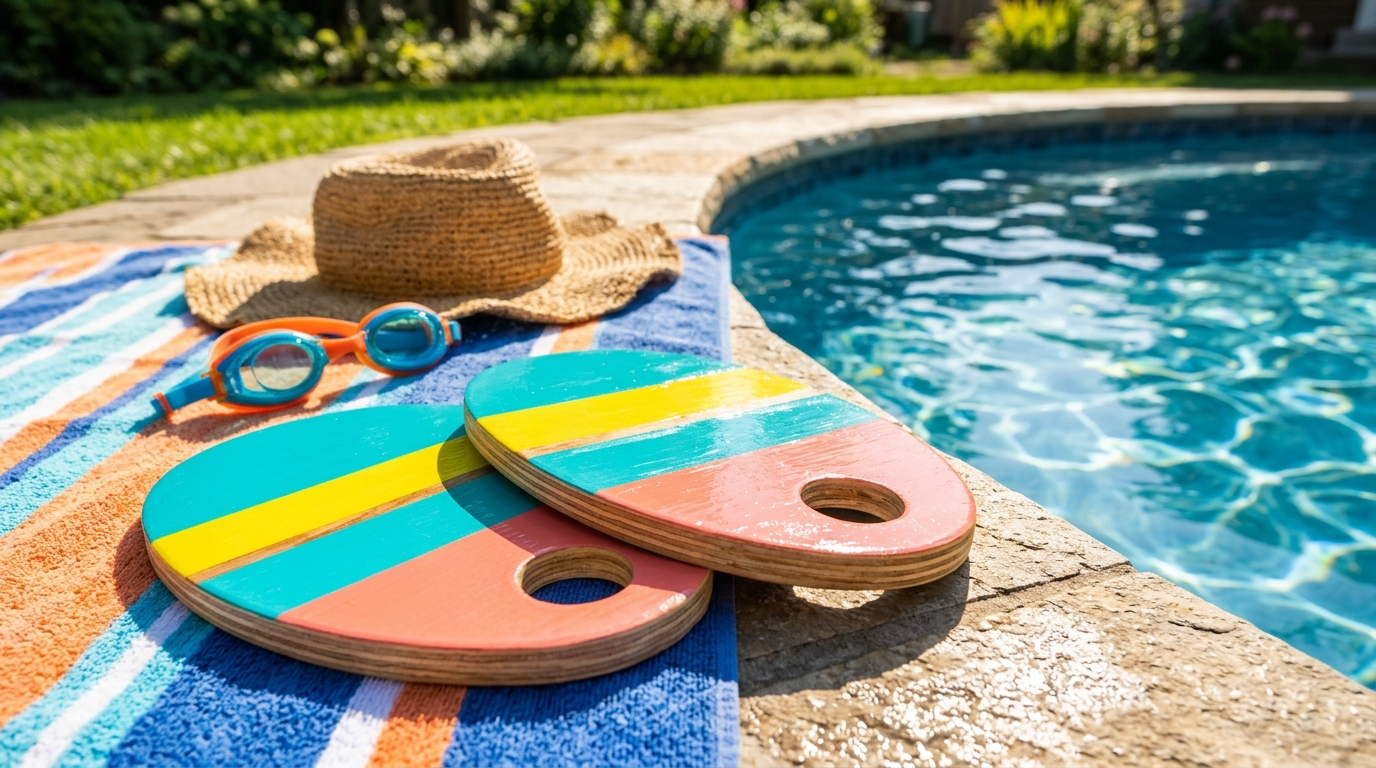
Ben Franklin loved to swim, and when he was about 11 he wanted to go faster. He made two oval wooden paddles with a hole for his thumb and held them in his hands while he swam. Many people call them some of the first swim fins. Kids can make a bright painted pair to hang in a pool room or try in a shallow kiddie pool with an adult watching. Which colors would your little swimmer pick?
You will need: thin plywood, a pencil, a jigsaw (adults only), sandpaper, outdoor acrylic paint, waterproof sealer.
How to make it: 1. Trace a hand size oval with a thumb hole and let an adult cut it out. 2. Sand all the edges until smooth, then paint bright stripes or dots. 3. Seal with two coats of waterproof sealer and let it dry for a full day.
Puffy Paint Dot Cards: Things Invented by Kids That Changed Lives
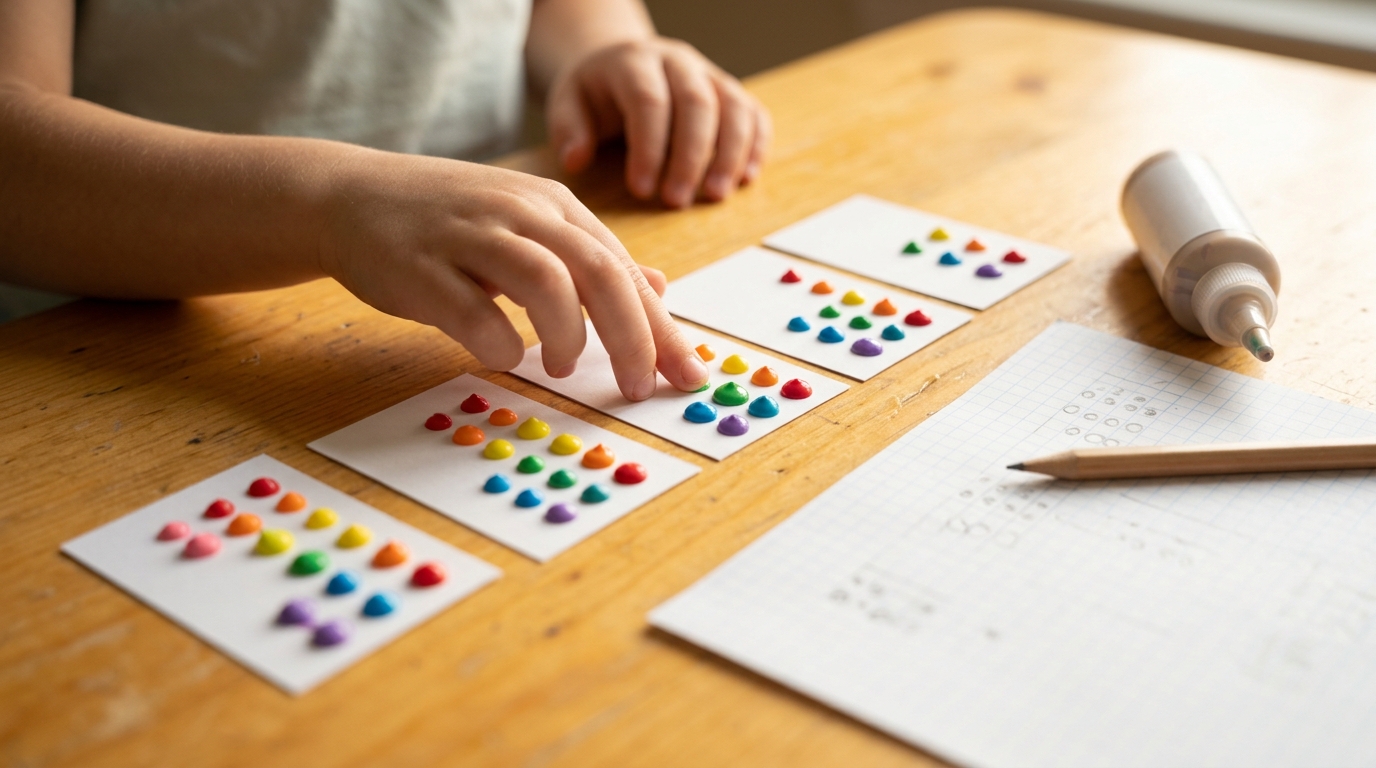
Louis Braille lost his sight as a young boy, and by age 15 he had created a reading system made of raised dots. Each letter is a small cell of up to six dots that you feel with your fingertips. His idea is still used by people all over the world today. Making name cards with puffy paint dots is a gentle way to teach kids about his work and about kindness. Can your child find their name with their eyes closed?
You will need: white card stock, a printed braille alphabet chart, puffy fabric paint, a pencil, a ruler.
How to make it: 1. Look up each letter of your child’s name on a braille chart. 2. Lightly mark the dot spots on the card in pencil, two across and three down for each letter. 3. Squeeze a small raised dot of puffy paint on each mark and let it dry overnight before touching.
Fleece Wrist Warmers, Things Invented by Kids for Snow Days
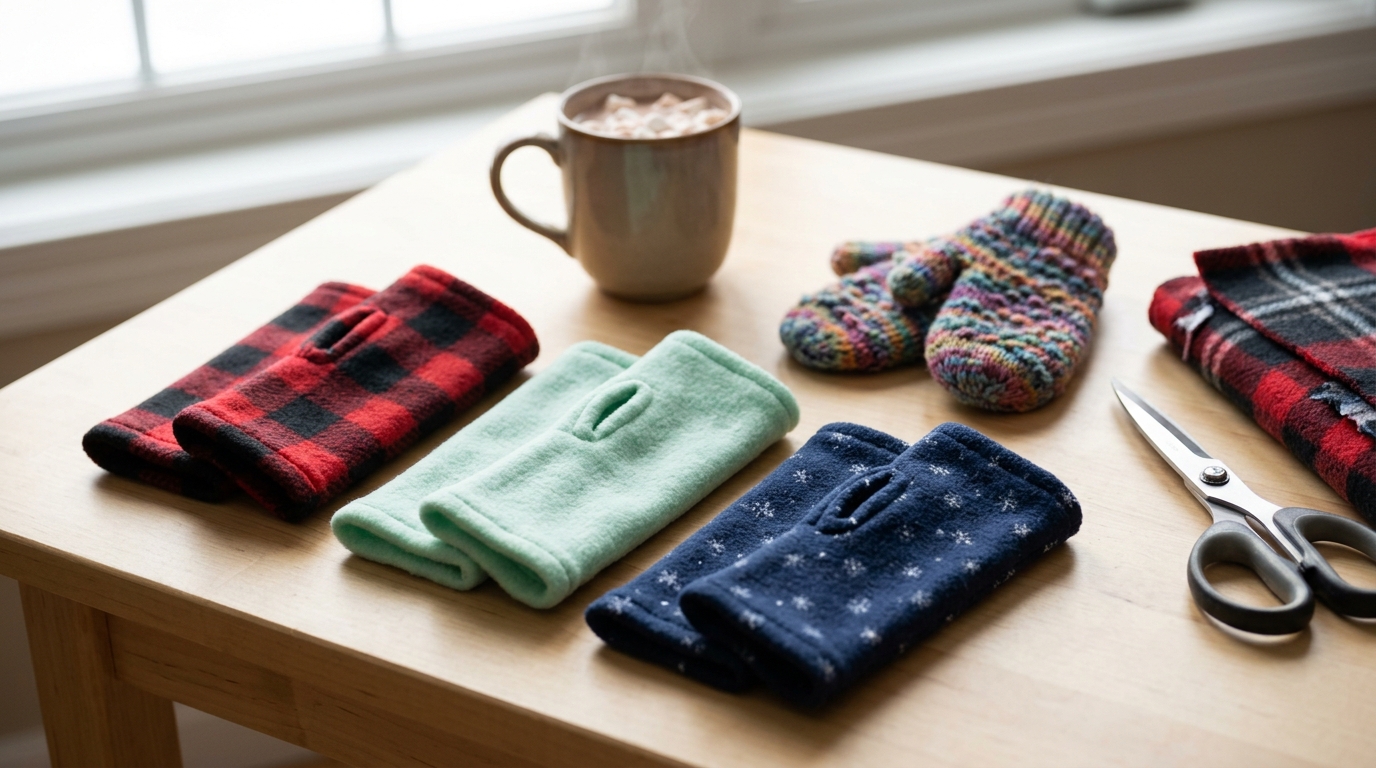
Kaitlin Hall was only 10 when she got tired of snow sneaking into the gap between her mittens and her coat sleeves. Her answer was a simple fleece tube with a thumb hole, which she called Wristies. It went on to become a real product that families still buy. Fleece does not fray, so this is a great no sew project for kids. Make a pair in every favorite color for the whole family. Who will wear the first pair?
You will need: soft fleece fabric, a ruler, fabric scissors, fabric glue, fabric clips.
How to make it: 1. Cut a rectangle about 7 by 8 inches for each wrist. 2. Fold it in half the long way and glue the edge, leaving a small gap near the top for the thumb. 3. Clip it closed, let the glue dry fully and turn it right side out.
Craft Stick Catapult for Little Engineers
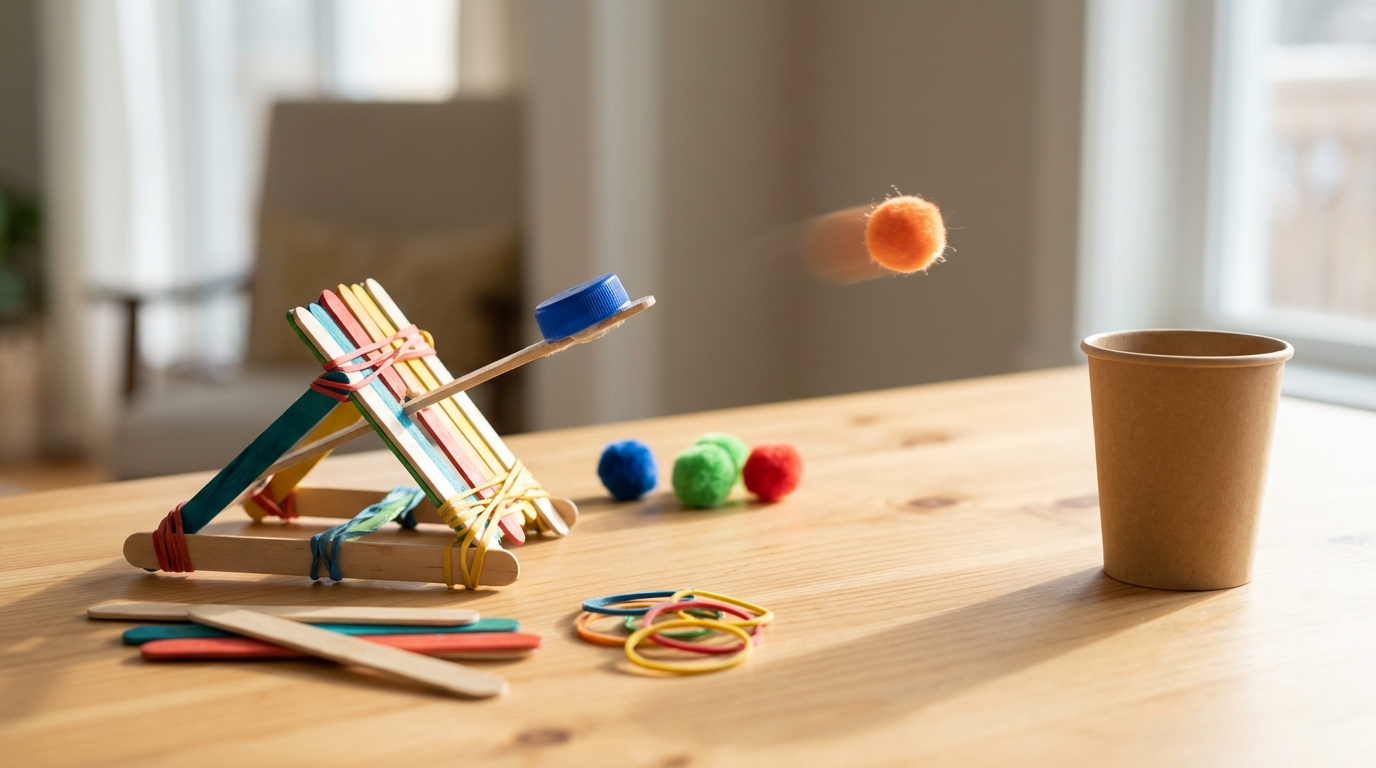
Real inventors test, fail and try again, and a tiny catapult is the perfect way to practice. Some of the coolest things invented by kids came from this kind of play. Kids can change the number of sticks, move the rubber bands or pull the arm back farther, then see how far their pom pom flies. Set up paper cups as targets and keep score. Just remind everyone to aim at cups, never at people or pets. How far can yours launch?
You will need: 9 jumbo craft sticks, 5 rubber bands, a plastic bottle cap, craft glue, pom poms, paper cups.
How to make it: 1. Stack 7 sticks and wrap a rubber band tightly around each end. 2. Stack 2 sticks, band one end, then slide the big stack between them to make a cross. 3. Glue the bottle cap to the top stick, add a pom pom, press down and let go.
Cardboard Tube Marble Run
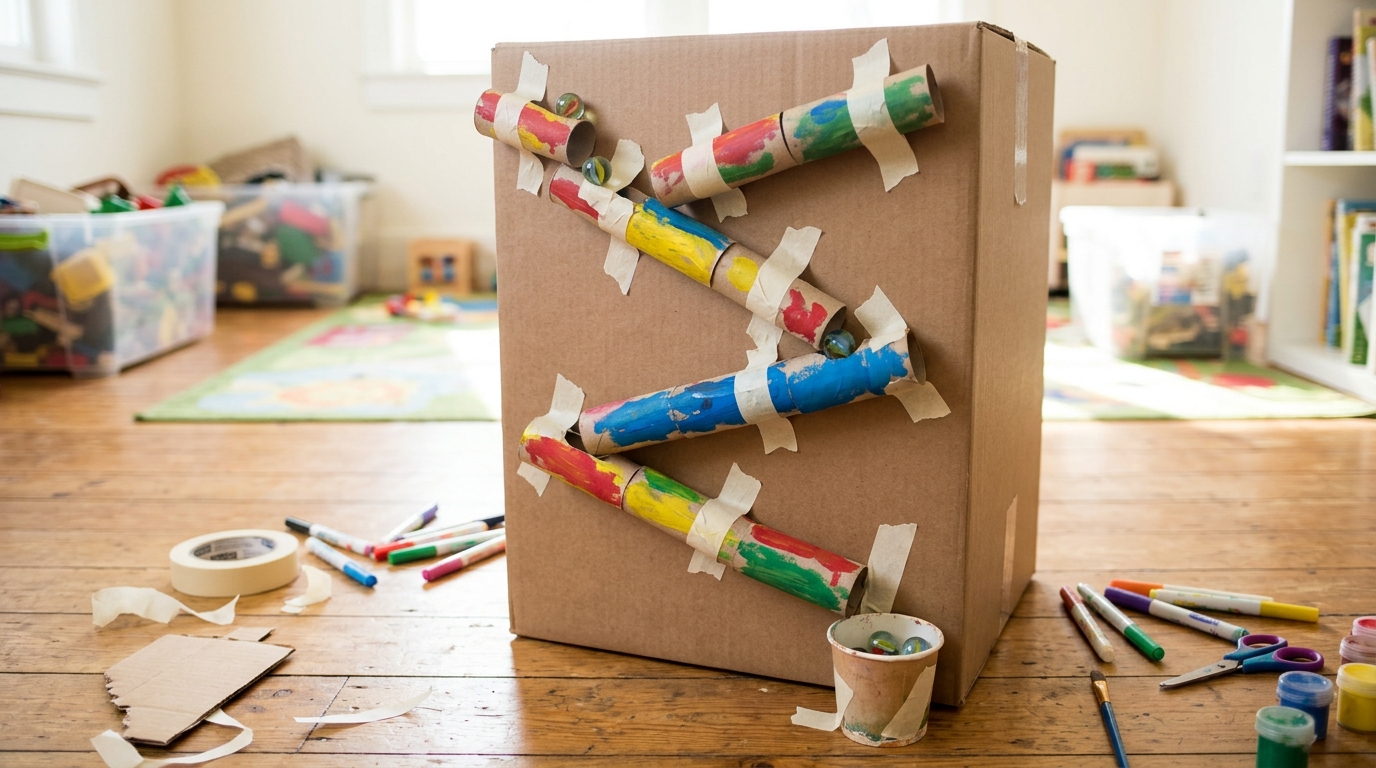
Every great inventor starts with a box of junk and a big idea. A marble run made from paper towel tubes teaches kids about slopes, speed and gravity, and they never want to stop tweaking it. Tape a tube too flat and the marble stops. Make it too steep and it flies off. That trial and error is exactly how real inventions get better, including many things invented by kids. Marbles are a choking risk, so keep this one away from toddlers. Ready to build the longest run on the block?
You will need: a large cardboard box, paper towel and toilet paper tubes, masking tape, acrylic paint, marbles, a paper cup, a craft knife (adults only).
How to make it: 1. An adult cuts the tubes in half the long way to make open chutes. 2. Paint them bright colors and let them dry. 3. Tape the chutes down the box in a zigzag, each one a little lower, and put a cup at the bottom.
Paper Towel Tube Kaleidoscope
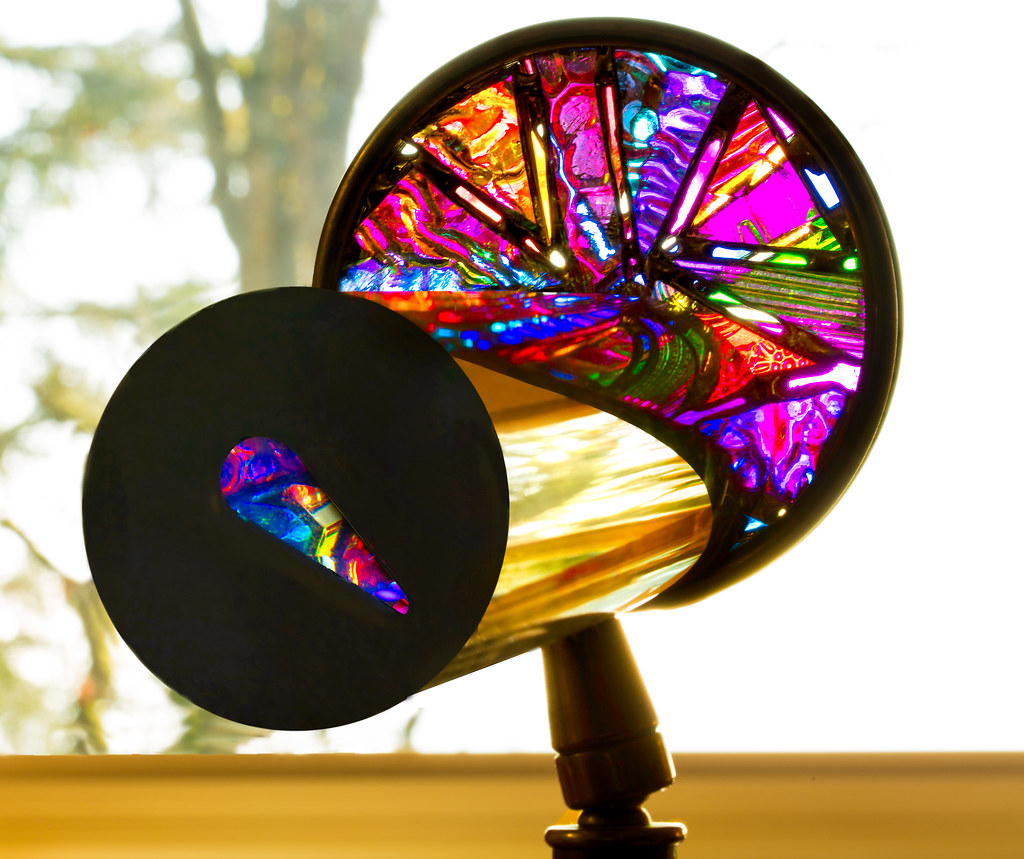
Kids have always loved turning ordinary things into something magical, and a kaleidoscope is pure magic in a tube. When light passes through colored beads and bounces between shiny strips, it makes patterns that never repeat. This homemade version uses a paper towel tube and mirror card instead of glass, so it is safe for small hands. It is a wonderful way to show kids that science can be beautiful. What patterns will your child discover?
You will need: a paper towel tube, mirror card or shiny silver card stock, clear plastic from food packaging, small colorful beads, plastic wrap, tape, stickers.
How to make it: 1. Fold a strip of mirror card into a long triangle and slide it inside the tube. 2. Tape clear plastic over one end, add the beads and seal them in with plastic wrap. 3. Cover the other end with paper, poke a small peep hole and decorate the outside.
Paper Airplane Launcher

Paper airplanes are one of the first things many kids design all on their own. A simple rubber band launcher takes it a step further and turns folding into real testing. Kids can try new wing shapes and see which one flies the farthest. Fly them outside in an open space and away from faces. It is easy, cheap and fun for every age. Which plane will win your family contest?
You will need: printer paper, a paper clip, a rubber band, a craft stick, tape, markers.
How to make it: 1. Fold your favorite paper airplane and tape a paper clip under the nose to make a hook. 2. Loop a rubber band over the end of a craft stick and tape it in place. 3. Hook the plane on the band, pull back gently and let it soar.
Recycled Bottle Bird Feeder
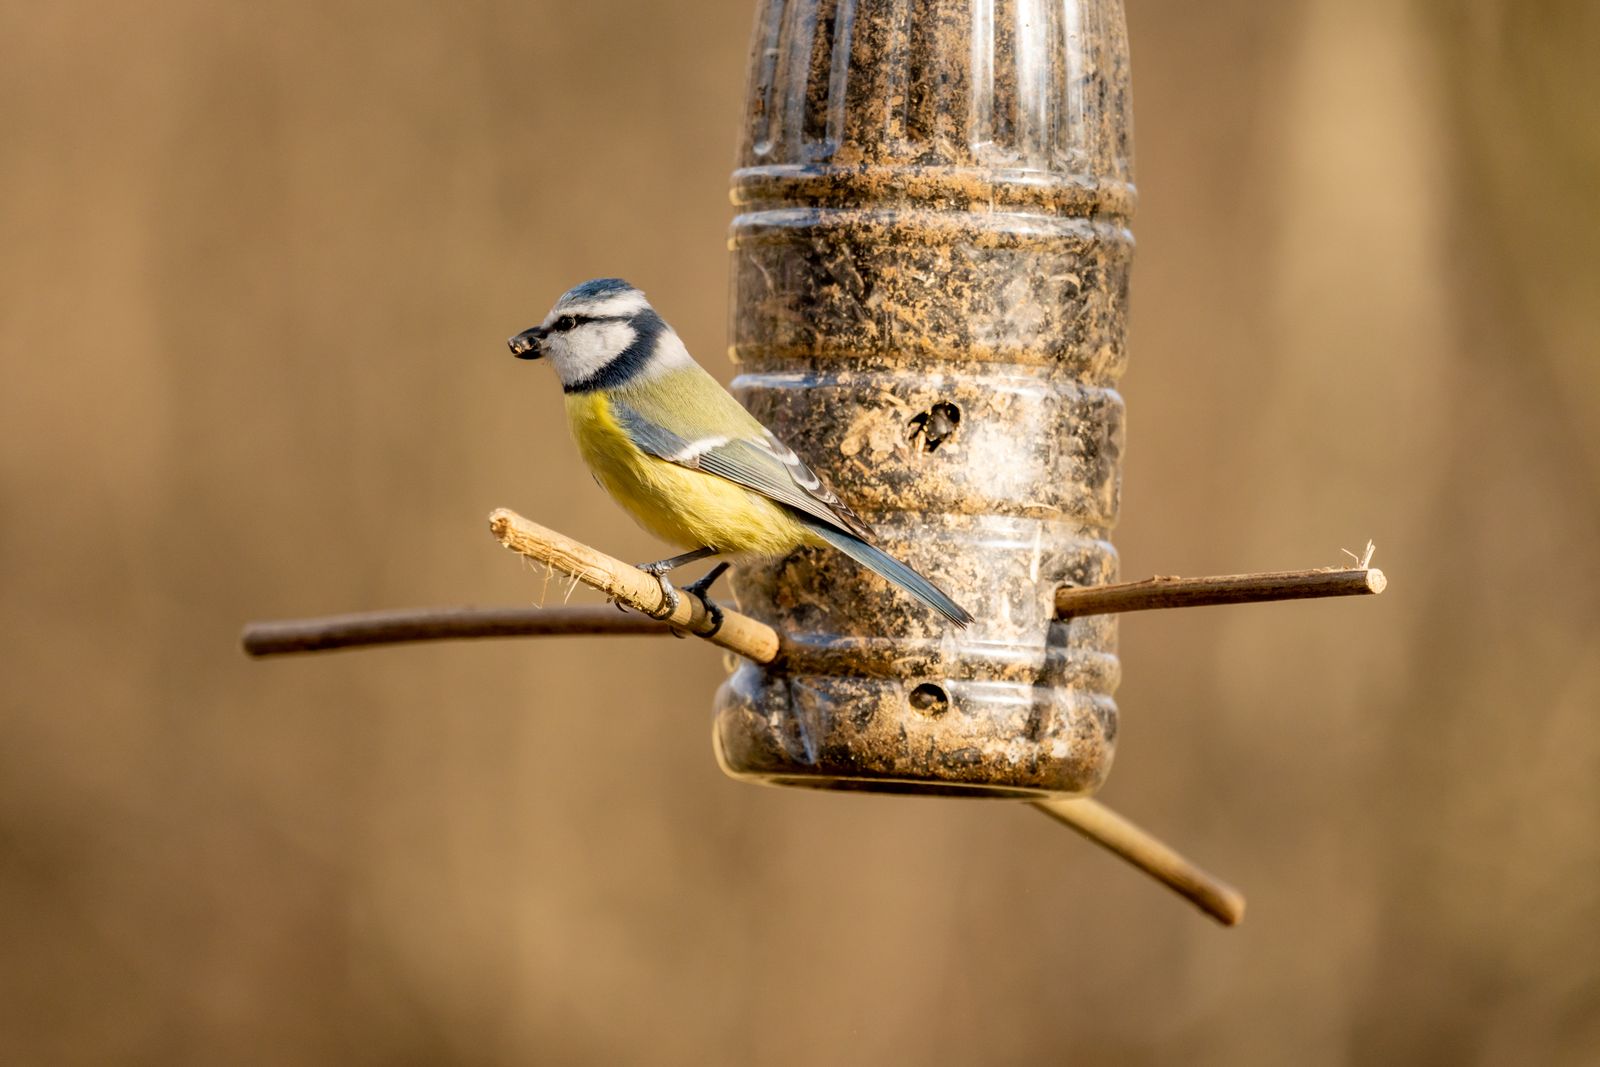
Many things invented by kids come from wanting to help, whether it is a pet, a friend or the birds in the backyard. A bottle bird feeder gives an empty plastic bottle a happy new job. Kids love checking each morning to see who came for breakfast. It is also a sweet way to talk about recycling and caring for nature. Hang it near a window so everyone can watch. What birds visit your yard?
You will need: a clean plastic bottle with a cap, two wooden spoons or sticks, birdseed, string, a craft knife (adults only).
How to make it: 1. An adult cuts two small holes on opposite sides of the bottle and pushes a spoon or stick through. 2. Cut a slightly larger hole above each perch so seed can spill out. 3. Fill with birdseed, screw the cap on and hang it from a sturdy branch.
No-Sew Sock Puppet
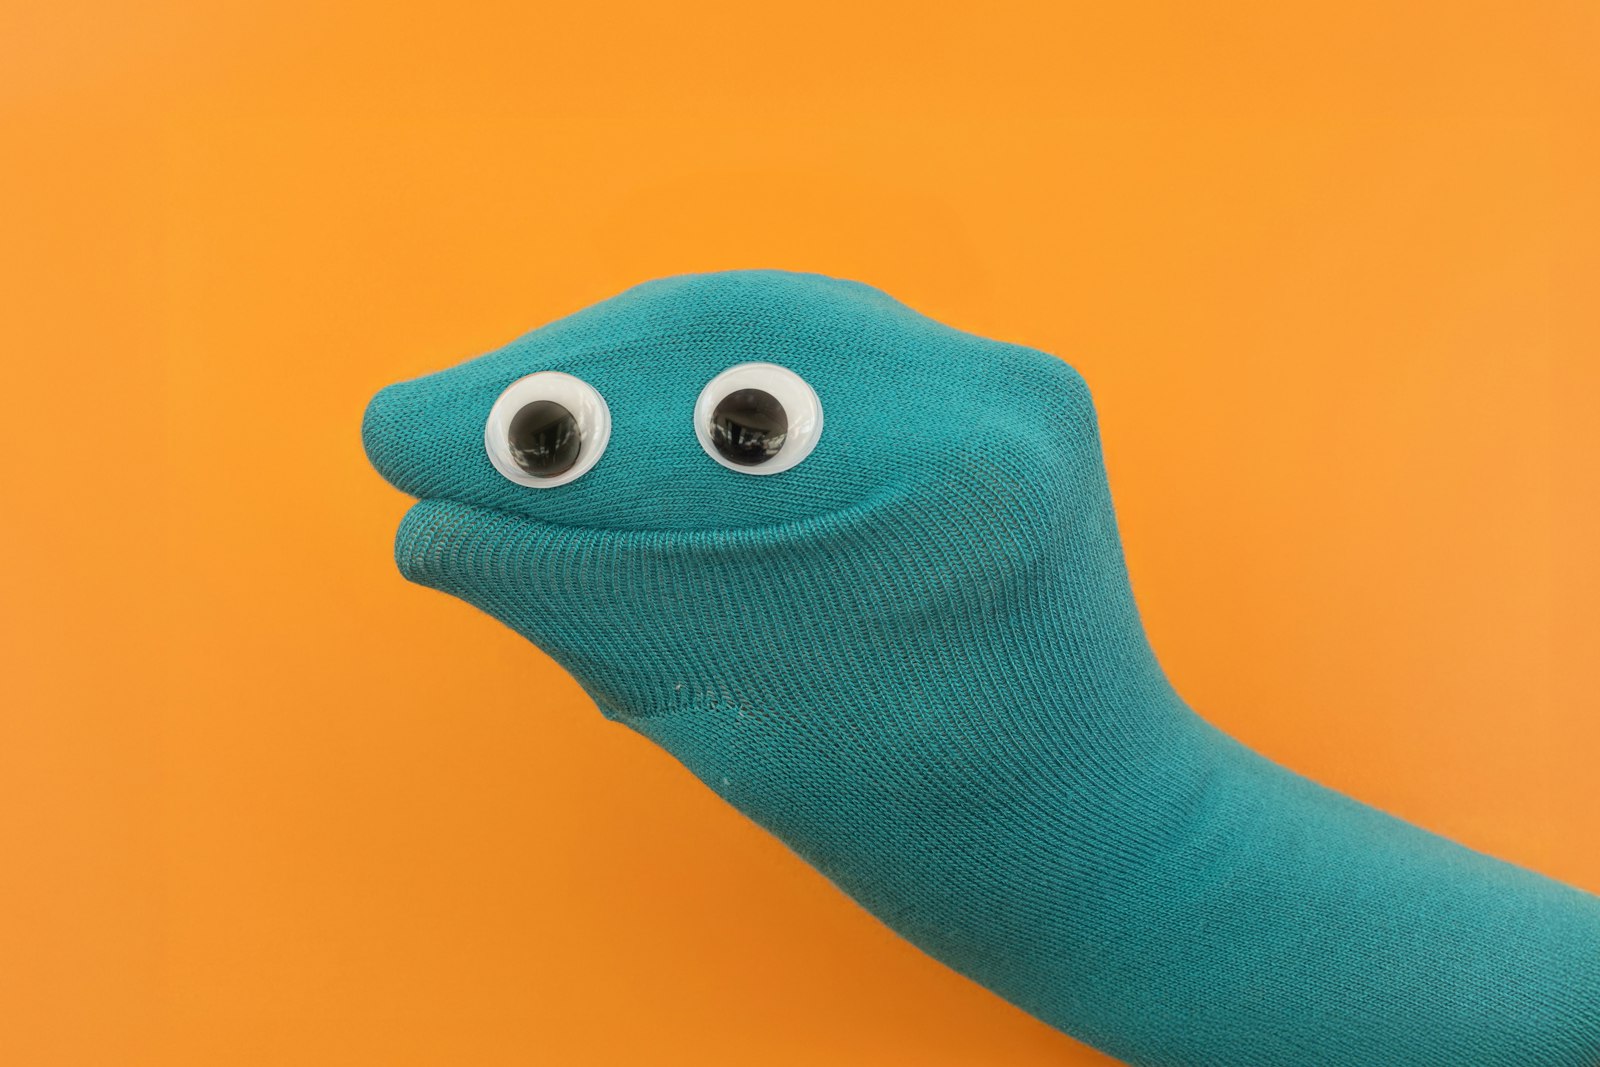
Lots of great ideas begin with a lonely sock that lost its partner. Turning it into a puppet gives kids a new friend and a stage for big imaginations. Many young inventors and storytellers practiced by putting on little shows for their families. Use googly eyes, felt and yarn to give each puppet its own personality. No needle or thread is needed. Who will star in your first puppet show?
You will need: a clean sock, googly eyes, felt scraps, yarn, fabric glue, scissors.
How to make it: 1. Slide the sock on your hand and mark where the eyes and mouth should go. 2. Glue on googly eyes, a felt tongue and yarn hair. 3. Let it dry flat for a few hours, then put on a show.
Tin Can Crayon Caddy
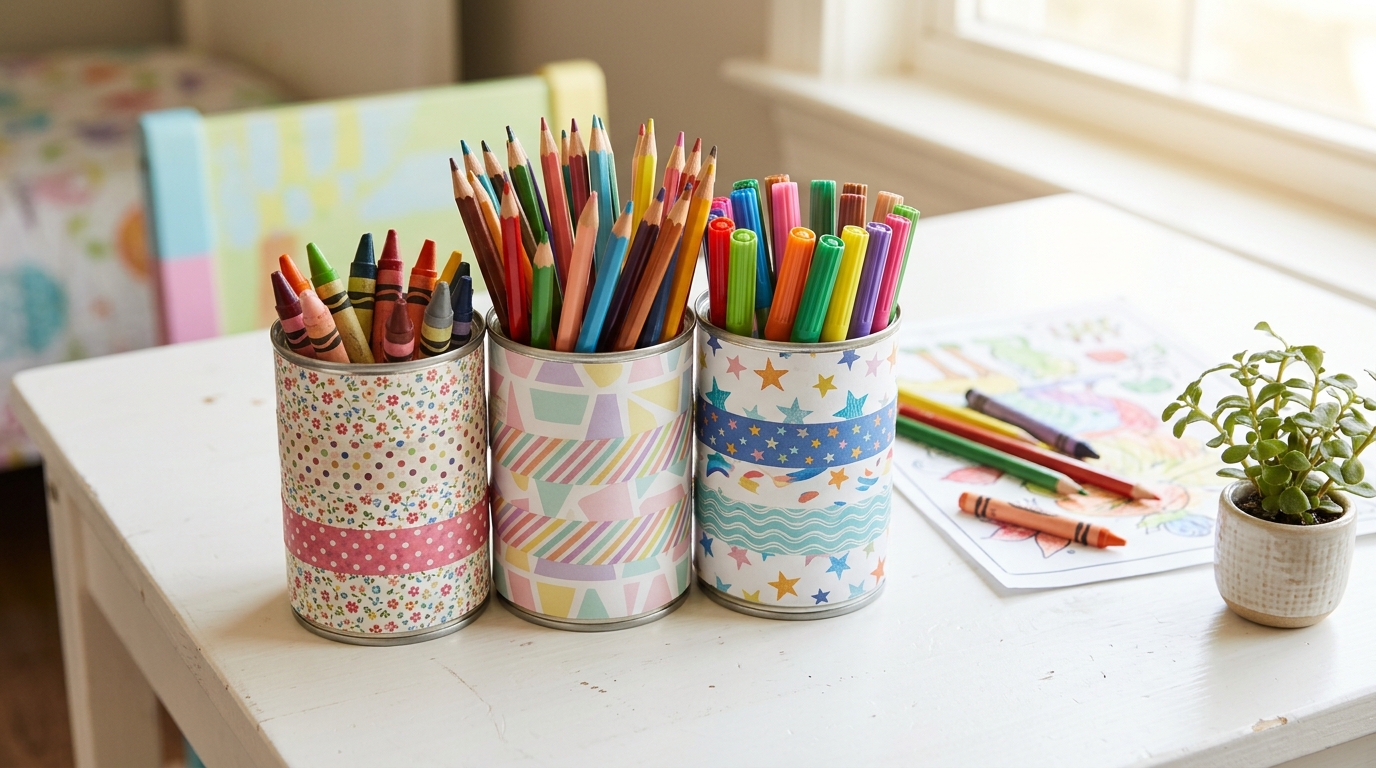
Young inventors are great at spotting a messy problem and fixing it. Crayons everywhere? A set of tin cans wrapped in pretty paper keeps them sorted and ready to use. It is the same idea behind these easy mason jar crafts, where simple containers become something useful and cute. Ask an adult to check that every can edge is smooth before kids start decorating. What will your kids store in theirs?
You will need: 3 clean tin cans with smooth edges, scrapbook paper, washi tape, craft glue, a hot glue gun (adults only).
How to make it: 1. Cut paper to fit around each can and glue it on. 2. Add washi tape stripes at the top and bottom. 3. An adult hot glues the three cans together side by side, then fill them with crayons and pencils.
Craft Stick Snowflakes
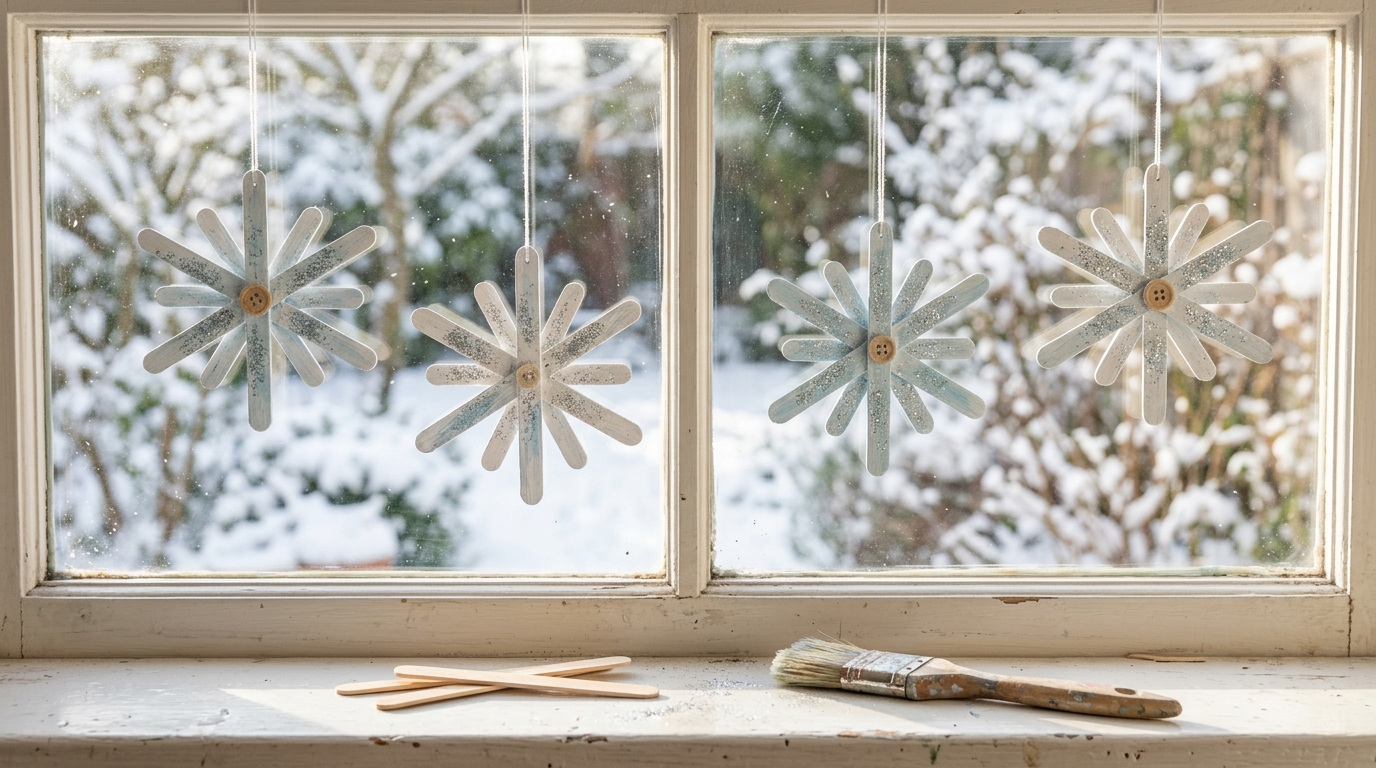
Kids notice tiny details that grown ups often miss, like the six arms on every snowflake. These craft stick snowflakes let them design their own patterns and think like real designers. No two need to be the same, just like the real thing. Hang them in a sunny window and enjoy the sparkle all winter. They also make lovely handmade gifts for teachers and grandparents. How many different snowflakes can your kids invent?
You will need: craft sticks, white and pale blue acrylic paint, glitter, small wooden buttons, craft glue, white thread.
How to make it: 1. Glue three sticks crossed in the middle to make six arms. 2. Add short pieces of stick to the arms for extra detail. 3. Paint, sprinkle on glitter, glue a button in the center and hang with thread.
Decoupaged Invention Notebook
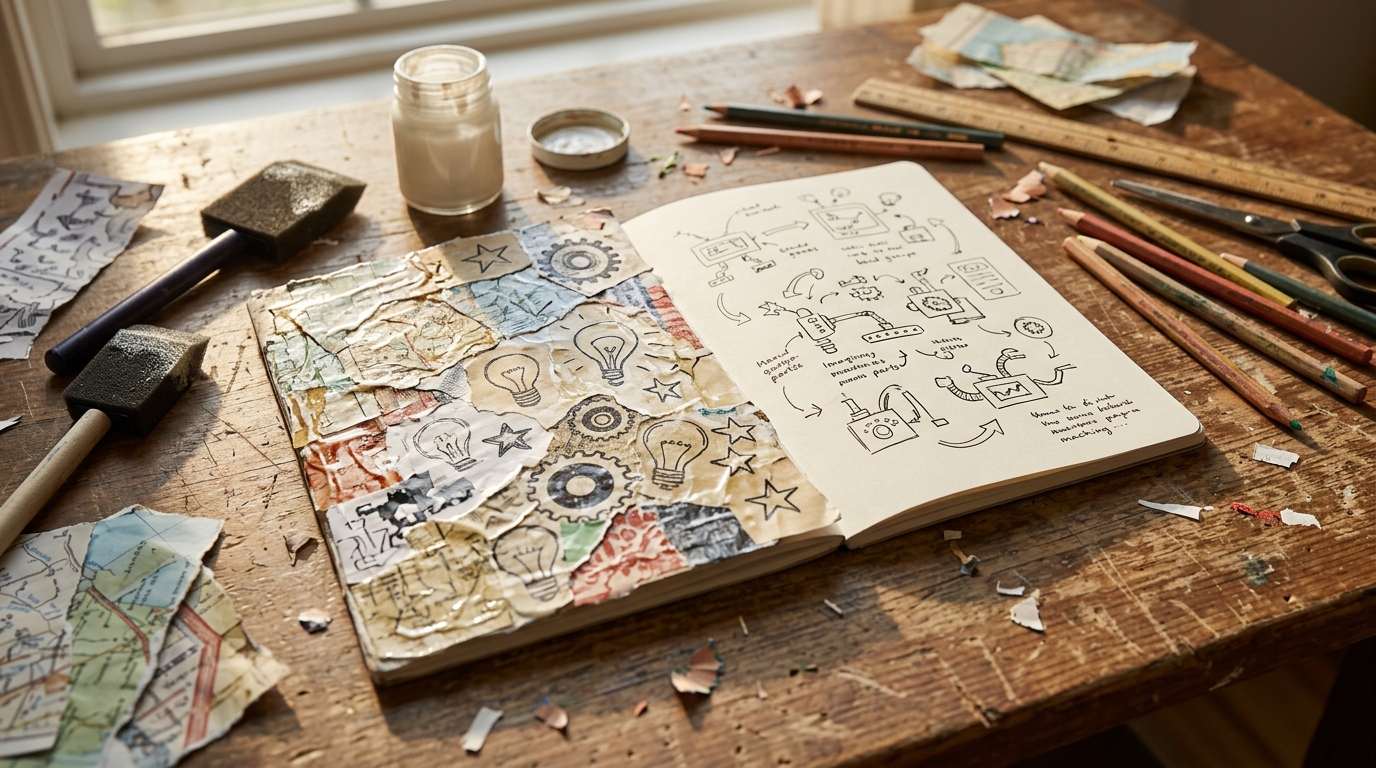
Every inventor needs a place to sketch big ideas, and many famous ones kept notebooks full of drawings. A decoupaged notebook makes your child’s ideas feel important. Kids can cover it with maps, gears, stars and doodles, then fill the pages with plans for their next creation. Who knows, maybe it will hold the next great thing invented by kids that the whole world uses. What will your young inventor draw first?
You will need: a plain notebook, decoupage glue, a foam brush, tissue paper, old maps or paper scraps, scissors.
How to make it: 1. Tear the paper scraps into small pieces. 2. Brush decoupage glue on the cover, lay the scraps on and brush another coat over the top. 3. Let it dry, add a final coat for shine and leave it open overnight.
Rubber Band Paper Tube Car
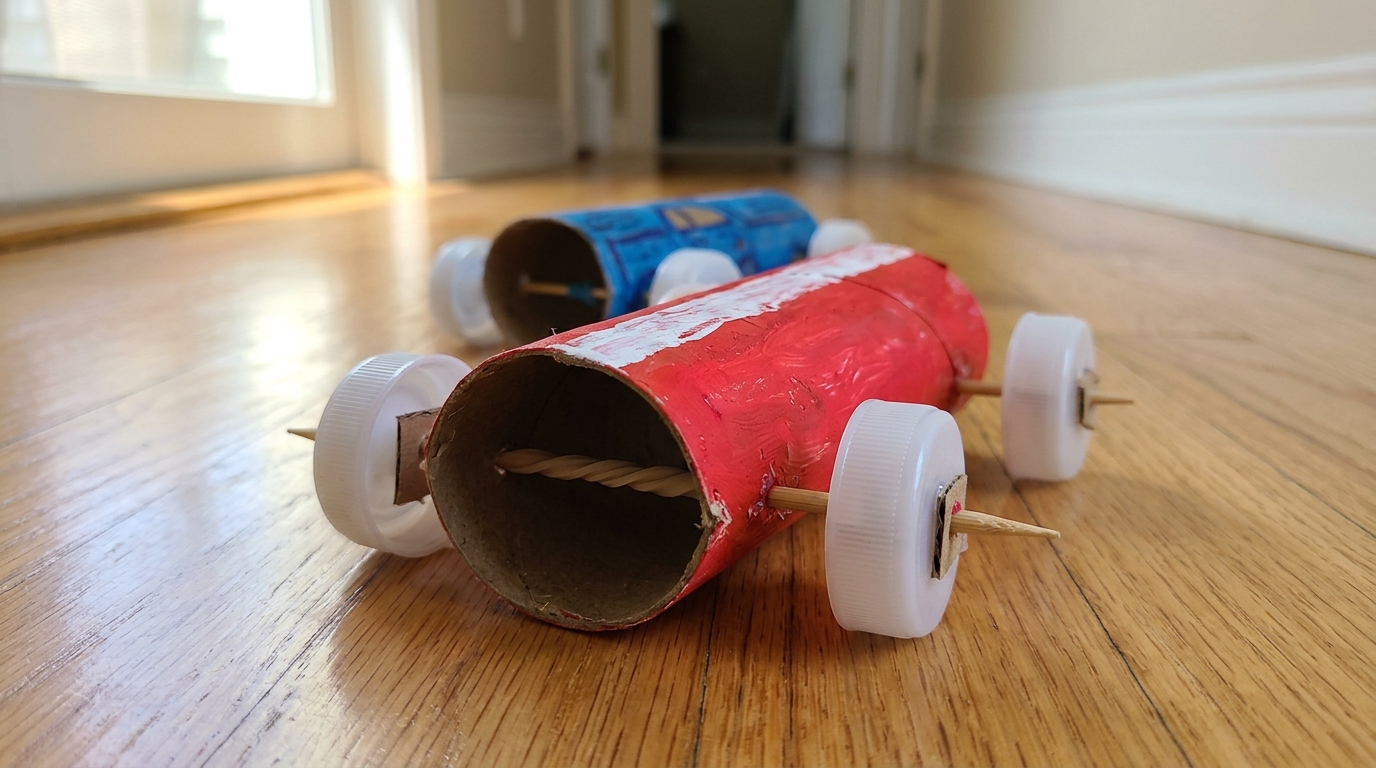
A rubber band car is a little lesson in stored energy that kids can hold in their hands. Wind the band, set the car down and watch it zoom across the floor. If it does not go far, they can change the wheels or the band and try again, just like real engineers. Race a few cars down the hallway for a family showdown. Which car will cross the finish line first?
You will need: a paper towel tube, 4 bottle caps, 2 wooden skewers, 2 straws, a rubber band, a paper clip, tape, paint.
How to make it: 1. Tape the straws across the bottom of the tube and slide the skewers through them as axles. 2. An adult pokes holes in the caps and pushes them on as wheels. 3. Hook the rubber band to the back axle, stretch it to a paper clip at the front, roll the car backward to wind it and let go.
Paper Cup String Telephone
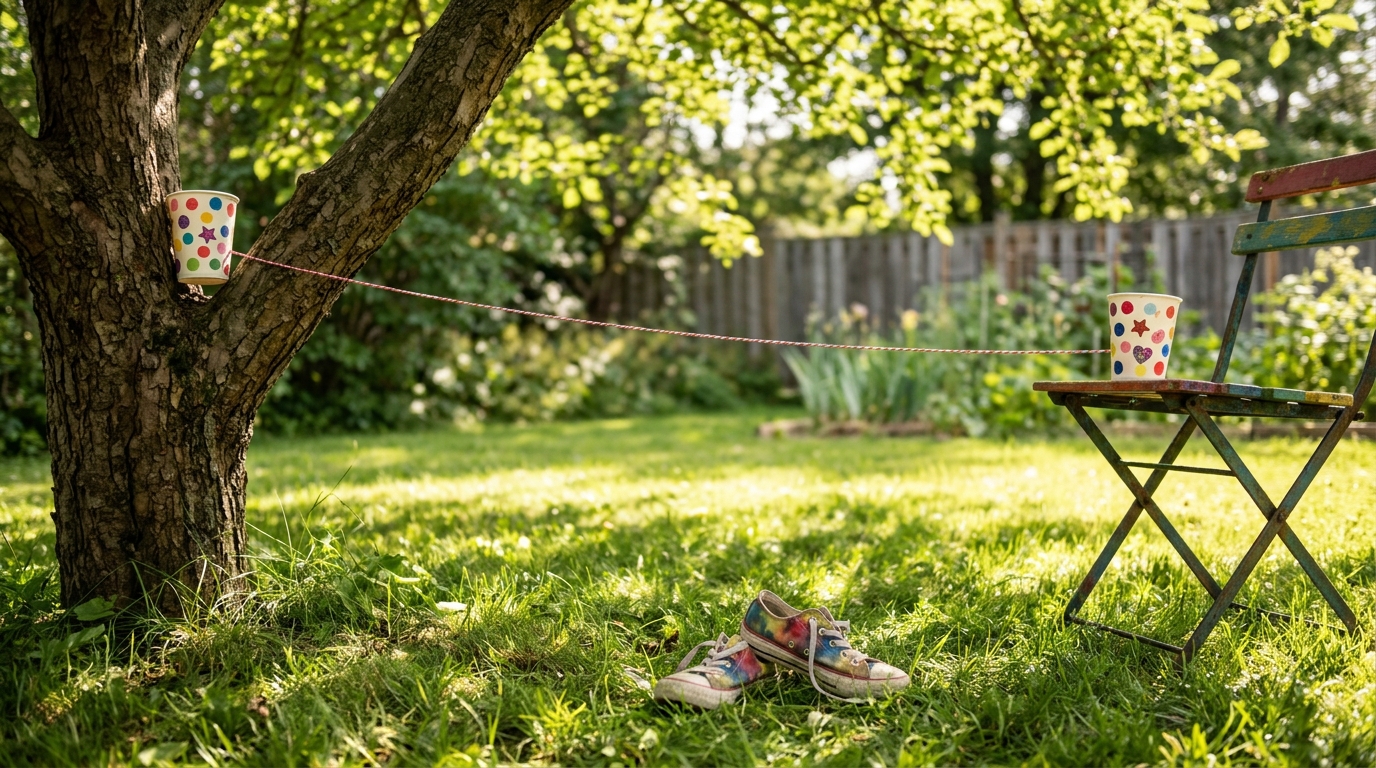
Before phones were in every pocket, kids built their own with two cups and a string. Sound travels as tiny vibrations along a tight string, so a whisper in one cup can be heard in the other. It is a simple science trick that still makes kids gasp. Take it outside, stretch the string across the yard and send secret messages. It is the perfect ending to a weekend full of things invented by kids. What will your kids say first?
You will need: 2 paper cups, about 20 feet of string or baker’s twine, a pencil, 2 paper clips, stickers.
How to make it: 1. Poke a small hole in the bottom of each cup with a pencil. 2. Thread the string through and tie it to a paper clip inside each cup. 3. Decorate the cups, pull the string tight and take turns talking and listening.