DIY Advent Calendars: 13 Cute Ideas That Make You Want to Start Counting Down Now
DIY advent calendars turn the days before Christmas into a little treasure hunt, and making one together might become your favorite new tradition. There is something magical about waking up, running to the wall and opening one tiny door or pocket to see what is inside. Store bought calendars are fun, but a handmade one feels personal, and you can use it year after year. Searches for homemade advent calendar ideas are climbing fast right now, so you are in good company. Below you will find 13 sweet ideas made from paper bags, felt, matchboxes, toilet paper rolls and even a muffin tin. Some take an evening, some take ten minutes, and every one of them leaves room for small treats, notes or fun activities..
DIY Advent Calendars Start With a Felt Pocket Wall Hanging
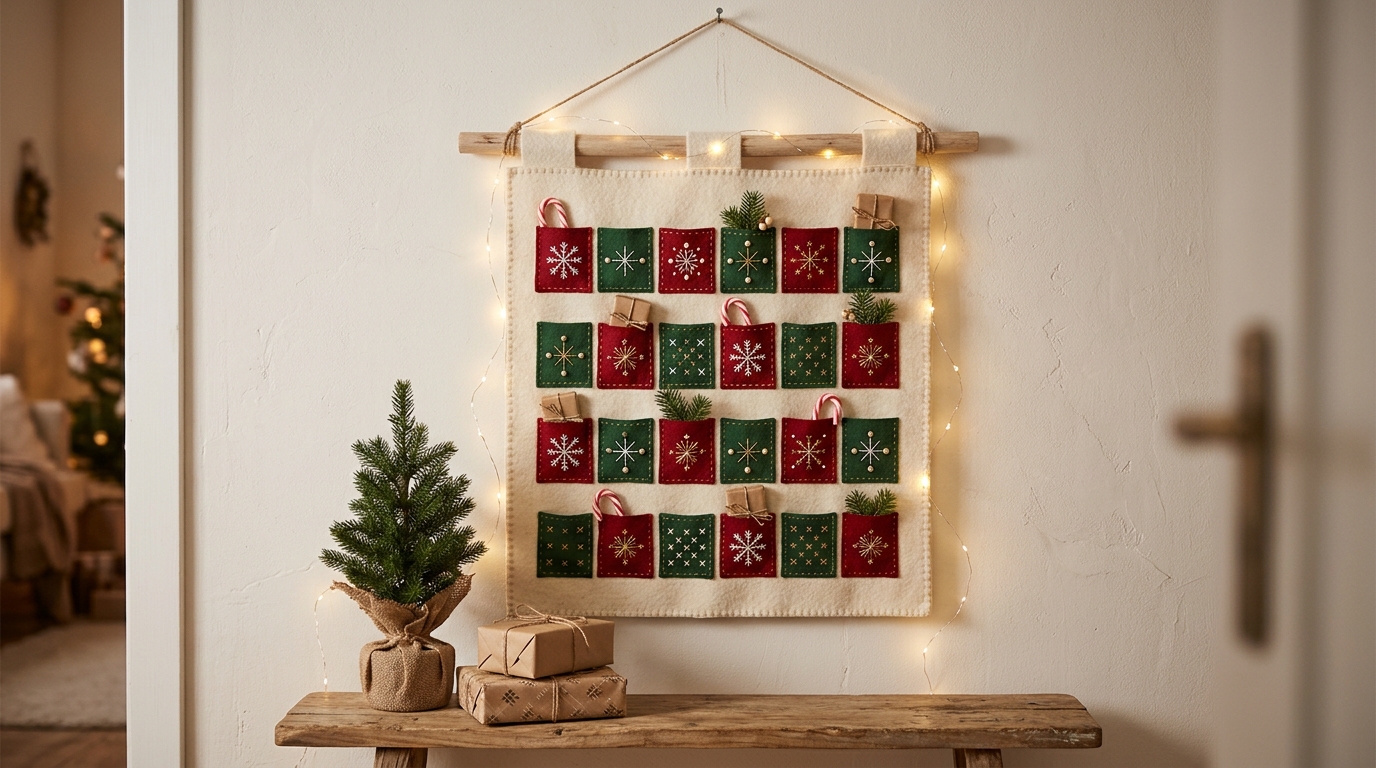
A felt pocket calendar is the kind of keepsake that comes out of the box every December for years. Little felt pockets are glued or stitched onto a big piece of felt, then hung from a wooden dowel. Each pocket holds a candy cane, a small treat or a folded note. Red, green and cream felt gives it that cozy, classic look, and a string of warm white lights makes it glow. It is easier to make than it looks. Ready to see more ways to count down to Christmas..
You will need: A large piece of cream felt, red and green felt sheets, fabric glue or thread, a wooden dowel, ribbon and small decorations.
How to make it: 1. Cut 24 small rectangles from the colored felt. 2. Glue or stitch three sides of each pocket onto the large felt in rows. 3. Fold the top over a dowel, glue it and add a ribbon to hang.
DIY Advent Calendars From Paper Bags on the Mantel

Small brown paper bags clipped onto twine make one of the easiest DIY advent calendars ever. Fill each bag, fold the top down and close it with a wooden clothespin. String them across a mantel or a window and add a little greenery between them. It is cheap, rustic and kids can help with every step, which may be why searches for DIY advent calendar ideas keep climbing. You can stamp or draw on the bags if you want a personal touch. How many treats can you fit into 24 little bags?
You will need: 24 small kraft paper bags, wooden clothespins, twine and small treats or notes.
How to make it: 1. Fill each bag with a small treat or note. 2. Fold the tops down and close them with clothespins. 3. Clip the bags along a length of twine and hang it up.
Wooden Block Countdown
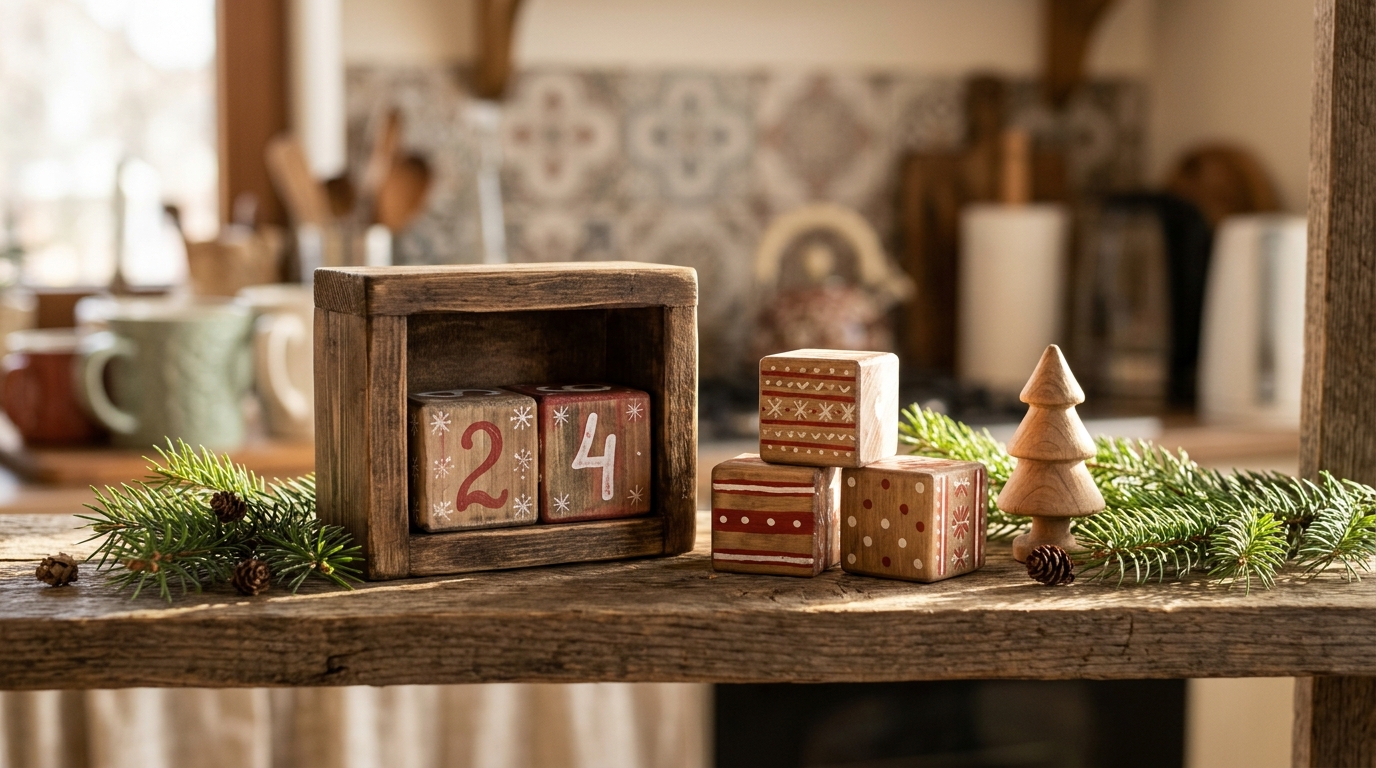
Two wooden cubes can count every day of December. Paint or stencil the numbers 0 to 9 across the faces of both blocks, with a few repeats so you can make every date, and turn them each morning. It is a simple, reusable calendar that looks lovely on a kitchen shelf next to a little wooden tree. Older kids love being in charge of turning the blocks. It is also a great small gift for grandparents. Who in your house would turn the blocks each day?
You will need: Two wooden cubes, acrylic paint or number stencils, a small brush and clear sealer.
How to make it: 1. Paint both blocks in a base color and let them dry. 2. Add numbers 0 to 5 on one block and 0, 1, 2, 6, 7, 8 on the other. 3. Seal them and display them on a shelf.
Matchbox Drawer Calendar
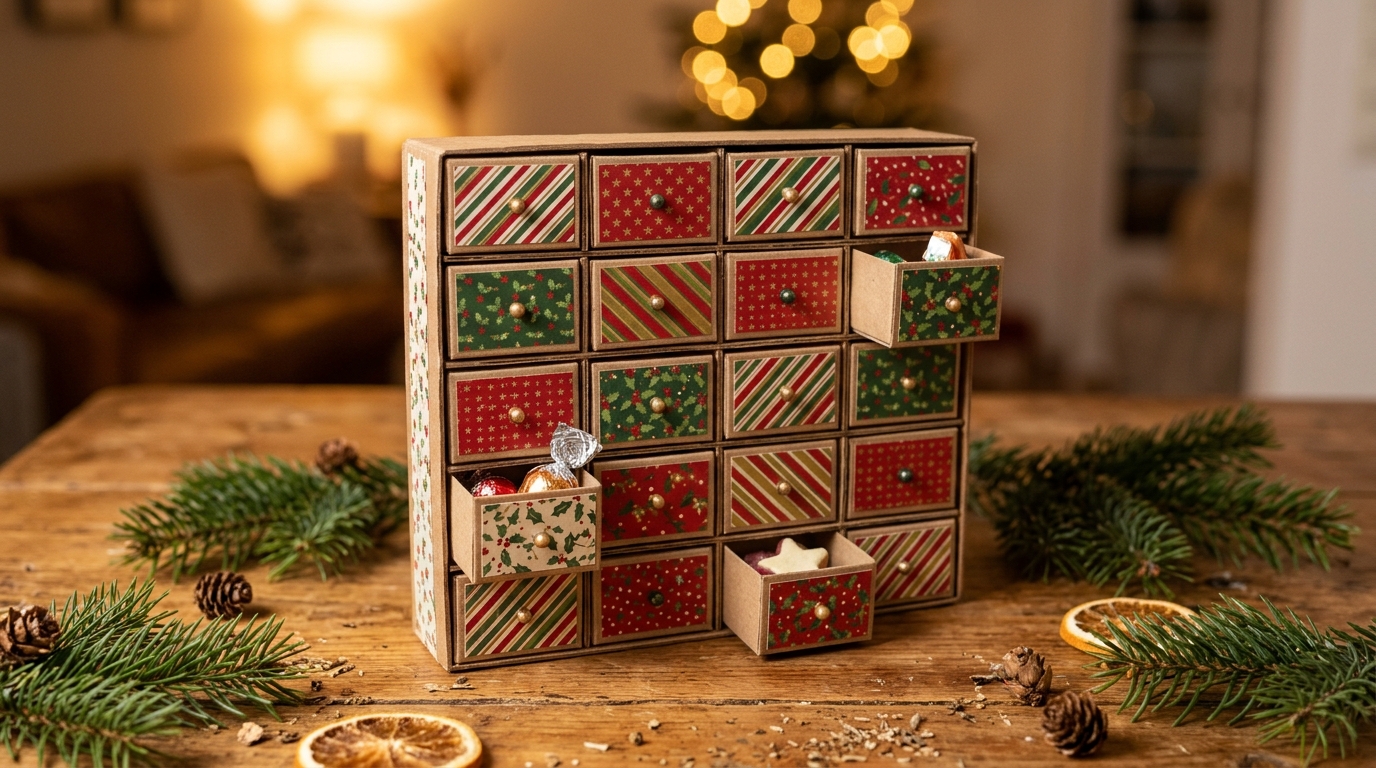
Tiny matchboxes can become a sweet little chest of drawers. Cover 24 empty boxes with pretty wrapping paper, glue them together in rows and number the fronts. Each drawer slides out to reveal a mini treat, a sticker or a tiny note. It is small enough to sit on a desk and looks almost like a toy. Kids love the little drawers so much they may want to keep it out all year. Would you fill yours with treats or tiny surprises?
You will need: 24 empty matchboxes, patterned paper, glue, small number stickers and tiny treats.
How to make it: 1. Wrap the outer sleeve of each matchbox in patterned paper. 2. Glue the boxes together in rows to form a chest. 3. Add numbers to the fronts and fill each drawer.
DIY Advent Calendars Shaped Like a Kraft Box Tree

Little kraft gift boxes stacked into a tree shape make a festive centerpiece and an advent calendar at the same time. Fill each box, tie it with baker twine and stack them in rows, with fewer boxes as you go up. Top it with a gold star. Each day, take one box from the tree and open it. It is a fun twist on DIY advent calendars because the tree slowly gets smaller as Christmas gets closer. Where would you build your tree?
You will need: 24 small kraft gift boxes, baker twine, small number tags, a gold paper star and treats.
How to make it: 1. Fill each box and tie it with twine and a number tag. 2. Stack the boxes in rows of 7, 6, 5, 4 and 2. 3. Add the gold star on top.
Toilet Paper Roll Honeycomb
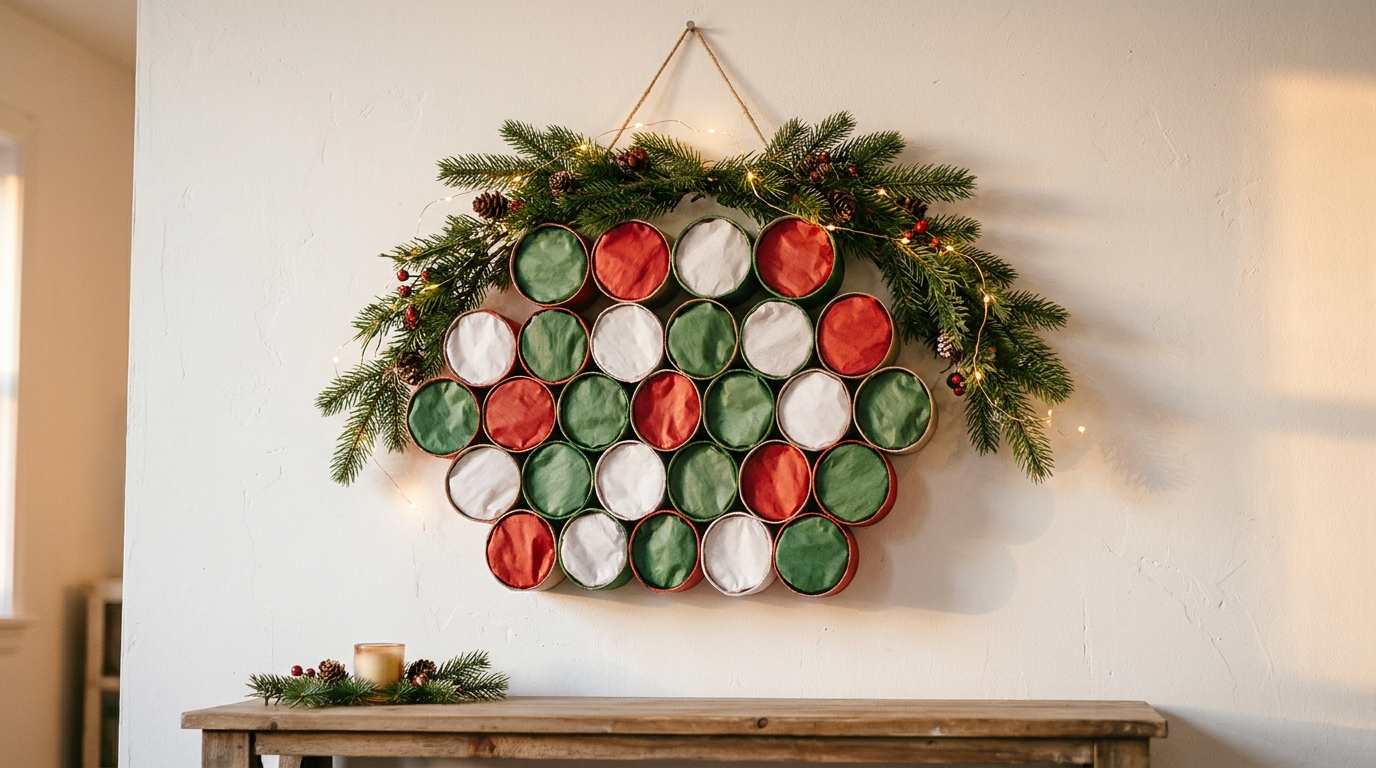
Save your cardboard rolls, because 24 of them make a striking wall calendar. Paint them in holiday colors, glue them together in a honeycomb shape and cover one end of each roll with tissue paper. On each day, poke through the paper to find the surprise inside. It costs almost nothing and looks amazing on a wall or a large board. It is also a fun project for a rainy weekend. How fast could your family collect 24 rolls?
You will need: 24 cardboard rolls, acrylic paint, tissue paper, glue, a large board and number stickers.
How to make it: 1. Paint the rolls and let them dry. 2. Glue them together side by side on a board in a honeycomb shape. 3. Fill each roll, cover the front with tissue paper and add numbers.
Muffin Tin Advent Calendar
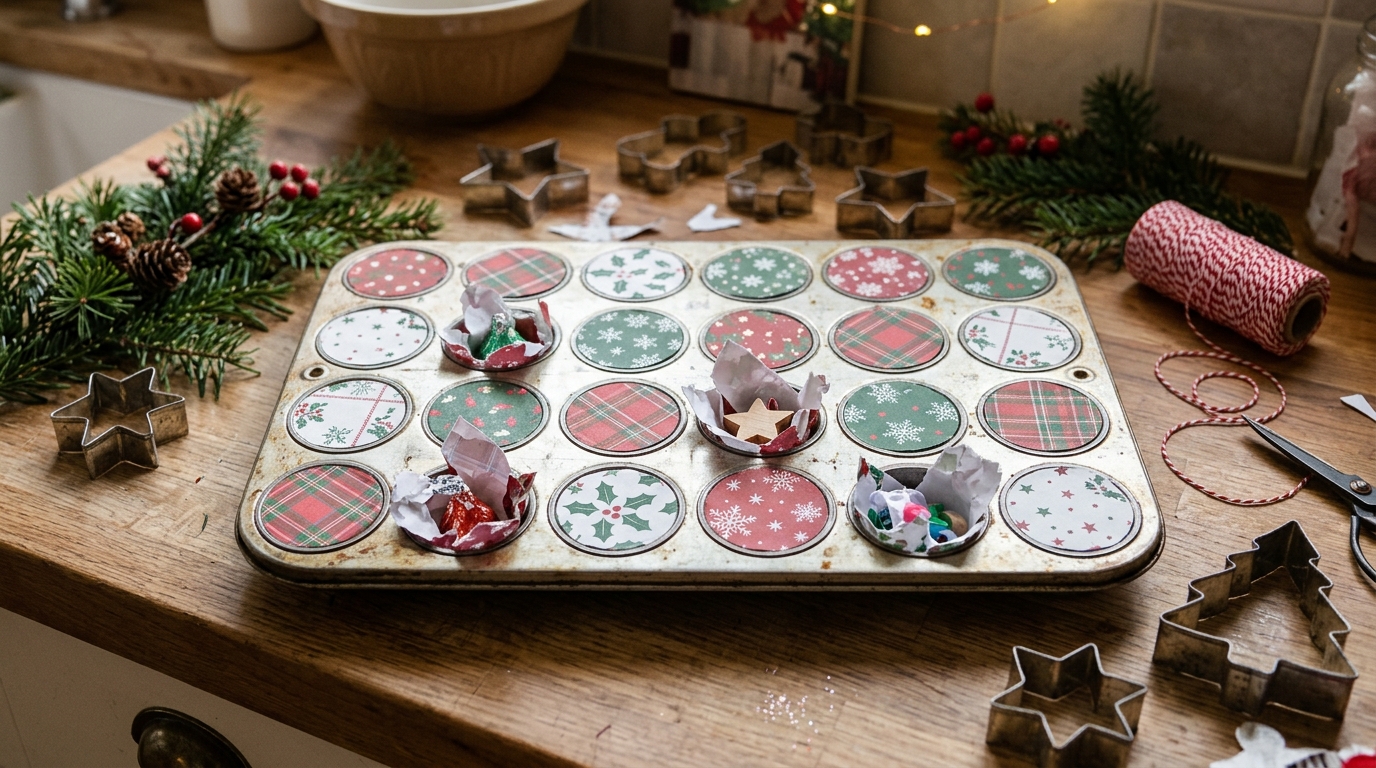
A 24 cup muffin tin is already the perfect advent calendar. Fill each cup, cover it with a circle of festive paper and secure it with a small magnet or tape. Each morning, pop off one circle to see what is inside. It is quick to set up, so it is a great last minute idea if December sneaks up on you. When the season is over, the tin goes right back into the kitchen. Could your muffin tin take a holiday job this year?
You will need: A 24 cup muffin tin, festive paper, a circle punch or scissors, small magnets or tape and treats.
How to make it: 1. Cut 24 paper circles slightly larger than the cups. 2. Fill each cup with a small treat. 3. Cover each cup with a circle and add a number.
DIY Advent Calendars on a Blanket Ladder
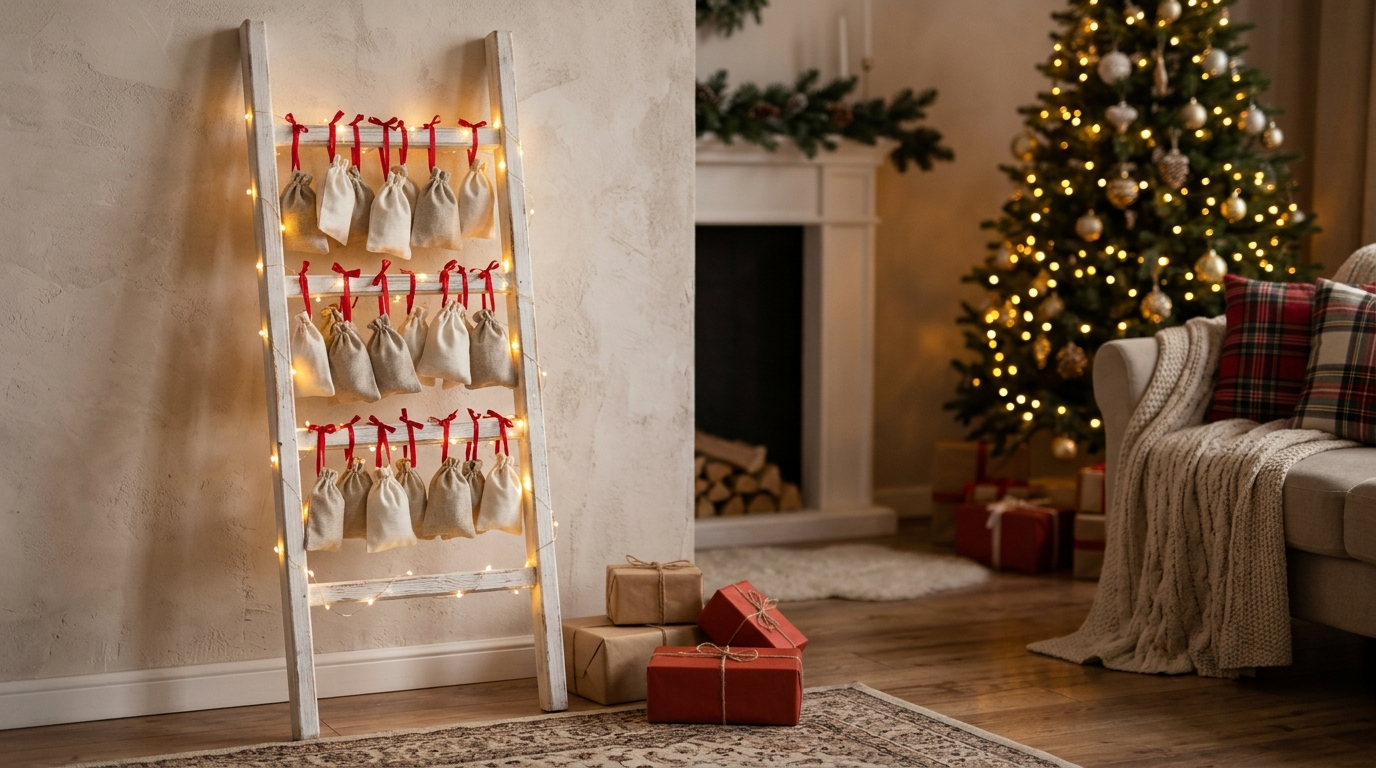
A blanket ladder makes a big, beautiful advent display. Hang small linen pouches from each rung with ribbon, wrap the ladder in warm white lights and add a little garland. Everyone can see the countdown from across the room. It is one of those DIY advent calendars that doubles as holiday decor, so it earns its spot in the living room. Use battery powered lights for safety. Which treats would you tuck into the pouches?
You will need: A wooden blanket ladder, 24 small drawstring pouches, ribbon, battery fairy lights and number tags.
How to make it: 1. Fill the pouches and add a number tag to each. 2. Tie the pouches along the rungs with ribbon. 3. Wrap the ladder with battery fairy lights.
Glowing Cardboard House Village
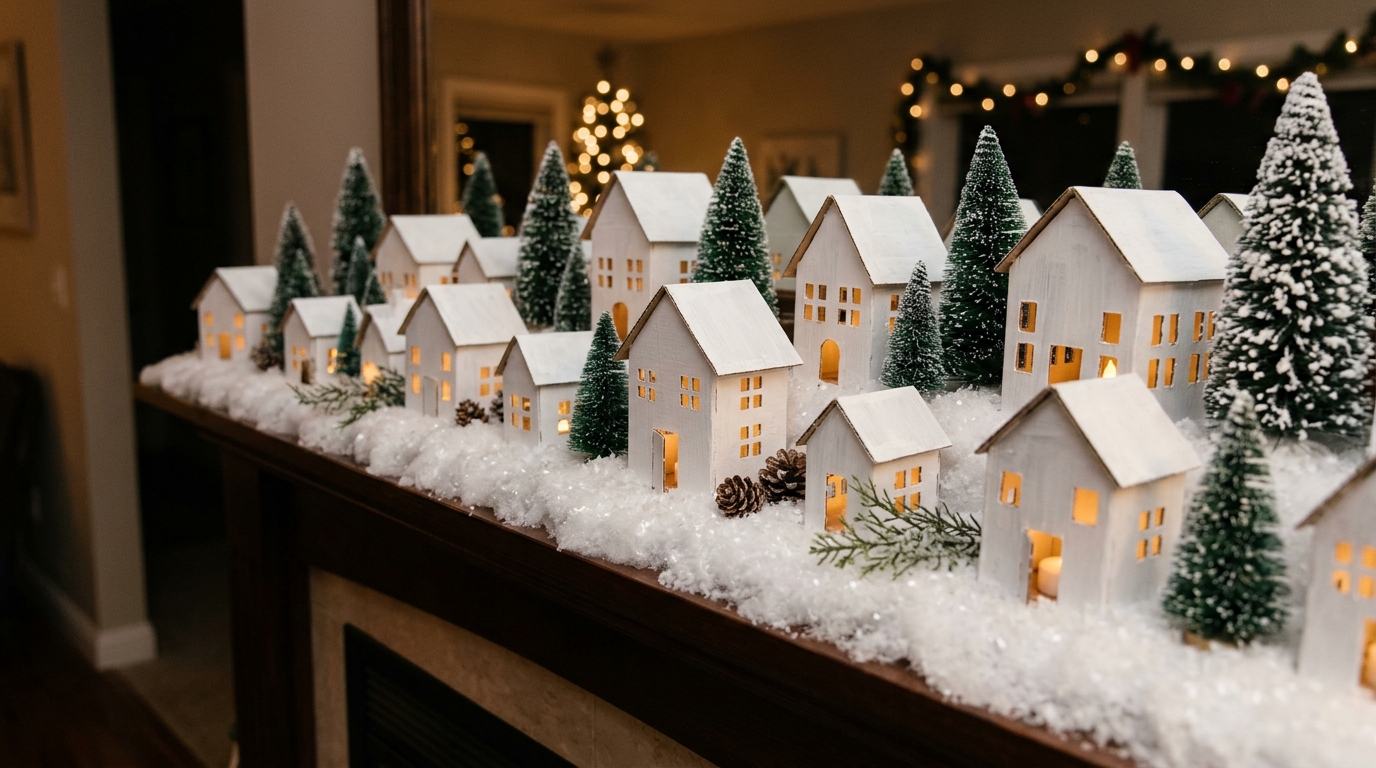
This one feels like a tiny winter wonderland. Small cardboard houses painted white sit along a mantel, each with a little door you open on its day. A battery LED tea light inside makes the windows glow at night. Add bottle brush trees and a sprinkle of fake snow and you have a magical scene. It takes a few evenings to make, but it will become a treasured part of your holidays. If you love handmade Christmas ideas, check out our viral Christmas DIYs. Would your kids help paint the houses?
You will need: Cardboard or small kraft house boxes, white paint, a craft knife used by an adult, battery LED tea lights and fake snow.
How to make it: 1. Paint the houses white and let them dry. 2. Have an adult cut little doors and windows. 3. Fill each house, add an LED tea light and line them up on the mantel.
Activity Envelope Countdown

Not every day needs candy. An envelope calendar holds a small activity for each day, like baking cookies, watching a holiday movie, making a card for a neighbor or going for a lights walk. Write each idea on a card, slip it into a numbered envelope or kraft bag and pin them to a board. It turns the countdown into 24 little memories. Many families say this is the calendar their kids remember most. What activity would you put on day one?
You will need: 24 envelopes or small kraft bags, cards or paper, a pen, number stickers and mini clothespins.
How to make it: 1. Write one activity on each card. 2. Seal the cards in envelopes and number them. 3. Clip them along twine or pin them to a board.
Mini Stocking Garland
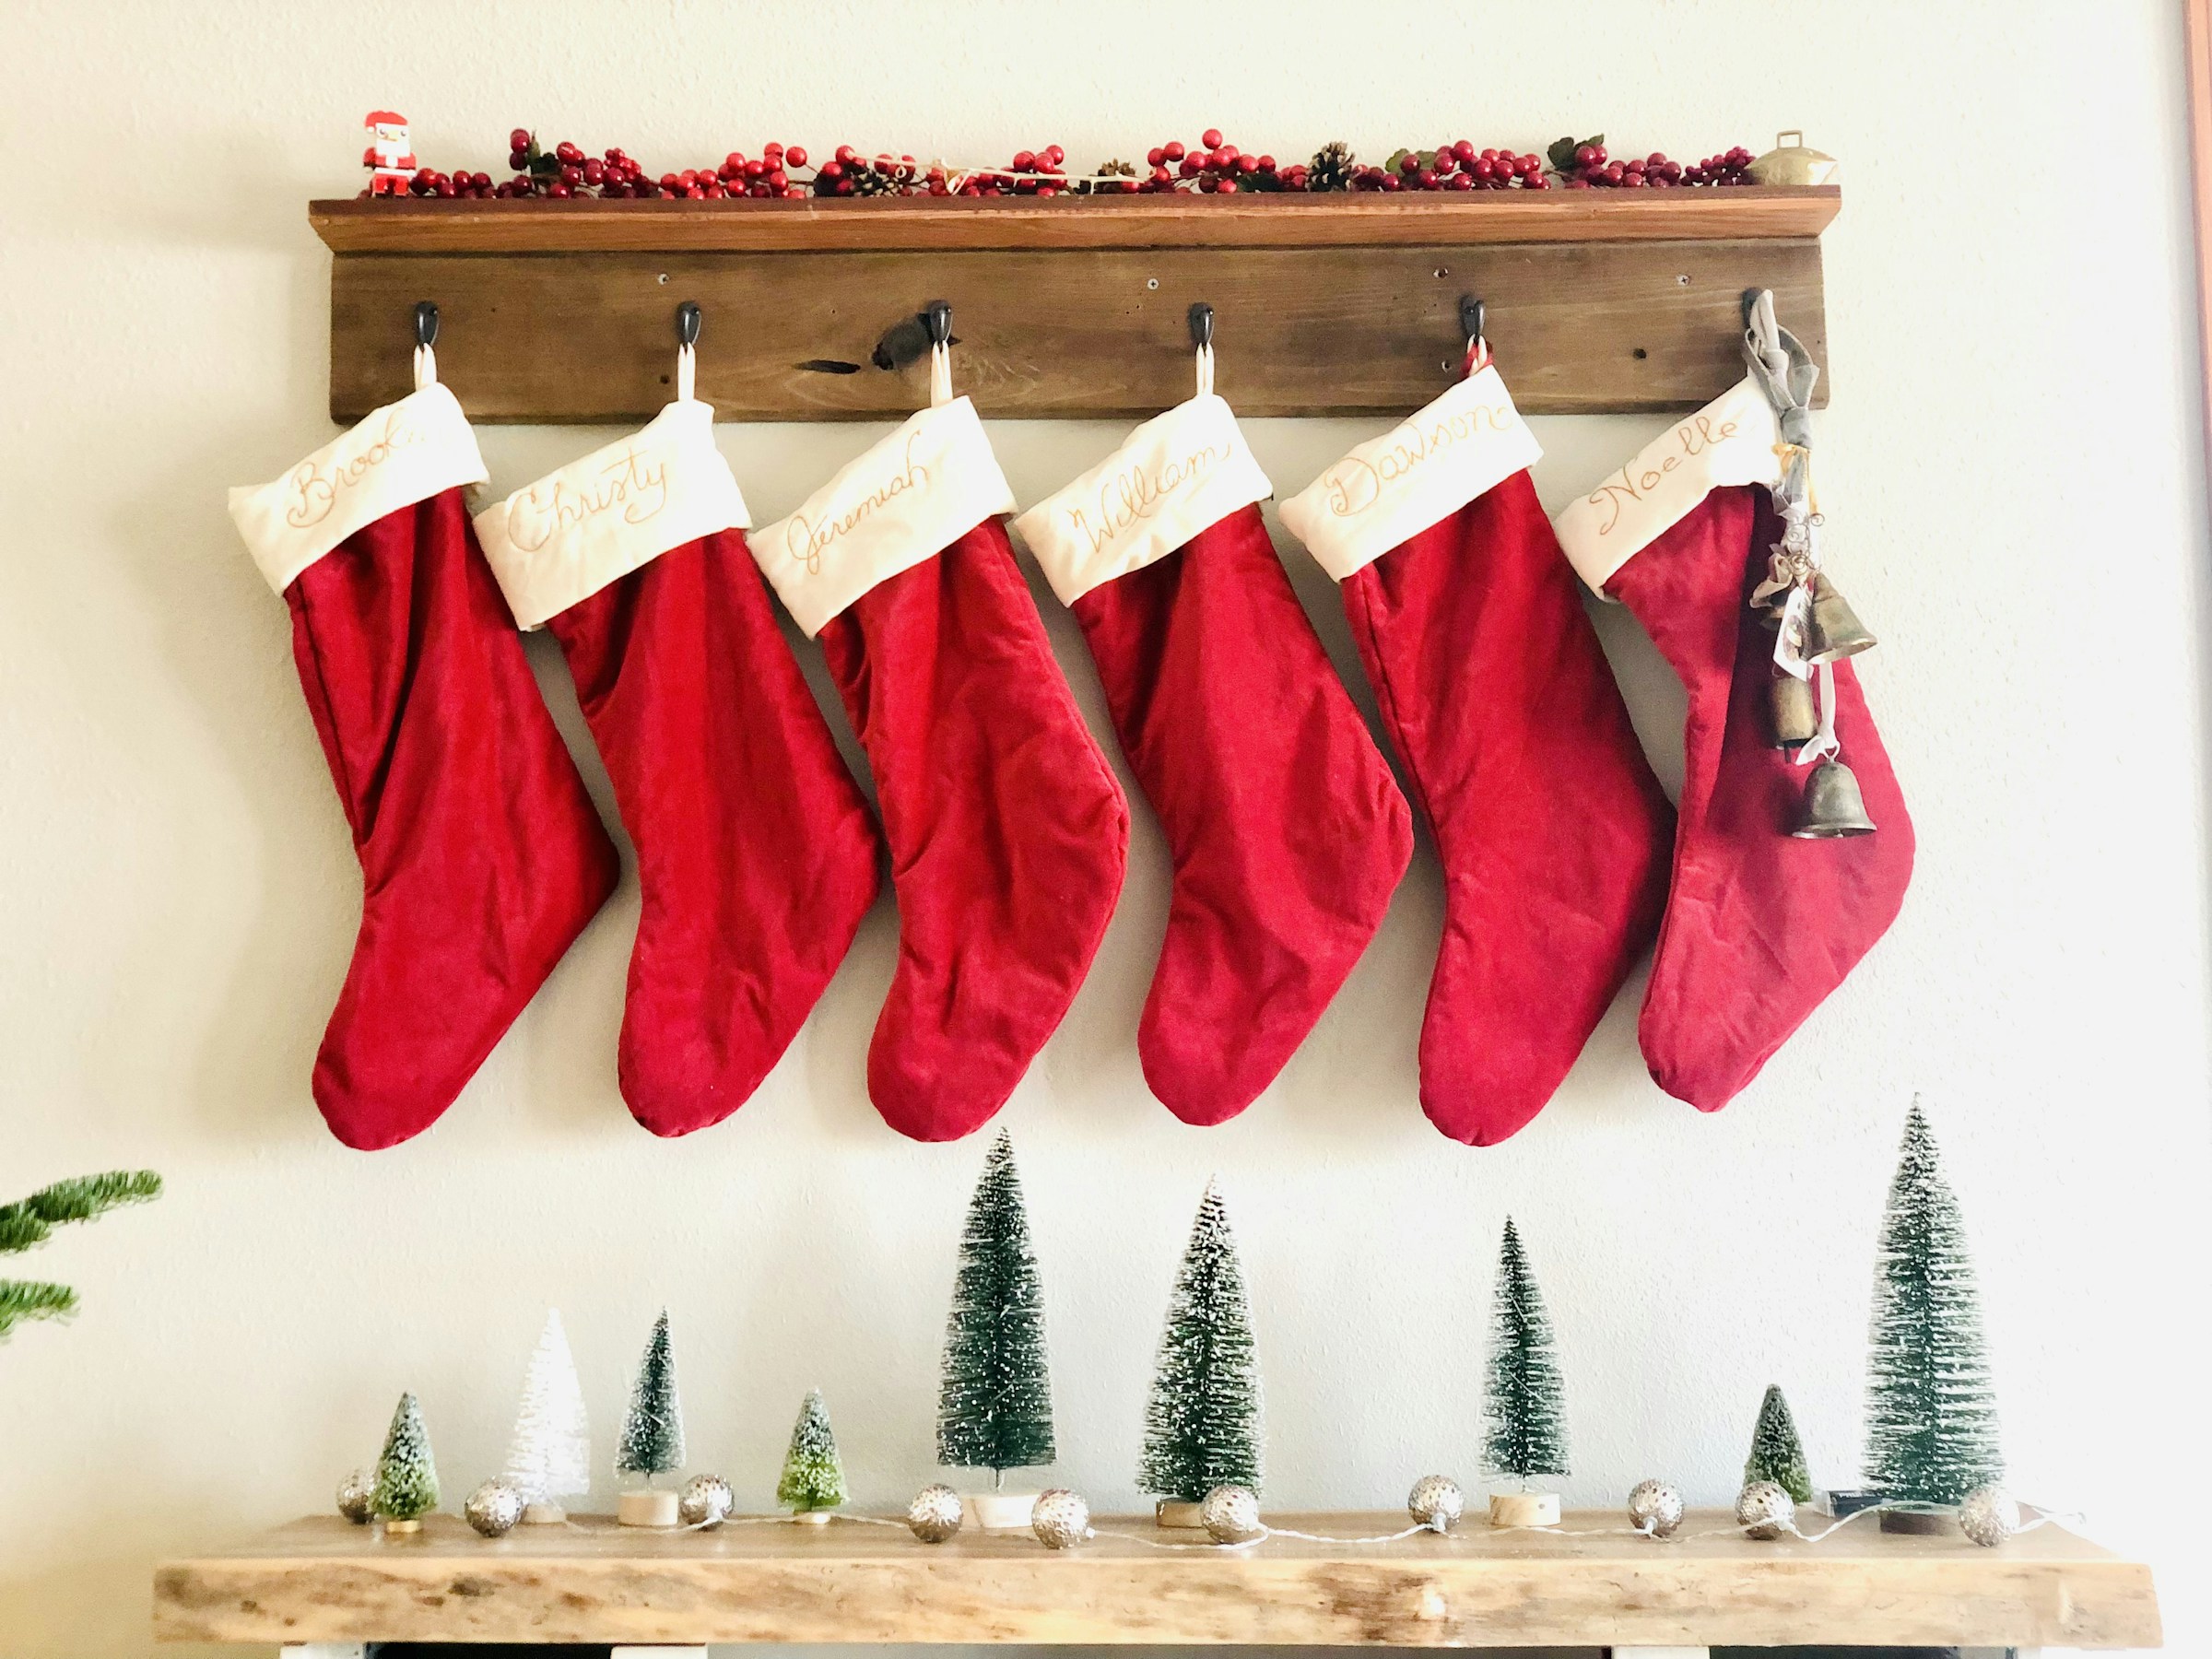
Tiny stockings hung in a row look adorable on a shelf, a staircase or a mantel. Use felt or knit mini stockings and clip them to a ribbon with small pegs. Each one gets a number and a little surprise tucked inside. You can sew simple felt stockings yourself or pick up small ones in a pack. The best part is they look like a miniature version of the big stockings, which kids find extra fun. Where would your stocking garland hang?
You will need: 24 mini stockings, ribbon or garland, mini clothespins, number tags and small treats.
How to make it: 1. Add a number tag to each mini stocking. 2. Fill them with small treats or notes. 3. Clip them in order along a ribbon or garland.
Book a Day DIY Advent Calendars

For book lovers, wrapping 24 books, or a mix of new ones and family favorites from the shelf, is a cozy way to count down. Each night, unwrap one and read it together before bed. You do not need to buy 24 new books. Library books, old favorites and holiday picture books all work. Stack them in a basket under the tree with numbered tags. It is one of the sweetest DIY advent calendars for slowing down in a busy season. Which book would you save for Christmas Eve?
You will need: 24 books, wrapping paper, tape, twine and number tags.
How to make it: 1. Gather a mix of books from home or the library. 2. Wrap each one and add a number tag. 3. Stack them in a basket and unwrap one each night.
Clothespin Card Line
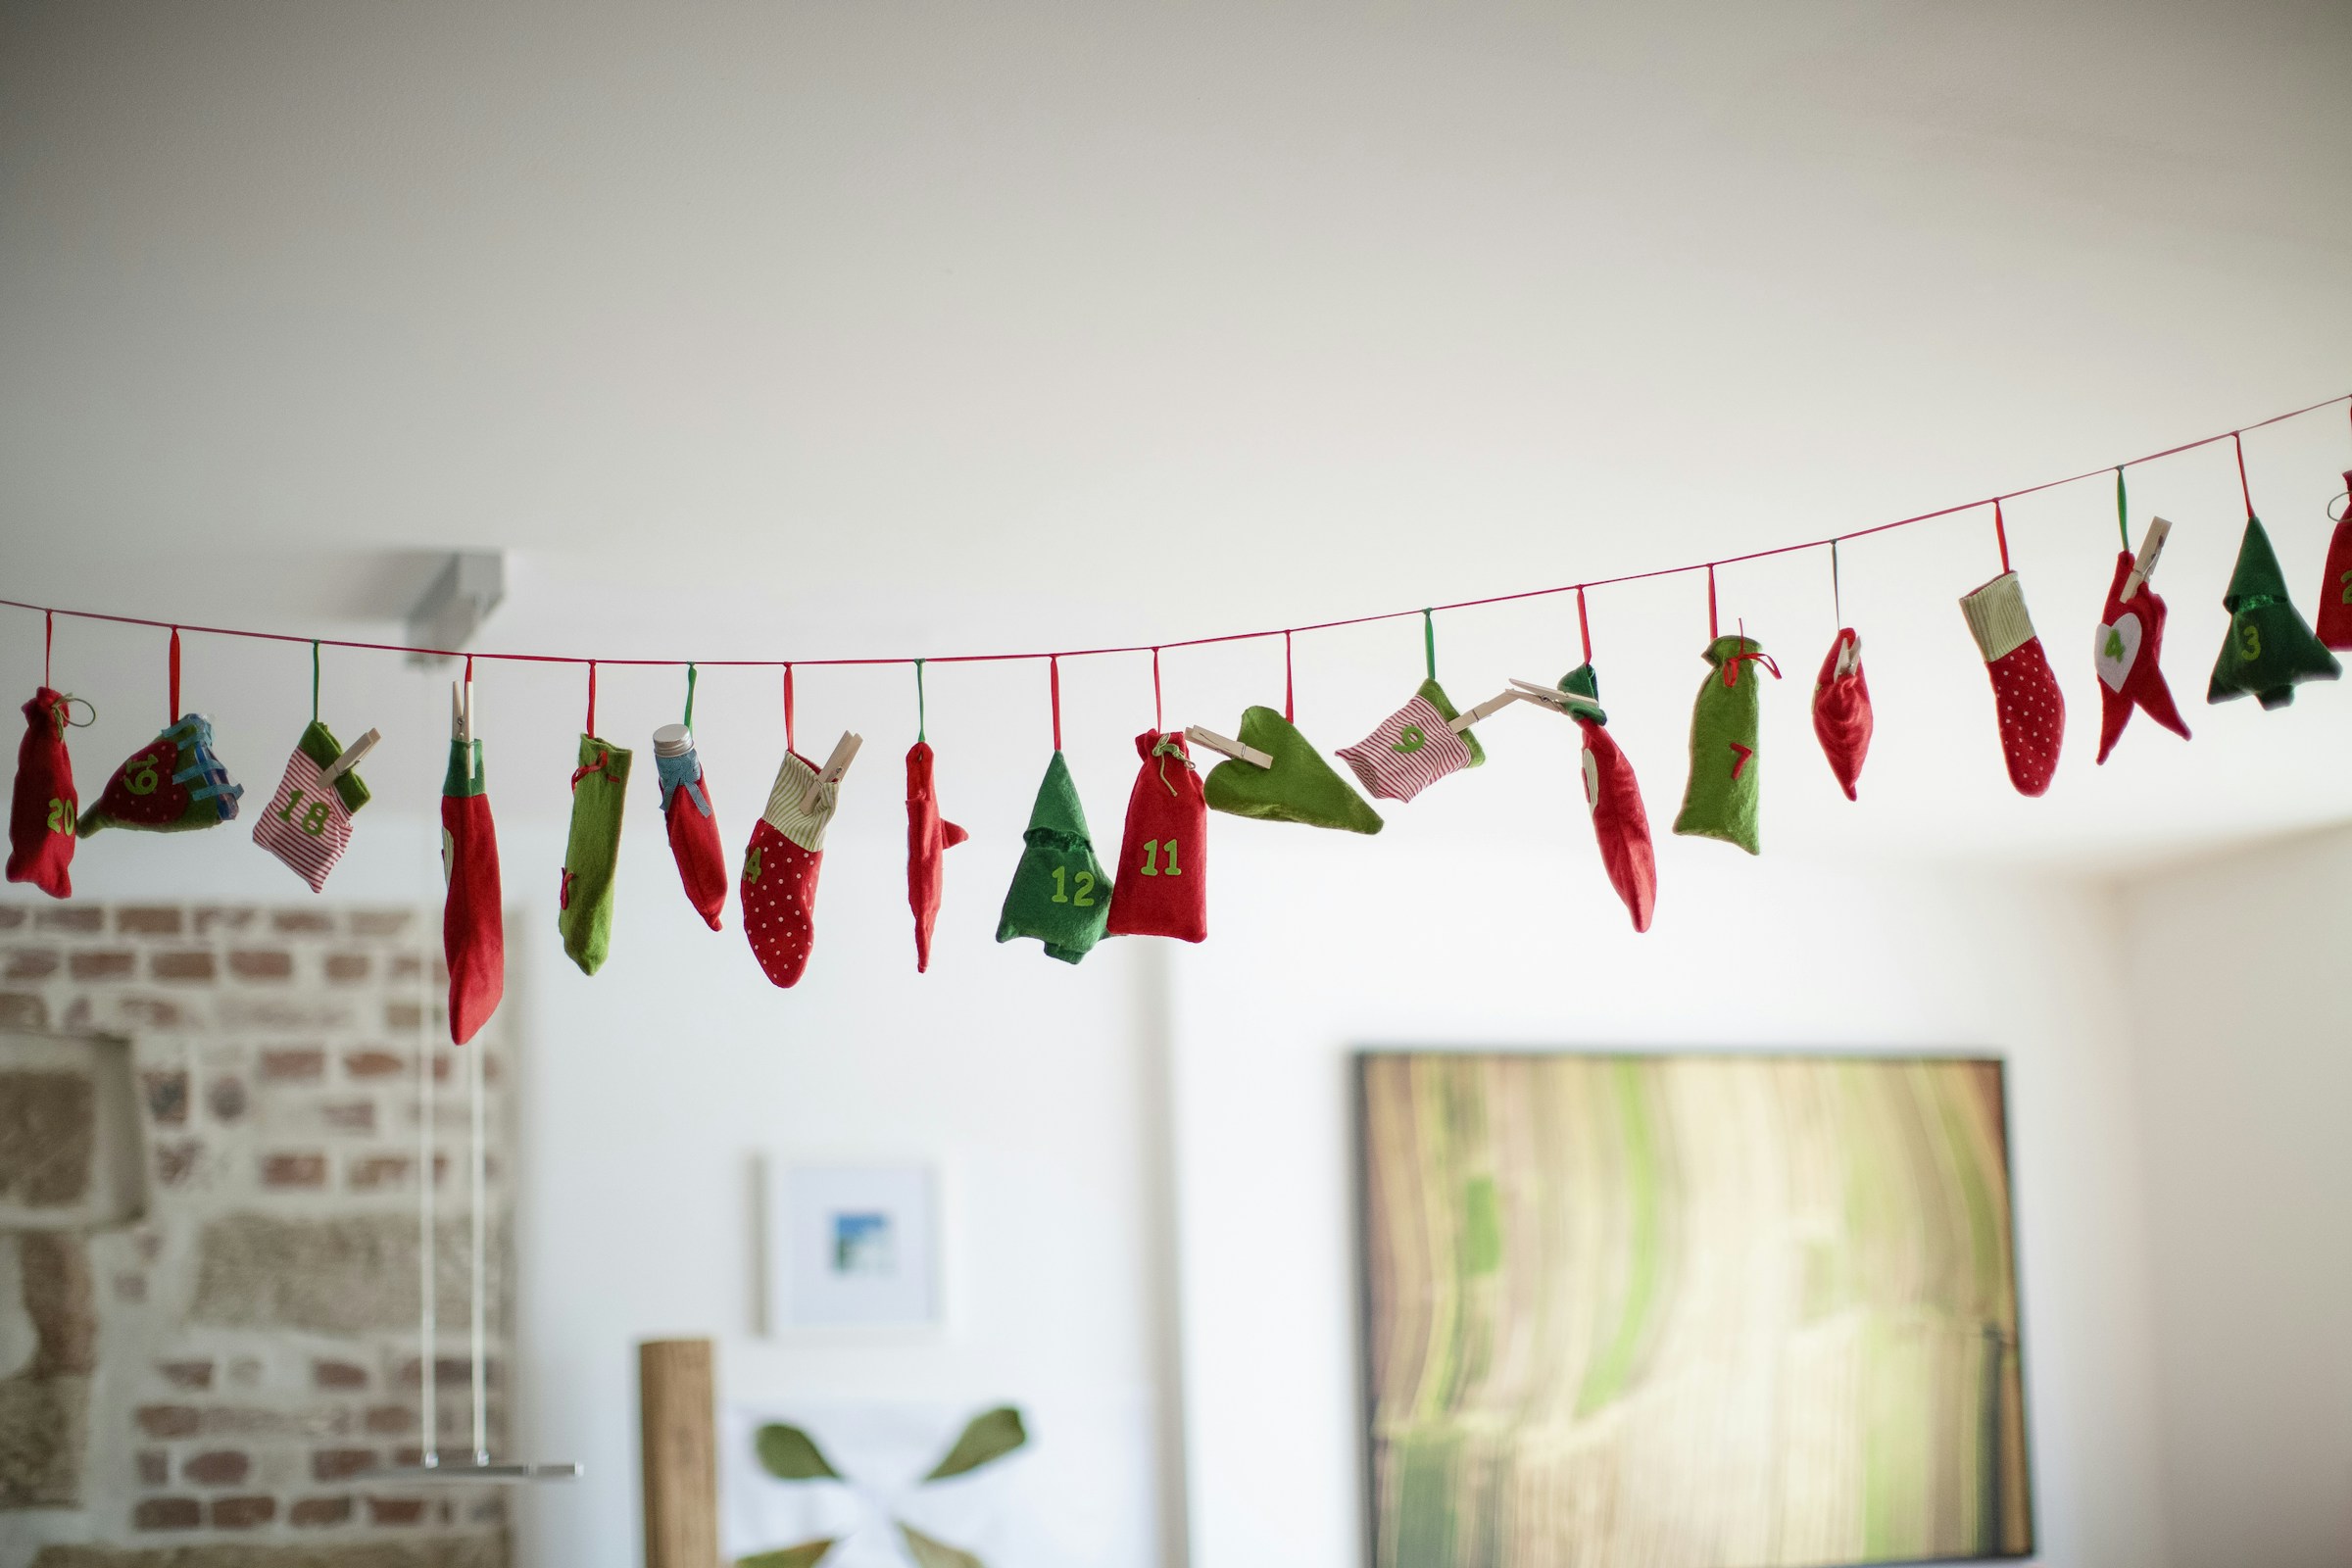
Sometimes the simplest idea is the prettiest. Hang a length of twine on a wall, clip 24 small cards, photos or tiny ornaments to it with clothespins and write a little message, joke or memory on the back of each card. Each day, flip one over. It costs almost nothing and is perfect for small spaces or dorm rooms. Grown ups love it too, especially with old family photos. What message would you write on the last card?
You will need: Twine, 24 small cards or photos, wooden clothespins, a pen and two small removable hooks.
How to make it: 1. Hang the twine between two removable hooks. 2. Write a message or memory on each card. 3. Clip the cards in order and flip one each day.