Epoxy Resin Creations: 14 Mesmerizing Ideas That Look Like Real Magic
Epoxy resin creations have a way of stopping people mid scroll. A plain wooden table suddenly has a glowing ocean running through it. A coaster holds a summer of pressed flowers forever. A tiny block of moss lights up a dark bedroom like a little forest. Resin starts as two clear liquids that you mix together, and over a day or two it hardens into a glass like solid that can hold almost anything. That is where the magic comes in. Below are fourteen of the most eye catching ideas people are making right now, from big showpieces to easy weekend projects. Before you start, remember the basics: work in a well aired room, wear gloves and follow the label on your resin kit. Ready to be amazed..
Epoxy Resin Creations Start With an Ocean River Table
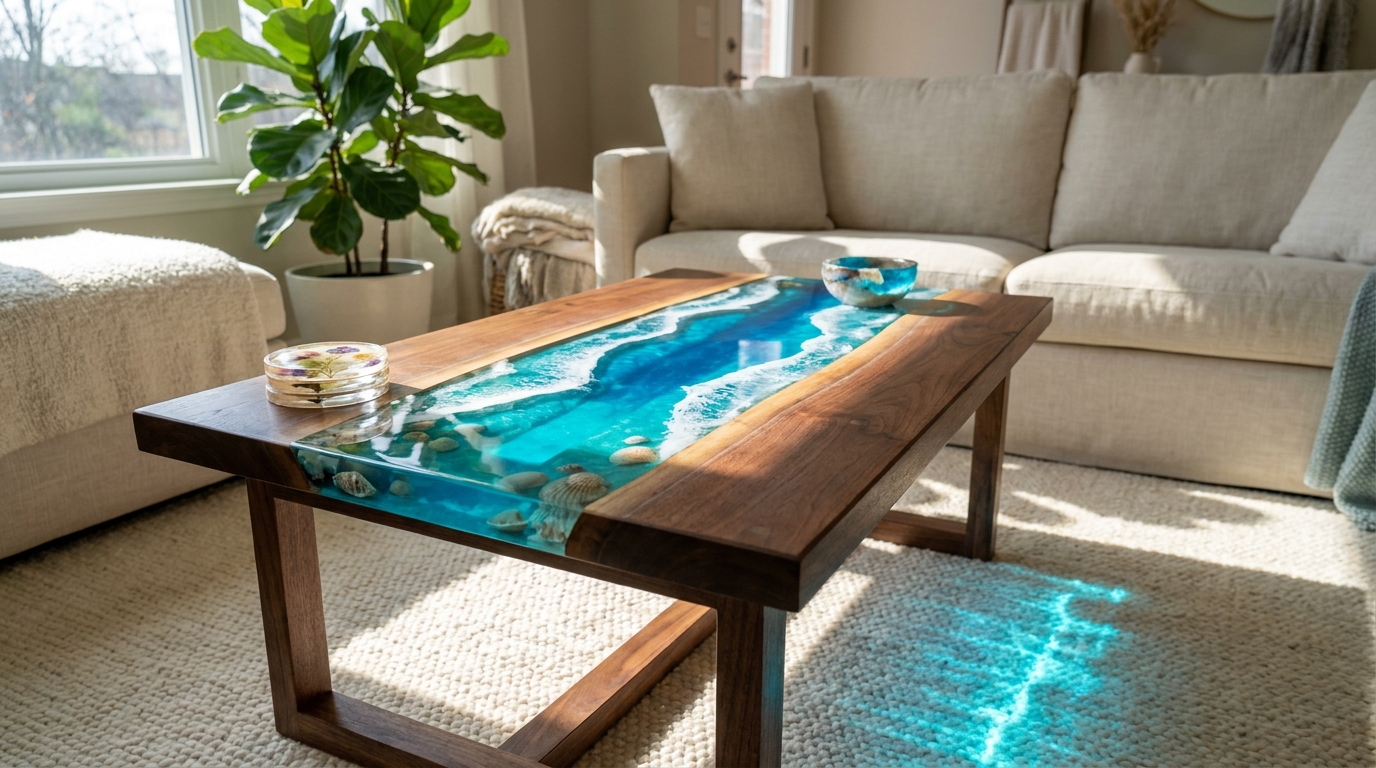
The ocean river table is the showstopper of the resin world. Makers pour layers of blue and turquoise resin between two slabs of wood, then add white resin on top to look like waves breaking on a beach. Some even tuck real seashells into the pour. One recent version shared in an ocean resin table post on Instagram passed a million likes. It is a big, advanced project, but it shows just how far resin can go. Could you picture one in your living room..
You will need: Two live edge wood slabs, a sealed mold, deep pour epoxy resin, blue and white resin pigments, a heat gun, gloves, a respirator and lots of patience.
How to make it: 1. Seal the wood and build a leak proof mold. 2. Pour the blue resin in thin layers, letting each set. 3. Add white resin waves on top with a heat gun. 4. Demold, sand and polish to a shine.
A Wood and Resin Chess Set
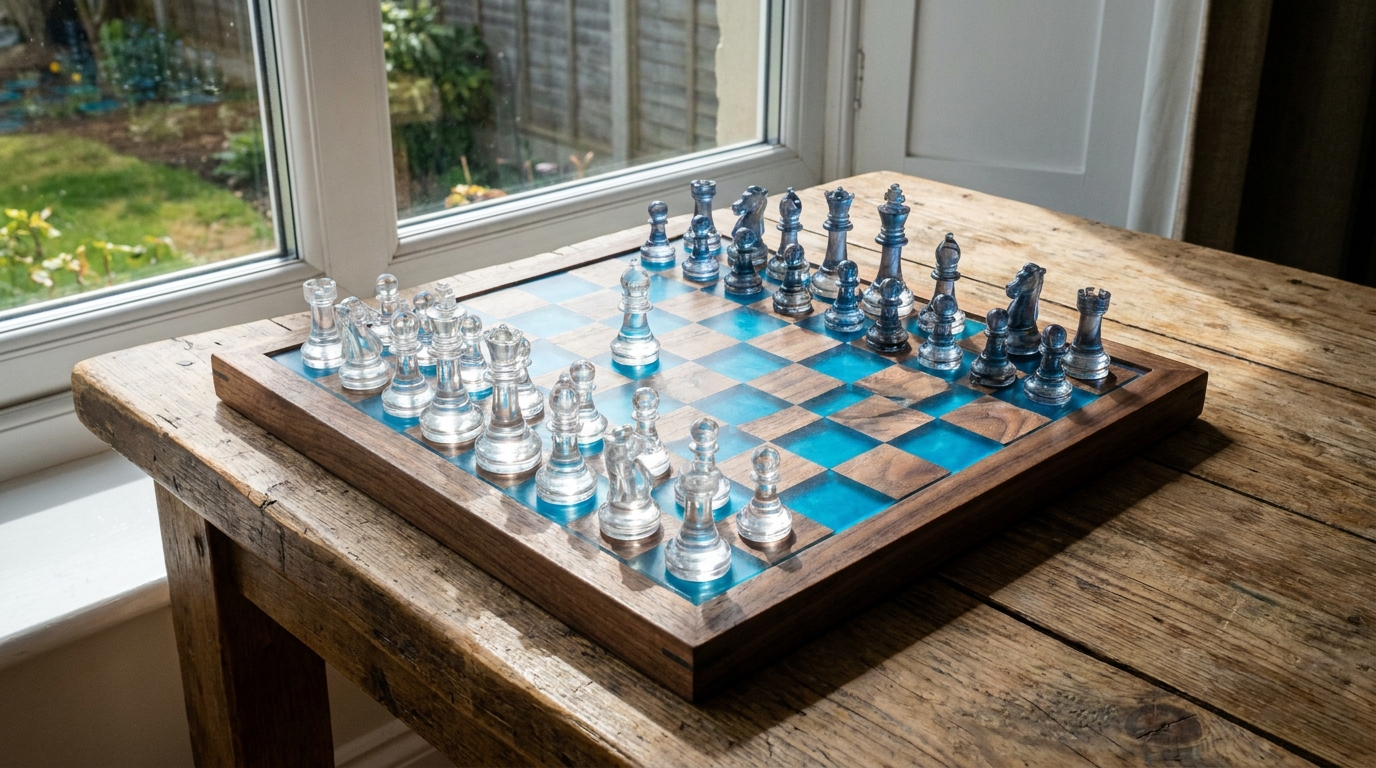
A resin chess set turns a classic game into a work of art. The board alternates wood squares with tinted resin squares, and the pieces are cast in silicone molds in clear and colored resin. When the sun hits it, the whole board glows. You can buy chess piece molds online and start with just the pieces, then add the board later. It makes an unforgettable gift for a chess lover. Would you choose ocean blue or smoky grey?
You will need: Silicone chess piece molds, epoxy casting resin, mica powder or resin tint, wood squares or a board blank, gloves and a mixing cup.
How to make it: 1. Mix the resin and tint half of it. 2. Pour clear pieces and tinted pieces in the molds. 3. Let them cure fully and demold. 4. Sand the bases and set up your board.
A Toy Car Time Capsule Table
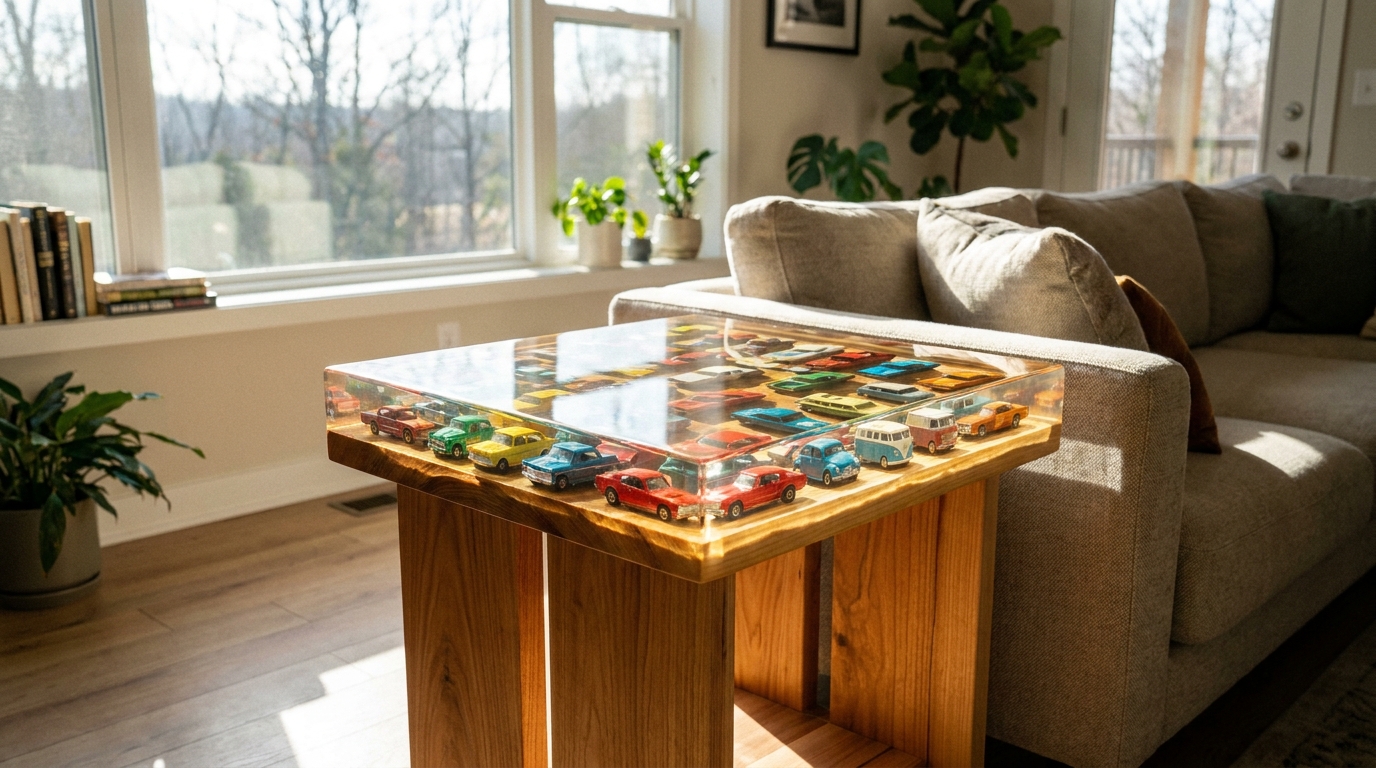
Got a box of old toy cars in the attic? Some makers are pouring them into clear resin to build a time capsule table. The cars are arranged in a shallow wooden frame, sealed with a thin coat, then covered with a deep pour of clear resin. The result is a coffee or side table that tells a story every time someone sets down a cup. It works with marbles, bottle caps and old coins too. What memories would you freeze in yours?
You will need: A wooden table frame with a recessed top, small toy cars or keepsakes, clear deep pour epoxy, a level, a heat gun and gloves.
How to make it: 1. Arrange the toys in the recess and glue them down. 2. Seal them with a thin coat of resin. 3. Pour clear resin in layers. 4. Let cure, then sand and polish the edges.
A Glowing Moss Nightlight
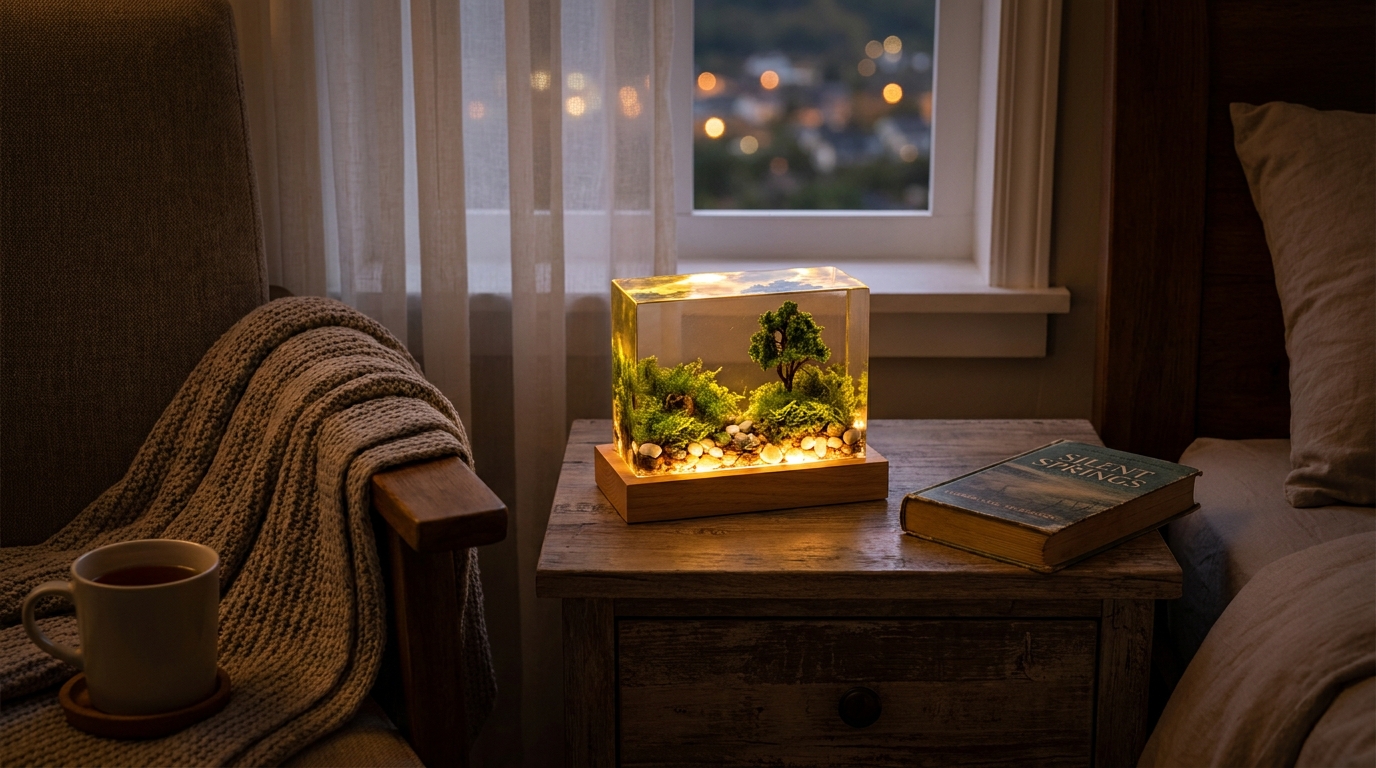
This little piece feels like holding a tiny forest. Preserved moss, small pebbles and a miniature tree are set into a block of clear resin, which then sits on a wooden base with a battery or USB LED light inside. At night, the whole block glows softly. Use preserved moss, which is already dried, so it does not rot in the resin. It makes a calming nightlight for a bedroom or office. Who would you make one for?
You will need: A rectangular silicone mold, clear casting resin, preserved moss, small pebbles, a mini model tree, an LED light base and gloves.
How to make it: 1. Pour a thin layer of resin and let it gel. 2. Arrange moss, pebbles and the tree. 3. Fill the mold in layers. 4. Demold, polish and set it on the LED base.
Pressed Flower Coasters

Pressed flower coasters are one of the most popular epoxy resin creations for beginners. Press daisies, pansies and small leaves in a heavy book for about two weeks, then arrange them in round silicone coaster molds and cover them with clear resin. Flat, fully dried flowers work best and keep their color longer. A set of four makes a lovely gift, and you can use flowers from a special day or your own garden. Which flowers would you press?
You will need: Pressed dried flowers and leaves, round coaster molds, clear coating resin, tweezers, a toothpick, a heat gun and gloves.
How to make it: 1. Pour a thin base layer and let it gel. 2. Arrange the pressed flowers face down with tweezers. 3. Pour the rest of the resin over them. 4. Pop bubbles, cure for a day and demold.
Seashell Coasters for a Beach House Look
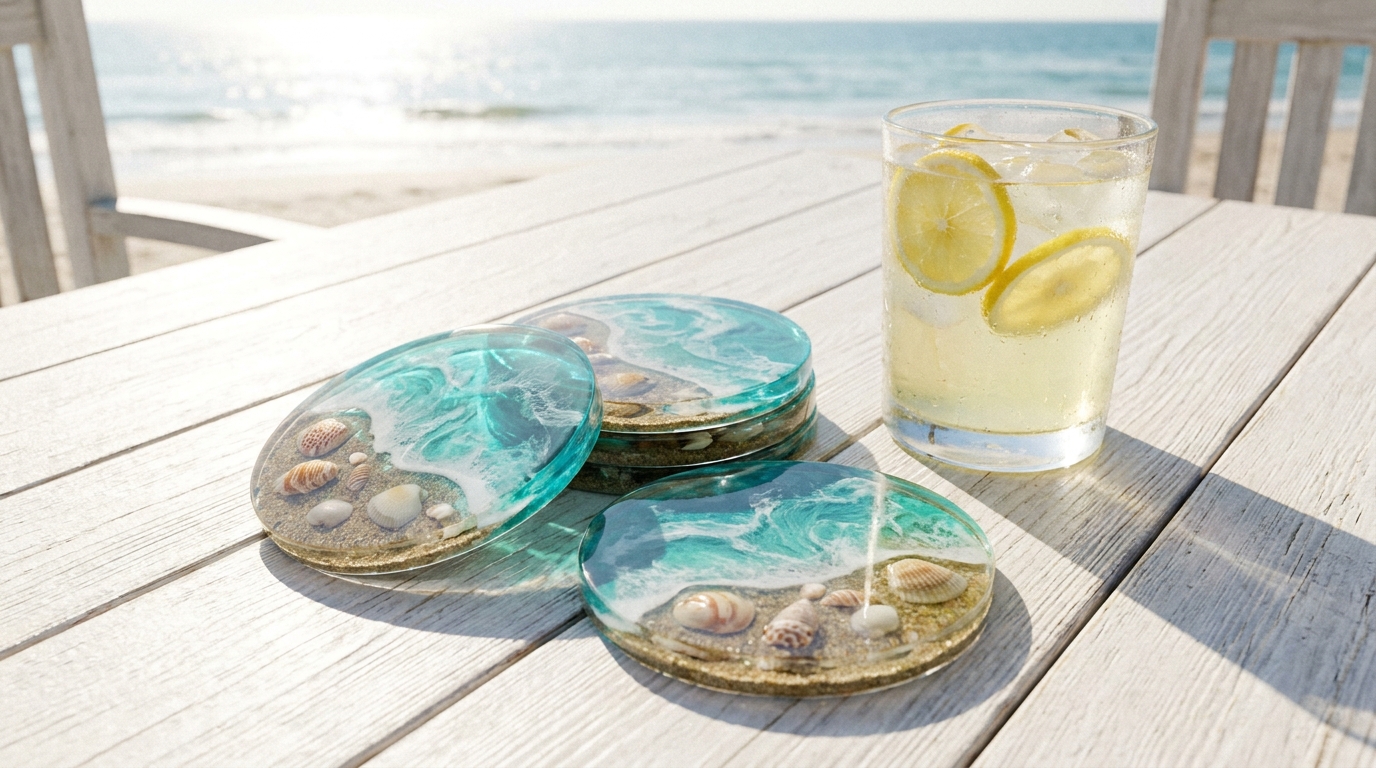
Bring a little vacation home with seashell coasters. Small shells and a pinch of sand go into the bottom of each mold, then turquoise and white resin is swirled on top to look like waves. Every coaster ends up different, like its own little beach. Clean and dry the shells well first so no water gets trapped. They look beautiful on a porch table or as a summer hostess gift. Do you have a jar of shells from a trip waiting for a project?
You will need: Small clean seashells, fine sand, coaster molds, clear resin, blue and white resin tints, a stir stick and gloves.
How to make it: 1. Place shells and a little sand in each mold. 2. Pour clear resin to cover them. 3. Swirl in blue and white resin for waves. 4. Let cure fully and demold.
Keepsake Pendants and Wedding Flowers
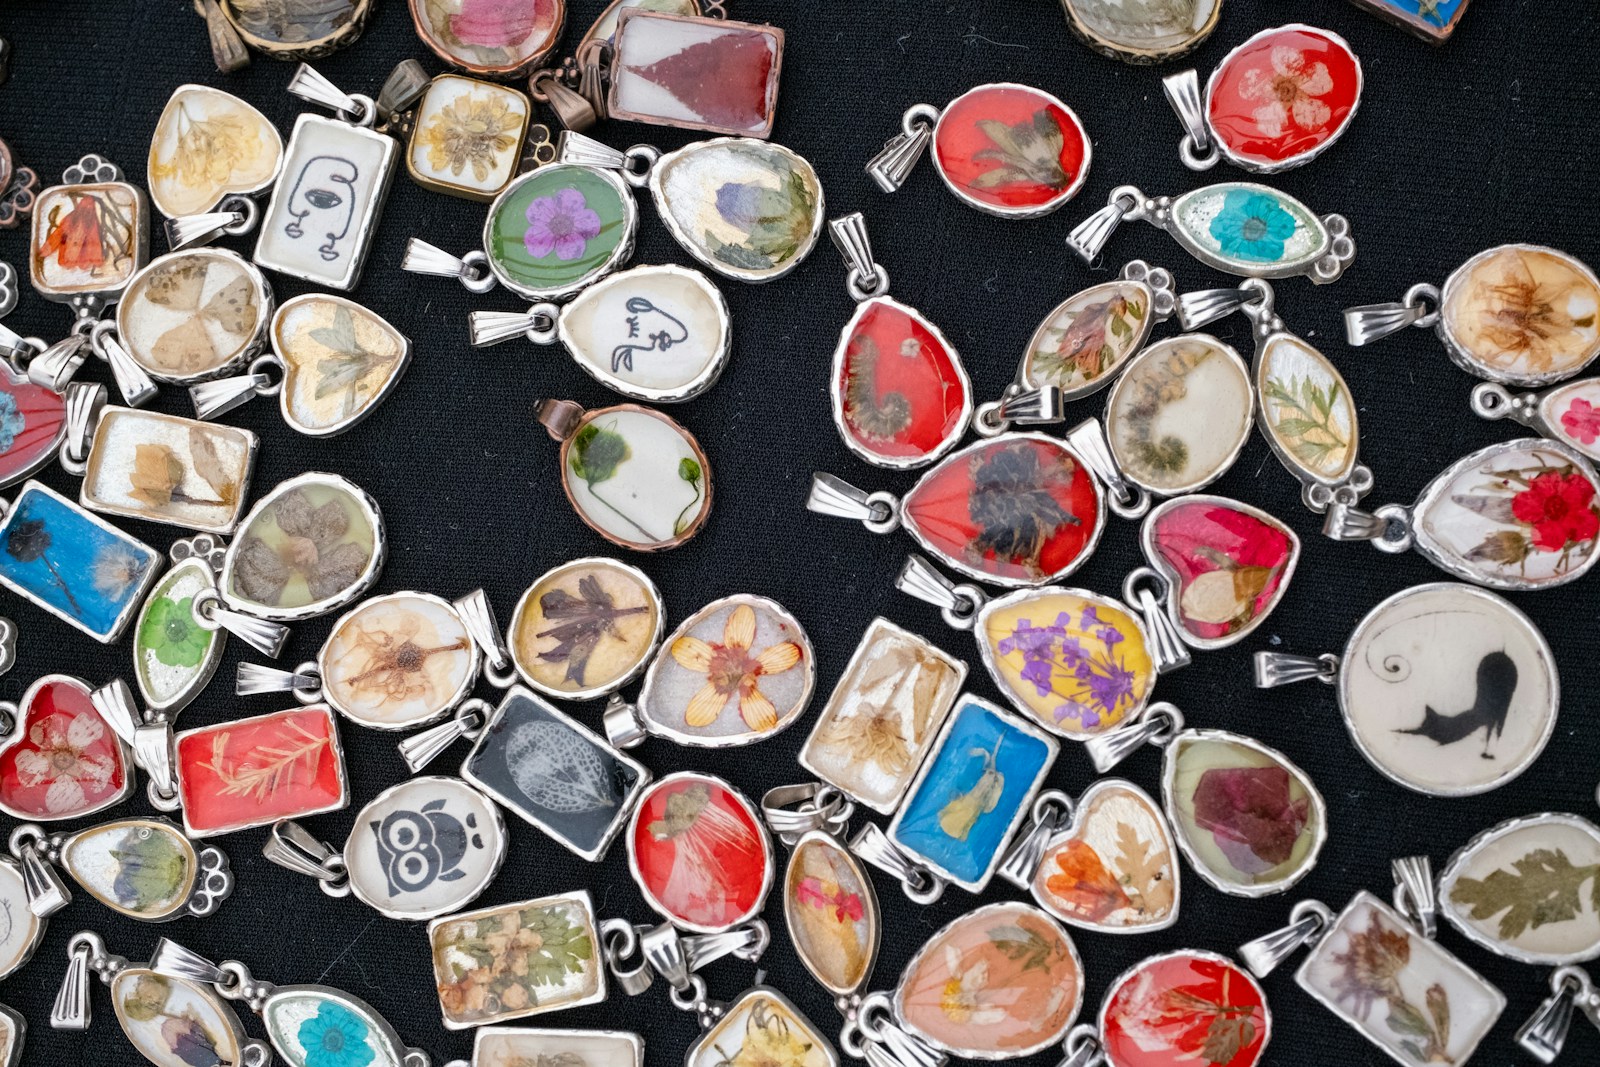
Resin is a beautiful way to save a memory. Many brides now dry a few petals from their bouquet and set them in resin pendants, paperweights or ring dishes. Small pendant molds and bezels make it easy to start, and each piece only needs a few drops of resin. You can also add a tiny photo, a lock of hair from a first haircut or a ticket stub. Pieces like these become family treasures. What memory would you want to keep forever?
You will need: Small pendant molds or open bezels, dried petals, clear doming resin, tweezers, a toothpick, jump rings and chains.
How to make it: 1. Dry the petals fully. 2. Place them in the bezel or mold. 3. Add resin drop by drop until domed. 4. Cure, then add a ring and chain.
Galaxy Magnets, the Easiest Epoxy Resin Creations
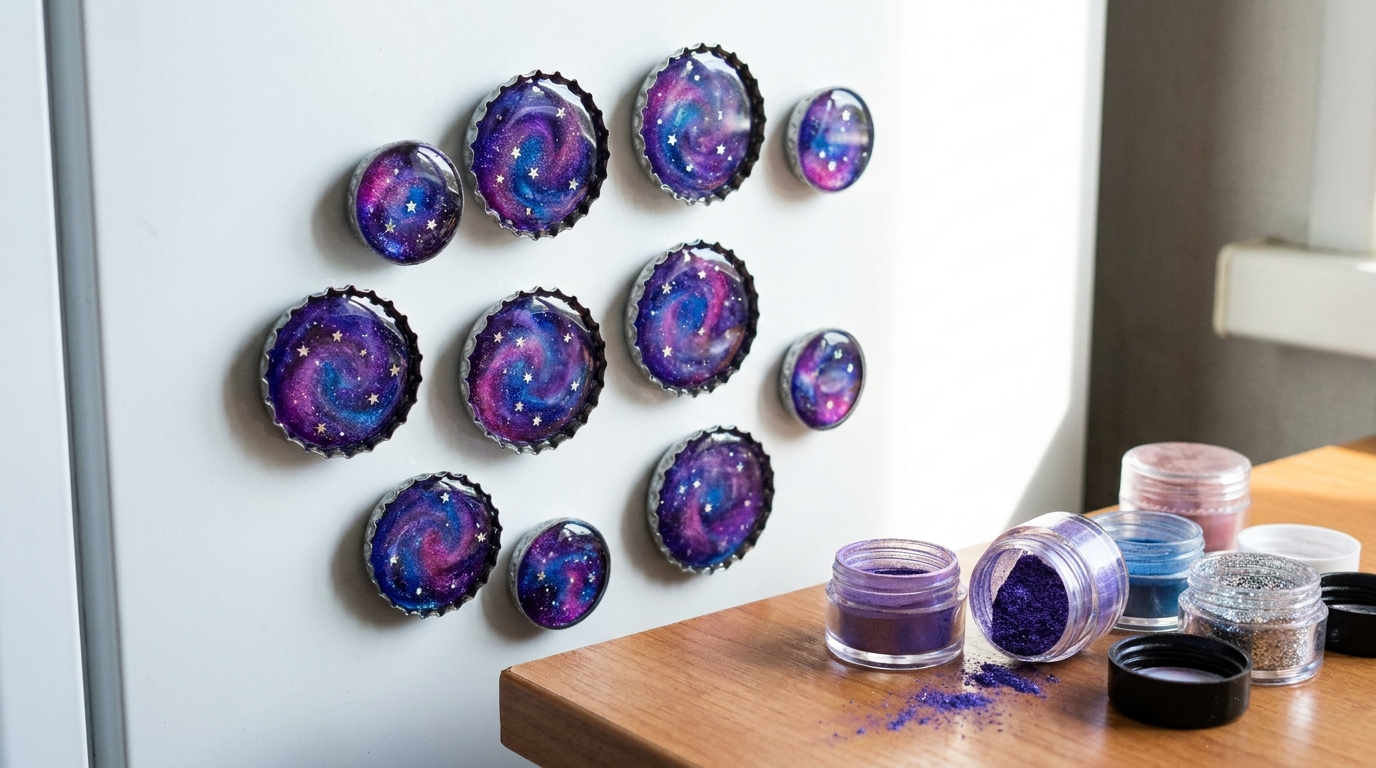
This is a perfect first resin project because it uses so little material. Save metal bottle caps, fill them with resin tinted deep blue, purple and pink, then add a pinch of fine glitter for stars. Swirl the colors with a toothpick to make a little galaxy in each cap. Glue a strong magnet on the back once they cure. Kids love choosing the colors, while a grown up handles the resin. How many galaxies will fit on your fridge?
You will need: Clean metal bottle caps, a small amount of resin, purple, blue and pink mica powder, fine glitter, toothpicks, round magnets and glue.
How to make it: 1. Mix a small batch of resin. 2. Tint it in three colors and drip into the caps. 3. Swirl with a toothpick and add glitter. 4. Cure, then glue magnets on the back.
Wood and Resin Serving Boards
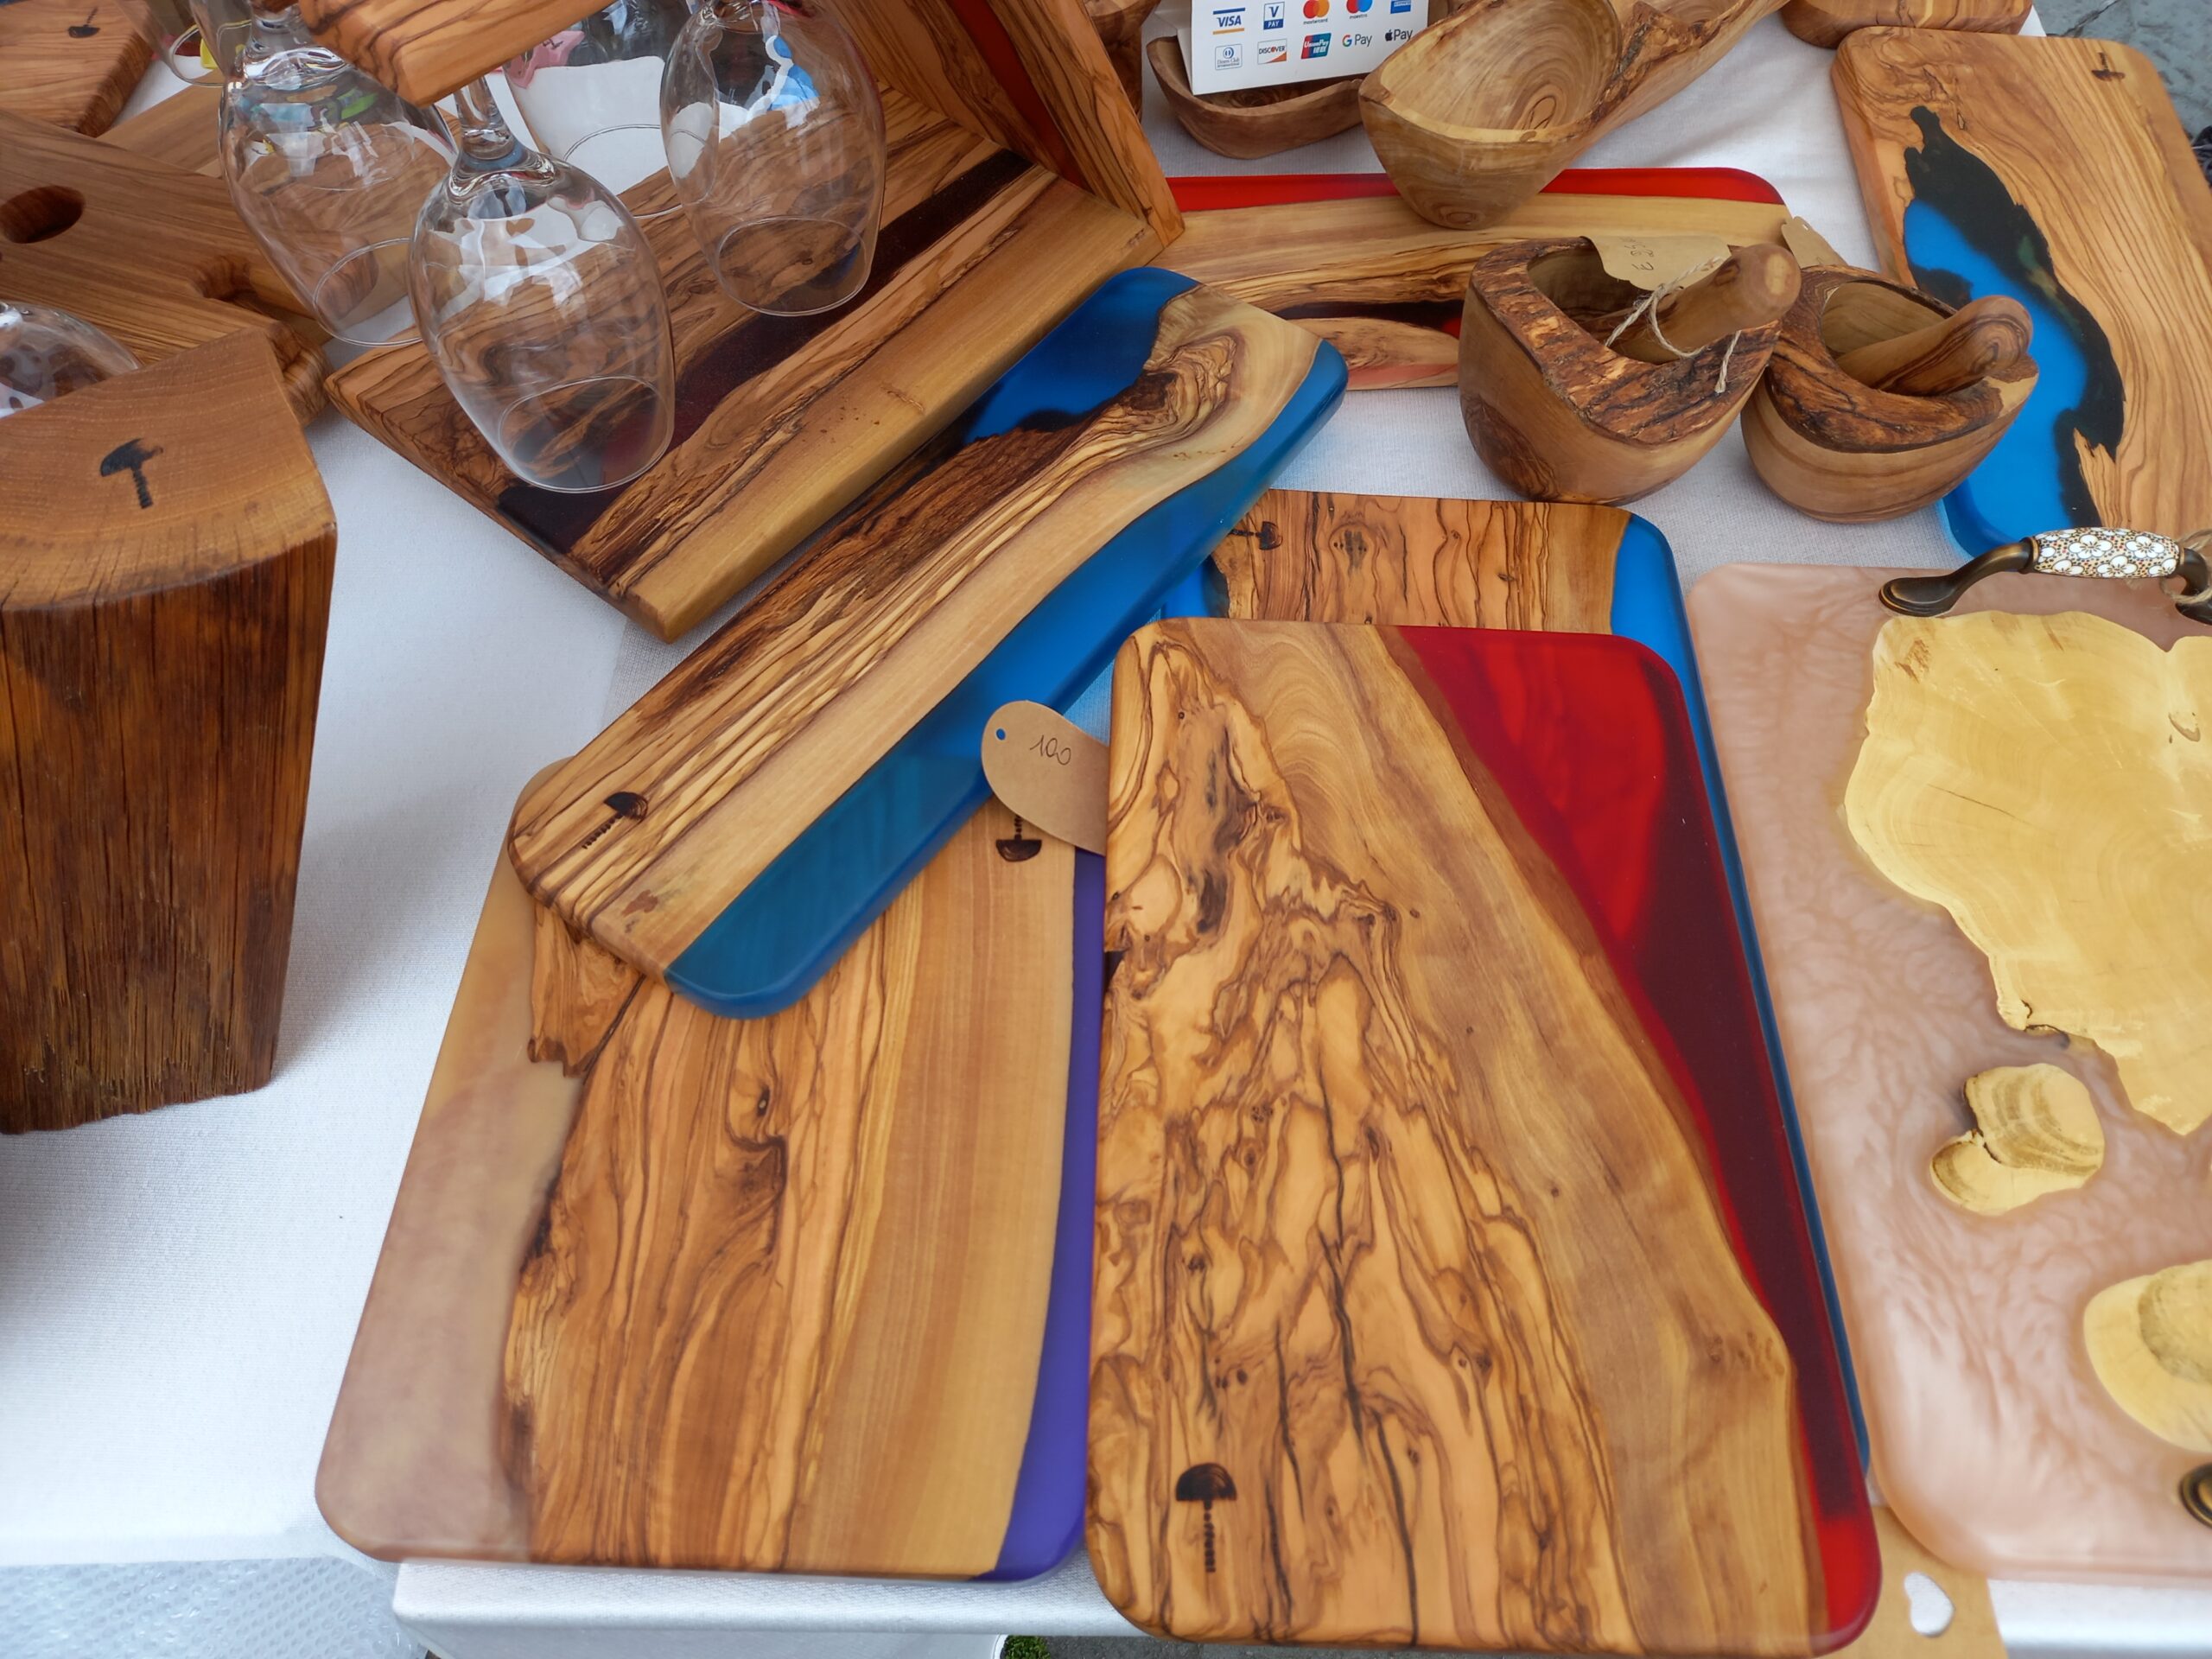
Wood and resin boards are now sold at markets all over the world, like these olive wood pieces spotted at a market in Tuscany. Scrap wood with cracks, knots and live edges becomes beautiful when the gaps are filled with colored resin. For boards that will touch food, choose a resin that is labeled food safe once cured, or keep them as decorative trays. They make striking gifts for anyone who loves to host. What color would your river be?
You will need: A wood offcut with interesting edges, a simple mold, epoxy resin, resin pigment, sandpaper up to high grit and food safe oil.
How to make it: 1. Place the wood in a sealed mold. 2. Fill the gaps with tinted resin. 3. Cure, then sand the board smooth. 4. Finish with oil and buff.
Geode Inspired Resin Wall Art
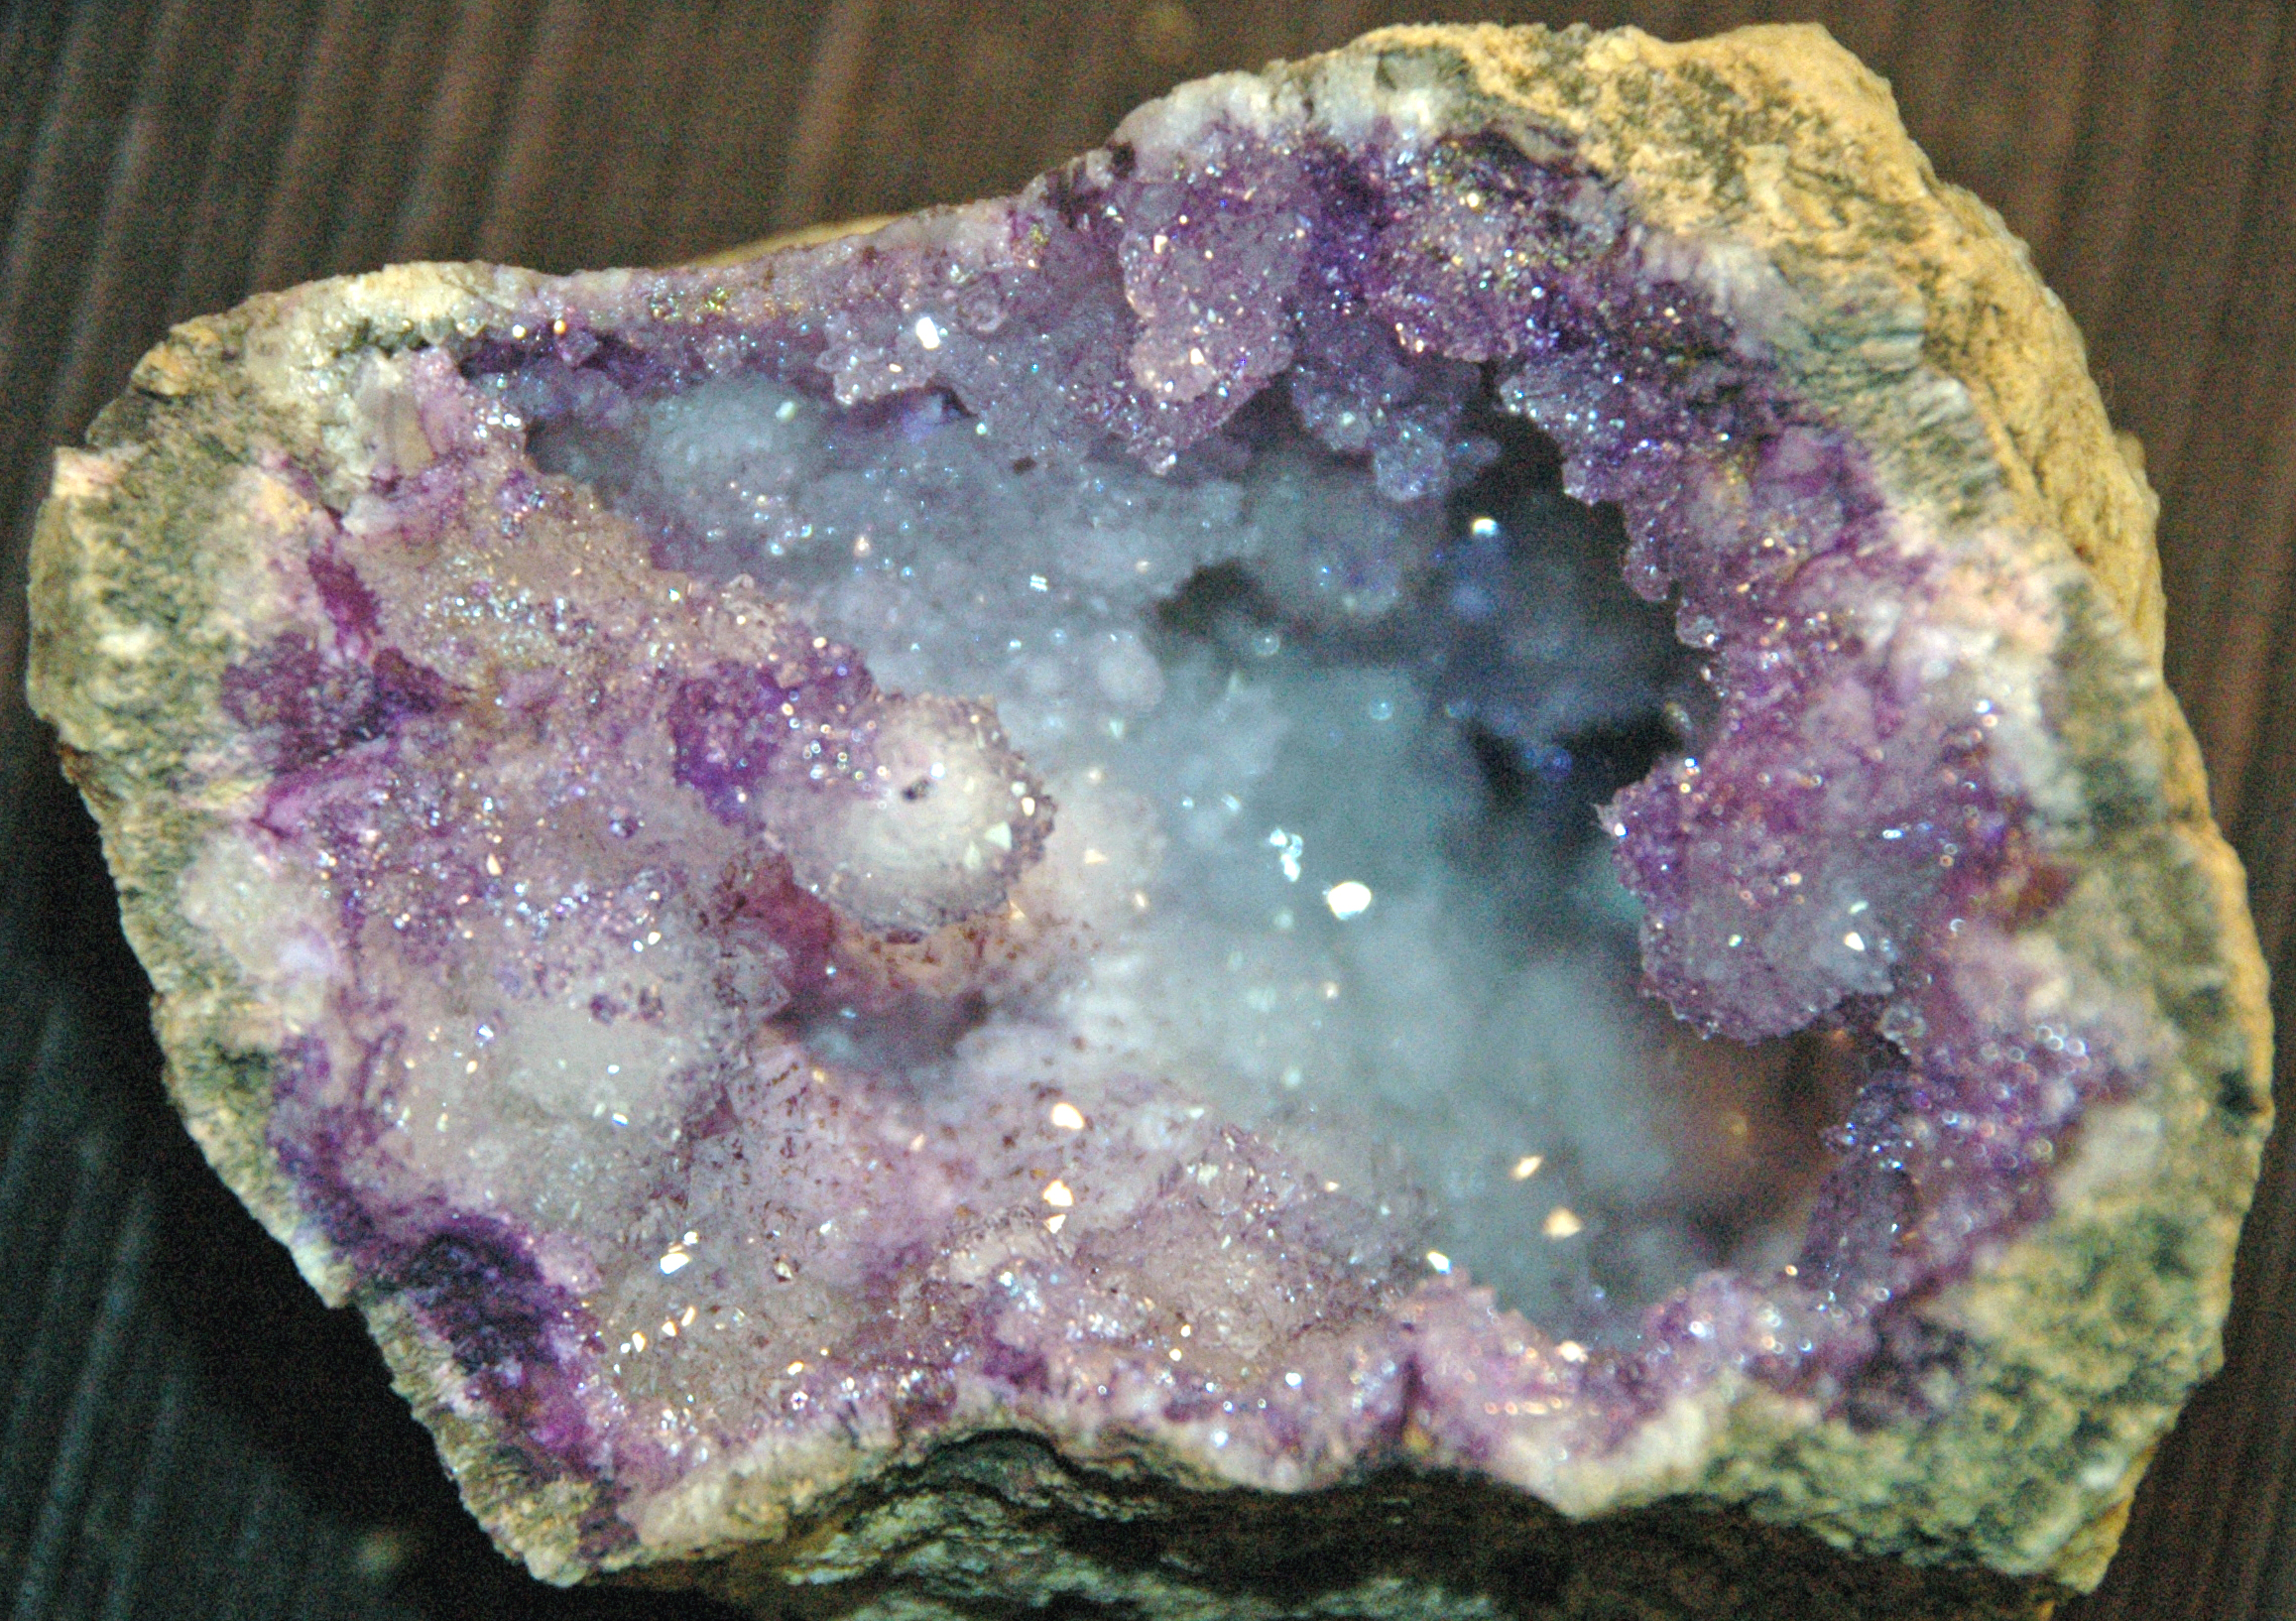
Real geodes like this one inspire some of the most beautiful resin art. Artists pour bands of colored resin on a wood panel to mimic the layers of a geode, then fill the center with crushed glass or crystals and outline everything with gold. The result sparkles like a gemstone the size of a painting. Work flat and use a level, because resin always runs downhill. For more art you can make at home, check out our realistic clay crafts. What colors would your geode be?
You will need: A wood panel, epoxy resin, several pigments, crushed glass or small crystals, gold paint pen, a level, cups and gloves.
How to make it: 1. Sketch geode bands on the panel. 2. Pour each color band and let it set slightly. 3. Fill the center with crushed glass and clear resin. 4. Outline the bands in gold once cured.
Epoxy Resin Creations for Game Night: Dice
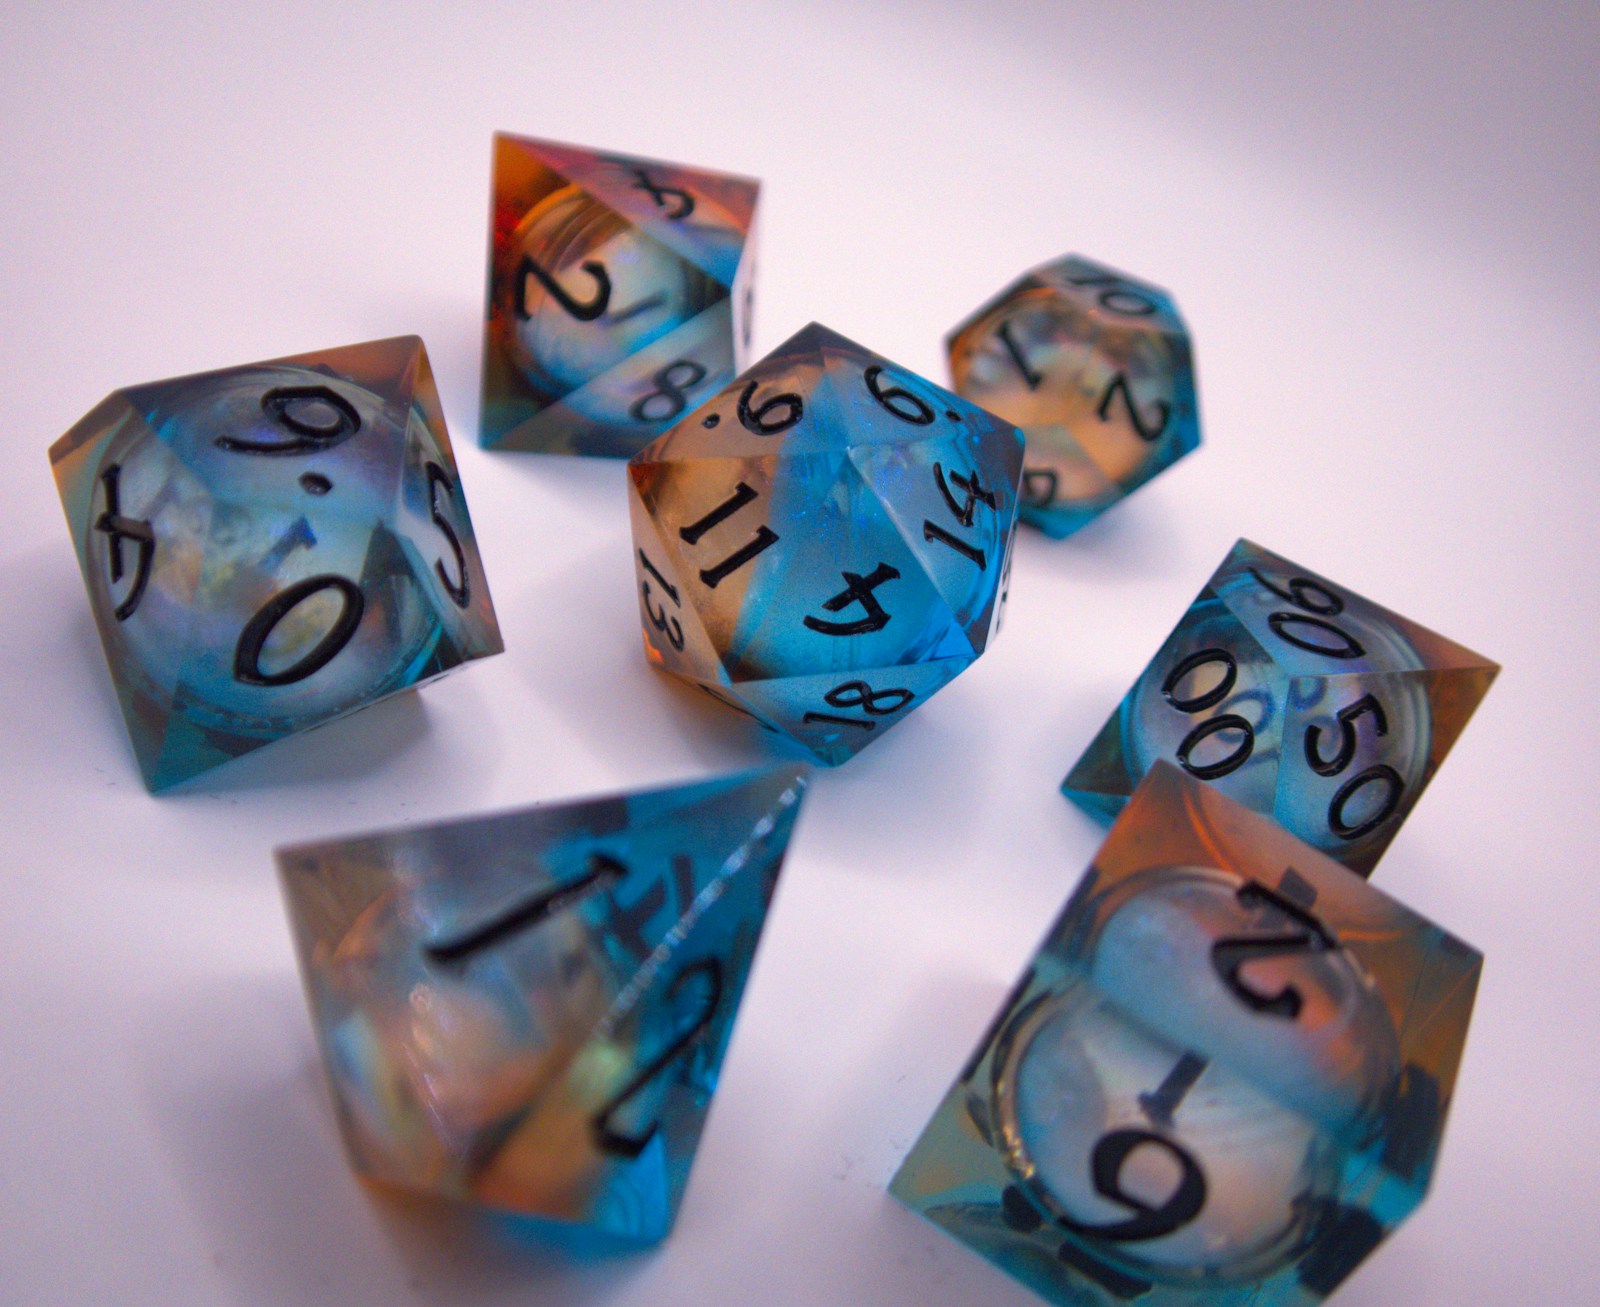
Board game fans are going wild for handmade resin dice. Silicone dice molds let you cast full sets in clear, glittery or two tone resin, sometimes with tiny flowers or charms inside. After curing, the numbers are filled with paint so they pop. Sanding and polishing each face takes time, but the result looks like jewelry. They make a thoughtful gift for any game night crew. Would you make yours sparkly or crystal clear?
You will need: Silicone polyhedral dice molds, casting resin, mica powder or glitter, a pressure pot (optional), sandpaper, polish and paint for the numbers.
How to make it: 1. Mix and tint the resin. 2. Pour slowly into the dice molds. 3. Cure, demold and sand the faces. 4. Ink the numbers and polish.
Epoxy Resin Creations for the Wall: A River Shelf

If a river table feels too big, try a river shelf. A single live edge board with a slim resin river running along it adds color to any wall without taking up floor space. Use it for plants, books or a few favorite photos. Mount it with hidden brackets that are rated for the weight, and keep heavy items near the wall. It is a great way to practice river pours on a smaller scale. Where would you hang yours?
You will need: A live edge board, a mold, deep pour resin, pigment, sandpaper, finish oil and hidden shelf brackets.
How to make it: 1. Cut the board and set it in a mold with a gap. 2. Pour tinted resin into the gap. 3. Cure, sand and oil the shelf. 4. Mount it on strong hidden brackets.
Common Resin Fails and Easy Fixes
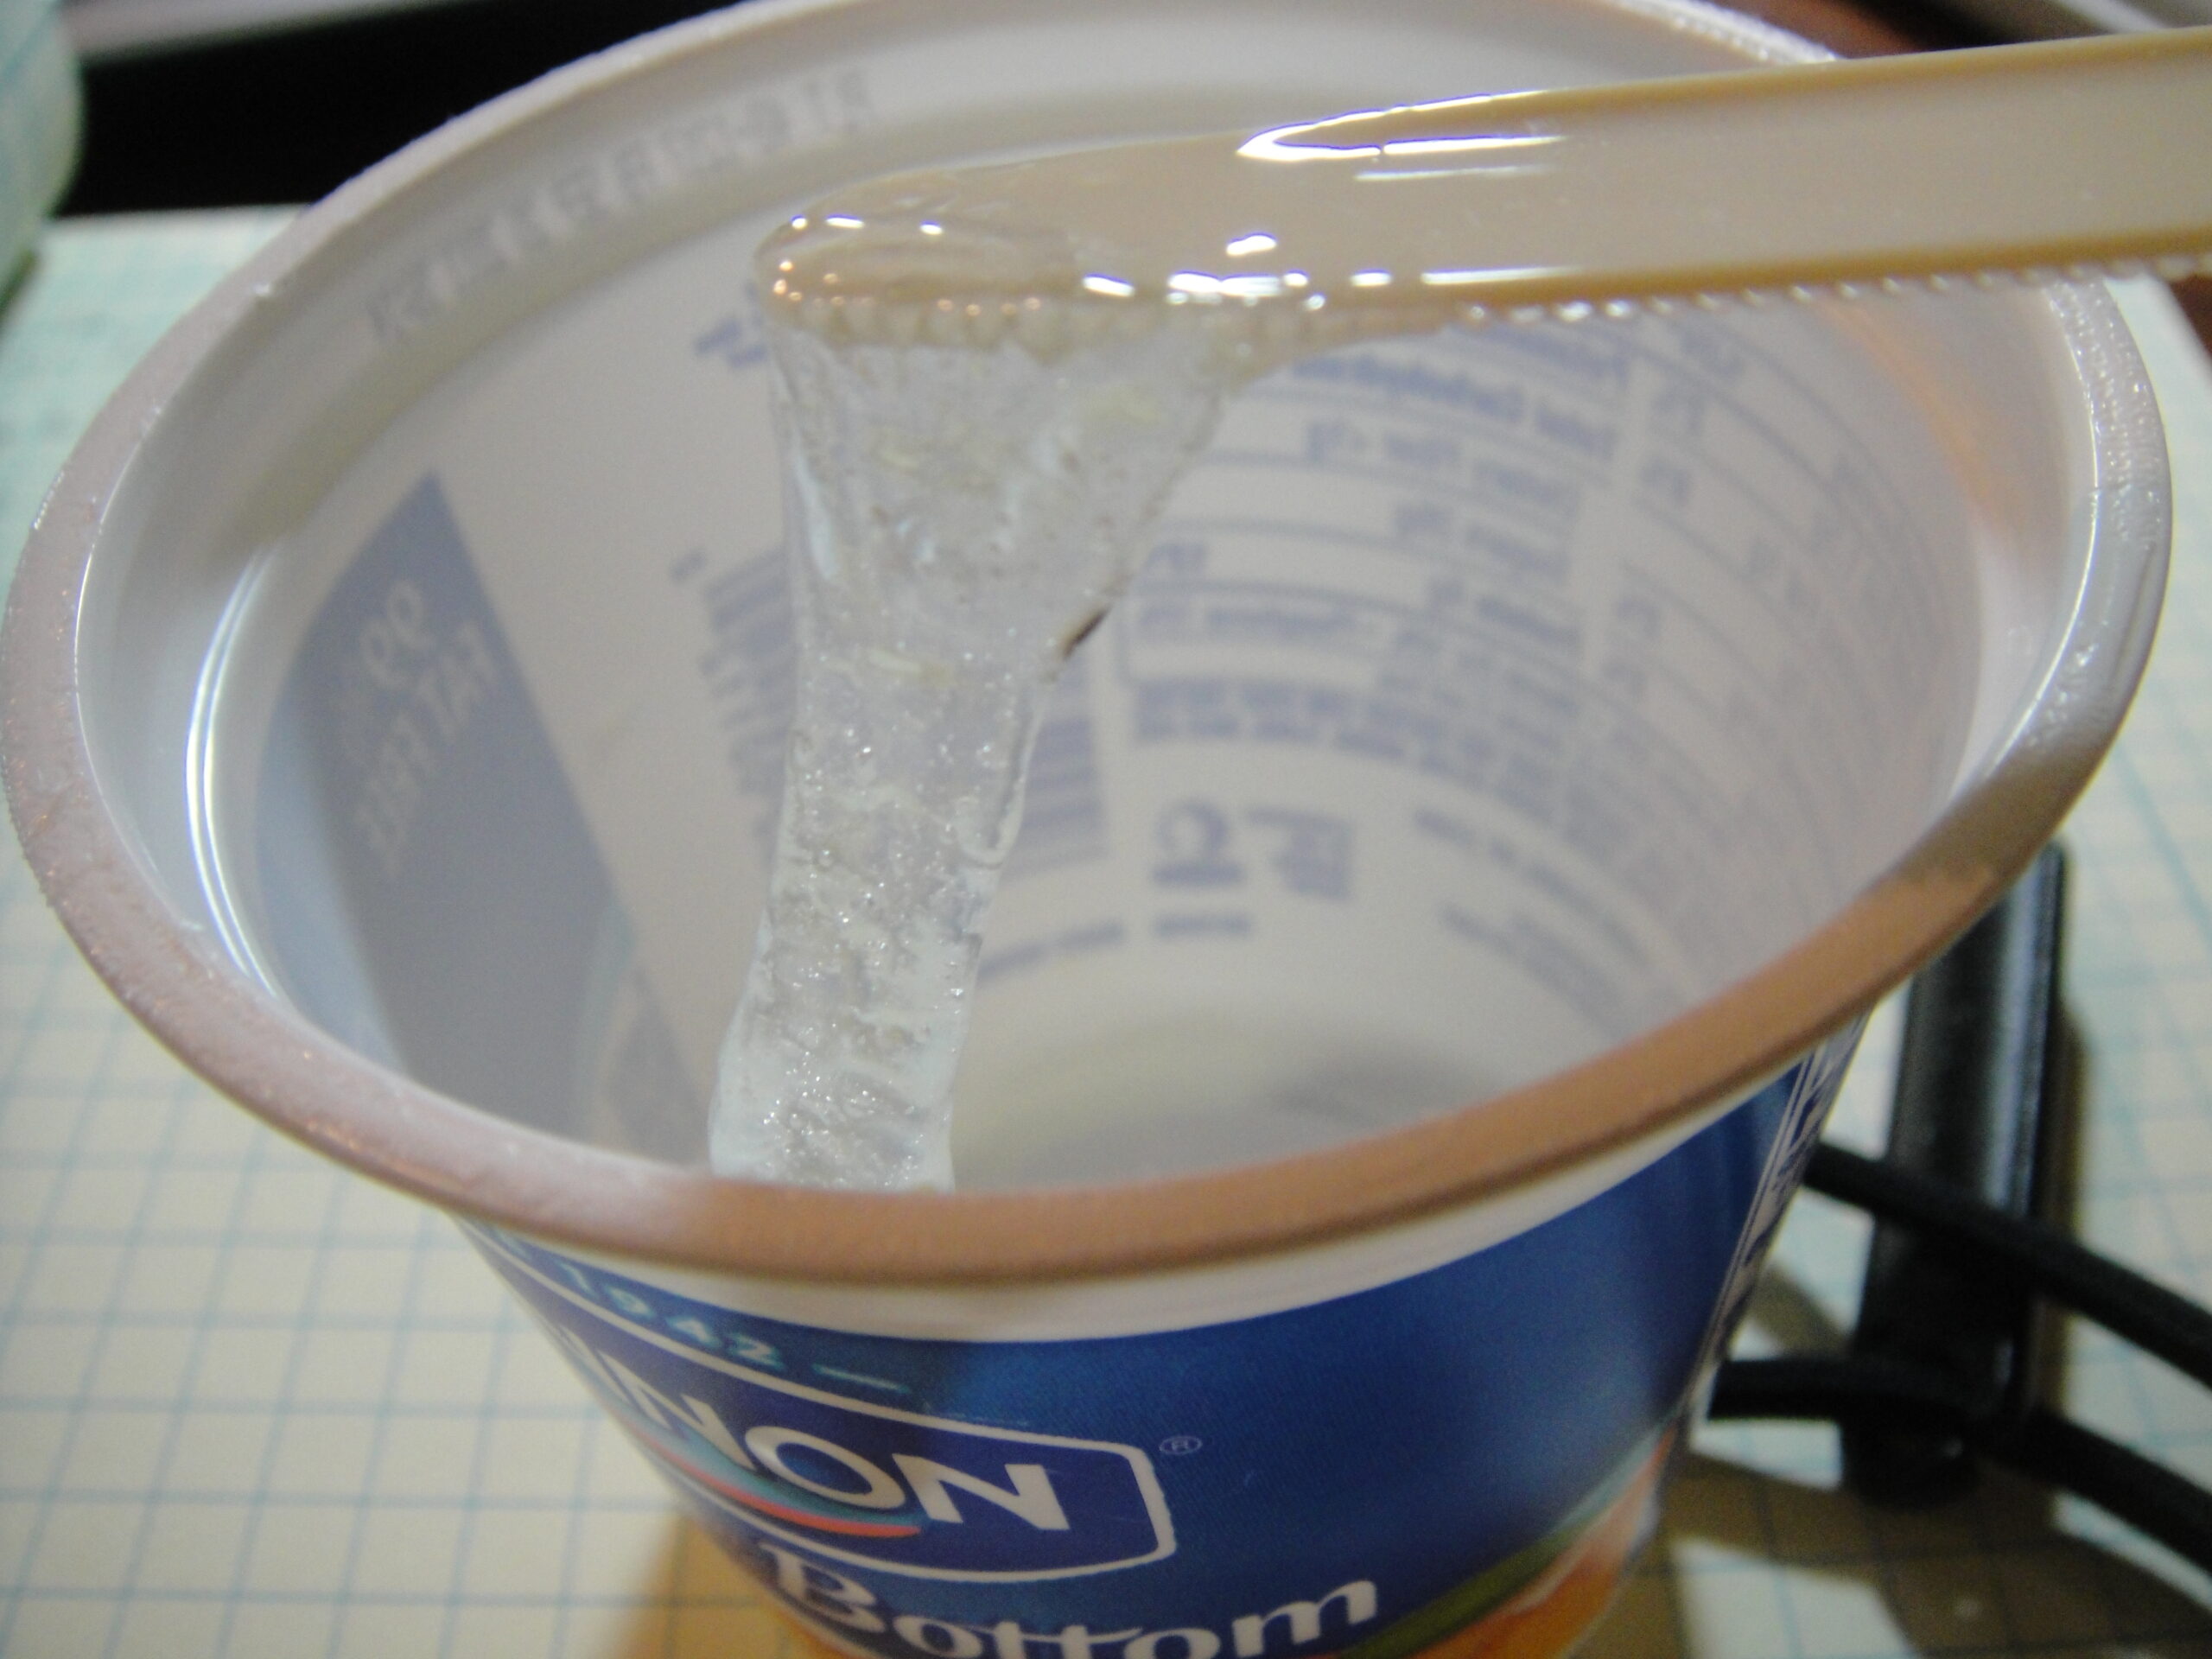
Every resin maker has a few fails. Sticky spots usually mean the resin and hardener were not measured or mixed well, so measure exactly and stir slowly for the full time on the label. Bubbles can be popped with a quick pass of a heat gun. Cloudy pieces are often caused by a cold or damp room, so work somewhere warm and dry. And if a pour overflows, lay down plastic before you start. Which fail has happened to you?
You will need: Measuring cups, stir sticks, a timer, a heat gun, a warm dry room and a plastic drop cloth.
How to make it: 1. Measure resin and hardener exactly. 2. Stir slowly for the full time, scraping the sides. 3. Pour and pop bubbles with gentle heat. 4. Let it cure in a warm, dust free spot.
Stay Safe While Making Epoxy Resin Creations
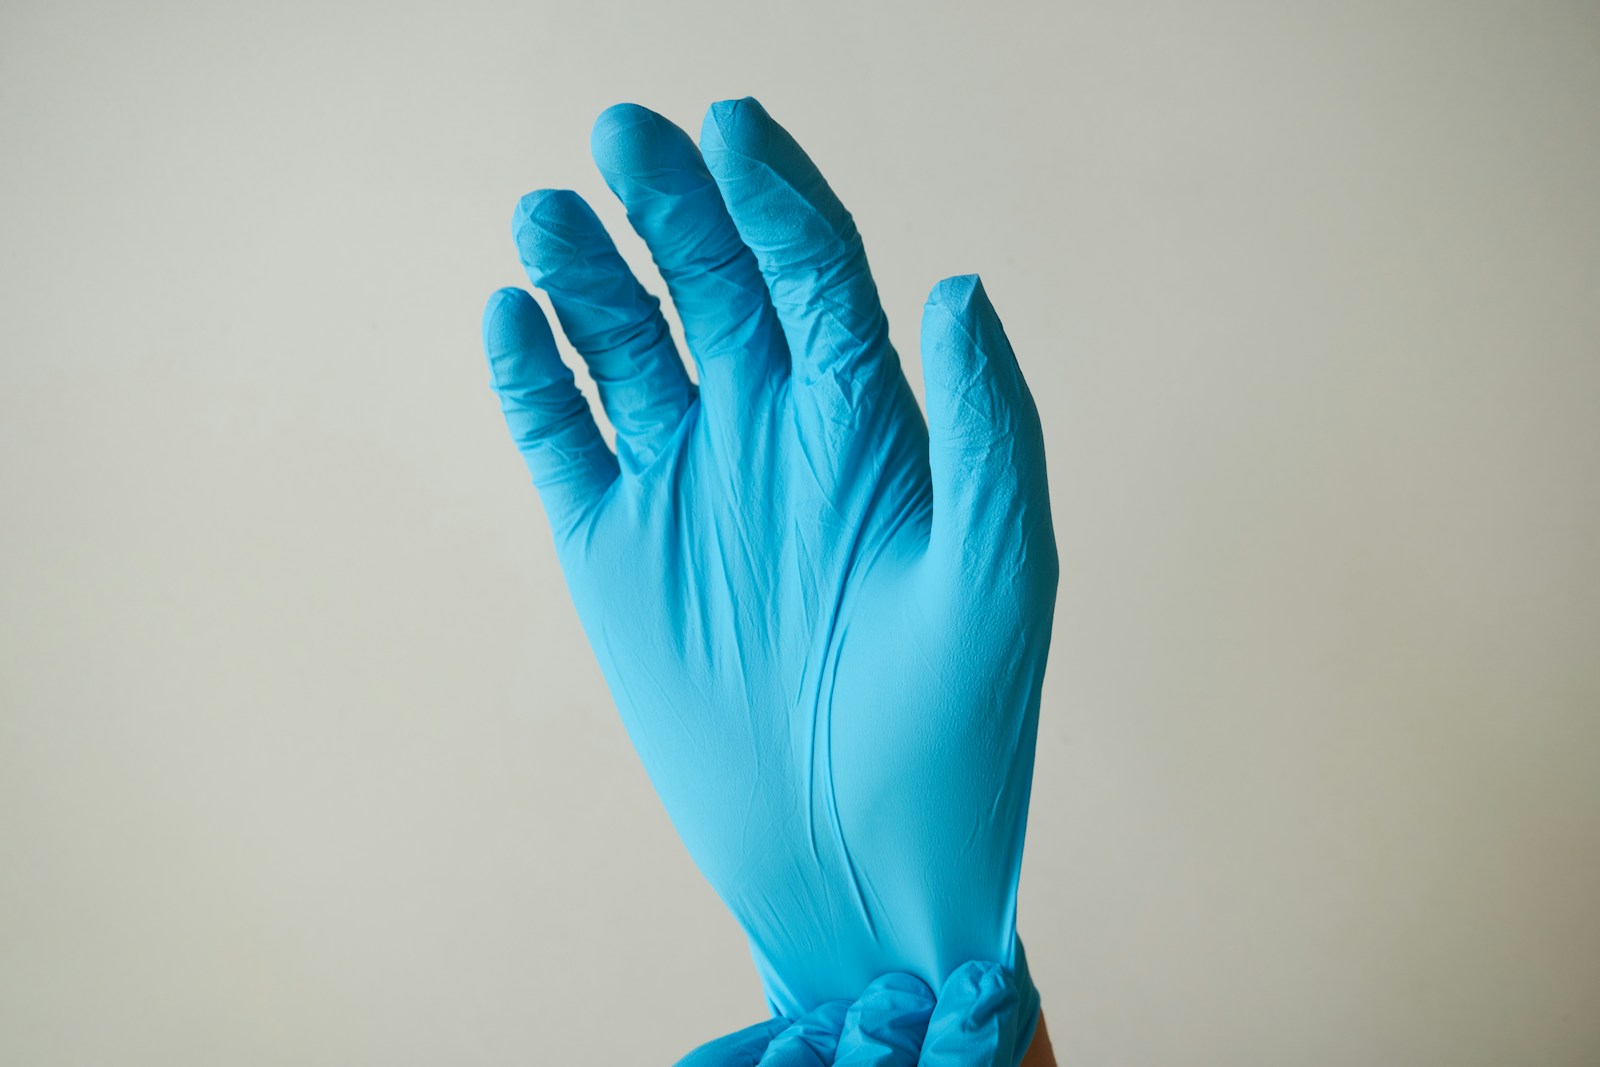
Resin is fun, but it needs respect. Always wear nitrile gloves, because liquid resin can irritate skin. Open the windows or use a fan for airflow, and consider a respirator mask for big pours. Keep resin away from kids and pets until it is fully cured, and never pour leftover liquid down the drain. Follow the label on your kit every time. A safe setup means you can enjoy this hobby for years. Which project will you try first?
You will need: Nitrile gloves, safety glasses, a respirator mask for large pours, good airflow, a covered work surface and the instructions for your resin.
How to make it: 1. Read the label before you open the bottles. 2. Put on gloves and glasses. 3. Open windows or turn on a fan. 4. Let leftovers cure in the cup before throwing them away.