Furniture Repair Hacks: 16 Easy Fixes That Make Worn Furniture Look New Again
Furniture repair hacks are all over Facebook this month, and the numbers are huge. One quick fix for chipped cabinet corners reached about 849,000 reactions in only five days, and a video of home fixes that includes the white water ring trick passed 1.3 million reactions. People are tired of throwing out good furniture over small damage, and the holidays are coming fast. Guests will soon sit at your table, open your cabinets and pull out your chairs. The good news is that most damage is easy to fix with things you already have, like an iron, a walnut, toothpicks and a bar of soap. Here are 16 cheap, simple fixes that make worn furniture look loved again..
Furniture Repair Hacks Start With White Water Rings
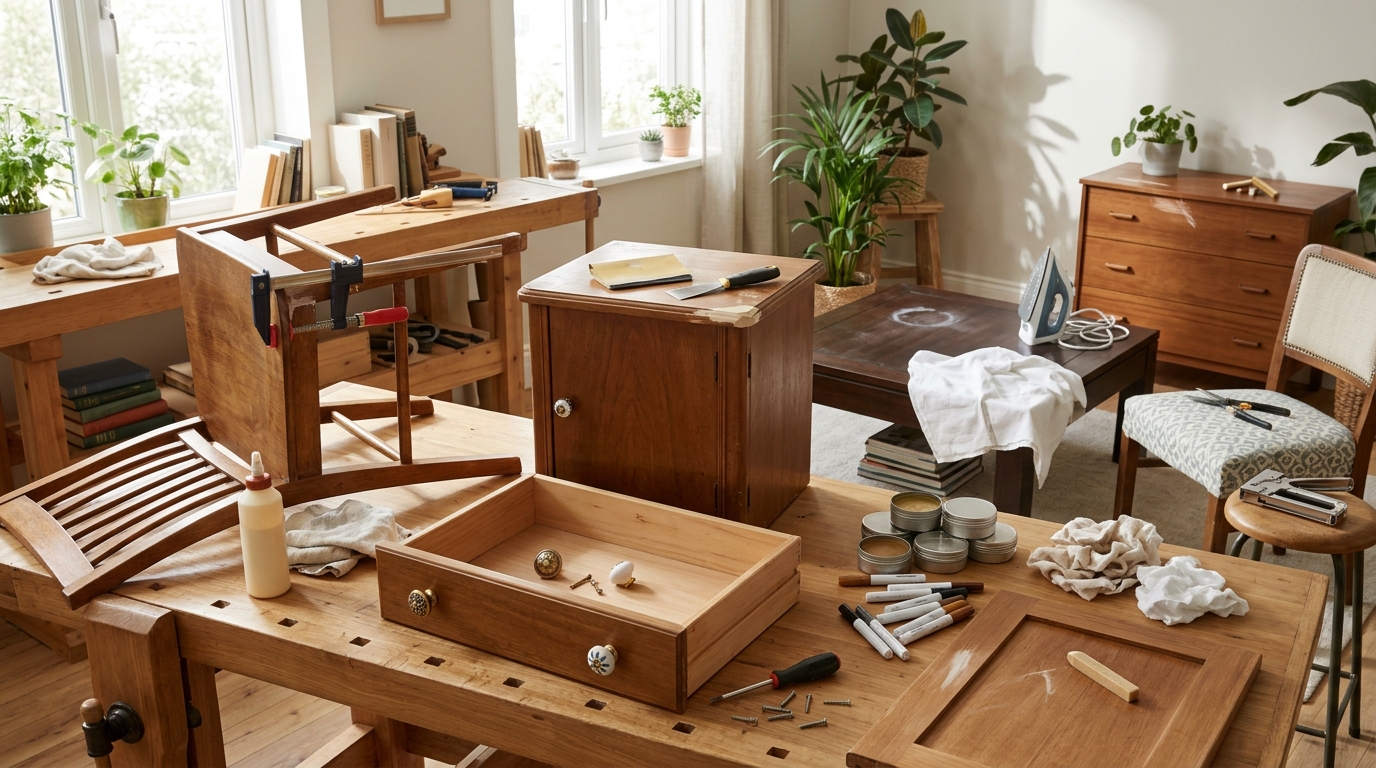
Every home has that one table with a cloudy white ring from a cold glass. A home fixes video that included this exact trick has 1.3 million reactions and 157,000 shares since October 4, so you are clearly not alone. White rings are often just moisture trapped in the finish, and gentle, dry heat can coax it out. It feels like magic the first time the ring fades away. This is the fix that makes people fall in love with furniture repair hacks. Ready to try it on your table..
You will need: A clothes iron with the steam turned off, a thin dry cotton tea towel and a soft cloth.
How to make it: 1. Empty all water from the iron and set it to low with no steam. 2. Lay the dry towel over the ring. 3. Press the iron on the towel for a few seconds, lift and check. 4. Repeat in short bursts until the ring fades, then buff with a soft cloth.
A Walnut Rubbed Into Light Scratches
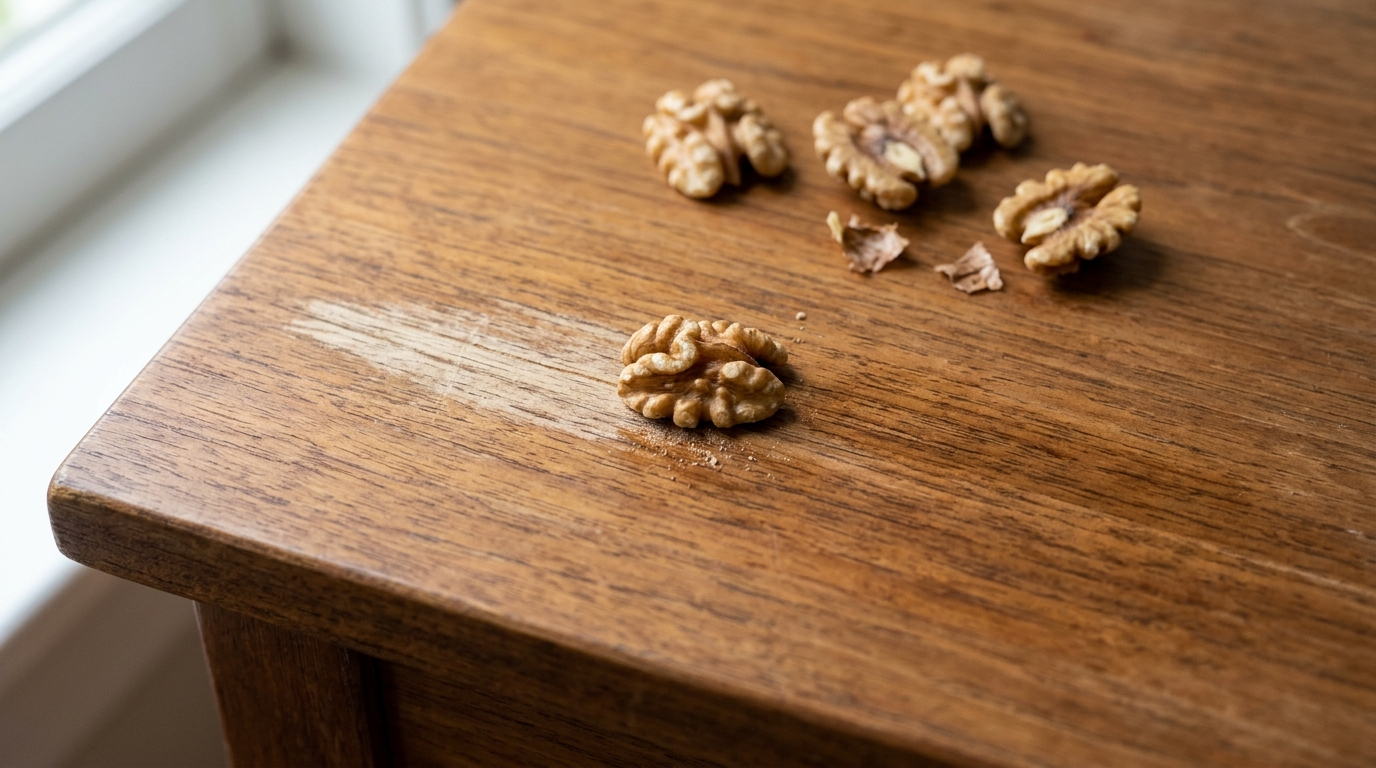
This one sounds too simple to work, but it really does on light scratches. Rub a shelled walnut back and forth over the scratch, then let it sit for a few minutes. The natural oils darken the raw wood and help the mark blend into the grain. Rub with your finger to warm it up, then buff with a soft cloth. It works best on medium and dark wood. It costs pennies and takes two minutes. Do you have a scratch you have been staring at for years?
You will need: One shelled walnut, a soft cloth and good light so you can see the scratch.
How to make it: 1. Wipe the area clean and dry. 2. Rub the walnut across the scratch in small circles. 3. Warm it in with your fingertip and wait five minutes. 4. Buff the area with a soft cloth.
A Wax Stick for Deeper Scratches
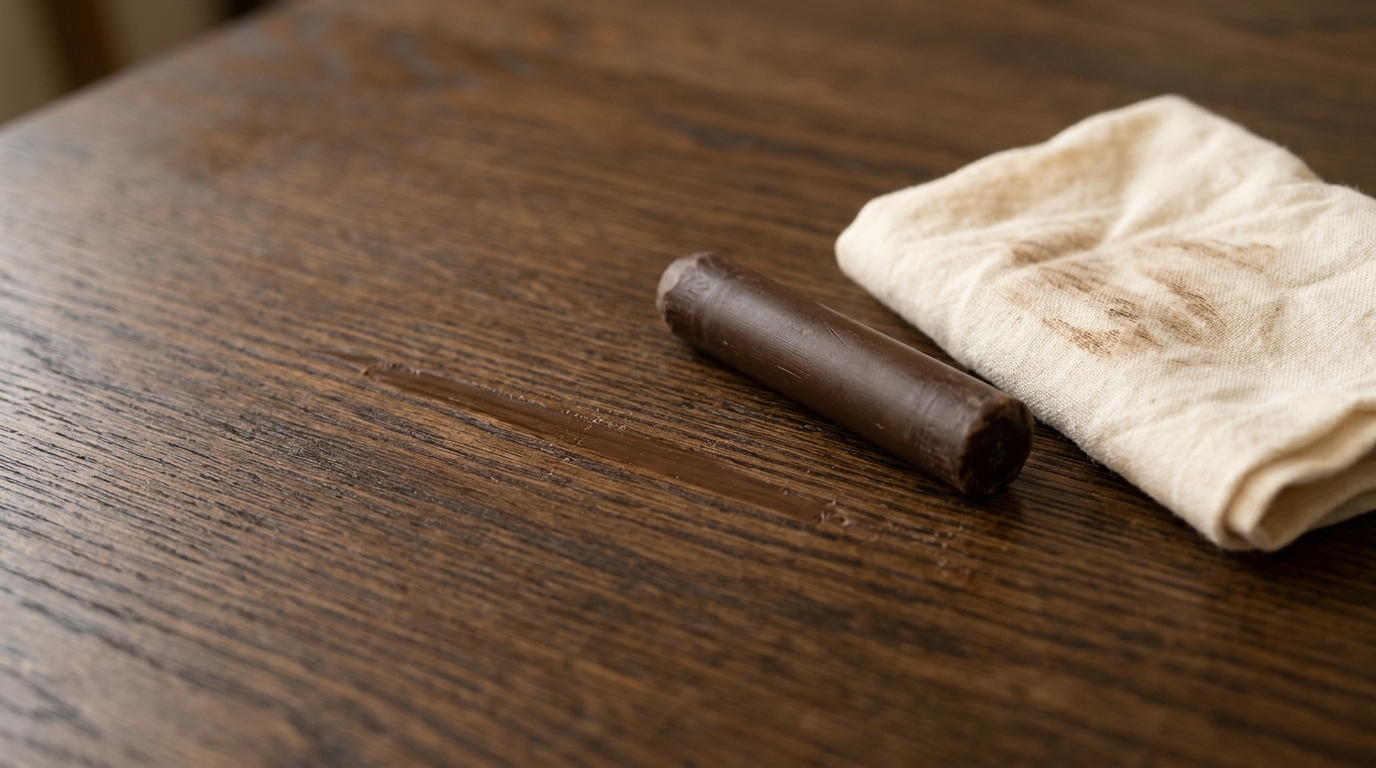
When a scratch is deep enough to catch your fingernail, a walnut is not enough. That is where a furniture wax stick or a matching crayon comes in. Rub it into the groove until it is filled, then scrape off the extra with an old card and buff. The color sits in the scratch and the surface feels smooth again. Pick a shade a little lighter than your wood and blend two if needed. Of all furniture repair hacks, this one hides the worst damage for the least money. Which room has the most scratches in your house?
You will need: A furniture wax stick or crayon in a matching color, an old plastic card and a soft cloth.
How to make it: 1. Clean the scratch and let it dry. 2. Rub the wax stick back and forth until the groove is full. 3. Scrape off the extra with the card held flat. 4. Buff with a soft cloth until it blends.
Iron On Edge Banding for Chipped Shelves
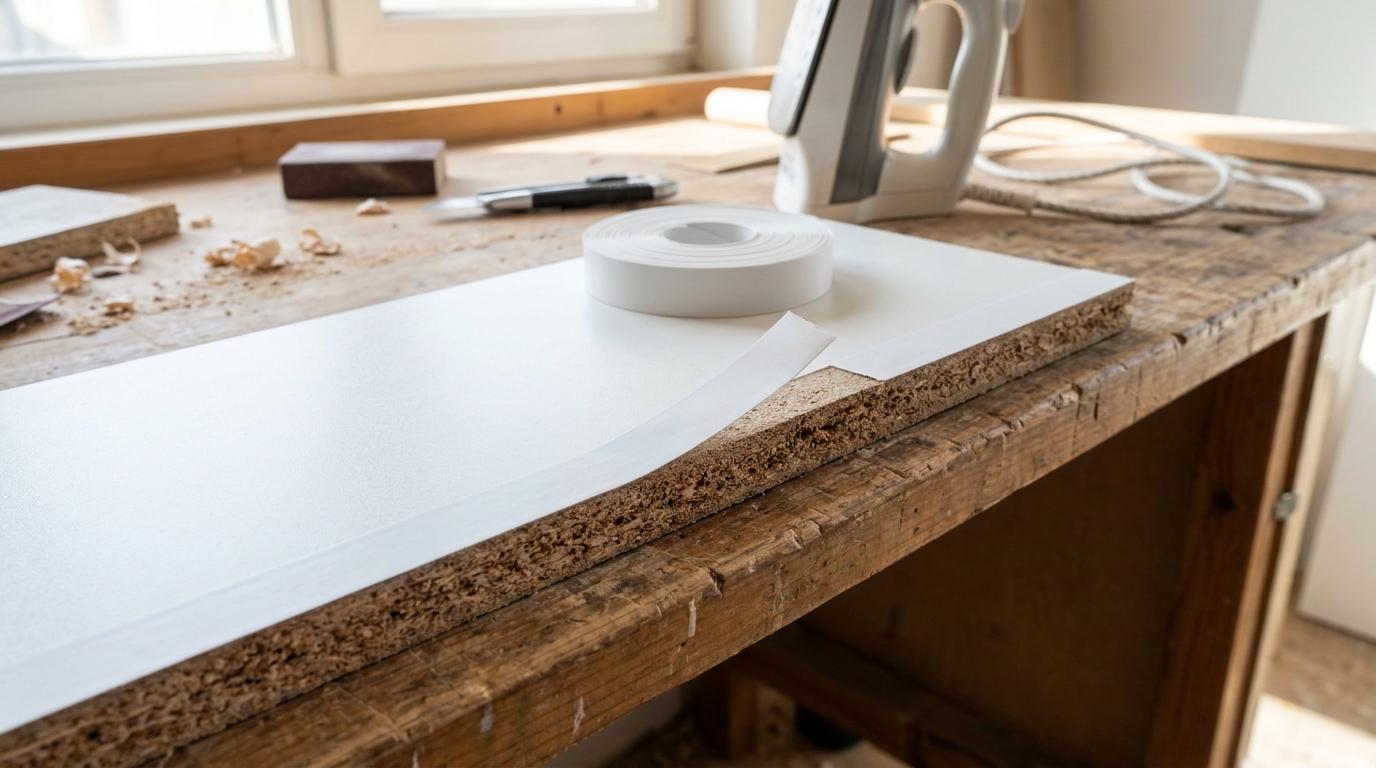
Chipped shelf edges make a whole bookcase look old. Iron on edge banding is a thin strip of veneer or plastic with heat activated glue on the back, and it covers ugly edges in minutes. A furniture fix with edge banding has more than 977,000 reactions on Facebook, and it keeps popping up in searches this month. Lay it on, press it with a warm iron, trim the sides and the shelf looks brand new. Have an adult handle the iron and trimming. Which shelf will you fix first?
You will need: A roll of iron on edge banding in a matching color, a clothes iron, a small block of wood and a trimming tool or sharp utility knife (adult only).
How to make it: 1. Cut a strip a little longer than the edge. 2. Press it on with the warm iron, moving slowly. 3. Rub it firmly with the wood block while it cools. 4. An adult trims the extra edge and ends.
Furniture Repair Hacks Gone Viral: Corner Caps Over Chipped Cabinets
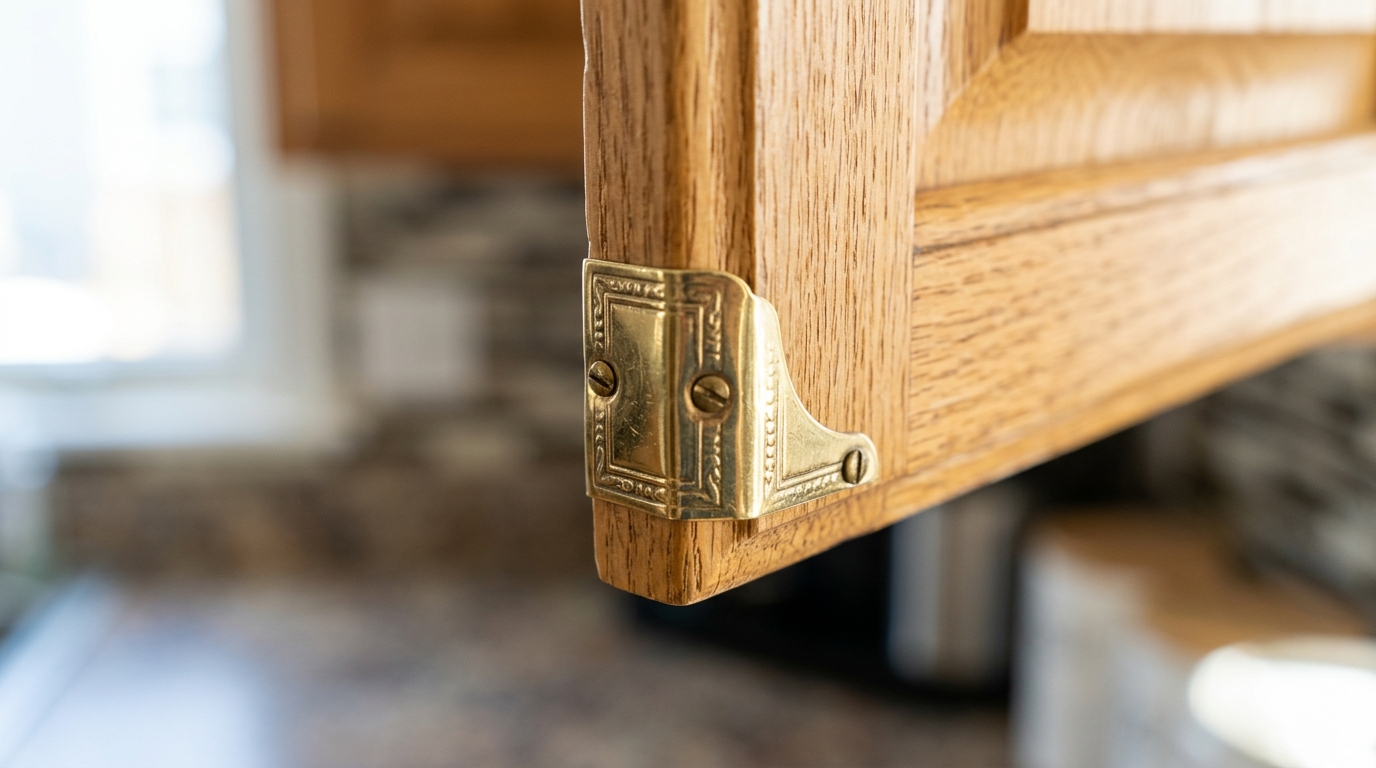
This is the hack that exploded this week. A video showing decorative metal corners pressed over chipped wooden cabinet edges reached about 849,000 reactions and 24,000 shares in just five days after it went up on October 22. You can watch the corner rivet hack on Facebook to see how fast it is. A small brass or black corner cap hides the chip and even adds a little vintage charm. Furniture repair hacks like this cost a few dollars and need almost no skill. Would brass or black suit your cabinets better?
You will need: Decorative metal corner caps, tiny matching nails or strong glue, a small hammer and a pencil.
How to make it: 1. Hold the corner cap over the chipped corner and mark the nail holes. 2. Add a dab of glue inside the cap. 3. Press it on and tap in the tiny nails. 4. Repeat on other corners so they all match.
Toothpicks and Glue for a Stripped Screw Hole
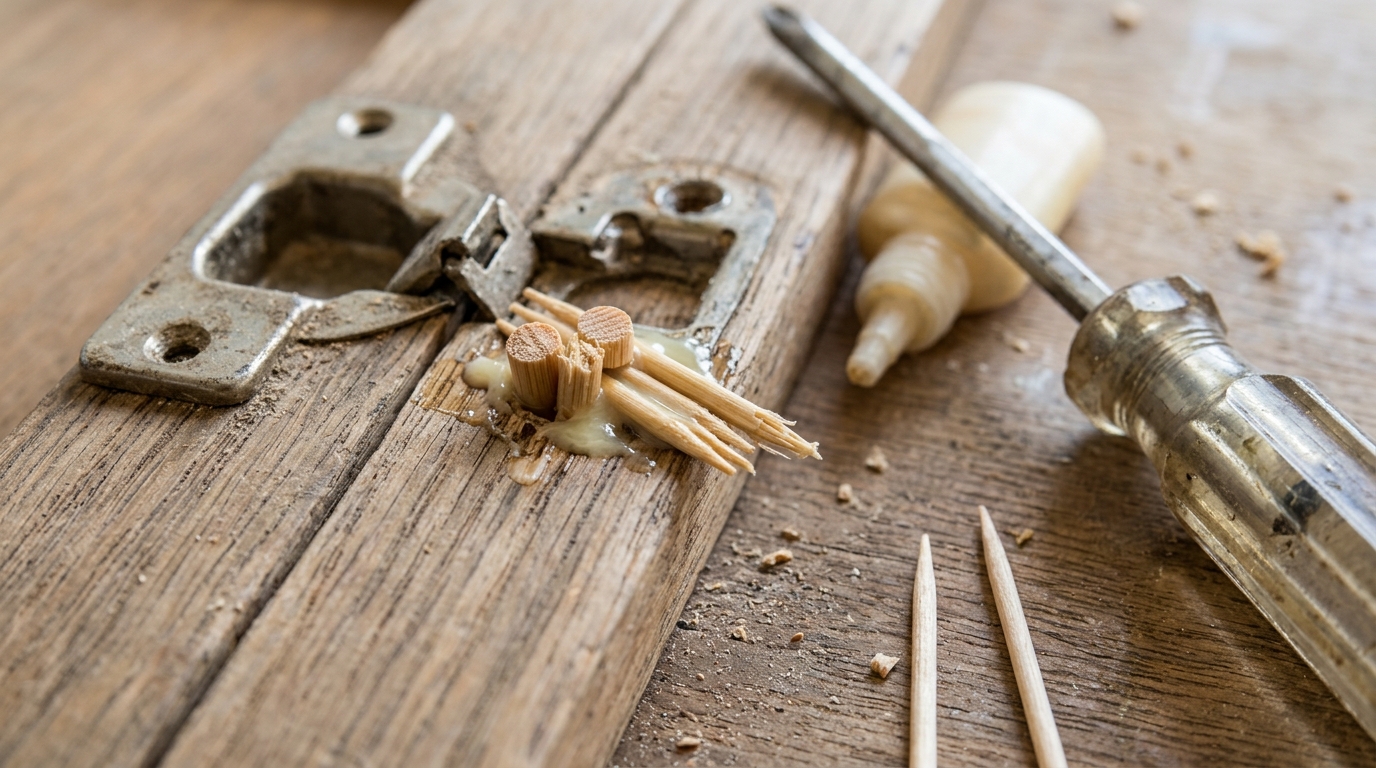
A cabinet door that sags or a knob that spins usually means the screw hole is worn out. Here is the old trick that every handy grandparent knows. Dip a few wooden toothpicks in wood glue, push them into the hole, snap them off flush and let it dry. Now the screw has fresh wood to bite into. It is one of the most useful furniture repair hacks you will ever learn, and it works on hinges, handles and chair backs. Is there a wobbly door in your kitchen right now?
You will need: Wooden toothpicks, wood glue, a screwdriver and a small utility knife (adult only).
How to make it: 1. Remove the screw. 2. Dip three or four toothpicks in glue and push them into the hole. 3. Snap or trim them flush and let the glue dry for an hour. 4. Drive the screw back in gently.
Felt Pads to Stop a Wobbly Table
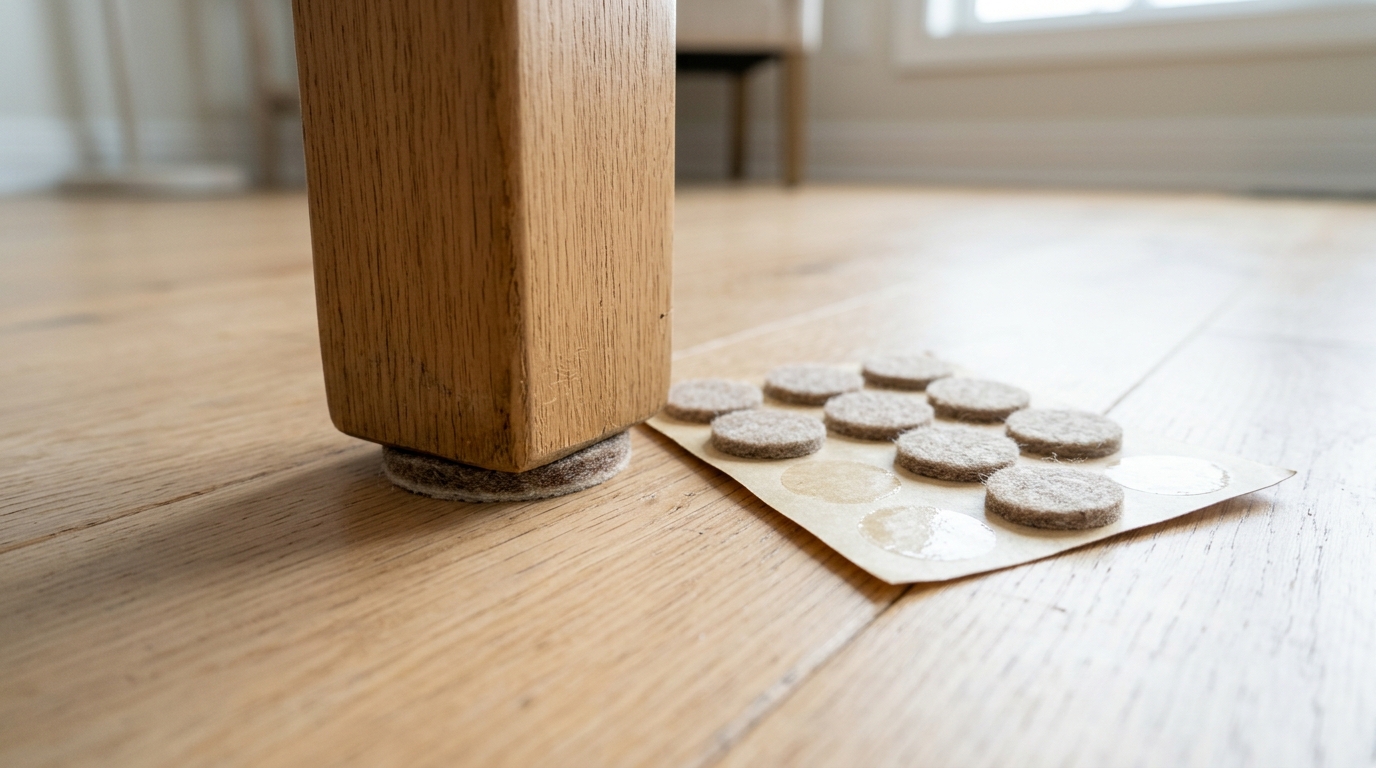
A wobbly table drives everyone crazy at dinner. Often the floor is a little uneven, or one leg is a hair shorter than the others. Find the short leg by rocking the table gently, then stack thin felt pads under it until the wobble is gone. Add pads to the other legs too, and the floors stay scratch free as a bonus. Before the holiday guests arrive, this two minute fix from our list of furniture repair hacks makes the whole table feel solid. How many wobbly tables and chairs do you have?
You will need: A sheet of round felt pads in different thicknesses and a damp cloth.
How to make it: 1. Clean the bottom of each leg. 2. Rock the table to find the short leg. 3. Stick one felt pad under it and test again. 4. Add thin pads until the table sits flat, then pad the other legs.
Furniture Repair Hacks for a Loose Chair Rung
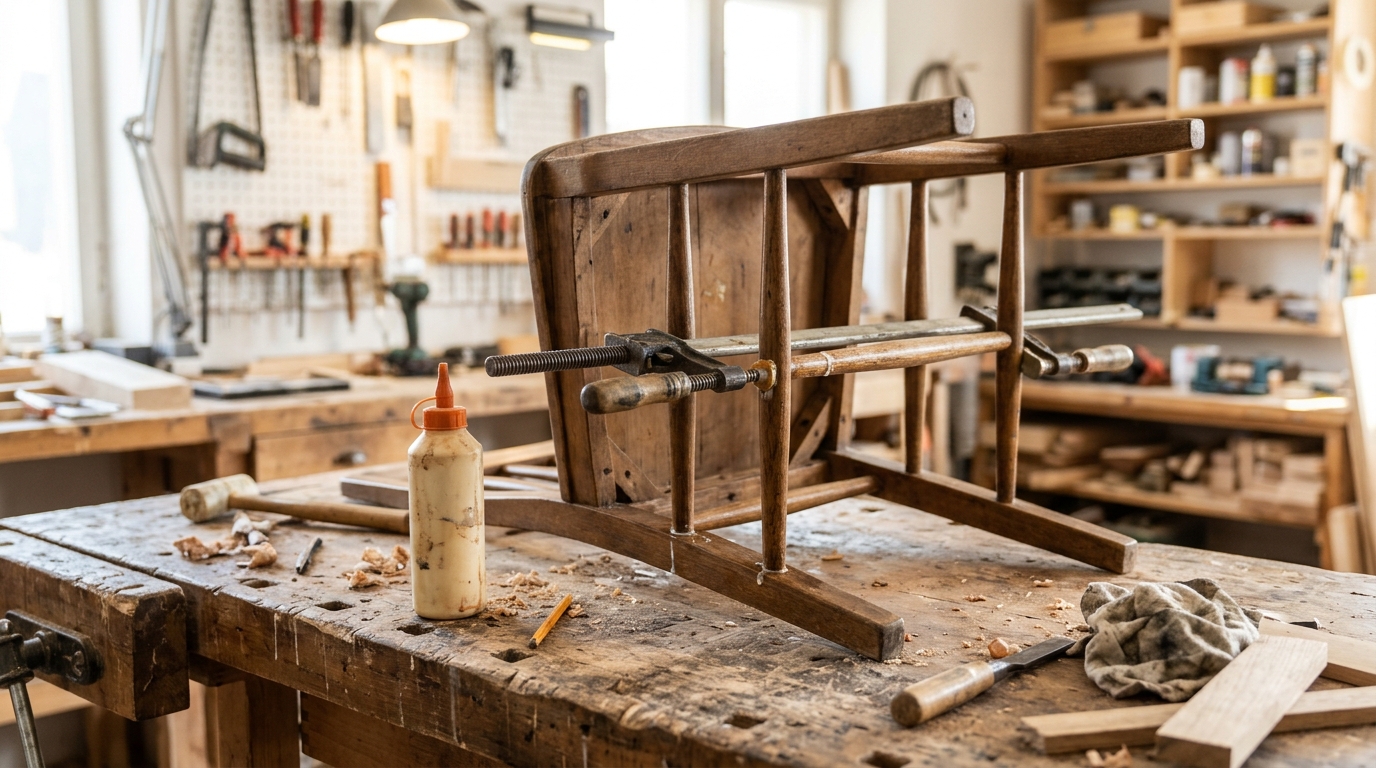
Loose chair rungs only get worse every time someone sits down. The fix is easy if you catch it early. Gently pull the loose rung out, scrape away the old dry glue, add fresh wood glue and clamp it tight overnight. The next day, the chair feels solid again. Furniture repair hacks like this can save a set of dining chairs that would otherwise end up on the curb. A strap or rope tied tight works if you do not own clamps. Which chair in your house creaks the most?
You will need: Wood glue, a small scraper, a damp rag and two clamps or a strong strap.
How to make it: 1. Gently wiggle the loose rung out of its hole. 2. Scrape off the old glue from the rung and the hole. 3. Add fresh glue and push the rung back in. 4. Clamp it tight, wipe off extra glue and leave it overnight.
Steam to Lift a Small Dent
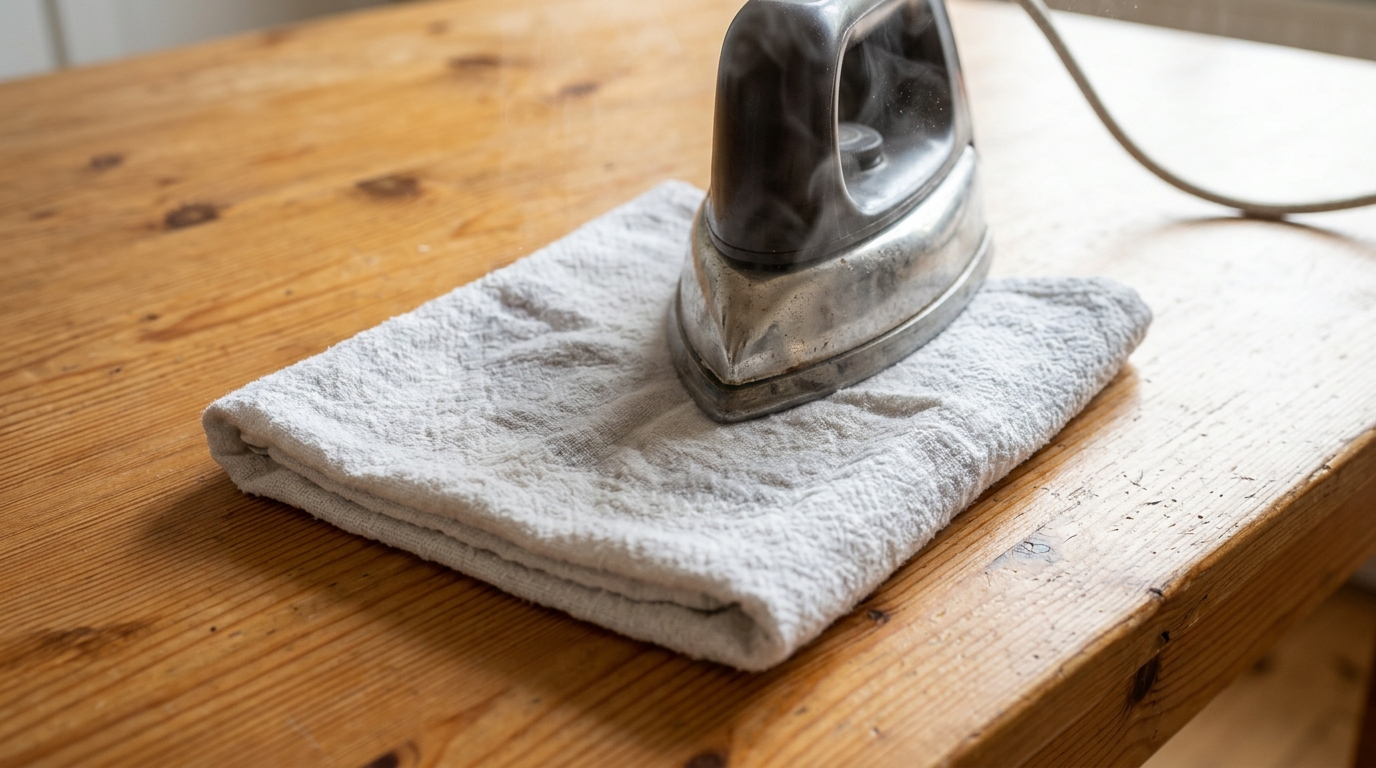
Dents in solid wood are crushed fibers, and a little steam can swell them back up. Lay a damp cloth over the dent and touch a warm iron to it for a few seconds at a time. The moisture goes into the wood and the dent slowly rises. This works best on bare or oil finished solid wood, so test a hidden spot first. An adult should handle the iron. Light sanding and a bit of oil finish the job. Could this save the little dents on your kids’ table?
You will need: A clothes iron, a damp cotton cloth, fine sandpaper and a little furniture oil.
How to make it: 1. Put a few drops of water in the dent. 2. Cover it with the damp cloth. 3. Touch the warm iron to the cloth for a few seconds and lift. 4. Repeat until the dent rises, then sand lightly and oil.
Glue Down Lifted Veneer
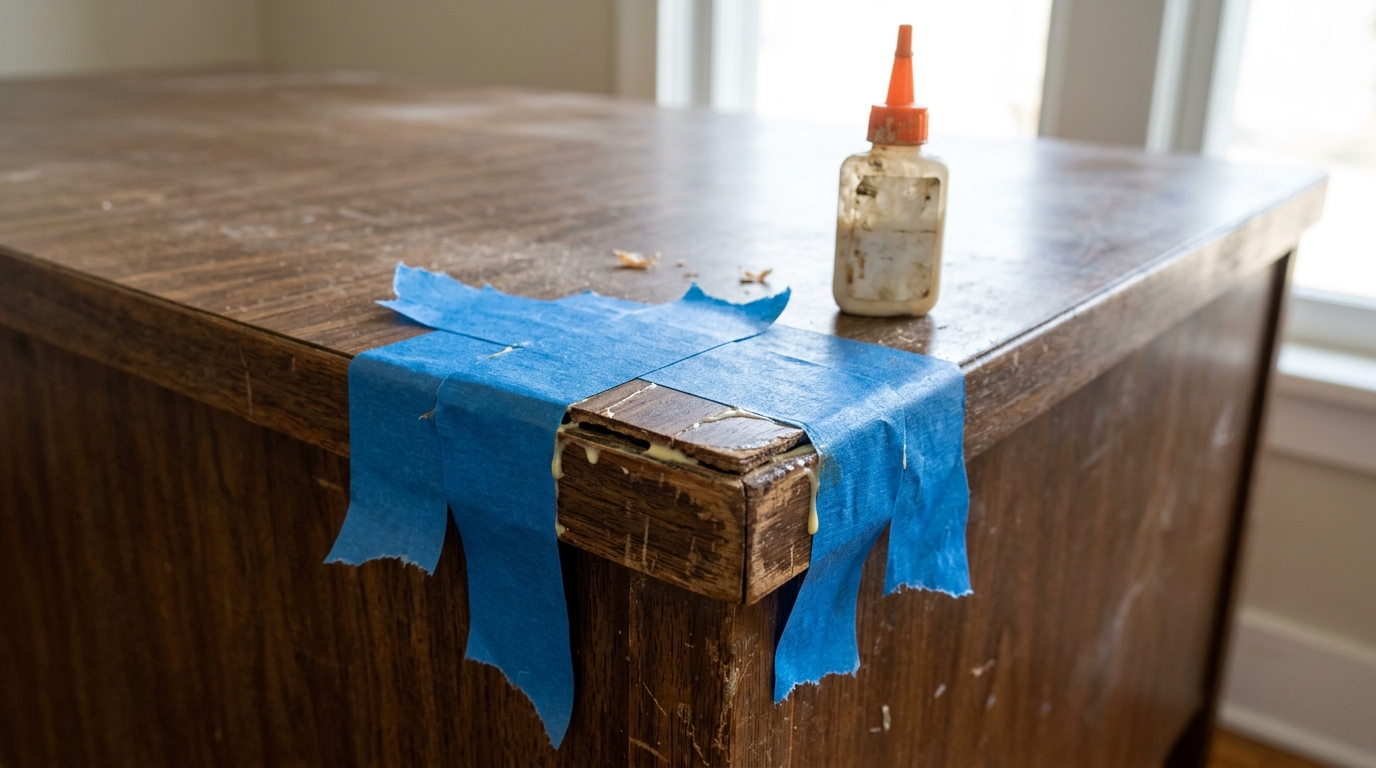
Lifted veneer catches on clothes and can tear off if you leave it. Slide a thin layer of wood glue under the loose edge with a toothpick or an old card, press it flat and hold it with painter’s tape or a heavy book overnight. In the morning, it is back in place and smooth. Fix it while the piece is still there, because missing veneer is much harder to repair. Is there a desk or dresser in your home with a lifting edge?
You will need: Wood glue, a toothpick or thin card, painter’s tape, a damp cloth and a heavy book.
How to make it: 1. Gently lift the loose veneer a little more. 2. Spread a thin layer of glue underneath. 3. Press it flat and wipe off any glue that squeezes out. 4. Tape it tight or weigh it down overnight.
A New Bottom for a Sagging Drawer
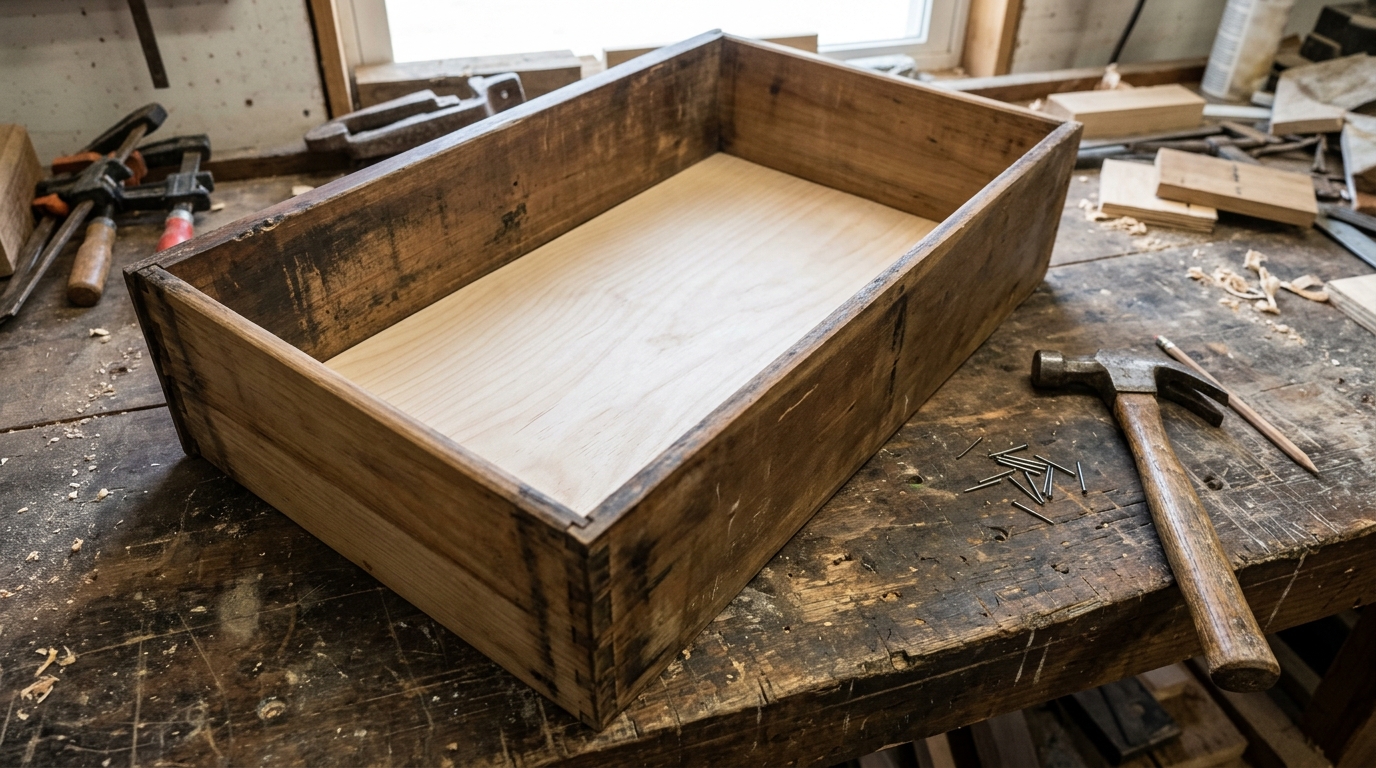
A sagging drawer bottom spills socks and scrapes every time you open it. Instead of tossing the dresser, cut a new bottom from thin plywood. Measure the old one, have a hardware store or an adult cut the new panel, then slide it in and fix it with a few small nails or glue. The drawer suddenly glides and holds weight again. It is a quiet fix, but it makes a big difference. How many drawers in your house could use this?
You will need: Thin plywood, a tape measure, a pencil, small nails or wood glue and a small hammer.
How to make it: 1. Pull out the drawer and remove the old bottom. 2. Measure it and cut the plywood to the same size (adult only). 3. Slide the new panel into the grooves. 4. Fix it in place with small nails or glue.
Furniture Repair Hacks for Sticky Drawers: Bar Soap
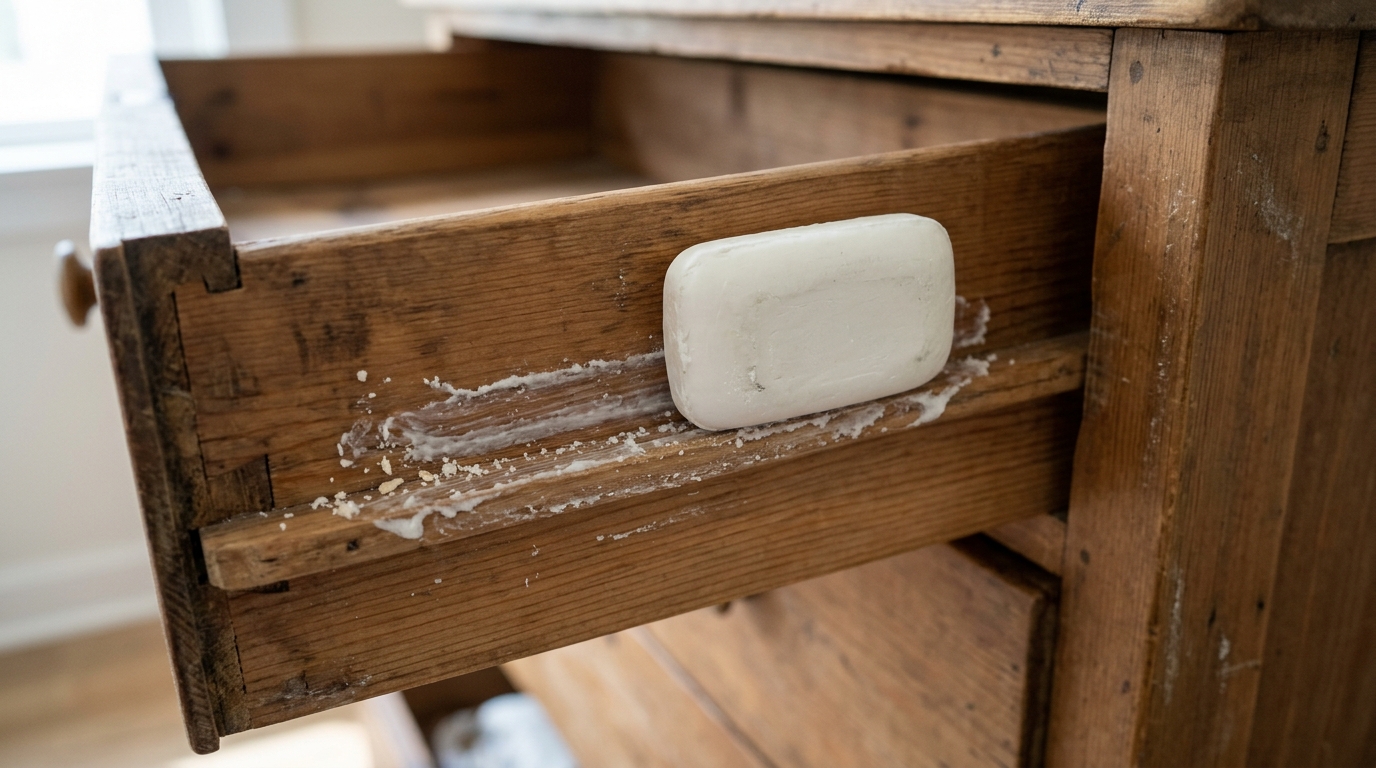
Old wooden drawers that stick and squeak can be fixed with a plain bar of soap. Pull the drawer out, rub dry soap along the runners and the bottom edges, then slide it back in a few times. It glides like new. This is one of those furniture repair hacks that grandmothers swore by, and it still works. A block of plain paraffin wax works the same way, so use whatever you have. Which drawer in your house is always a fight to open?
You will need: A dry bar of plain soap or a block of paraffin wax and a dry cloth.
How to make it: 1. Pull the drawer all the way out. 2. Wipe the runners clean with a dry cloth. 3. Rub the soap firmly along each runner and drawer edge. 4. Slide the drawer in and out a few times.
New Knobs and Pulls to Hide Old Holes
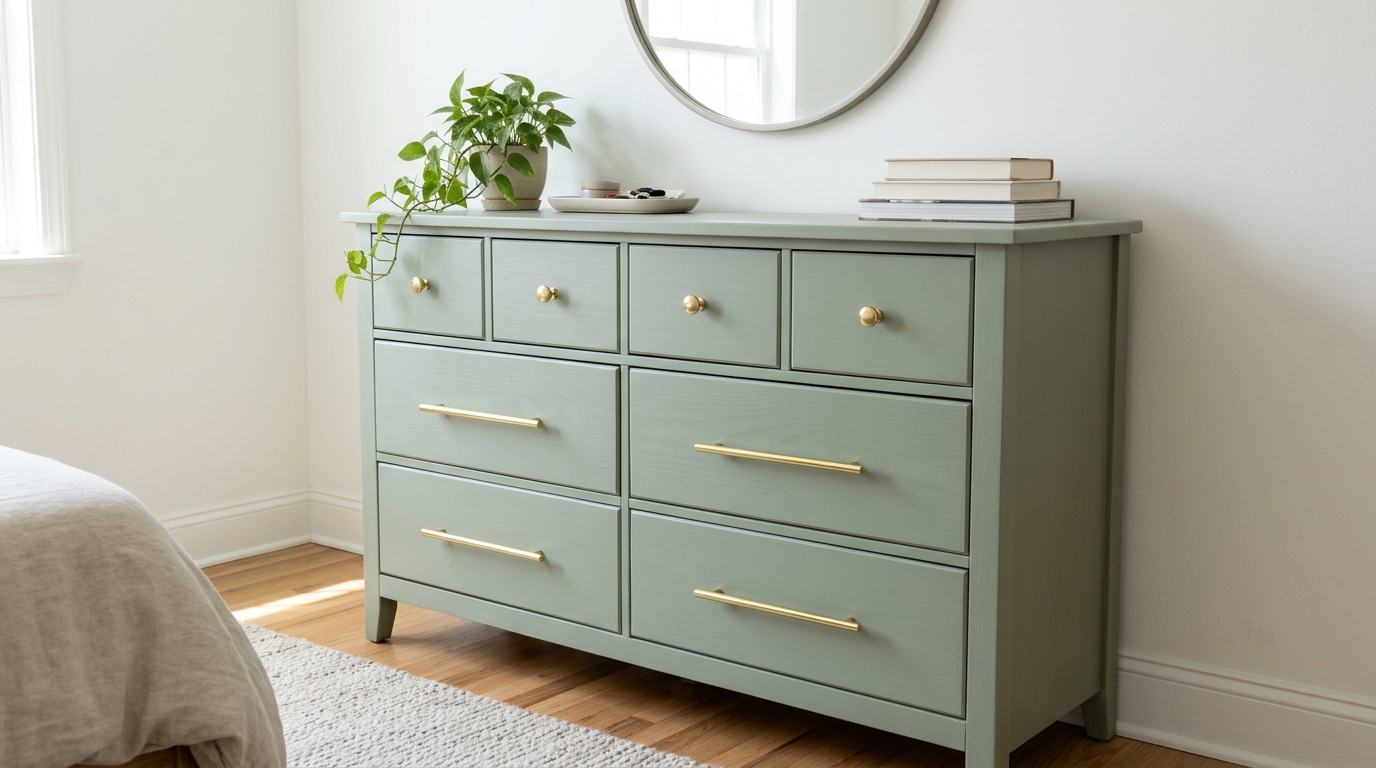
Nothing changes a tired dresser faster than new hardware, and it is one of the easiest furniture repair hacks to finish in an afternoon. Pick knobs or pulls with a wide back plate so they cover old holes and worn marks. If the new pulls need different holes, fill the old ones with wood filler first and paint over them. Brass, black or glass knobs each give a totally different look. For bigger makeovers, our furniture flips gallery shows how far a little paint can go. Which style would you pick for your dresser?
You will need: New knobs or pulls, a screwdriver, wood filler, a putty knife, fine sandpaper and touch up paint.
How to make it: 1. Remove the old hardware. 2. Fill any holes you will not use and let them dry. 3. Sand smooth and touch up the paint. 4. Screw on the new knobs or pulls.
Wallpaper to Line a Stained Drawer
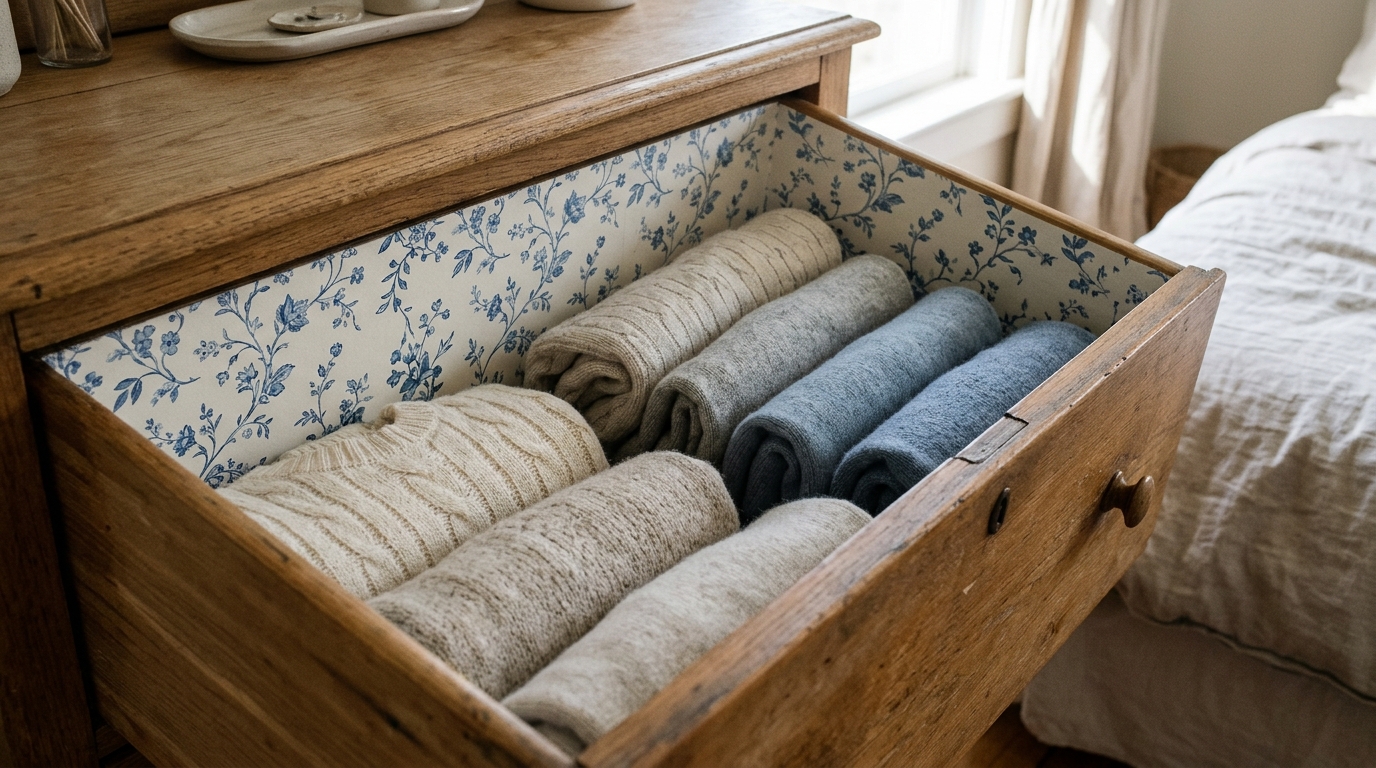
Stained, musty drawer bottoms are easy to hide. Cut a piece of leftover wallpaper or pretty contact paper to fit, and lay or stick it inside. Now every time you open the drawer, you get a little surprise of color. It also keeps clothes from snagging on rough old wood. Clean the drawer well and let it air out for a day first. This is the kind of small detail that makes an old dresser feel loved. What pattern would make you smile each morning?
You will need: Leftover wallpaper or contact paper, scissors, a ruler, a pencil and a damp cloth.
How to make it: 1. Wipe the drawer clean and let it dry. 2. Measure the bottom and cut the paper to fit. 3. Lay it in flat or peel and stick it in place. 4. Smooth out any bubbles with your hand.
Recover a Tired Chair Seat
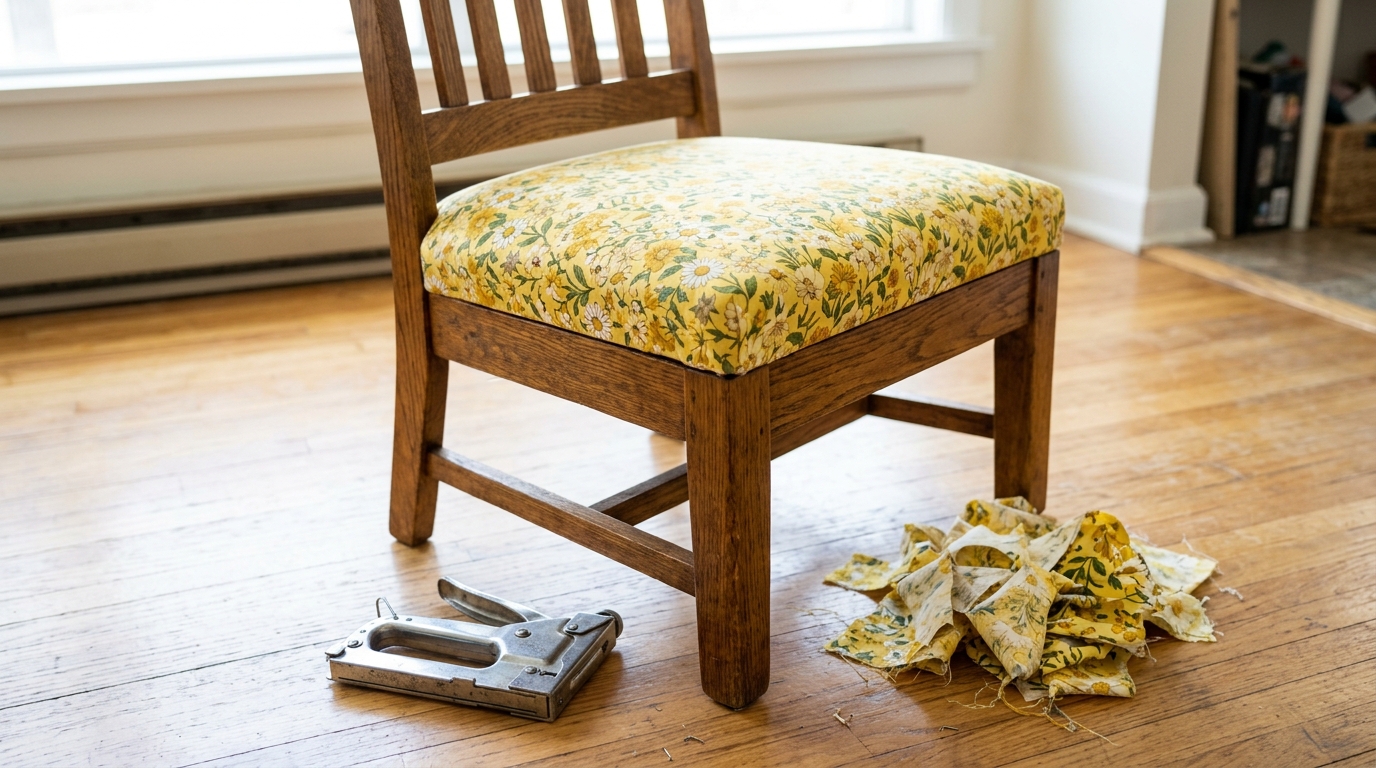
Stained or torn chair seats are usually held on by just four screws. Flip the chair over, unscrew the seat, wrap it in new fabric and staple the fabric underneath. Put it back and the chair looks brand new. It is a perfect beginner project, and one yard of fabric can cover two or three seats. Have an adult help with the staple gun. Pull the fabric tight at each side before you staple, and the corners will look neat. Which fabric would you pick for your table?
You will need: New fabric, a staple gun (with adult help), scissors and a screwdriver.
How to make it: 1. Unscrew the seat from under the chair. 2. Lay it face down on the fabric and cut around it, leaving 3 inches extra. 3. Pull the fabric tight and staple the middle of each side, then the corners. 4. Screw the seat back on.
Furniture Repair Hacks to Finish: Fresh Wax for Dull Wood
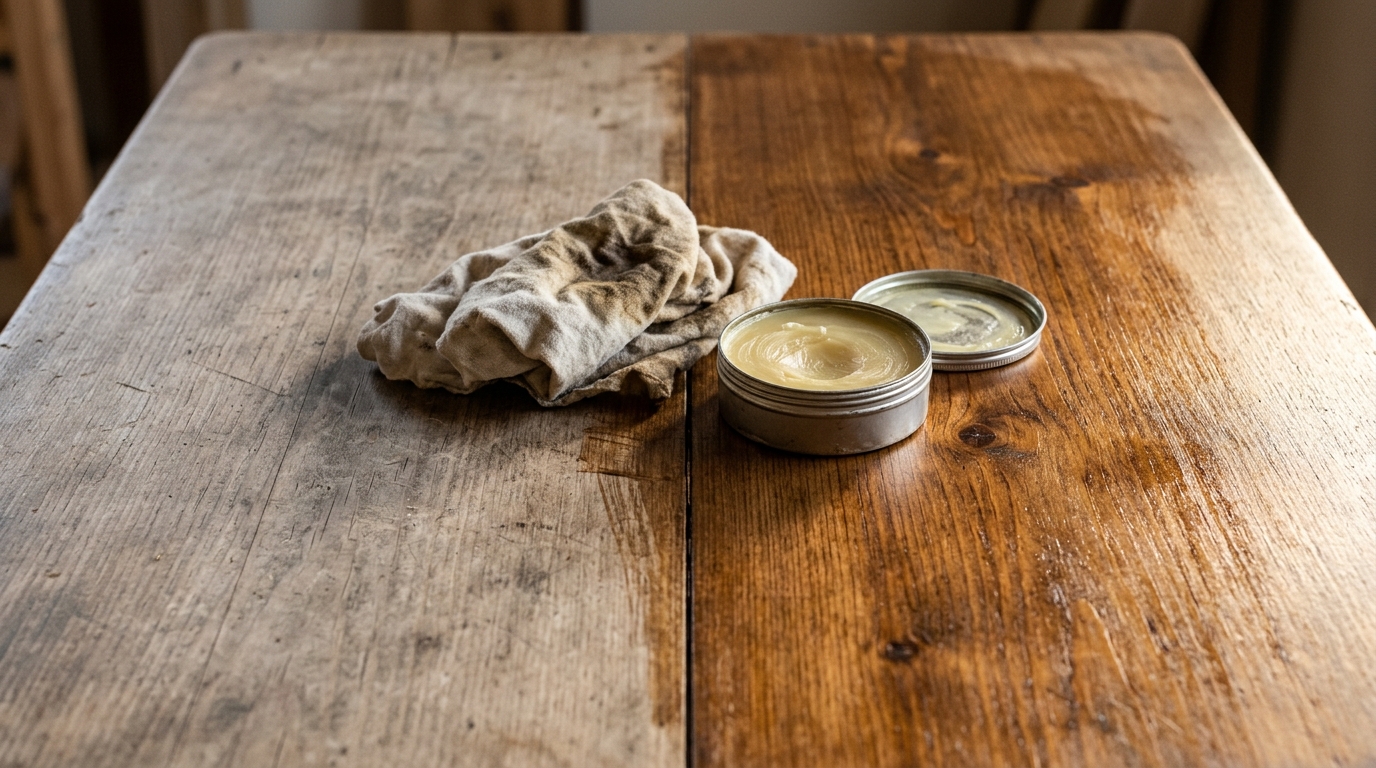
Sometimes old wood is not damaged at all. It is just dry and dull. A thin coat of furniture wax or oil brings the color and shine right back, and the before and after can be amazing. Rub it in with a soft cloth, wait a few minutes, then buff hard. Use it as the last step after your other fixes, and the whole piece looks cared for again. Do it once or twice a year and the wood stays protected from spills and dry winter air. Which piece in your home would you wax first?
You will need: Furniture wax or furniture oil and two soft lint free cloths.
How to make it: 1. Dust and wipe the wood clean. 2. Rub a thin layer of wax in small circles. 3. Wait about ten minutes. 4. Buff hard with a clean cloth until it glows.