Grandma’s Christmas Tree: 14 Vintage Touches That Bring Back That Old Fashioned Glow
Grandma’s Christmas Tree is the one we all remember, glowing in the corner of the living room with big colored bulbs, sparkly odds and ends and a little bit of everything. It was never perfect, and that was the magic. Every ornament had a story, every branch was a little crowded, and the whole room felt warm the minute you walked in. The good news is that you can bring that old fashioned glow back without hunting for pricey antiques. Most of these touches are easy crafts made from cotton balls, foil cupcake liners, pasta, pipe cleaners and thrift store finds. Below are 14 vintage ideas, each with a short supply list and simple steps. Put on some old carols, pour a cup of cocoa and let’s decorate a tree Grandma would be proud of..
Grandma’s Christmas Tree, the Full Old Fashioned Look
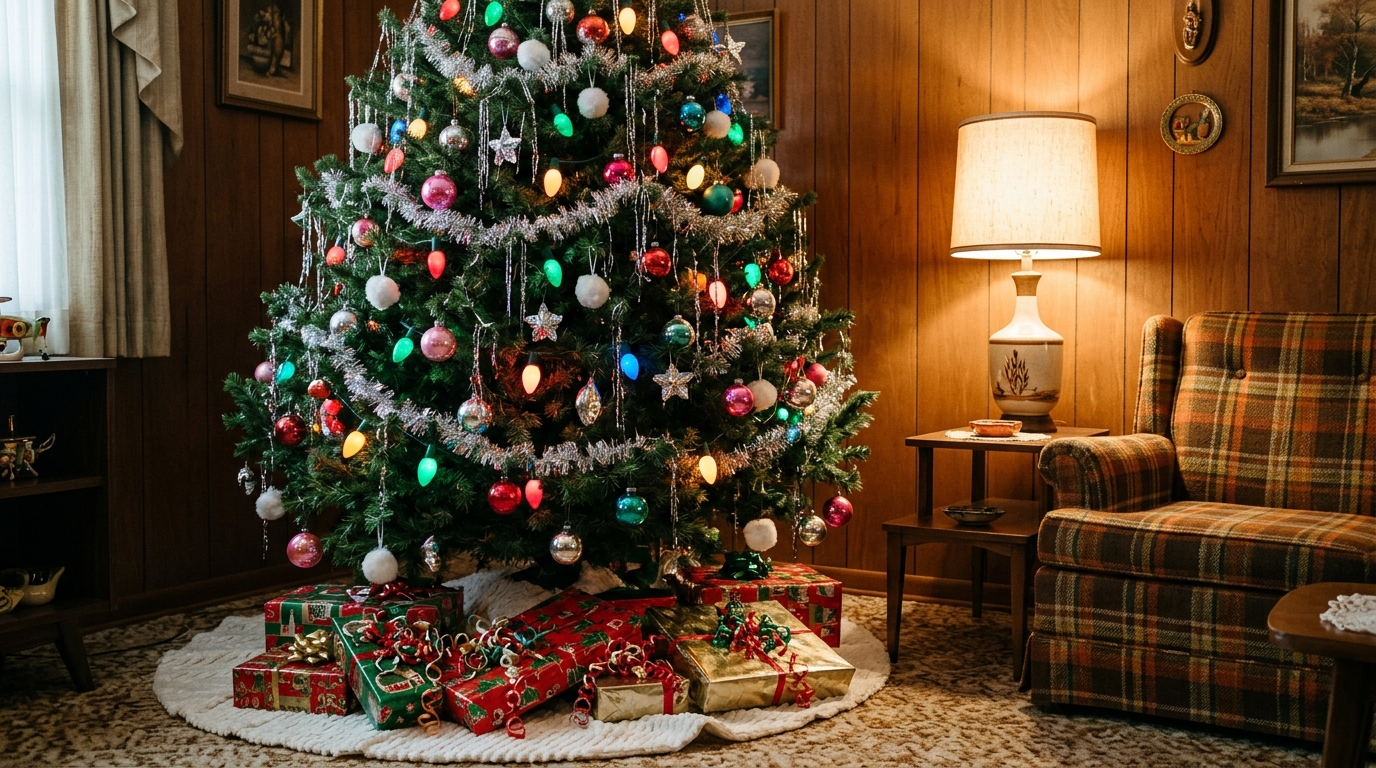
Grandma’s Christmas Tree looked full and happy because nothing on it tried too hard. Big colored lights went on first, then a mix of shiny glass balls, handmade pieces and a few odd treasures, and silver tinsel went on last to catch every bit of light. Wrapped gifts sat underneath on a soft white skirt. You can copy this whole look in one weekend with a plain tree and the crafts below. Ready to start with the part that made it glow..
You will need: A full green tree (real or artificial), big bulb LED light strings in mixed colors, a box of glass or shatterproof ball ornaments, silver tinsel and a soft white tree skirt.
How to make it: 1. Fluff every branch so the tree looks thick. 2. Add the lights first, then the ball ornaments, then the handmade pieces from this list. 3. Finish with tinsel and tuck wrapped gifts underneath.
Grandma’s Christmas Tree Lights: Big Colored Bulbs Tucked Deep
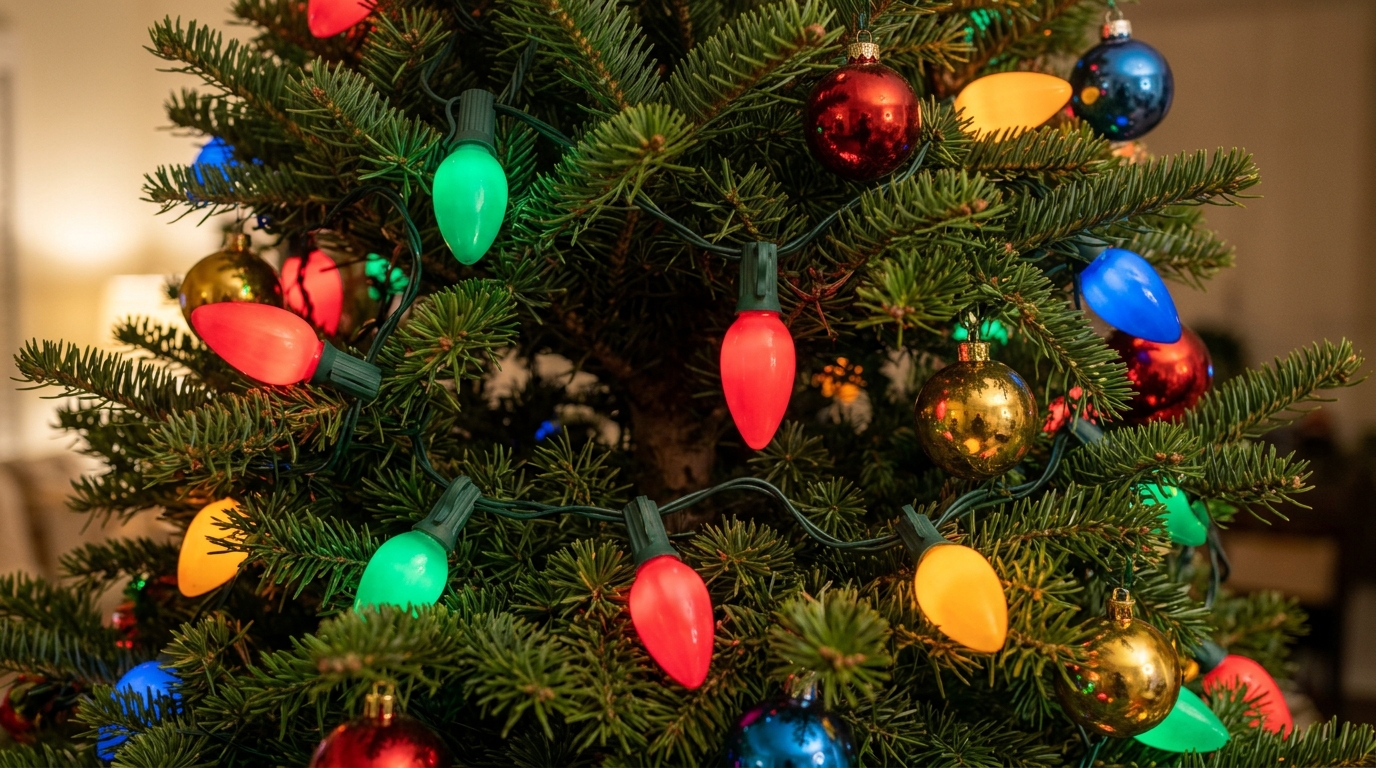
Grandma never just wrapped the lights around the outside. She pushed them deep into the branches so the whole tree seemed to glow from the inside out. Today you can get that same rich look with big bulb LED strings that stay cool to the touch and use very little power. Mix all five classic colors on one strand, or buy two strands and weave them together. Step back after each section and look for dark holes. Does your tree look lit from within yet?
You will need: Two or three strands of big bulb LED lights in mixed colors (about 100 bulbs for each foot of tree height), a heavy duty extension cord and a few green twist ties.
How to make it: 1. Plug the lights in first so you can see where they land. 2. Start at the bottom near the trunk and run the strand out along a branch and back in again. 3. Work up the tree in sections, then fix gaps with twist ties.
Foil Cupcake Liner Reflector Ornaments
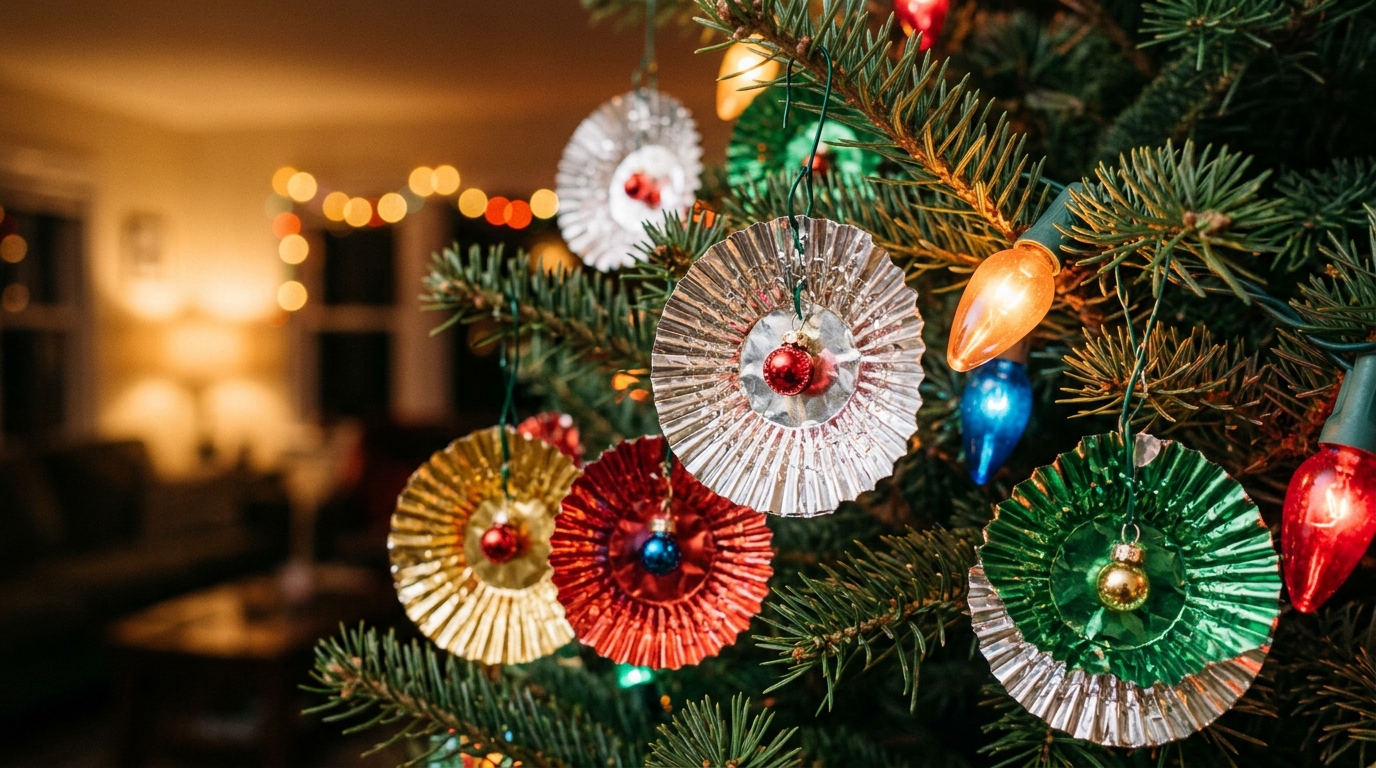
Old trees were full of reflector ornaments, those shiny pleated stars that sat behind a bulb or a glass ball and bounced the light around. Real vintage ones cost a lot now, but foil cupcake liners from the baking aisle look almost the same. Flatten the pleats a little so they fan out like a star, then glue a small ornament or a shiny bead in the middle. Hang them right next to your big bulbs and watch them sparkle. Pair them with these vintage Christmas ornaments for even more old fashioned shine. Which colors would you pick first?
You will need: Foil cupcake liners in mixed colors, small shatterproof ball ornaments or large shiny beads, craft glue or a low temp glue gun, and thin ribbon or ornament hooks.
How to make it: 1. Press each liner flat and gently spread the pleats into a star. 2. Glue a small ornament or bead in the center (adults handle the glue gun). 3. Poke a hole near the edge, add a hook and hang it beside a bulb.
Grandma’s Christmas Tree Spun Cotton Ornaments
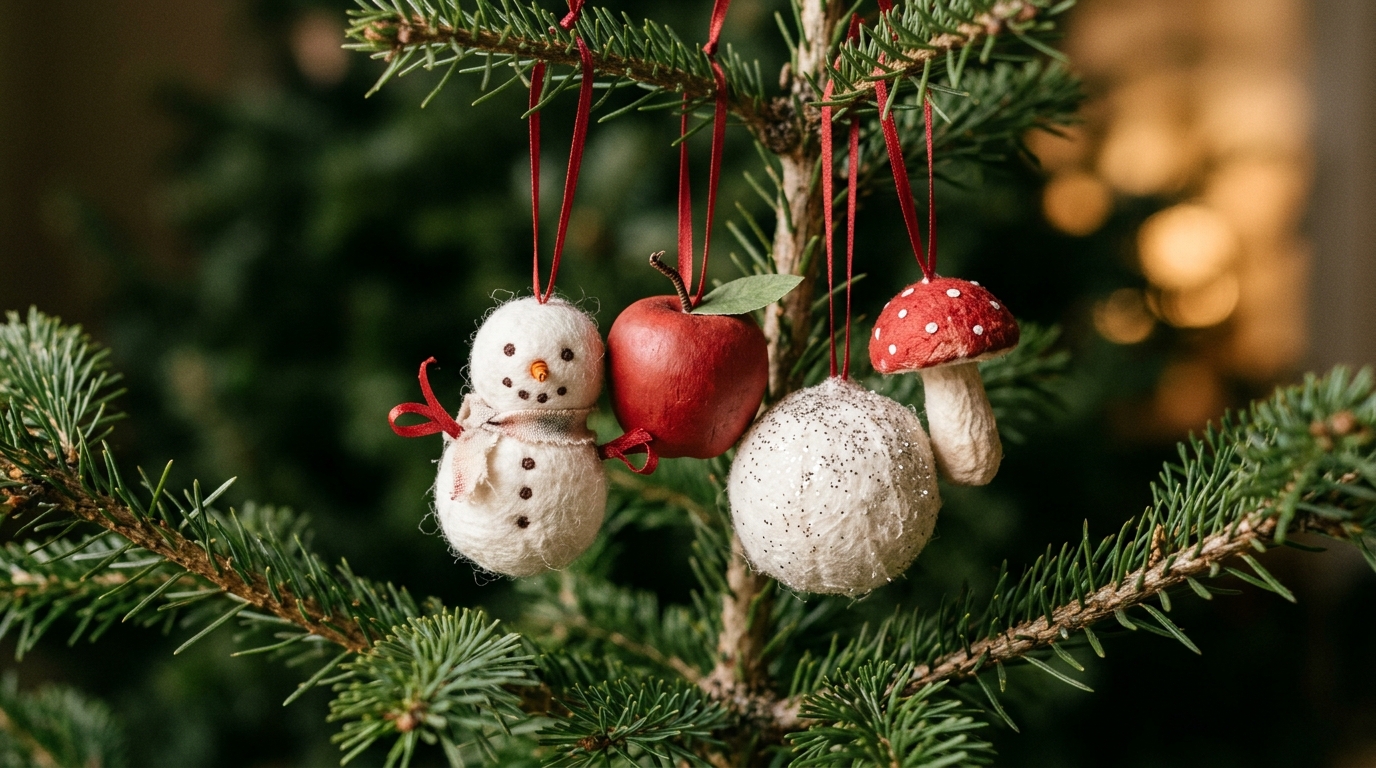
Spun cotton ornaments were a favorite on Grandma’s Christmas Tree, soft little fruit, snowmen and figures that came from Germany long ago. You can make a simple version with cotton balls and watered down glue. Pull the cotton apart, wrap it around a foam ball and let it dry hard overnight. Paint a few red for apples, leave some white for snowballs and add a pinch of glitter while they are still wet. They weigh almost nothing, so they hang on the smallest twigs. Want to try a tiny snowman first?
You will need: Cotton balls, small foam balls, white school glue mixed with a little water, a paintbrush, red and green craft paint, fine glitter and thin ribbon.
How to make it: 1. Pull cotton thin and wrap it around a foam ball. 2. Brush the glue mix all over and smooth it with your fingers. 3. Dry overnight, then paint, add glitter and glue on a ribbon loop.
Starched Crochet Snowflakes
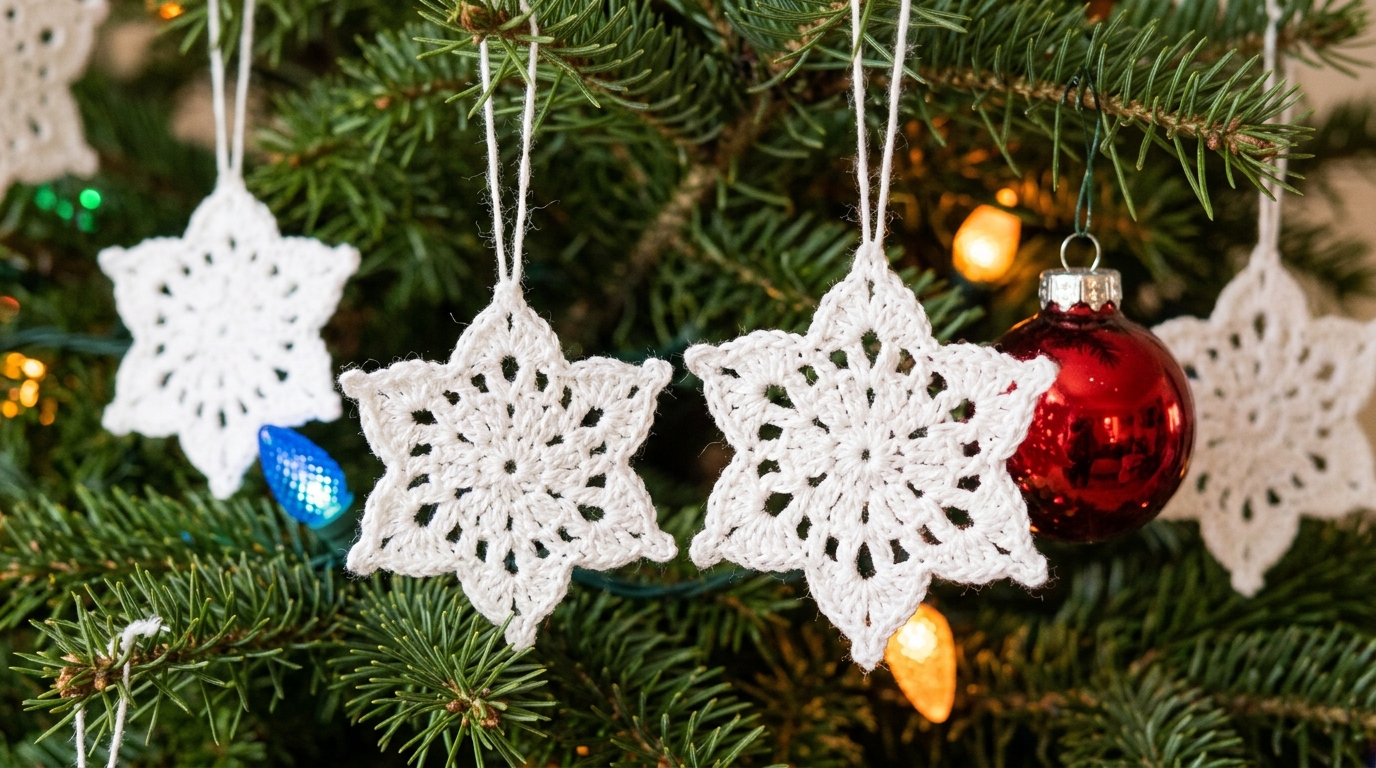
Many grandmas crocheted a new batch of lacy snowflakes every winter and tucked them all over the tree. They look like real frost against the green branches. If you crochet, simple six point patterns take about twenty minutes each. If you do not, look for old ones at thrift stores and estate sales, where they often sell for pennies. A quick soak in starch makes them stiff and flat so they hang perfectly. Do you have a few hiding in a family box somewhere?
You will need: White cotton crochet thread and a small hook (or thrifted crochet snowflakes), liquid starch or a sugar and water mix, a piece of cardboard, plastic wrap and rustproof pins.
How to make it: 1. Soak each snowflake in starch and squeeze out the extra. 2. Pin it flat on plastic wrap over cardboard so every point is even. 3. Let it dry for a day, then tie on a thread loop.
Costume Jewelry on Grandma’s Christmas Tree
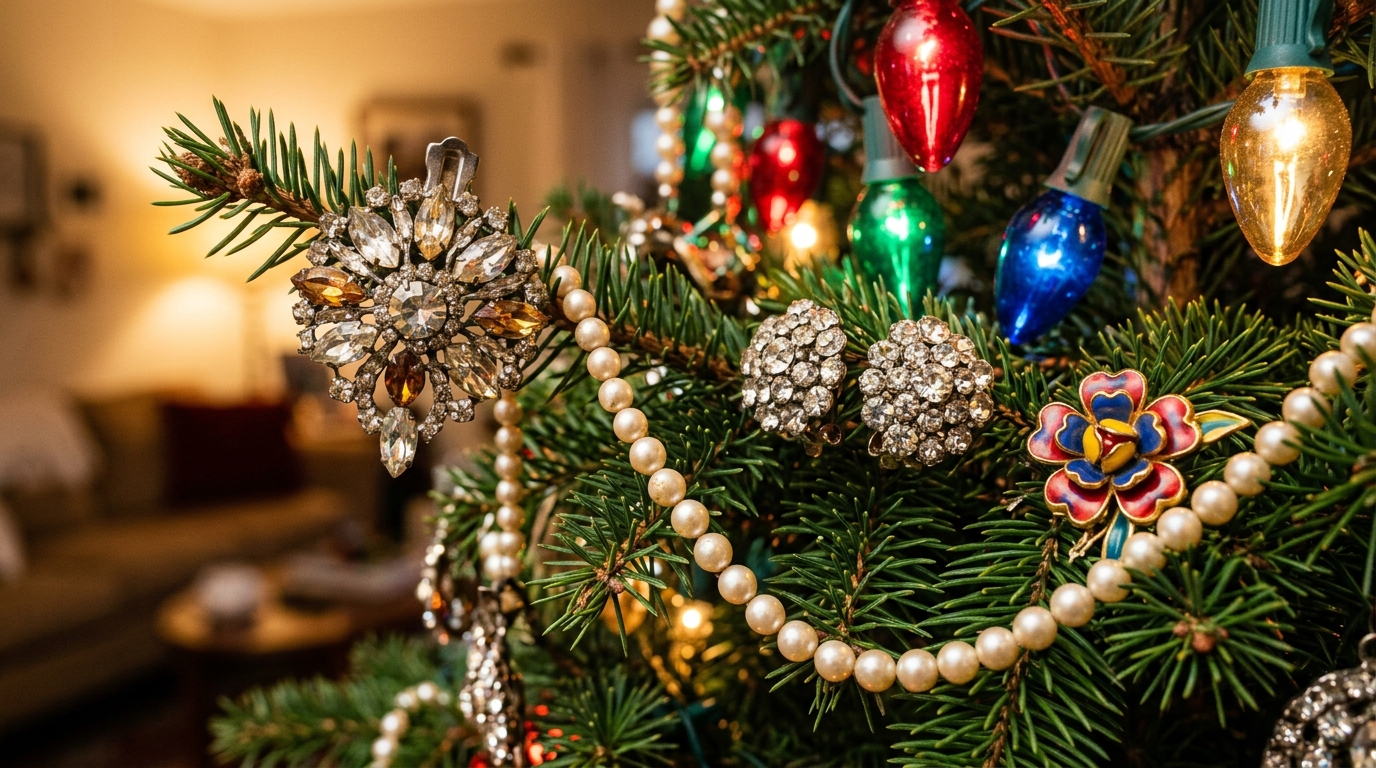
Some of the prettiest sparkle on Grandma’s Christmas Tree came straight from her jewelry box. Big rhinestone brooches, faux pearls and clip earrings catch the light just like glass. If you have a few old pieces from a grandmother, this is a lovely way to see them every December. Thrift stores also sell bags of costume jewelry for a few dollars. Pin brooches right onto the branch tips, clip earrings in pairs and drape pearl strands like tiny garlands. Which piece would remind you of your grandma?
You will need: Old or thrifted costume jewelry (brooches, clip earrings, faux pearl strands), a few ornament hooks and a soft cloth for polishing.
How to make it: 1. Wipe each piece with a soft cloth so it shines. 2. Pin brooches through the needles at the branch tips and clip earrings onto thin twigs. 3. Drape pearl strands in small swags between branches.
Clip On Glitter Birds
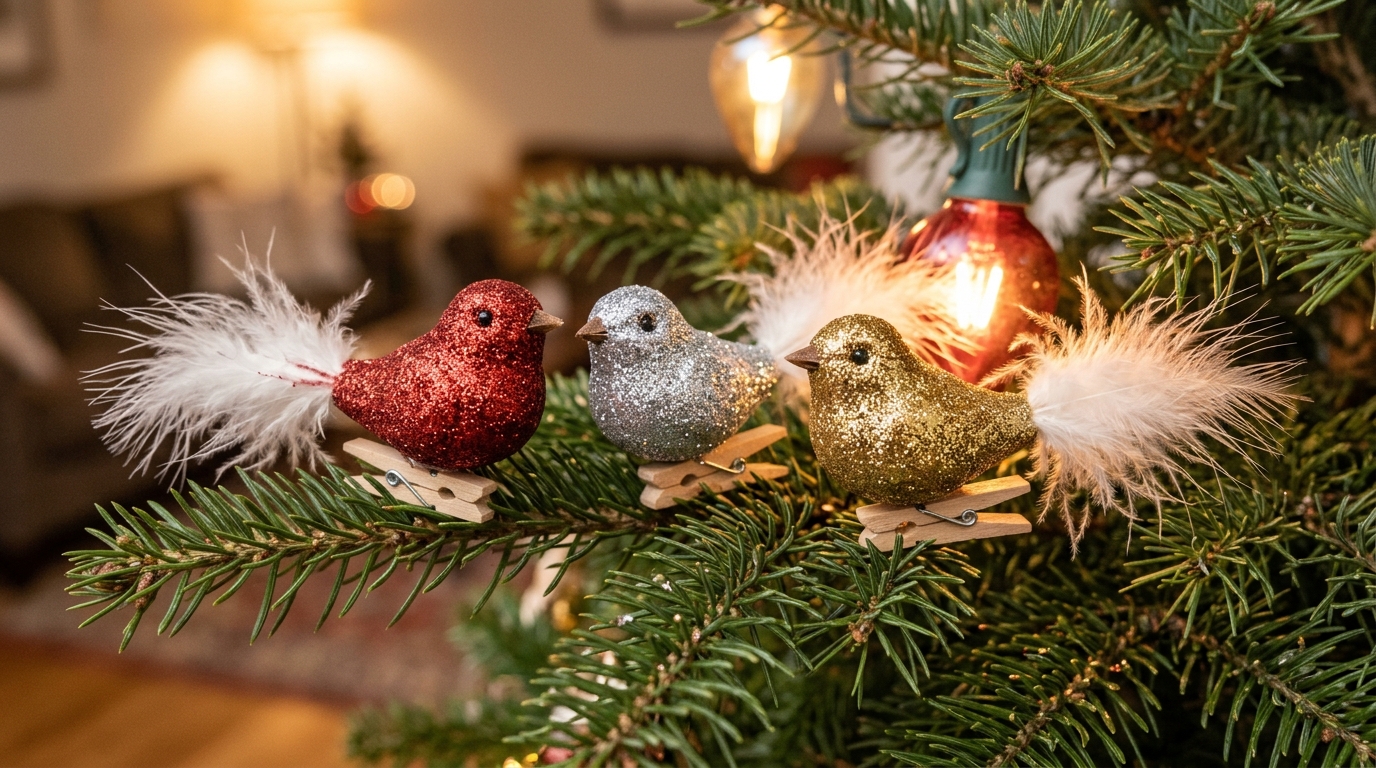
Clip on birds were a sweet surprise on old trees, perched on the branches as if they had just flown in from the snow. You can make a flock in an afternoon with small foam craft birds from the craft store. Paint them, roll them in glitter, glue a few soft feathers on for a tail and add a mini clothespin underneath. Then clip them anywhere you see a bare spot. Kids love helping with the glitter part. Where would your first little bird land?
You will need: Small foam or paper mache craft birds, craft paint, glue, fine glitter in red, silver and gold, small white craft feathers and mini wooden clothespins.
How to make it: 1. Paint each bird and let it dry. 2. Brush on glue and roll the bird in glitter, then tuck feathers into the tail. 3. Glue a mini clothespin under the belly and clip it to a branch.
Tinsel Pipe Cleaner Stars
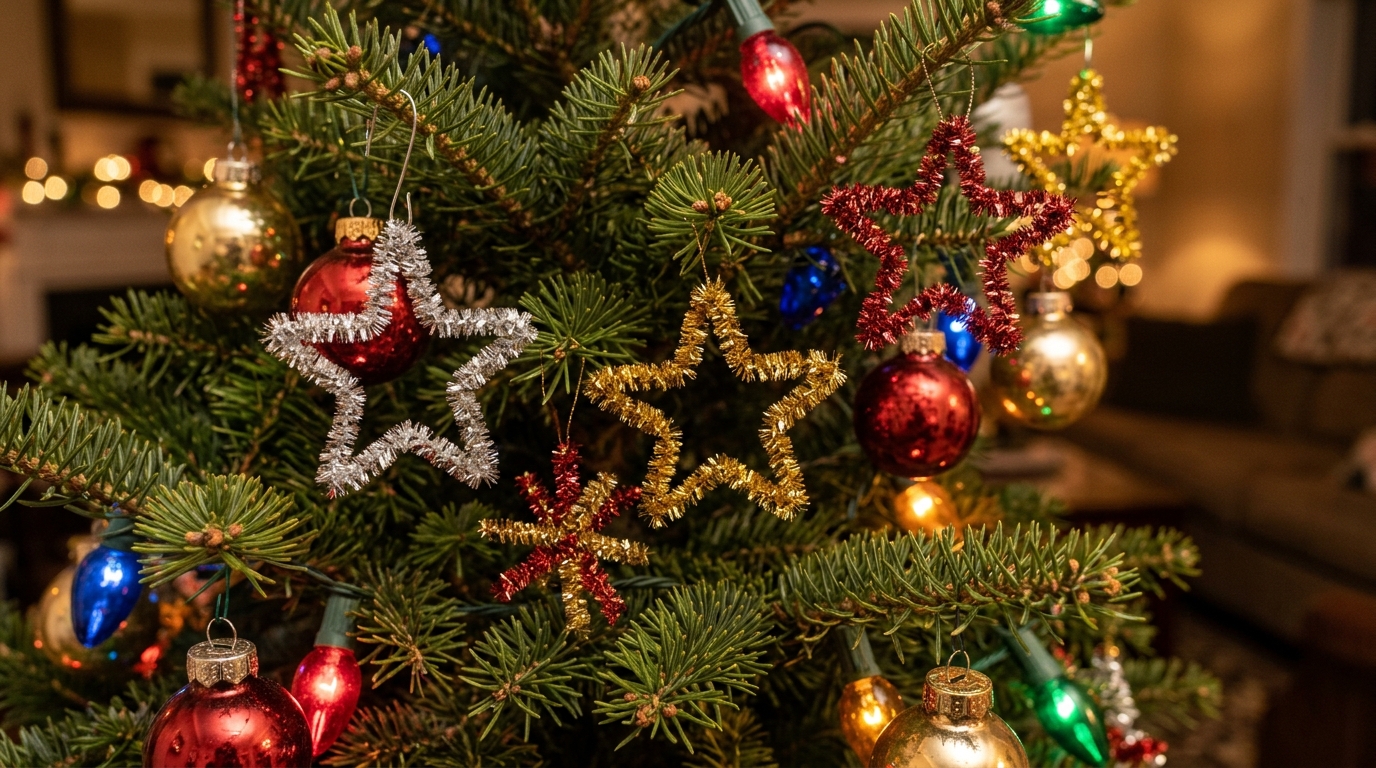
Tinsel pipe cleaners were in every craft drawer when our grandmas were young, and they still make the easiest sparkly stars. Bend one long stem into five even points, twist the ends together and you are done in a minute. Twist two together for a bigger star, or cross three short pieces for a little snowflake burst. They cost very little and are safe for little hands, so this is a perfect project for the grandkids. How many stars can your family make before the cocoa gets cold?
You will need: Tinsel pipe cleaners (also sold as sparkle stems) in silver, gold and red, a ruler and thin ribbon or ornament hooks.
How to make it: 1. Mark five even sections on one stem. 2. Bend at each mark to make the star points and twist the ends together. 3. Add a ribbon loop at the top point and hang.
A Gumdrop Garland for Grandma’s Christmas Tree
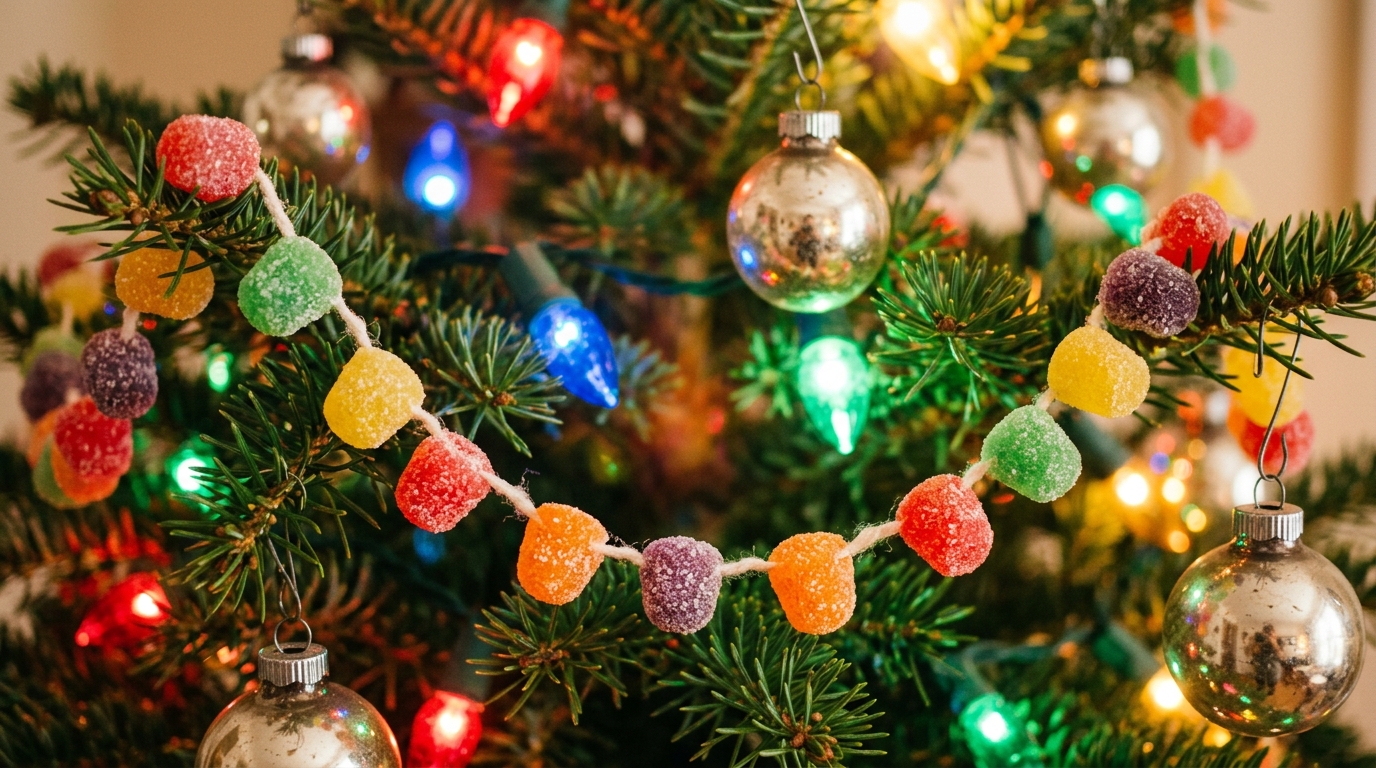
Grandma’s Christmas Tree often wore a garland you could almost eat. A gumdrop garland is bright, cheerful and so easy to make while you watch a holiday movie. Thread a big needle with strong thread and slide the gumdrops on one by one, mixing the colors. Let it air dry for a day so the candy firms up and does not stick. This one is for looking only, so keep it up high and away from toddlers and pets. Would you sneak one while you work?
You will need: Two or three bags of gumdrops, strong white thread or fishing line, a large blunt needle and a sheet of wax paper.
How to make it: 1. Cut a long piece of thread and knot one end. 2. Slide on gumdrops, mixing the colors, until the strand is full. 3. Dry on wax paper for a day, then drape it high on the tree in loose swags.
Gold Painted Macaroni Ornaments
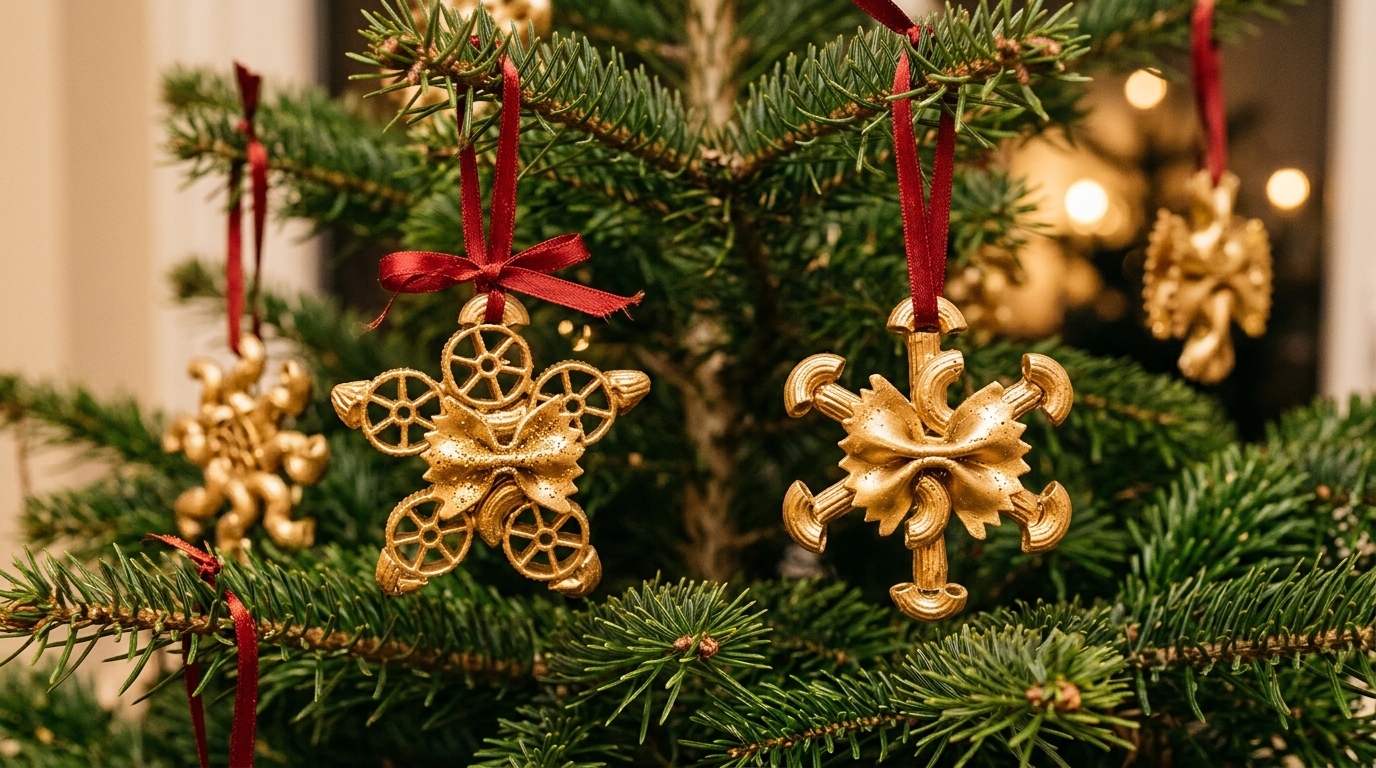
Almost every grandma has a pasta ornament that a child made at school, and she still hangs it in a place of honor. Gold paint turns plain noodles into something that looks surprisingly fancy. Lay out bow ties, wheels and elbows in a snowflake pattern, glue them together and let them dry flat. Then paint them gold and add a pinch of glitter. Make a few new ones every year with the kids and write the year on the back. Which pasta shape will you start with?
You will need: Dry pasta in fun shapes (bow ties, wheels, elbows, shells), white craft glue, wax paper, gold craft paint or spray paint, fine glitter and red ribbon.
How to make it: 1. Arrange pasta into a snowflake or star on wax paper and glue each joint. 2. Let it dry overnight. 3. Paint it gold (adults handle spray paint outdoors), sprinkle glitter and tie on a ribbon.
A Glass Style Finial Topper for Grandma’s Christmas Tree
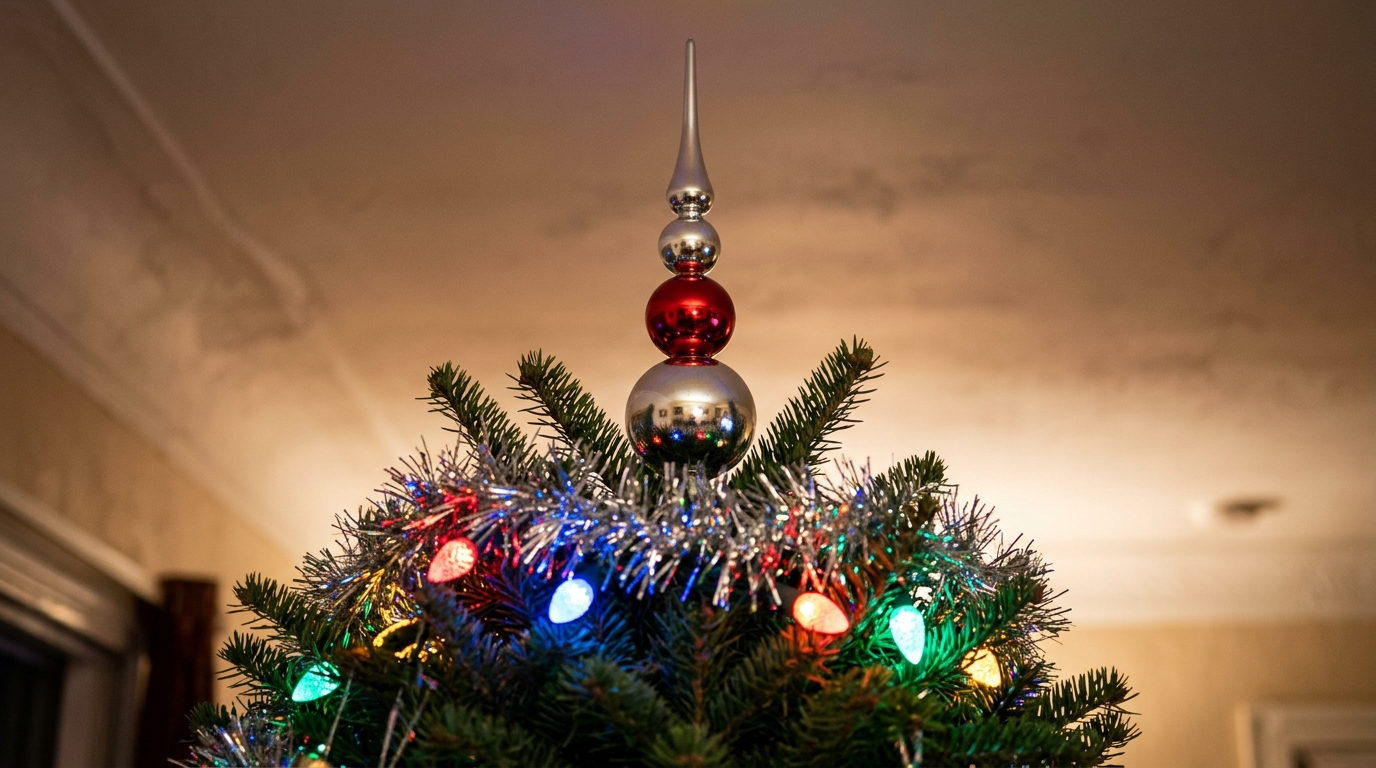
Before stars and angels took over, many old trees wore a tall, shiny glass spire on top. You can build a look alike for Grandma’s Christmas Tree from shatterproof ornaments. Stack a big ball, a smaller ball and a long pointed ornament on a wooden dowel, gluing each one in place. Paint the dowel to match and slide it into the top branch with a few twist ties. It looks like a treasure from a 1950s catalog. Would you go silver, red or both? Our ornament tree ideas use the same easy method.
You will need: One large and one medium shatterproof ball ornament, one long pointed ornament, a thin wooden dowel, strong craft glue, silver paint and green twist ties.
How to make it: 1. Remove the ornament caps and slide the balls onto the dowel from big to small. 2. Glue each piece and add the pointed ornament on top. 3. Paint the bare dowel silver and tie it to the top branch.
A Chenille Bedspread Tree Skirt
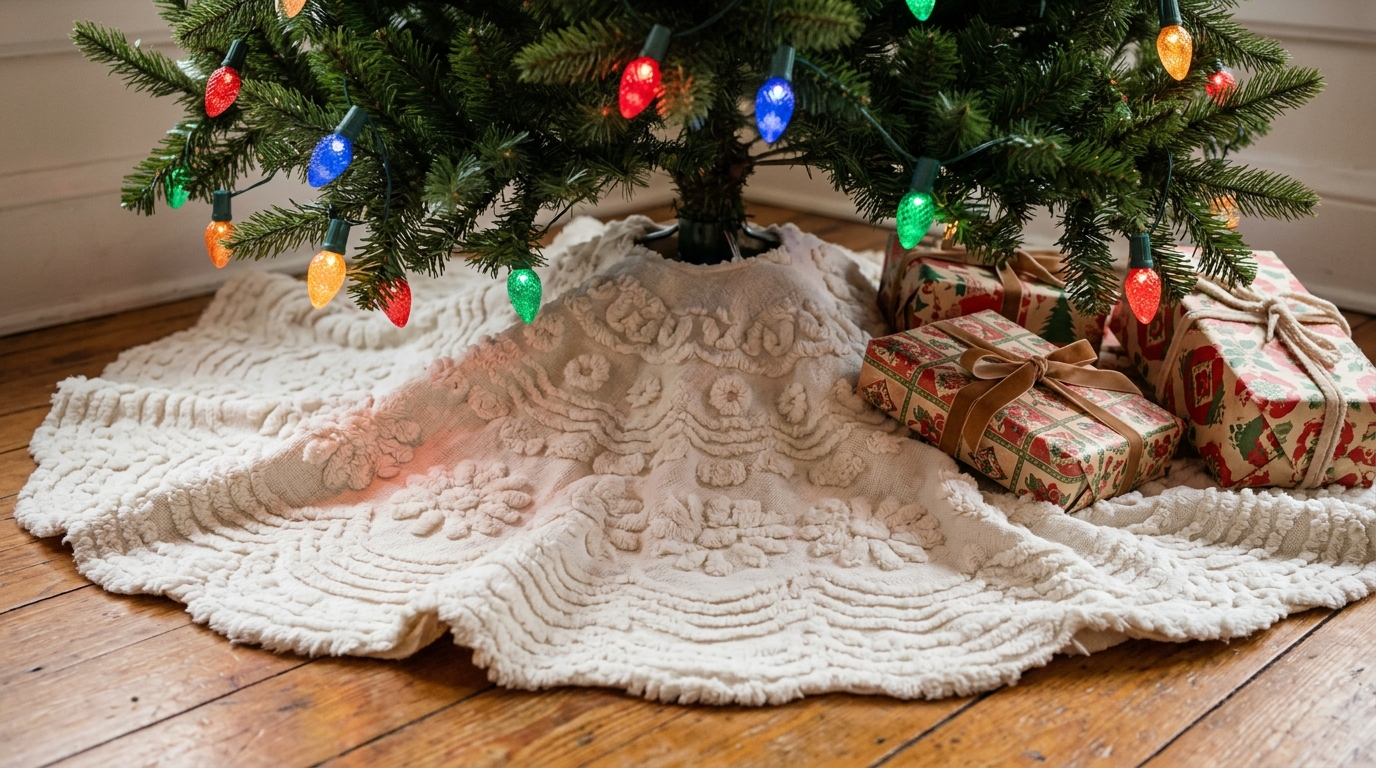
Fluffy chenille bedspreads were on almost every grandma’s bed, and they make a dreamy tree skirt that looks like soft snow. Thrift stores and estate sales still have them, often for less than a new skirt. You do not even need to cut it. Fold it into a big square, wrap it loosely around the stand and tuck the corners under so the tufted pattern shows. If the bedspread has a small stain, fold that part out of sight. Doesn’t it already feel like Grandma’s guest room? It also goes well with our small room tricks.
You will need: A white or cream chenille bedspread (thrifted or new), a lint roller and a few safety pins.
How to make it: 1. Wash and dry the bedspread on gentle, then lint roll it. 2. Fold it into a large square and wrap it around the tree stand. 3. Tuck the ends under and pin from beneath so it stays neat.
Retro Wrapped Gifts Under Grandma’s Christmas Tree

Half the charm of Grandma’s Christmas Tree was the pile of gifts underneath. The wrapping had big polka dots, simple stripes and shiny foil, finished with curly ribbon that you made with the edge of a pair of scissors. Pick three or four colors that match your lights and stick to plain retro patterns. Add a few big boxes in the back and small ones in front so the pile looks full. Even empty boxes wrapped this way make the tree look cozy. Who is ready to start curling ribbon? For a similar look, see our ribbon christmas tree ideas.
You will need: Retro style wrapping paper in stripes, dots and foil, curling ribbon in red, green and gold, scissors, tape and a few empty boxes for the back of the pile.
How to make it: 1. Wrap boxes in mixed retro papers. 2. Tie ribbon around each one and curl the ends by pulling them gently over a scissor blade. 3. Stack big boxes in the back and small ones in the front.
Folded Paper Lantern Ornaments
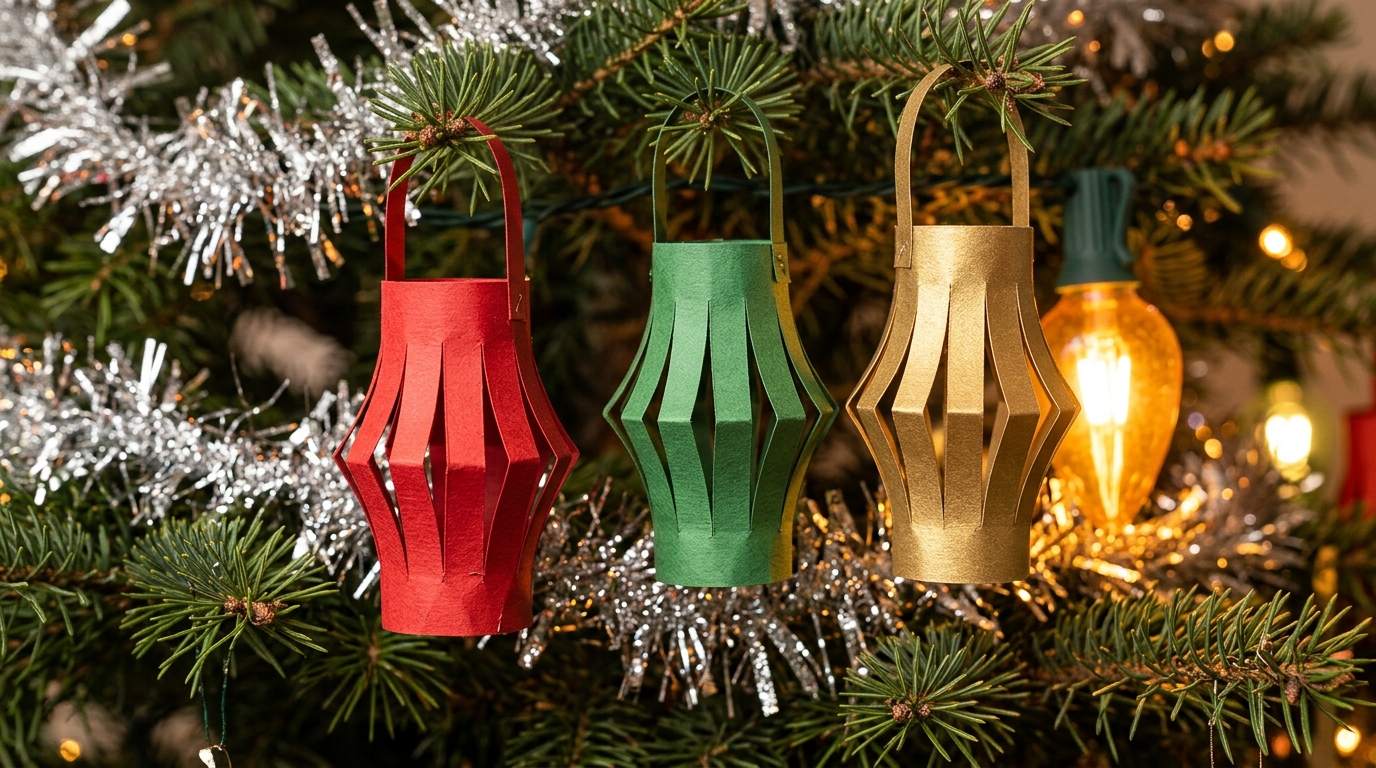
Folded paper lanterns are the classic craft many of us made at a school desk, and they look just right on a vintage tree. All you need is colored paper, scissors and a little glue. Fold the paper in half, cut slits along the fold, open it up and roll it into a tube so the middle bows out. A thin strip makes the handle. Make them tiny for the top and bigger for the bottom branches. Learn more about old ornaments in this history of Christmas ornaments, then grab your paper. Which color will you fold first?
You will need: Colored cardstock or construction paper in red, green and gold, a ruler, scissors, a glue stick and thin ribbon.
How to make it: 1. Fold a 4 by 6 inch sheet in half the long way and cut slits from the fold, stopping half an inch from the edge. 2. Open it, roll it into a tube and glue the edges. 3. Glue on a paper handle and hang.