DIY Fairy Houses: 14 Enchanting Ideas Made From Things You Would Throw Away
DIY fairy houses are the kind of craft that makes grown ups feel like kids again. On Instagram, one post showing trash turned into a fairy house has collected more than 96,000 likes, and cardboard fairy house reels are being shared by the thousands. The magic is that almost everything comes from the recycling bin or the backyard: jars, bottles, cardboard tubes, twigs, bark and moss. Add a tiny door, a glowing window and a pebble path, and suddenly a corner of your garden or bookshelf tells a story. These projects are perfect for a family afternoon, and every house turns out different. Gather your twigs and glue, and let’s build a little village..
DIY Fairy Houses Start With a Twig and Bark Cottage
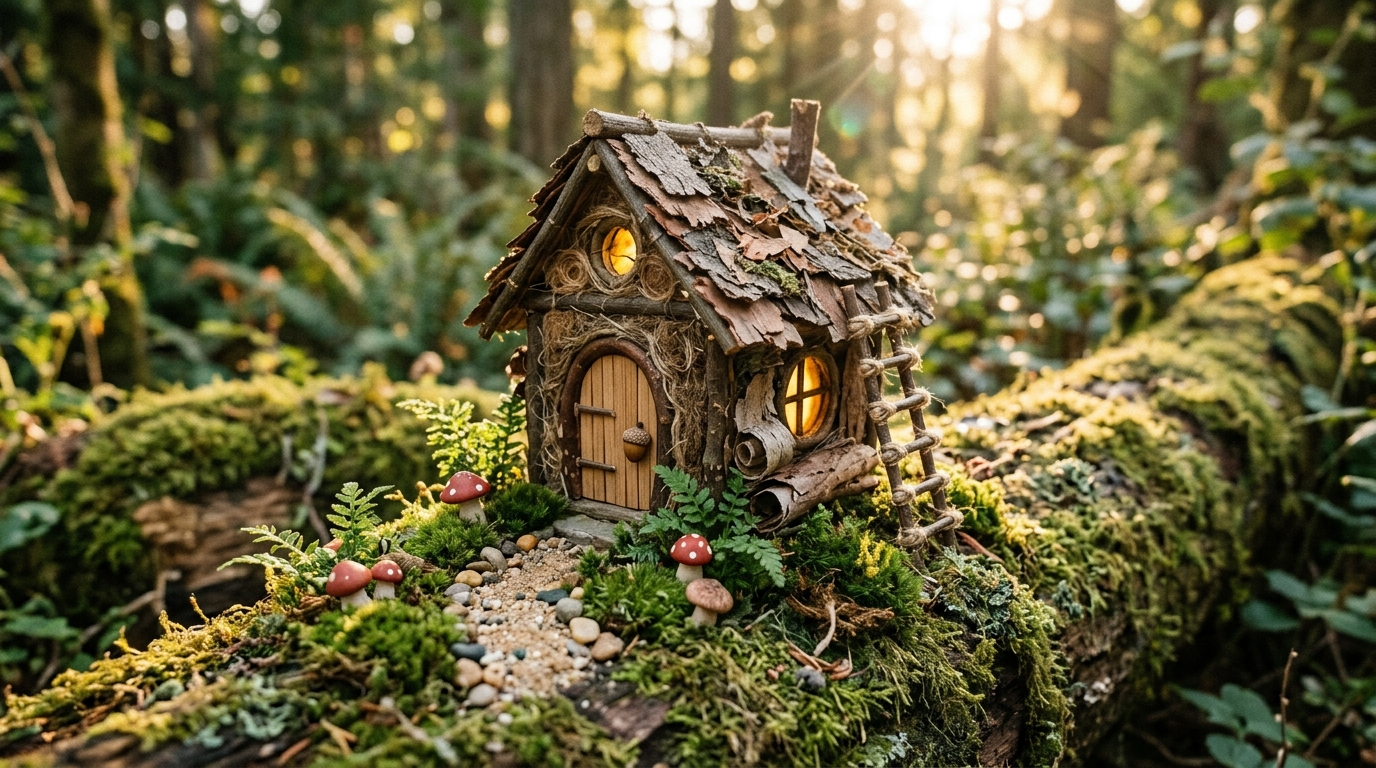
The classic fairy cottage is made almost entirely from things you find on a walk. Twigs become walls, curls of bark become roof shingles and a round piece of wood becomes the door. Set it on a mossy log, add a few clay toadstools and suddenly it looks like someone tiny lives there. A battery fairy light inside makes the window glow at dusk. It is the perfect first project, and kids will want to build a whole street of them. Ready to collect some twigs..
You will need: A small cardboard box or tube as a base, twigs, bark pieces, moss, a hot glue gun (adult help), a wood slice for the door, a battery fairy light.
How to make it: 1. Cut a door and window in the base. 2. Glue twigs around the walls. 3. Layer bark on the roof like shingles. 4. Add the door, moss and a light inside.
A Cardboard and Twig Cottage
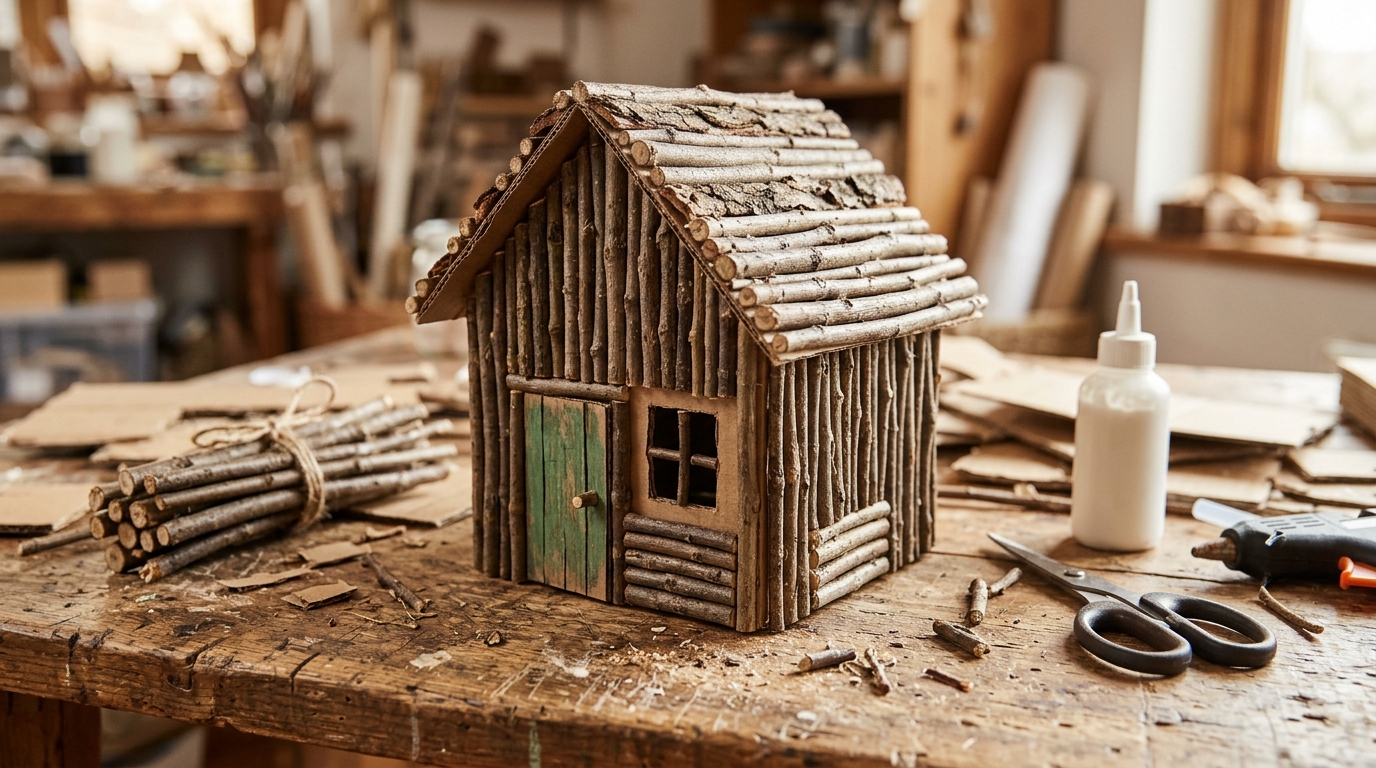
A small cardboard box is the easiest base for a fairy house. Cut a door and window, add a pitched roof from a folded piece of cereal box and cover everything with short twigs glued side by side. Paint the door a bright color so it pops. Kids can snap twigs to length while an adult handles the glue gun. It is one of the easiest DIY fairy houses for little hands. Seal it with a clear spray if it will live outside under a porch. What color door would your child choose?
You will need: A small cardboard box, cereal box card, short twigs, a hot glue gun (adult help), scissors, acrylic paint, clear outdoor sealer (optional).
How to make it: 1. Cut a door and window in the box. 2. Fold card into a roof and glue it on. 3. Glue twigs over the walls and roof. 4. Paint the door and seal it if needed.
DIY Fairy Houses in a Glass Jar
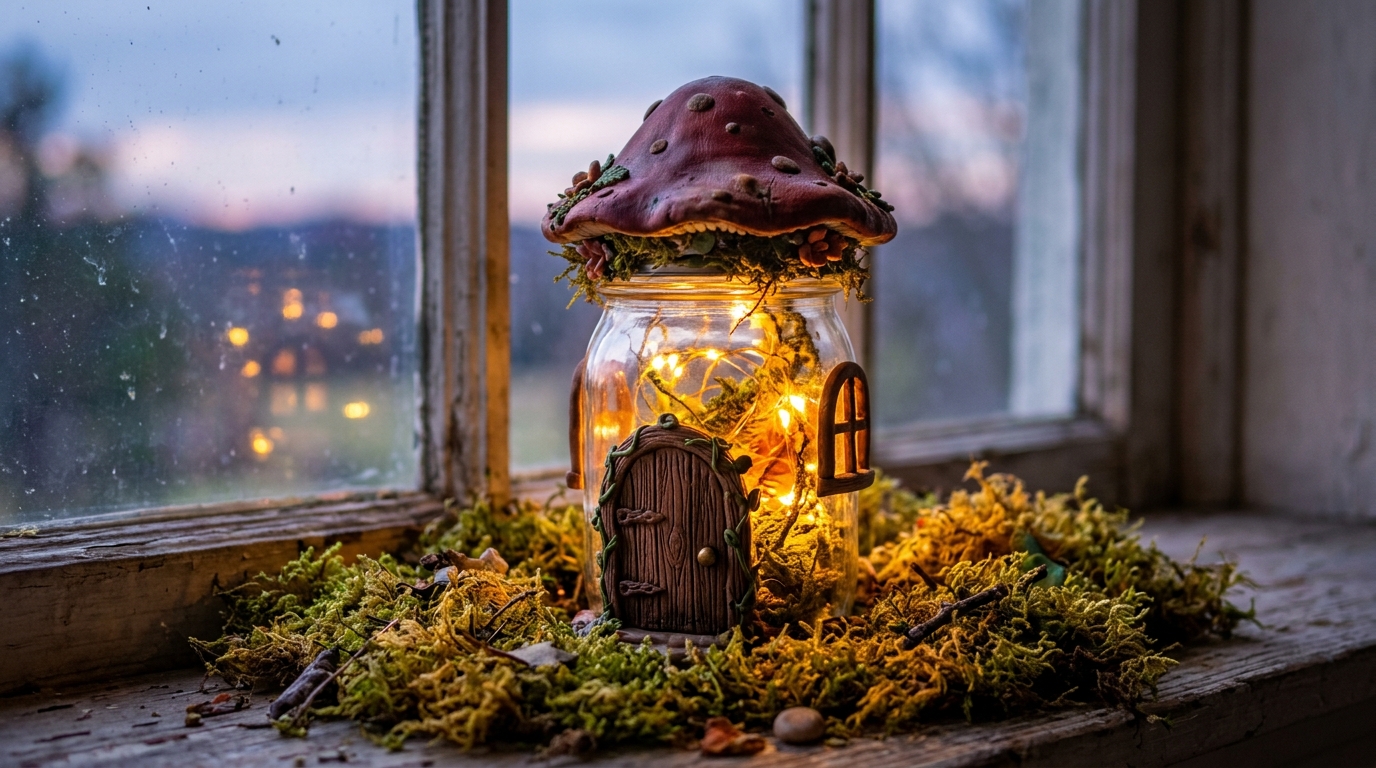
A clean jar becomes a glowing little home with a few pieces of air dry clay. Press clay onto the outside to make a door, windows, stones and vines, then shape a mushroom cap roof on the lid. Paint it once the clay is dry and pop a strand of battery fairy lights inside. At night it looks like the fairies are home. It makes a sweet nightlight for a child’s room or a gift for a grandparent. Where would yours glow?
You will need: A glass jar with a lid, air dry clay, clay tools or a toothpick, acrylic paint, a brush, clear sealer, battery fairy lights.
How to make it: 1. Press clay shapes onto the jar and lid. 2. Let them dry for a day or two. 3. Paint and seal. 4. Add the lights and close the lid.
A Mossy Hill Fairy Village
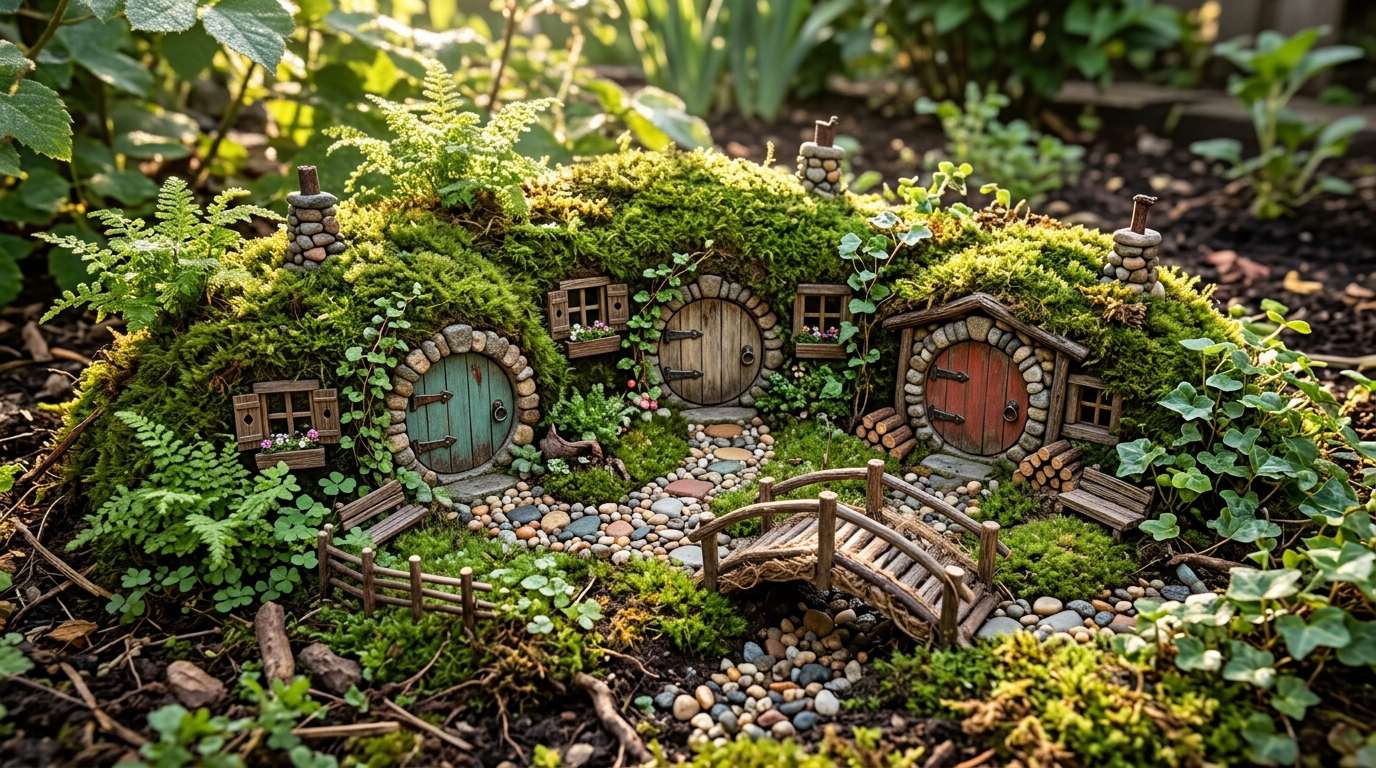
Instead of one house, build a whole village right into a mound of soil in a garden bed or a big planter. Shape a small hill, set in tiny doors made from wood scraps or bark, and frame each one with pebbles. Cover the hill with sheet moss and add a little bridge, a winding stone path and tiny ferns. Mist the moss often to keep it green. Kids love adding new doors over time. How many fairy families will move in?
You will need: A large planter or a corner of a garden bed, potting soil, sheet moss, wood scraps or bark for doors, pebbles, small ferns, a spray bottle.
How to make it: 1. Mound damp soil into a small hill. 2. Press the doors into the sides. 3. Frame each door with pebbles. 4. Cover with moss, add a path and mist it.
DIY Fairy Houses for Winter: A Snowy Cottage
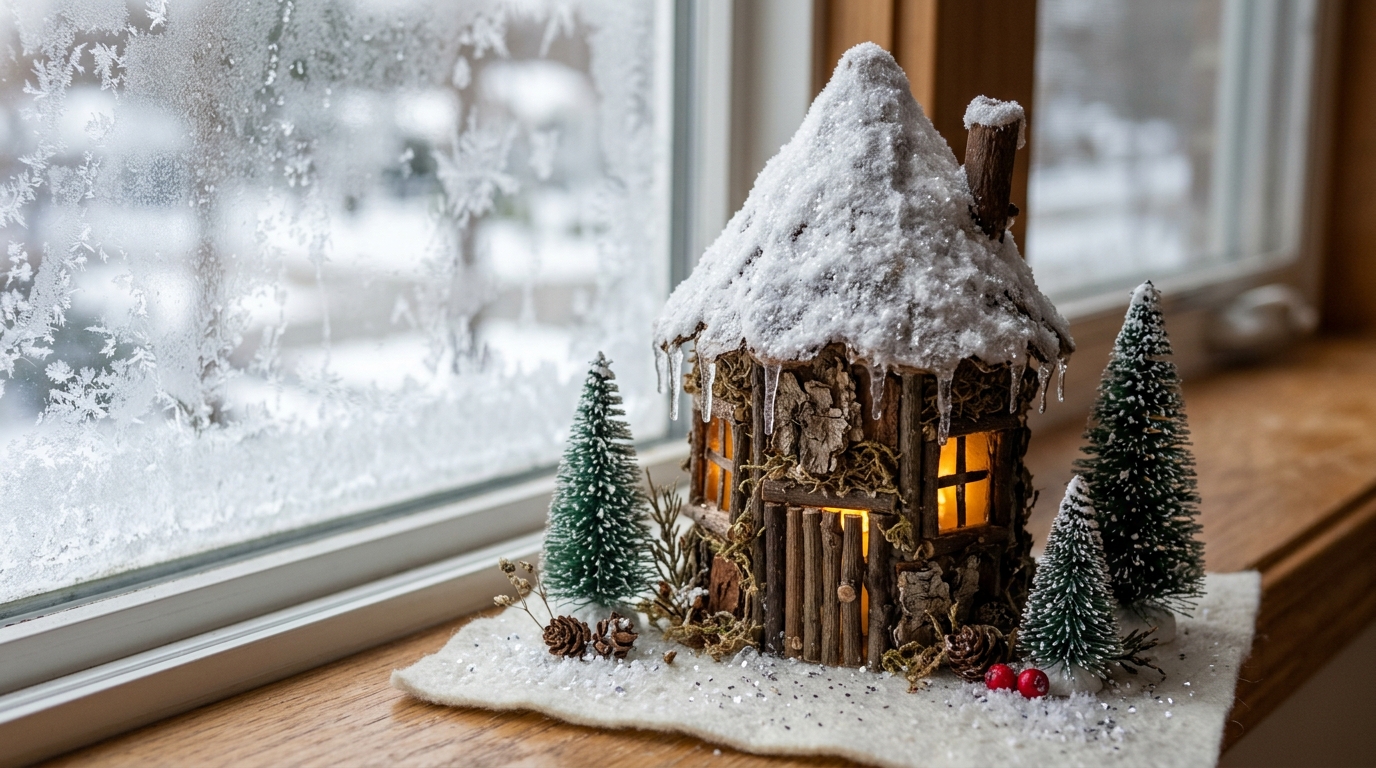
Fairy houses are not only for summer gardens. A snowy version made from a cardboard tube and twigs looks lovely on a windowsill all winter. Cover the roof with white craft snow or a paste of glue and baking soda, drip clear glue along the edges for icicles and add bottle brush trees around it. A battery tea light inside makes the window glow warm. It fits right into cozy winter decorating. Would yours sit on a windowsill or a bookshelf?
You will need: A cardboard tube, twigs, white craft snow or baking soda and glue, clear school glue, bottle brush trees, a felt base, a battery tea light.
How to make it: 1. Cut a door and window in the tube. 2. Glue twigs around it and add a cone roof. 3. Spread snow on the roof and drip glue icicles. 4. Set it on felt with trees and a light.
A Tree Stump Fairy Home
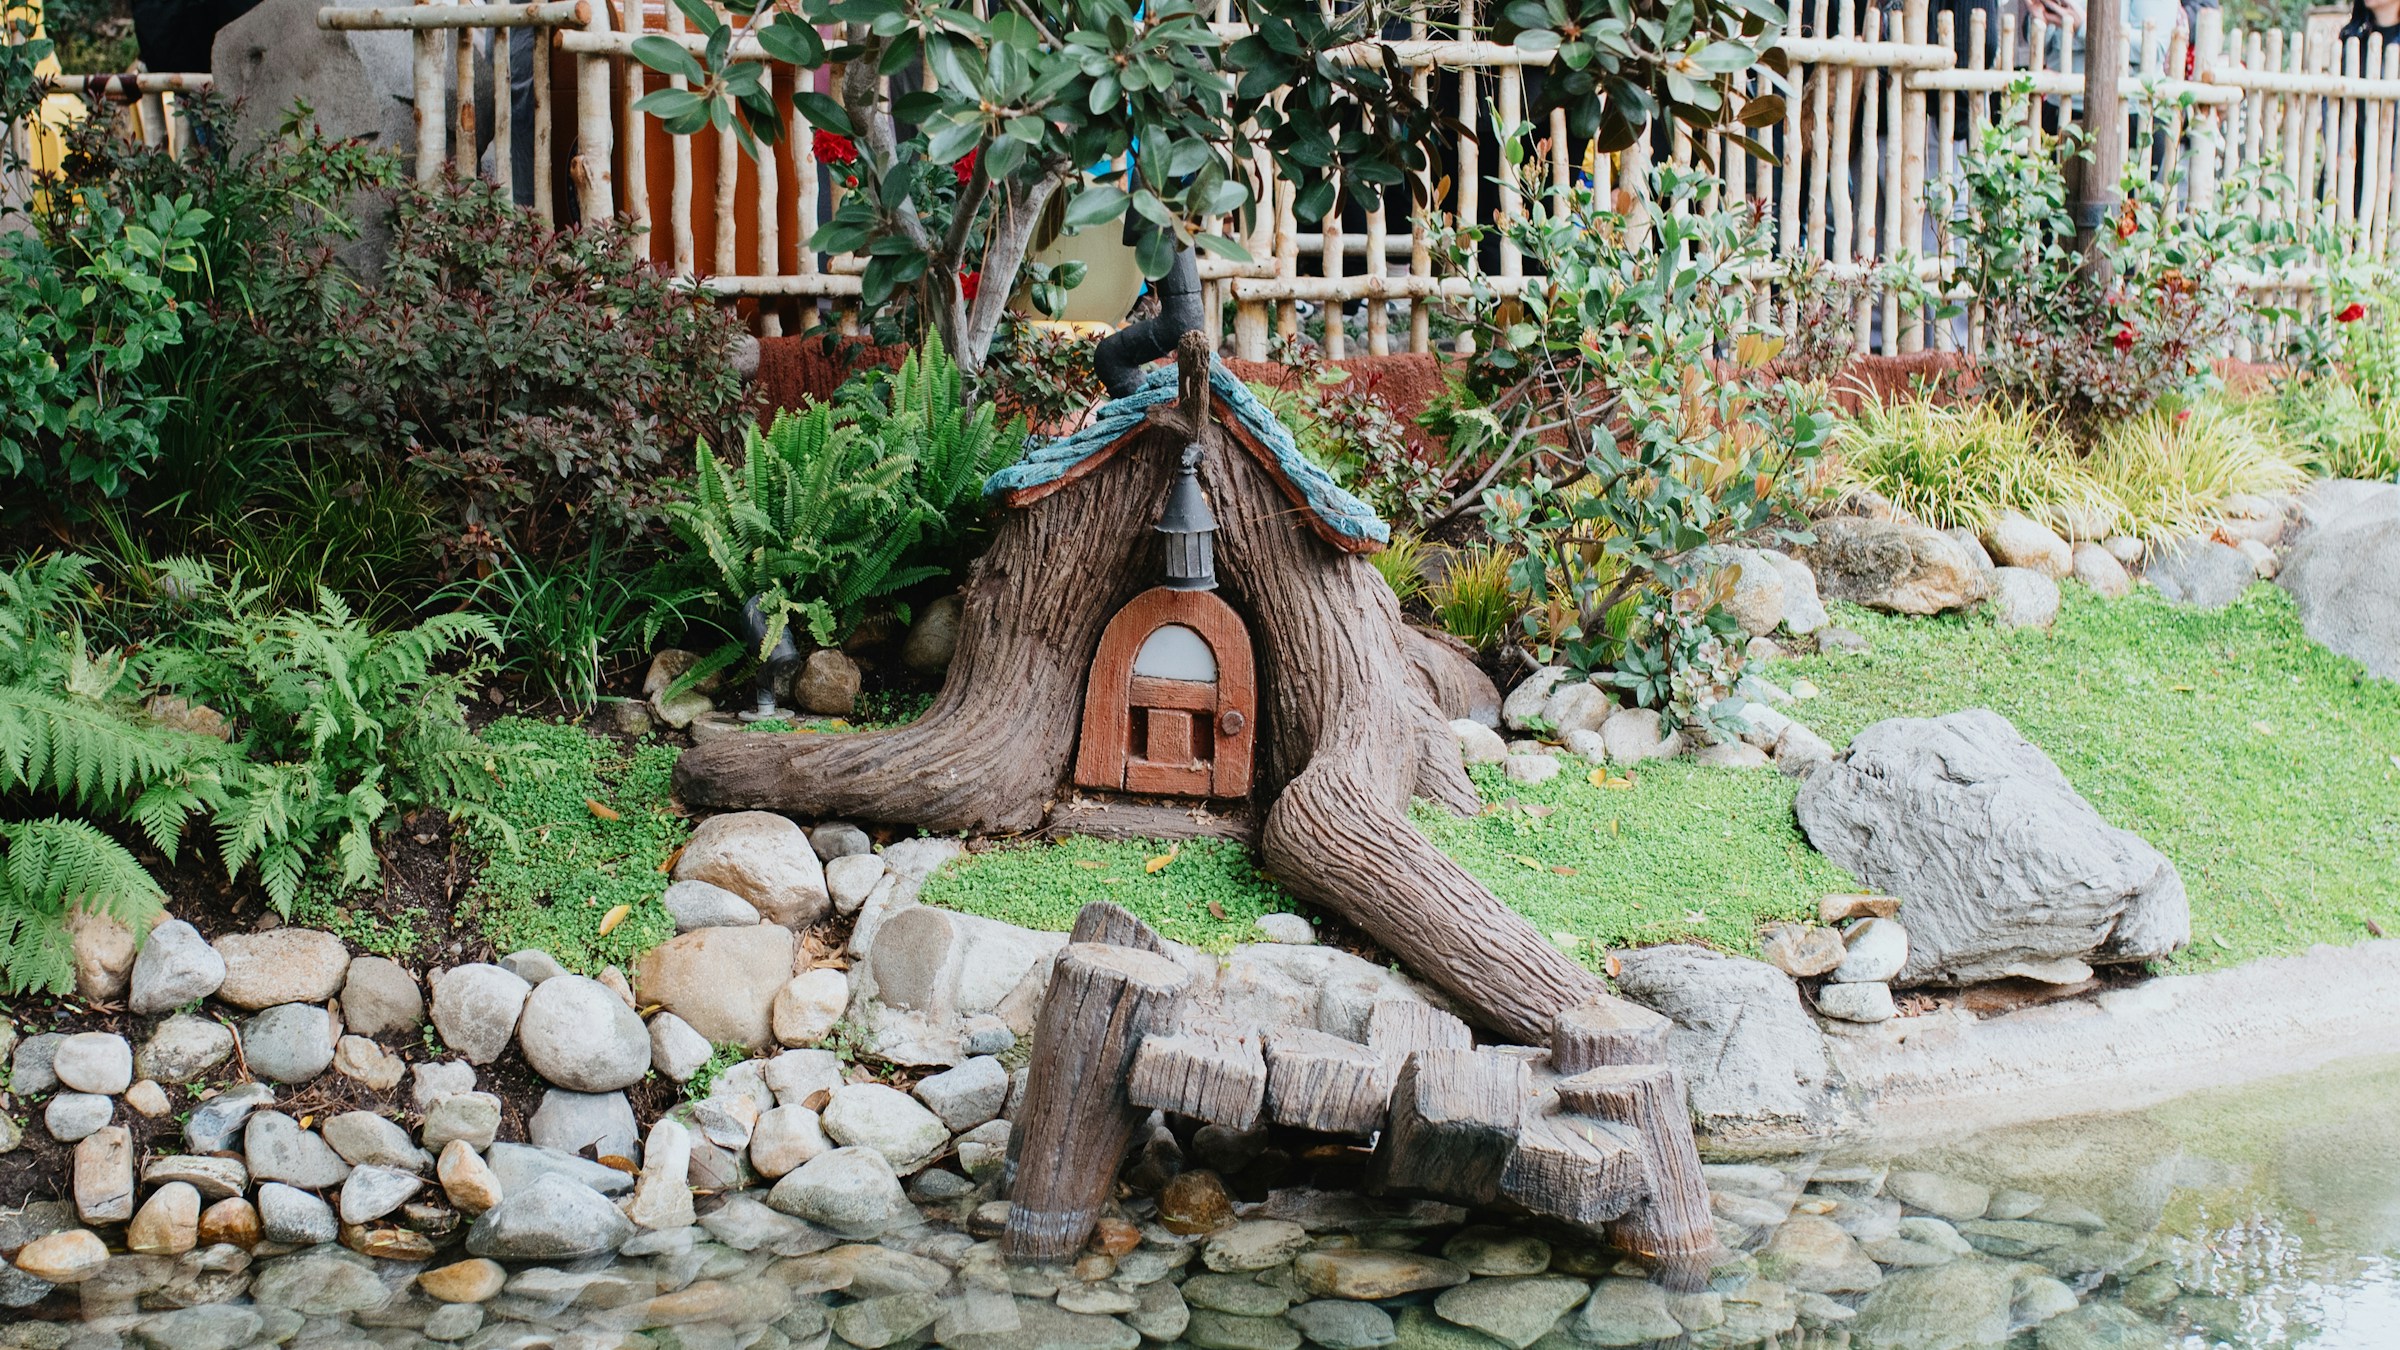
An old stump in the yard is a fairy house waiting to happen. Add a tiny door at the base, a ladder up the side and a little window made from a jar lid. Pebbles make a path and moss softens the edges. Some families even put a mini mailbox out front for notes. Use outdoor paint and small screws for anything that needs to last. It turns an eyesore into the most loved spot in the garden. Do you have a stump that needs a new purpose?
You will need: An old stump, a small wooden door, outdoor paint, small screws, a screwdriver (adult help), pebbles, moss.
How to make it: 1. Brush loose bark from the base. 2. Paint and seal the door. 3. Screw it to the stump at ground level. 4. Add a pebble path and moss.
A Teapot Fairy House
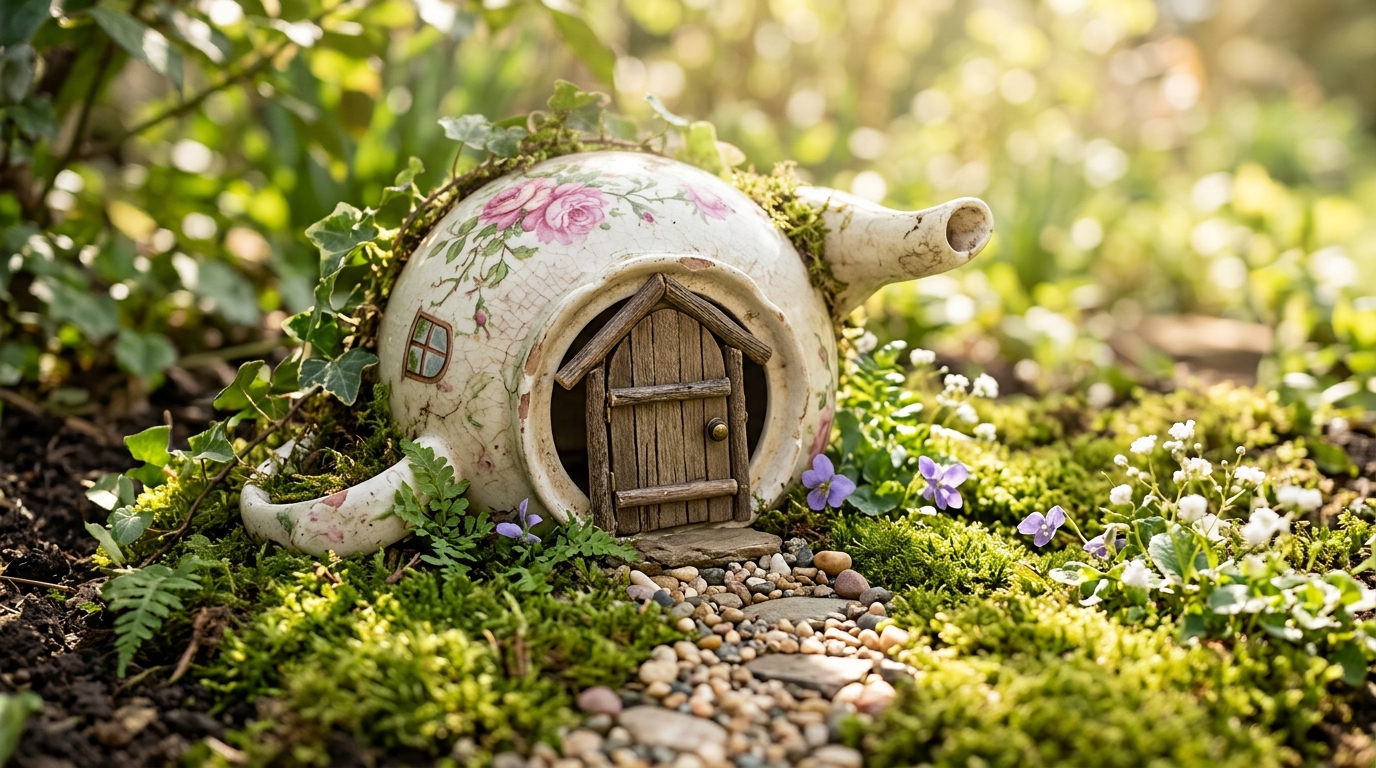
A chipped teapot or a lone sugar bowl from the thrift store makes the most charming fairy cottage. Lay it on its side, glue a tiny arched door over the opening and paint a window on the side. Nestle it into moss in a garden bed or a big pot of flowers. The floral pattern makes it look like it came straight out of a storybook. Use outdoor glue so it lasts through the rain. Which thrift store teapot would you pick?
You will need: An old teapot or sugar bowl, a small wooden or clay door, outdoor glue (adult use), an acrylic paint pen, moss, pebbles.
How to make it: 1. Lay the teapot on its side. 2. Glue the door over the opening. 3. Paint a window and a little vine. 4. Settle it into moss and add a path.
A Bottle Lantern Fairy House
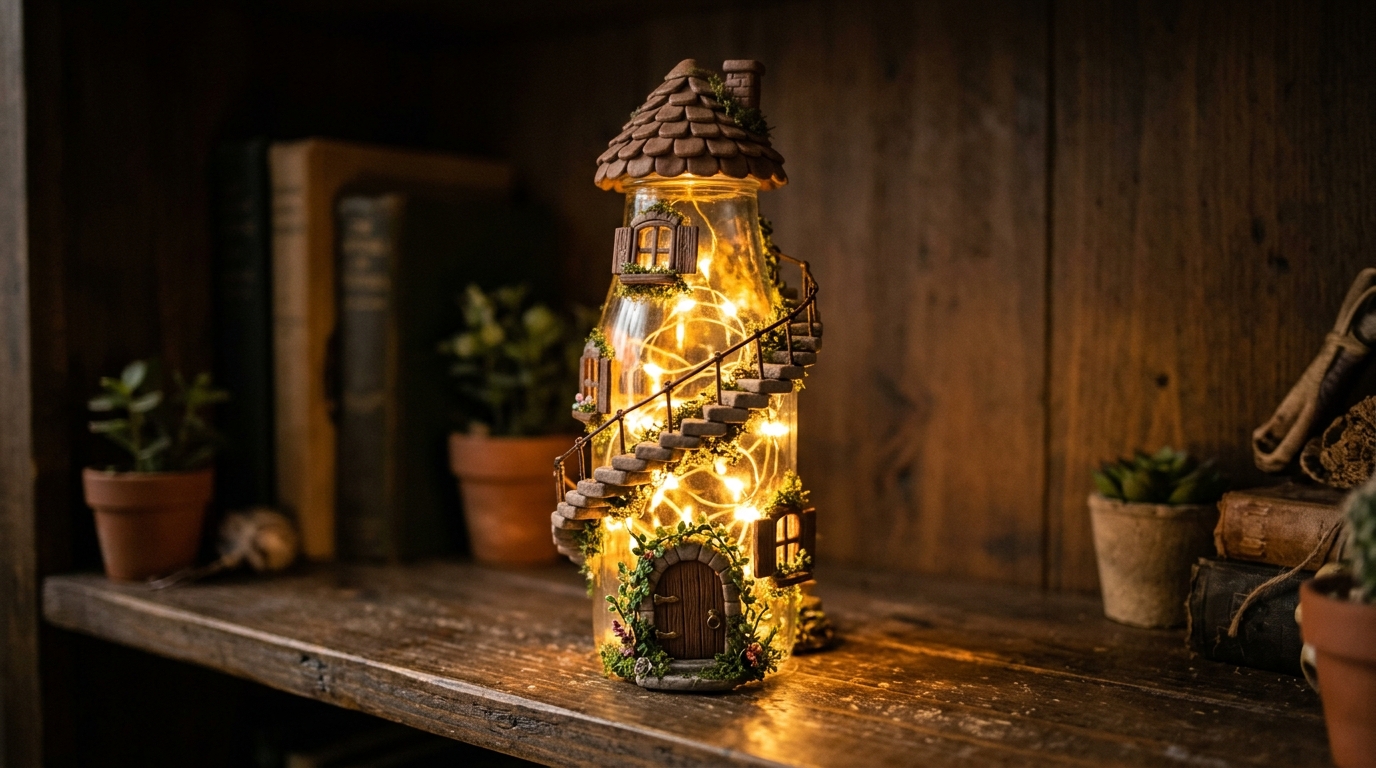
A clear glass bottle becomes a tall fairy tower with clay doors, windows and a spiral staircase pressed onto the outside. Slip a strand of battery fairy lights inside through the neck and add a clay roof at the top. It glows like a tiny lighthouse on a shelf. Only use battery lights, never candles, and pick a sturdy bottle with no chips. Of all the DIY fairy houses here, this one feels most like magic at bedtime. Who in your family would love it on their nightstand?
You will need: A clean clear glass bottle, air dry clay, clay tools, acrylic paint, clear sealer, battery fairy lights.
How to make it: 1. Remove the label and wash the bottle. 2. Press clay details onto the glass and shape a roof for the neck. 3. Dry, paint and seal. 4. Feed the lights in through the neck.
A Pine Cone Roof Cottage
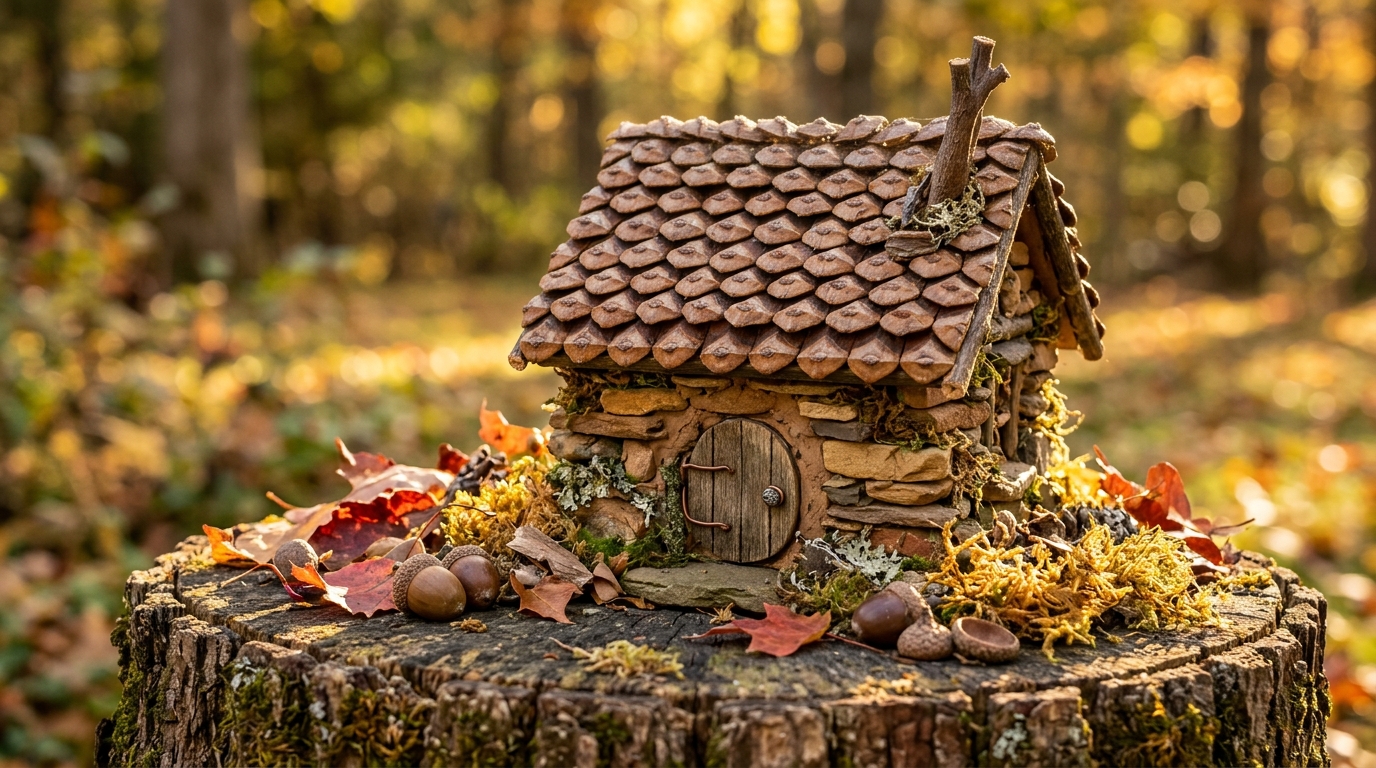
Pine cone scales make perfect tiny roof shingles. Pull the scales off a few cones with pliers and glue them in overlapping rows, starting at the bottom edge of the roof. Walls made from flat pebbles pressed into clay give the cottage a storybook feel. Add a round door and a twig chimney, then set it on a stump among autumn leaves and acorns. It takes some patience, so it is a great project for older kids. How many scales do you think one roof needs?
You will need: Pine cones, pliers, a cardboard house base, air dry clay, flat pebbles, a hot glue gun (adult help), a small twig.
How to make it: 1. Cover the base walls with clay and press in pebbles. 2. Pull scales from the cones with pliers. 3. Glue the scales in rows from the bottom up. 4. Add a door and a twig chimney.
DIY Fairy Houses Begin With a Door on a Tree
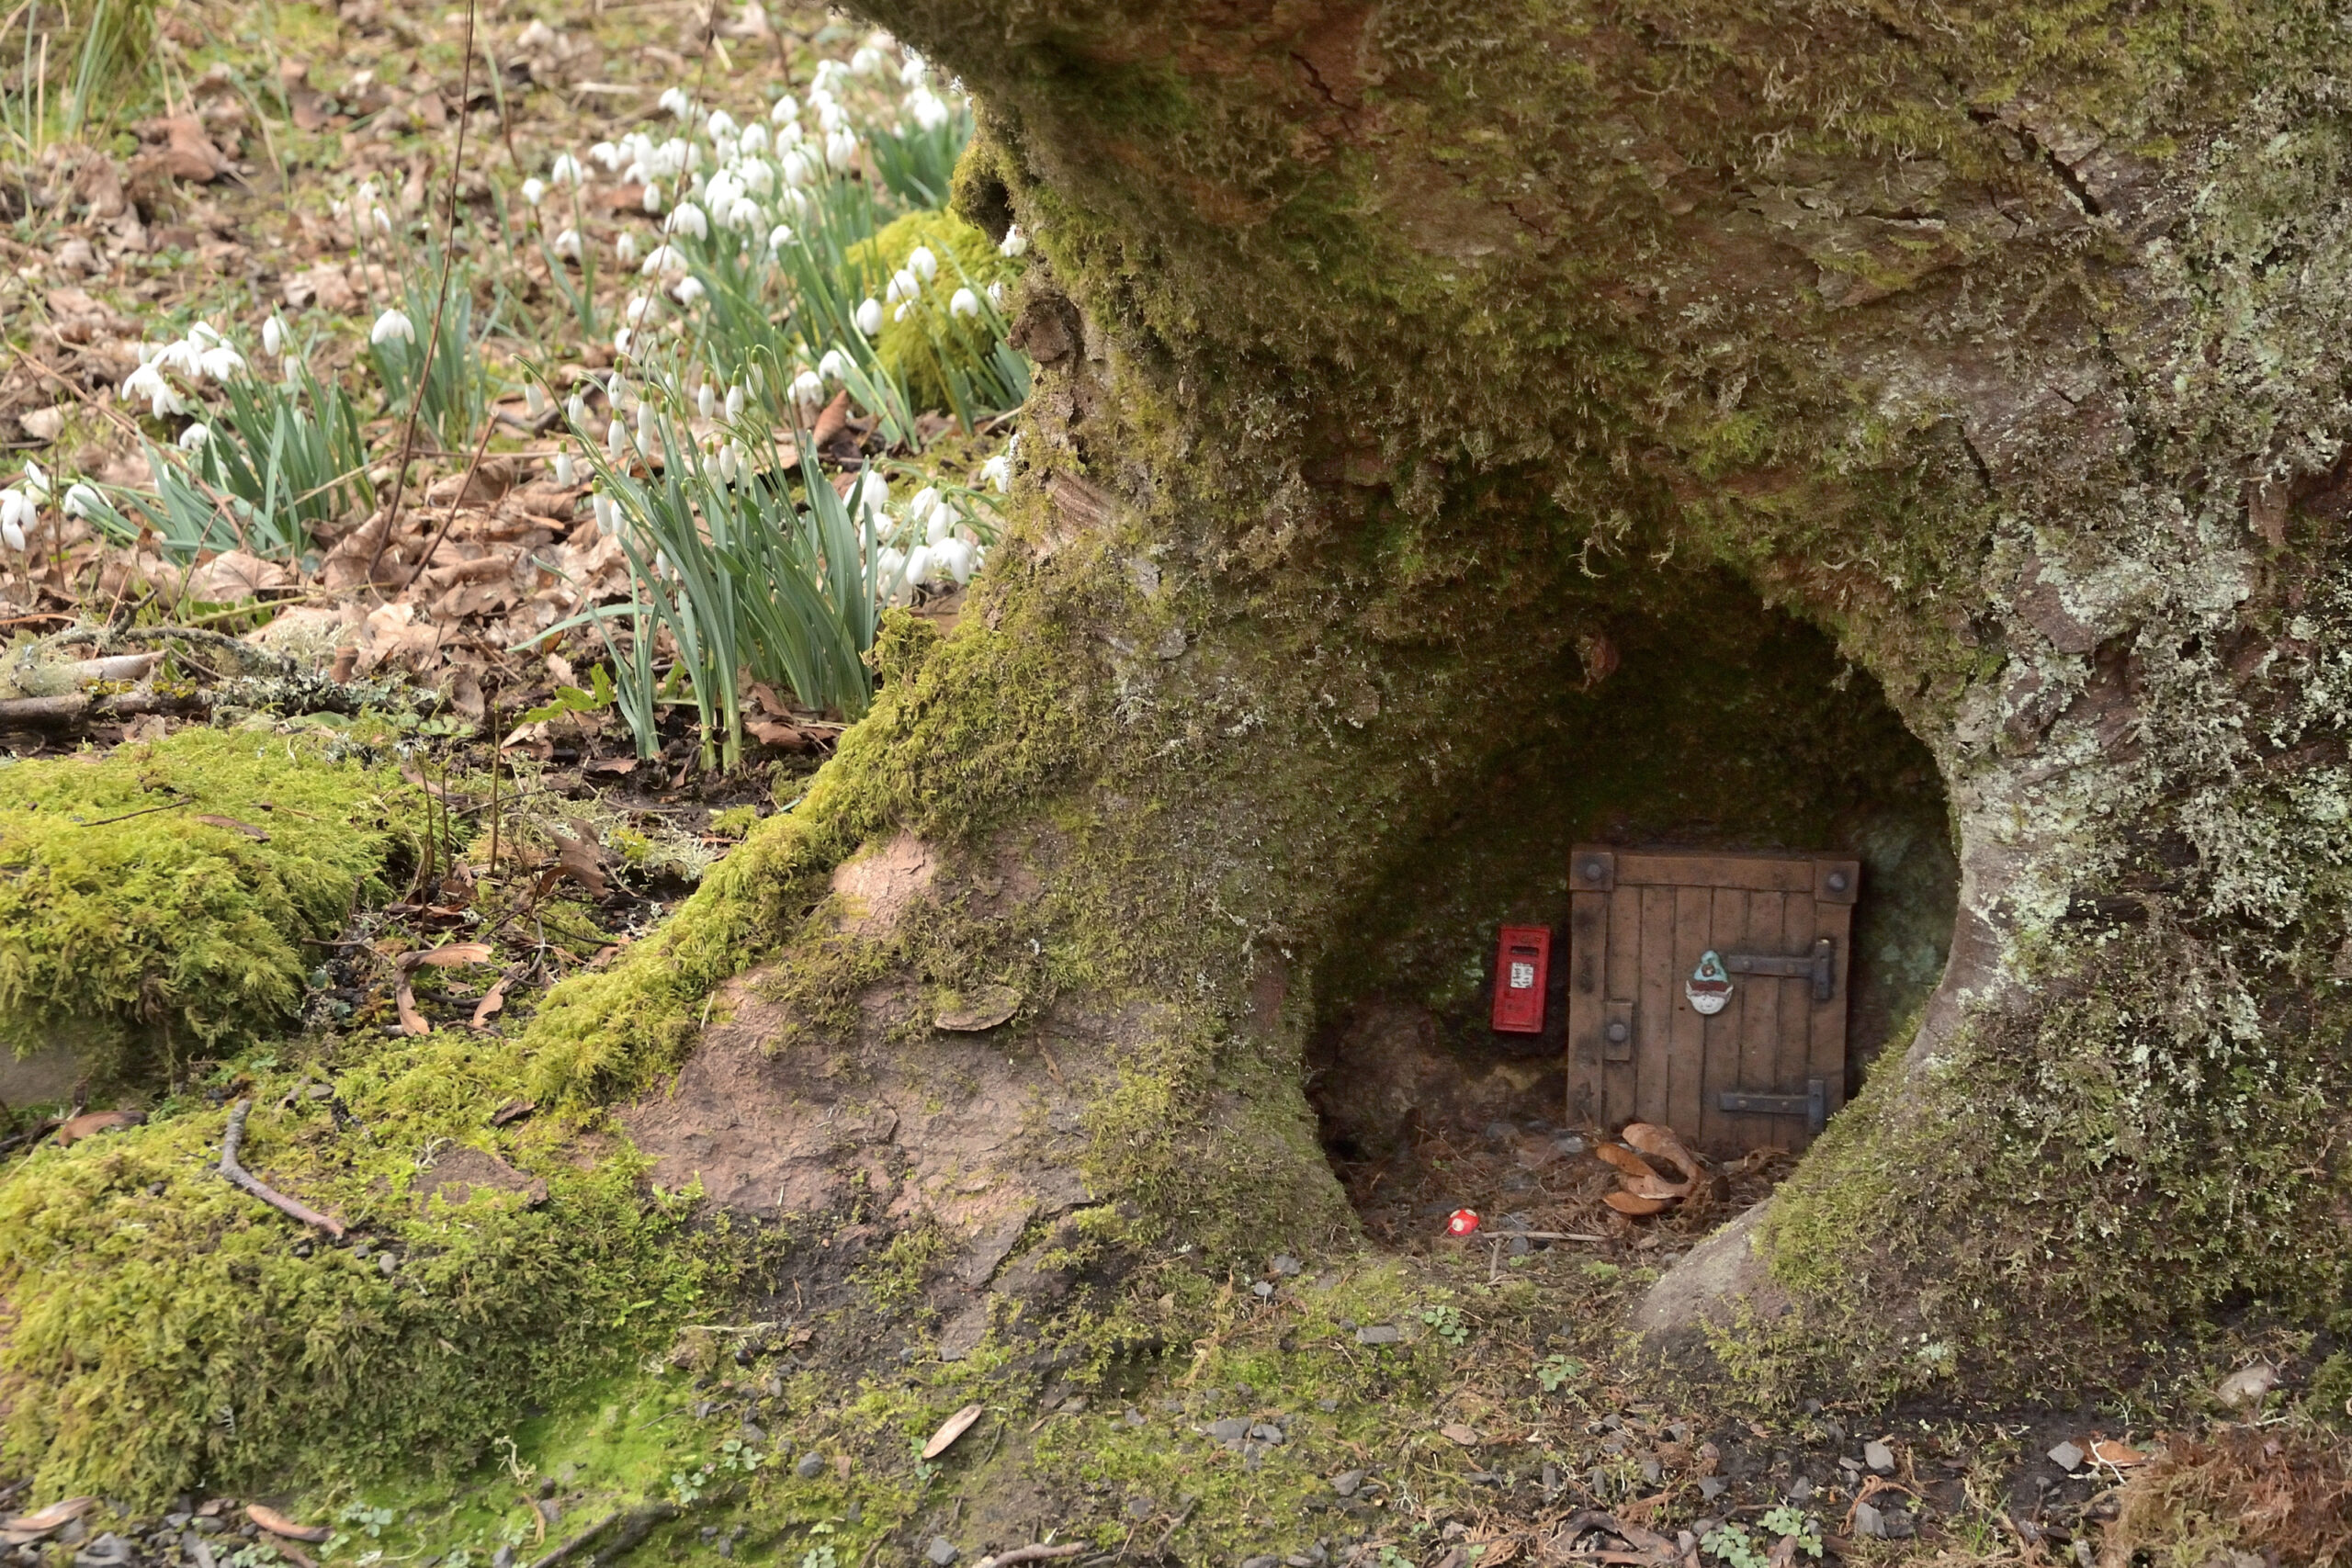
The simplest fairy house is just a door. Fix a tiny painted door to the base of a tree and let imaginations fill in the rest. Many parks and woodlands have fairy door trails that families love to hunt for. At home, add a little step from a slice of wood, a pebble path and a tiny lantern. Attach the door with outdoor putty or a soft strap instead of screws to protect the tree. Kids can leave notes and see if the fairies write back. Would your family start a fairy trail?
You will need: A small wooden door, outdoor paint, outdoor adhesive putty or a soft strap, a wood slice step, pebbles, a tiny battery lantern.
How to make it: 1. Paint and seal the door. 2. Press it against the tree base with putty or strap it on. 3. Add a wood slice step. 4. Lay a pebble path and a lantern.
A Little Garden Fairy House

Tucking a small fairy house right into a flower bed makes the whole garden feel enchanted. Build it from an upside down clay pot, a small birdhouse or a block of wood with a painted door. Let the plants grow up around it so it looks hidden and found. Place it near the path so little ones can spot it on every walk. Add a new tiny detail every season to keep the story going. Where in your garden would a fairy feel at home?
You will need: A small clay pot, a mini birdhouse or a wood block, outdoor paint, small brushes, clear outdoor sealer, moss.
How to make it: 1. Paint a door and windows on your base. 2. Seal it for outdoor use. 3. Nestle it among plants near a path. 4. Add moss around the bottom.
Clay Mushroom Fairy Houses
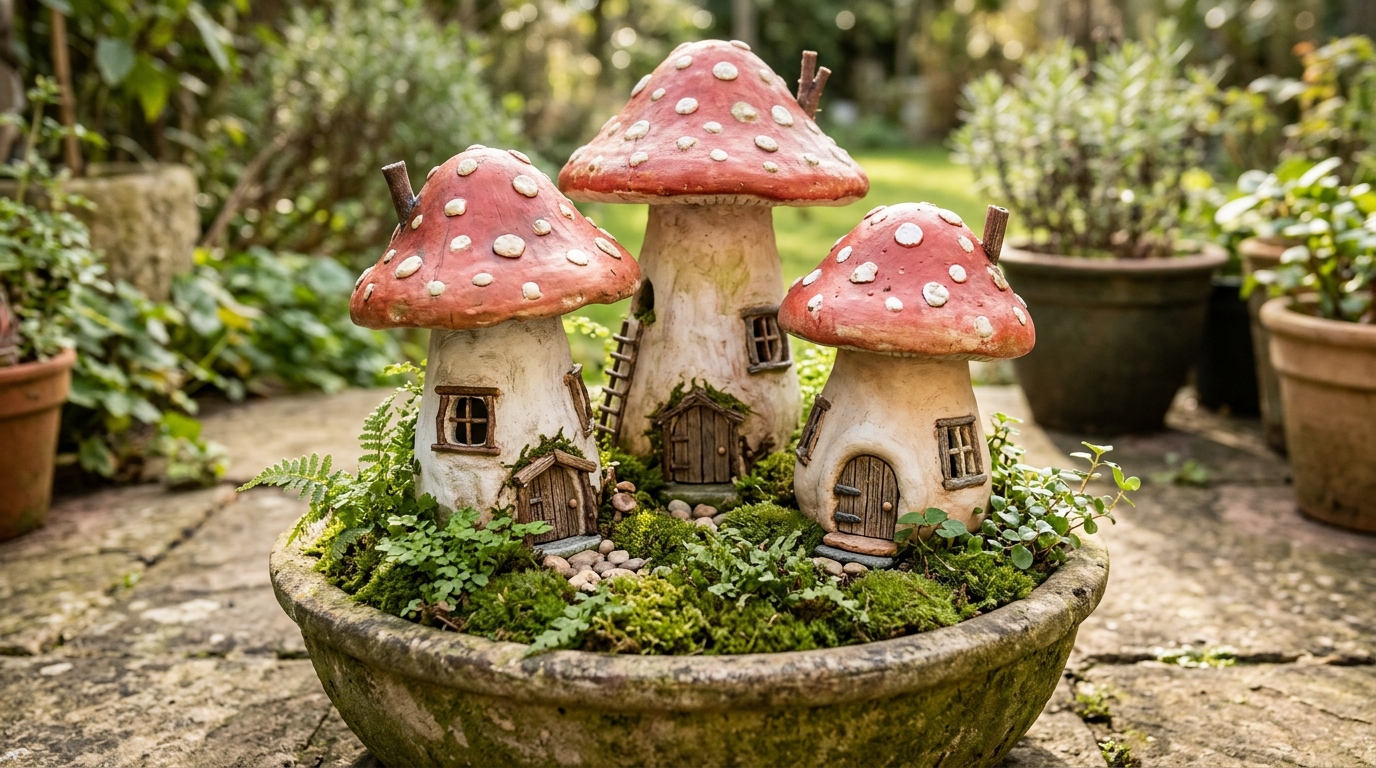
Mushroom houses look like something from a fairy tale, and you can make them from plastic bottles and cardboard tubes. Cover a tube with air dry clay for the stem, then shape a big rounded cap from a bottle top covered in clay. Paint the caps red with white dots and add tiny doors and windows. Group three in a mossy planter for a mini village. If you love working with clay, try these realistic clay crafts next. Which color caps would you choose?
You will need: Cardboard tubes, small plastic bottles, air dry clay, acrylic paint, clear sealer, moss, a planter.
How to make it: 1. Cover a tube in clay for the stem. 2. Cut the top off a bottle and cover it in clay for the cap. 3. Join them and add doors and windows. 4. Dry, paint, seal and set them in moss.
A Pebble Path and Tiny Fence
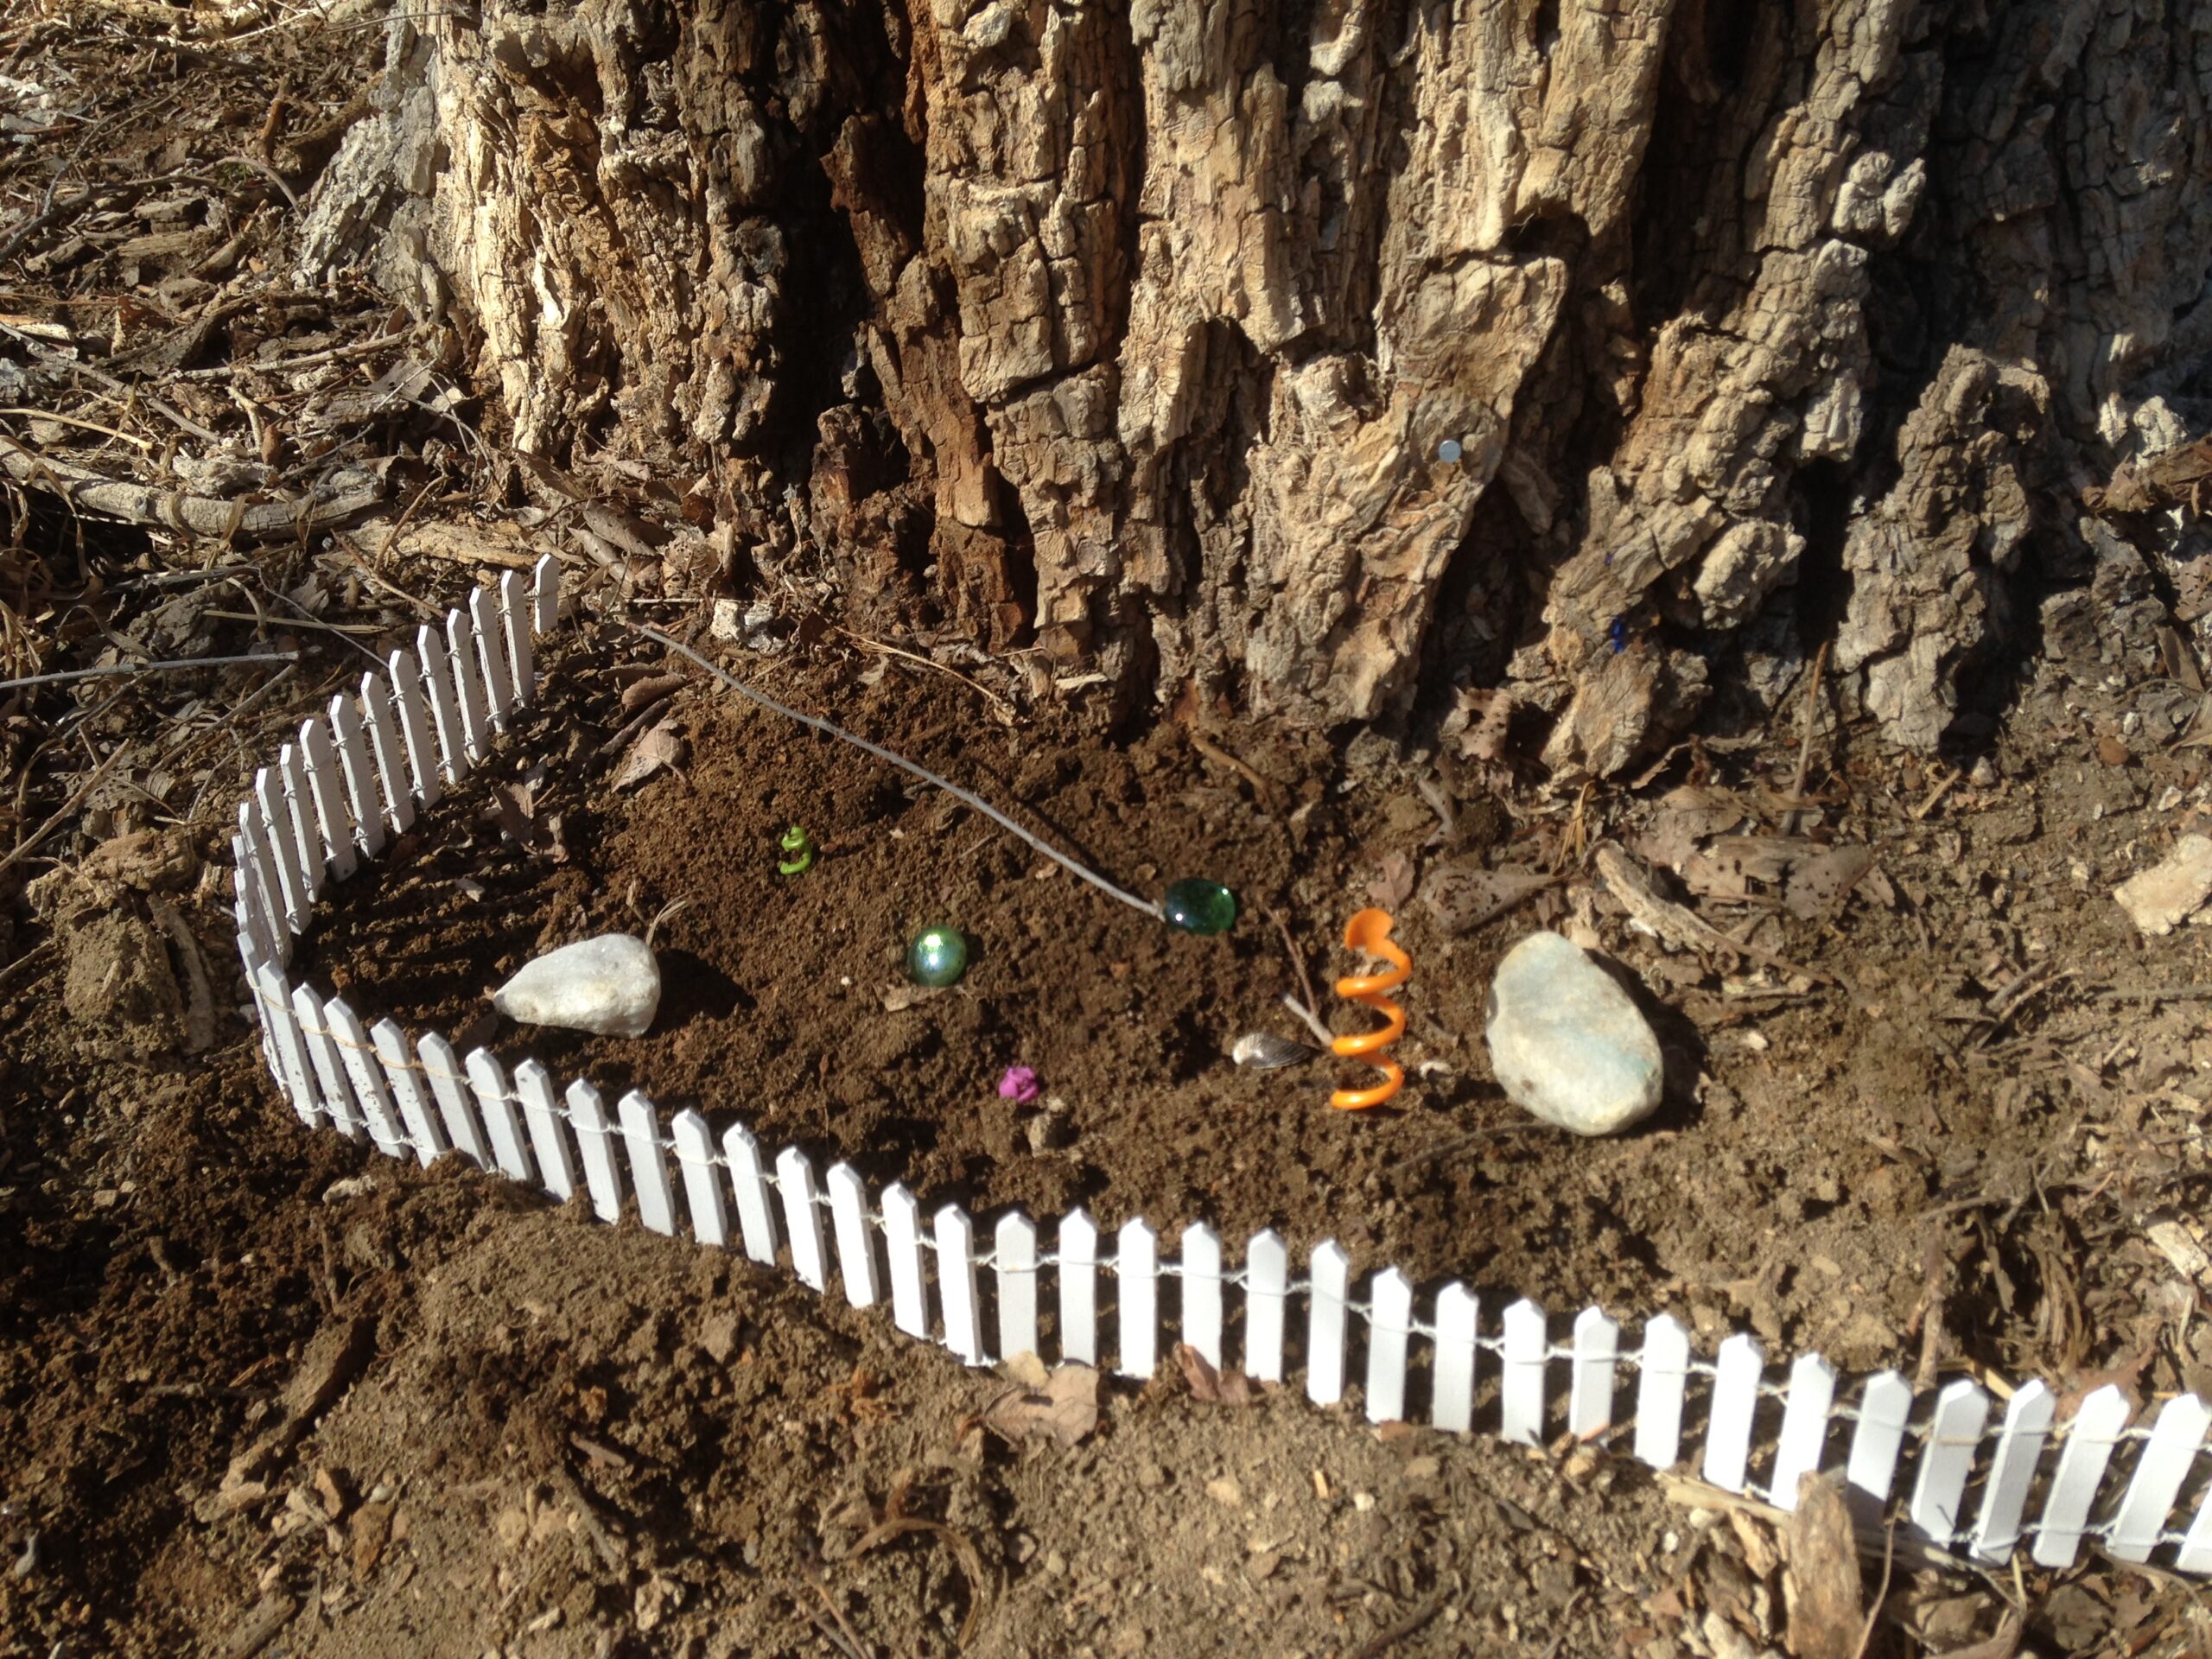
Small details are what make a fairy garden feel real. A winding path of flat pebbles leads visitors to the door, and a little fence made from twigs or craft sticks keeps the scene tidy. Add a tiny bench, a bottle cap birdbath and a few succulents. These touches turn a single house into a whole world, and kids can rearrange them again and again. It is also a great way to use up leftover pebbles and sticks. What tiny detail would you add first?
You will need: Flat pebbles, twigs or craft sticks, wood glue, small succulents, a bottle cap, potting soil.
How to make it: 1. Lay pebbles in a winding line to the door. 2. Glue twigs into short fence panels. 3. Push the fence into the soil along the path. 4. Add a bench, plants and a bottle cap birdbath.
DIY Fairy Houses for Christmas: A Tiny Village
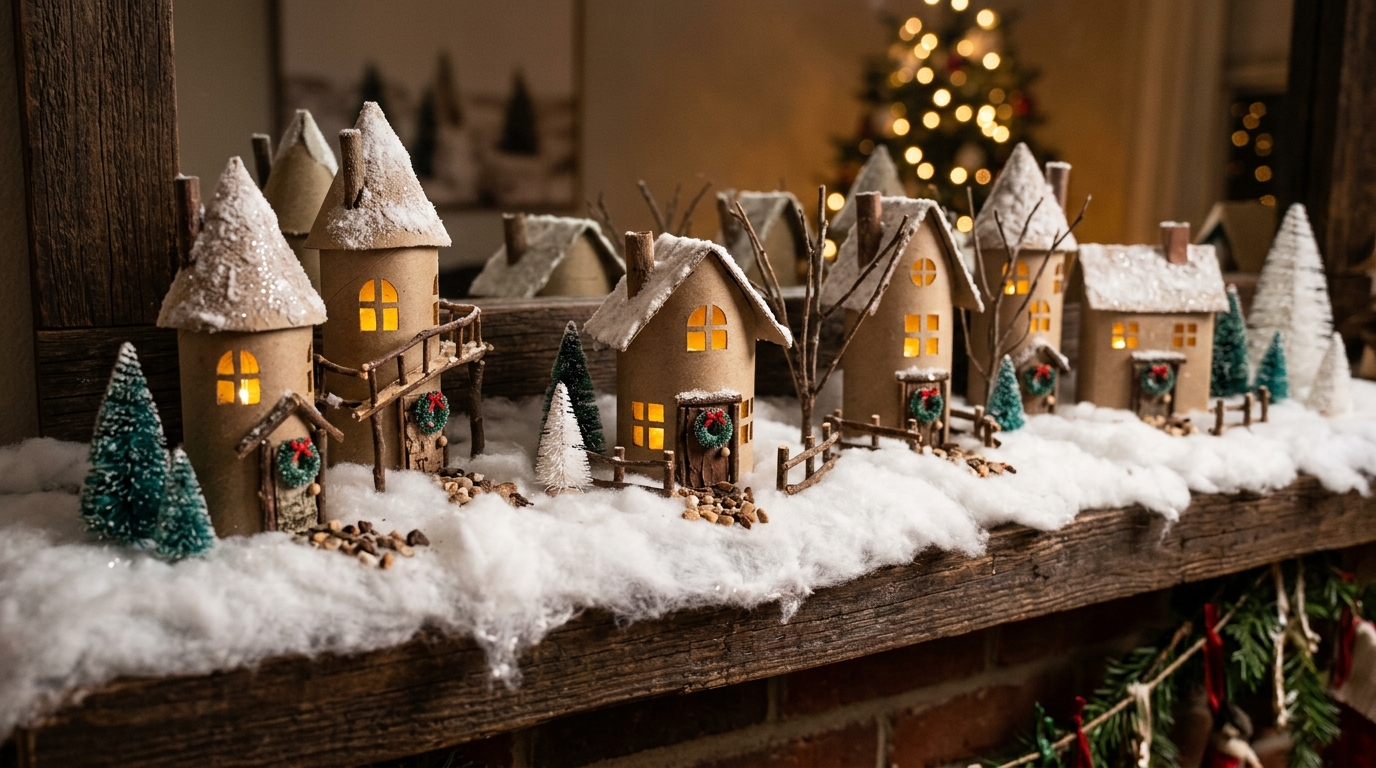
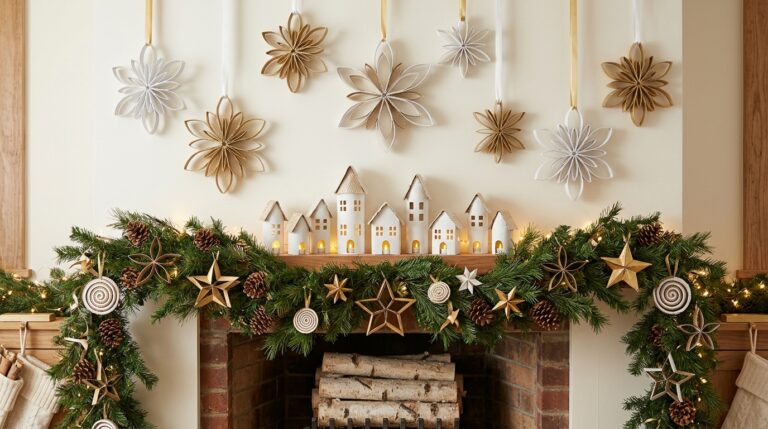
When the holidays arrive, DIY fairy houses can move indoors to the mantel. Make a row of little cottages from cardboard tubes, add twig details and snowy roofs, then hang tiny wreaths on the doors. Bottle brush trees and cotton snow complete the scene, and battery fairy lights tucked behind make every window glow. This trash to fairy house post on Instagram shows just how magical these can look. Which room would your village light up?
You will need: Cardboard tubes, twigs, white paint or craft snow, tiny wreaths or green pipe cleaners, bottle brush trees, cotton batting, battery fairy lights.
How to make it: 1. Cut doors and windows in each tube and add paper roofs. 2. Glue on twig details and paint the roofs white. 3. Add the tiny wreaths. 4. Arrange on cotton snow with trees and lights.