Old Spindle Crafts: 15 Cozy Ways to Turn Stair Parts Into Holiday Decor
Old spindle crafts are having a real moment this season, and it is easy to see why. Those worn wooden stair parts sitting in garages and thrift bins have lovely curves that already look like little trees, soldiers and snowmen. All they need is paint and a bit of imagination. Since October 22, a single spindle Christmas decor post on Instagram has pulled in more than 20,000 likes, and the comments are full of people asking how to make their own. So we gathered 15 of the coziest ideas, from painted trees to a wall rack you will use all year. Each one comes with a short supply list and simple steps. Grab a few spindles, a brush and a free afternoon, and let us turn a pile of old wood into holiday charm..
Old Spindle Crafts Start Here: Painted Spindle Christmas Trees
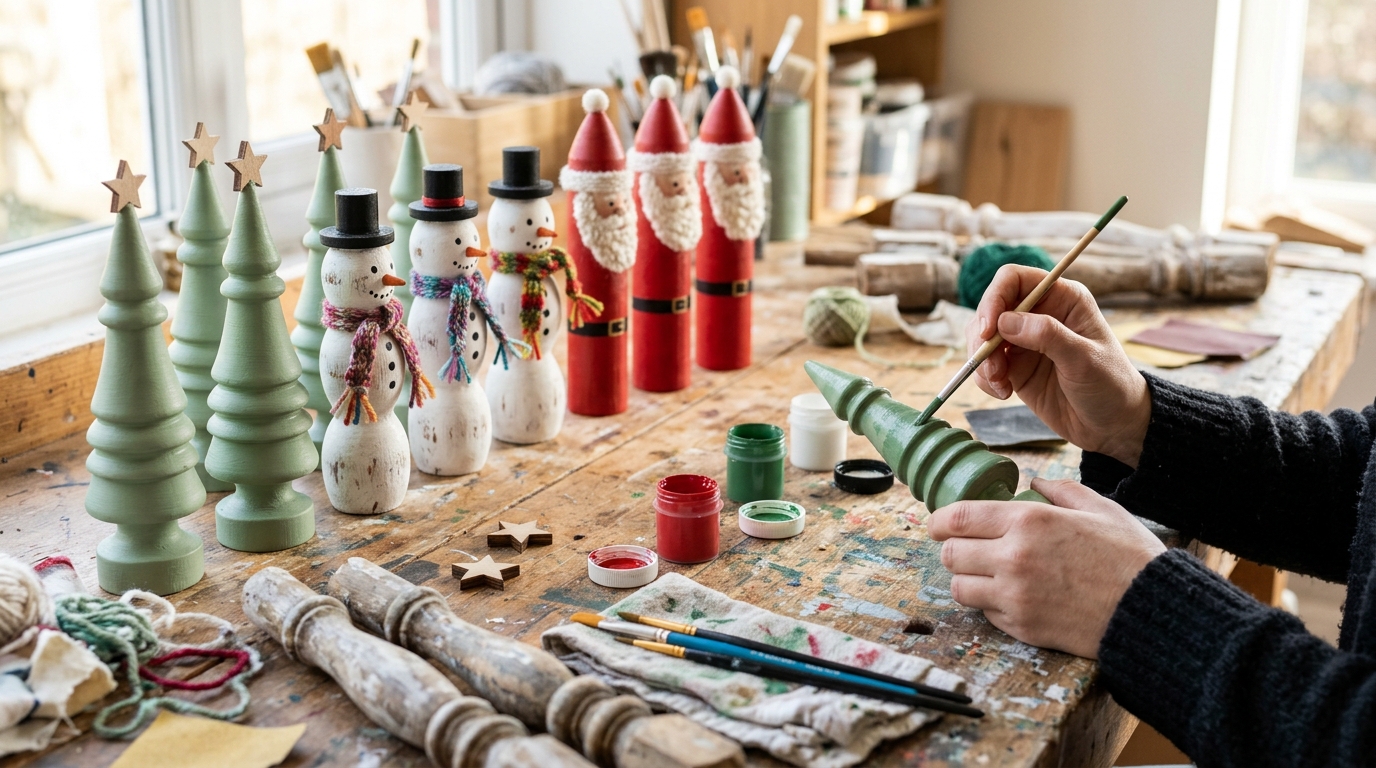
The spindle tree is the craft that started it all, and it is the easiest one to love. The turned rings on a stair spindle already look like the layers of a little pine tree. Cut a spindle into two or three pieces of different heights, paint them soft green, and you have an instant forest. Before you start, a quick safety note: homes built before 1978 may have lead paint on old wood, so test chipped paint with a home kit, sand outside with a mask, or simply use new unfinished spindles..
You will need: Two or three wooden stair spindles, a hand saw, sandpaper, green chalk style paint, a small wooden star or bead for each top, wood glue and three wooden discs for bases.
How to make it: 1. With adult help, cut the spindles into pieces of different heights. 2. Sand lightly, paint them green and let them dry. 3. Glue each tree to a wooden disc and add a star on top.
Spindle Snowmen With Tiny Fleece Scarves
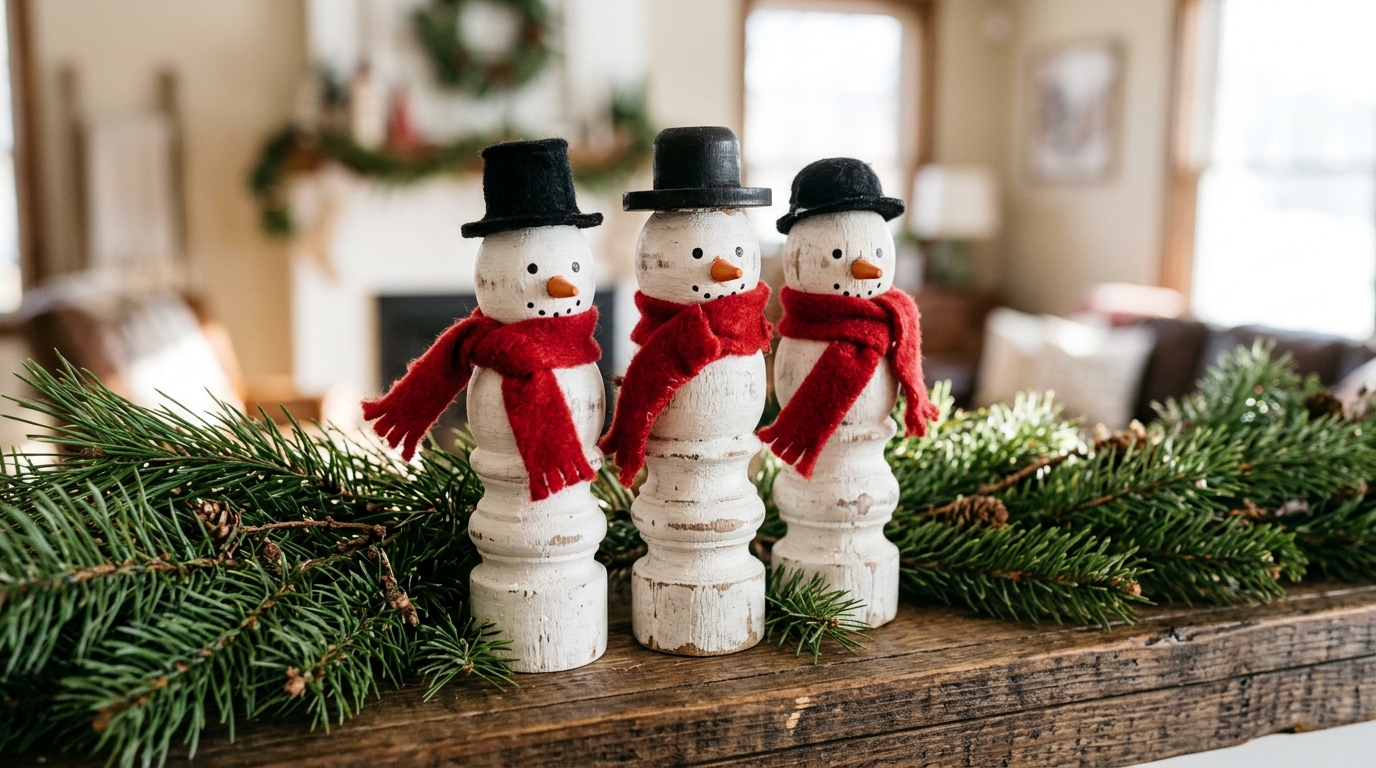
Among all old spindle crafts, snowmen are a perfect match for the round, bulb shapes on many spindles. Each bump becomes a head or a body without any carving at all. A coat of white paint, two dot eyes and a little orange nose, and your snowman is ready to smile. The scarf is the best part, and it is a great job for kids. Cut a thin strip of fleece, snip fringe into the ends and tie it on. Would you make yours with top hats or pom pom beanies?
You will need: Short spindle pieces, white paint, black and orange paint pens, scraps of red fleece, scissors and small wooden caps or felt for hats.
How to make it: 1. Paint each spindle piece white and let it dry. 2. Add eyes, buttons and a nose with paint pens. 3. Tie on a fleece scarf and glue on a small hat.
Tall Porch Santas From Full Length Spindles
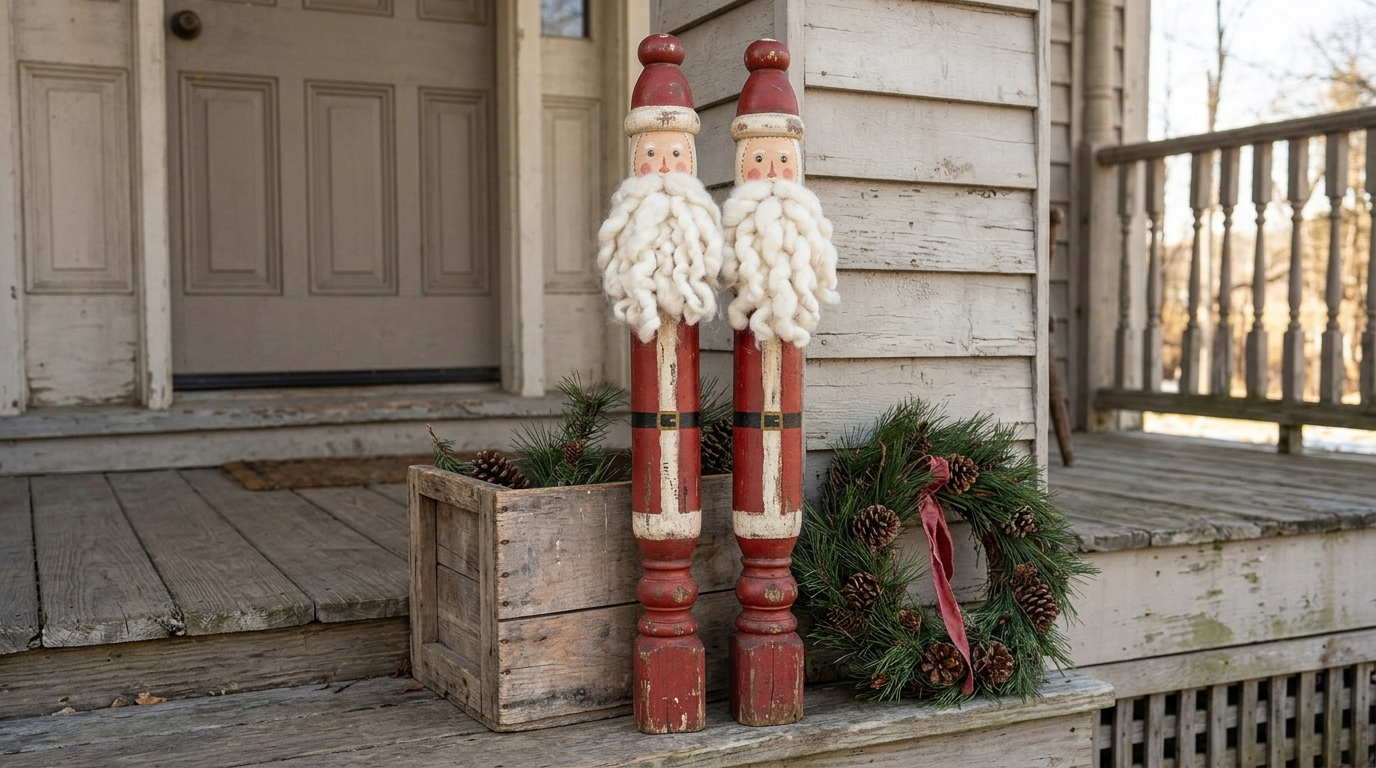
If your stash of old spindle crafts supplies includes a few full length spindles, keep them whole and make Santas big enough to greet guests at the door. The long shape gives Santa a tall, slim look that feels very old fashioned. Paint the lower part red, add a black belt, then a skin tone face and a fluffy beard of white wool roving. A small red hat cut from felt finishes the look. Set two of them on the porch step and watch the neighbors slow down. Where would your Santa stand?
You will need: Full length wooden spindles, red, black and light skin tone paint, white wool roving, red felt, a hot glue gun and outdoor sealer.
How to make it: 1. Paint the coat, belt and face sections and let them dry. 2. With adult help on the glue gun, attach the wool beard and felt hat. 3. Seal with outdoor sealer if they will live on the porch.
Old Spindle Crafts Nutcracker Soldiers
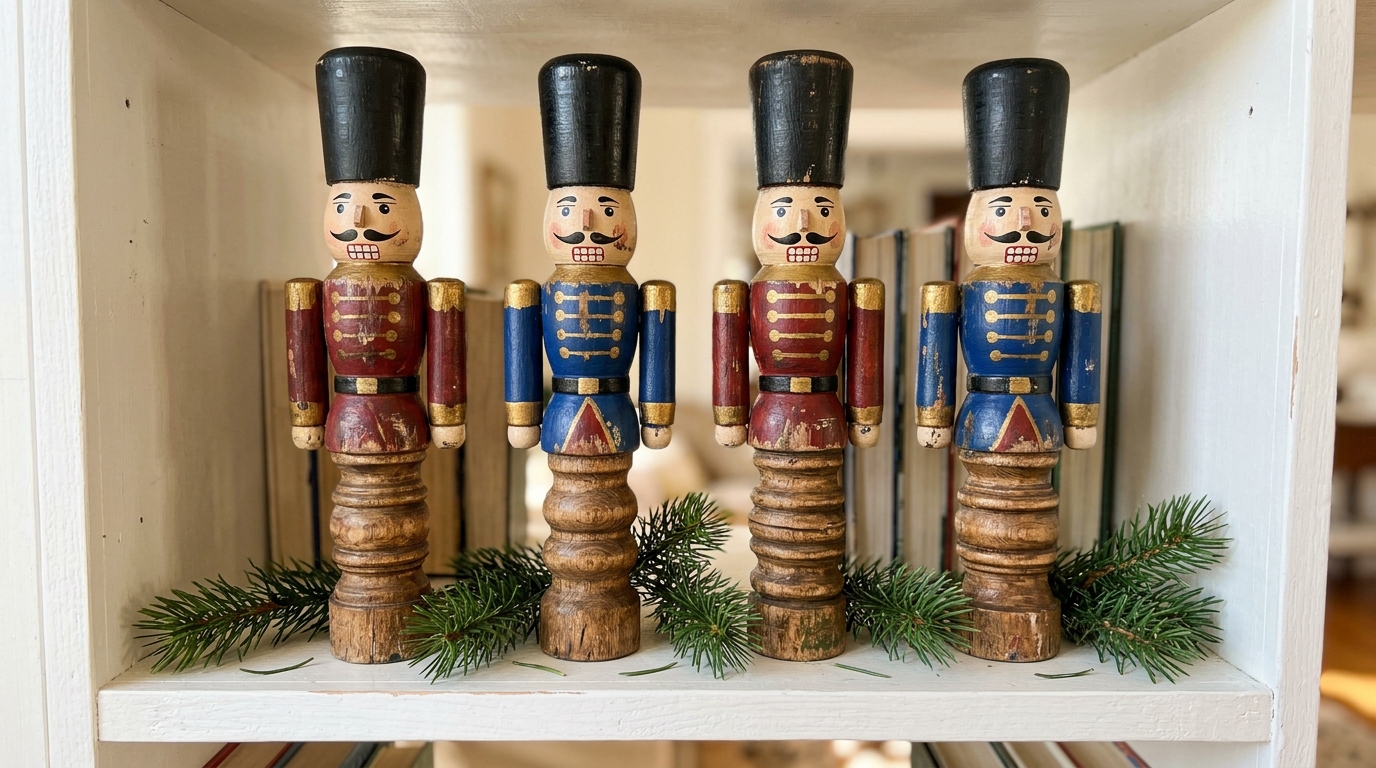
Nutcrackers are one of the most loved Christmas figures, and spindles are almost shaped like them already. The narrow neck makes the face, and the wider parts become the jacket and boots. Paint each soldier a different color, like red, royal blue and forest green, then add gold buttons with a paint pen. If you love this look, you will also enjoy our nutcracker Christmas decor ideas for more thrifty ways to style a whole shelf. Which color would your first soldier wear?
You will need: Spindle pieces about 10 to 14 inches long, acrylic paint in bright colors, a gold paint pen, small wooden caps for hats and wood glue.
How to make it: 1. Paint the hat, face, jacket and boots in sections. 2. Add buttons, belts and a small smile with paint pens. 3. Glue on a wooden cap for a tall soldier hat.
Tiny Tabletop Trees From Spindle Tops
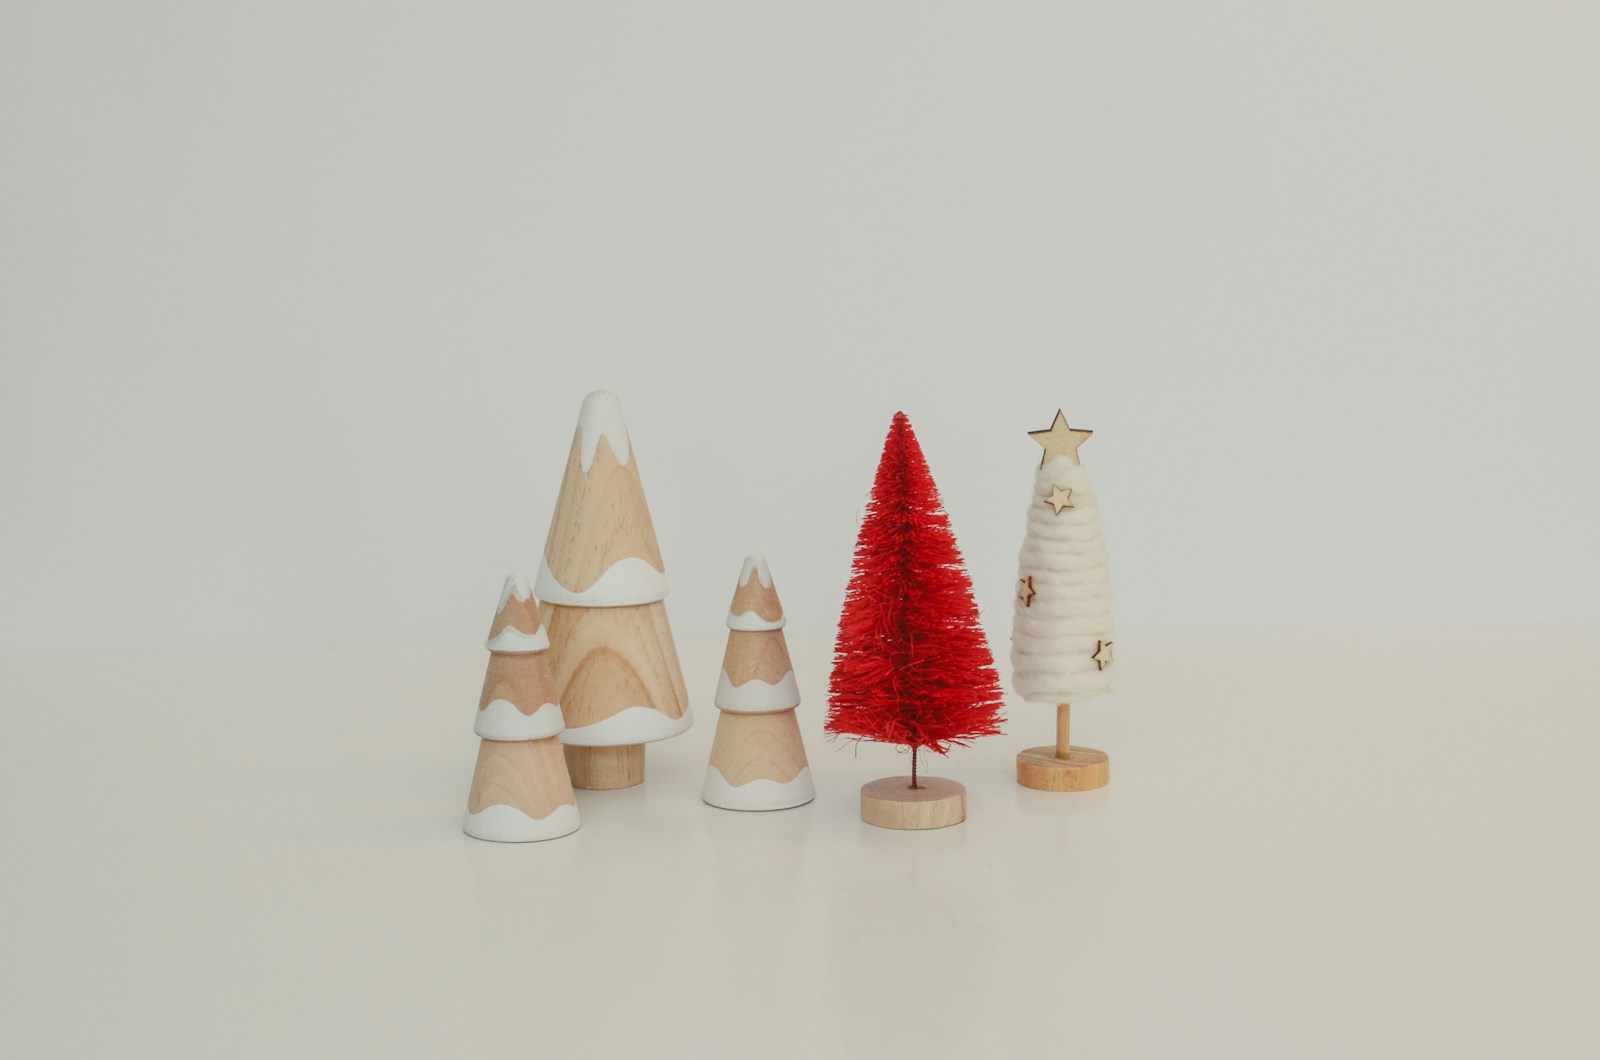
Do not throw away the short ends left after your other old spindle crafts. The pointed tops and small rounded pieces make sweet mini trees for a windowsill or a tray. Paint some white, leave some in natural wood and give one a bright red finish so it pops. Little turned wood trees like these sell for a lot in shops, but yours cost almost nothing. A small wooden bead on top adds a finished look. How many could you fit along your kitchen window?
You will need: Leftover spindle ends, sandpaper, white and red paint, small wooden beads, wood glue and a few wooden slices for bases.
How to make it: 1. Sand the cut ends smooth. 2. Paint the pieces in two or three colors. 3. Glue a bead on top and stand each one on a small wooden slice.
Farmhouse Spindle Holders for Battery LED Pillars
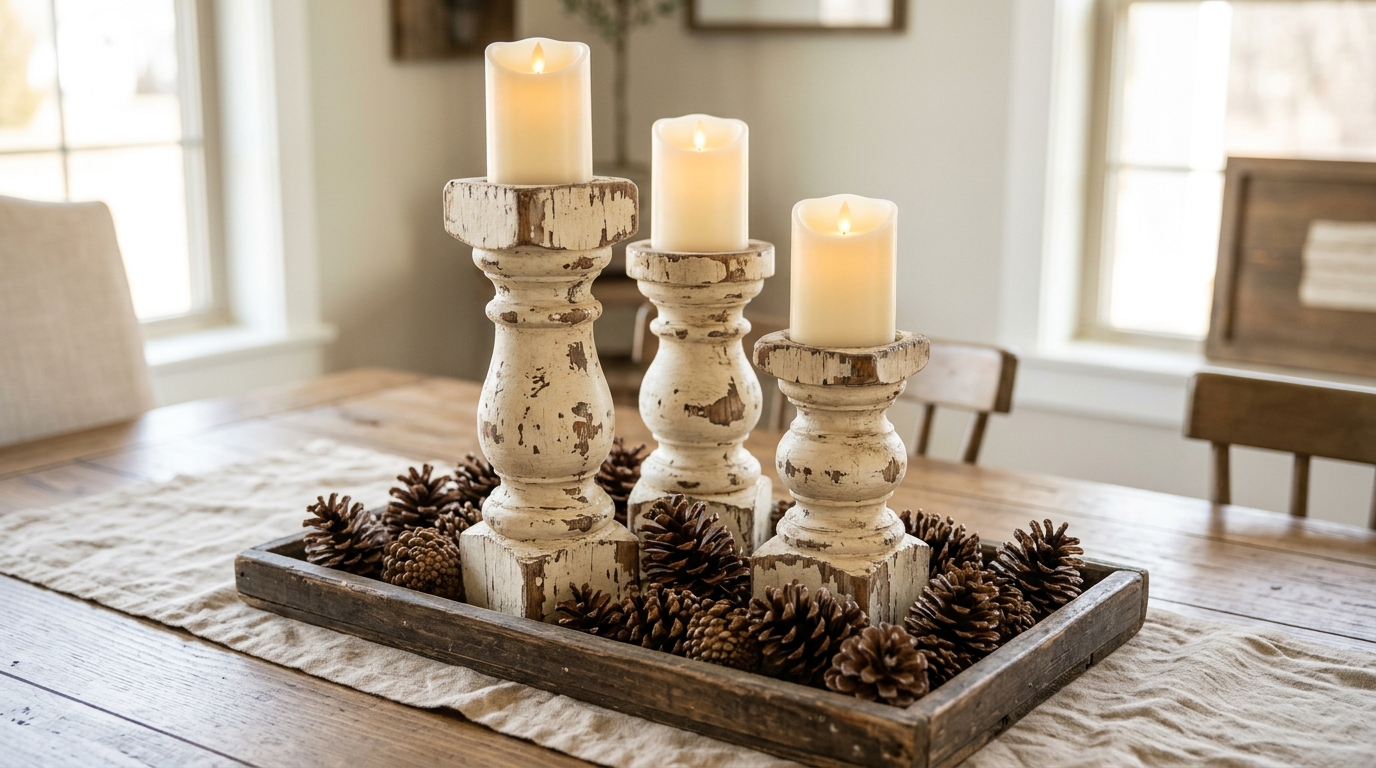
Of all the old spindle crafts here, tall holders bring that old farmhouse look to any table, and they are safe when you top them with battery LED pillars instead of real flames. Cut three spindles to different heights so the group looks natural. Paint them creamy white, then sand the edges a little so some wood shows through. A flat wooden disc on top gives the LED pillar a steady place to sit. Set them on a tray with pine cones for an easy centerpiece. Will yours stay white or go dark green?
You will need: Three spindles, a saw, cream paint, sandpaper, three wooden discs, wood glue, battery LED pillar lights and a wooden tray.
How to make it: 1. With adult help, cut the spindles to three heights. 2. Paint, dry and sand the edges for a worn look. 3. Glue a disc on each top and add the LED pillars.
Rustic Spindle Reindeer for the Front Porch
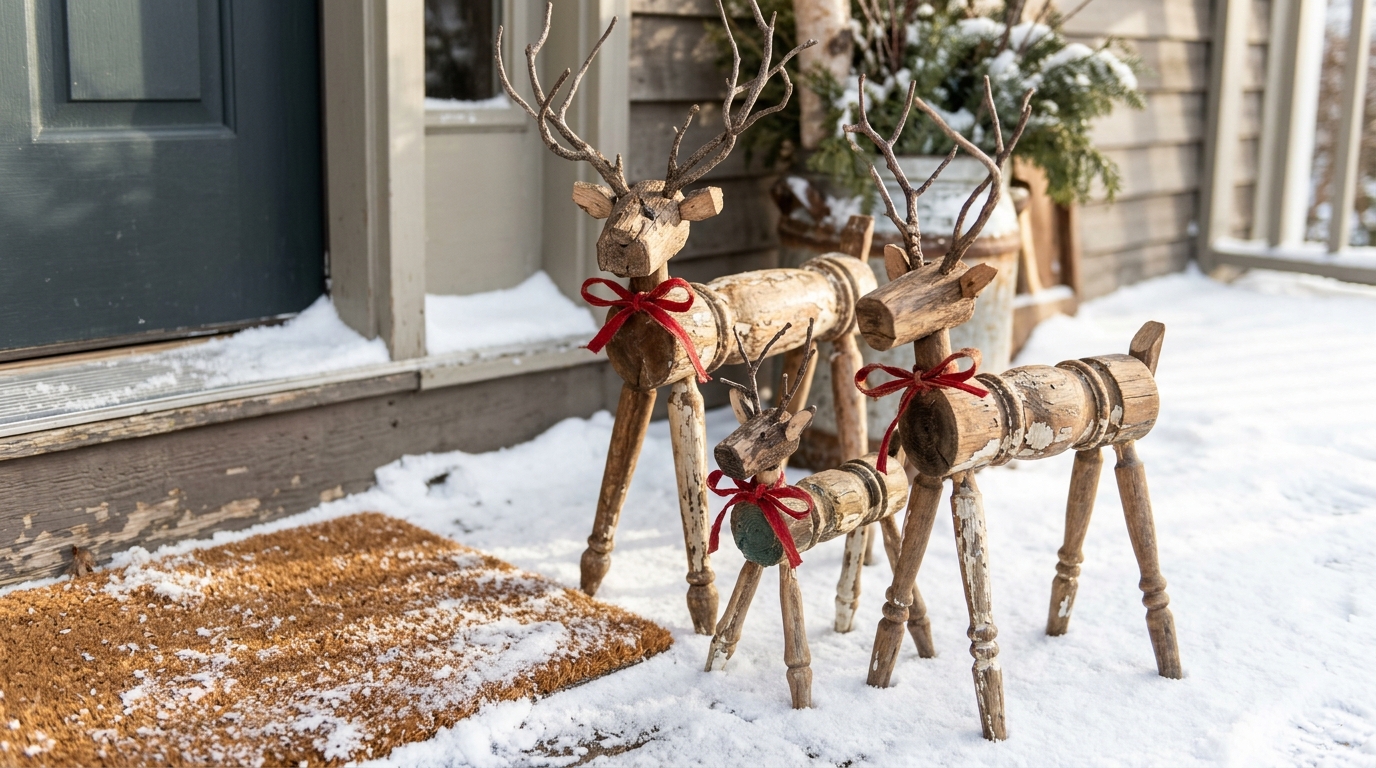
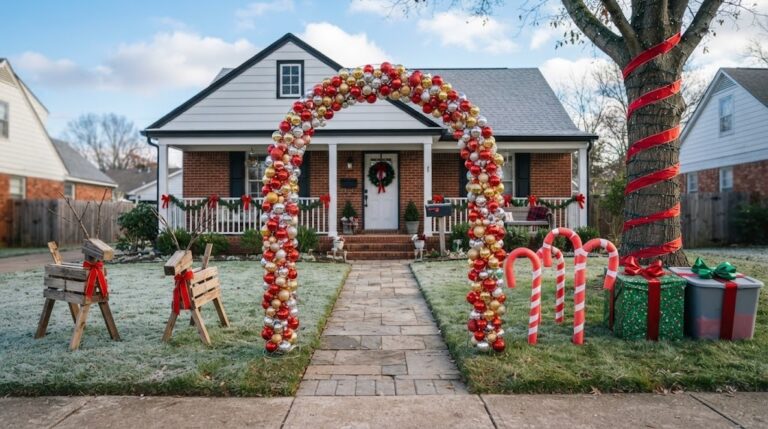
A spindle reindeer family is one of the most fun old spindle crafts for a weekend build that looks amazing on a snowy step. Use one thick spindle piece for the body, four shorter pieces for the legs and a small piece for the head. Real twigs from the yard make the best antlers, and a red ribbon around the neck adds holiday color. Make a big one, a medium one and a baby so they look like a family. Kids love naming them. What would you call your littlest reindeer?
You will need: Spindle pieces in several sizes, small twigs, a drill with a small bit, wood glue, red ribbon and outdoor sealer.
How to make it: 1. With adult help, drill holes in the body for the legs, neck and antlers. 2. Glue the pieces in place and let them dry overnight. 3. Seal the wood and tie on a ribbon collar.
A Gentle Spindle Angel With Lace Doily Wings
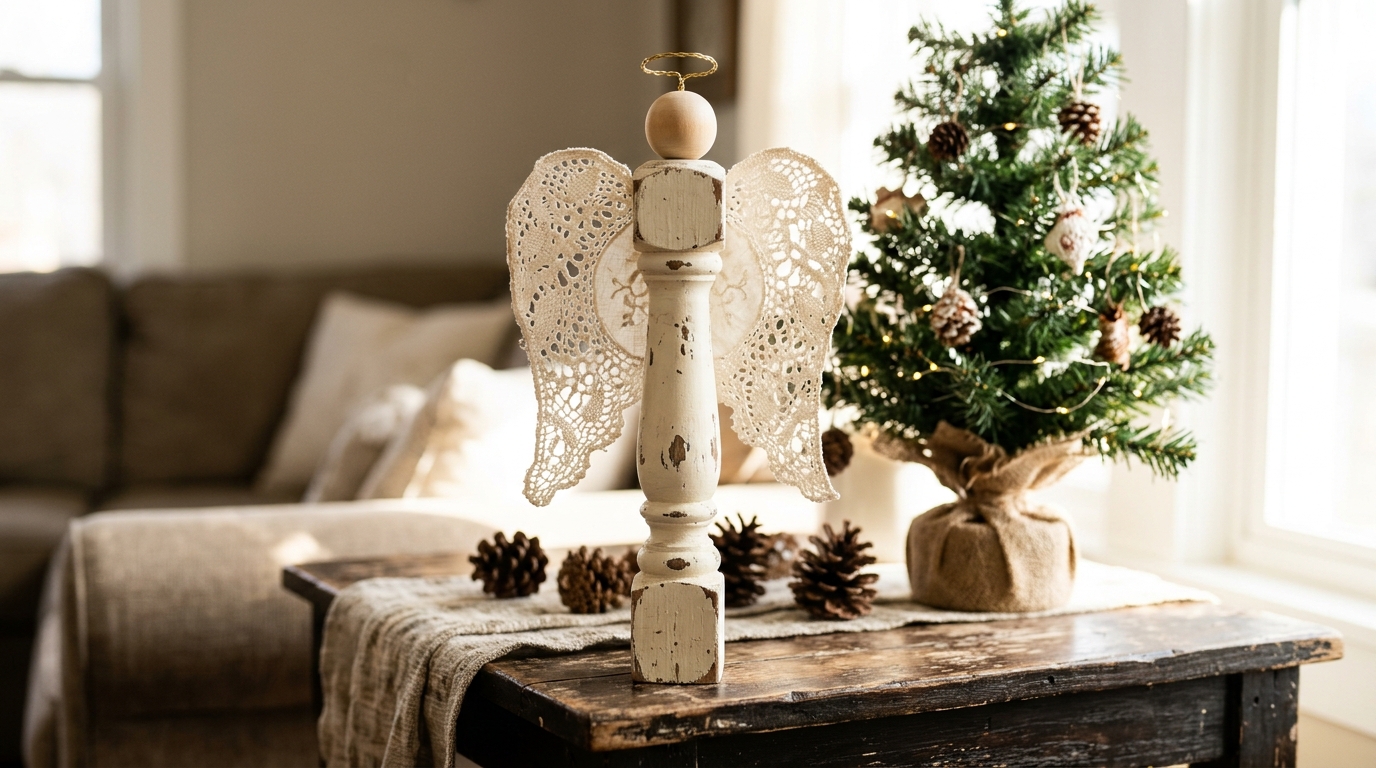
This angel is one of the simplest old spindle crafts, soft and very pretty next to a small tree. Paint a single spindle ivory or pale gold, glue a round wooden bead on top for the head, and add a little halo bent from gold craft wire. The wings are the magic part: fold an old lace doily in half and glue it to the back. It feels like something passed down from grandma. If you have a doily that belonged to someone you love, this is a lovely way to use it. Who would you make one for?
You will need: One spindle, ivory paint, a round wooden bead, gold craft wire, a lace doily, scissors and craft glue.
How to make it: 1. Paint the spindle and bead and let them dry. 2. Glue the bead on top and shape a wire halo. 3. Fold the doily and glue it on the back as wings.
Old Spindle Crafts Gnomes in Knitted Hats
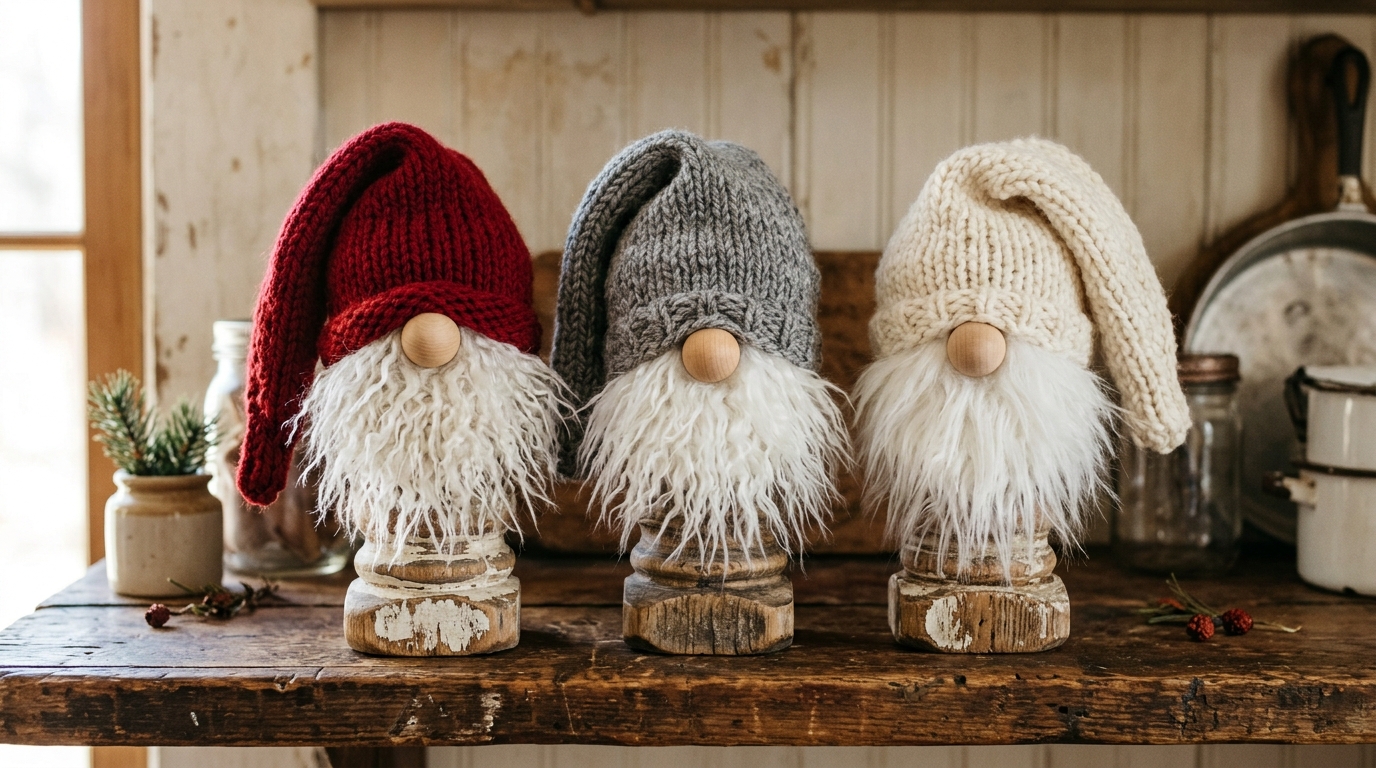
Gnomes are still one of the most popular holiday decorations, and spindles make the perfect body. The trick is the hat. Pull a long knit hat or the cuff of an old sweater over the top so it falls right down to the nose. Add a fluffy beard and a round wooden bead nose, and that is it. No face painting is needed at all, which makes this a great project for younger crafters. Old sweaters you no longer wear work beautifully here. What colors would your gnome family wear?
You will need: Short spindle pieces, an old sweater or knit scraps, white faux fur or wool for beards, wooden beads, scissors and craft glue.
How to make it: 1. Cut a tube from the sweater sleeve and tie one end closed. 2. Glue a beard to the front of the spindle. 3. Slip on the hat and glue the bead nose just under it.
Red and White Striped Spindle Candy Canes
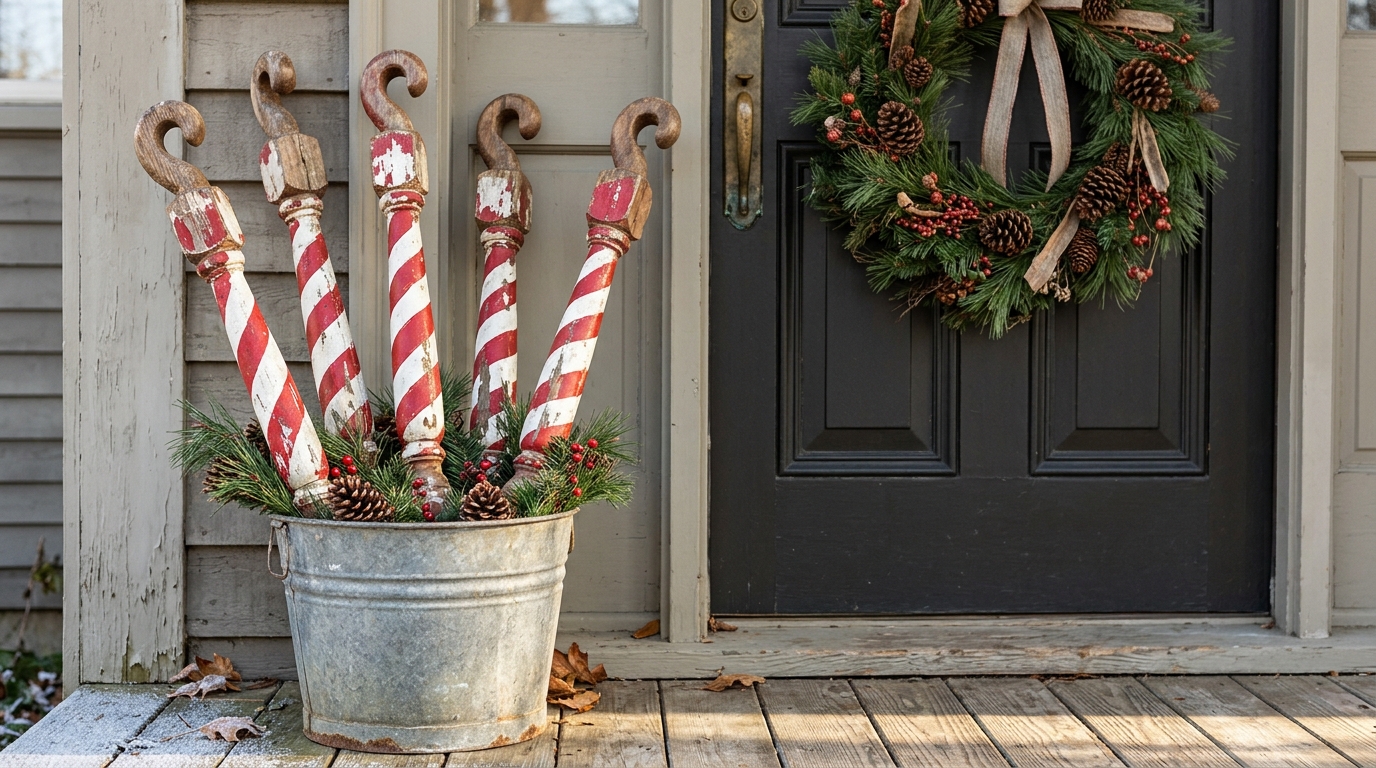
These bright striped spindles look fantastic in a bucket by the front door. Paint each spindle white first, then wrap painter’s tape around it at an angle to make stripes. Paint the open gaps red, peel off the tape while the paint is still a bit wet, and you get crisp lines. For the classic hook, glue a curved wooden piece on top or simply add a big red bow. They also look great tied together in a bundle. Would you go classic red or try green and white?
You will need: Several spindles, white and red outdoor paint, painter’s tape, a wide brush, wooden hook shapes or ribbon and a metal bucket.
How to make it: 1. Paint the spindles white and let them dry fully. 2. Wrap tape in a spiral and paint the gaps red. 3. Remove the tape and add a hook or bow on top.
A Heavy Spindle Stocking Holder
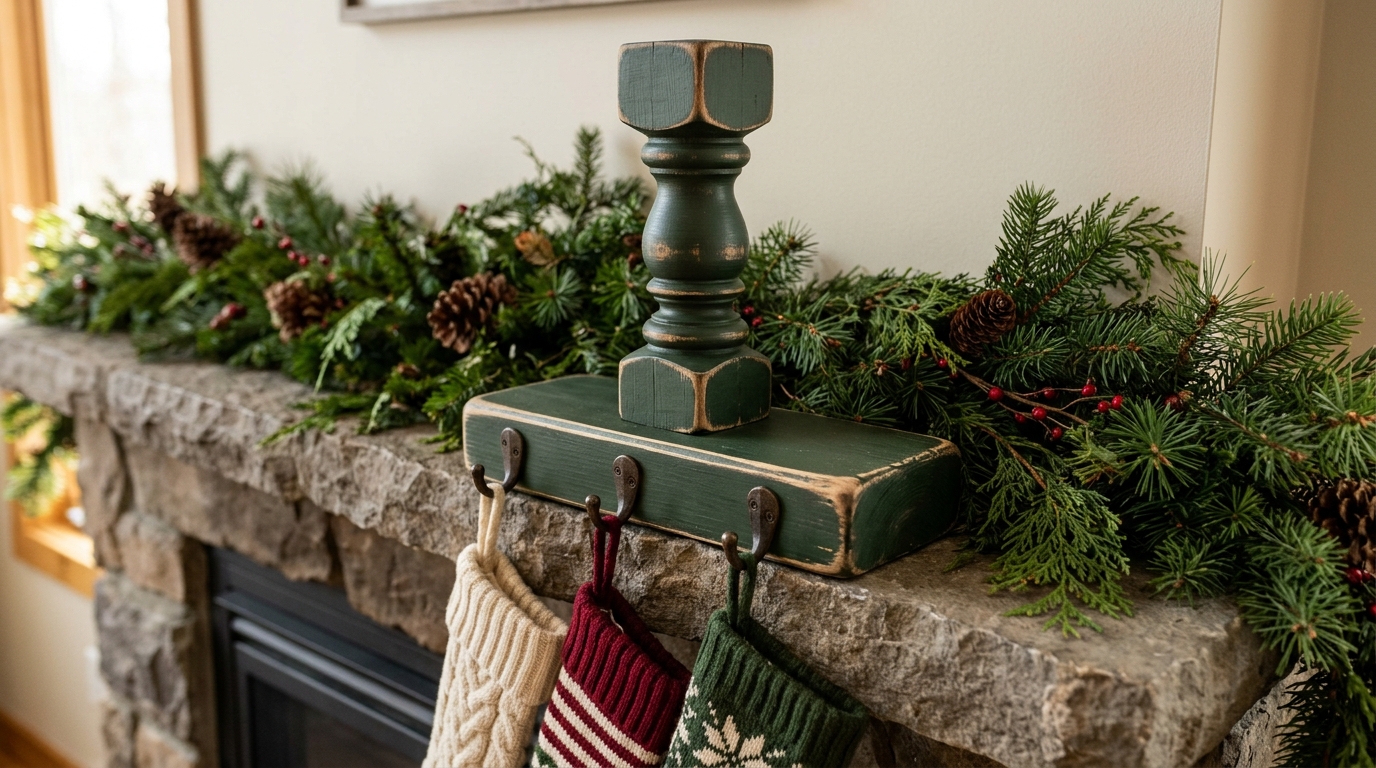
Many mantels have nowhere to hang stockings, and this sturdy holder solves that in an afternoon. A short, thick spindle piece is mounted on a heavy wooden block so it stays steady on the mantel. Paint it a deep green or classic red, sand the edges and screw two or three metal hooks into the sides. The weight of the base keeps it from tipping, even with full stockings. Make one for each family member if you have room. Whose stocking would hang first?
You will need: A short thick spindle piece, a heavy wooden block, wood screws, a drill, paint, sandpaper and two or three metal cup hooks.
How to make it: 1. With adult help, screw the spindle to the center of the block from below. 2. Paint and lightly sand for a worn look. 3. Twist in the hooks and test with a stocking before you hang the rest.
A Spindle Ornament Stand for Favorite Keepsakes
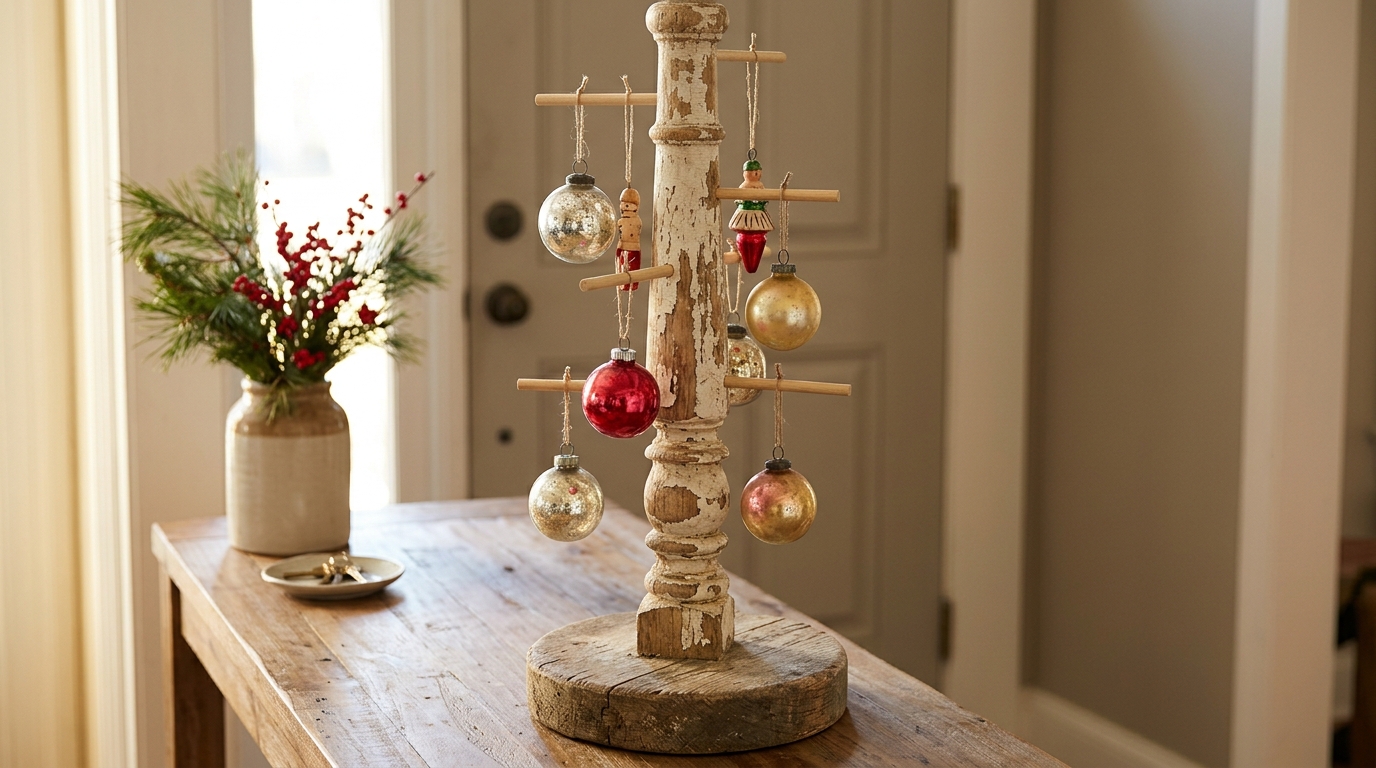
Some ornaments are too special to get lost on a big tree. A spindle stand puts them right where everyone can see them. Fix one spindle upright on a round base, then drill small holes and add short dowels as arms. Hang baby’s first ornament, a handmade star from school or a glass piece from a grandparent. After the holidays, the stand works for jewelry or even small Easter eggs. Which ornament in your home has the best story?
You will need: One spindle, a round wooden base, a drill, small wooden dowels, wood glue, paint and your favorite ornaments.
How to make it: 1. With adult help, screw the spindle to the base and drill small holes at different heights. 2. Glue in the dowels and let them dry. 3. Paint the stand and hang your ornaments.
Old Spindle Crafts Pumpkins for Thanksgiving
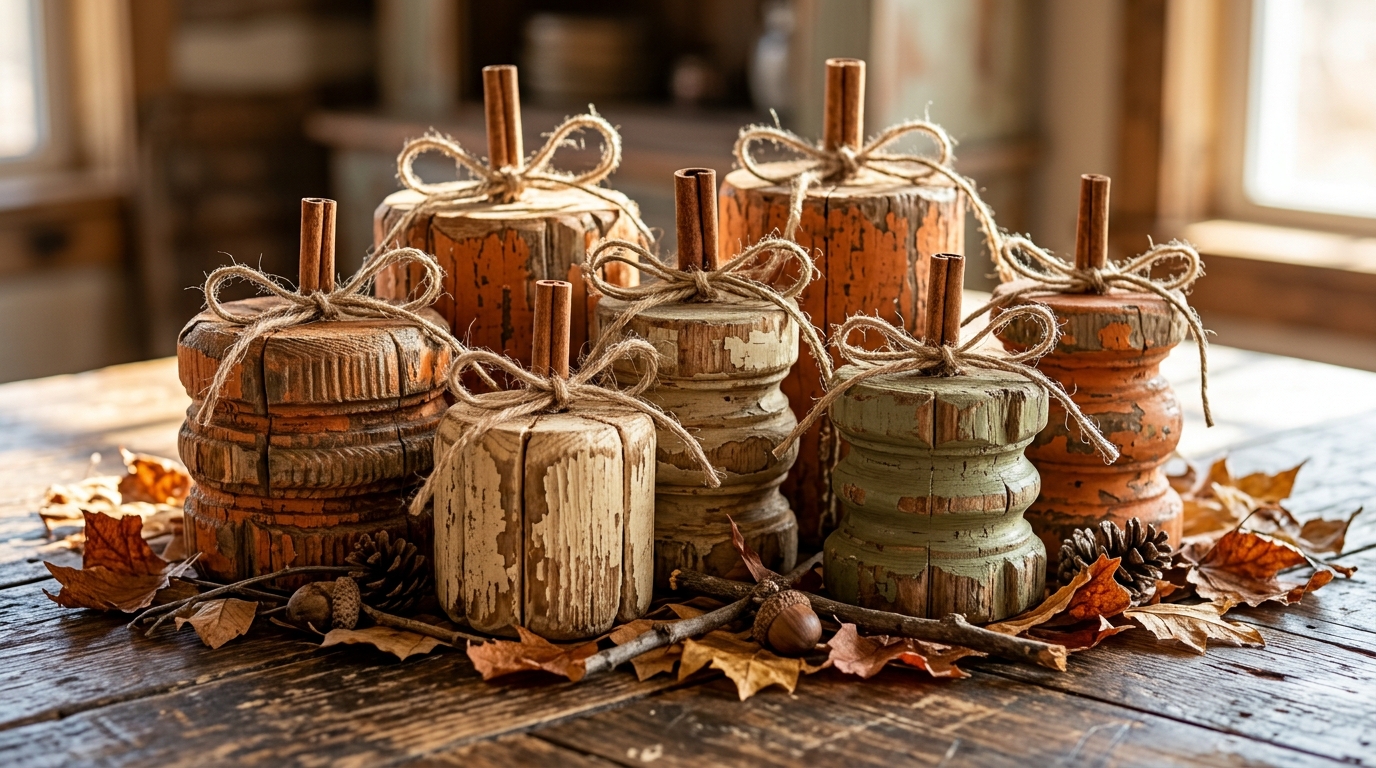
Spindles are not only for Christmas. The round, chunky sections make cute pumpkins for fall and Thanksgiving tables. Cut thick slices from the widest part of the spindle, paint them in soft orange, cream and sage, then glue a short cinnamon stick on top as a stem. A twist of twine makes a pretty vine. Group them in different sizes on a table runner and you have a centerpiece that smells lovely too. Which colors match your Thanksgiving table?
You will need: Thick spindle pieces, a saw, sandpaper, paint in fall colors, cinnamon sticks, twine and craft glue.
How to make it: 1. With adult help, cut thick round slices from the spindle. 2. Sand and paint them, then let them dry. 3. Glue a cinnamon stick stem on top and wrap a bit of twine around it.
A Handy Spindle Wall Rack for Coats and Scarves
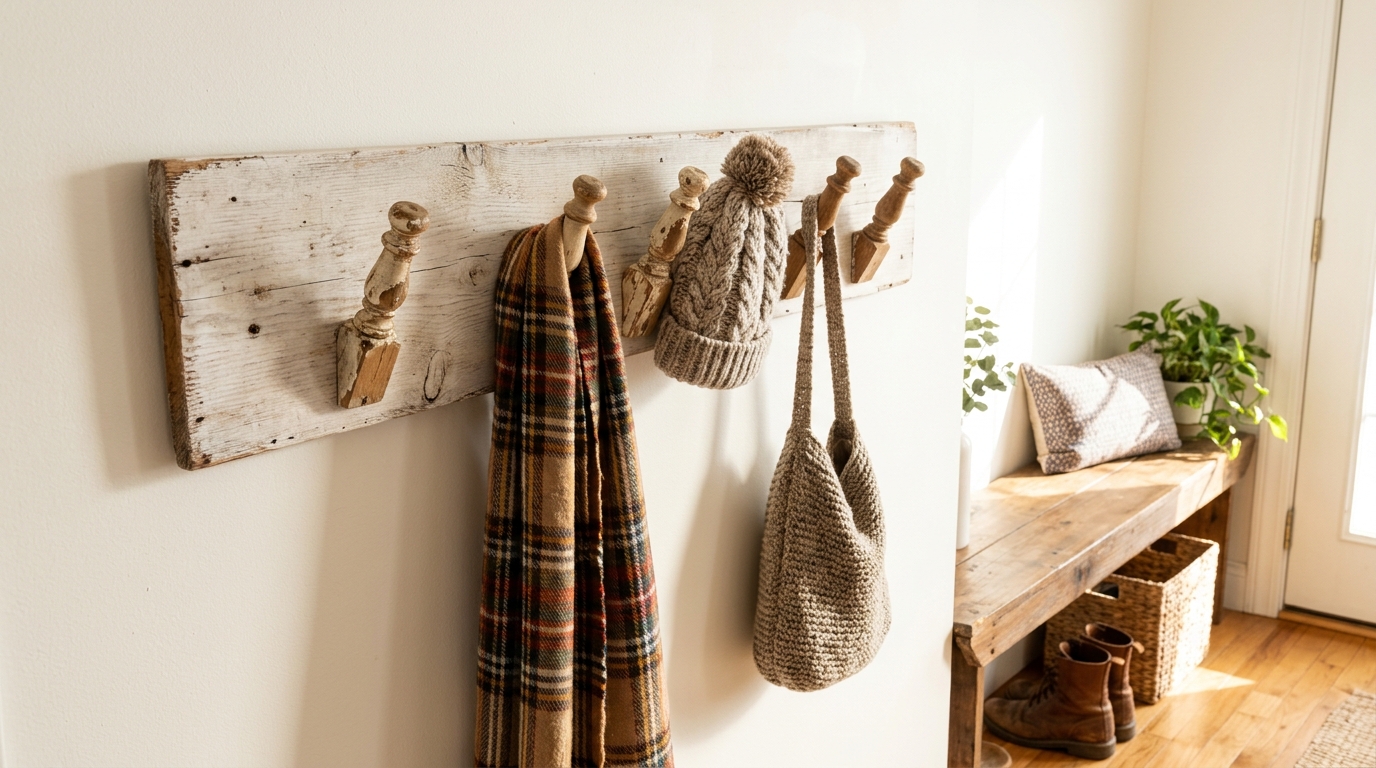
This one proves old spindle crafts are useful all year long. Short spindle pieces make great pegs for a wall rack by the door. Cut four or five pieces the same length, then attach them to a whitewashed board with screws from the back. Hang it on studs so it holds coats, scarves and bags. During the holidays, it can hold stockings or a little garland too. It is the kind of piece people ask about when they visit. What would you hang on yours first?
You will need: A wooden board, four or five spindle pieces, white paint or whitewash, a drill, long wood screws, wall anchors or stud screws and a level.
How to make it: 1. With adult help, drill through the board and screw each spindle peg from the back. 2. Whitewash the board and let it dry. 3. Mount it level on wall studs.
Sell Your Old Spindle Crafts at a Holiday Market
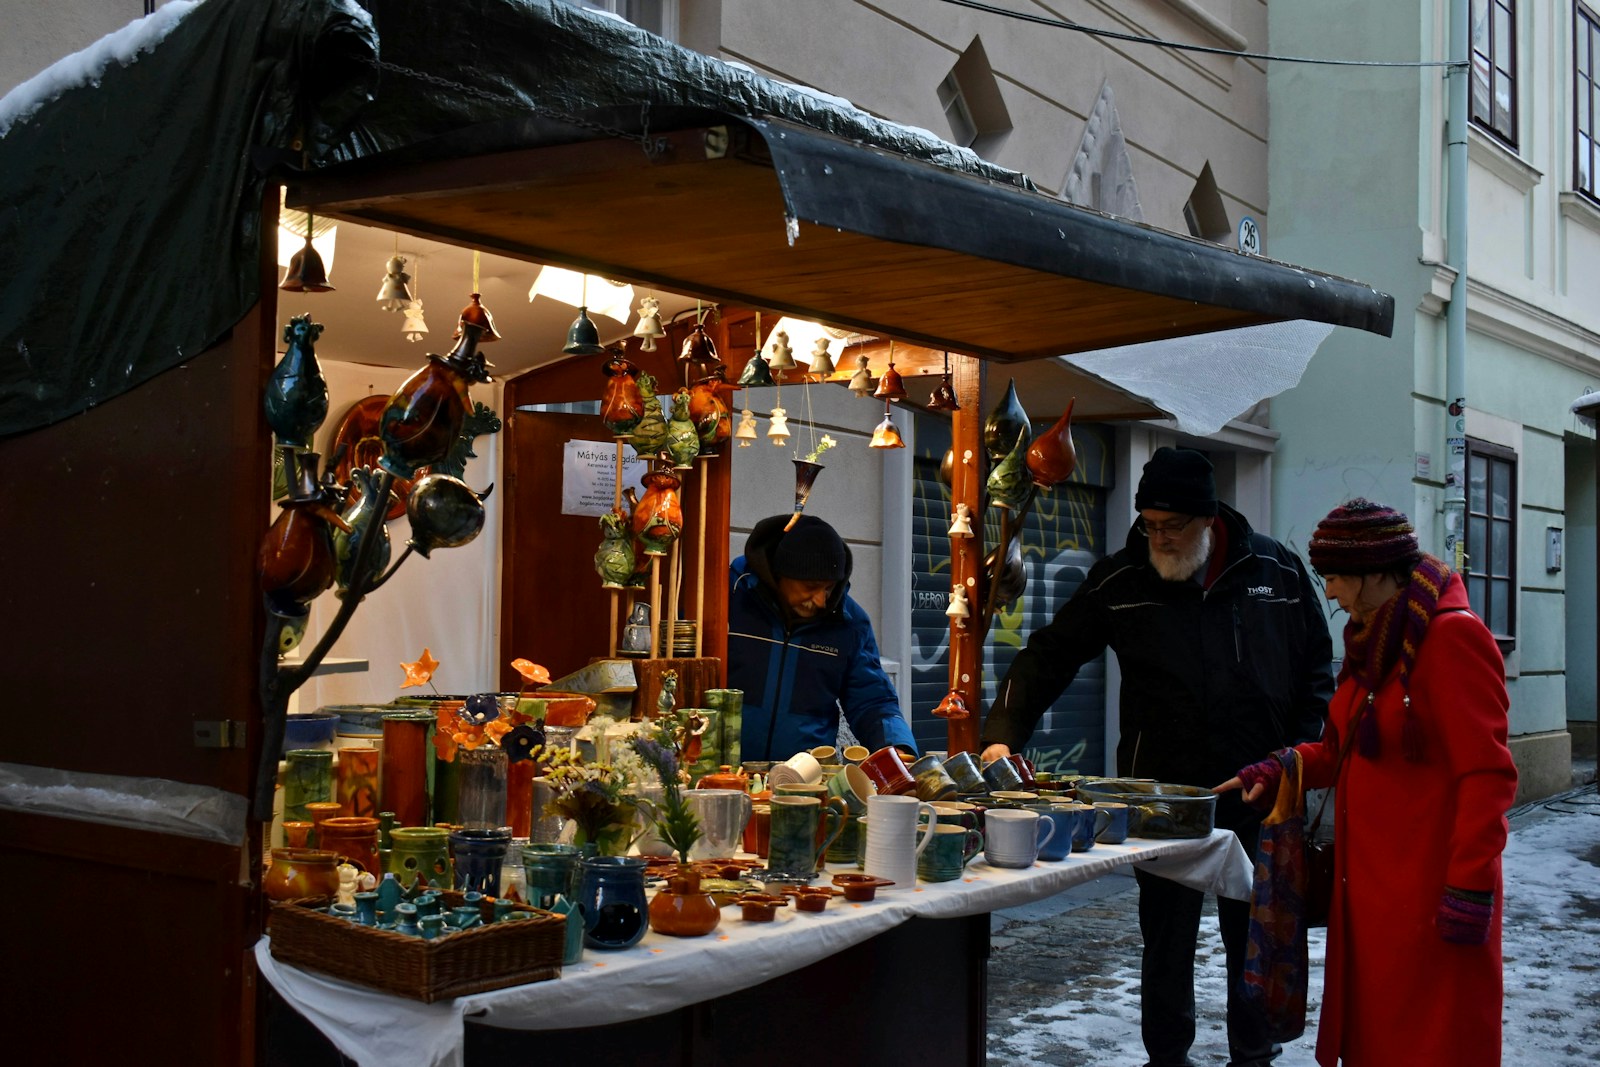
Once you have made a few pieces, you may find you have more than your home needs. Handmade wooden decor is a favorite at winter craft fairs and holiday markets, and spindle trees and gnomes are easy to make in batches. Price small pieces low so shoppers can grab one as a gift, and bundle sets of three trees for a little more. The trend is still growing, and one spindle Christmas post on Instagram shows how many people want them. Could this be your side project this winter?
You will need: A batch of finished spindle crafts, kraft paper gift tags, twine, a folding table, a simple cloth and small paper bags.
How to make it: 1. Make your pieces in batches, such as ten trees at once. 2. Tie sets of three with twine and add price tags. 3. Display them at different heights so shoppers can see every piece.