Thankful Tree Ideas: 16 Cozy DIY Centerpieces That Get Every Guest Sharing at the Table
These thankful tree ideas turn a few bare branches into the Thanksgiving tradition that every generation can share. The idea is simple: each guest writes one thing they are thankful for on a paper leaf and hangs it on the branches, and by dessert the centerpiece is full of kind words. It is a lovely way to slow down, get the kids talking and give grandparents a moment to share their favorite stories. Below are 16 thankful tree ideas, from an easy pitcher of branches and gold painted twigs to a kids table version and a keepsake box that saves every note for next year. Each one comes with a supply list and easy steps, and most use things you already have in the yard or the craft closet..
Thankful Tree Ideas Start With Branches in a White Pitcher
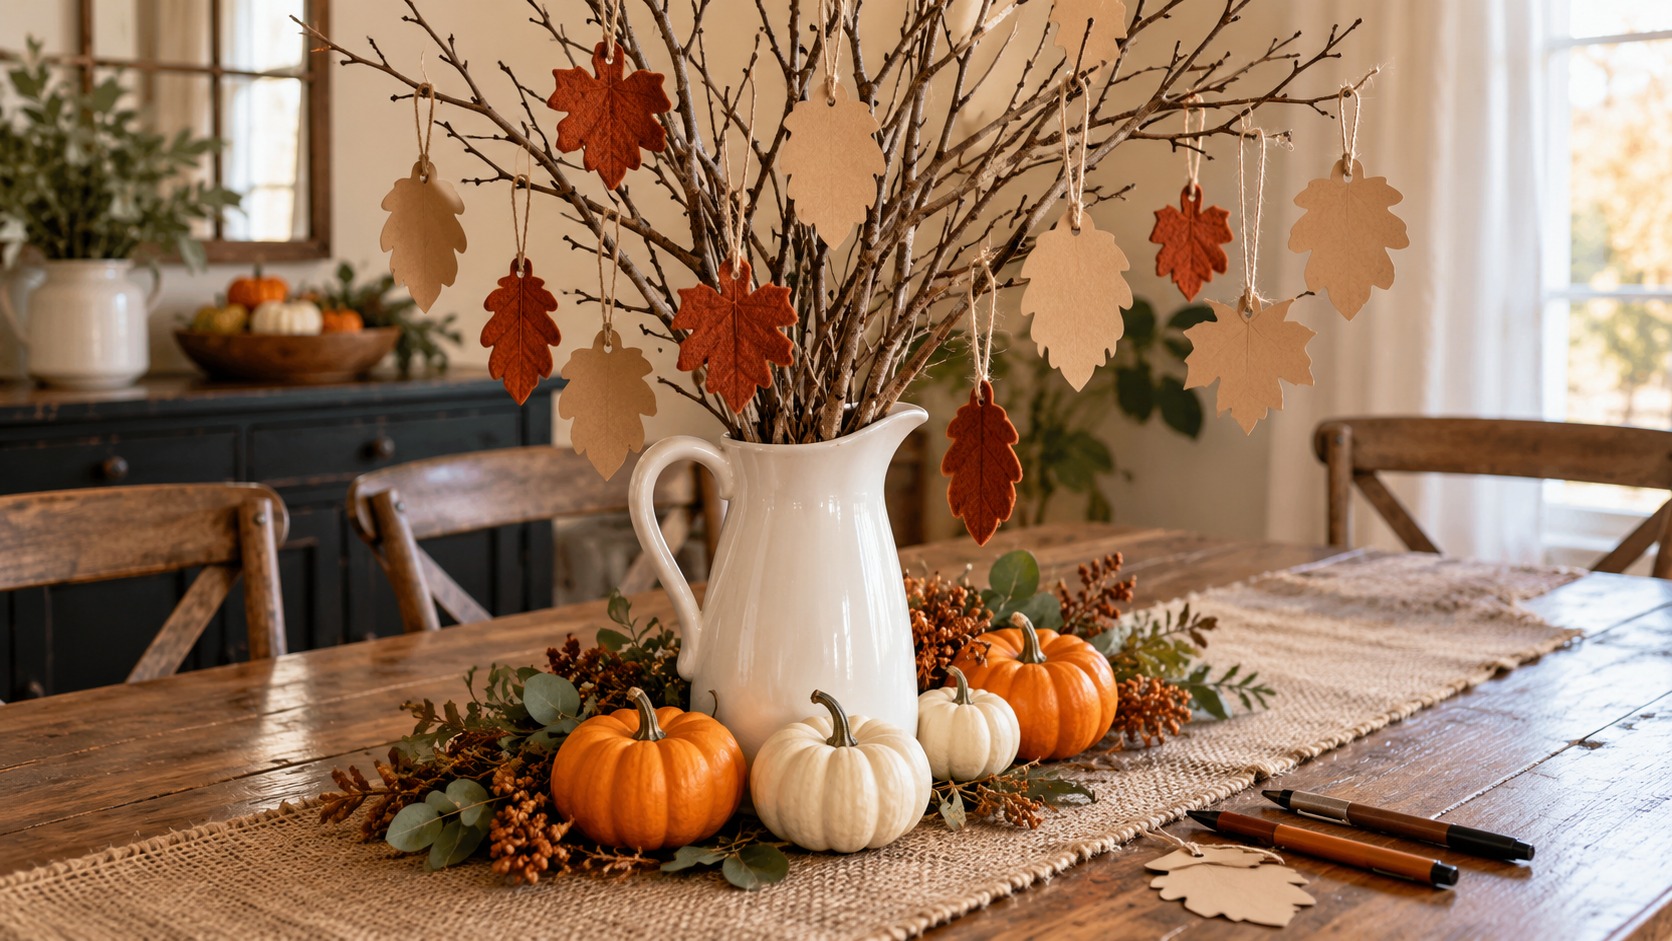
A thankful tree is wonderfully simple: bare branches stand in a vase, and every guest writes one thing they are thankful for on a paper leaf and hangs it up. Family creator Kylee Makes It shared her version in a family thankful tree video that topped 315,000 views, and fresh ones are popping up every week this month. Of all the thankful tree ideas, a white pitcher is the easiest place to begin, because it keeps the look clean and lets the leaves shine. It also makes one of the warmest Thanksgiving centerpieces you can put together..
You will need: a white ceramic pitcher, five to seven bare branches, kraft paper, rust felt, jute cord, a paper punch, scissors and a few pens.
How to make it: 1. Trim the branches so the tallest is about twice the height of the pitcher. 2. Fill the pitcher a third full with dry rice or small stones so the branches stay put. 3. Cut leaves from kraft paper and felt, punch a small opening at the top, thread a short loop of cord through each one and hang a few to start.
Gather Real Leaves on a Family Walk
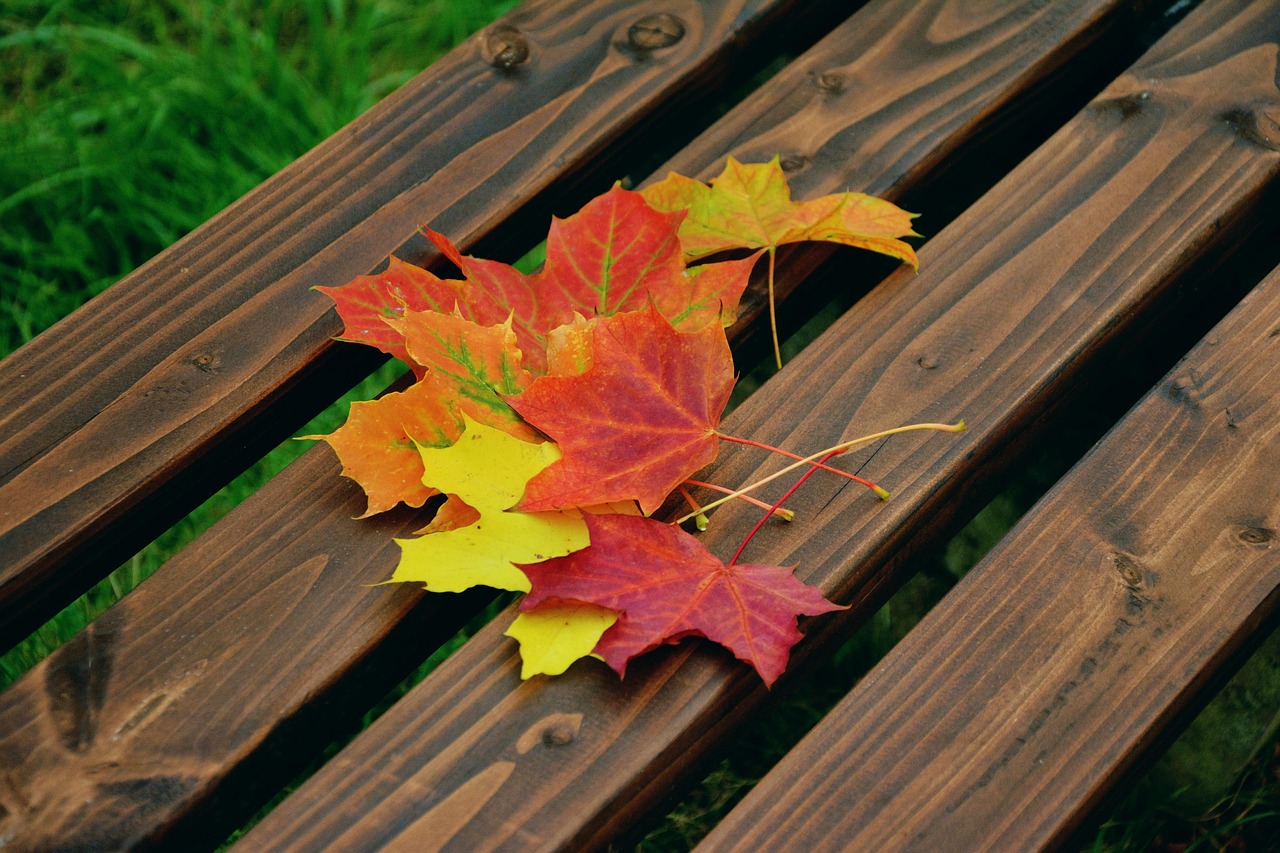
Before any crafting, take everyone outside. A short walk to collect leaves gets kids and grandparents talking, and the prettiest finds become templates for your paper leaves or go straight onto the tree. Look for flat, dry leaves in a mix of shapes, since maple, oak and birch all trace beautifully. Bring a paper bag and a heavy book for the trip home so they stay flat. If you come back with far too many, our ideas for fallen leaves put the rest of the pile to good use.
You will need: a paper bag, a heavy book, a few sheets of plain paper and warm jackets.
How to make it: 1. Pick a dry afternoon and a park or yard with mixed trees. 2. Let each person choose five favorite leaves. 3. Lay the leaves flat between sheets of paper inside the book as soon as you get home.
Thankful Tree Ideas in Gold With a Tall Clear Vase
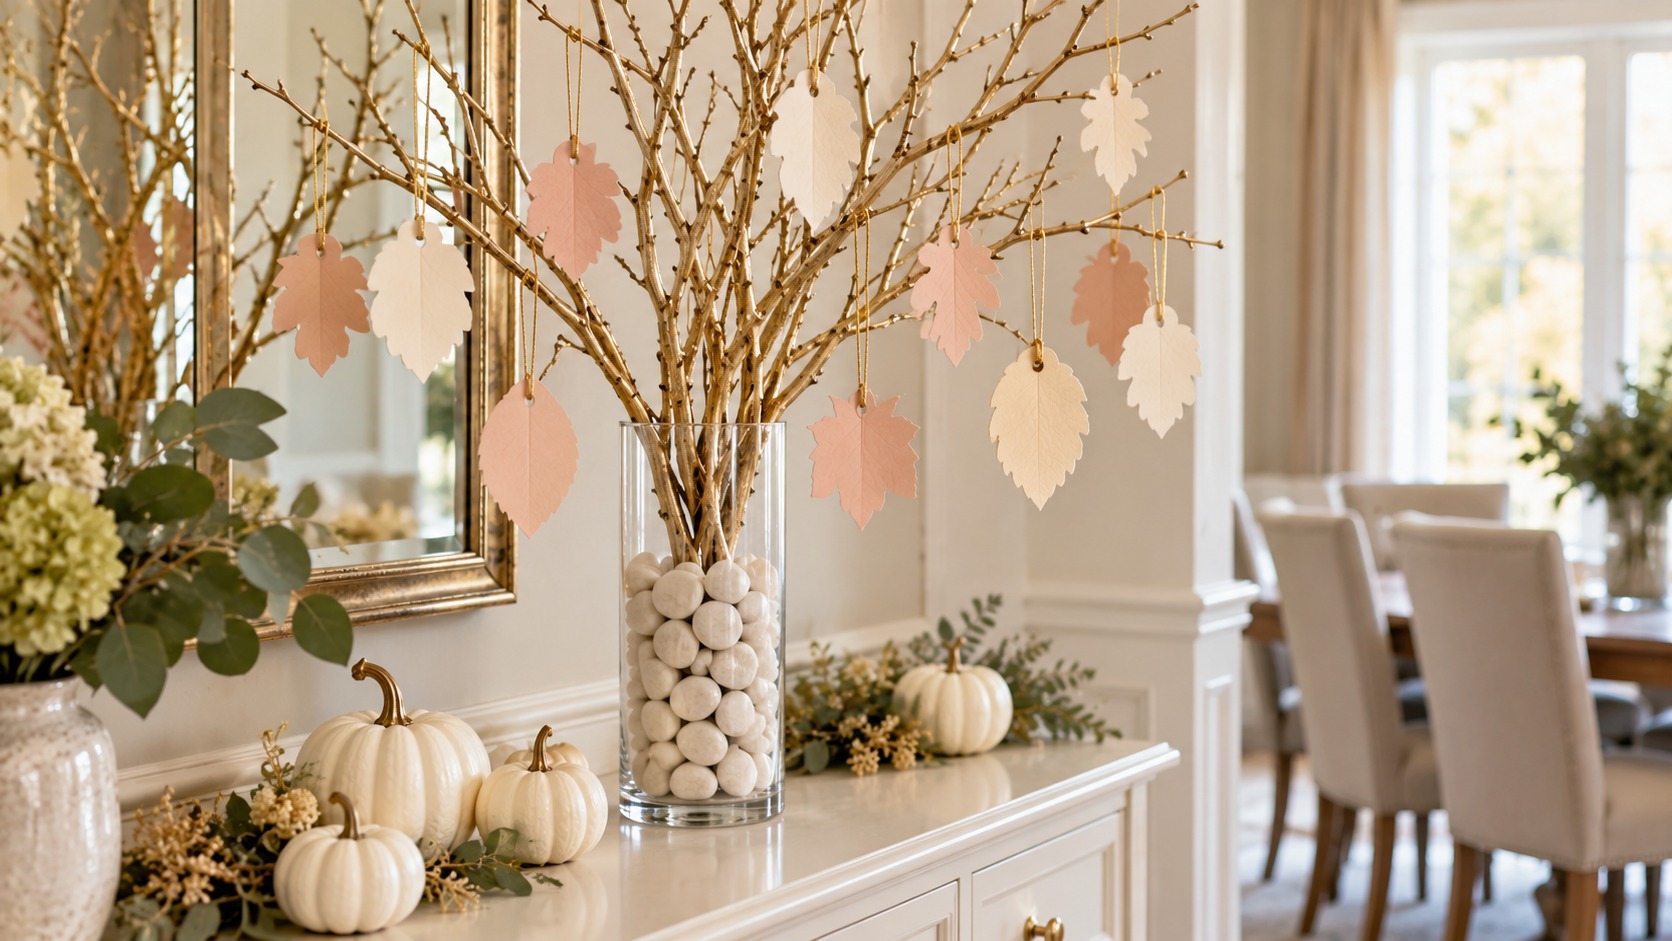
For a dressier table, gold paint turns plain twigs into something that looks straight out of a boutique window. Spray the branches outdoors, let them dry fully and stand them in a tall clear vase filled with white stones. Cream and blush paper leaves keep the look soft and elegant. This is one of those thankful tree ideas that also works for a fancy dinner party later in the season. Save a few gold branches, because they make lovely branch Christmas decor in December.
You will need: bare branches, metallic gold spray paint, a drop cloth, a tall clear vase, white river stones, cream and blush cardstock and thin gold cord.
How to make it: 1. Lay the branches on a drop cloth outdoors and spray one side, let it dry, then turn them and spray the other side. 2. Pour the stones into the vase and push the branches deep into them. 3. Cut the leaves, add a loop of gold cord to each and hang them.
Wood Slice Tags for Every Guest
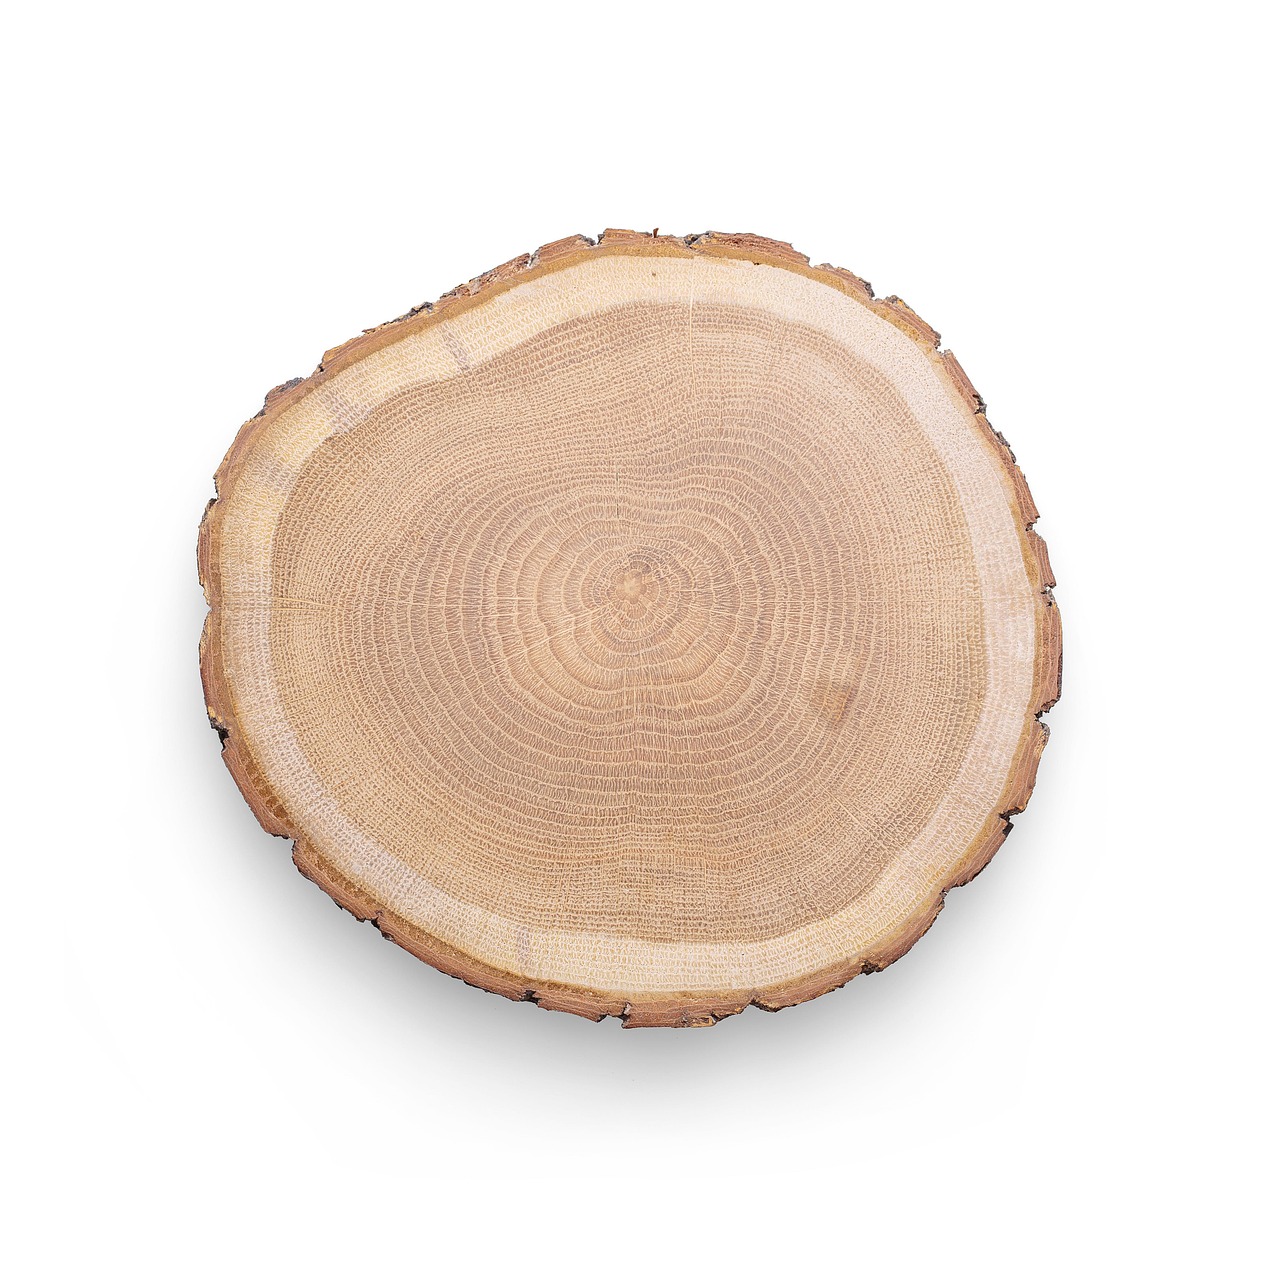
Paper leaves are lovely, but wood slice tags last for years. Thin birch or pine rounds take a paint pen well, and each one feels like a little keepsake. Drill a tiny opening near the edge, add a loop of cord and set a bowl of blank slices next to the tree. Guests write their note, hang it up and can even take it home after dinner. Craft stores sell bags of thin slices, the same kind we used for these wood slice crafts.
You will need: thin wood slices about two inches wide, a small drill bit, fine sandpaper, paint pens and jute cord.
How to make it: 1. Sand both faces of each slice until smooth. 2. Drill a small opening near the bark edge. 3. Thread a loop of cord through each one and set them in a bowl with the pens.
Thankful Tree Ideas for the Wall
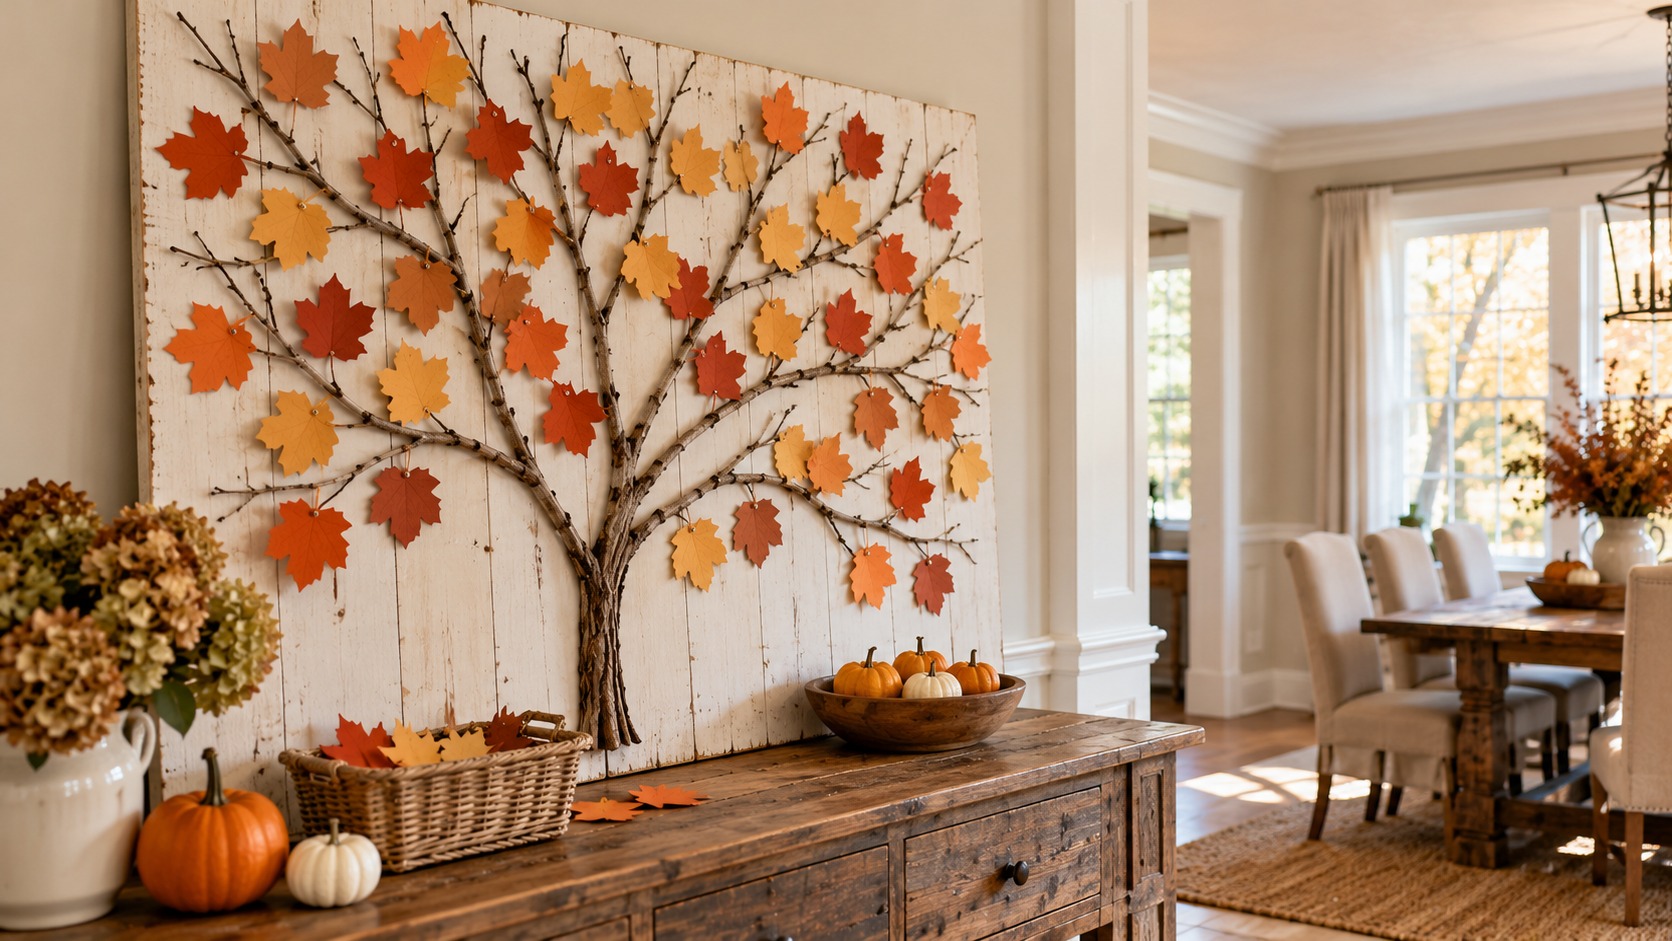
Short on table space? Build the tree on the wall instead. Real branches fixed flat to a painted board make a striking piece that fills an empty wall and leaves the table free for food. Guests pin their leaves around the branches, and by dessert it is covered in color. It is one of the easiest thankful tree ideas for small homes and apartments. If you like hands on projects like this, browse our Thanksgiving crafts for adults.
You will need: a large plywood board or an old cabinet door, white paint, three or four flat branches, a hot glue gun, thin wire, small craft pins and paper leaves.
How to make it: 1. Paint the board white and let it dry. 2. Lay the branches in a tree shape, then glue and wire them to the board. 3. Lean it on the wall behind a console and set the leaves and pins nearby.
A Galvanized Bucket Base
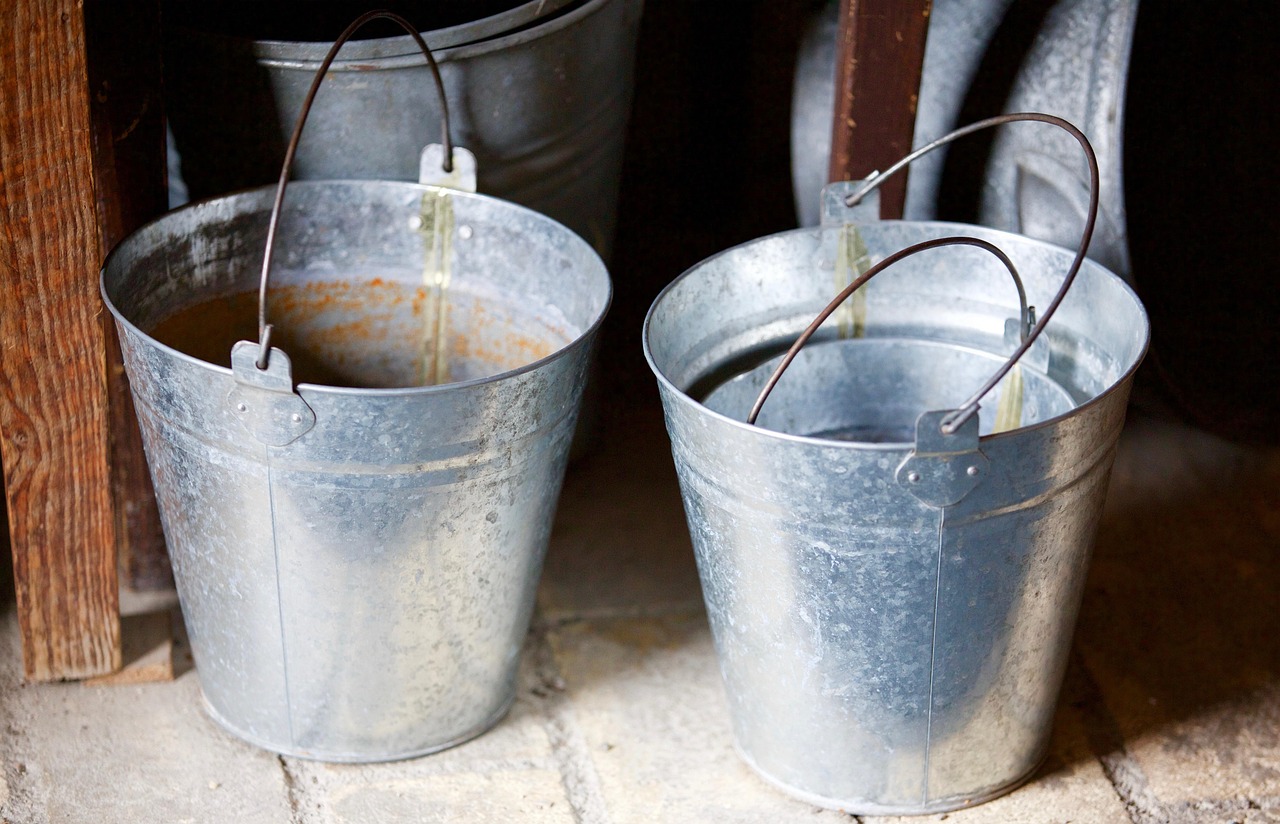
A galvanized bucket gives your tree a cozy farmhouse look and is heavy enough to hold tall branches. Fill it with river rocks so the branches stand straight, then tuck a little moss on top to hide the stones. Old buckets with dents and a bit of patina look even better than new ones. Flea markets and garden centers usually have them for a few dollars, and you can reuse the bucket for galvanized Christmas decor next month.
You will need: a galvanized bucket, river rocks, a handful of dried moss and tall bare branches.
How to make it: 1. Pour rocks into the bucket until it is about two thirds full. 2. Push the branches down between the rocks and adjust them until the shape looks even. 3. Cover the rocks with moss and tie a small fabric bow on the handle.
Thankful Tree Ideas in a Terracotta Pot
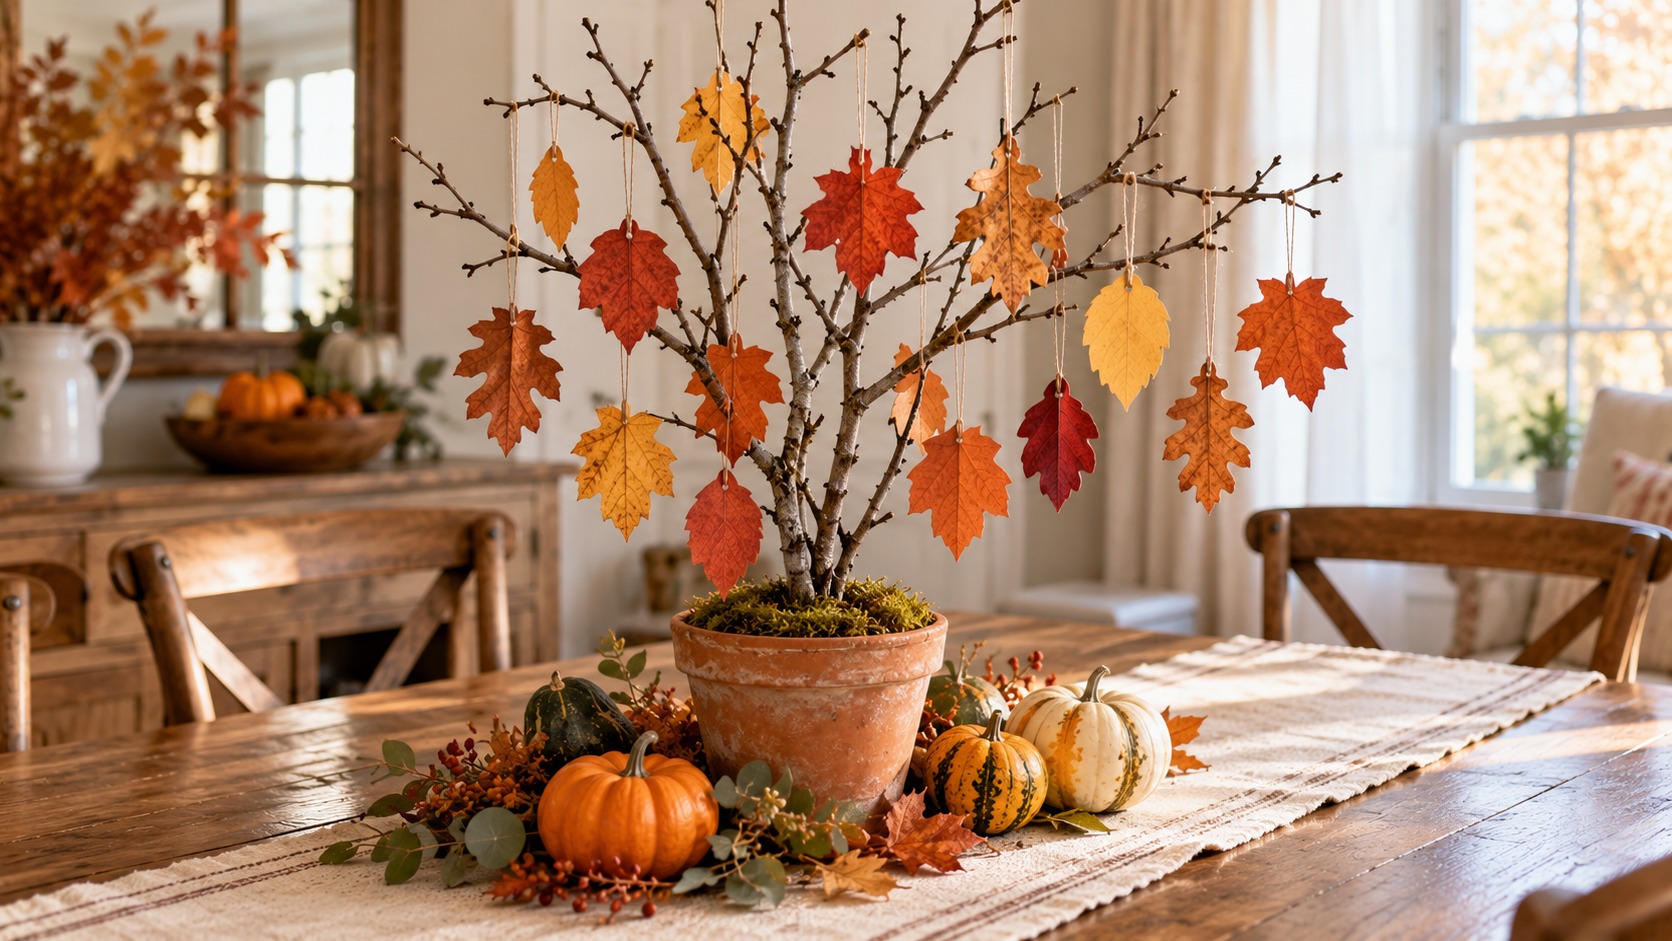
A short tree in a terracotta pot sits low enough that everyone can still see each other across the table. Push a few forked twigs into floral foam, cover the top with moss and hang real pressed leaves on thin cord. Guests write on the leaves with a gold paint pen, which shows up beautifully on red and orange. Kids love these thankful tree ideas because they get to pick the leaves themselves. Paint the pot first if you want a pop of color, like our clay pot crafts.
You will need: a six inch terracotta pot, a block of floral foam, dried moss, forked twigs, pressed leaves, thin cord, clear tape and a gold paint pen.
How to make it: 1. Press the foam into the pot and cover it with moss. 2. Push the twigs deep into the foam so they stand firm. 3. Tape a short loop of cord to the back of each pressed leaf and hang them once guests have written their notes.
Fill a Jar Base With Acorns
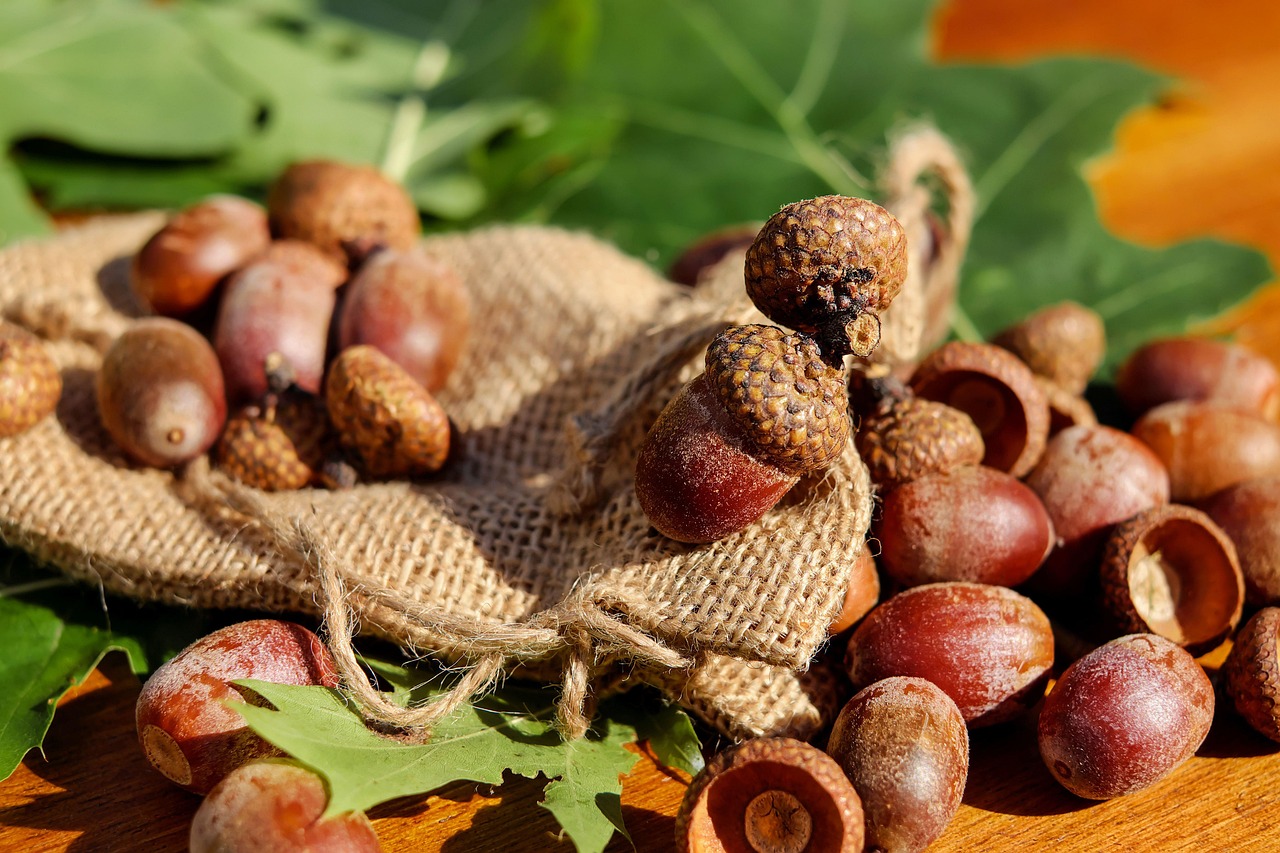
Acorns are free, pretty and the perfect filler for a jar base. Gather a big handful, bake them on a tray at low heat for an hour to dry them out, then pour them into a wide mouth jar around a few small twigs. The acorns hold the twigs in place and add warm brown color. Little jar trees like this fit on a windowsill, a bathroom counter or a guest room table. You will find more mason jar crafts to try with the extra jars.
You will need: a wide mouth jar, two cups of acorns, a baking tray, a few small twigs and a ribbon.
How to make it: 1. Rinse the acorns, spread them on a tray and bake at 175 degrees F for about an hour. 2. Let them cool, then stand the twigs in the jar and pour the acorns around them. 3. Tie a ribbon around the neck of the jar.
Felt Leaves in Rust, Gold and Olive
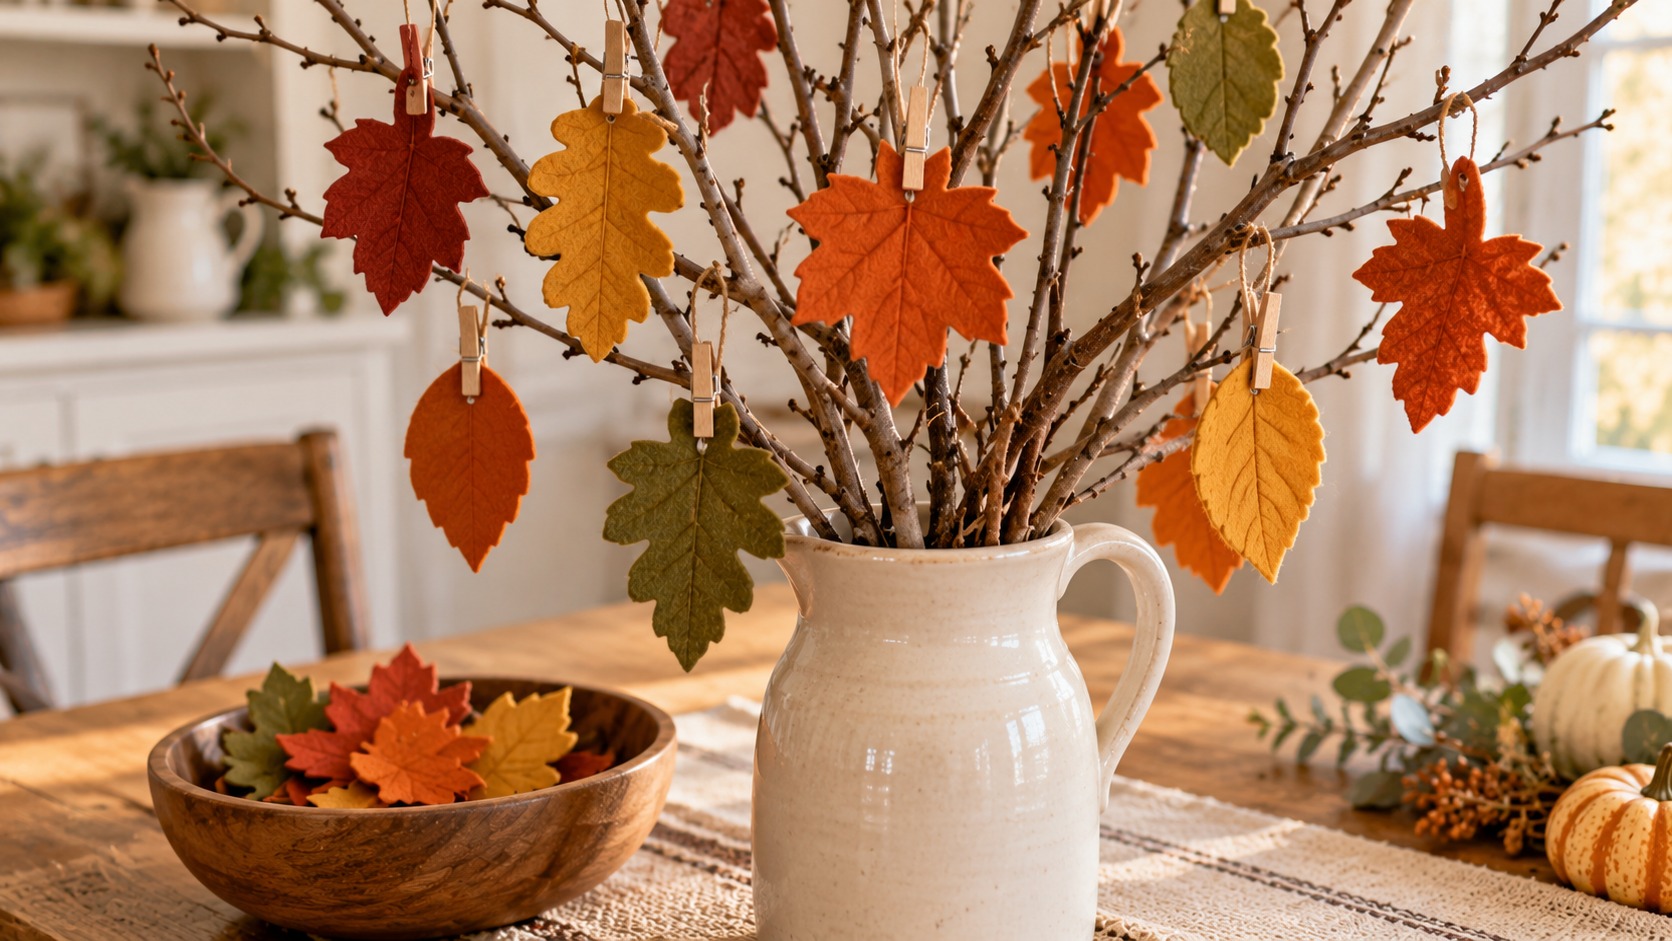
Felt leaves are soft, colorful and almost impossible to rip, which makes them perfect for little hands. Cut them from rust, gold and olive felt sheets and clip them on with tiny wooden clips. Guests write with a fine fabric marker, and the felt keeps its shape year after year, so it suits thankful tree ideas you want to bring out again. You can also sew a simple running line down the center of each leaf for a vein. Find more leaf shapes and color ideas in our fall leaf crafts.
You will need: felt sheets in rust, gold and olive, sharp scissors, a leaf template, mini wooden clips and a fine fabric marker.
How to make it: 1. Trace the leaf template on the felt and cut out a stack of leaves. 2. Add a center vein with marker or a few hand sewn lines if you like. 3. Clip the leaves to the branches with the mini clips.
Clip Notes On With Tiny Clothespins

Leaves do not have to be the only shape. Paper hearts clipped to a cord with tiny clothespins look sweet and are easy for little kids to cut out. Tie a cord between two branches, or wrap it around the vase, and clip on notes as they come in. The clips make it easy to move notes around so the tree always looks full. For more ways to use those little wooden pins, check out our clothespin crafts.
You will need: colored cardstock, scissors, mini wooden clothespins and thin cotton cord.
How to make it: 1. Fold the cardstock in half and cut half a heart shape along the fold. 2. Tie the cord between two branches. 3. Clip each finished note to the cord.
Thankful Tree Ideas With Birch Branches in a Crock

White birch branches have a crisp, snowy look that carries from Thanksgiving right into winter. Stand them in an old stoneware crock by the door or next to the table, and hang small cream cards from them on thin ribbon. Each card has room for a longer note, so these are thankful tree ideas for families who like to write more than a word or two. After the holiday, swap the cards for ornaments, just like our Christmas crock decor.
You will need: four or five birch branches, a stoneware crock, sand or rocks for weight, cream cardstock, a paper punch and thin burgundy ribbon.
How to make it: 1. Fill the crock half way with sand or rocks. 2. Stand the branches in it and turn the crock until the best side faces the room. 3. Cut cards about three by two inches, punch the top corner and hang them with ribbon.
Cut Leaves From Old Book Pages

Old book pages give paper leaves a soft vintage color and a pretty look up close. Look for a worn paperback at a thrift store, or use a damaged book that cannot be saved. Trace a leaf template, cut through two or three pages at once, and brush the edges with a little brown ink for an aged look. Guests write in the margins or right over the print. Our old book crafts are full of more ways to reuse worn pages.
You will need: an old paperback, a leaf template, scissors, brown ink or a used tea bag and a paper punch.
How to make it: 1. Remove a stack of pages and trace the template on the top one. 2. Cut through two or three pages at a time. 3. Dab the edges with ink or a damp tea bag, let them dry and punch the top for hanging.
Mini Twig Trees at Every Place Setting
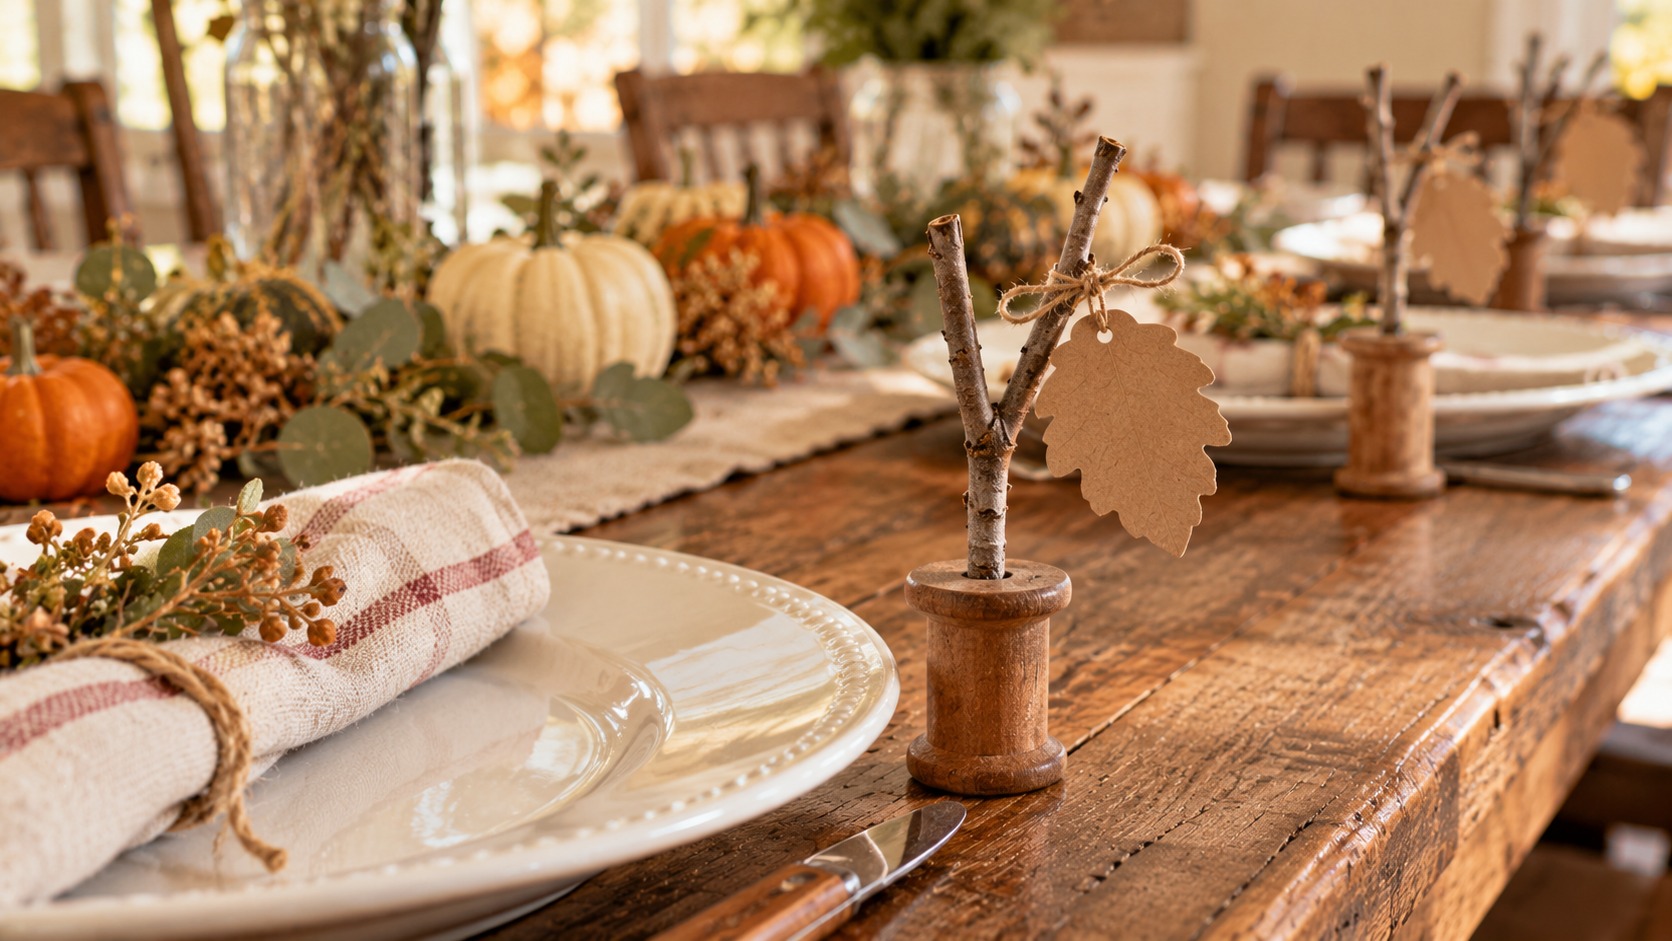
Give every guest a tiny tree of their own, one of the sweetest thankful tree ideas for a big crowd. A small forked twig stands up in an old wooden thread reel, and one paper leaf waits for their note. It doubles as a place card if you write each name on the reel with a paint pen, and guests can take it home as a little favor. Make extra for kids, who usually want two or three. Pair them with our Thanksgiving place cards for a table that looks planned down to the last detail.
You will need: old wooden thread reels, small forked twigs, hot glue, kraft paper, jute cord and a paint pen.
How to make it: 1. Trim each twig to about five inches. 2. Add a dot of hot glue to the bottom and push it into the center of the reel. 3. Tie one kraft leaf to each twig and set one at every plate.
Set Out Blank Cards and a Good Pen

The secret to a full tree is making it easy to join in. Set a small tray near the front door or the buffet with blank leaves, a couple of good pens and a little framed note asking guests to add a line. People arrive, take off their coats, write a few words and hang them right away. By the time dinner is served, the branches are full. Add a welcoming touch outside too with our Thanksgiving porch decor.
You will need: a small wooden tray, blank paper or felt leaves, two or three smooth writing pens and a small framed note.
How to make it: 1. Set the tray on a table near the door. 2. Fan out the blank leaves and lay the pens on top. 3. Add a framed note that invites guests to write one thing they are thankful for.
Thankful Tree Ideas for the Kids Table
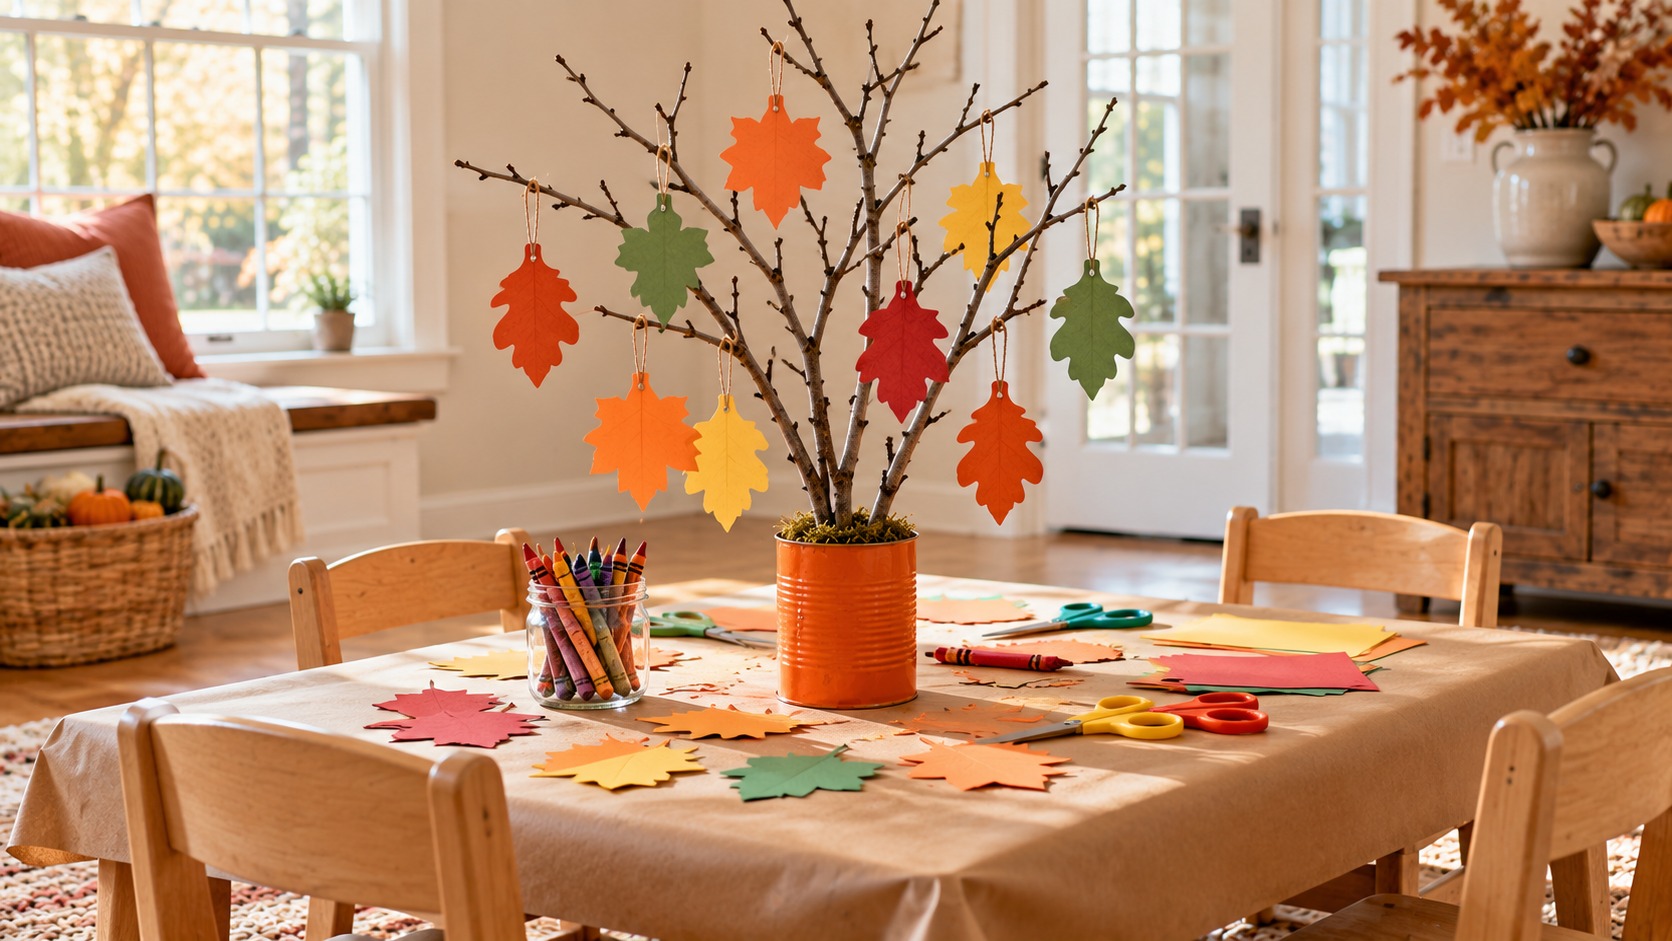
Kids love having their own version of the grown up tree. Paint a clean tin can a bright color, stand a small branch in it with some pebbles, and let the kids cover it in construction paper leaves. Of all the thankful tree ideas here, this one gets the biggest smiles. Cover the table with kraft paper so they can draw while they wait for dinner, and it keeps little ones busy and proud of their work. Find more ways to make their table special in our Thanksgiving kids table ideas.
You will need: a clean tin can with smooth edges, acrylic paint, pebbles, a small branch, construction paper, child safety scissors, crayons and kraft paper.
How to make it: 1. Paint the can and let it dry. 2. Fill it with pebbles and push the branch in. 3. Let the kids trace, cut and color leaves, then hang them with tape or short loops of yarn.
Save Every Leaf in a Keepsake Box
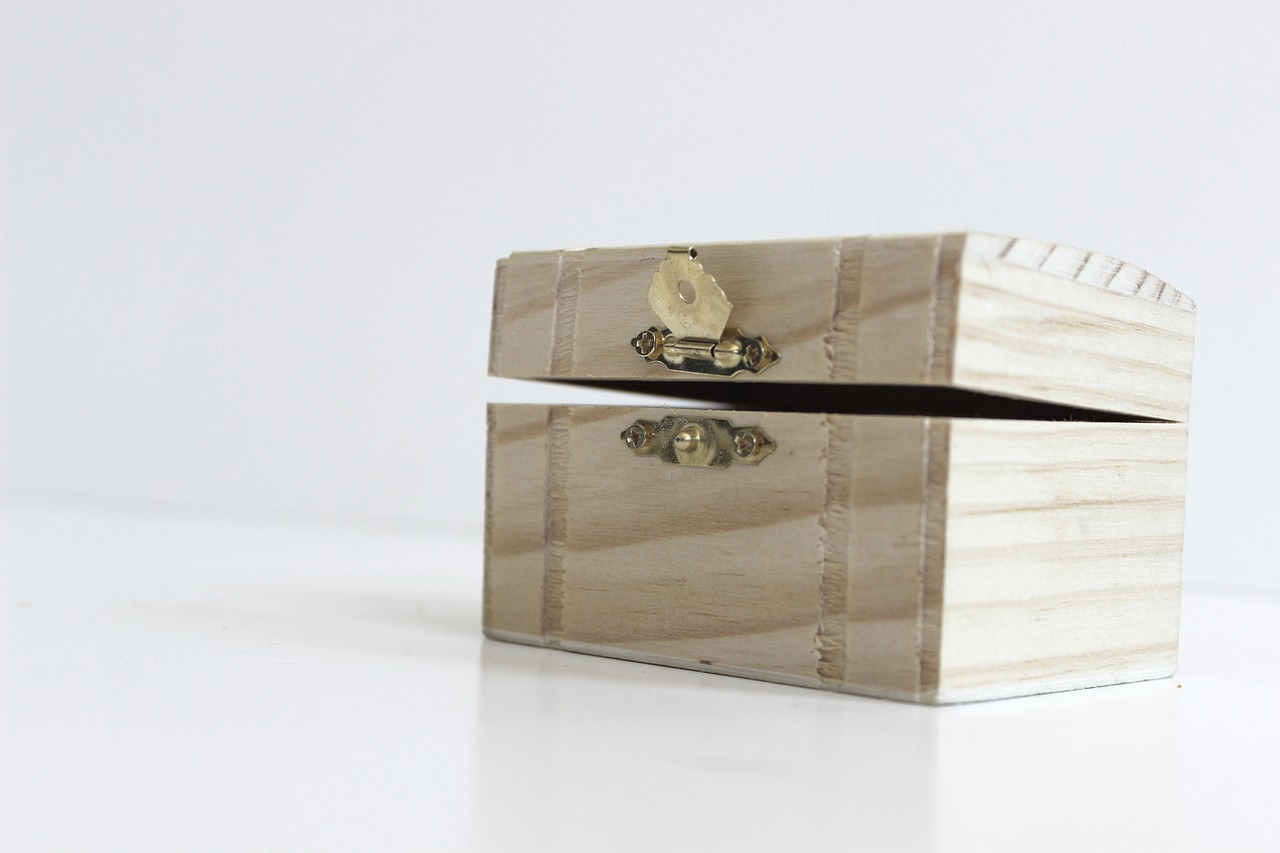
The best part of these thankful tree ideas comes a year later. When the holiday is over, gather every leaf, write the year on the back and tuck them into a wooden keepsake box. Next Thanksgiving, open the box and read last year’s notes out loud before you hang the new ones. Over time the box becomes a family history written on little paper leaves. A plain craft store box is easy to paint or stain, just like the pieces in our old fashioned Thanksgiving decor.
You will need: a small wooden box with a lid, wood stain or paint, a soft cloth, an envelope for each year and a fine pen.
How to make it: 1. Stain or paint the box and let it dry for a full day. 2. Collect the leaves after dinner and slip them into a dated envelope. 3. Store the box with your fall decor so it comes out every year.