Christmas Village Display: 13 Secrets From a Man Who Spends 3 Weeks Building His Every Year
A Christmas village display can turn one quiet corner of a home into a little snowy world that the whole family gathers around. Hobbyist Dave Hohman showed just how magical it can be when he shared a video of his homemade Christmas village with trains on his small YouTube channel. The clip has passed 2.1 million views and about 60 thousand likes, far more than his roughly 12 thousand subscribers. He says the setup takes about three weeks every year and five or six days to take down. You do not need that much time or space to start. Here are 13 secrets inspired by his yearly tradition, from planning to platforms to lights, that will help you build a village your family will want to see every December..
Meet the Man Behind a Christmas Village Display Millions Watched
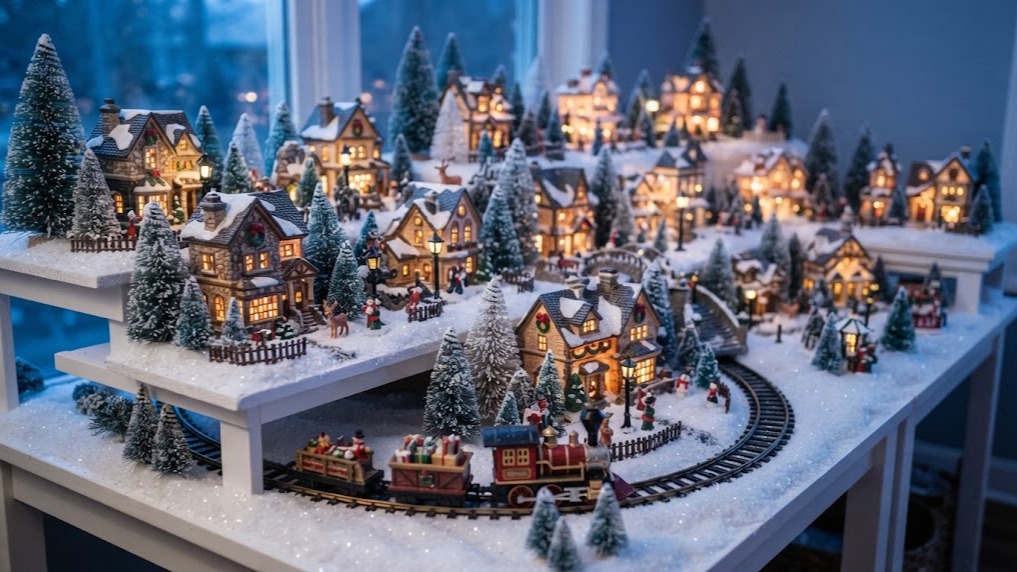
What makes this story so lovely is that it is not a museum or a store window. It is one man and a yearly family tradition. In his Christmas village video, Dave Hohman walks viewers past rows of glowing houses, snowy hills and trains running through it all. Comments are full of people remembering their grandparents’ villages and saying they want to start one. That is the real secret: a village grows a little each year, and the memories grow with it. Do you remember a village like this from your childhood..
You will need: Patience, a table or shelf you can give up for the season, a few village houses to start, a string of lights, a white snow blanket.
How to make it: 1. Choose the spot and measure it. 2. Start with a small group of houses you love. 3. Add a few new pieces each year so the village grows with your family.
A Yearly Tradition That Fills a Whole Room
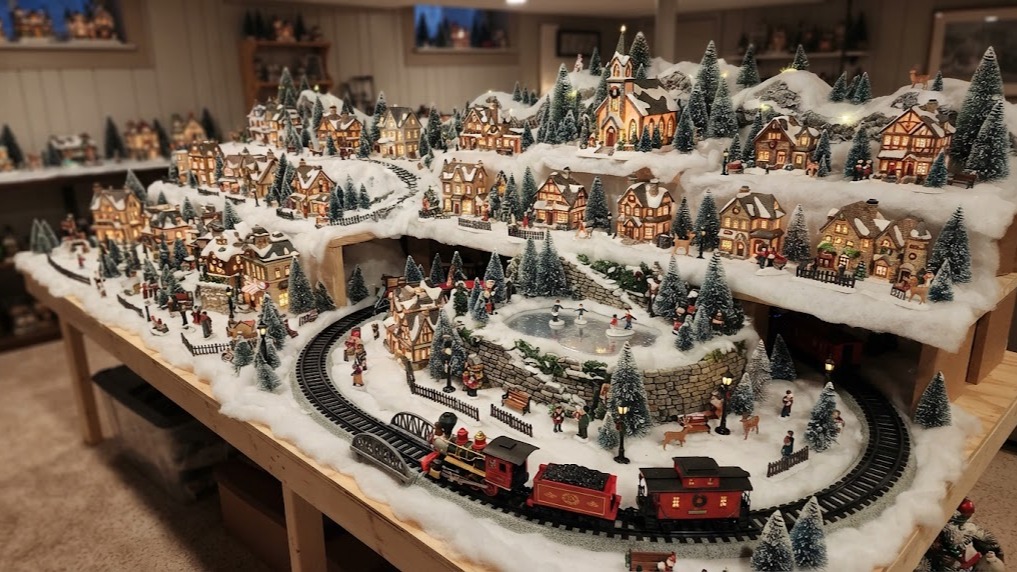
Big displays like this one are built in layers over many years, not in a single weekend. A long folding table or two pushed together gives you a solid base, and a corner of a family room or basement keeps it safe from busy foot traffic. Leave a walkway around the front so kids can get close without bumping it. Many collectors set up the weekend after Thanksgiving so it can stay up through New Year’s. A village this size becomes the place everyone gathers with cocoa. Where in your home could a village live?
You will need: One or two sturdy folding tables, a tablecloth or felt to cover them, a tape measure, painter’s tape to mark the layout.
How to make it: 1. Set up the tables where they will not be bumped. 2. Cover them with a cloth or felt. 3. Mark rough zones for town, hills and train with painter’s tape.
Plan Your Christmas Village Display on Paper First
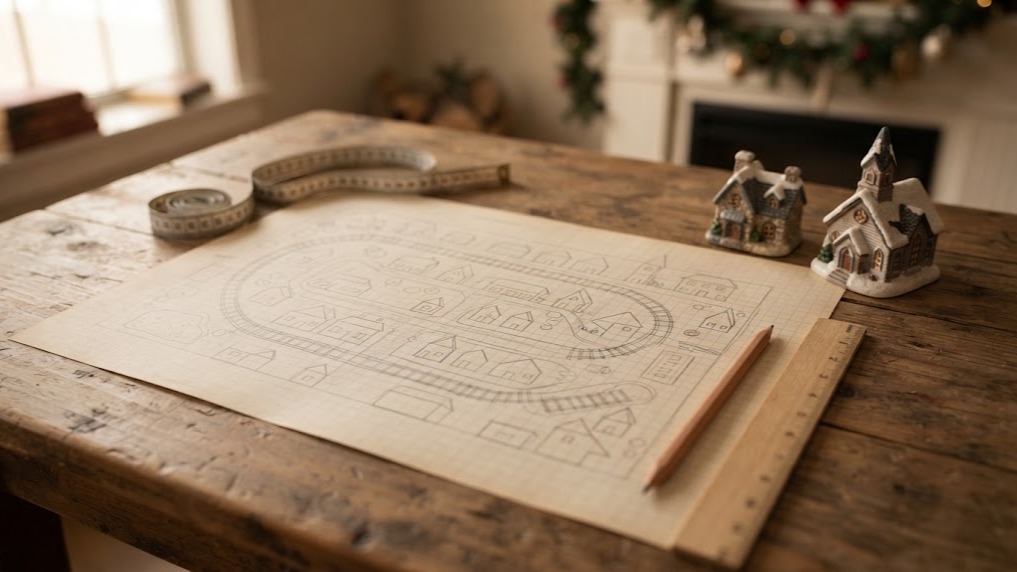
The secret most hobbyists swear by is planning the Christmas village display on paper before a single house comes out of the box. Measure your table and draw it to scale on graph paper, then sketch where the tallest pieces will sit at the back, where the town square goes and where the train loop will run. Taller pieces in the back and smaller ones in front give instant depth. A plan saves you hours of moving things around. Take a photo of the finished layout so next year goes even faster. Have you ever planned a display on paper?
You will need: Graph paper, a pencil and eraser, a ruler, a tape measure, your village pieces or a list of them.
How to make it: 1. Measure the table and draw it to scale. 2. Sketch the train loop, hills and main street. 3. Place the tallest pieces at the back and work forward.
Build Tiered Platforms From Foam Board and Boxes
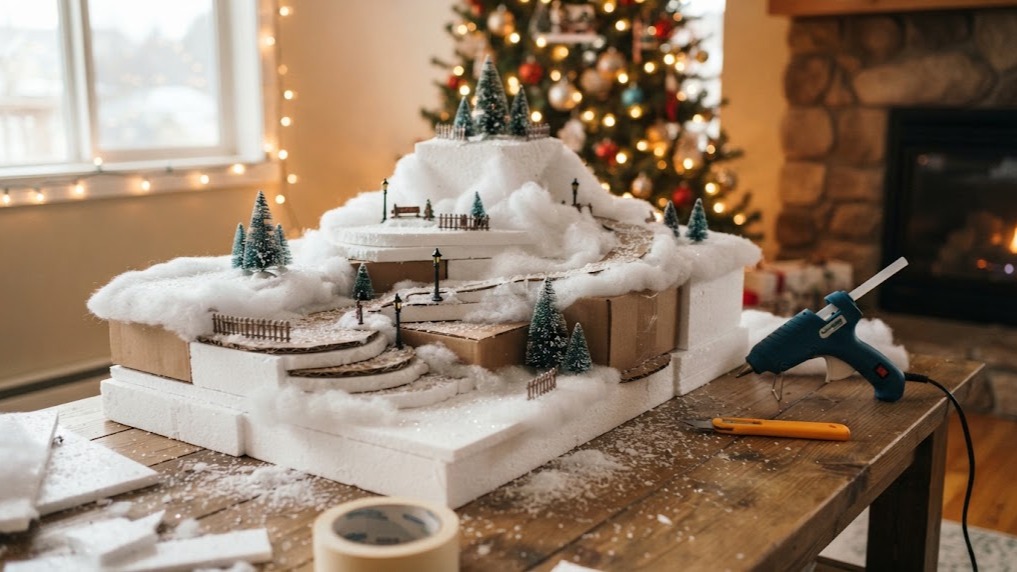
Flat villages look nice, but levels make them look amazing. Stack sturdy boxes, books or blocks of foam to create tiers, then lay foam board across the top so each level is flat and steady. Cut the foam with a craft knife (adult help) and secure layers with low temperature glue. The back tier should be the tallest so every house can be seen. Once the snow blanket goes over everything, nobody will ever know there are shoe boxes underneath. How many levels would your table hold?
You will need: Foam board sheets, sturdy cardboard boxes or foam blocks, a craft knife (adult help), a low temperature glue gun, a ruler, painter’s tape.
How to make it: 1. Arrange boxes in rows from tall at the back to short at the front. 2. Cut foam board to cover each level and glue it down. 3. Test that every level feels solid before adding houses.
Shape Hills and Mountains From Paper and Plaster Cloth
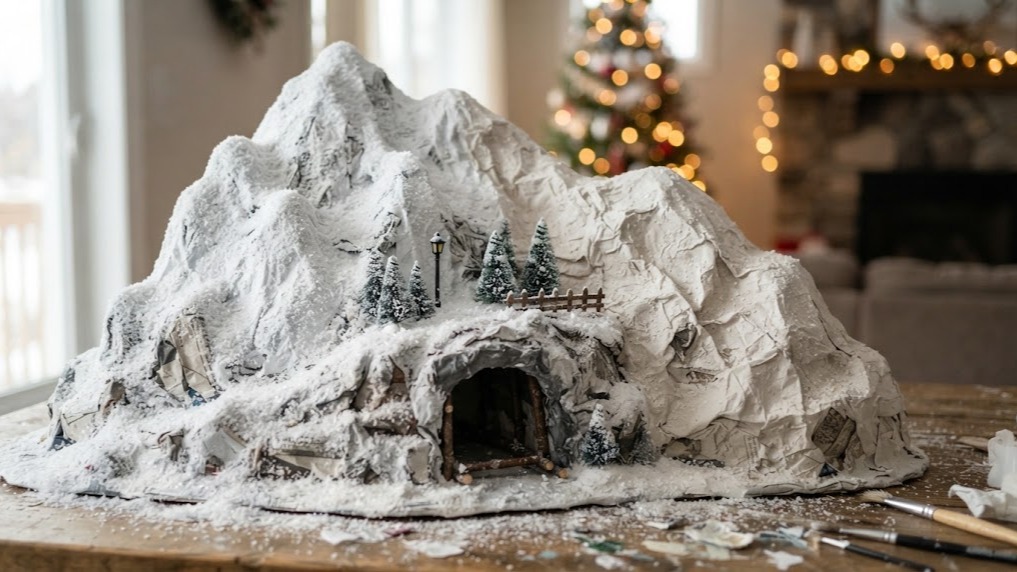
Mountains give a village drama, and they are made from the simplest materials. Crumple newspaper into a hill shape, tape it down, then cover it with strips of wet plaster cloth, the same kind used in school projects. Leave a gap at the bottom for a train tunnel if you like. Once it dries hard, paint it white and dust it with fake snow. It is lightweight and can be stored and reused for years. Kids love helping with the messy plaster part. Would your village have one big mountain or rolling hills?
You will need: Newspaper, masking tape, plaster cloth rolls, a bowl of warm water, white acrylic paint, a wide brush, fake snow.
How to make it: 1. Crumple and tape newspaper into a hill shape. 2. Dip plaster cloth strips in water and smooth them over the hill in two layers. 3. Let it dry, paint white and add snow.
Lay a Soft Snow Blanket Over Everything
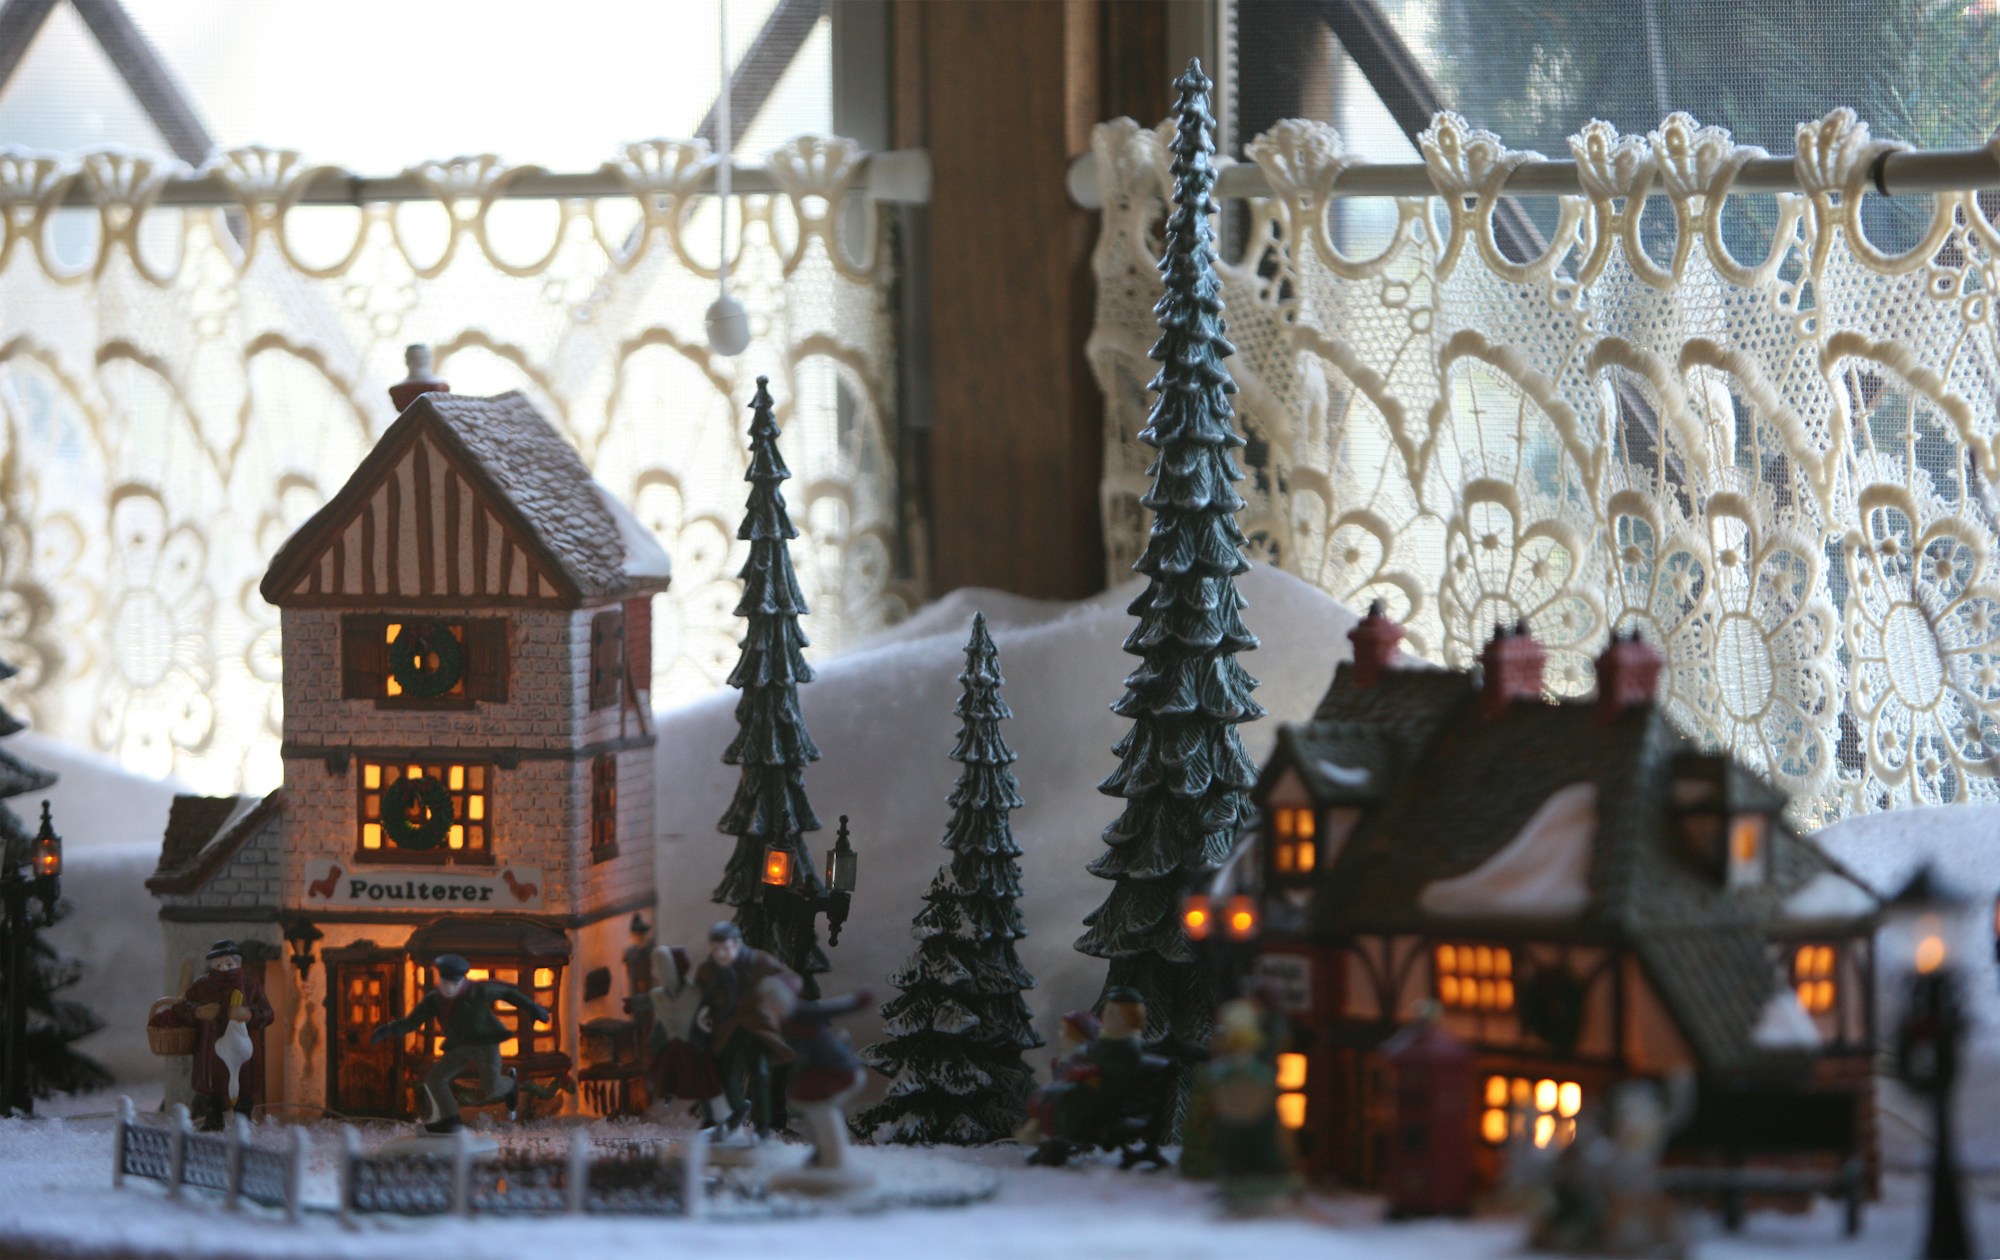
A white snow blanket is what ties the whole village together. Drape it over the platforms and hills, tuck it into the corners and let it bunch naturally so it looks like drifts. Batting from a fabric store works just as well as store bought snow blankets and costs less. Cut small holes where light cords need to come up under each house. Then sprinkle a little loose fake snow on rooftops and paths. Suddenly the boxes and foam disappear and it looks like a real winter town. Do you like smooth snow or deep drifts?
You will need: A white snow blanket or quilt batting, scissors, straight pins, loose fake snow, a small sifter or strainer.
How to make it: 1. Drape the blanket over all platforms and hills. 2. Pin it in place and cut small holes for light cords. 3. Sift loose snow over rooftops and paths.
Add a Train Loop to Bring Your Christmas Village Display to Life
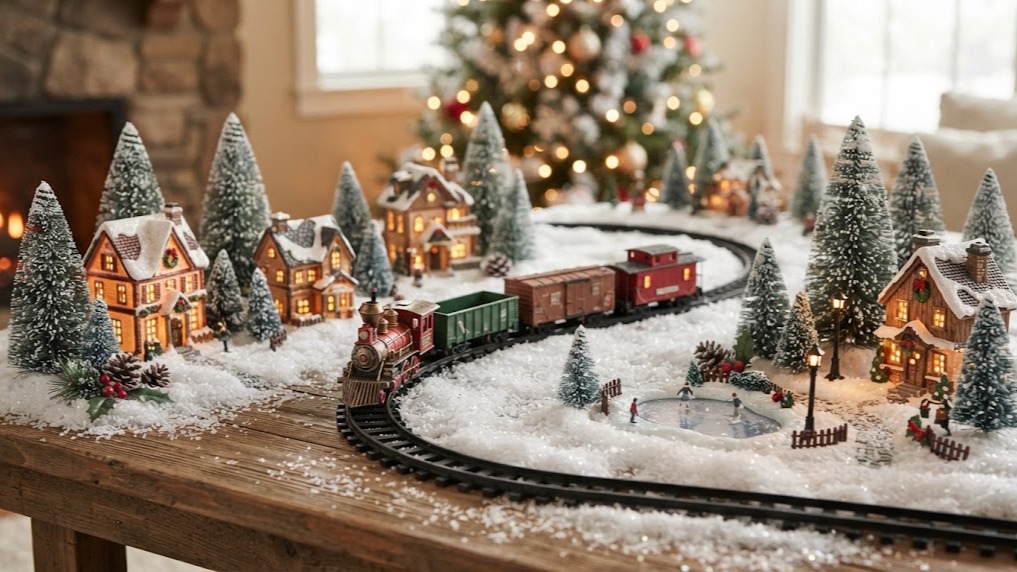
A moving train is what makes people stop and stare at a Christmas village display. A simple oval of track around the front of the table is enough to start, and it can run in front of the town or disappear into a tunnel through your mountain. Lay the track before adding snow so you can keep it level, and leave space around curves so houses do not get clipped. Kids could watch it go round and round for hours. Remind little ones it is for looking, not grabbing. What would your train be carrying?
You will need: A battery or plug in starter train set, extra track pieces if needed, a level, small foam shims, fake snow.
How to make it: 1. Lay the track loop on the table and check it runs smoothly. 2. Shim any uneven spots so the train does not wobble. 3. Build hills and houses around it, keeping curves clear.
Mini Forests From Bottle Brush Trees
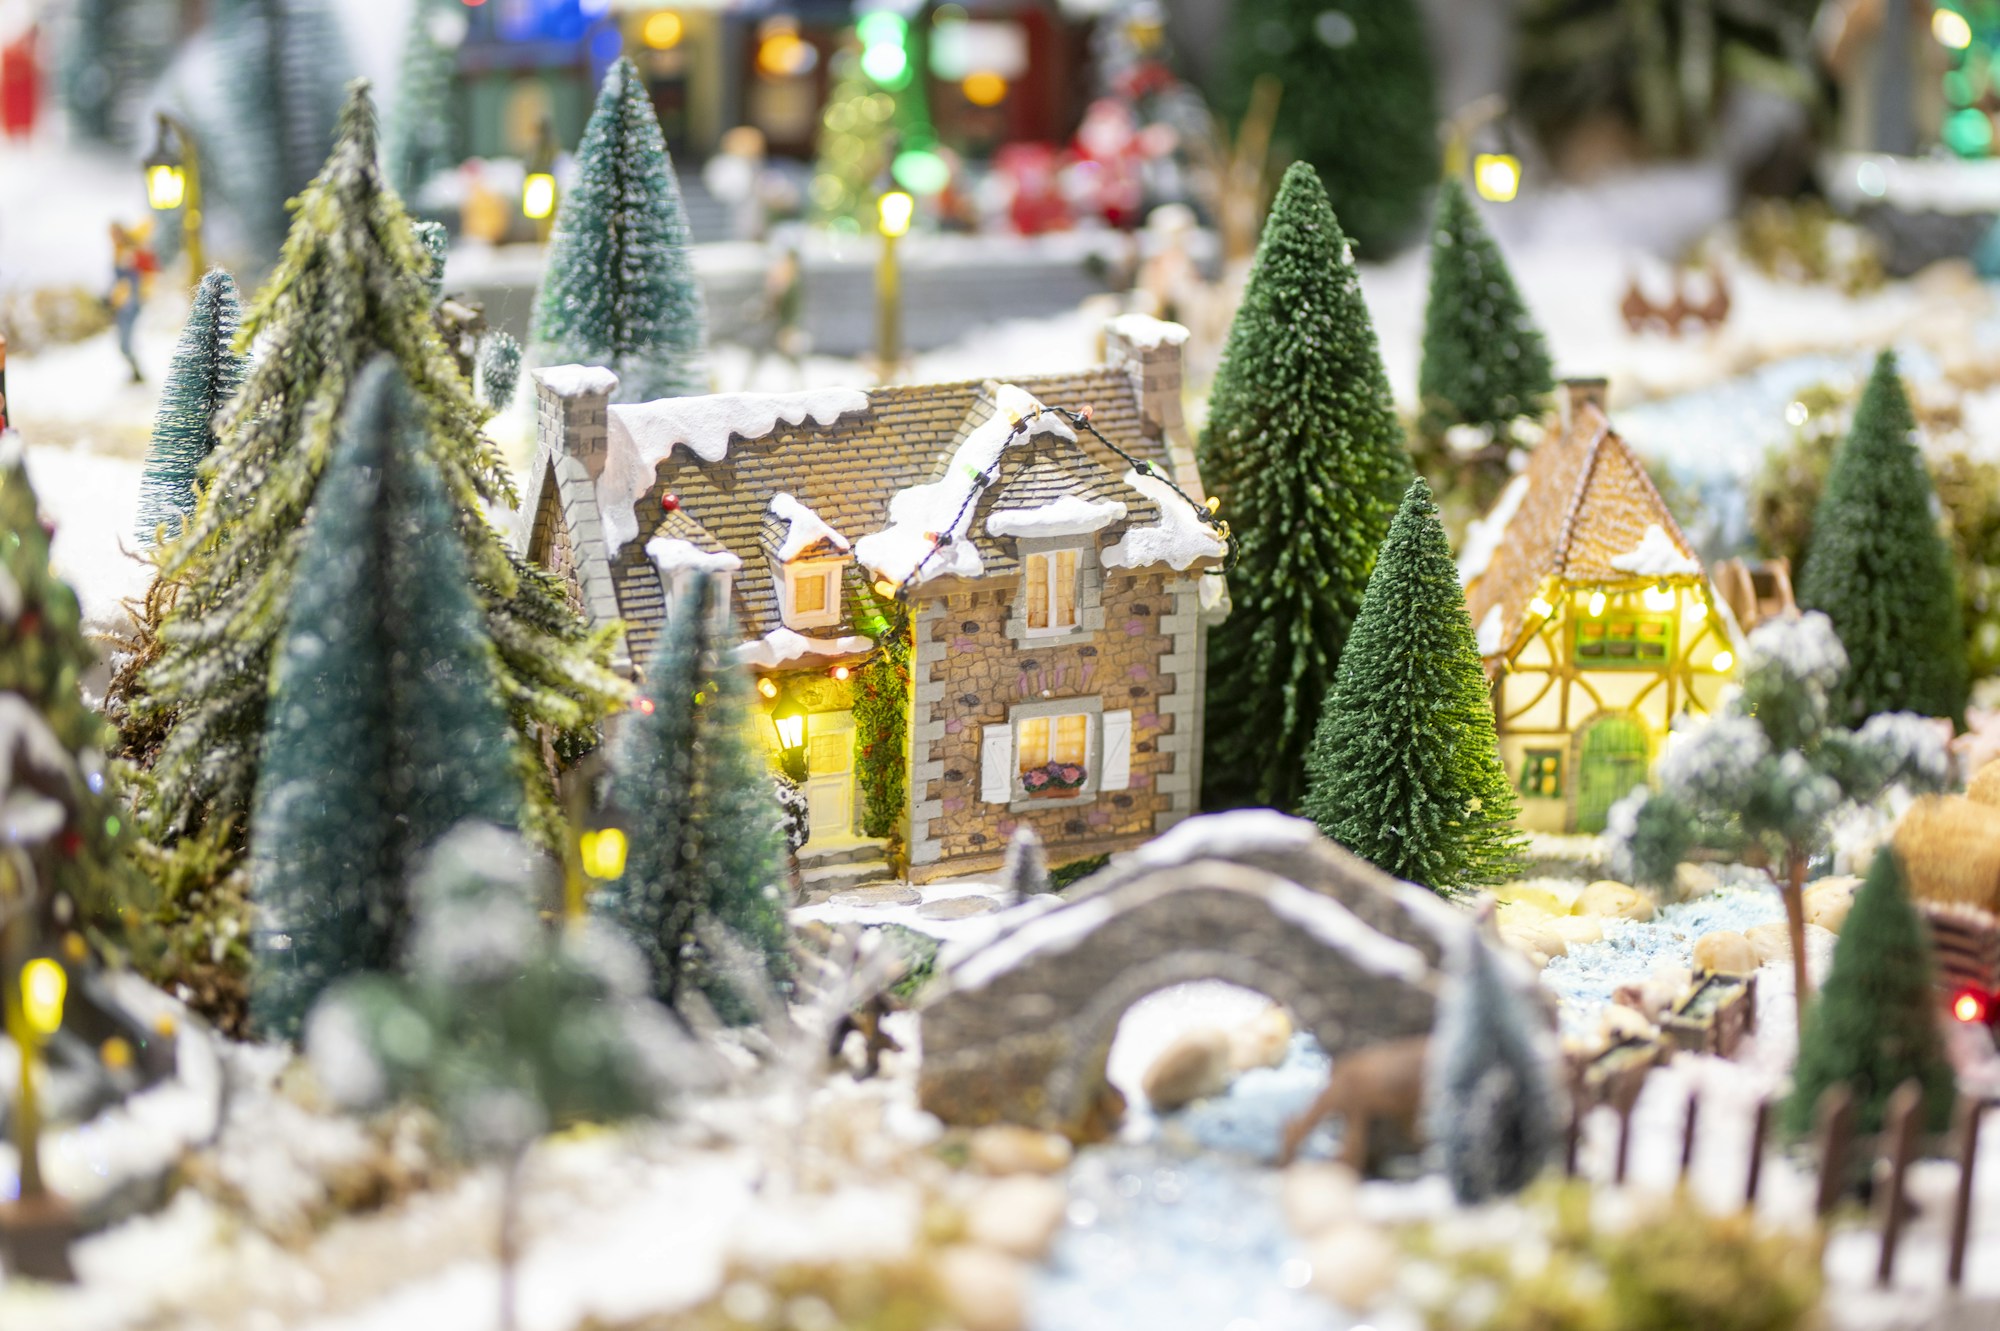
Bottle brush trees are the easiest way to make a village feel like it sits in a real forest. Group them in odd numbers and mix heights, with tall ones behind houses and short ones along paths. You can bleach green trees to soft pastel shades or dip the tips in white glue and snow for a frosted look. A cluster of trees also hides cords and the edges of platforms. Buy them in bulk packs after Christmas for next year. How many trees do you think a village needs?
You will need: Bottle brush trees in several sizes, white craft glue, fake snow, small wood slices or bases, a hot glue gun (adult help).
How to make it: 1. Glue each tree to a small base so it stands straight. 2. Dip tips in glue and snow for a frosted look. 3. Arrange them in clusters of three and five.
Popsicle Stick Houses Fill the Gaps
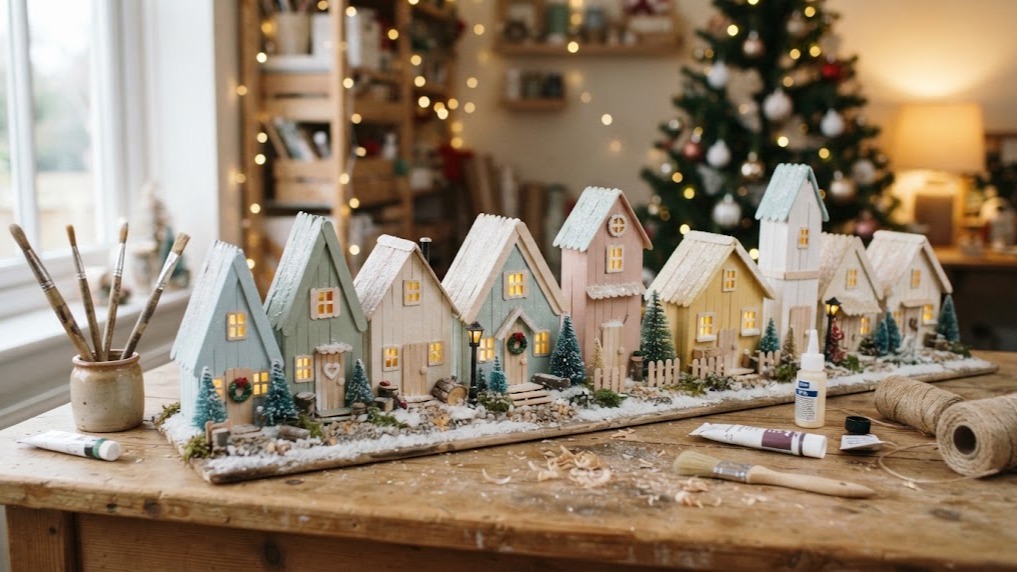
Store bought village pieces can be pricey, so many hobbyists make little houses of their own to fill the gaps. Popsicle sticks glued into simple walls and pitched roofs become sweet cottages, sheds and shops. Paint them in soft colors, add white puffy paint snow on the roofs and cut little windows. A battery tea light inside makes them glow. Some popular craft channels have made whole tiny towns this way. They are a perfect project for a rainy afternoon with kids. Which shop would you build first?
You will need: Popsicle sticks, wood glue, a craft knife (adult help), acrylic paints, white puffy paint, a battery tea light.
How to make it: 1. Glue sticks side by side to make four walls and two roof panels. 2. Cut windows, assemble and let it dry. 3. Paint, add puffy paint snow and slip a tea light inside.
Tiny Scenes Make a Christmas Village Display Feel Real
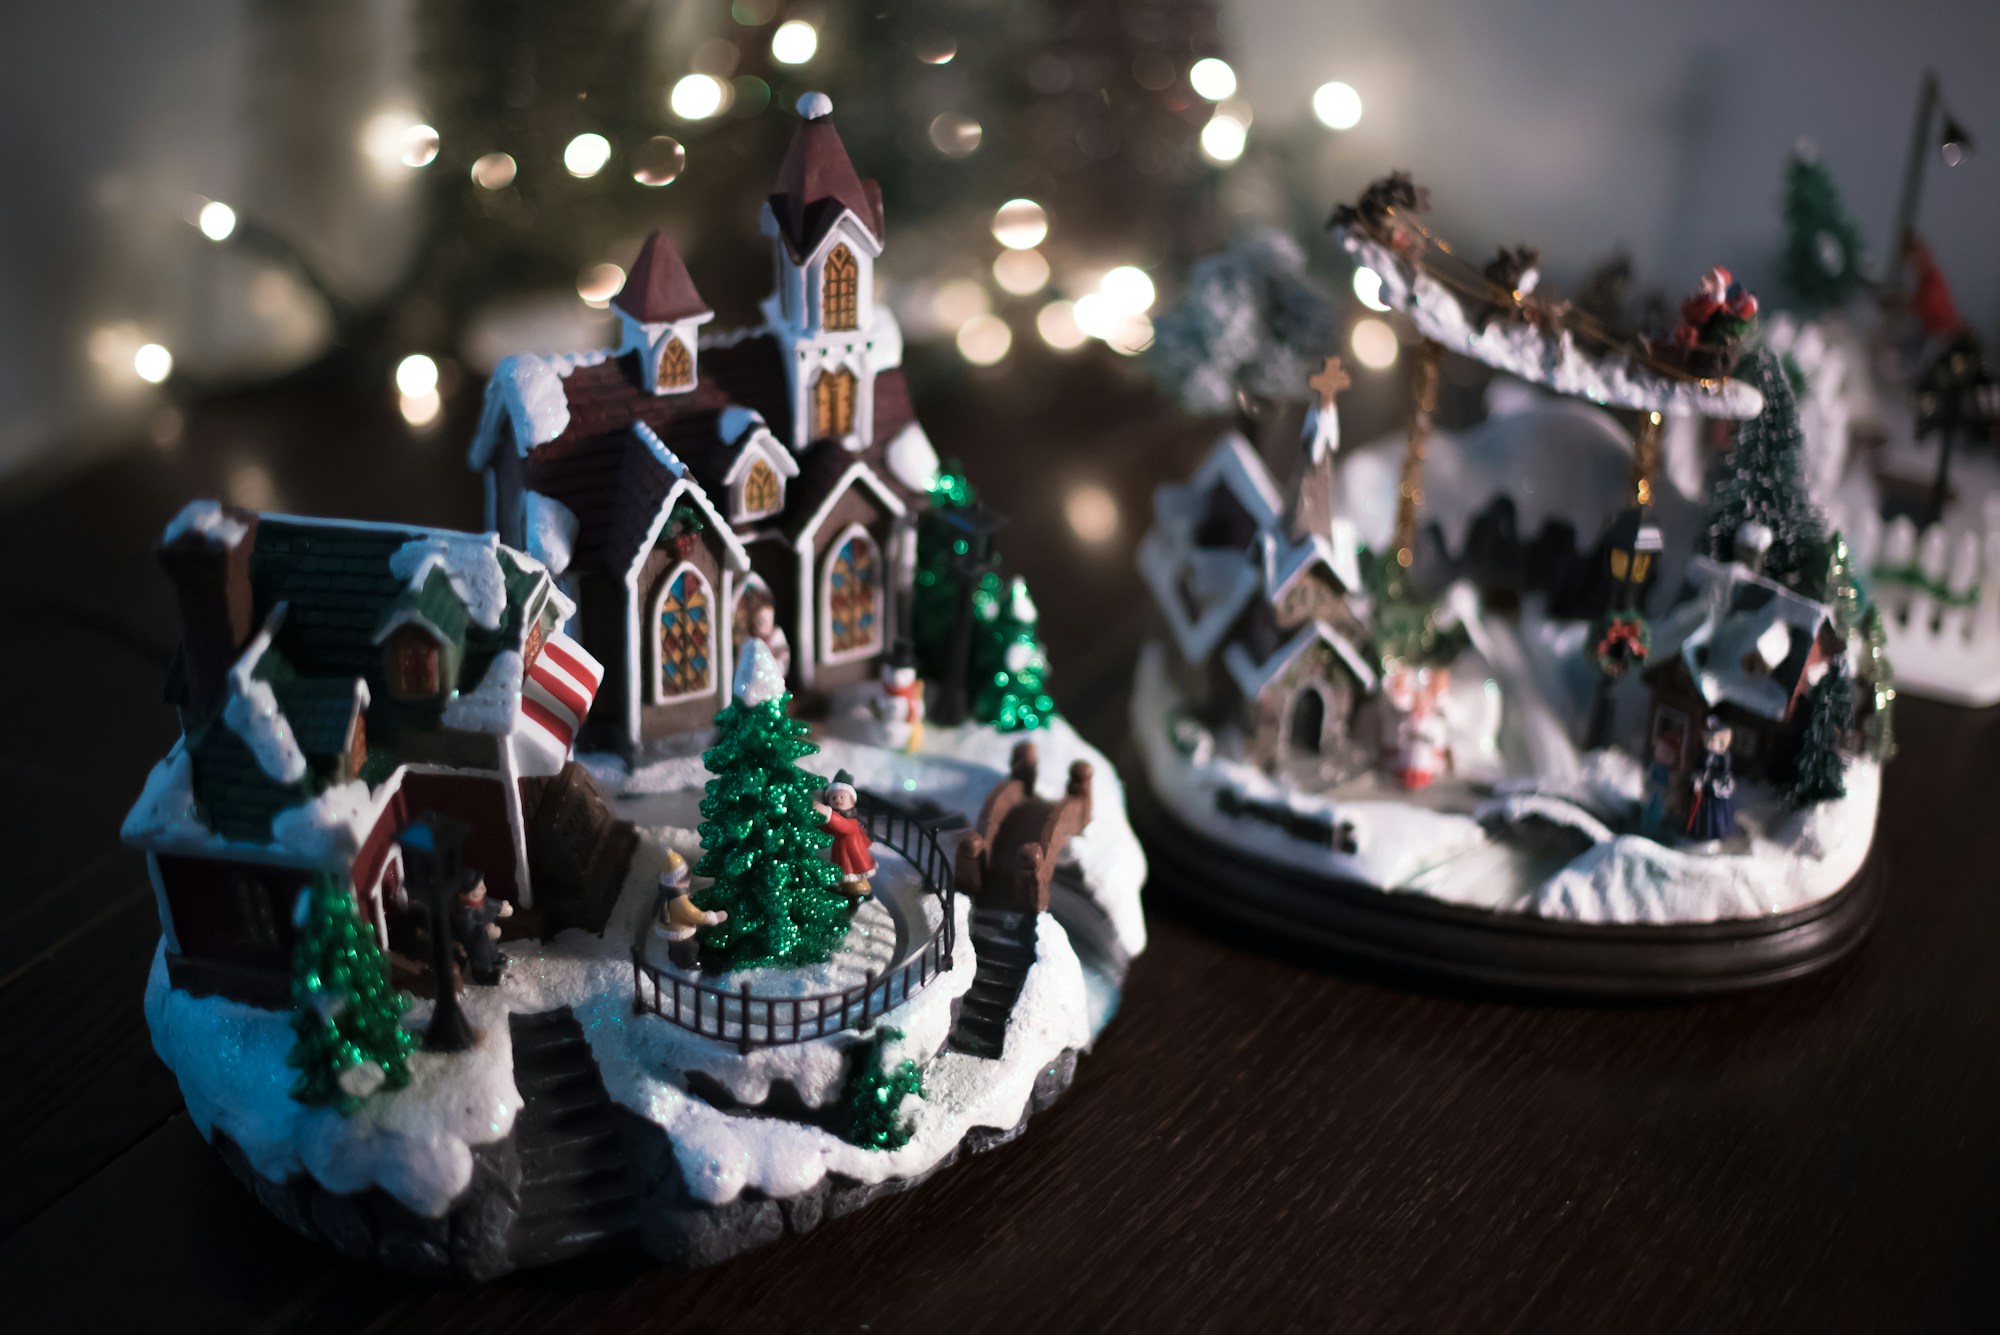
The tiny people are where the stories happen. A couple ice skating on a mirror pond, kids building a snowman, carolers outside the church, a dog chasing a sled. Placing figures in little scenes is what makes a Christmas village display feel alive rather than just a row of houses. Visitors start pointing out their favorite moments, and kids love hunting for hidden details. Use a dab of removable putty to keep figures from tipping over. Which little scene would you create first?
You will need: Miniature figures, a small mirror or foil for a pond, removable putty, tweezers, fake snow.
How to make it: 1. Choose a few spots for scenes, like the pond and town square. 2. Group figures so they look like they are doing something together. 3. Secure each with a tiny dab of putty.
Hide the Cords and Power Strips
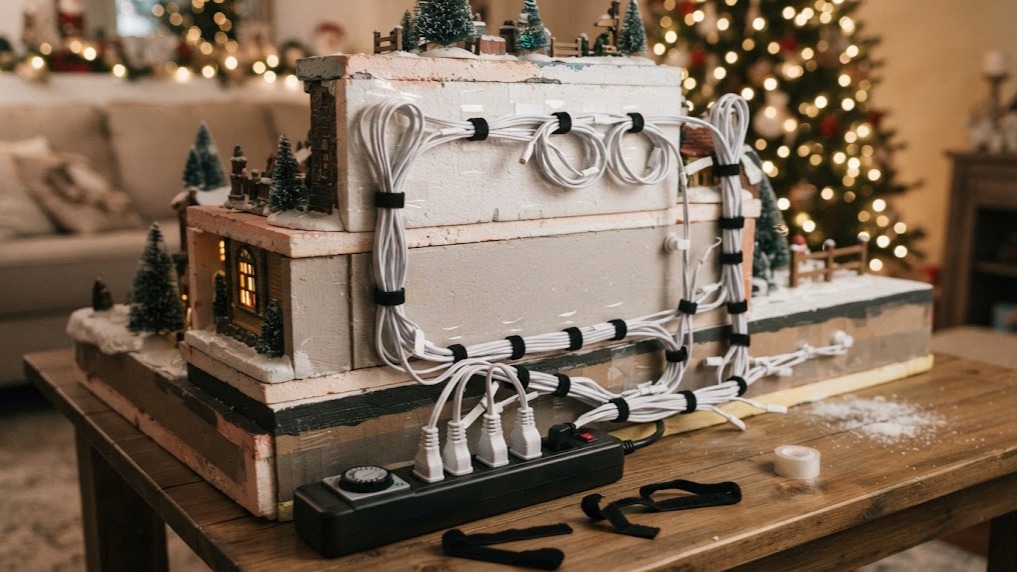
Every lit house has a cord, and a big village can have dozens. The trick is to run them all toward the back, bundle them with reusable straps and tape them under the platforms so nothing shows from the front. Plug everything into a power strip with a timer so the village turns on at dusk and off at bedtime. Always unplug the lights when nobody is home, and never overload a single outlet. A tidy back also makes take down much faster. How many lit pieces are in your collection?
You will need: Reusable cable straps, painter’s tape, a power strip with surge protection, an outlet timer, labels for cords.
How to make it: 1. Feed each cord down through the snow blanket toward the back. 2. Bundle cords with straps and tape them under the platforms. 3. Plug into a power strip on a timer.
Light It Up at Night
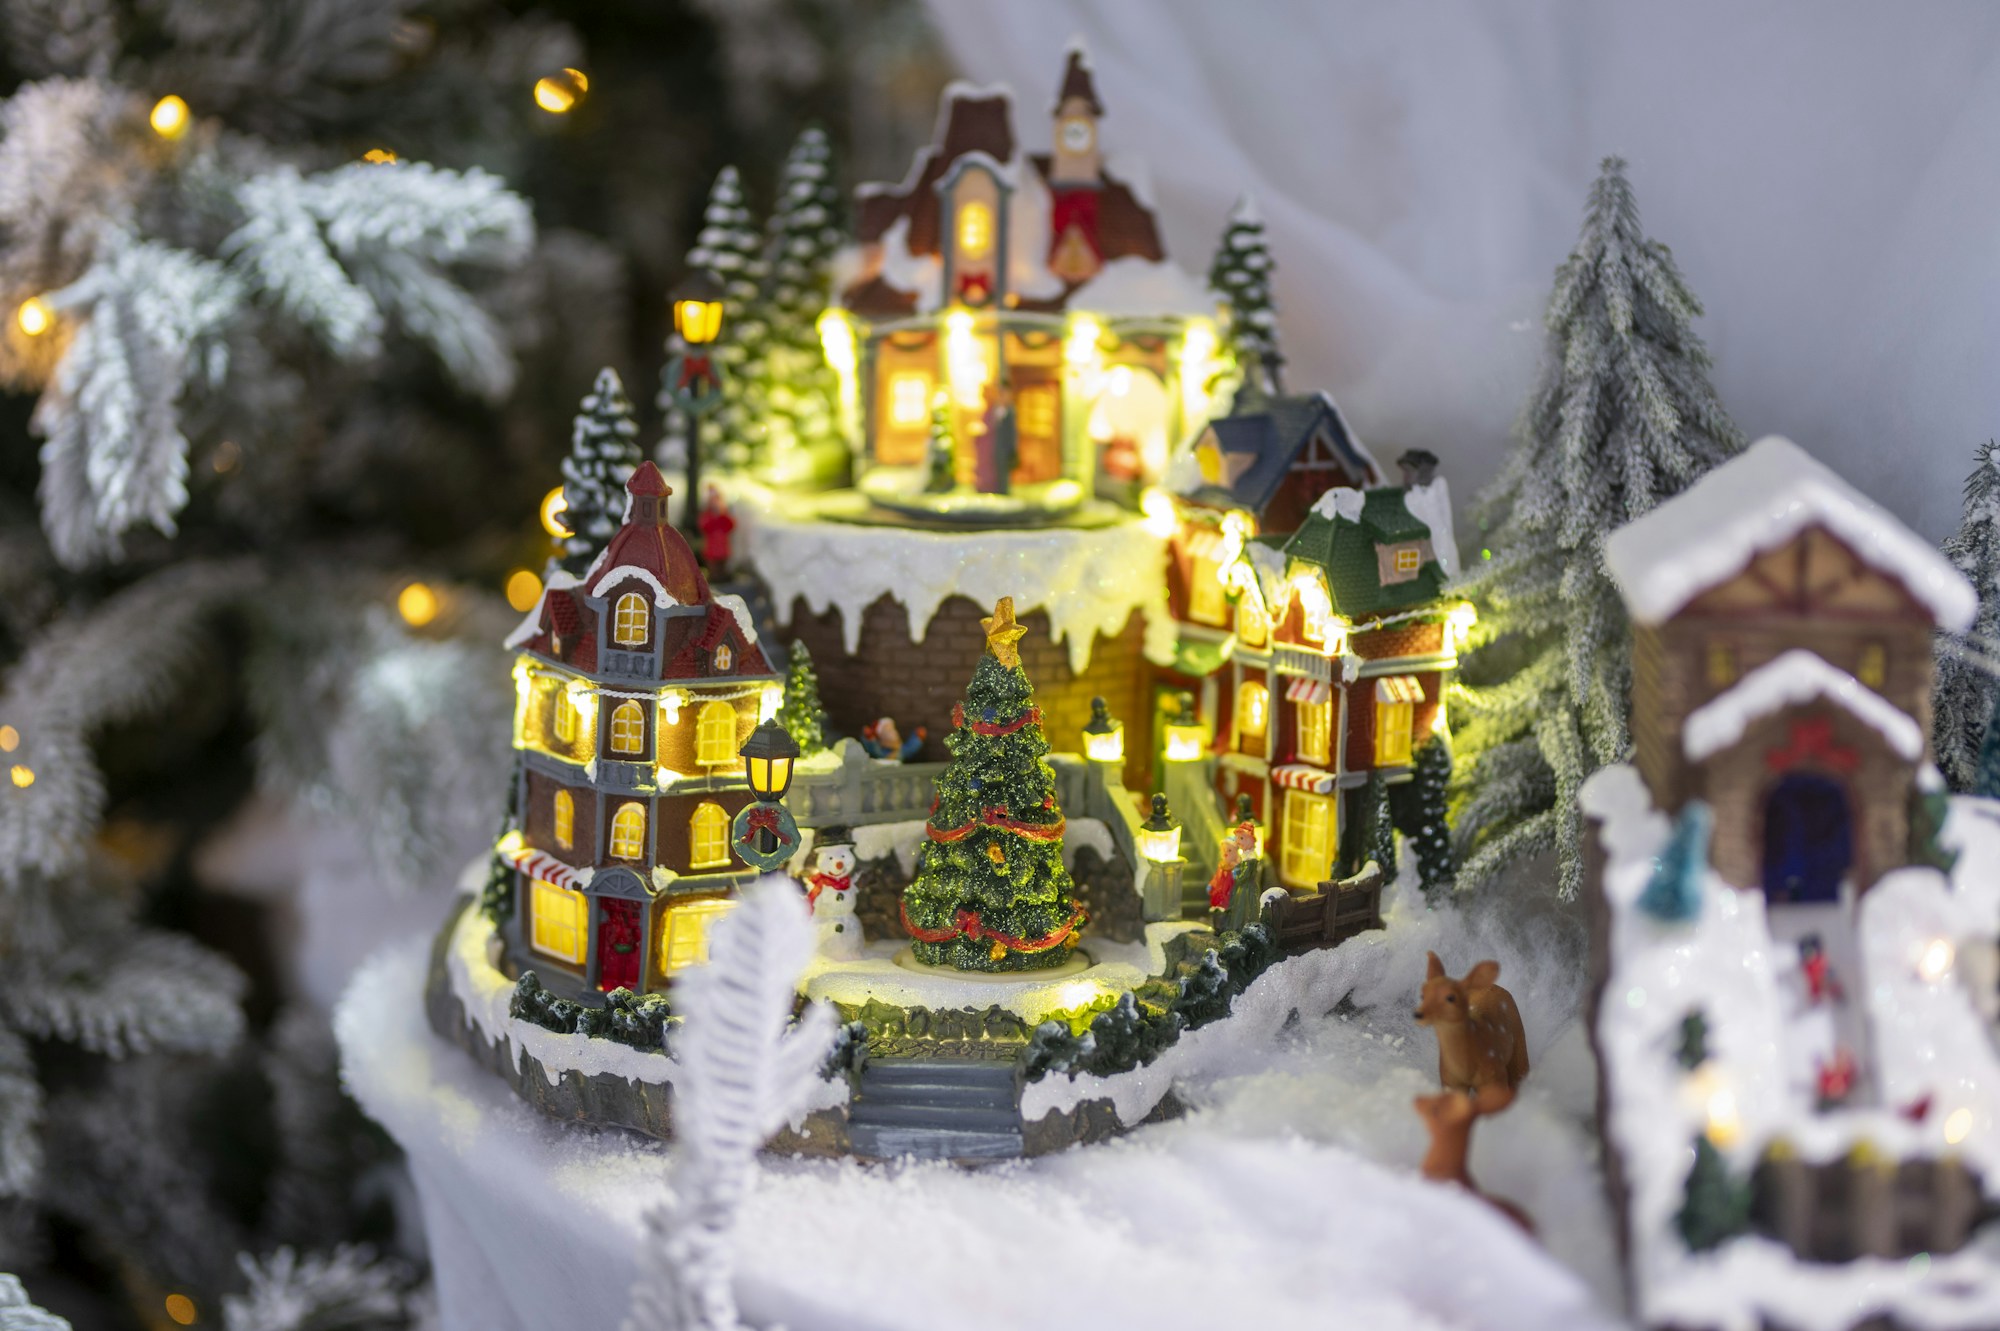
Daytime shows the details, but nighttime is when a village becomes magic. Turn off the room lights and let only the little windows glow. A string of tiny warm white lights tucked behind the back row adds a soft sky glow, and a cool white puck light above a pond makes ice sparkle. Keep all extra lights low voltage or battery powered. This is the moment to call the family in, pour the cocoa and just look. Would you rather see your village by day or by night?
You will need: Warm white LED fairy lights, a battery puck light, a dimmer or timer, removable hooks.
How to make it: 1. Tuck fairy lights behind the back row for a sky glow. 2. Add a small puck light above the pond or square. 3. Turn off room lights and adjust until it feels cozy.
Smart Storage Makes Next Year’s Christmas Village Display Easy
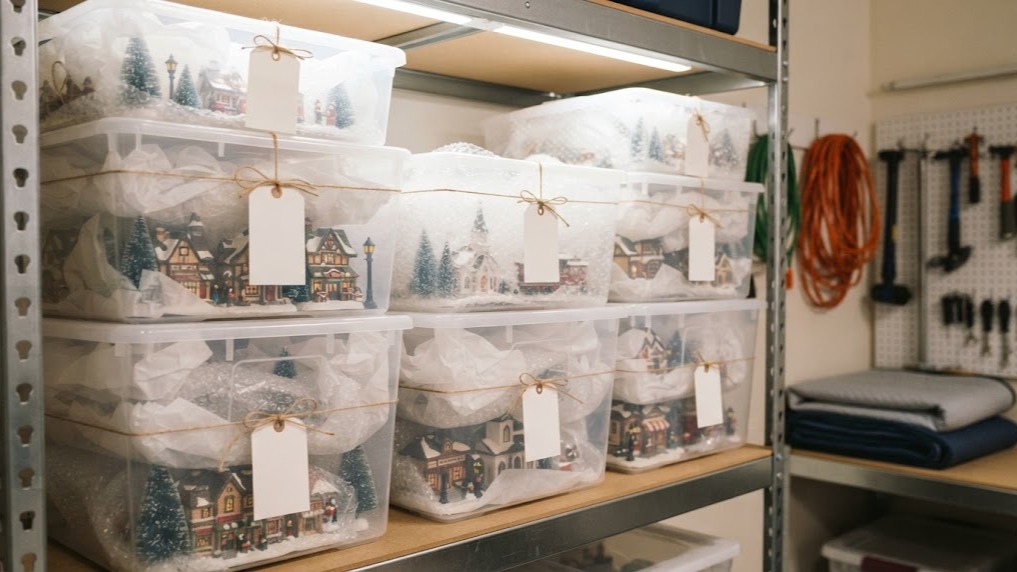
Three weeks to set up and about a week to take down is a big commitment, so smart storage pays off. Wrap each house in tissue, keep original boxes when you can and pack pieces by area so the whole main street comes out of one bin. Label cords and take photos of the finished layout. When next November comes, you will open the bins and know exactly where everything goes. For more tiny worlds you can make, see our cardboard miniatures. Will this be the year you start your own village?
You will need: Clear plastic bins with lids, white tissue paper, bubble wrap, labels, a marker, a phone camera.
How to make it: 1. Photograph the finished village from several angles. 2. Wrap each piece and pack by area of the layout. 3. Label every bin and store it somewhere dry.