Vintage Christmas Wallpaper: 17 Cheap Paper Crafts That Look Like Pricey Antique Shop Finds
Vintage Christmas wallpaper is the cheapest way to get that old antique shop look at home this year. Pinterest searches for it jumped 900 percent this season, and it is easy to see why. Those soft roses, holly sprigs and faded toile prints feel like a visit to grandma’s house. The best part is that you do not need to paper a full room. Sample sheets, leftover rolls and old pattern books cost almost nothing, and every piece can become gift wrap, ornaments, cards or a shelf that looks a hundred years old. Below are 17 easy paper crafts that use small pieces of patterned paper in big ways. Most take less than an hour, and a few take ten minutes. Grab your scissors, a glue brush and whatever pretty paper you can find..
Start With a Vintage Christmas Wallpaper Corner
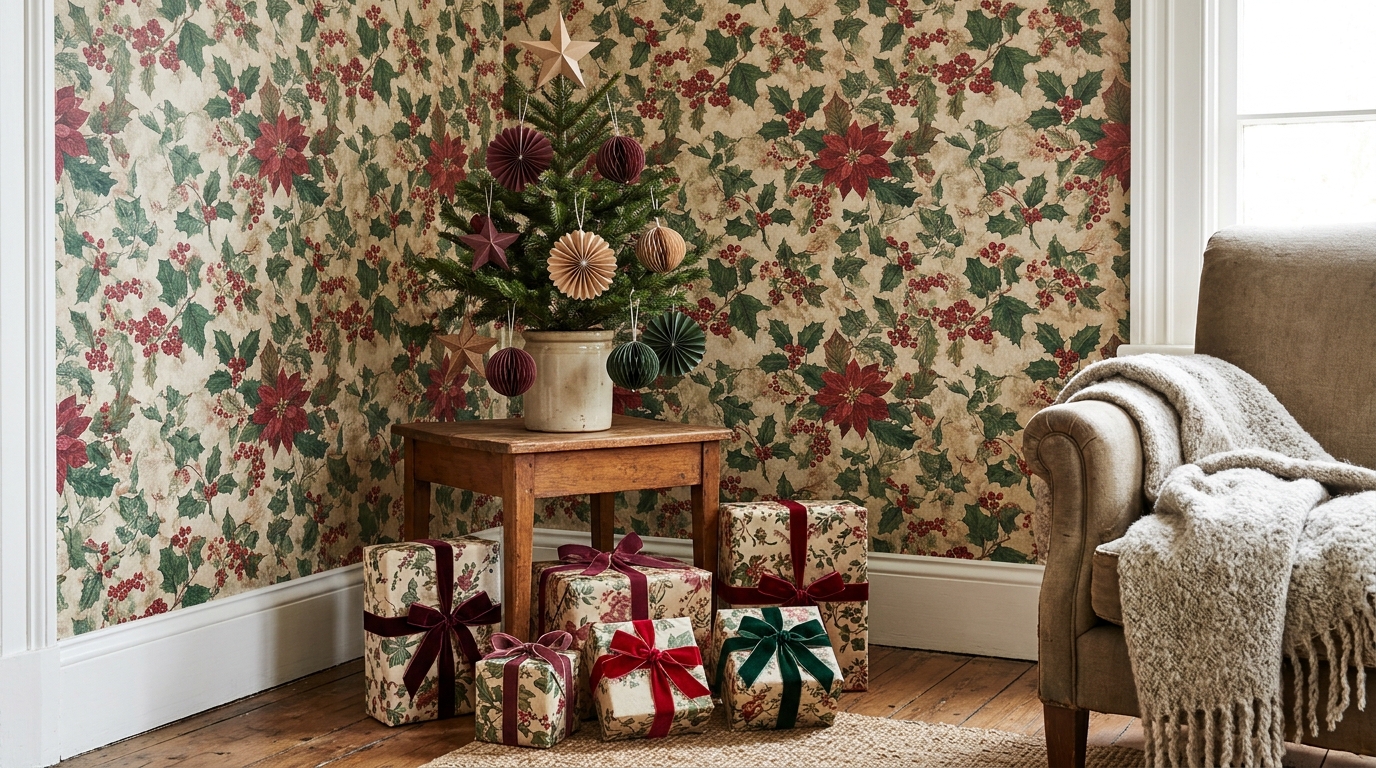
One corner is all it takes to fall in love with this look. A single wall of holly and poinsettia paper, a tiny tree on a side table and a pile of gifts wrapped in the same print makes the entire room feel like a Victorian Christmas card. If you love the old fashioned feel of a grandma style Christmas tree, this is the easiest place to begin. Use peel and stick paper so it comes down in January with no damage..
You will need: Peel and stick floral or holly wallpaper, a small potted tree, paper fan ornaments, a side table, leftover wallpaper for wrapping, velvet ribbon.
How to make it: 1. Clean and dry one small wall section. 2. Hang the first length from the top, smoothing out bubbles with a card. 3. Match the pattern on each next length and trim at the baseboard. 4. Set the table and tree in front. 5. Wrap a few gifts in the leftover pieces so they blend with the wall.
Hunt Down Cheap Vintage Christmas Wallpaper Samples
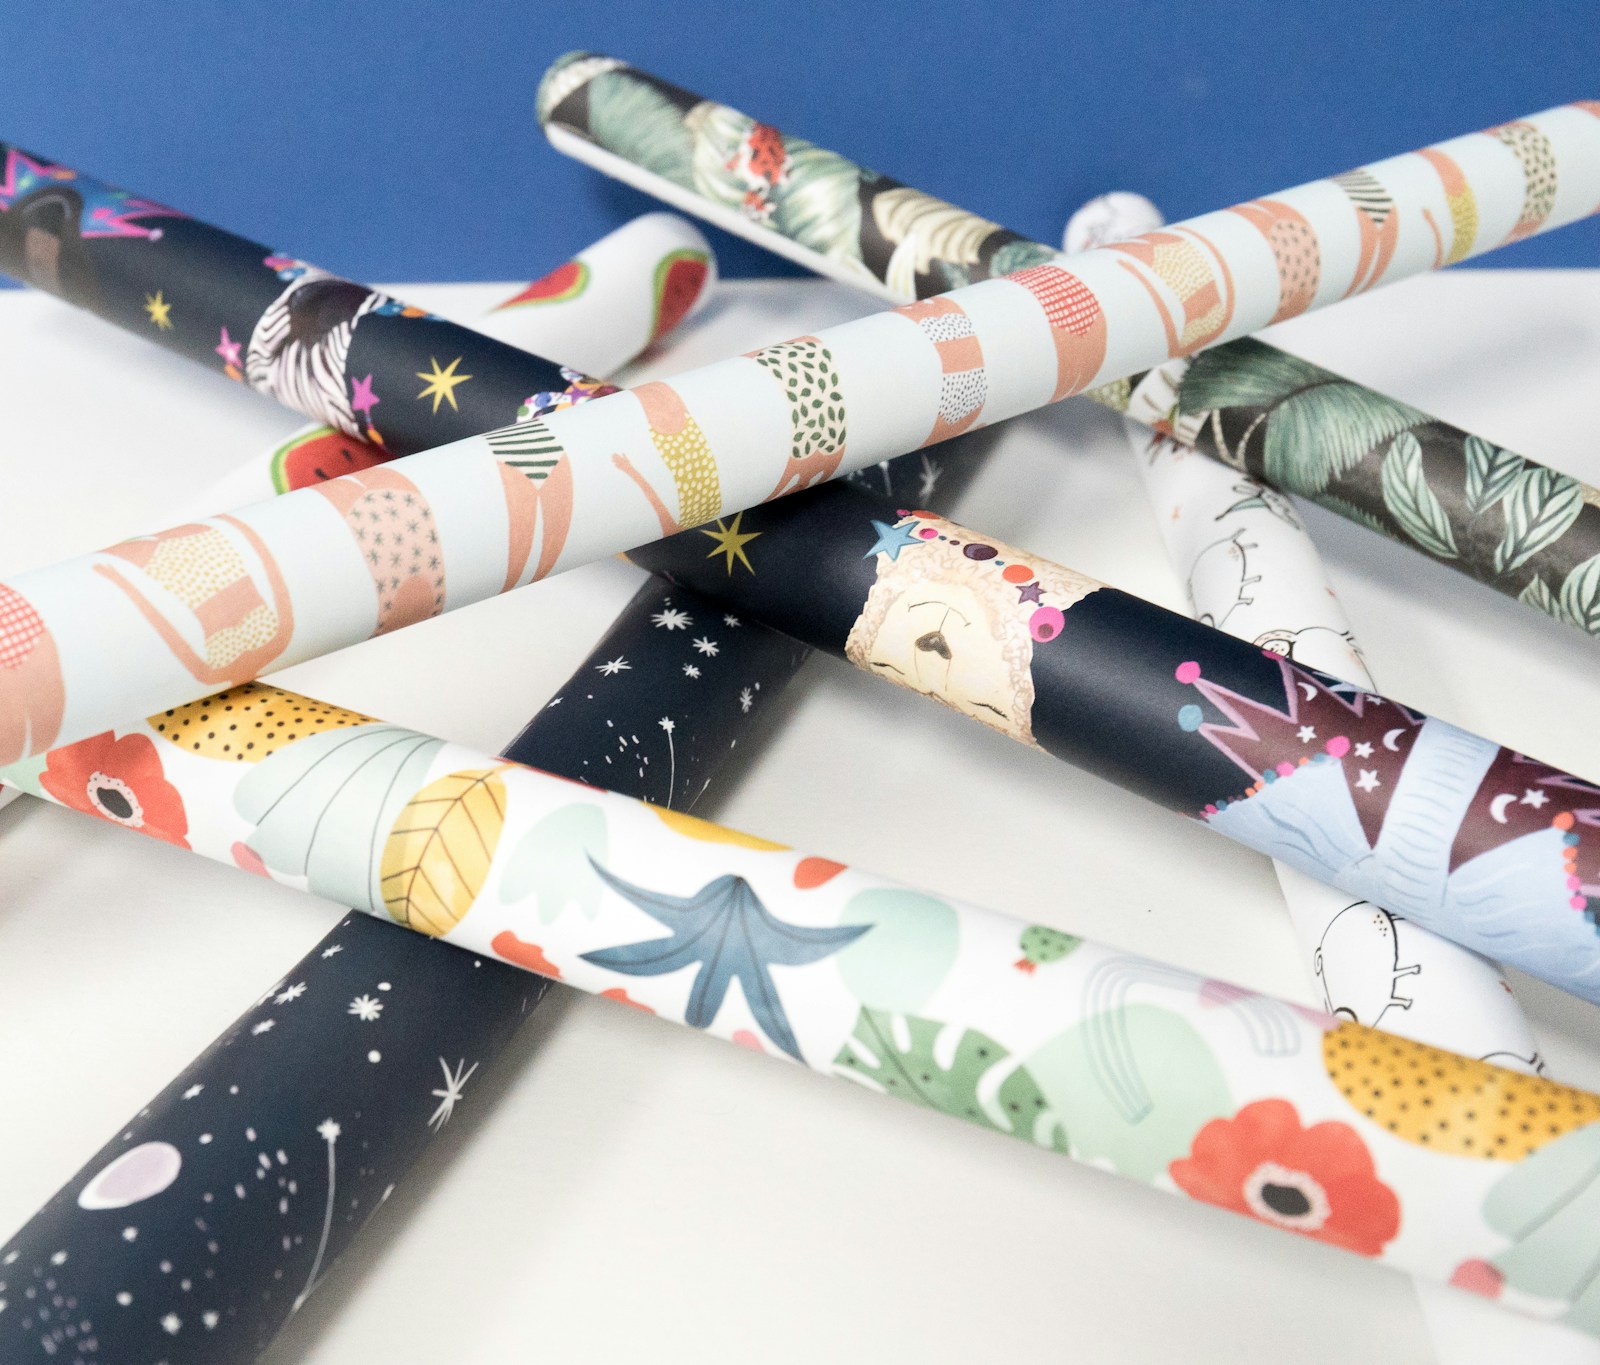
Before you buy a single craft supply, gather your vintage Christmas wallpaper. Paint and home stores often give away old sample books, and clearance bins sell end rolls for a few dollars. Ask friends for the half roll left over from a bathroom makeover. Look for small prints with roses, holly, berries, plaid or tiny stars, since they read as vintage once they are cut down. Keep everything rolled loosely so it stays flat. This same habit makes pretty Christmas gift packaging almost free.
You will need: Wallpaper sample books, end rolls, a large tote or tube for storage, scissors, a ruler.
How to make it: 1. Visit paint and home stores and ask for retired sample books. 2. Check clearance bins for end rolls. 3. Sort pieces by color: reds, greens, creams. 4. Roll each piece loosely with the print outside. 5. Store upright in a tote so nothing gets crushed.
Wrap Gifts in Floral Paper and Velvet Ribbon
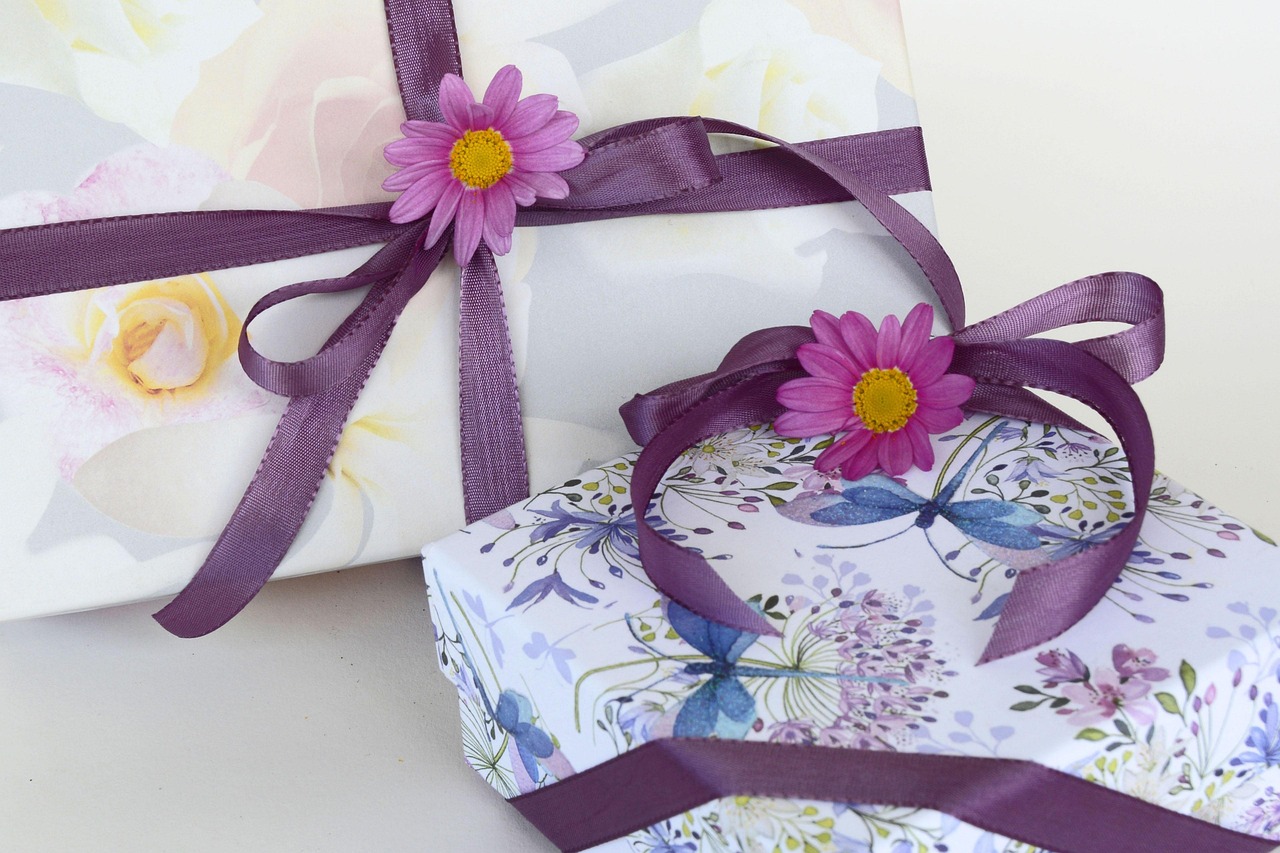
Wallpaper is thicker than store wrap, so the corners stay crisp and the paper never tears when little hands pull at it. A soft floral print with a wide ribbon looks like it came from an old department store. Tuck a paper flower or a sprig of greenery under the bow for the finishing touch. These wrapped boxes are perfect for handmade gifts for your sister, and they look too pretty to open.
You will need: Floral wallpaper pieces, double sided tape, wide velvet or satin ribbon, scissors, a small paper or silk flower.
How to make it: 1. Measure the paper so it wraps the box with a 2 inch overlap. 2. Fold the cut edge under for a clean line. 3. Tape the seam with double sided tape. 4. Fold the ends in like an envelope and tape. 5. Tie the ribbon around both ways and tuck the flower under the knot.
Cover Plain Gift Boxes in Blue Floral Paper
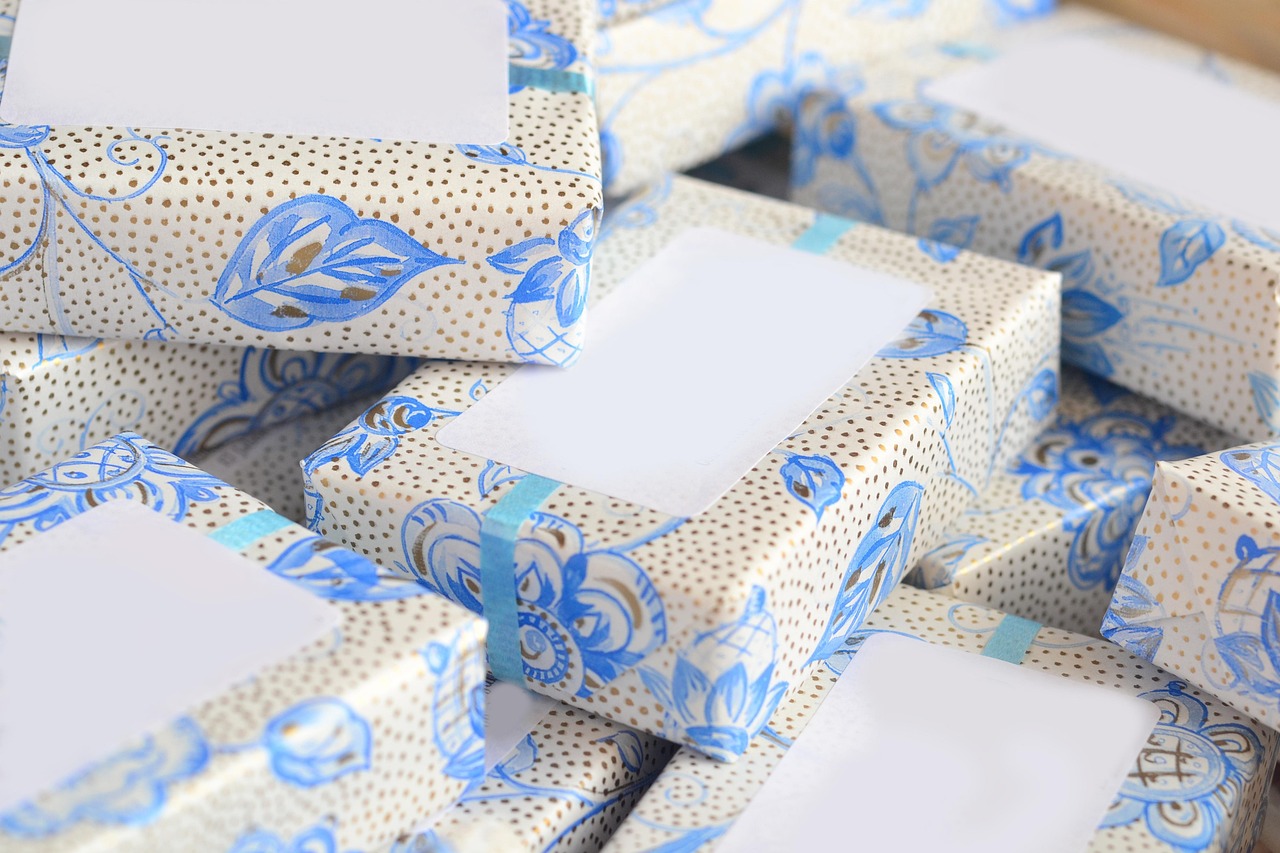
Save every plain shoe box and shipping box this month. Cover the lid and the base in blue and white vintage Christmas wallpaper and you get boxes that look like antique hat boxes. They can be reused year after year, so you never buy gift bags again. A stack of them under the tree looks pulled together even before the gifts go in. It is a smart twist on gift bag upcycles.
You will need: Plain boxes with lids, blue floral wallpaper, Mod Podge or white glue, a foam brush, a craft knife.
How to make it: 1. Trace each side of the lid and base onto the back of the paper, adding 1 inch on every edge. 2. Brush a thin coat of glue on the box. 3. Press the paper on and smooth from the center out. 4. Fold the extra paper over the edges and inside. 5. Brush a top coat over everything and let it dry overnight.
Tree Print Paper With Baker’s Twine

Not every pattern has to be loud. Tiny tree prints on cream paper feel like the gift wrap of the 1950s, and they pair perfectly with striped baker’s twine. Look in sample books for small, repeating patterns, since they fit even the smallest box without losing the design. This simple wrap works on stocking stuffers, teacher gifts and the little presents in an ornament exchange.
You will need: Small print wallpaper or sample pages, baker’s twine, clear tape, scissors.
How to make it: 1. Cut a piece wide enough to wrap the box once with a small overlap. 2. Wrap and tape the seam on the bottom. 3. Fold the ends and tape them flat. 4. Wind the twine three times around the box. 5. Tie a small bow and trim the ends at an angle.
Punch Gift Tags From Wallpaper Samples

Small sample swatches are the perfect size for gift tags. Cut them into the classic tag shape, punch an opening and add a reinforced circle so the string never rips through. Write names on the plain back, or glue a little kraft label on the front. A big pile of these takes one evening, and they make photo Christmas gifts look extra special.
You will need: Wallpaper samples, a tag template or tag punch, paper punch, kraft cardstock, red and white string, glue stick.
How to make it: 1. Trace a tag shape on the back of each sample. 2. Cut it out and clip the top corners. 3. Glue the tag onto kraft cardstock for strength and trim. 4. Punch a small opening at the top. 5. Thread the string through and tie it to the gift.
Mix Two Vintage Christmas Wallpaper Prints on One Gift
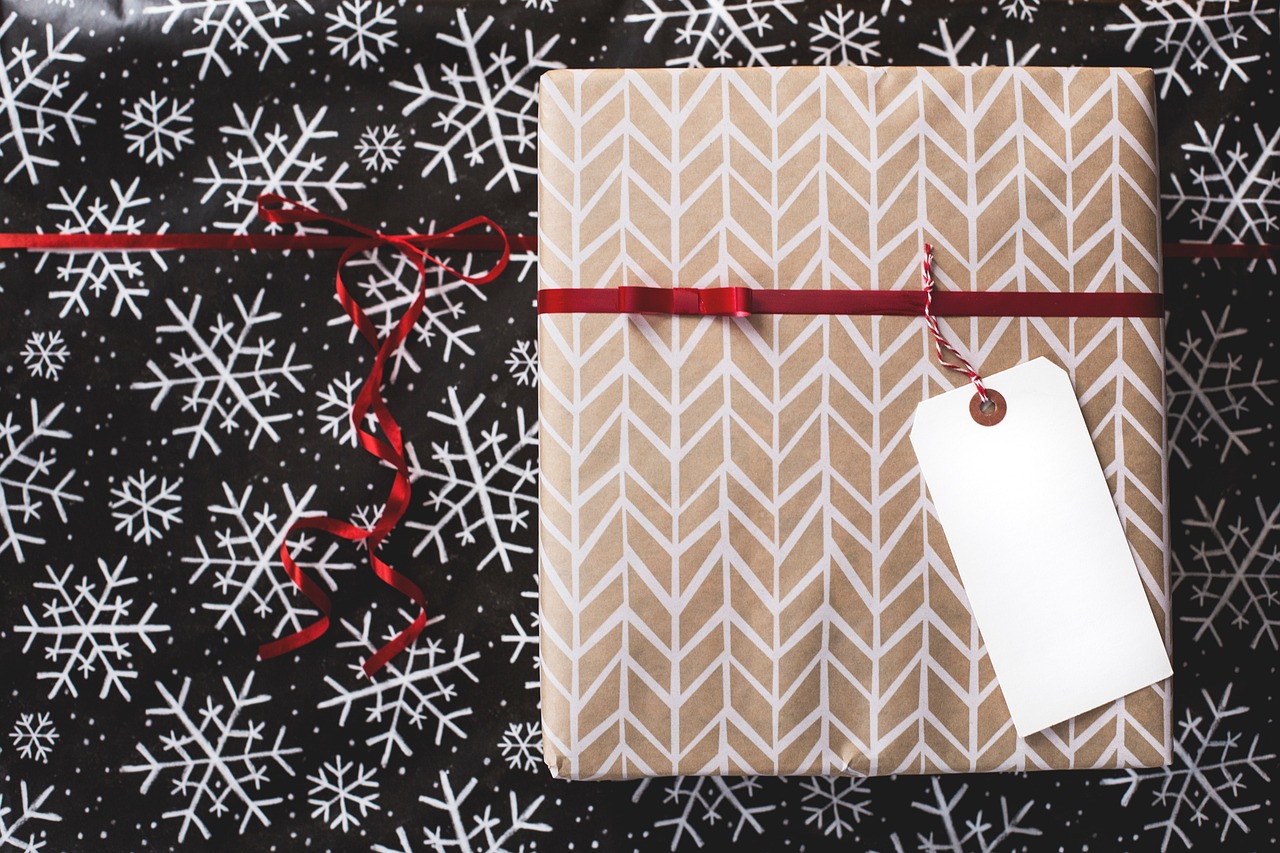
Mixing prints sounds risky, but it is the secret to the collected, antique look. Pair a busy pattern with a calm one, like snowflakes with a simple chevron. Use one print to wrap the box and a band of the second print around the middle. The result looks layered and expensive, much like the gifts in dollar store gift baskets that fool everyone. Keep the ribbon in one solid color so the prints do not fight each other.
You will need: Two coordinating wallpaper prints, double sided tape, thin red ribbon, a blank tag.
How to make it: 1. Wrap the box in the busier print. 2. Cut a 3 inch band of the calmer print. 3. Wrap the band around the middle and tape it on the bottom. 4. Tie the ribbon over the band. 5. Add the tag at the knot.
Weave Paper Stars From Wallpaper Bands

These woven stars are a German tradition that goes back generations. You only need four long bands of paper for each one. Wallpaper bands hold the points beautifully because the paper is stiff. Make them in red, gold and cream and hang them from the tree, or string them in a window. They fit right in with other printed Christmas ornaments.
You will need: Wallpaper cut into four bands about 1/2 inch wide and 16 inches long per star, a ruler, scissors, a needle and thread for hanging.
How to make it: 1. Fold each band in half. 2. Interlock the four folded bands into a woven square. 3. Fold the top bands down and tuck them to make the first set of points. 4. Flip and repeat on the back. 5. Tuck the ends in, trim, and thread a loop through one point.
Fold a Vintage Christmas Wallpaper Star

This many pointed star looks hard, but it is just a stack of small folded cones glued together. Gold and cream vintage Christmas wallpaper gives it an heirloom look that would cost a lot in a gift shop. Hang one big star in a window or use a small one as a tree topper. It also looks lovely next to diorama Christmas ornaments on the tree.
You will need: Wallpaper cut into 26 squares (4 inches each), glue, a paper clip or clothespins, thin ribbon.
How to make it: 1. Fold each square into a narrow cone point. 2. Glue each cone closed and let it dry. 3. Glue eight cones in a ring for the middle. 4. Add the rest around the top and bottom. 5. Tie a ribbon loop through one point and hang.
Build a Kusudama Ornament Globe
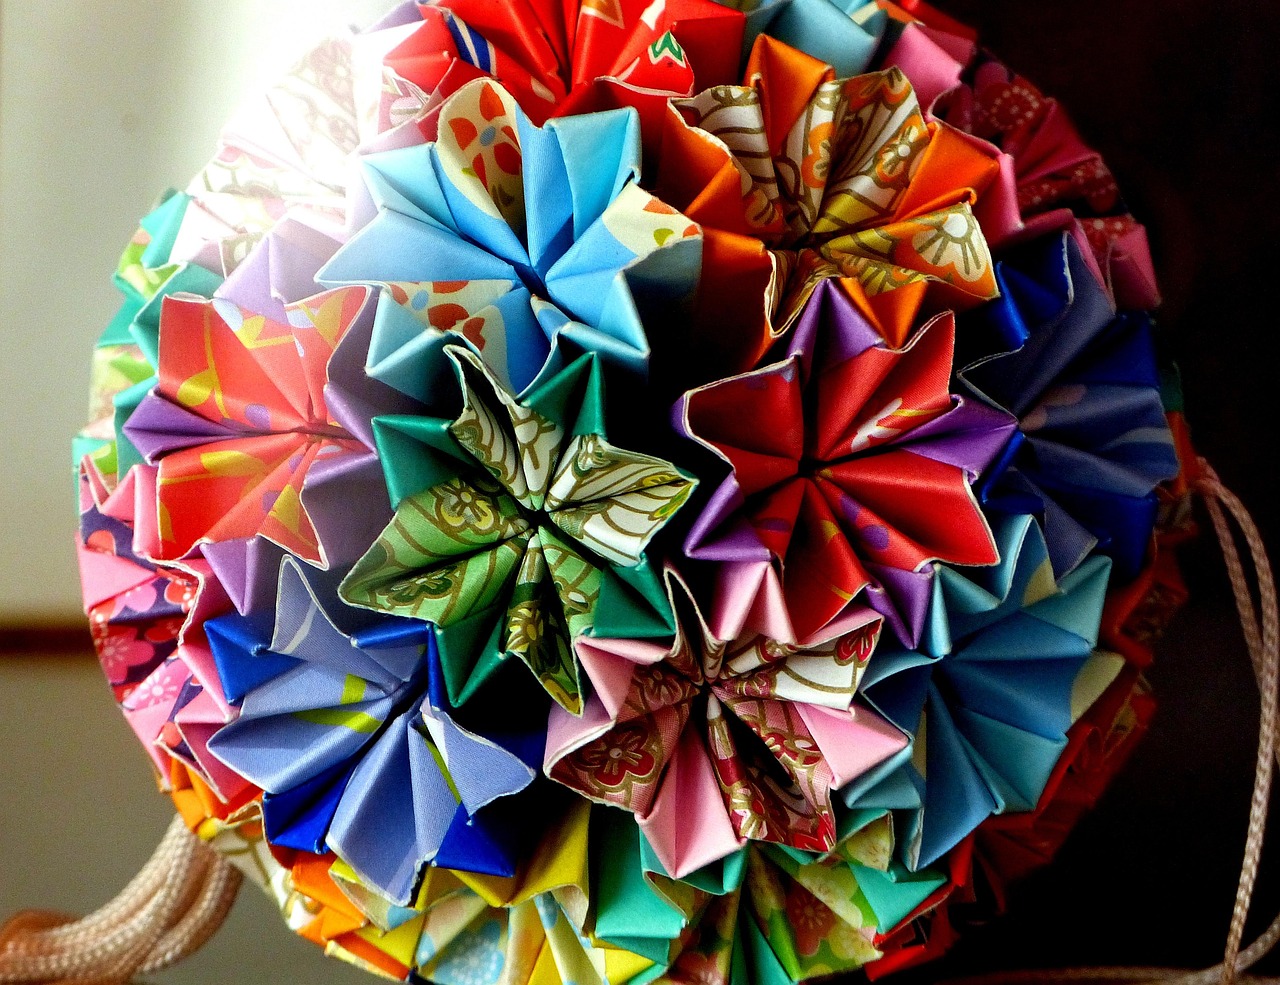
A kusudama is a round globe made of folded paper flowers glued together. Each flower uses five small squares, so wallpaper sample pages are perfect. The more prints you mix, the richer it looks. A finished globe looks like a treasure from an old curio cabinet, and it makes a lovely centerpiece in a bowl. Hang it with a tassel just like these ornament wreath ideas.
You will need: 60 squares of wallpaper (3 inches each), white glue, clothespins, a tassel or ribbon.
How to make it: 1. Fold each square into a small petal cone. 2. Glue five petals together to make one flower. 3. Make 12 flowers in total. 4. Glue the flowers together, holding them with clothespins while they dry. 5. Glue the tassel into the bottom gap.
Make Paper Fan Rosettes for the Wall

Paper rosettes give you big impact for very little paper. Pleat a long band like an accordion, fold it in half and glue the edges into a circle. Wallpaper makes stiff, sharp pleats that hold their shape all season. Hang a cluster in mixed sizes above a doorway or over a buffet. They pair well with Christmas ceiling decor for a full party look.
You will need: Wallpaper bands (4 x 24 inches for a medium fan), a ruler, a bone folder, hot glue, a paper circle for the back.
How to make it: 1. Pleat the band every 1/2 inch, back and forth. 2. Fold the pleated band in half. 3. Glue the two ends together. 4. Join a second pleated band to make a full circle. 5. Glue a paper circle on the back to lock it flat and hang it.
Turn a Sample Book Into Christmas Cards

A single vintage Christmas wallpaper sample book can become a full box of Christmas cards. Cut panels from the deep greens and reds, glue them onto folded white cardstock and add one simple embellishment, like a snowflake or a sprig of holly. Each card looks one of a kind. Show them off on a Christmas card display once they arrive at your friends’ homes.
You will need: Wallpaper sample pages, folded white cardstock, envelopes, glue stick, paper snowflakes or small embellishments.
How to make it: 1. Cut panels 1/4 inch smaller than the front of each card. 2. Glue a panel onto each card front. 3. Press under a heavy book for 10 minutes. 4. Glue a snowflake near the top corner. 5. Write your message inside and slide it into an envelope.
Line a Keepsake Box With Wallpaper

A plain box with a lid becomes a keepsake box for ornaments, letters or cookie cutters. Cover the outside in one vintage Christmas wallpaper print and line the inside with another for a nice surprise when it opens. Add ribbon and a star and it doubles as gift wrap. Fill one with treats like these Christmas treat jars and you have a gift and a box in one.
You will need: A sturdy box with a lid, two wallpaper prints, Mod Podge, a foam brush, ribbon, a paper star.
How to make it: 1. Cut paper for the outside, adding 1 inch on each edge. 2. Glue it on and fold the extra inside. 3. Cut panels for the inside walls and bottom and glue them in. 4. Seal with a thin top coat. 5. Tie the ribbon and glue the star on the lid.
Line the Back of a Bookshelf With Vintage Christmas Wallpaper

The back of a bookshelf is the perfect spot to try vintage Christmas wallpaper without a big commitment. A tiny holly print turns a plain white shelf into a holiday display in under an hour. Style it with old books, pine sprigs and the paper stars you folded earlier. It works just as well on a dresser hutch or a Christmas sideboard. Use removable paper and peel it off in January.
You will need: Peel and stick holly print wallpaper, a tape measure, a craft knife, a smoothing card.
How to make it: 1. Empty the shelf and measure each back panel. 2. Cut paper to size, adding 1/2 inch extra. 3. Peel a little backing and stick the top edge first. 4. Smooth down as you pull the backing away. 5. Trim the edges with a craft knife and restyle the shelf.
Vintage Christmas Wallpaper Behind a Kitchen Hutch
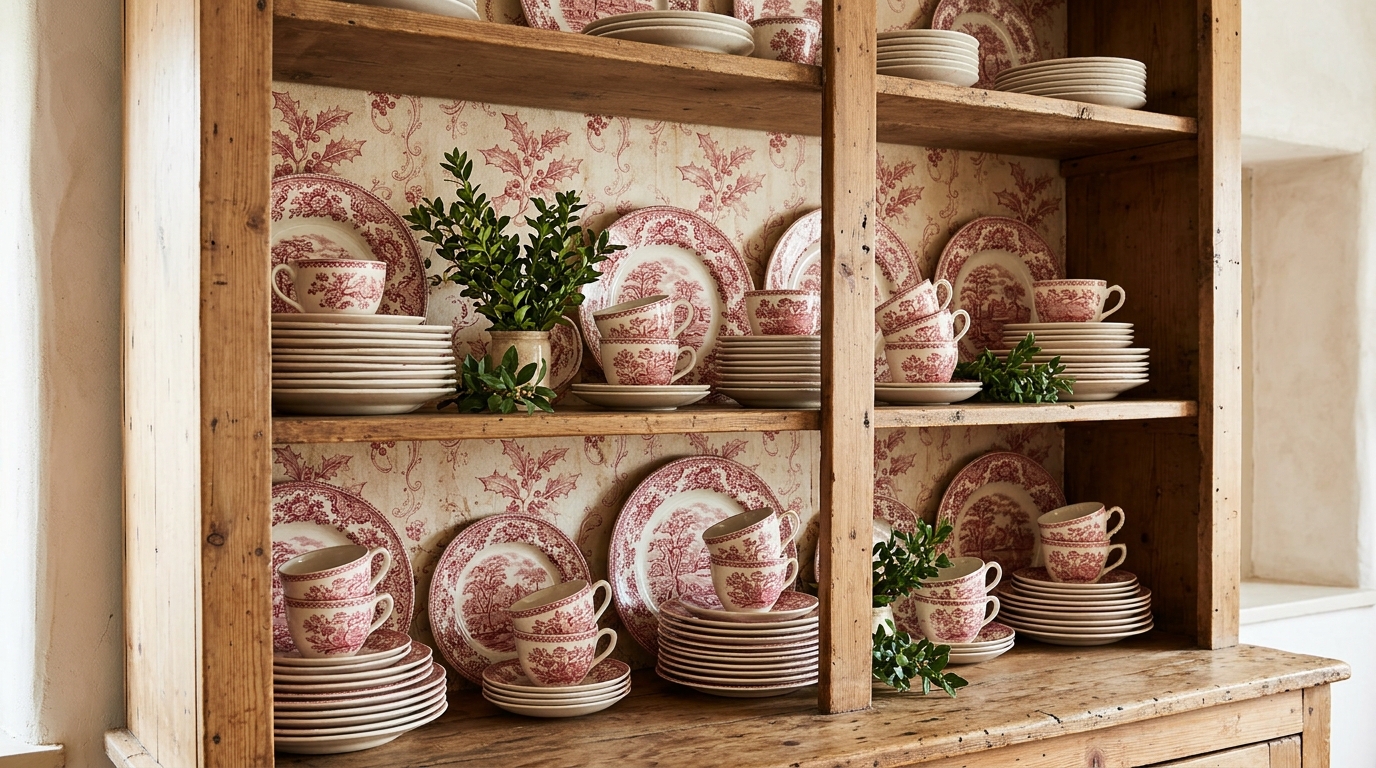
Red transferware and holly paper were made for each other. Lining the back of an open hutch makes every plate and teacup pop, and the entire kitchen suddenly looks like an English farmhouse. This vintage Christmas wallpaper trick is cheap, since a hutch back takes only one roll. Add a few green sprigs and you are done. It goes beautifully with enamelware Christmas decor on the counter.
You will need: One roll of red and cream holly wallpaper, removable wallpaper paste or double sided tape, a tape measure, a smoothing card.
How to make it: 1. Take the dishes off the shelves. 2. Measure the back between each shelf. 3. Cut panels to fit and stick them on with removable tape. 4. Smooth out any bubbles. 5. Restack the plates and cups and tuck in greenery.
Pleat a Toile Paper Fan Ornament
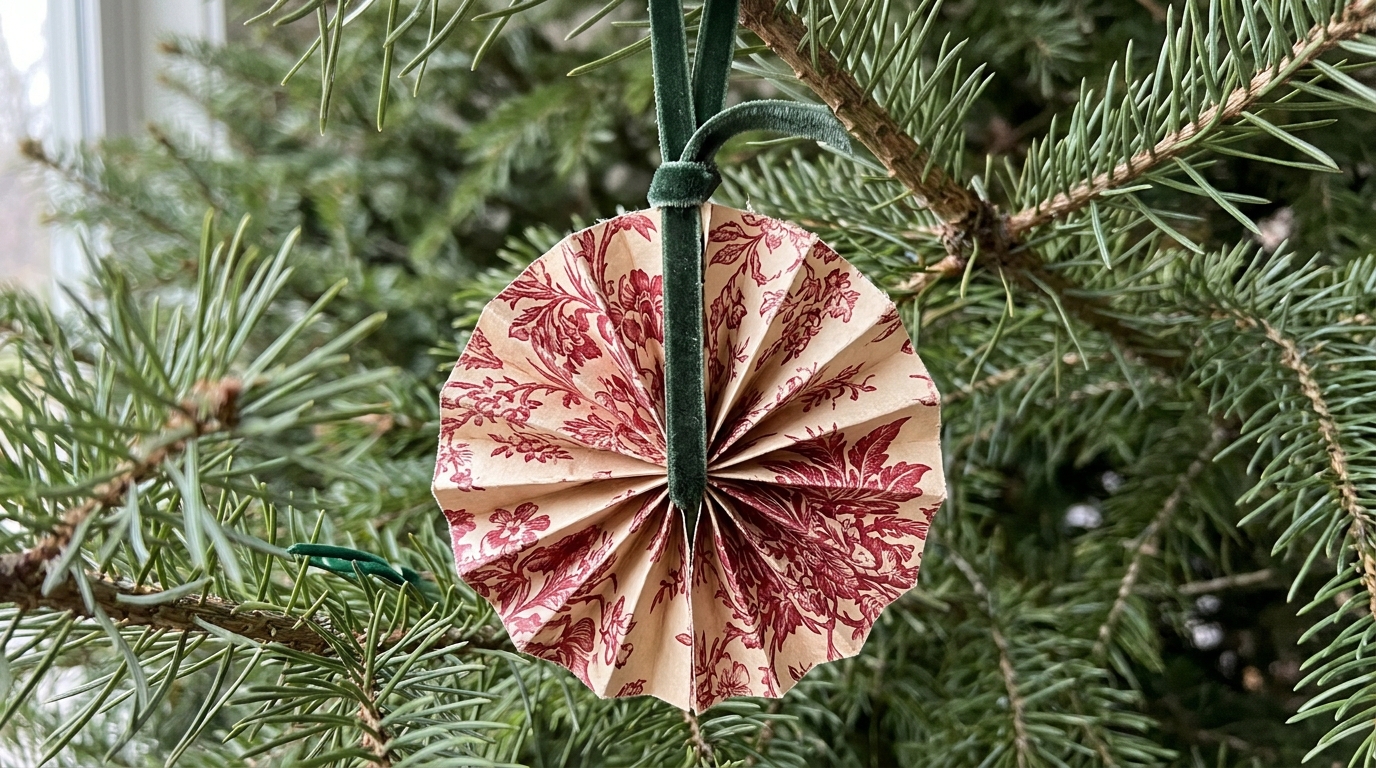
Small fan ornaments use the tiniest leftover pieces, so nothing goes to waste. A red and cream toile print looks especially antique once it is pleated. Make a dozen in one sitting and hang them all over the tree, or use one as a gift topper. They look sweet next to tassel Christmas decor and feel very old fashioned.
You will need: Wallpaper bands (2 x 12 inches), a ruler, glue, a 6 inch piece of velvet ribbon.
How to make it: 1. Pleat the band every 1/4 inch. 2. Fold it in half and glue the inner edges together. 3. Glue the two outer edges to close the circle. 4. Fold the ribbon into a loop. 5. Glue the loop to the top and let it dry.
Decoupage a Tray for Cocoa and Cookies
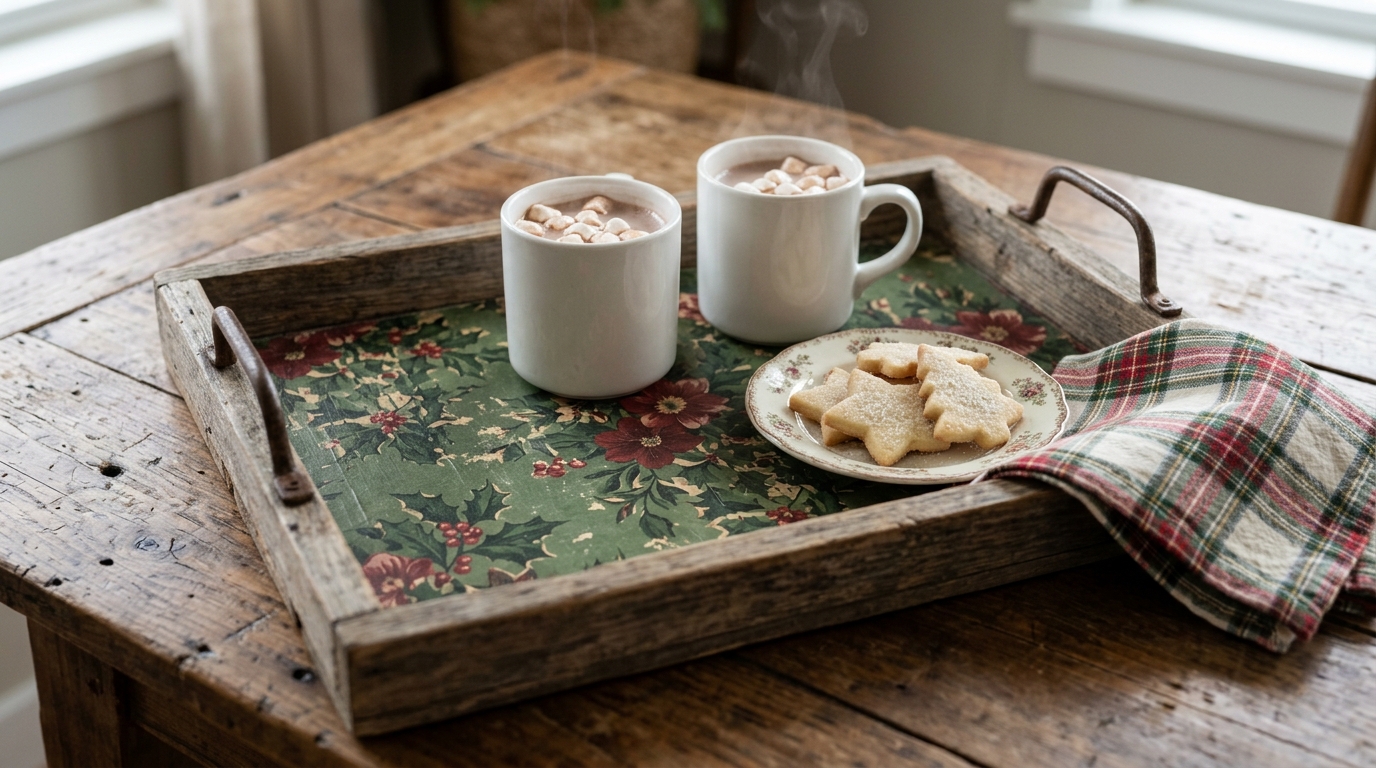
Finish with a tray you will use all winter. An old wooden tray from the thrift store gets a brand new life with a panel of green and red floral paper on the bottom. Seal it well and it wipes clean after every cocoa night. It is perfect for serving cookies, and it fits right into tiered tray Christmas decor when it is not in use. Your guests will ask where you found it.
You will need: A wooden tray, floral wallpaper, Mod Podge, a foam brush, a smoothing card, clear water based sealer.
How to make it: 1. Sand and wipe the tray bottom. 2. Cut paper to fit the bottom exactly. 3. Brush on glue and lay the paper down. 4. Roll out bubbles from the center. 5. Add three coats of sealer, letting each one dry, and cure for 48 hours before use.