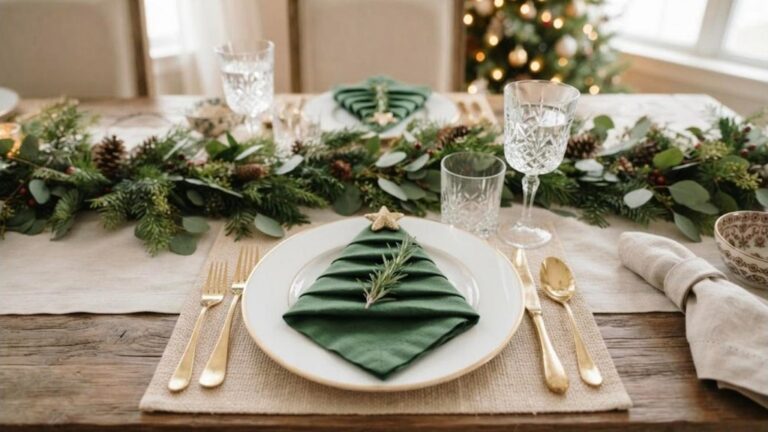
Upcycled Storage Ideas: 17 Genius Organizers Made From Jars, Boxes and Things You Toss
Upcycled storage ideas are the happiest way to get organized, because the supplies are already sitting in your recycling bin. Right now a video called Don’t buy expensive storage, try these 5 DIY hacks instead has passed 386,000 views in just two weeks, and lists of clever ways to reuse glass jars are trending on big DIY sites. With the holidays coming, people want tidy homes without spending money on fancy bins. A cereal box, a coffee can or an old drawer can become something useful and pretty with a little fabric, paint and glue. Below are 17 organizers made from things you would usually toss, each with a short supply list and easy steps..
Upcycled Storage Ideas That Cost Next to Nothing
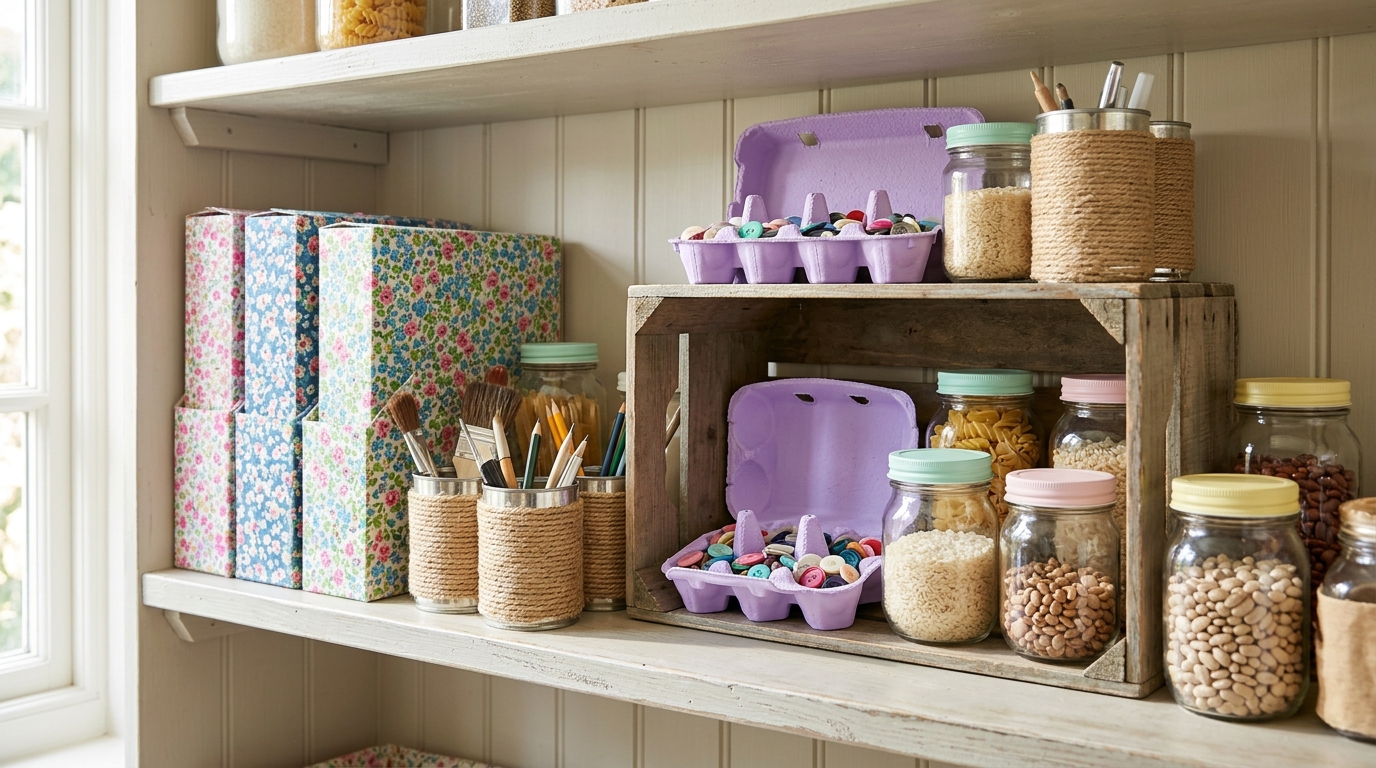
The best part of these projects is the price, which is often zero. The viral video that started this wave showed simple boxes and jars turned into neat storage in minutes, and people loved how easy it looked. Start by saving a few clean boxes, jars and cans for a week. Then pick one messy spot, like a drawer or a shelf, and give it a makeover with what you collected..
You will need: Clean boxes, jars and cans, fabric scraps, paper or contact paper, acrylic paint, a glue stick or craft glue, twine, labels.
How to make it: 1. Collect and wash containers for one week. 2. Choose one messy spot and measure it. 3. Cover or paint the containers so they match, then label each one.
Cereal Boxes Turned Into Drawer Dividers
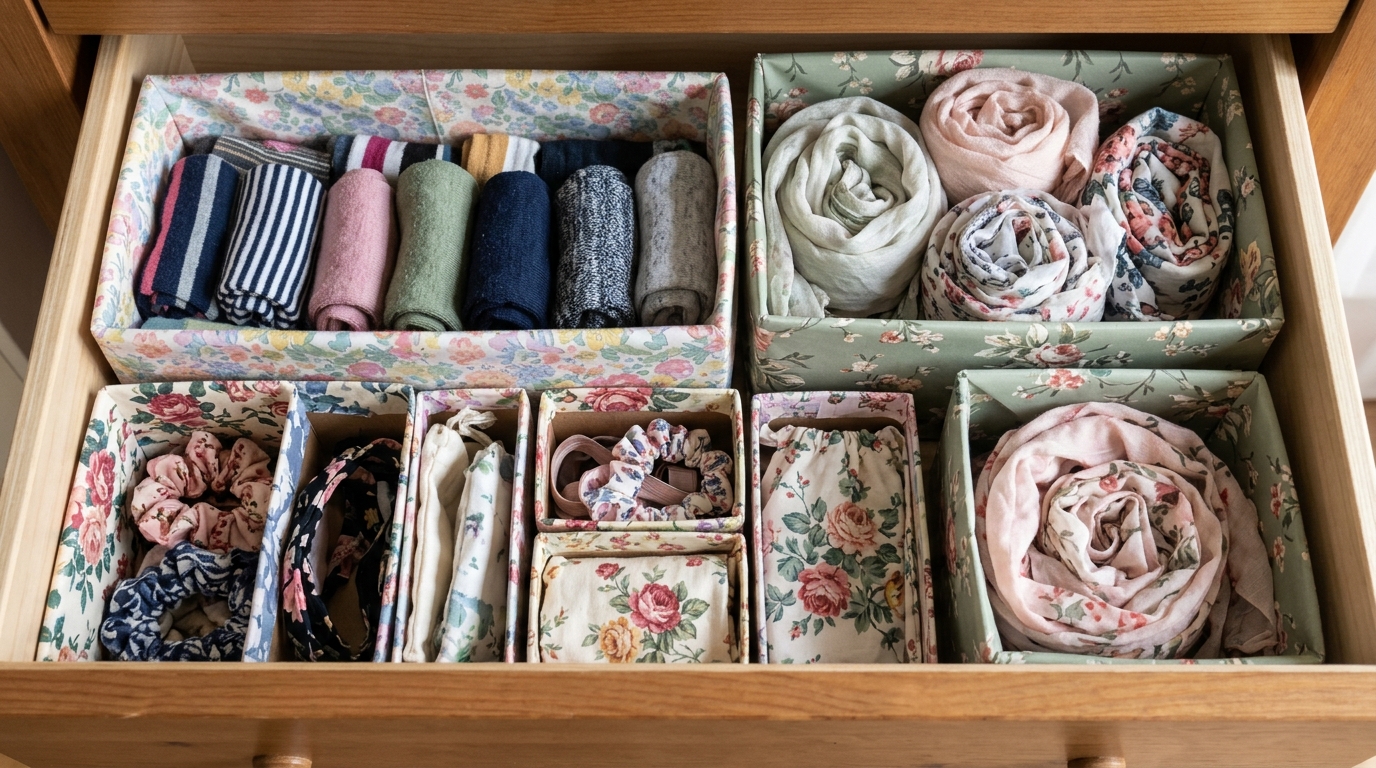
Cereal boxes are the perfect size for drawer dividers. Cut them down to the height of your drawer, cover them in pretty fabric or paper, and line them up to hold socks, scarves, office supplies or kitchen tools. They are light, easy to replace and they match whatever you choose. It is a fun rainy day project with kids, too. Which drawer in your home needs this most?
You will need: Empty cereal boxes, scissors, fabric or wrapping paper, a glue stick or spray adhesive, a ruler.
How to make it: 1. Cut each box to the height of your drawer. 2. Wrap and glue fabric or paper over the outside and fold it inside the top edge. 3. Arrange the boxes in the drawer and fill them.
Upcycled Storage Ideas for the Pantry With Glass Jars
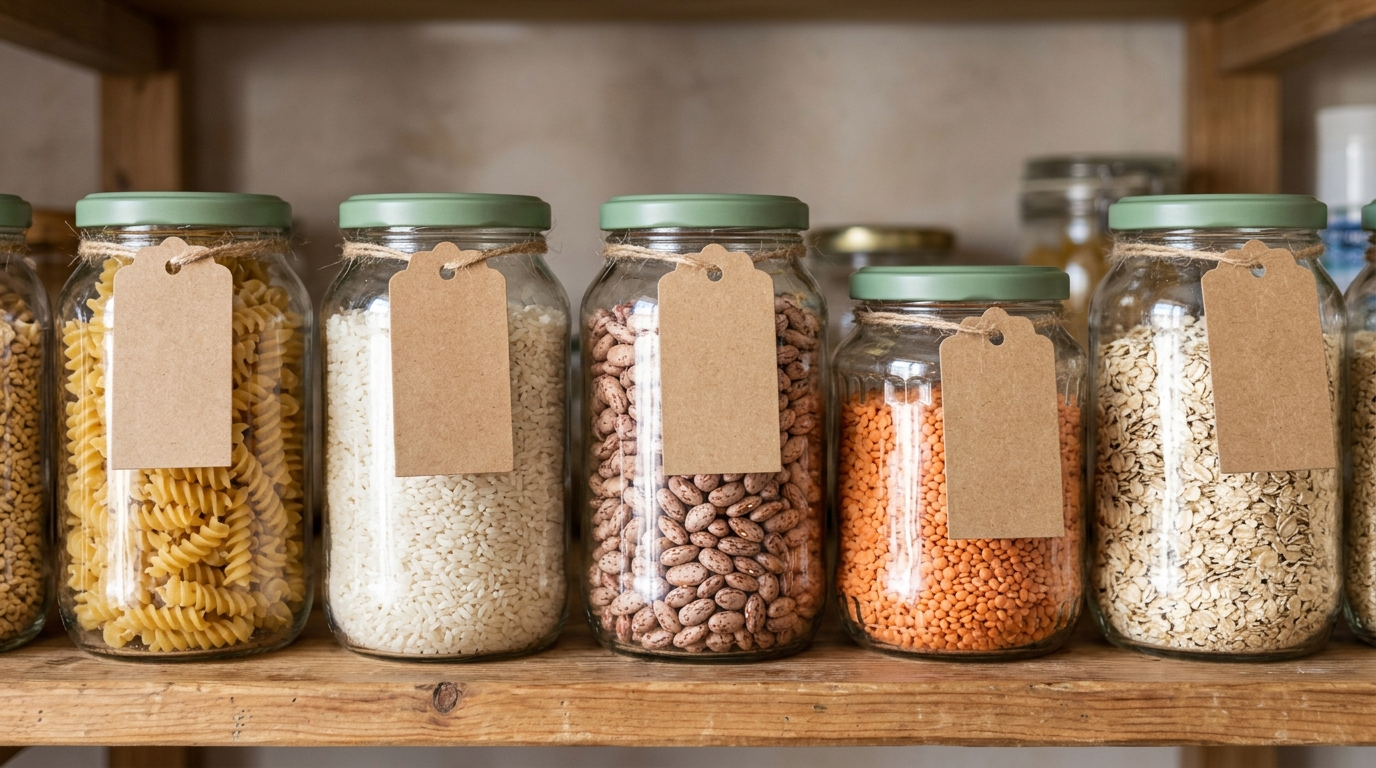
Some of the most practical upcycled storage ideas begin in the kitchen. Old pasta sauce and jam jars make lovely pantry containers once the labels are gone and the lids are painted. Fill them with pasta, rice, beans and snacks and you can see at a glance what you need to buy. Paint the lids all one color for a calm look, or use different colors for each food type. For even more jar projects, see these mason jar crafts. What would you store in yours?
You will need: Clean glass jars, warm soapy water, acrylic or spray paint for the lids, labels or chalk paint, a brush.
How to make it: 1. Soak the jars and peel off the labels, then scrub away the glue. 2. Paint the lids and let them dry fully. 3. Fill the jars and add labels.
Rope Wrapped Cans for Craft Supplies
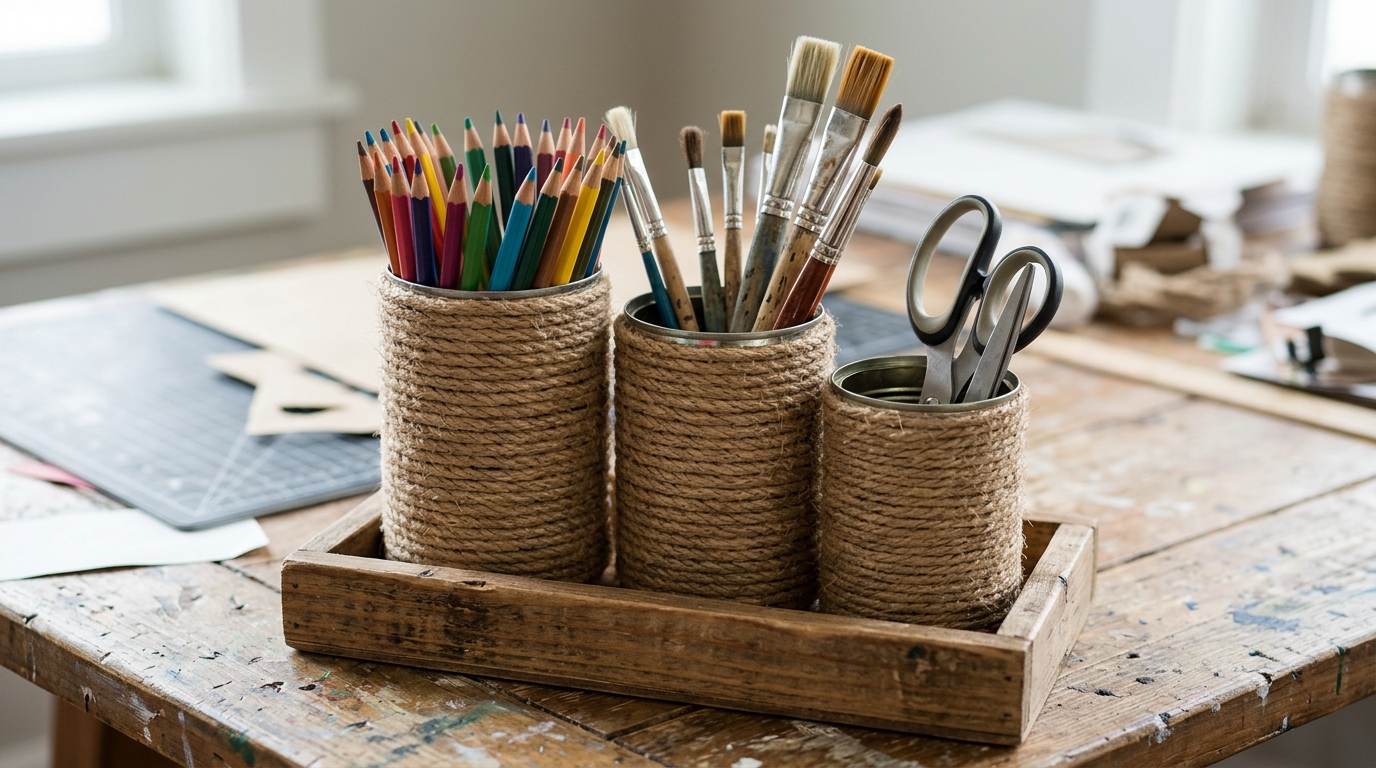
Clean tin cans wrapped in natural rope look like something from a farmhouse shop. They are great for pencils, paintbrushes, scissors and markers on a desk or craft table. Before you start, press down or tape over any sharp edges inside the rim to keep fingers safe. Group three cans of different heights on a small tray for a neat look. What would go in yours?
You will need: Clean tin cans, strong tape or a smooth edge can opener, jute rope, a low temp glue gun (adult help), a small tray.
How to make it: 1. Wash the can and cover the top rim with strong tape so no sharp edges show. 2. Glue the rope at the bottom and wrap it tightly up the side. 3. Glue the end inside the top and fill the can.
A Shoe Box Lid Tray for the Entry
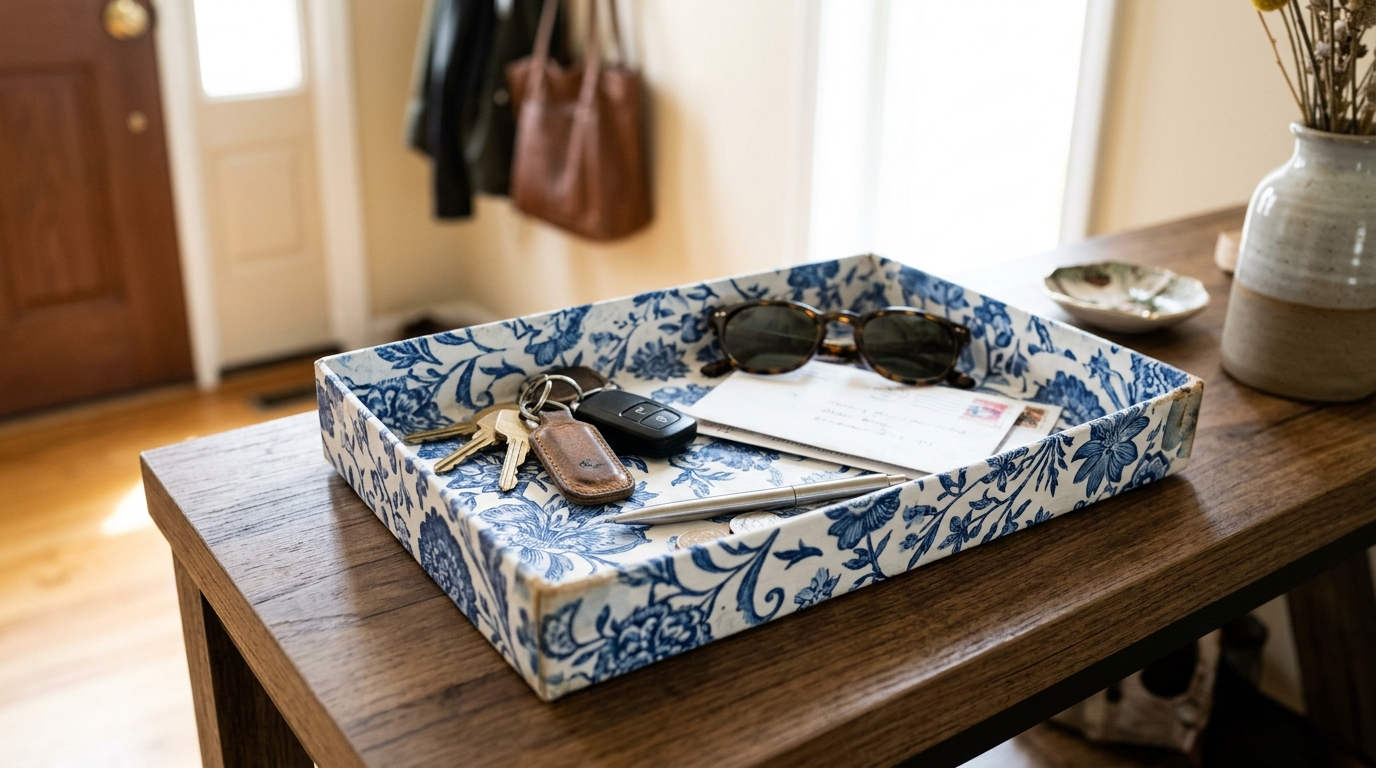
A sturdy shoe box lid makes a perfect tray for keys, sunglasses and mail by the door. Cover it with pretty paper or fabric, add a coat of decoupage glue, and it looks like a store bought catch all tray. The box itself can go on a closet shelf for winter hats. It is one of the fastest upcycled storage ideas you can do in an afternoon. Where would your new tray sit?
You will need: A shoe box with its lid, decorative paper or fabric, decoupage glue, a foam brush, scissors.
How to make it: 1. Cut paper to cover the inside and outside of the lid. 2. Glue it down and smooth out bubbles. 3. Brush a top coat of decoupage glue over everything and let it dry.
A Pickle Jar Bathroom Canister
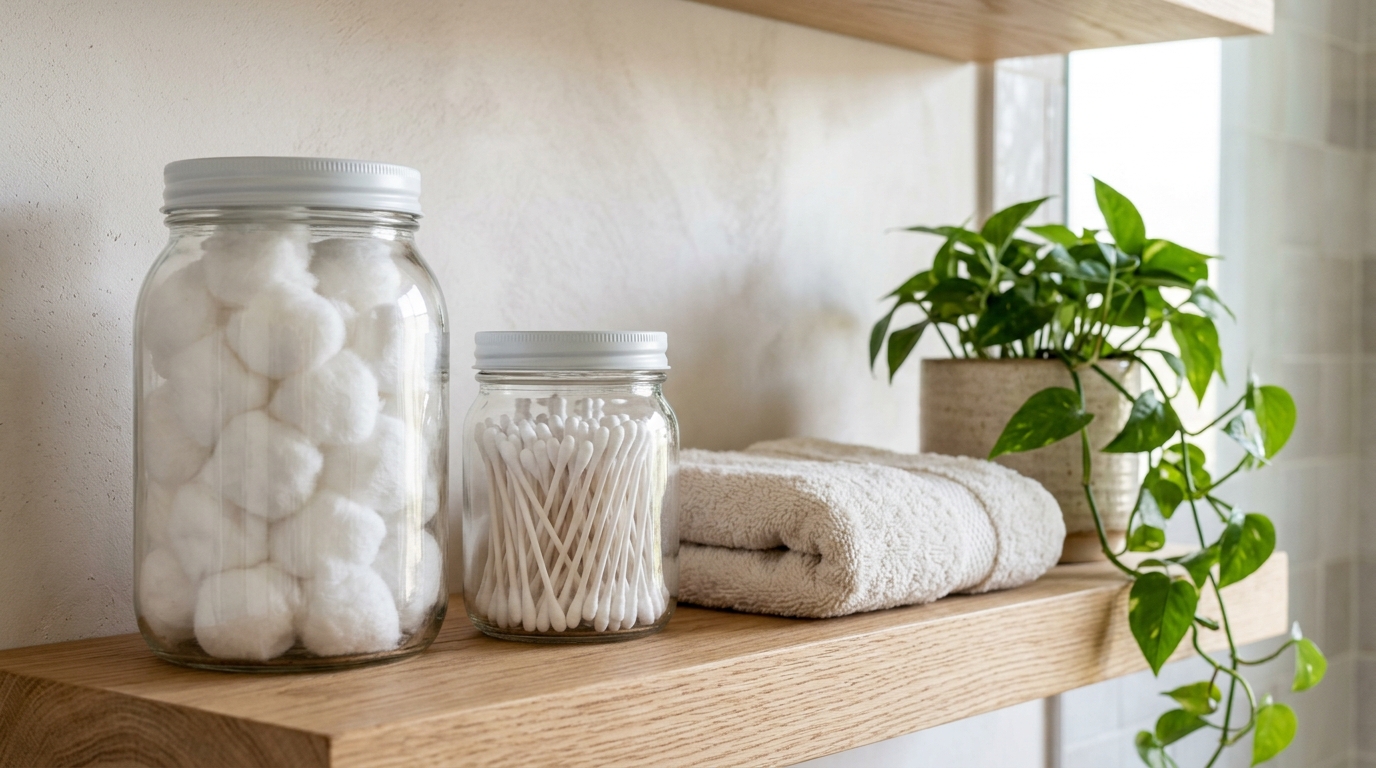
A big pickle jar becomes a pretty bathroom canister for cotton balls, swabs or bath bombs. A recent DIY video on this exact idea gained tens of thousands of views in two weeks, because it is so simple. Wash the jar well with baking soda to remove the smell, paint the lid, and add a label. It looks clean and spa like on a shelf. Would you make one for each bathroom?
You will need: A large clean pickle jar, baking soda, warm water, spray paint or acrylic paint for the lid, a label.
How to make it: 1. Wash the jar with baking soda and warm water and let it air out. 2. Paint the lid and let it dry. 3. Fill the jar and add a label.
Upcycled Storage Ideas for Jewelry in an Egg Carton
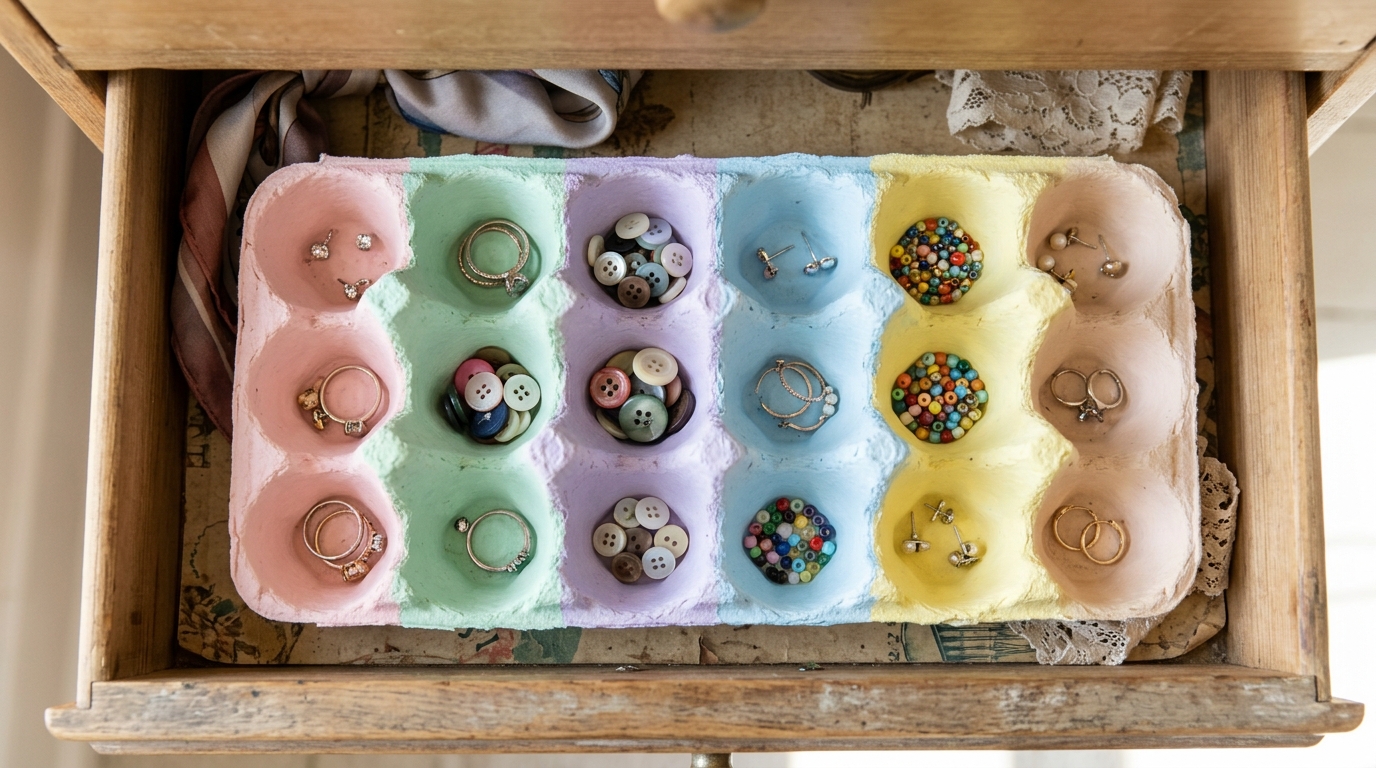
A cardboard egg carton is made for sorting small things. Paint it in soft colors and use each cup for earrings, rings, buttons or beads. It keeps tiny things from rolling away and it fits right into a drawer. This is one of the sweetest upcycled storage ideas for kids, who love painting each cup a different color. Which little things would you sort first?
You will need: A clean cardboard egg carton, acrylic paint, a brush, small felt circles if you like.
How to make it: 1. Cut off the lid if you want a flat tray. 2. Paint the carton inside and out and let it dry. 3. Add felt circles in the cups and fill them.
Upcycled Storage Ideas With a Wooden Crate Shelf
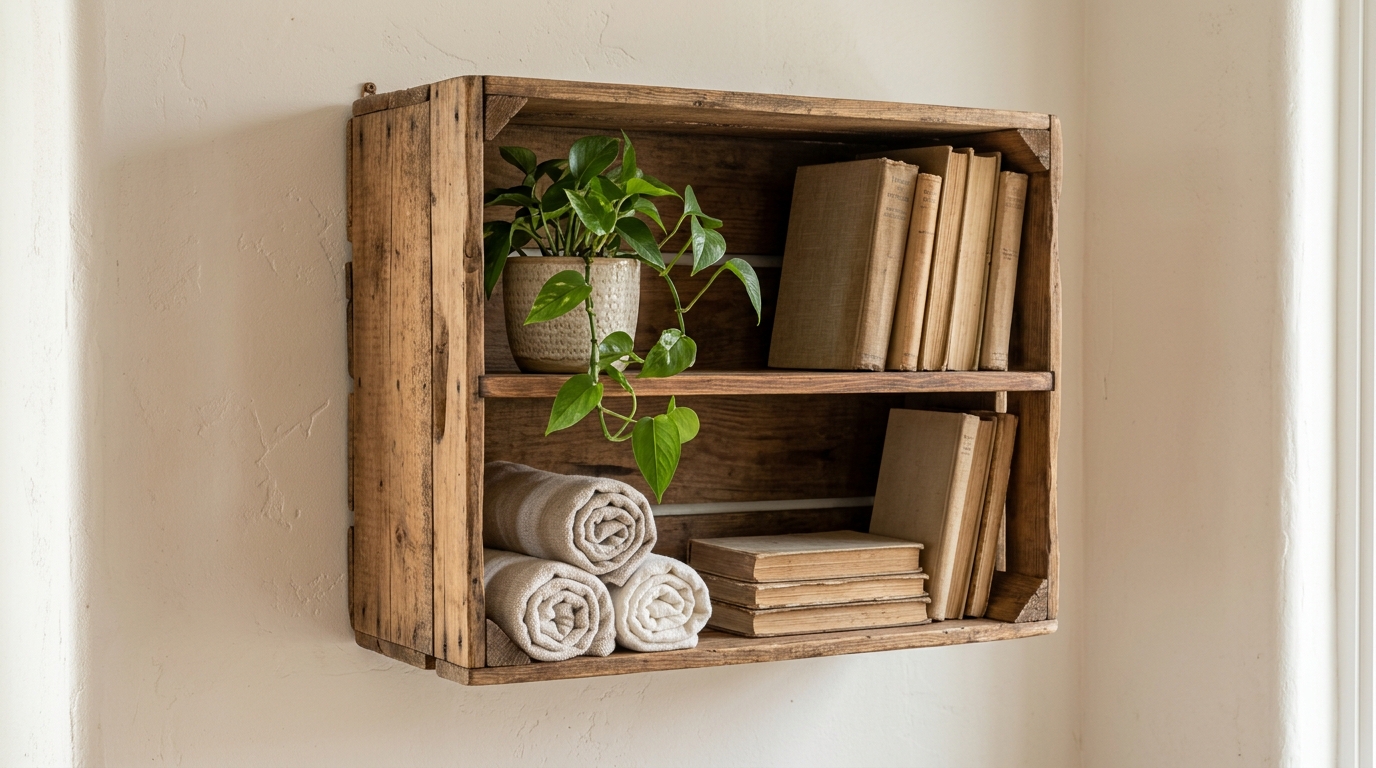
An old wooden wine or fruit crate can become a rustic wall shelf with a built in back. Stand it on its side and you get two levels for books, plants or bathroom towels. Sand it smooth, stain or paint it, and mount it with sturdy screws and anchors. Two or three crates in a row make a whole display wall. Where would you hang yours?
You will need: A wooden crate, sandpaper, wood stain or paint, a brush, heavy duty wall anchors, a drill (adult use).
How to make it: 1. Sand the crate to remove any rough spots. 2. Stain or paint it and let it dry. 3. Mount it to the wall with anchors and screws into studs with adult help.
A Tissue Box Plastic Bag Holder
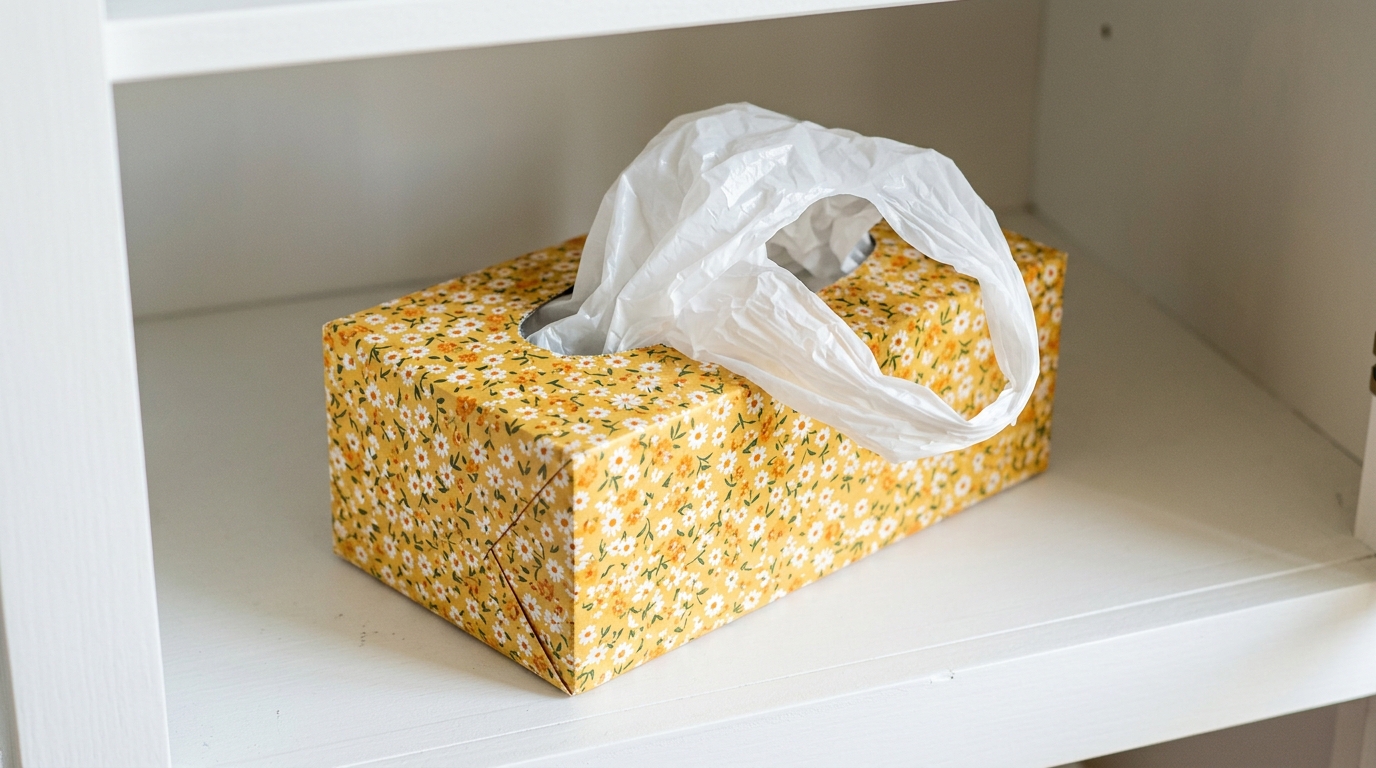
An empty tissue box is the perfect plastic bag dispenser for under the sink, and one of the quickest upcycled storage ideas on this list. Cover it in pretty paper, stuff in your bags, and pull them out one at a time from the top. It keeps that messy bag of bags from taking over the cabinet. Make one for the car too, for trash on road trips. Would you match it to your kitchen colors?
You will need: An empty tissue box, decorative paper or contact paper, a glue stick, scissors.
How to make it: 1. Cover the box with paper and cut an opening over the tissue slot. 2. Fold each bag loosely and stuff them in. 3. Pull bags out one at a time from the top.
A Coffee Can Utensil Holder
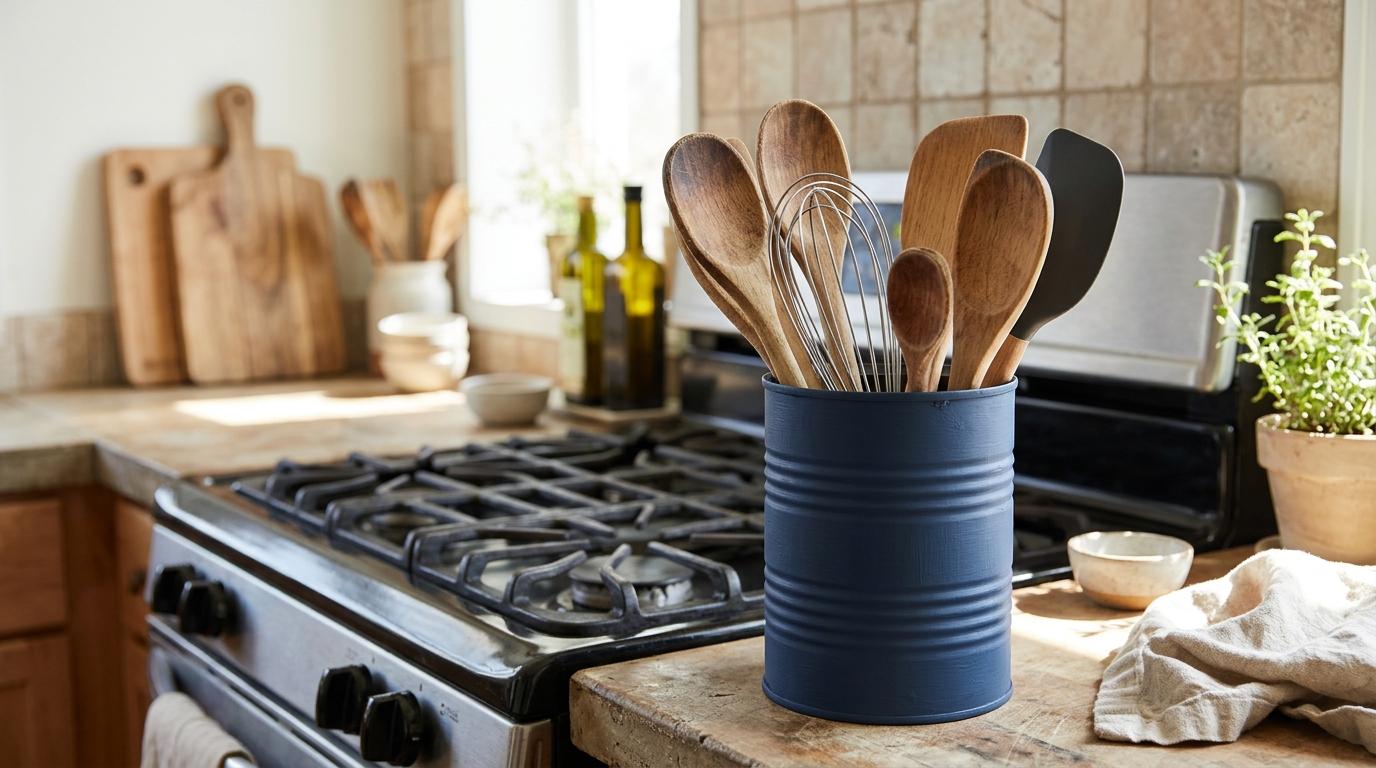
A big coffee can with a coat of chalk paint becomes a sturdy kitchen utensil holder. It holds wooden spoons, spatulas and whisks right by the stove. Tape or file down any sharp edges inside first. Add a chalk label, or wrap a strip of fabric around the middle, and it fits any kitchen style. Of all these upcycled storage ideas, this one gets used every single day. What color would you pick?
You will need: A clean coffee can, strong tape for the rim, chalk paint, a brush, chalk or a label.
How to make it: 1. Wash the can and tape over the top edge so it is smooth. 2. Paint two coats of chalk paint. 3. Add a label and fill it with utensils.
Shipping Boxes Turned Into Fabric Baskets
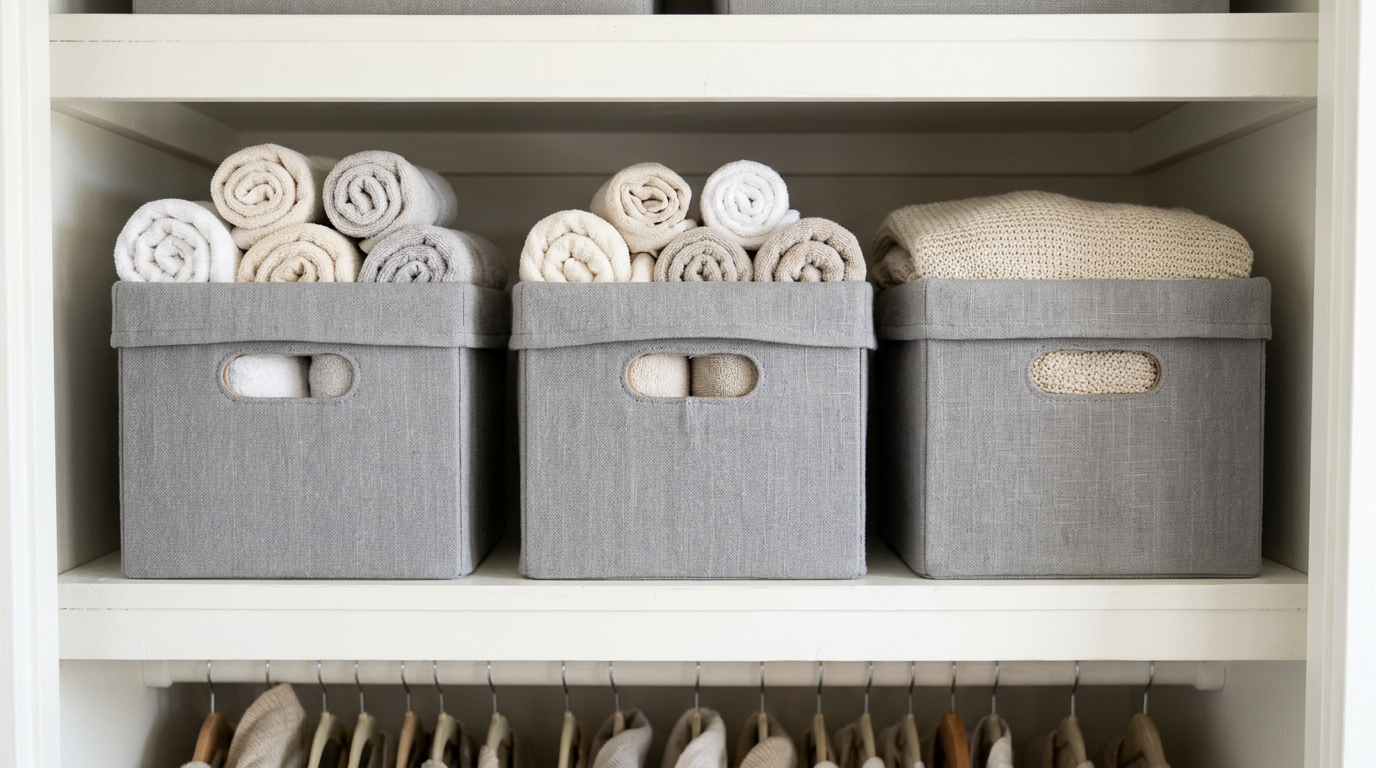
Online shopping leaves us with lots of sturdy boxes, which makes them ideal for upcycled storage ideas. Cut one down, line it with fabric and fold the fabric over the top, and you have a soft looking basket for toys, towels or blankets. Cut handle holes in the sides for easy carrying. Make a set of matching baskets for a shelf and they look like you bought them. Which shelf would you fill?
You will need: A sturdy cardboard box, fabric, spray adhesive or glue, scissors, a craft knife (adult use).
How to make it: 1. Cut the box to the height you want and cut handle holes. 2. Glue fabric to the outside and fold it over the top and inside. 3. Line the inside and let the glue dry.
An Old Drawer Turned Into an Under Bed Bin
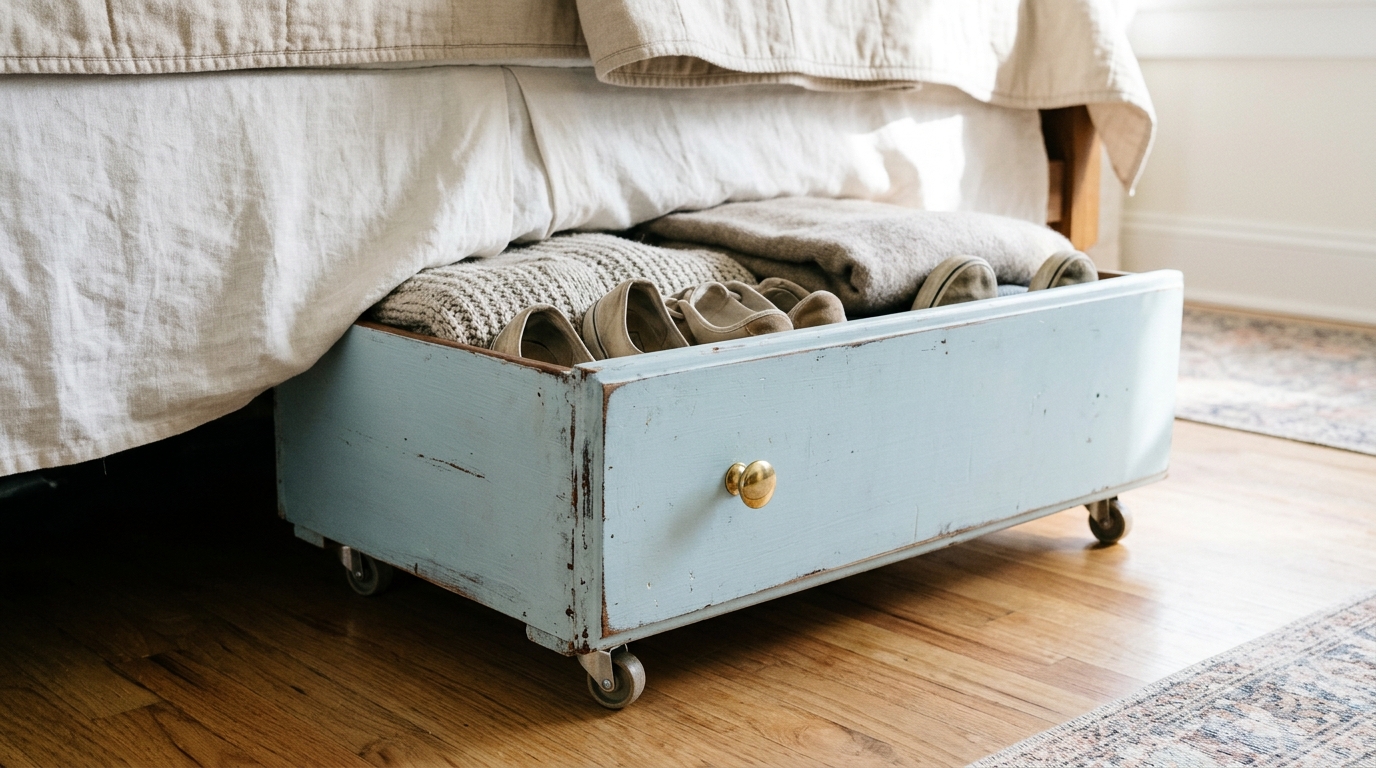
Old furniture parts make great upcycled storage ideas too. An old dresser drawer with four small casters makes a rolling bin that slides under the bed. It is perfect for extra blankets, shoes or holiday wrapping paper. Paint the front, add a new knob, and it looks like it was made to fit. It is a great way to save a drawer from a broken dresser. What would you store under your bed?
You will need: An old drawer, four small casters, screws, paint, a knob or handle, a drill (adult use).
How to make it: 1. Clean and sand the drawer. 2. Screw a caster to each bottom corner. 3. Paint the front, add a knob and roll it under the bed.
Upcycled Storage Ideas for Cords and Ribbon
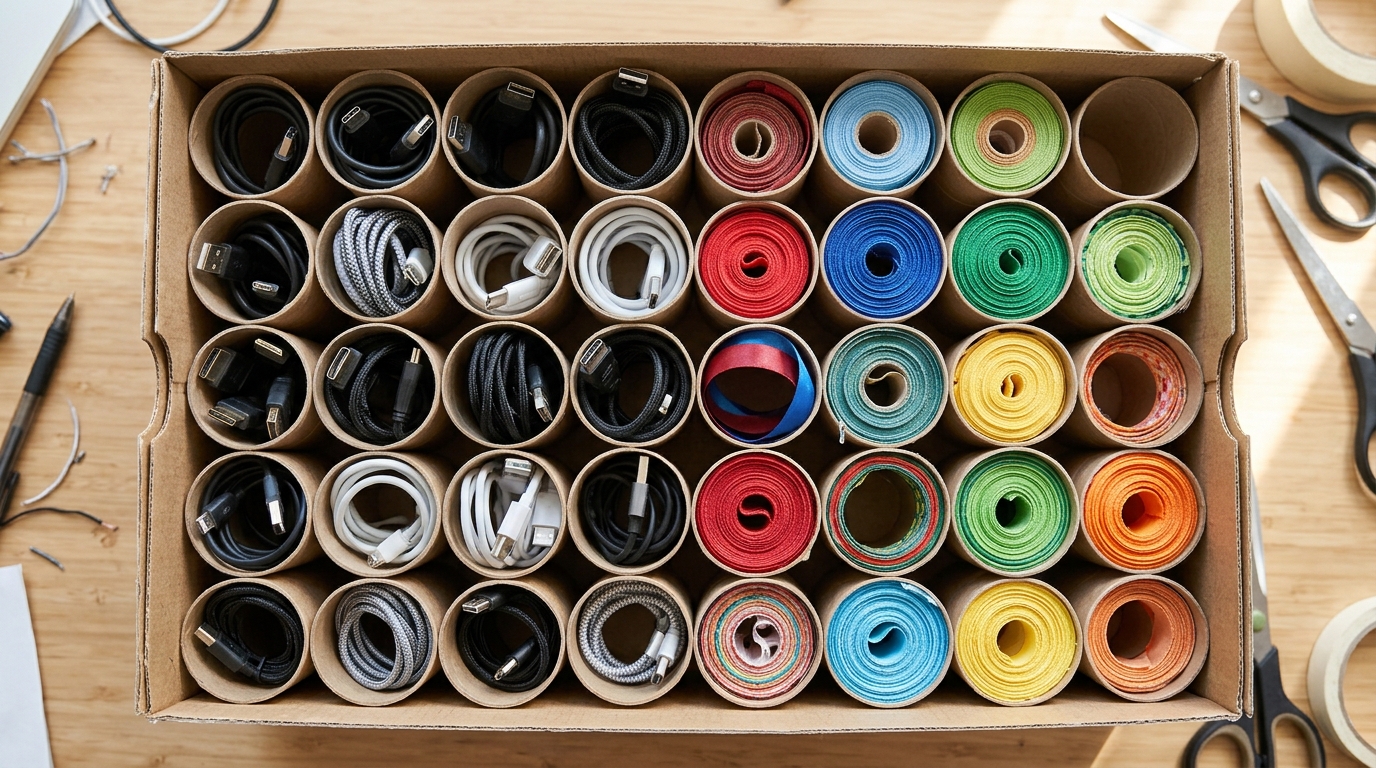
Paper towel and toilet paper tubes are perfect for keeping cords and ribbon from tangling. Fold a cord neatly, slide it into a tube and write what it is on the outside. For ribbon, cut a slit in the tube and tuck in the end. Line the tubes up in a shoe box and the cord drawer finally makes sense. Of all the upcycled storage ideas, this might be the one you use most. How many tubes will you need?
You will need: Paper towel or toilet paper tubes, a marker or labels, a shoe box, scissors.
How to make it: 1. Fold each cord or wind each ribbon neatly. 2. Slide it into a tube and label the outside. 3. Stand the tubes in a shoe box.
Upcycled Storage Ideas for the Desk With a Muffin Tin
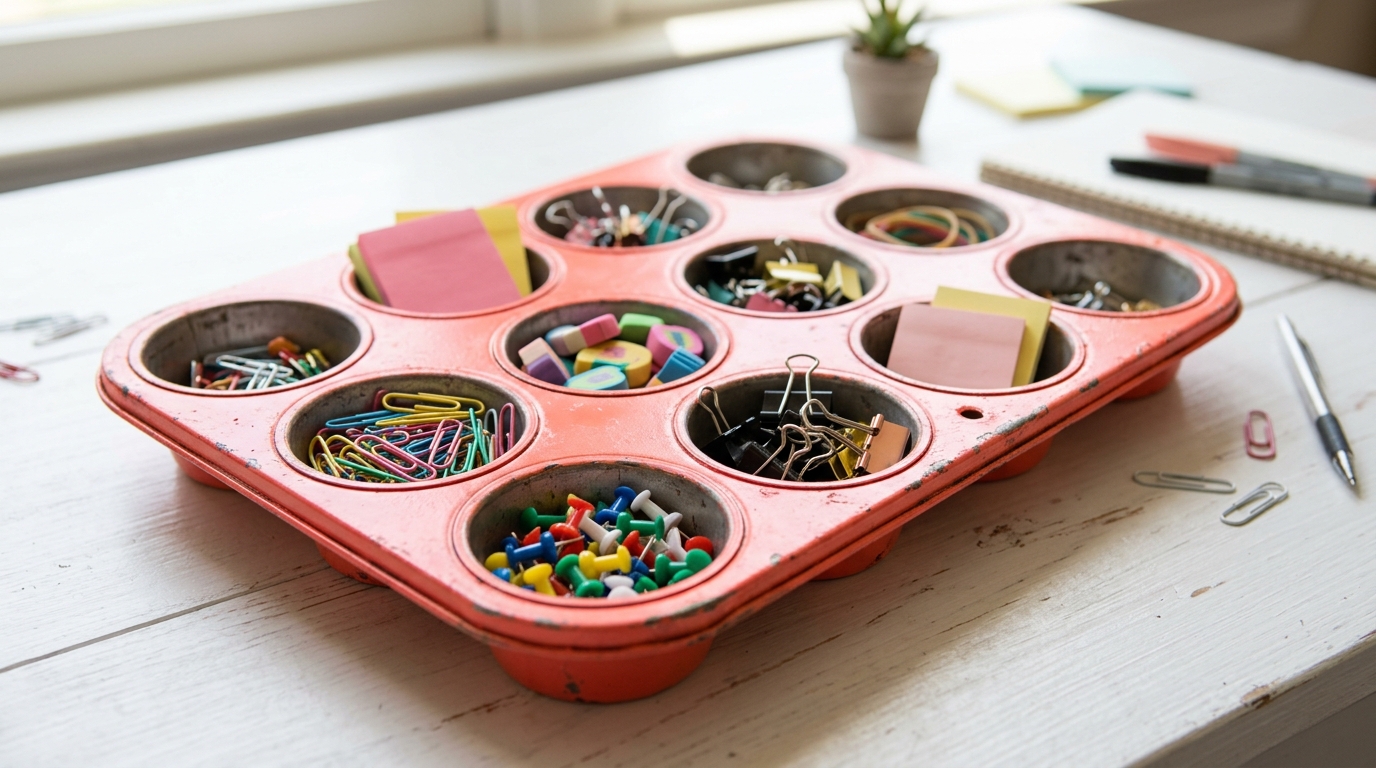
An old muffin tin is the perfect desk organizer for paper clips, pins, sticky notes and small erasers. Give it a coat of spray paint in a bright color and it looks like a modern desk tray. It also works great in a craft room for beads and buttons. Glue a little felt on the bottom so it does not scratch the desk. Which color would brighten your desk?
You will need: An old muffin tin, spray paint for metal (adult use, outdoors), felt pads.
How to make it: 1. Wash and dry the tin. 2. Spray paint it outside with an adult and let it dry. 3. Add felt pads underneath and fill each cup.
Plastic Jugs Cut Into Garage Bins
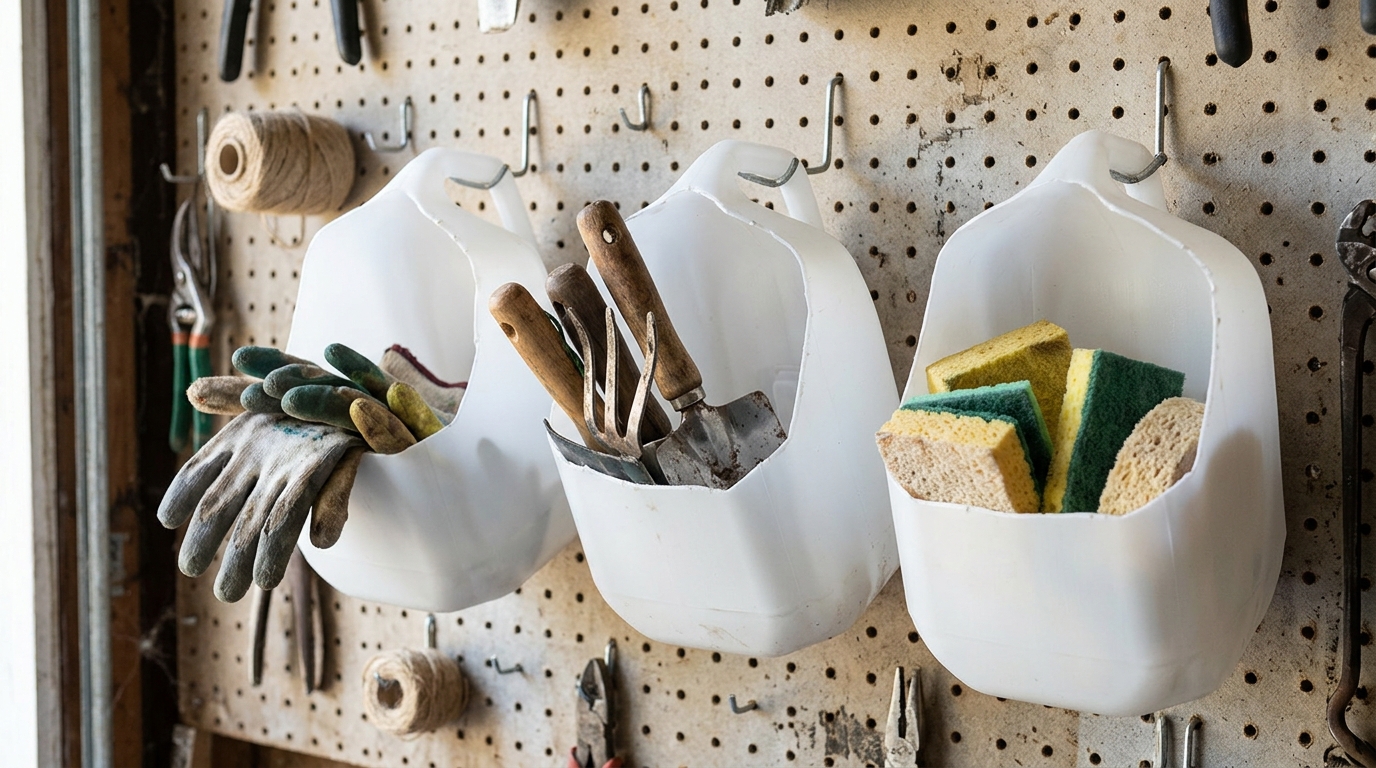
Big plastic jugs from laundry soap or milk can be cut into handy bins for the garage. Keep the handle and cut away the top front, and you have a scoop shaped bin that hangs on a pegboard. Rinse them very well before you start. They are great for gloves, small garden tools and car cleaning supplies. Which mess in your garage would they fix?
You will need: Clean large plastic jugs, scissors or a craft knife (adult use), a marker, labels.
How to make it: 1. Rinse the jug well and let it dry. 2. Draw a cut line and have an adult cut away the top front, leaving the handle. 3. Label each bin and hang or line them up on a shelf.
A Cutlery Tray Turned Into a Spice Rack
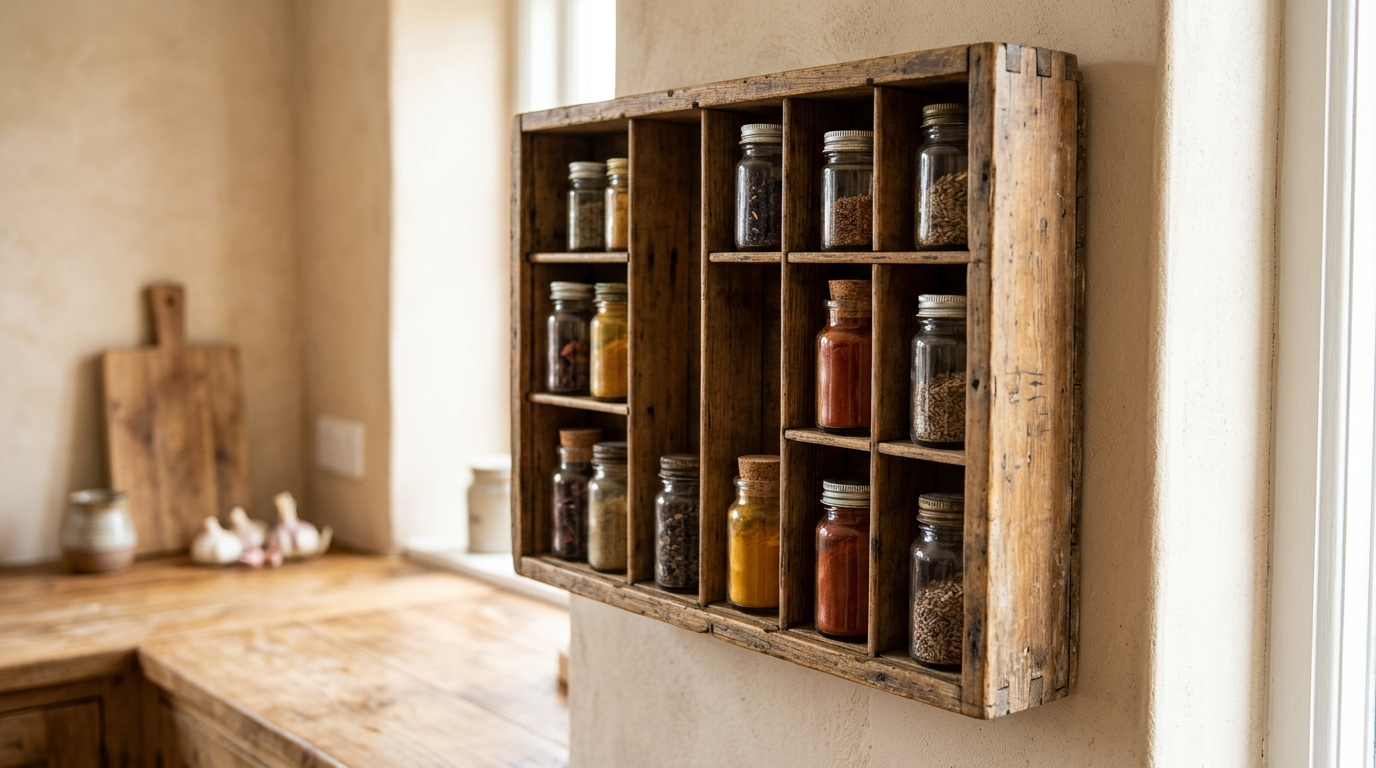
An old wooden cutlery tray, stood on its end and hung on the wall, makes a charming little spice rack. Each slot becomes a shelf for small spice jars. Paint or stain it to match your kitchen. It frees up cabinet space and puts your spices where you can see them. Which spices would go on the top shelf?
You will need: An old wooden cutlery tray, sandpaper, paint or stain, picture hanging hardware, small spice jars.
How to make it: 1. Sand and paint or stain the tray. 2. Attach sturdy hanging hardware on the back. 3. Hang it on the wall and line up spices on each slot.
An Old Picture Frame Earring Holder
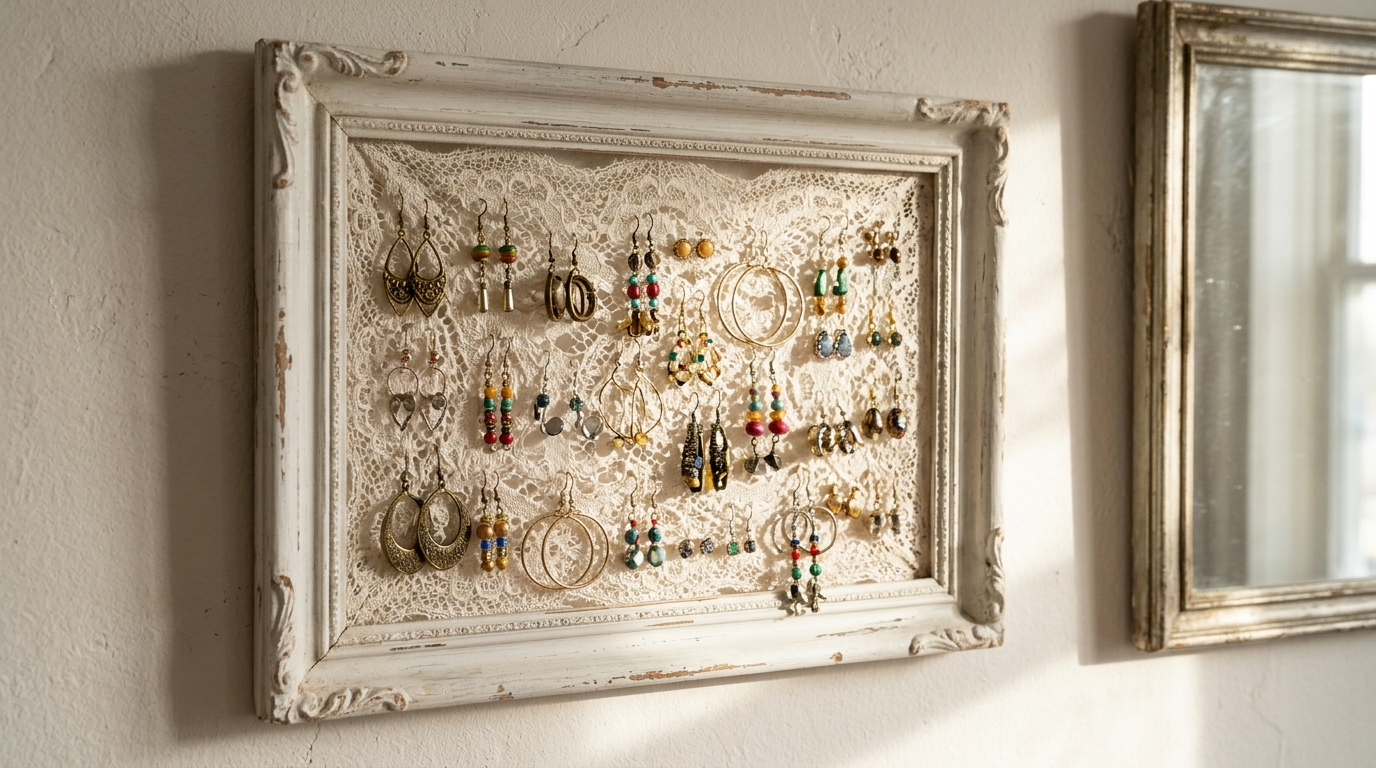
An old picture frame with a piece of mesh or lace stretched across it makes a pretty earring holder. Hook earrings through the holes and you can see every pair at once. Paint the frame in a soft color and hang it near your mirror. It is a lovely gift for a teen or a friend who loves jewelry. Would you use lace, mesh or a window screen?
You will need: An old picture frame, lace or metal mesh, a staple gun or strong glue, paint.
How to make it: 1. Remove the glass and back and paint the frame. 2. Stretch lace or mesh across the back and staple it tight. 3. Hang the frame and add your earrings.